Home>Technology>Smart Home Devices>How To Add An Airprint Printer
Smart Home Devices
How To Add An Airprint Printer
Modified: August 16, 2024
Learn how to easily add an AirPrint printer to your smart home devices. Follow simple steps to set up and start printing wirelessly.
(Many of the links in this article redirect to a specific reviewed product. Your purchase of these products through affiliate links helps to generate commission for Storables.com, at no extra cost. Learn more)
Introduction
In today's fast-paced world, the convenience of wireless printing has become indispensable. With the advent of AirPrint technology, printing from your Apple devices has never been easier. Whether you need to print a document, a boarding pass, or a cherished photograph, having an AirPrint-enabled printer at your disposal can streamline your daily tasks.
In this comprehensive guide, we will walk you through the process of adding an AirPrint printer to your Apple device. By following these step-by-step instructions, you will be able to seamlessly integrate your AirPrint-compatible printer into your home or office network, allowing for effortless printing from your iPhone, iPad, or Mac.
So, let's dive in and explore how to add an AirPrint printer to your Apple device, unlocking the convenience and flexibility that wireless printing has to offer.
Key Takeaways:
- Make sure your printer is AirPrint-compatible by checking the manual, specifications, or Apple’s official list. This ensures seamless wireless printing from your Apple devices without the need for extra software.
- Connect your AirPrint printer to Wi-Fi, enable AirPrint functionality, and add it to your Apple device for effortless wireless printing. Test the printer to ensure high-quality prints without complex setup.
Read more: How To Airprint To HP Printer
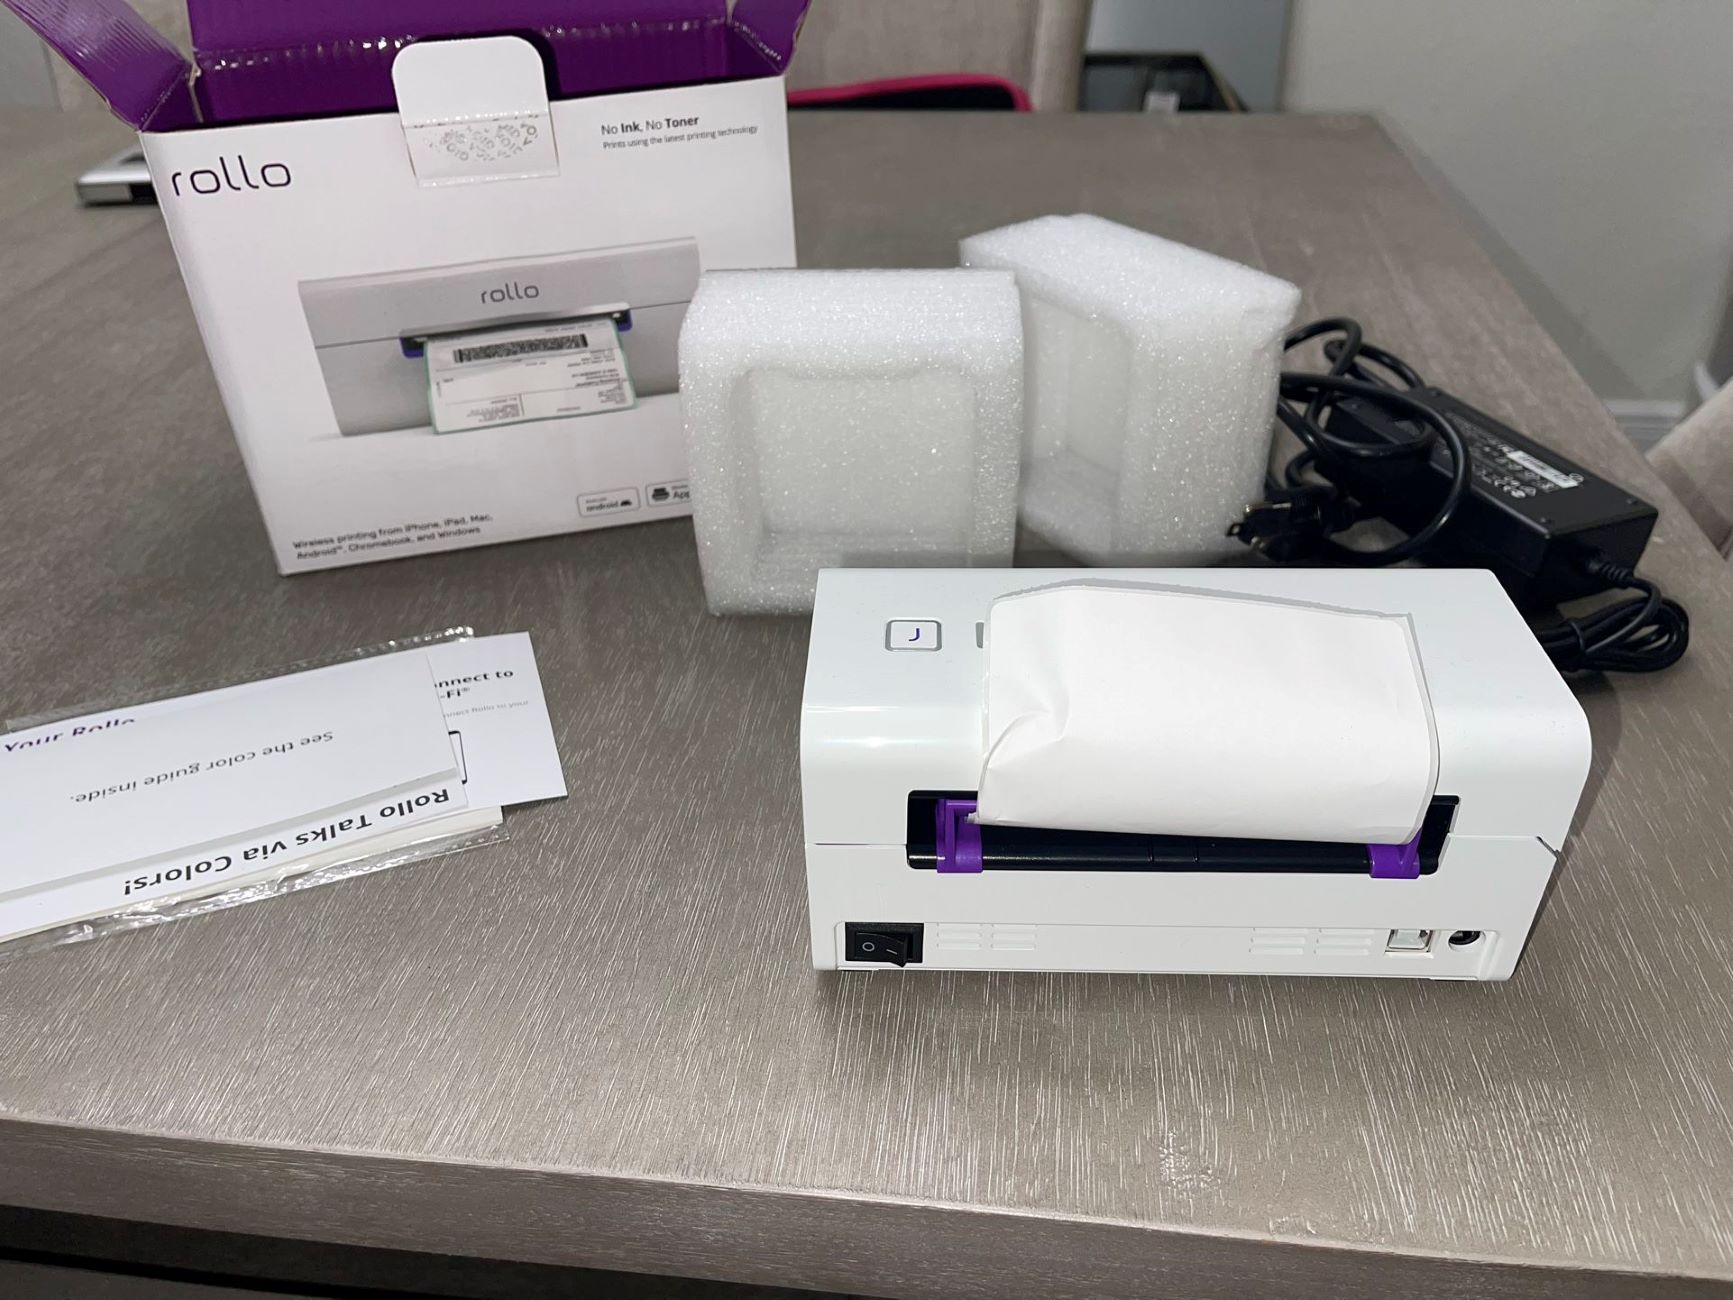
Step 1: Check for AirPrint Compatibility
Before embarking on the process of adding an AirPrint printer to your Apple device, it is crucial to ensure that your printer is compatible with AirPrint technology. AirPrint is a feature that allows you to print wirelessly from your Apple devices without the need for additional drivers or software. To determine if your printer supports AirPrint, follow these simple steps:
- Refer to the Manufacturer’s Documentation: Consult the user manual or visit the manufacturer’s website to verify if your printer is AirPrint-compatible. Manufacturers often provide detailed information about the supported features of their printers, including AirPrint compatibility.
- Check the Printer’s Specifications: Look for the AirPrint logo or reference to AirPrint in the printer’s specifications. This information can typically be found on the product packaging, the printer’s control panel, or in the product description if you are researching online.
- Use Apple’s Official List of AirPrint-Compatible Printers: Apple maintains a list of AirPrint-compatible printers on its official website. You can easily access this list to verify if your printer is included. Simply navigate to Apple’s support page and search for the AirPrint-compatible printer list.
By confirming the AirPrint compatibility of your printer, you can proceed with confidence, knowing that your device is capable of seamless wireless printing with your Apple products.
Step 2: Connect the Printer to Wi-Fi
Once you have verified that your printer is AirPrint-compatible, the next crucial step is to connect the printer to your Wi-Fi network. This wireless connection is essential for enabling your Apple devices to communicate with the printer for seamless printing. Follow these steps to connect your printer to Wi-Fi:
- Access the Printer’s Control Panel: Locate the control panel on your printer, which may consist of a touchscreen display or physical buttons. Access the settings or network menu on the control panel to initiate the Wi-Fi setup process.
- Select the Wi-Fi Network: From the printer’s settings menu, select the option to connect to a Wi-Fi network. The printer will scan for available networks in the vicinity. Choose your home or office Wi-Fi network from the list of available options.
- Enter the Wi-Fi Password: If your Wi-Fi network is secured with a password, you will be prompted to enter the password using the printer’s input interface. Carefully input the Wi-Fi password to establish the connection between the printer and your network.
- Confirm the Connection: Once the Wi-Fi password is entered, the printer will attempt to connect to the selected network. After a successful connection, the printer’s control panel or display should indicate that it is now connected to the Wi-Fi network.
By completing the process of connecting your printer to Wi-Fi, you have laid the foundation for seamless wireless printing using AirPrint technology. The next steps will involve enabling AirPrint on the printer and adding it to your Apple device for effortless printing convenience.
Step 3: Enable AirPrint on the Printer
With your printer successfully connected to the Wi-Fi network, the next crucial step is to enable AirPrint functionality on the printer. This process allows your Apple devices to discover and communicate with the printer, paving the way for wireless printing using AirPrint. Follow these steps to enable AirPrint on your printer:
- Access the Printer’s Settings: Navigate to the printer’s settings menu using the control panel or interface. Look for the network or connectivity options to access the settings related to wireless printing and AirPrint functionality.
- Locate AirPrint Settings: Within the printer’s settings, you should find an option specifically related to AirPrint. This may be listed as “AirPrint,” “Wireless Printing,” or a similar designation, depending on the printer model and manufacturer.
- Enable AirPrint: Select the option to enable AirPrint functionality on the printer. This action activates the AirPrint feature, allowing your Apple devices to detect and connect to the printer for wireless printing.
- Confirm AirPrint Activation: Once AirPrint is enabled, the printer’s display or settings menu should indicate that the feature is active. Some printers may display a confirmation message or an AirPrint icon to signify that the functionality is ready for use.
By completing these steps, you have successfully enabled AirPrint on your printer, making it accessible to your Apple devices for wireless printing. With AirPrint functionality activated, you are now ready to proceed with adding the AirPrint printer to your Apple device for a seamless printing experience.
Make sure your printer is connected to the same Wi-Fi network as your Apple device. Then, go to the app you want to print from, select the print option, and choose your AirPrint printer from the list.
Step 4: Add the AirPrint Printer to Your Device
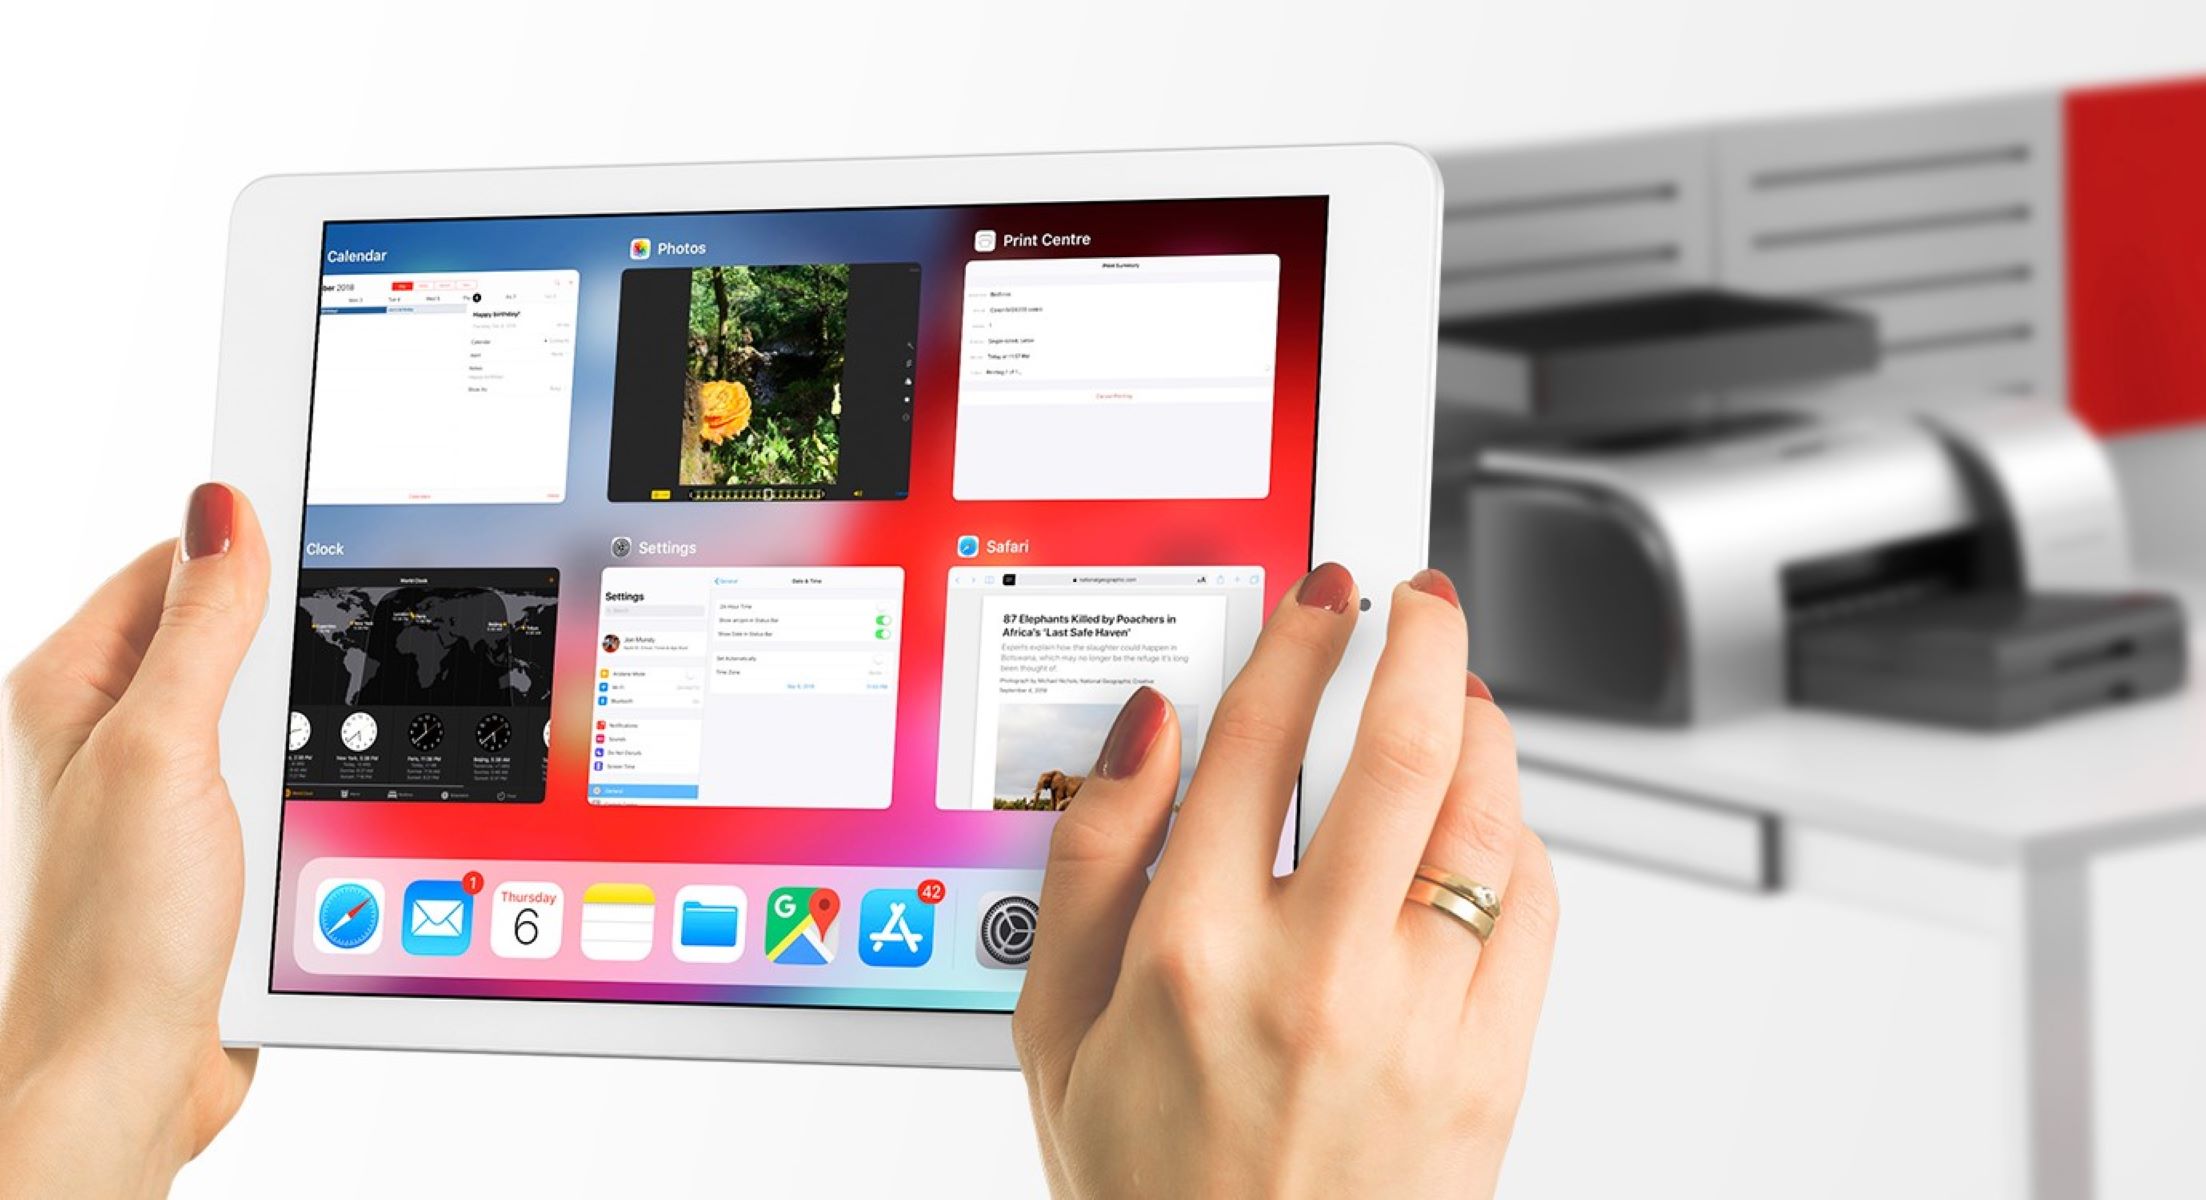
Now that your AirPrint-compatible printer is connected to the Wi-Fi network and AirPrint functionality has been enabled, it’s time to add the printer to your Apple device. This process allows your iPhone, iPad, or Mac to recognize and communicate with the printer, enabling wireless printing from your Apple device. Follow these steps to add the AirPrint printer to your device:
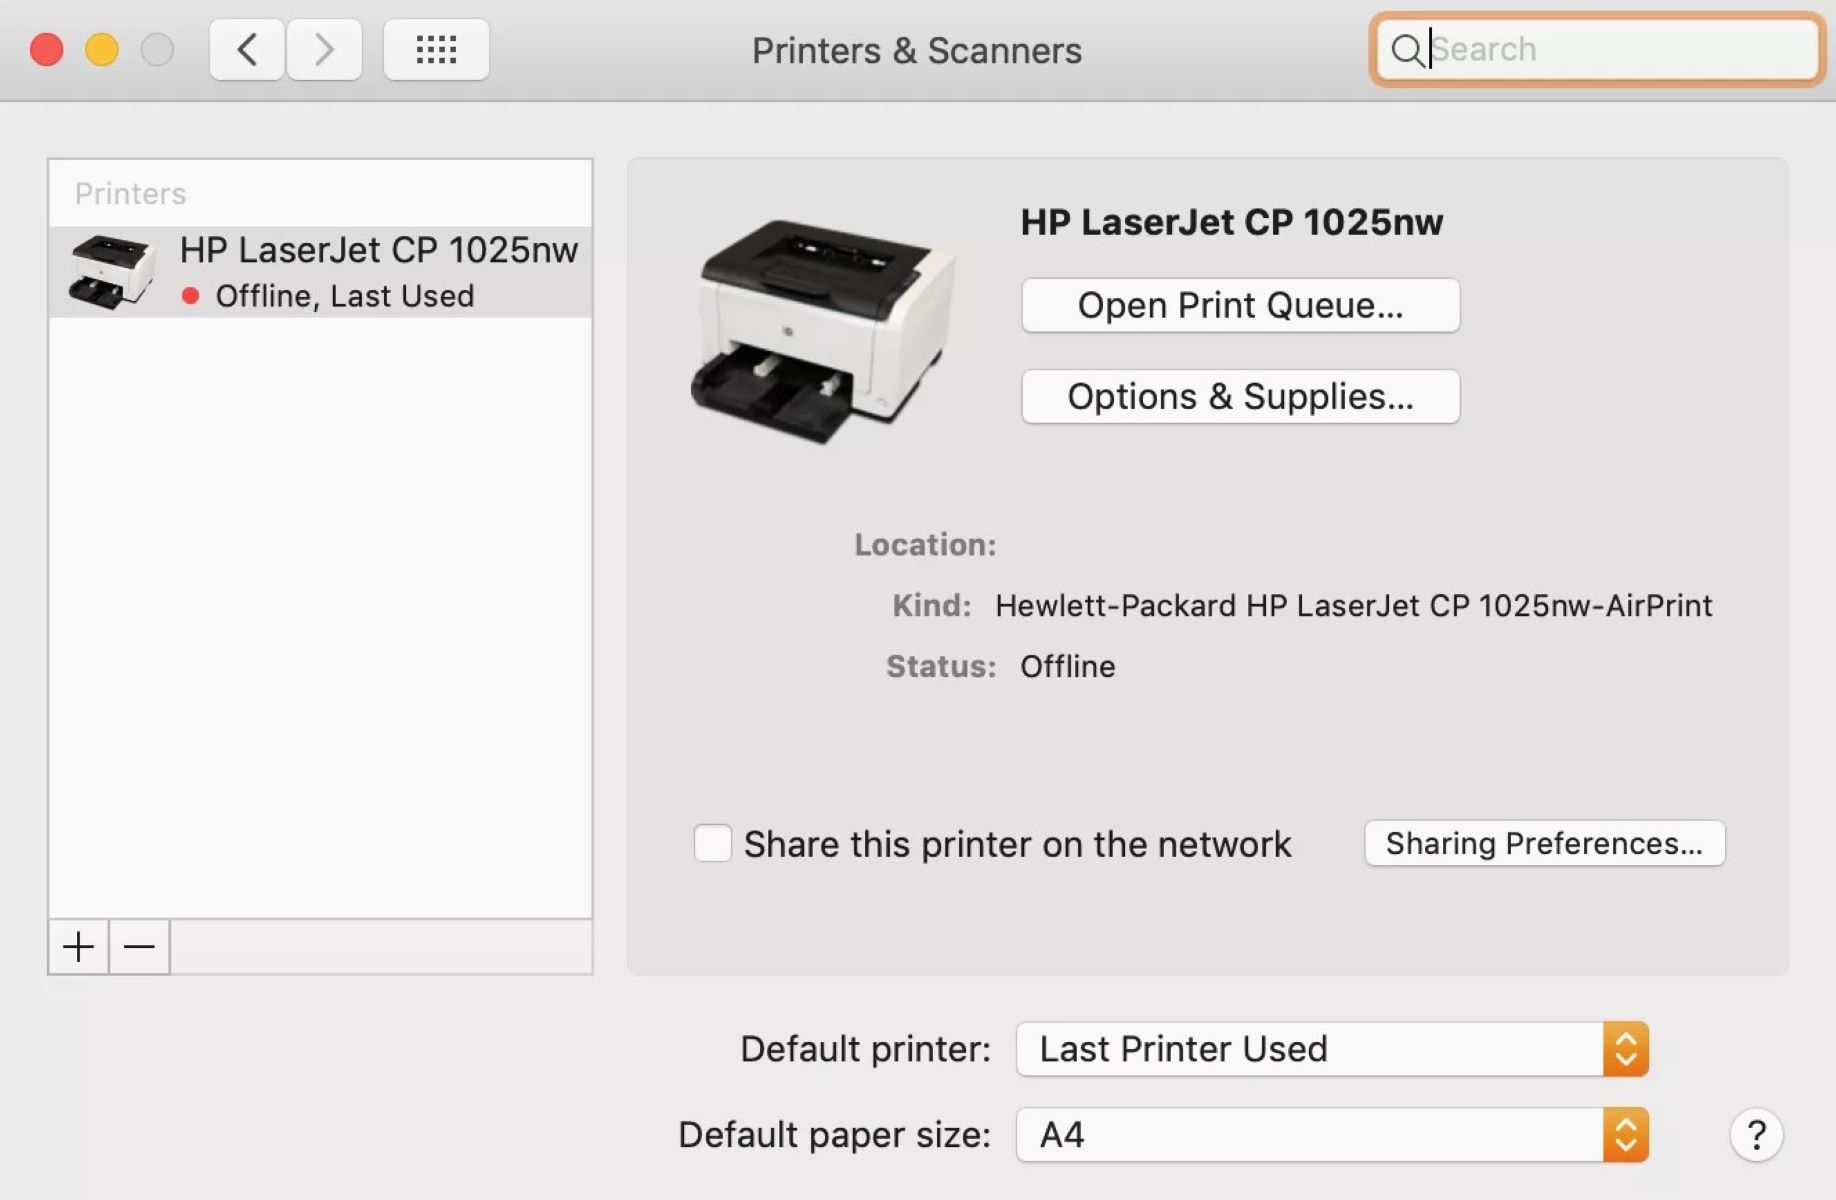
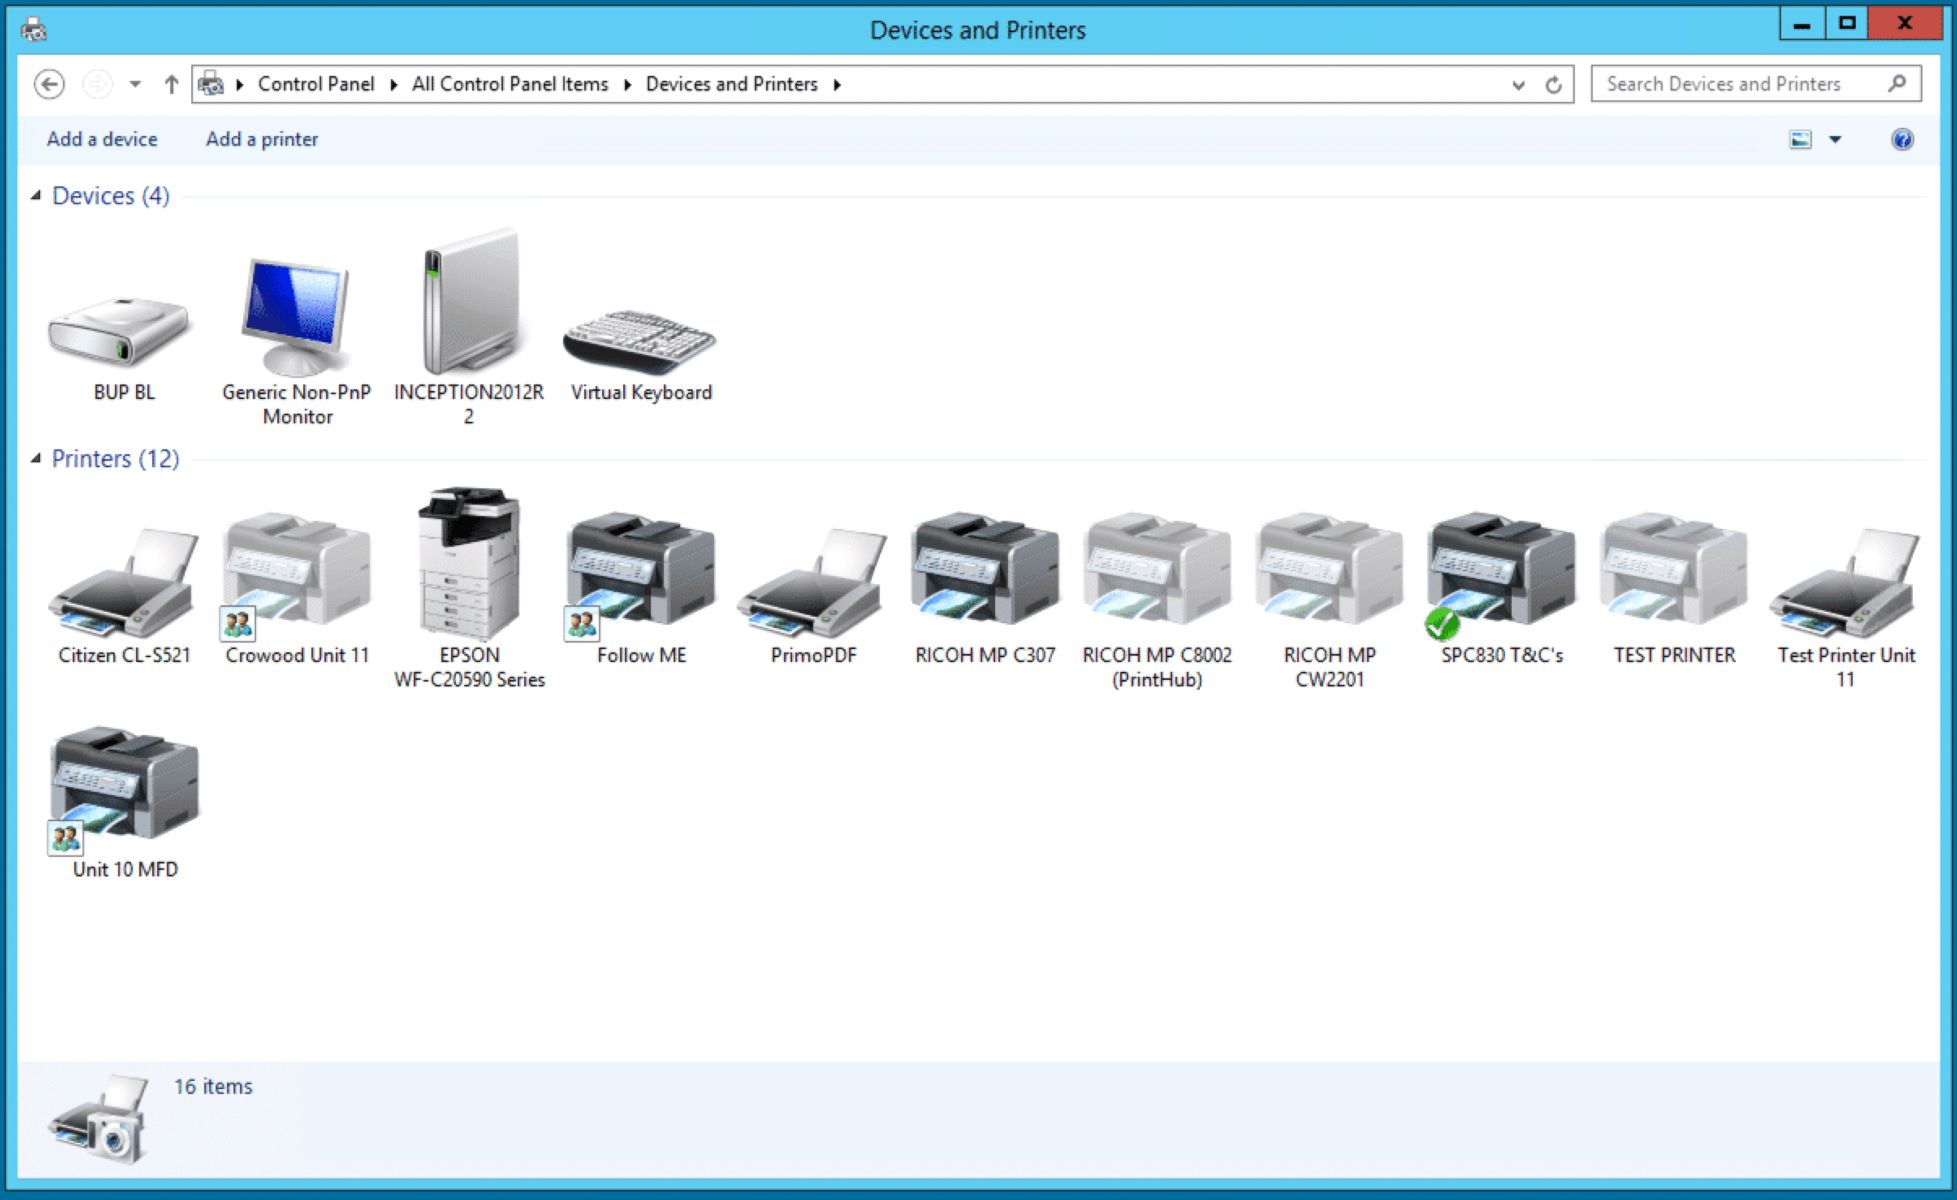
- Access the Printer Settings on Your Device: On your Apple device, navigate to the settings or preferences related to printing. This may be found in the settings app under “Printers,” “Print & Scan,” or a similar menu, depending on the device model and operating system version.
- Select “Add Printer” or “Add Device”: Look for the option to add a new printer or device. This action will prompt your device to search for available printers within the same Wi-Fi network.
- Choose the Detected AirPrint Printer: Your Apple device should detect the AirPrint-compatible printer that is connected to the Wi-Fi network. Select the detected printer from the list of available devices to initiate the pairing process.
- Confirm the Printer Addition: Once you select the AirPrint printer, your device will establish a connection with the printer and add it to the list of available printers for future use. The printer is now successfully added to your Apple device for wireless printing.
By following these steps, you have seamlessly integrated the AirPrint printer into your Apple device, allowing for effortless wireless printing from your iPhone, iPad, or Mac. With the printer successfully added to your device, you are now ready to put AirPrint to the test and experience the convenience of wireless printing.
Read more: What Is AirPrint-Enabled Printer
Step 5: Test the AirPrint Printer
After adding the AirPrint printer to your Apple device, it’s essential to conduct a test to ensure that the wireless printing functionality is fully operational. By initiating a test print, you can verify that your Apple device can communicate with the printer and produce high-quality prints. Follow these steps to test the AirPrint printer:
- Select a Test Document or Image: Choose a document, photo, or image from your Apple device that you would like to print. This can be a simple text document, a colorful photograph, or any content that allows you to assess the printer’s performance.
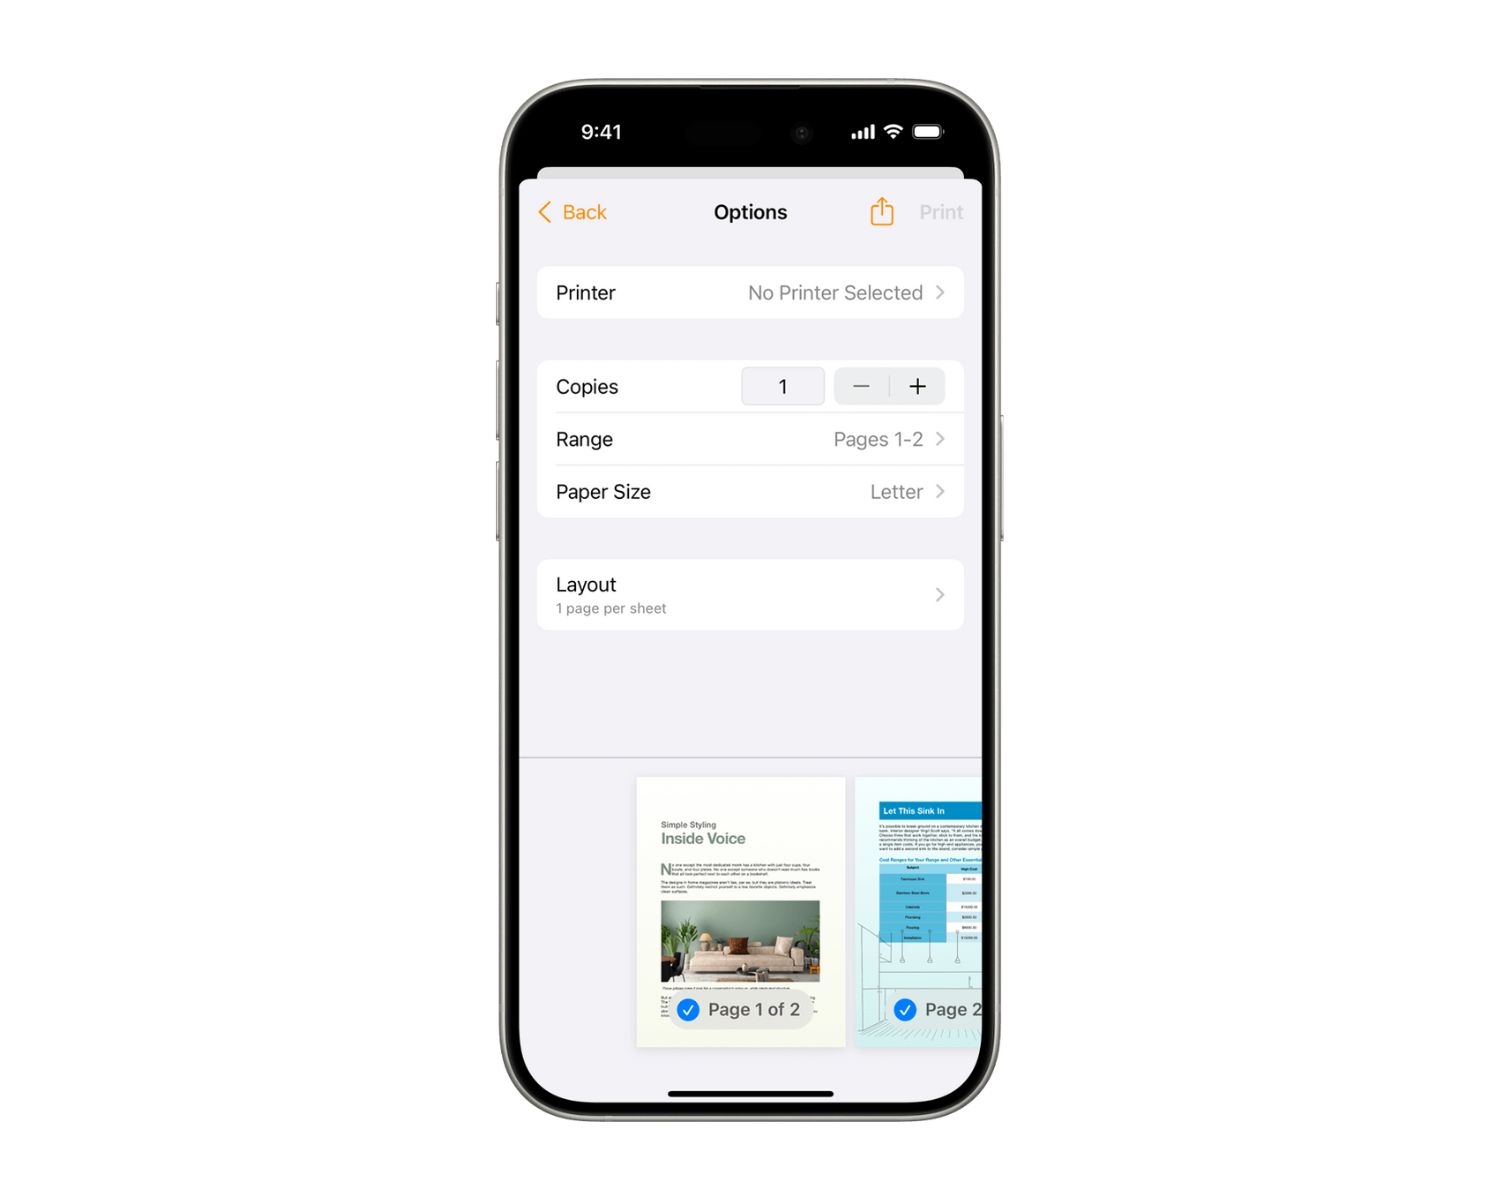
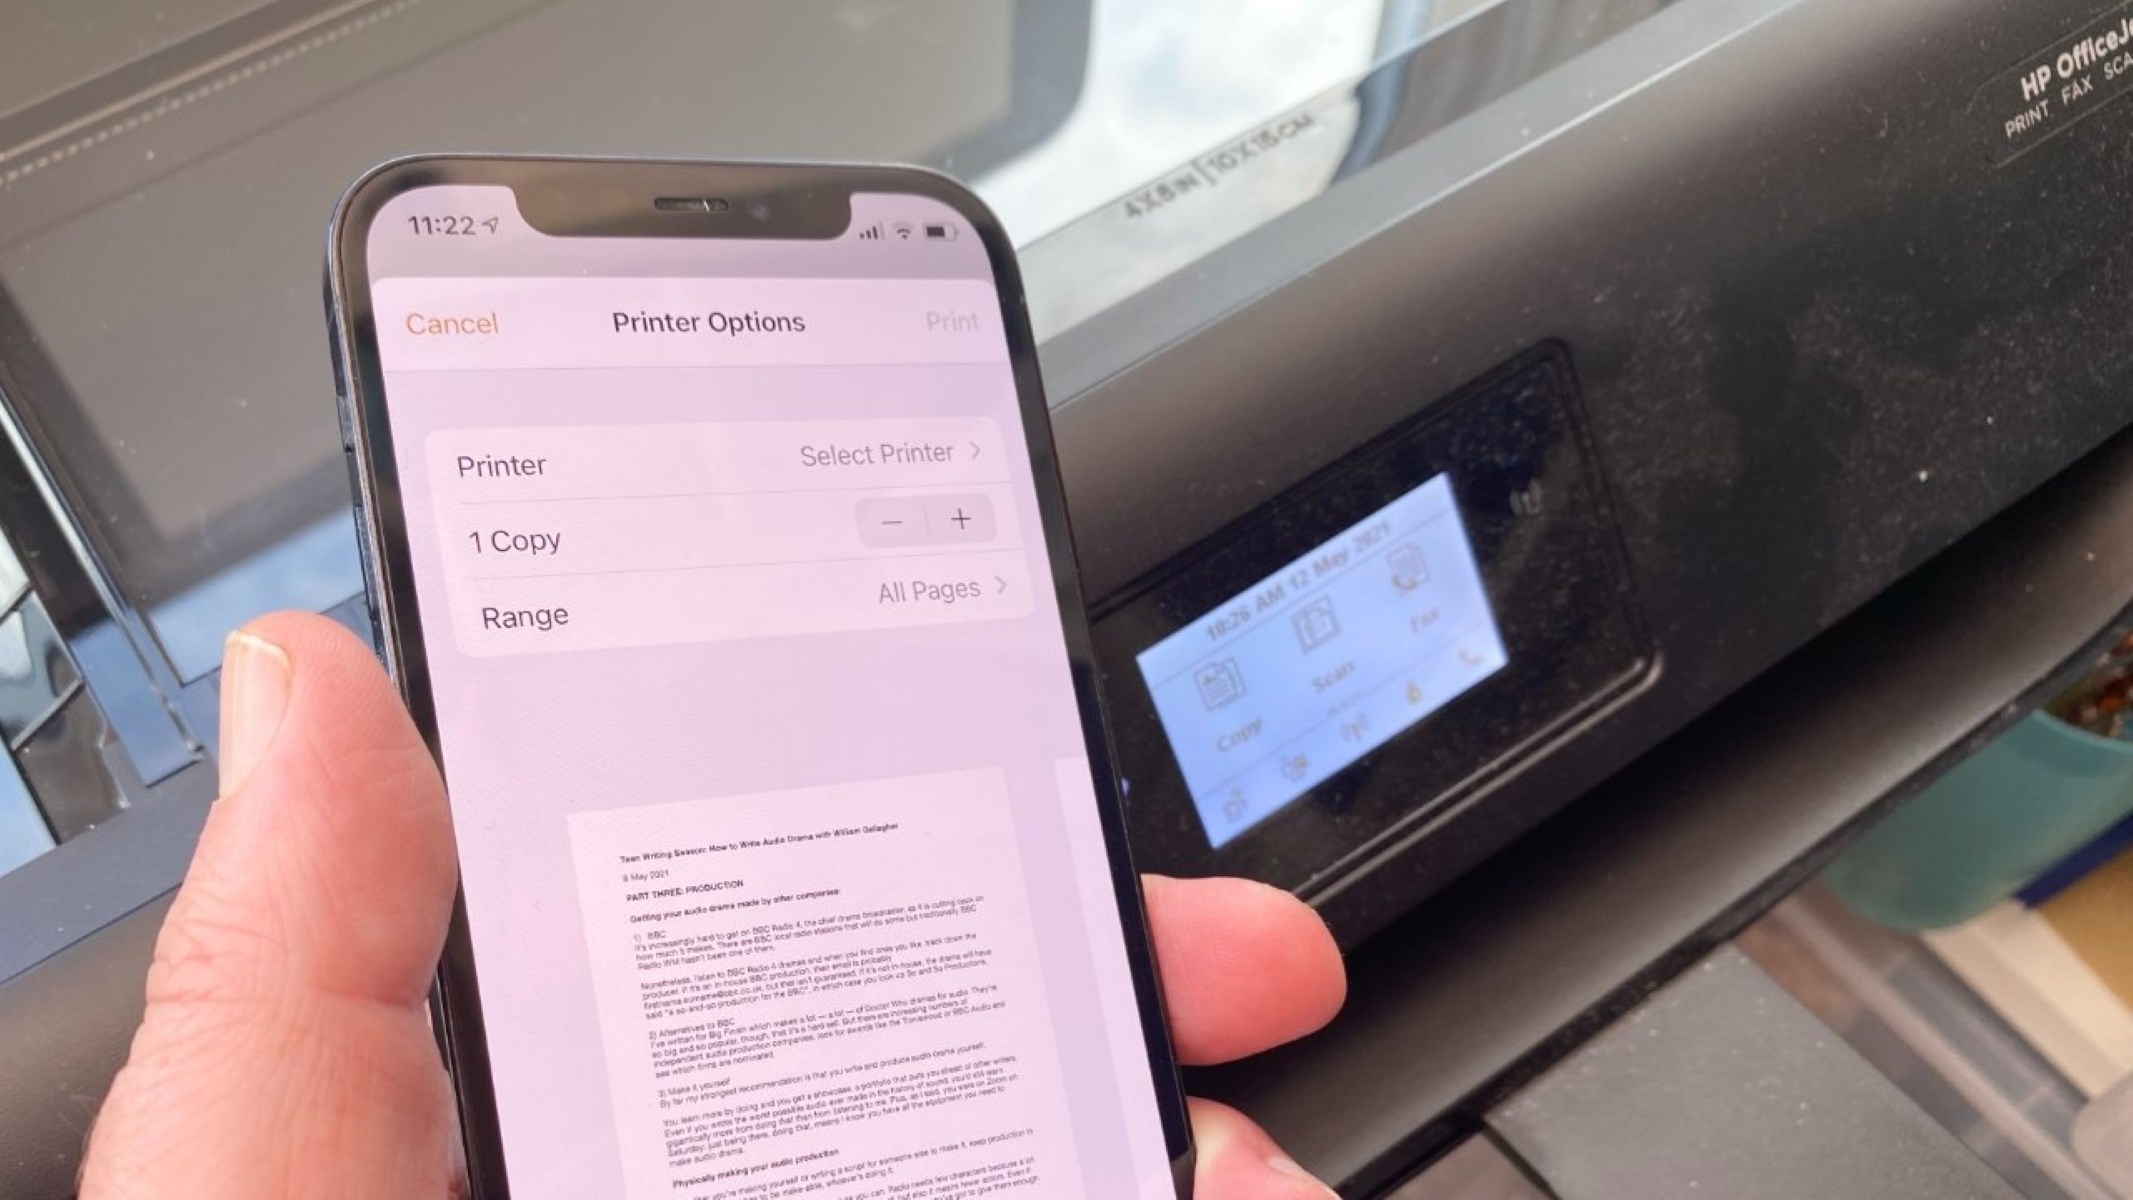
- Access the Print Options: Navigate to the app or program from which you wish to print the selected document. Look for the print option within the app’s menu or interface. This may be represented by a printer icon or a “Print” button.
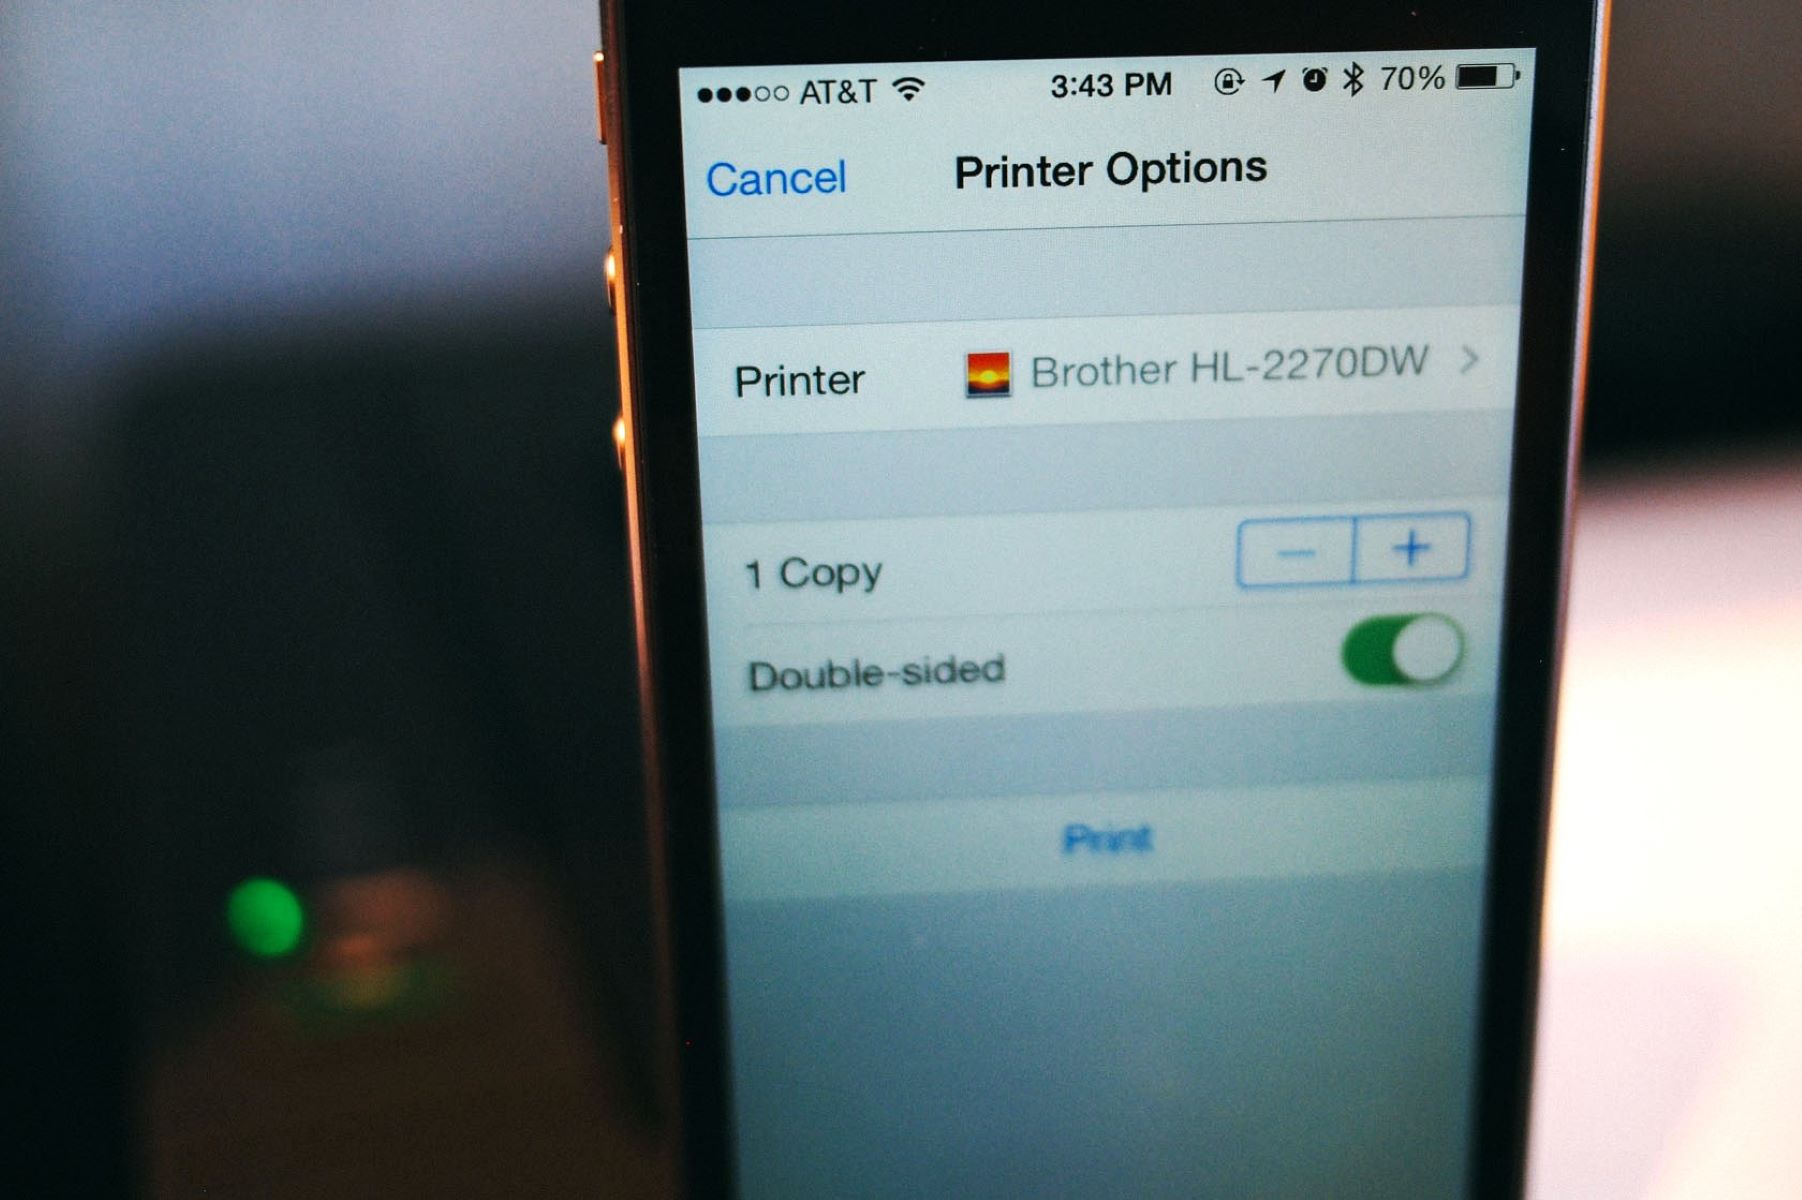
- Choose the AirPrint Printer: When prompted to select a printer, ensure that the AirPrint-compatible printer you added to your device is chosen as the designated printer for the print job.
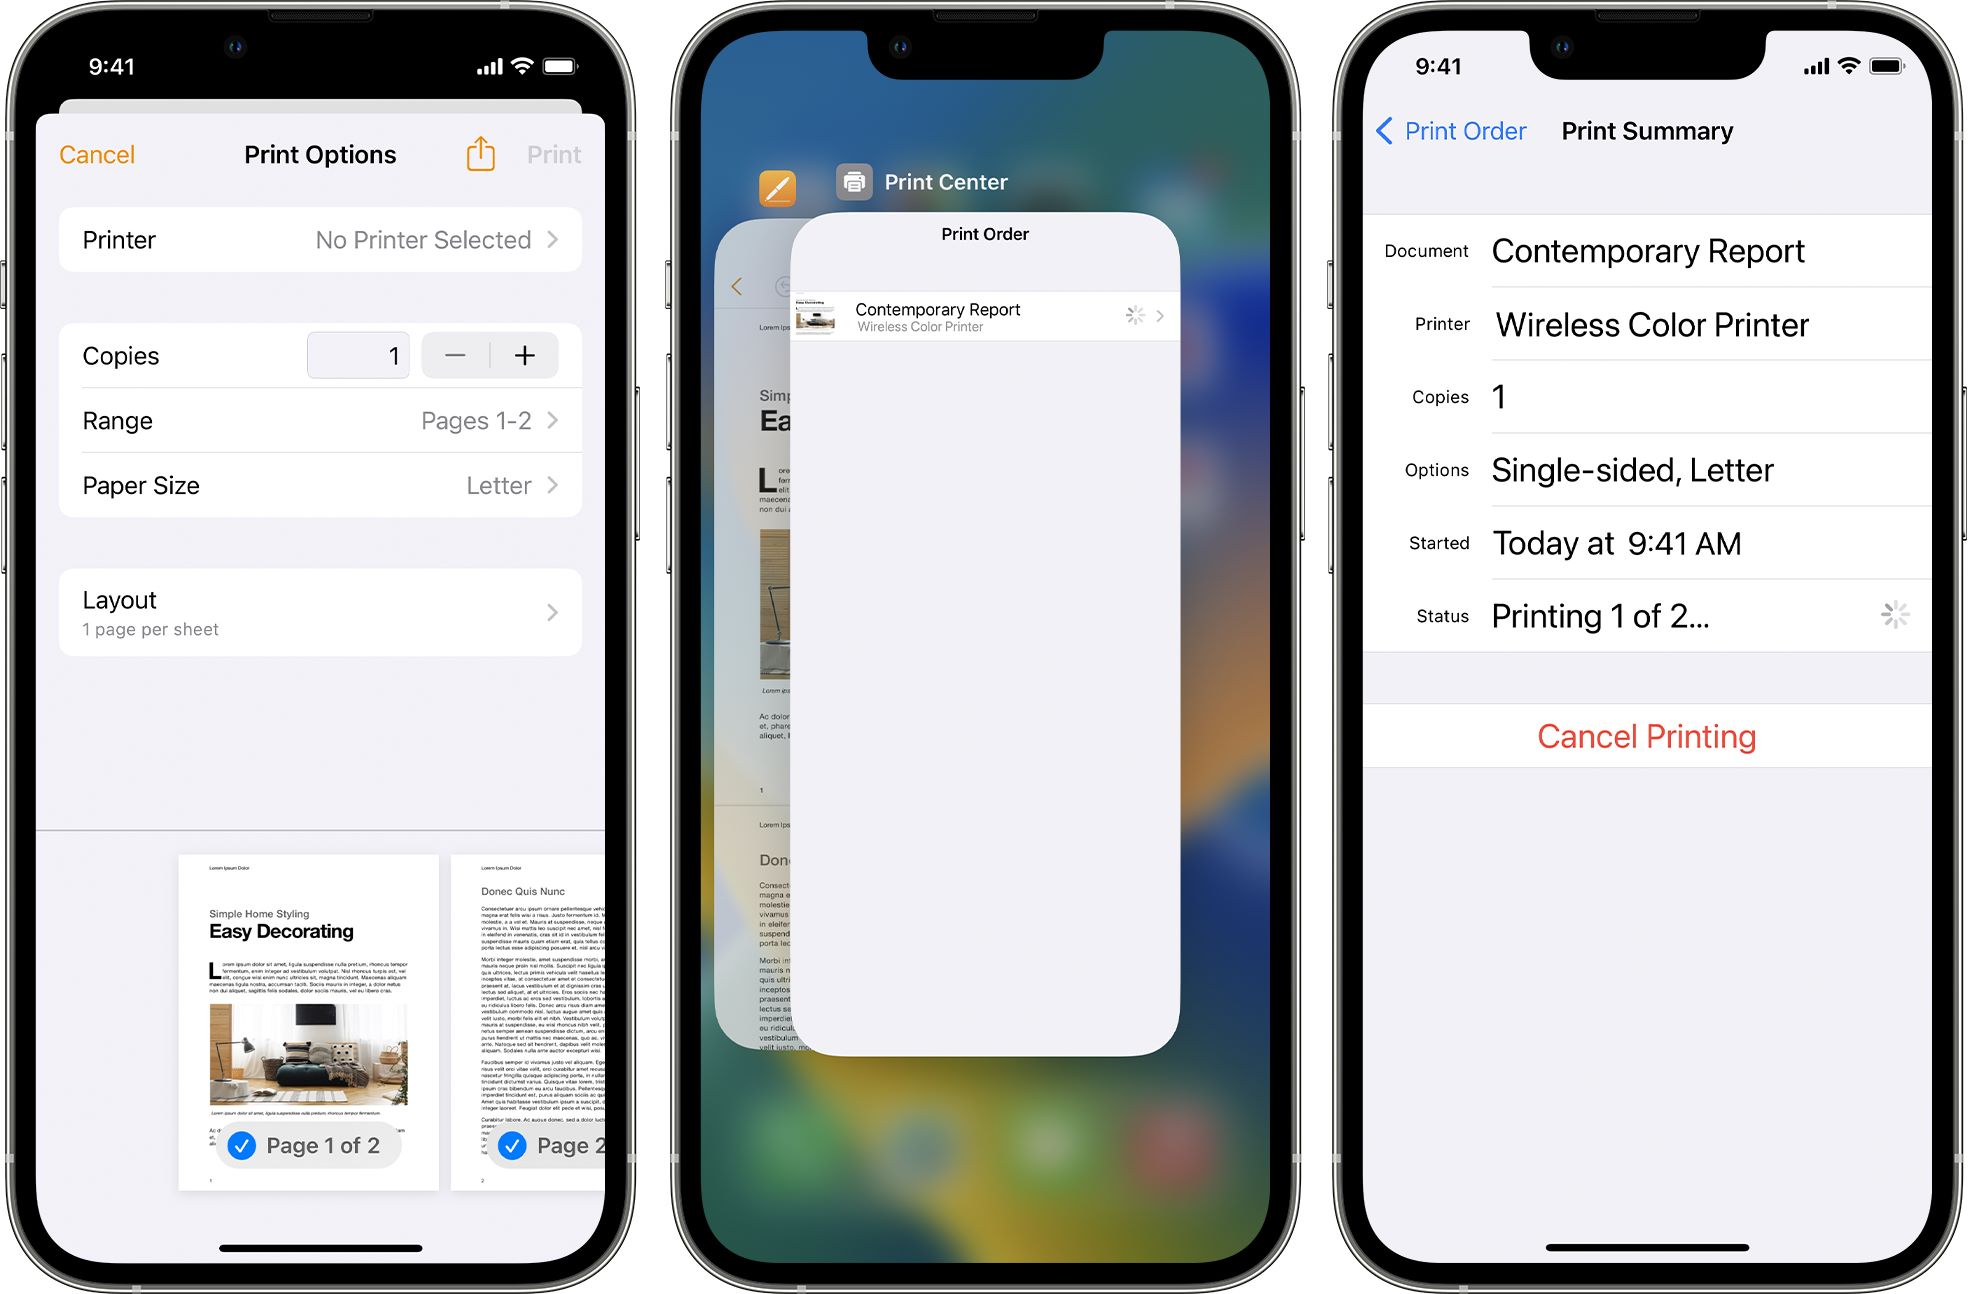
- Initiate the Print Job: Confirm the print settings and initiate the print job from your Apple device. The device will communicate with the printer, and the selected document will be sent wirelessly for printing.
- Verify the Print Output: Once the print job is initiated, observe the printer as it processes the print request. Upon completion, retrieve the printed document from the printer’s output tray and assess the quality of the printout.
By conducting a test print, you can ensure that the AirPrint printer is functioning seamlessly with your Apple device, delivering high-quality prints without the need for physical connections or complex setup procedures. With successful test prints, you can confidently embrace the convenience and efficiency of wireless printing using AirPrint technology.
Conclusion
Adding an AirPrint printer to your Apple device opens up a world of convenience and flexibility, allowing you to effortlessly print from your iPhone, iPad, or Mac without the constraints of traditional wired connections. By following the step-by-step process outlined in this guide, you have successfully integrated an AirPrint-compatible printer into your home or office network, unlocking the seamless printing capabilities that AirPrint technology offers.
From verifying the printer’s AirPrint compatibility to enabling AirPrint functionality and conducting test prints, you have navigated through the essential steps with confidence and precision. The successful addition of the AirPrint printer to your Apple device signifies the harmonious integration of wireless printing technology into your daily routine.
With the printer now at your disposal, you can effortlessly produce high-quality prints of documents, photos, and other content directly from your Apple device. Whether you’re printing important work documents, cherished memories captured in photographs, or creative projects, the convenience of wireless printing enhances your productivity and simplifies your printing experience.
As you embrace the seamless synergy between your Apple device and the AirPrint printer, you are empowered to harness the full potential of wireless printing technology. The elimination of physical tethers and the simplicity of wireless connectivity redefine the way you interact with your printer, offering a streamlined and efficient printing process that aligns with your dynamic lifestyle.
By mastering the process of adding an AirPrint printer to your Apple device, you have embraced a new realm of printing convenience, where the boundaries between digital content and tangible prints seamlessly converge. With wireless printing at your fingertips, you can embark on a journey of enhanced productivity and creative expression, knowing that your AirPrint printer is ready to bring your digital creations to life with unparalleled ease.
As you embark on your wireless printing journey, may the seamless integration of technology and convenience continue to enrich your daily experiences, empowering you to unleash the full potential of your Apple devices through the power of AirPrint.
Frequently Asked Questions about How To Add An Airprint Printer
Was this page helpful?
At Storables.com, we guarantee accurate and reliable information. Our content, validated by Expert Board Contributors, is crafted following stringent Editorial Policies. We're committed to providing you with well-researched, expert-backed insights for all your informational needs.


0 thoughts on “How To Add An Airprint Printer”