Home>Technology>Smart Home Devices>How To Add A Printer To A Server

Smart Home Devices
How To Add A Printer To A Server
Modified: October 19, 2024
Learn how to easily add a printer to your server for seamless integration with your smart home devices. Follow our step-by-step guide for quick setup.
(Many of the links in this article redirect to a specific reviewed product. Your purchase of these products through affiliate links helps to generate commission for Storables.com, at no extra cost. Learn more)
Introduction
In the ever-evolving landscape of technology, the integration of printers into a server environment is a crucial aspect of streamlining workflows and optimizing productivity. Whether in a small business setting or a large enterprise, the process of adding a printer to a server is a fundamental step that ensures seamless access and efficient printing capabilities for all network users.
By connecting a printer to a server, organizations can centralize print management, enhance security protocols, and facilitate convenient access to printing resources. This comprehensive guide will walk you through the essential steps to successfully add a printer to a server, empowering you to harness the full potential of your networked printing infrastructure.
So, let's embark on this enlightening journey, where we will demystify the intricacies of integrating a printer with a server, empowering you to optimize your printing environment with confidence and proficiency.
Key Takeaways:
- Adding a printer to a server involves connecting the printer physically, installing the right driver, and sharing it across the network. This streamlines printing operations and enhances productivity within the server environment.
- By following the steps to integrate a printer with a server, users can access printing resources seamlessly, fostering collaborative workflows and optimizing the utilization of printing resources.
Read more: How To Add Printer To Print Server
Step 1: Connect the Printer to the Server
Before delving into the technical configurations, the initial step in adding a printer to a server involves physically connecting the printer to the server or the network. This can be accomplished by following these simple yet pivotal procedures:
- Locate an Accessible Connection Point: Identify an easily accessible power outlet and network port near the server where the printer can be stationed. Ensuring proximity to the server simplifies the physical setup and minimizes cable clutter.
- Power Up the Printer: Plug the printer into the power outlet and switch it on. This enables the printer to initialize and become ready for network connectivity.
- Establish Network Connectivity: Connect one end of an Ethernet cable to the printer’s network port and the other end to an available network port on the server. This physical link forms the foundation for network communication between the printer and the server.
- Verify Connection Status: Once the physical connections are in place, verify that the printer is successfully connected to the network. This can be confirmed by checking the printer’s display panel or utilizing network diagnostic tools on the server.
By meticulously executing these steps, you lay the groundwork for seamless communication between the printer and the server, setting the stage for the subsequent configuration and integration processes.
Step 2: Install the Printer Driver on the Server
After the physical connection between the printer and the server is established, the next critical step is to install the appropriate printer driver on the server. The printer driver serves as a communication bridge between the server’s operating system and the specific model of the connected printer. Here’s a comprehensive guide on how to accomplish this essential task:
- Identify the Correct Printer Driver: Visit the printer manufacturer’s official website or utilize the driver installation disc that accompanies the printer to procure the compatible printer driver for the server’s operating system. It is imperative to select the precise driver version to ensure seamless functionality and optimal performance.
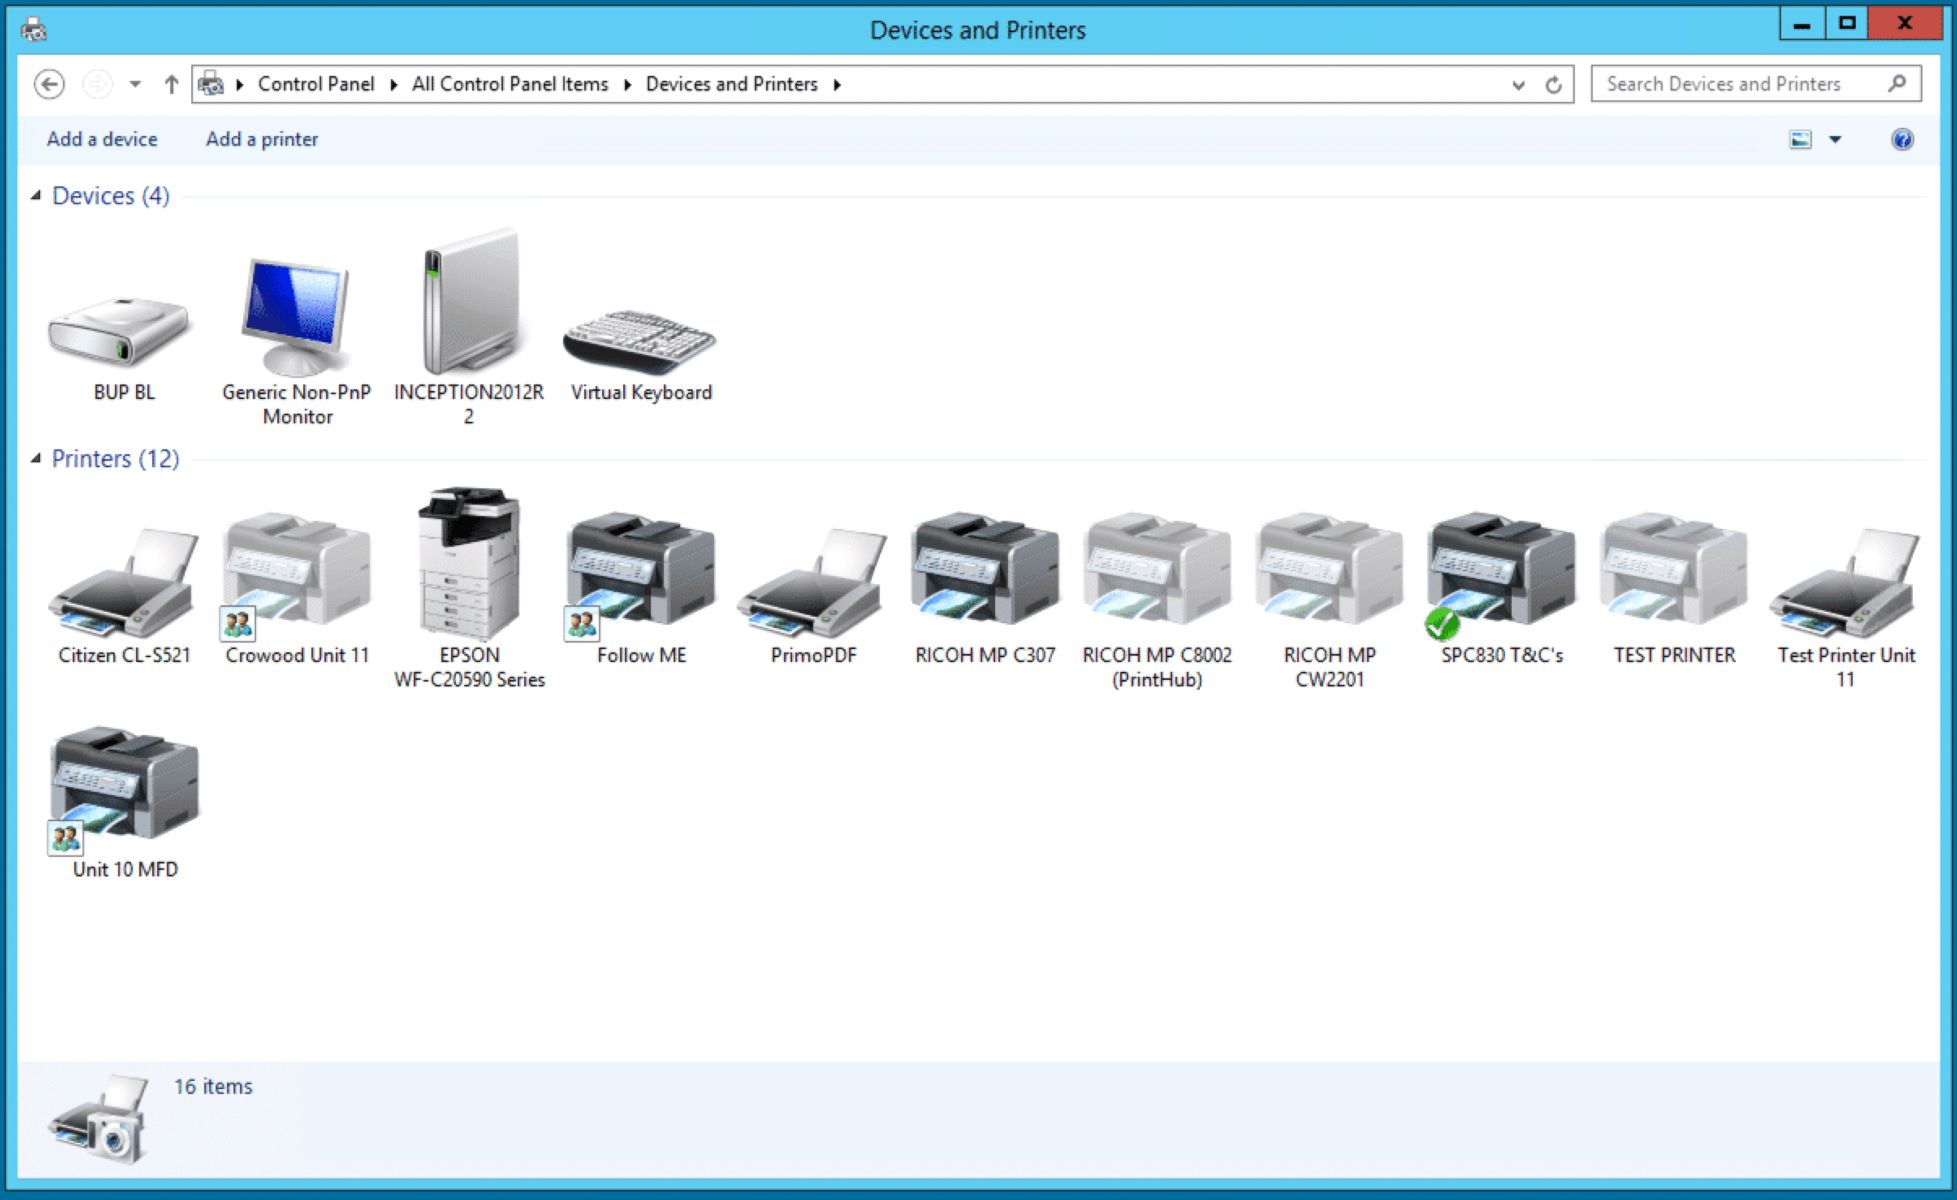
- Initiate Driver Installation: Navigate to the server’s control panel and access the “Devices and Printers” or “Printers & Scanners” section. Click on “Add a printer” and choose the option to add a local printer. Select the appropriate printer port and proceed to the next step.
- Specify the Printer Model: When prompted to select the printer model, choose the option to provide a disk or browse for the printer driver. Navigate to the location where the downloaded driver file is stored and proceed with the installation process.
- Complete the Installation: Follow the on-screen instructions to finalize the installation of the printer driver on the server. Once the installation is complete, the server is equipped with the necessary software components to effectively communicate with the connected printer.
By meticulously following these steps, you ensure that the server is equipped with the essential printer driver, paving the way for seamless integration and streamlined printing operations within the server environment.
When adding a printer to a server, make sure to install the correct printer drivers for the server’s operating system to ensure compatibility and smooth operation.
Step 3: Add the Printer to the Server
With the printer physically connected and the requisite driver installed on the server, the subsequent step involves adding the printer to the server’s list of available devices. This pivotal process facilitates the seamless integration of the printer into the server environment, enabling users to access its printing capabilities. Here’s a comprehensive guide on how to accomplish this essential task:
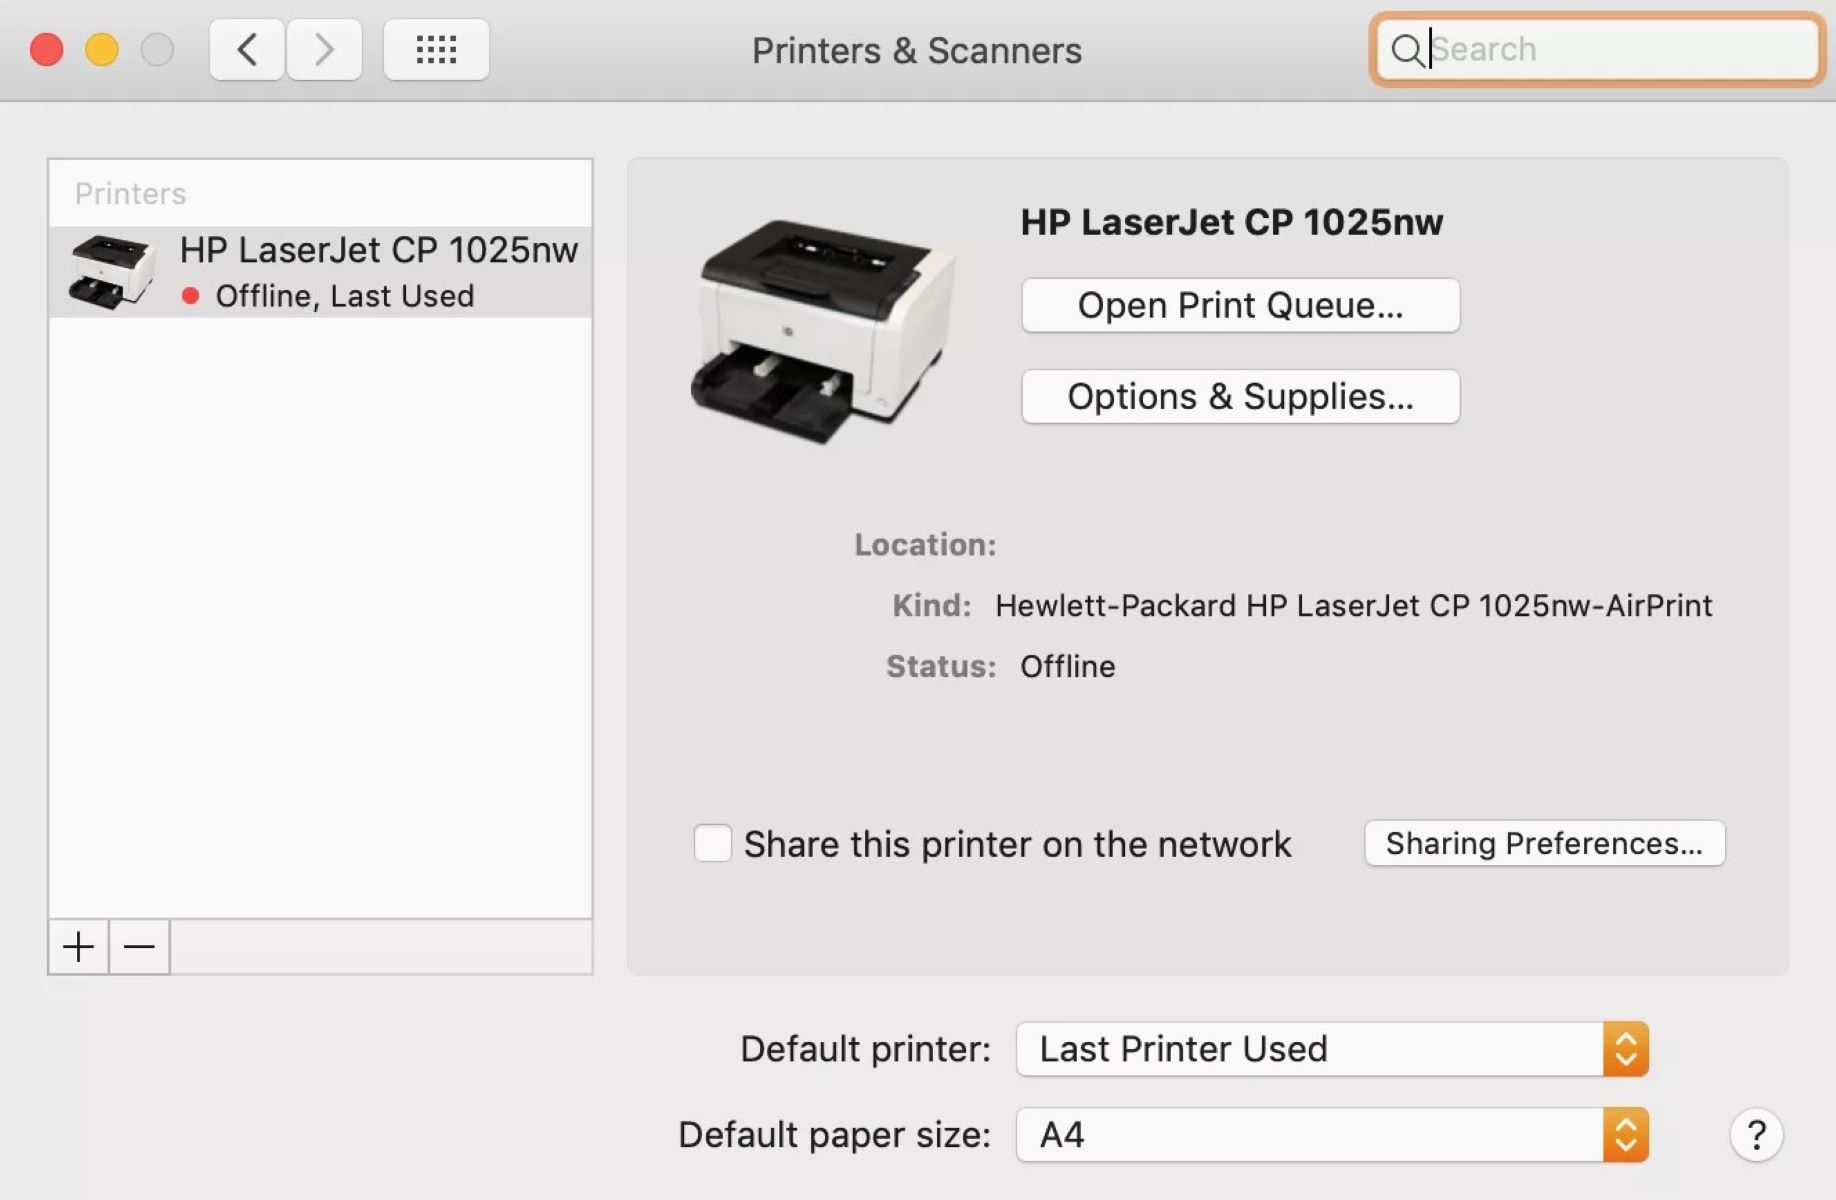
- Access Printer Settings: Navigate to the server’s control panel and access the “Devices and Printers” or “Printers & Scanners” section to initiate the printer addition process.
- Click on “Add a Printer”: Select the “Add a printer” option and choose the “Add a network, wireless, or Bluetooth printer” option to enable the server to detect and connect to the networked printer.
- Locate the Printer: The server will scan the network for available printers. Once the target printer is detected, select it from the list of identified printers and proceed to the next step.
- Complete the Setup: Follow the on-screen instructions to complete the printer addition process. Ensure that the printer is designated as the default printer if it is intended to be the primary printing device on the server.
By meticulously executing these steps, you successfully integrate the printer into the server environment, making its printing capabilities readily accessible to users connected to the server. This seamless integration lays the foundation for enhanced productivity and efficient printing operations within the server network.
Step 4: Share the Printer on the Server
Sharing the printer on the server is a pivotal step that enables users across the network to access the printer’s resources, fostering collaborative workflows and enhanced productivity. By sharing the printer, you empower multiple users to utilize its printing capabilities, thereby optimizing the utilization of printing resources within the server environment. Here’s a comprehensive guide on how to share the printer on the server:
- Access Printer Properties: Navigate to the server’s control panel and access the “Devices and Printers” or “Printers & Scanners” section to initiate the printer sharing process.
- Right-Click on the Printer: Locate the installed printer in the list of devices, right-click on it, and select “Printer properties” from the context menu to access the printer’s properties and settings.
- Enable Printer Sharing: Navigate to the “Sharing” tab within the printer properties window and select the option to share the printer. Assign a distinctive and easily recognizable share name to the printer to facilitate seamless identification across the network.
- Configure Sharing Permissions: Customize the sharing permissions to specify the level of access and control that network users will have over the shared printer. This includes setting permissions for printing, management, and monitoring of print jobs.
- Complete the Sharing Setup: Once the sharing settings are configured, save the changes and exit the printer properties window. The printer is now successfully shared on the server, ready to cater to the printing needs of network users.
By meticulously executing these steps, you enable seamless access to the shared printer, fostering collaborative printing workflows and optimizing the utilization of printing resources within the server environment. This pivotal step enhances the accessibility and efficiency of printing operations, contributing to a streamlined and productive networked printing environment.
Conclusion
Embarking on the journey of adding a printer to a server unveils a realm of possibilities for optimizing printing operations and fostering collaborative workflows within a networked environment. By meticulously following the essential steps outlined in this guide, you have equipped yourself with the knowledge and proficiency to seamlessly integrate a printer into a server environment, thereby harnessing the full potential of networked printing resources.
From the foundational process of physically connecting the printer to the server to the critical steps of installing the printer driver, adding the printer to the server, and sharing the printer across the network, each stage contributes to the establishment of a robust and efficient printing infrastructure within the server environment.
As you navigate through the intricacies of integrating a printer with a server, remember that this endeavor not only streamlines printing operations but also fosters a collaborative and productive work environment. The shared printer becomes a central resource that facilitates the seamless execution of printing tasks, contributing to enhanced productivity and operational efficiency across the network.
Armed with the insights and proficiency gained from this guide, you are well-prepared to embark on the journey of adding printers to servers with confidence and expertise. Embrace the opportunities that come with optimizing your printing environment, and revel in the seamless access and collaborative workflows facilitated by the integrated printer within the server network.
By mastering the art of adding a printer to a server, you pave the way for a harmonious fusion of technology and productivity, where the printing infrastructure seamlessly aligns with the operational needs of the network, fostering a dynamic and efficient work environment.
Frequently Asked Questions about How To Add A Printer To A Server
Was this page helpful?
At Storables.com, we guarantee accurate and reliable information. Our content, validated by Expert Board Contributors, is crafted following stringent Editorial Policies. We're committed to providing you with well-researched, expert-backed insights for all your informational needs.


0 thoughts on “How To Add A Printer To A Server”