Home>Technology>Smart Home Devices>How To Change Settings On A Wi-Fi Router

Smart Home Devices
How To Change Settings On A Wi-Fi Router
Modified: January 4, 2024
Learn how to configure your Wi-Fi router settings for optimal performance and security. Connect and manage your smart home devices with ease. Unlock the full potential of your network.
(Many of the links in this article redirect to a specific reviewed product. Your purchase of these products through affiliate links helps to generate commission for Storables.com, at no extra cost. Learn more)
Introduction
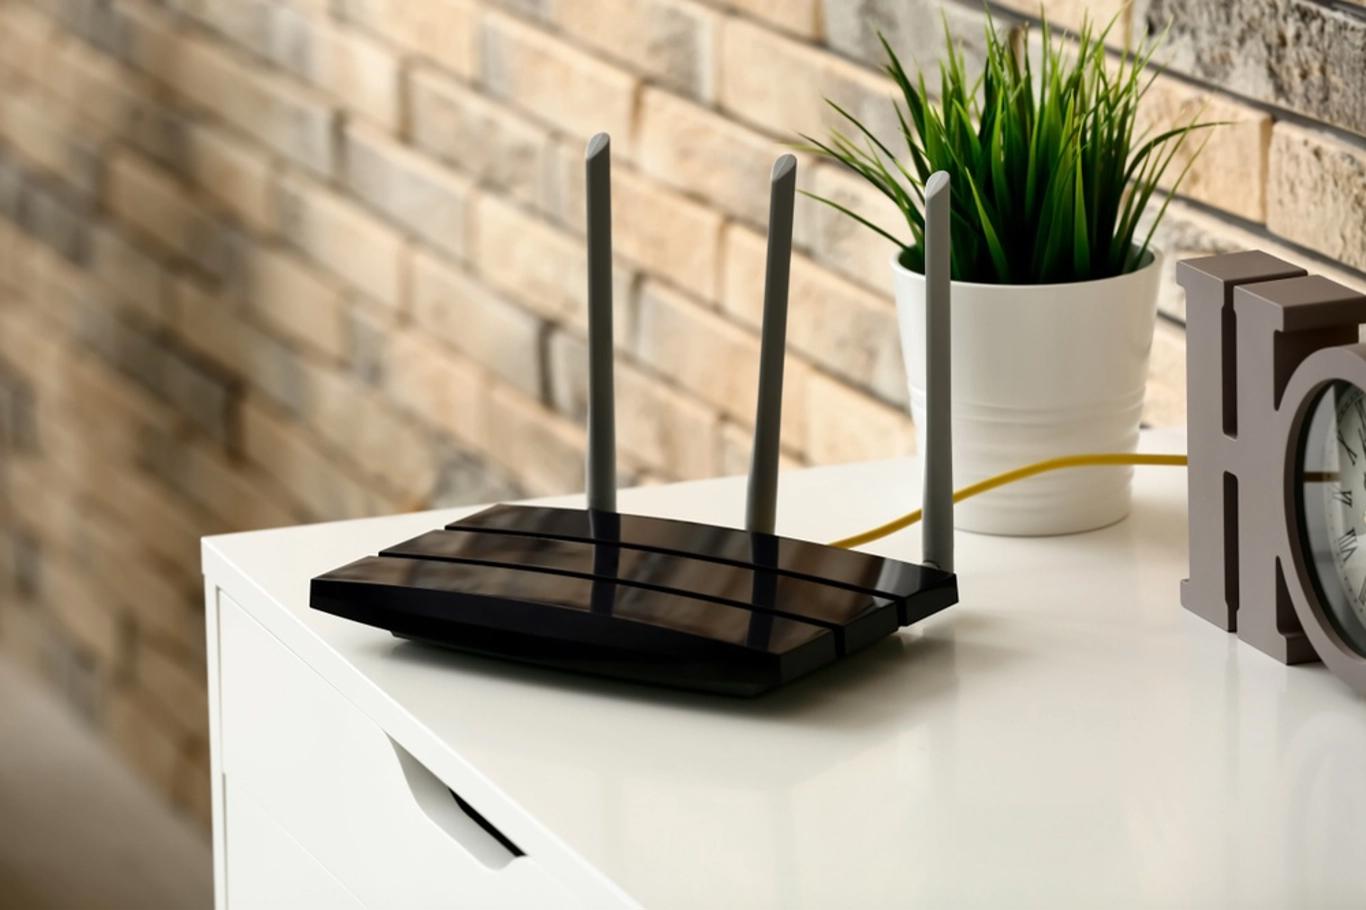
Smart home devices have become an integral part of modern living, allowing us to control and automate various aspects of our homes with convenience and efficiency. At the heart of this interconnected ecosystem lies the Wi-Fi router, serving as the gateway for all our smart devices to communicate and function seamlessly. Understanding how to change settings on a Wi-Fi router is essential for optimizing network performance, enhancing security, and customizing the user experience.
In this comprehensive guide, we will explore the fundamental steps to access and modify the settings of a Wi-Fi router, empowering you to tailor your network to suit your specific needs. Whether you're looking to update your Wi-Fi network name (SSID), strengthen security by changing the Wi-Fi password, set up a guest network for visitors, or implement parental controls, this article will provide you with the knowledge and confidence to navigate the router's settings with ease.
As we delve into the intricacies of router customization, we will also discuss advanced configurations such as firmware updates, port forwarding, and Quality of Service (QoS) settings, shedding light on their significance in optimizing network performance and enabling a seamless smart home experience.
By the end of this guide, you will have gained valuable insights into the various facets of Wi-Fi router settings, equipping you with the expertise to harness the full potential of your home network. So, let's embark on this journey to unravel the intricacies of Wi-Fi router customization and empower ourselves to create a robust and tailored network environment.
Key Takeaways:
- Customize your Wi-Fi network by changing the name and password to enhance security and personalize your smart home experience. Accessing and modifying router settings empowers you to create a robust and tailored network environment.
- Implement guest networks, parental controls, and advanced features like port forwarding and QoS to optimize your smart home network. Stay proactive in updating firmware to ensure a seamless, reliable, and secure digital environment for all connected devices.
Read more: How To Change The Password On Wi-Fi Router
Accessing the Router Settings
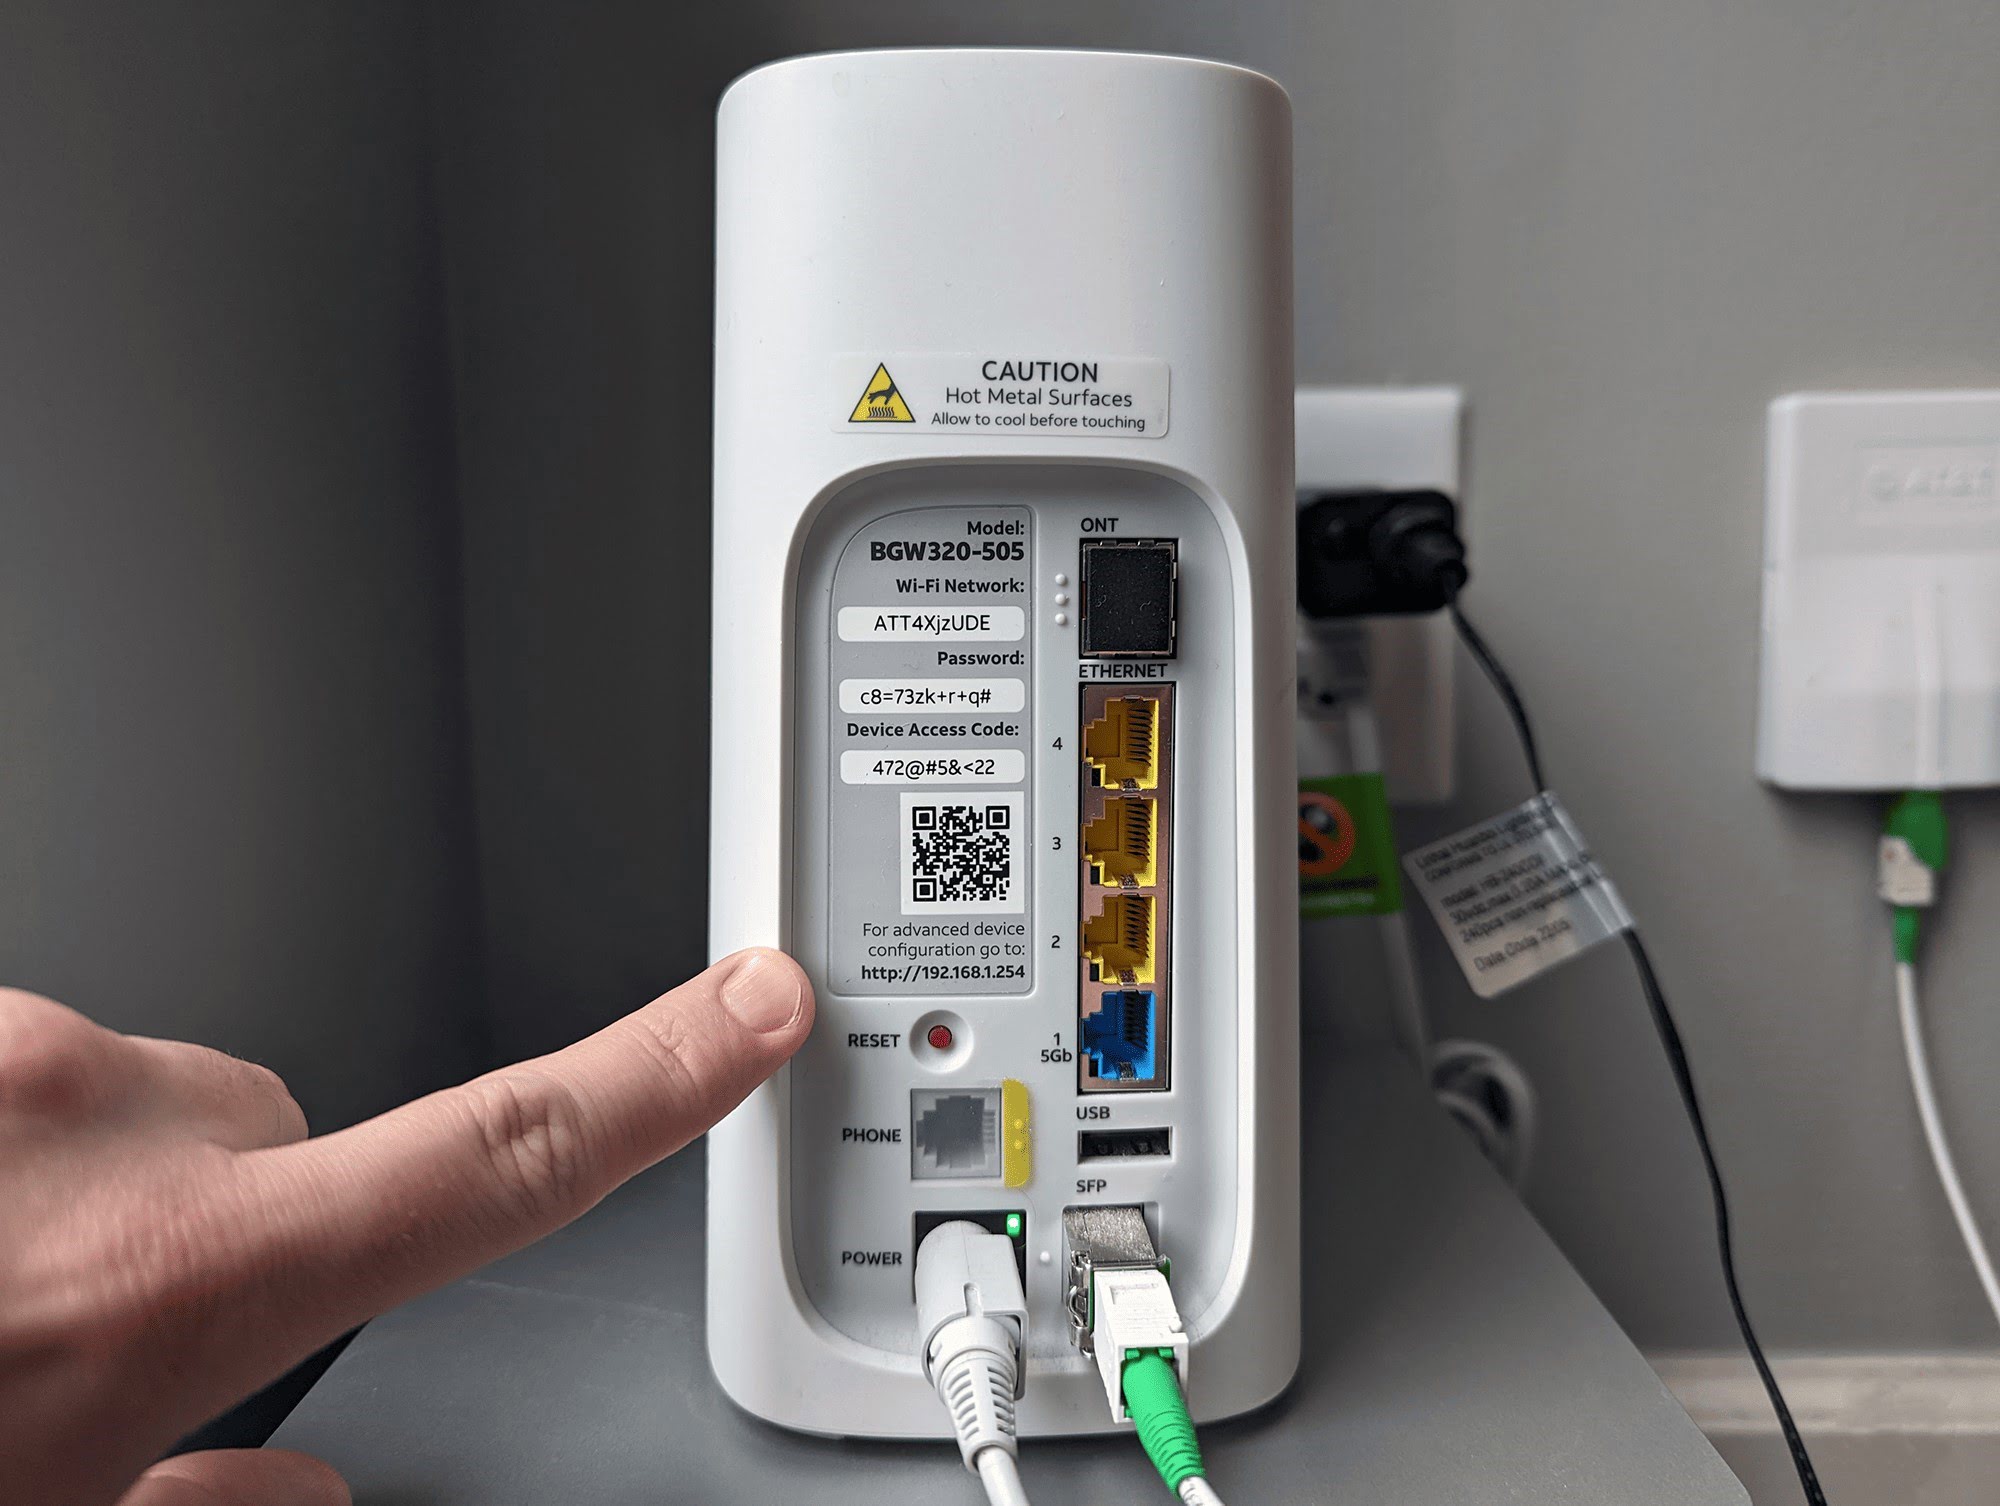
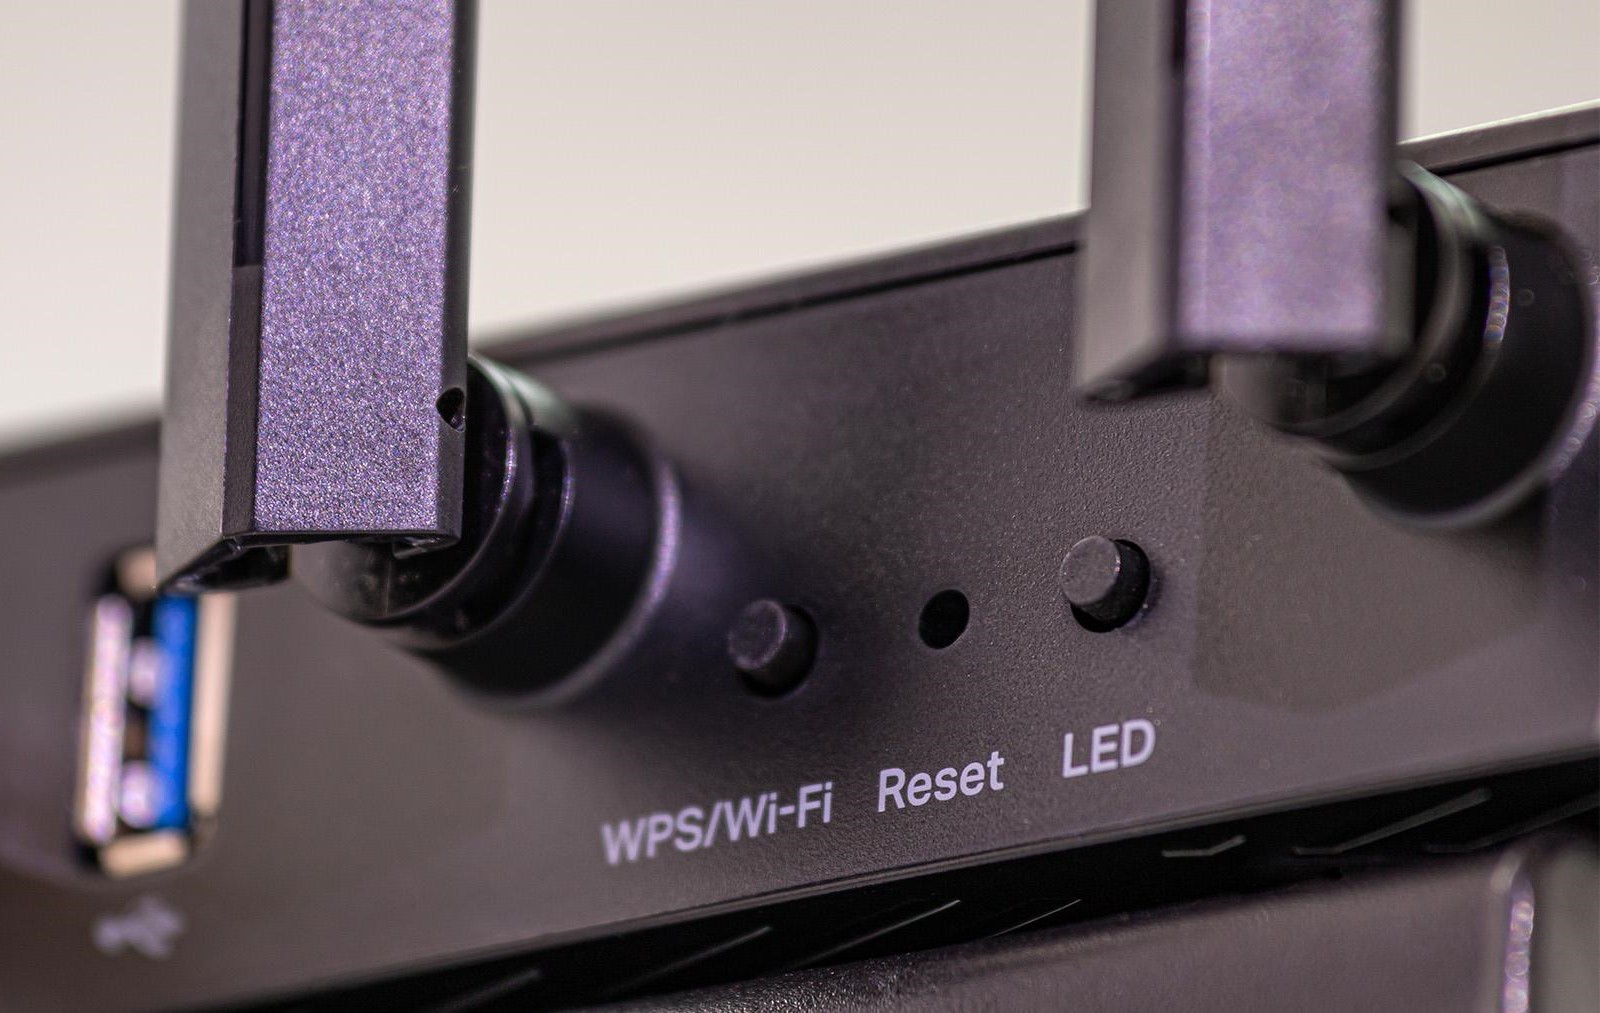
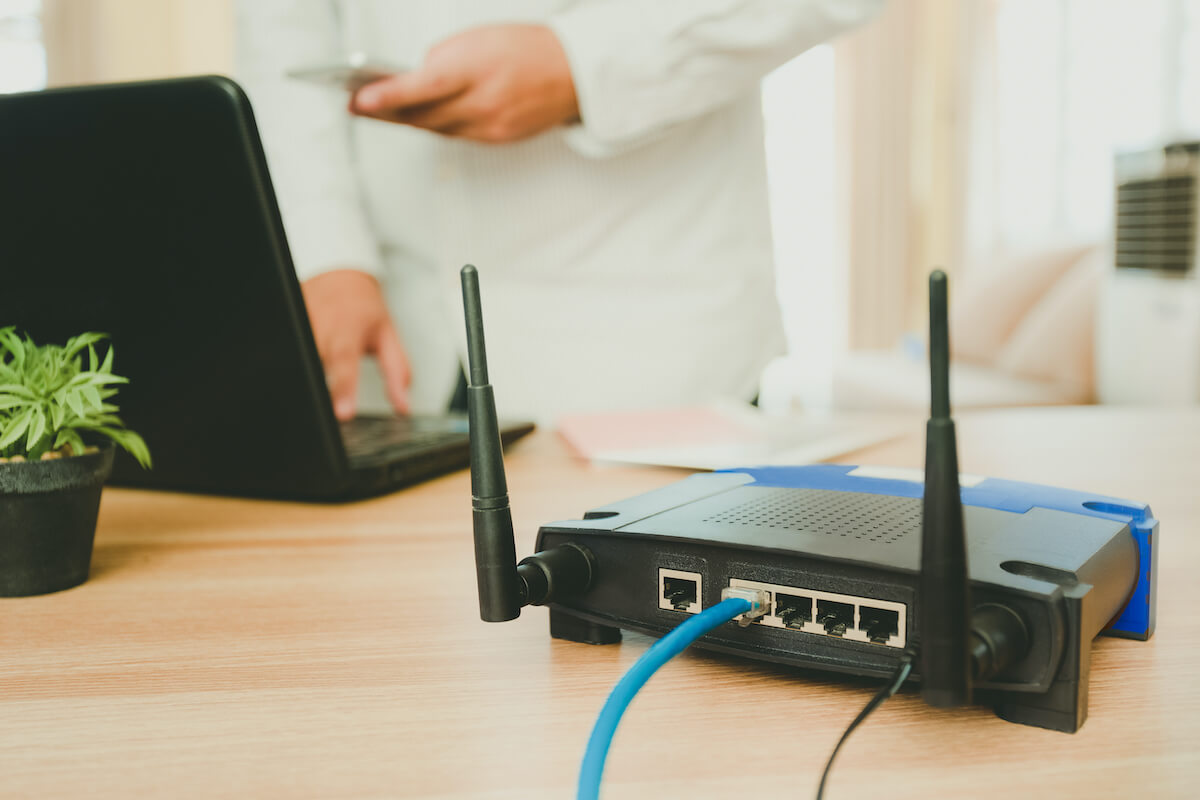
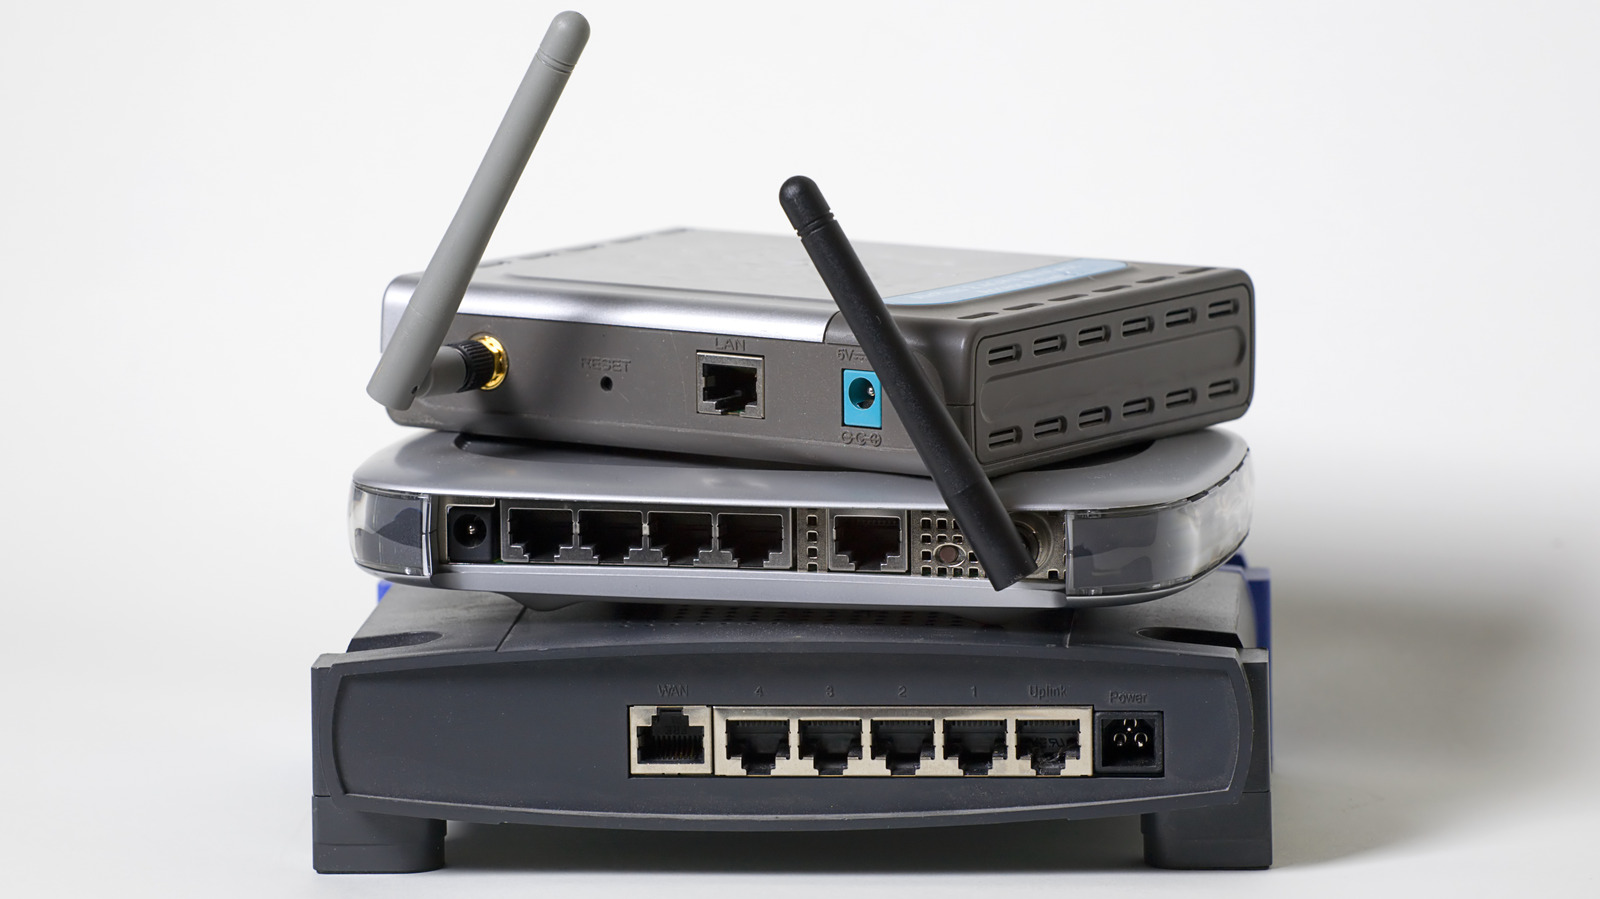
Before delving into the process of modifying specific settings, it’s crucial to understand how to access the router’s configuration interface. Typically, this is achieved by entering the router’s IP address into a web browser. The default IP address for most routers is either 192.168.0.1 or 192.168.1.1, although this can vary based on the router’s make and model. To determine the specific IP address for your router, you can refer to the router’s documentation or check the manufacturer’s website.
Once you have identified the router’s IP address, open a web browser and enter the IP address into the address bar. This action will lead you to the router’s login page, prompting you to enter the username and password. In many cases, the default login credentials are provided on a label attached to the router. However, if these credentials have been changed, you will need to enter the updated username and password to access the settings.
Upon successful login, you will gain access to the router’s configuration interface, which may vary in appearance based on the router’s brand and model. This interface serves as the control center for customizing various aspects of the router, including the Wi-Fi network settings, security features, and advanced configurations.
It’s important to note that making changes to the router’s settings requires careful consideration, as incorrect configurations can disrupt the network’s functionality. Therefore, it’s advisable to familiarize yourself with the specific settings you intend to modify and understand their implications before proceeding.
As we proceed through this guide, we will explore the essential settings that can be customized to optimize your Wi-Fi network, enhance security, and tailor the user experience to your preferences. By gaining a comprehensive understanding of the router’s settings and how to access them, you will be well-equipped to navigate the customization process with confidence and precision.
Changing Wi-Fi Network Name (SSID)
The Wi-Fi network name, also known as the Service Set Identifier (SSID), serves as the identifier for your wireless network. It is the name that appears when devices search for available Wi-Fi networks, and it plays a crucial role in distinguishing your network from others in the vicinity. Changing the SSID can be a simple yet effective way to personalize your network and enhance security by making it less predictable to potential intruders.
To change the SSID, you will first need to access the router’s configuration interface, as outlined in the previous section. Once logged in, navigate to the wireless settings or Wi-Fi configuration section, where you will find the option to modify the SSID. Here, you can enter a new name that reflects your personal preference or aligns with your home or business identity.
When selecting a new SSID, it’s advisable to choose a unique and easily identifiable name that does not reveal personal information. Avoid using default or generic names, as these can make your network more vulnerable to unauthorized access. Additionally, incorporating a combination of letters, numbers, and symbols into the SSID can enhance its complexity and security.
After entering the new SSID, remember to save the changes to apply the updated network name. Once saved, the new SSID will be broadcasted by the router, and your devices will need to reconnect to the network using the new name. It’s important to update the SSID on all connected devices to ensure seamless connectivity and synchronization with the modified network name.
By customizing the SSID to reflect your individuality and prioritizing security through a distinct and non-generic name, you can fortify your Wi-Fi network against potential threats and create a personalized and easily recognizable wireless environment for your smart home devices and connected gadgets.
Changing Wi-Fi Password
The Wi-Fi password, also referred to as the network security key or passphrase, serves as a crucial barrier against unauthorized access to your wireless network. Changing the Wi-Fi password at regular intervals is a proactive security measure that helps safeguard your network and the devices connected to it from potential threats.
To change the Wi-Fi password, you will need to access the router’s configuration interface using the steps outlined previously. Once logged in, navigate to the wireless security or Wi-Fi password section, where you will find the option to modify the existing password.
When creating a new Wi-Fi password, it’s essential to prioritize security by choosing a strong and unique combination of characters. A robust password typically consists of a mix of uppercase and lowercase letters, numbers, and special symbols, making it resilient against brute-force attacks and unauthorized intrusion attempts.
It’s advisable to avoid using easily guessable phrases, such as common words or sequential number patterns, as these can compromise the security of your network. Instead, opt for a passphrase that is memorable to you but challenging for others to decipher. Consider incorporating a mix of unrelated words, substituting letters with symbols, or using a passphrase generator to create a highly secure password.
After entering the new Wi-Fi password, be sure to save the changes to implement the updated security key. Once saved, all devices connected to the network will need to re-enter the new password to regain access. It’s important to update the Wi-Fi password on all connected devices, including smart home devices, computers, smartphones, and tablets, to ensure uninterrupted connectivity.
By changing the Wi-Fi password regularly and adopting a robust passphrase, you can fortify your network against potential security breaches and protect the integrity of your smart home ecosystem. This proactive approach to network security contributes to a safer and more resilient environment for your connected devices and ensures peace of mind in the digital realm.
Setting Up Guest Network
Introducing a guest network to your Wi-Fi router offers a convenient and secure way to provide internet access to visitors while safeguarding your primary network from potential security risks. By segregating guest traffic from your main network, you can ensure that sensitive data and connected devices remain protected, while still offering a seamless and controlled internet experience for your guests.
To set up a guest network, access your router’s configuration interface as previously outlined. Within the wireless settings or network configuration section, look for the option to create a separate guest network. This feature may be labeled as “Guest Network,” “Guest Wi-Fi,” or “Guest Access,” depending on your router’s interface.
Upon enabling the guest network feature, you will have the opportunity to customize the settings for this secondary network. This includes assigning a distinct SSID for the guest network, which can be easily identifiable to visitors. Additionally, you can set a separate security key or passphrase specifically for the guest network, ensuring that it remains isolated from your primary network.
By implementing a guest network, you can control and limit the access of your visitors to specific resources, such as shared files and devices, while still providing them with internet connectivity. This segregation helps prevent unauthorized access to sensitive data and minimizes the risk of potential security breaches originating from guest devices.
Furthermore, some routers offer additional features for guest networks, such as time-based access restrictions and bandwidth limitations. These capabilities allow you to define the duration of guest access and allocate a specific portion of your internet bandwidth to the guest network, ensuring fair usage and optimal performance for your primary network.
By setting up a guest network, you can extend hospitality to your visitors while maintaining the security and integrity of your primary network. This proactive approach to network management not only enhances the guest experience but also contributes to a more resilient and secure smart home environment for all users.
To change settings on a Wi-Fi router, log into the router’s admin page using a web browser and the router’s IP address. From there, you can update the Wi-Fi network name, password, and other settings.
Read more: How To Change Channels On A Wi-Fi Router
Configuring Parental Controls
Parental controls on a Wi-Fi router empower parents and guardians to manage and monitor the online activities of their children, promoting a safe and secure digital environment within the home. By implementing these controls, caregivers can regulate internet access, filter content, and set usage schedules, fostering a balanced and responsible approach to technology usage for young users.
To configure parental controls, access the router’s configuration interface and navigate to the parental control or content filtering section. Here, you can specify the devices or users for which you intend to apply the parental control settings. Some routers offer the flexibility to assign controls based on individual devices or create user profiles with customized restrictions.
One of the primary features of parental controls is content filtering, which allows you to block access to specific websites or categories deemed inappropriate for young users. By defining filtering rules, you can restrict access to adult content, gambling websites, social media platforms, or any other content categories that align with your family’s values and guidelines.
Additionally, parental controls enable you to set time-based restrictions, empowering you to establish internet access schedules for specific devices or users. This feature allows you to define designated time slots for internet usage, such as limiting access during late hours or creating study-focused internet-free periods.
Some routers also offer the ability to monitor and track online activity, providing insights into the websites visited and the duration of internet usage for each connected device. This visibility allows parents to gain a comprehensive understanding of their children’s online behavior and identify any potential concerns that require attention.
By configuring parental controls, caregivers can instill healthy digital habits, protect young users from inappropriate content, and promote a balanced approach to internet usage within the household. This proactive approach to digital parenting fosters a secure and nurturing online environment, empowering families to embrace technology with confidence and peace of mind.
Updating Firmware
Keeping the firmware of your Wi-Fi router up to date is essential for ensuring optimal performance, security, and compatibility with the latest technologies. Firmware updates, released by the router’s manufacturer, often include bug fixes, security enhancements, and feature improvements that contribute to the overall stability and functionality of the device. By regularly updating the router’s firmware, you can mitigate potential vulnerabilities and maintain a reliable and secure network environment for your smart home devices.
To update the router’s firmware, access the router’s configuration interface and navigate to the firmware or software update section. Here, you can check for available updates and initiate the firmware update process. Some routers offer the convenience of automatic firmware updates, while others may require manual intervention to initiate the update.
Before proceeding with a firmware update, it’s advisable to review the release notes provided by the manufacturer, which outline the changes and improvements introduced in the new firmware version. This information can help you assess the relevance of the update to your specific needs and understand the potential impact on your network’s performance and security.
When initiating a firmware update, it’s crucial to ensure a stable power supply and uninterrupted internet connectivity to prevent any disruptions during the update process. It’s also recommended to create a backup of your current router settings, as firmware updates may reset certain configurations to their default values.
Upon successful completion of the firmware update, the router will reboot to apply the new firmware version. It’s important to allow sufficient time for the update process to conclude and for the router to restart before resuming normal operation. After the update, it’s advisable to verify that the router’s settings and configurations remain intact and reapply any customizations if necessary.
By staying proactive in updating the router’s firmware, you can fortify your network against potential security vulnerabilities, benefit from performance enhancements, and ensure compatibility with emerging smart home technologies. This proactive approach to firmware maintenance contributes to a resilient and future-ready network environment, enhancing the overall reliability and security of your smart home ecosystem.
Setting Up Port Forwarding
Port forwarding is a valuable feature that enables you to direct incoming internet traffic to specific devices or services within your home network, facilitating remote access, online gaming, and hosting of applications or services. By configuring port forwarding on your Wi-Fi router, you can establish a pathway for external communication to reach designated devices or servers, enhancing the accessibility and functionality of your smart home ecosystem.
To set up port forwarding, access the router’s configuration interface and navigate to the port forwarding or virtual server section. Here, you can define the specific ports and protocols that you wish to forward, along with the internal IP address of the device or server to which the traffic should be directed.
When configuring port forwarding, it’s essential to identify the ports associated with the application or service you intend to make accessible from the internet. This may include services such as web servers, FTP servers, gaming servers, or remote desktop applications, each of which operates on specific port numbers and protocols.
After specifying the ports and protocols, you will need to enter the internal IP address of the device within your network that hosts the corresponding service. This ensures that incoming traffic reaching the specified ports is directed to the intended device, allowing seamless access to the designated application or service.
It’s important to exercise caution when setting up port forwarding, as misconfigurations can potentially expose your devices and services to security risks. Therefore, it’s advisable to adhere to best practices for port forwarding, such as limiting the number of forwarded ports, regularly reviewing and updating forwarding rules, and implementing additional security measures, such as strong passwords and encryption, for the exposed services.
By implementing port forwarding, you can unlock the full potential of your smart home devices and services, enabling seamless remote access and enhancing the functionality of applications and servers within your network. This strategic customization empowers you to leverage the capabilities of your smart home ecosystem to their fullest extent, while maintaining a secure and controlled environment for external communication and access.
Configuring Quality of Service (QoS)
Quality of Service (QoS) settings on a Wi-Fi router allow you to prioritize and manage network traffic, ensuring that critical applications and devices receive the necessary bandwidth and network resources for optimal performance. By configuring QoS, you can streamline the distribution of bandwidth, minimize latency, and prevent congestion, thereby enhancing the user experience for essential services and applications within your smart home network.
To configure QoS settings, access the router’s configuration interface and navigate to the QoS or traffic management section. Here, you can define rules and priorities for different types of network traffic, ensuring that bandwidth allocation aligns with your specific requirements and usage patterns.
One of the primary objectives of QoS is to prioritize certain types of traffic over others, ensuring that critical applications such as video streaming, online gaming, and VoIP (Voice over Internet Protocol) calls receive sufficient bandwidth and low latency. By assigning priority levels to different types of traffic, you can mitigate the impact of network congestion and maintain a consistent and reliable user experience for vital services.
Additionally, QoS settings allow you to allocate bandwidth based on specific devices or users, ensuring that essential devices, such as smart home hubs, security cameras, and smart TVs, receive adequate network resources to function seamlessly. This targeted allocation of bandwidth can prevent performance degradation and connectivity issues for critical smart home devices.
Furthermore, some routers offer the option to create custom QoS rules, enabling you to define specific applications, services, or devices that require special attention in terms of network resources. This granular control allows you to tailor the QoS settings to the unique demands of your smart home environment, optimizing network performance and reliability.
By configuring QoS, you can fine-tune the distribution of network resources within your smart home ecosystem, ensuring that critical applications and devices receive the necessary bandwidth and priority to operate optimally. This proactive approach to network management fosters a seamless and responsive user experience, while mitigating potential performance bottlenecks and enhancing the overall reliability of your smart home network.
Read more: How To Change Asus Wi-Fi Router Password
Conclusion
As we conclude our exploration of Wi-Fi router settings customization, we have delved into the fundamental aspects of optimizing and securing your home network to create a robust and tailored environment for your smart home devices. By understanding the intricacies of accessing the router’s settings and modifying key configurations, you have gained the expertise to personalize your network, enhance security, and prioritize essential applications and devices.
From changing the Wi-Fi network name (SSID) to fortifying security through regular password updates, you have learned how to safeguard your network against potential threats and establish a distinct and secure wireless environment. The introduction of a guest network has provided a seamless and secure internet access solution for visitors, ensuring that your primary network remains insulated from potential security risks.
Furthermore, the implementation of parental controls has empowered caregivers to manage and monitor the online activities of young users, fostering a safe and responsible digital environment within the home. By updating the router’s firmware and configuring advanced features such as port forwarding and Quality of Service (QoS), you have elevated the performance, security, and functionality of your smart home network, ensuring a seamless and reliable experience for all connected devices and services.
As you continue to evolve and expand your smart home ecosystem, the knowledge and insights gained from this guide will serve as a valuable foundation for optimizing and customizing your network to suit your evolving needs. By staying proactive in managing and securing your network, you are poised to embrace the full potential of smart home technology, while maintaining a resilient and secure digital environment for your household.
With a deeper understanding of Wi-Fi router settings customization, you are well-equipped to navigate the complexities of network management and security, empowering you to create a seamless, reliable, and secure smart home environment that aligns with your lifestyle and preferences.
As you embark on this journey of network customization and optimization, may your smart home continue to thrive as a bastion of connectivity, convenience, and security, enriching your daily experiences and empowering you to embrace the future of connected living with confidence and peace of mind.
Frequently Asked Questions about How To Change Settings On A Wi-Fi Router
Was this page helpful?
At Storables.com, we guarantee accurate and reliable information. Our content, validated by Expert Board Contributors, is crafted following stringent Editorial Policies. We're committed to providing you with well-researched, expert-backed insights for all your informational needs.
0 thoughts on “How To Change Settings On A Wi-Fi Router”