Articles
How To Build A Walk In Closet
Modified: October 28, 2024
Looking to create your dream walk-in closet? Find practical storage ideas and organization tips to maximize space and enhance functionality.
(Many of the links in this article redirect to a specific reviewed product. Your purchase of these products through affiliate links helps to generate commission for Storables.com, at no extra cost. Learn more)
Introduction
Having ample storage space is essential for keeping our homes organized and clutter-free. One area of the house that often poses a challenge for storage is the closet. Whether you have a small reach-in closet or a large walk-in closet, maximizing every inch of space is key to creating an efficient storage solution.
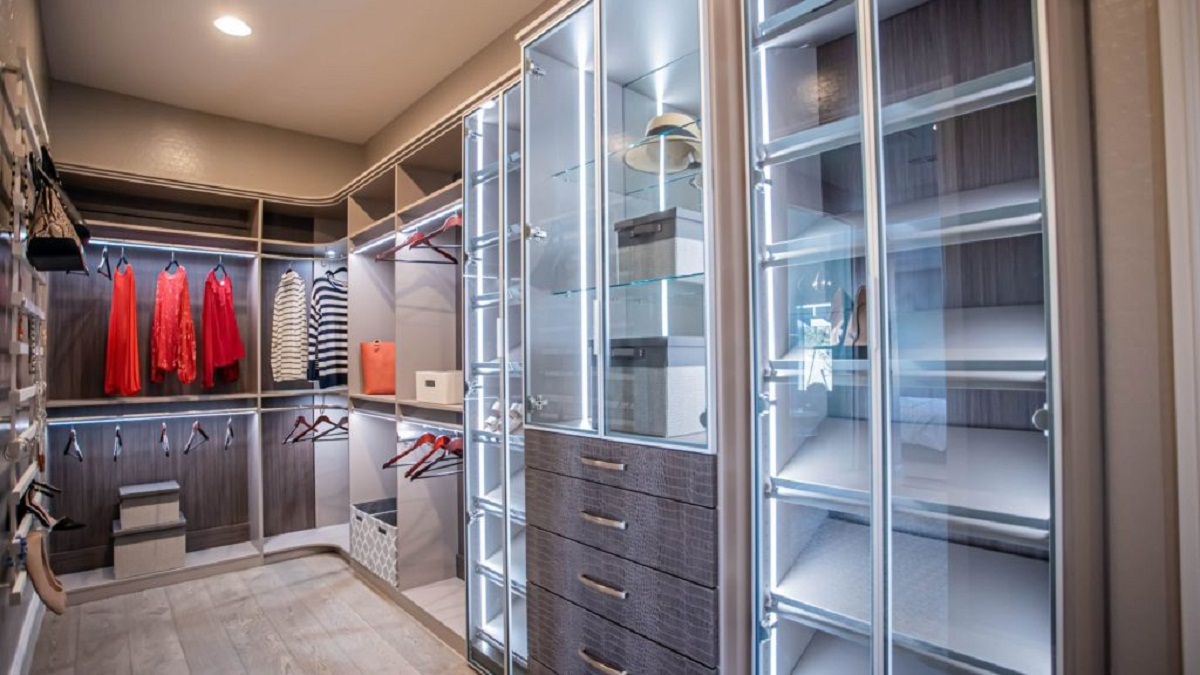
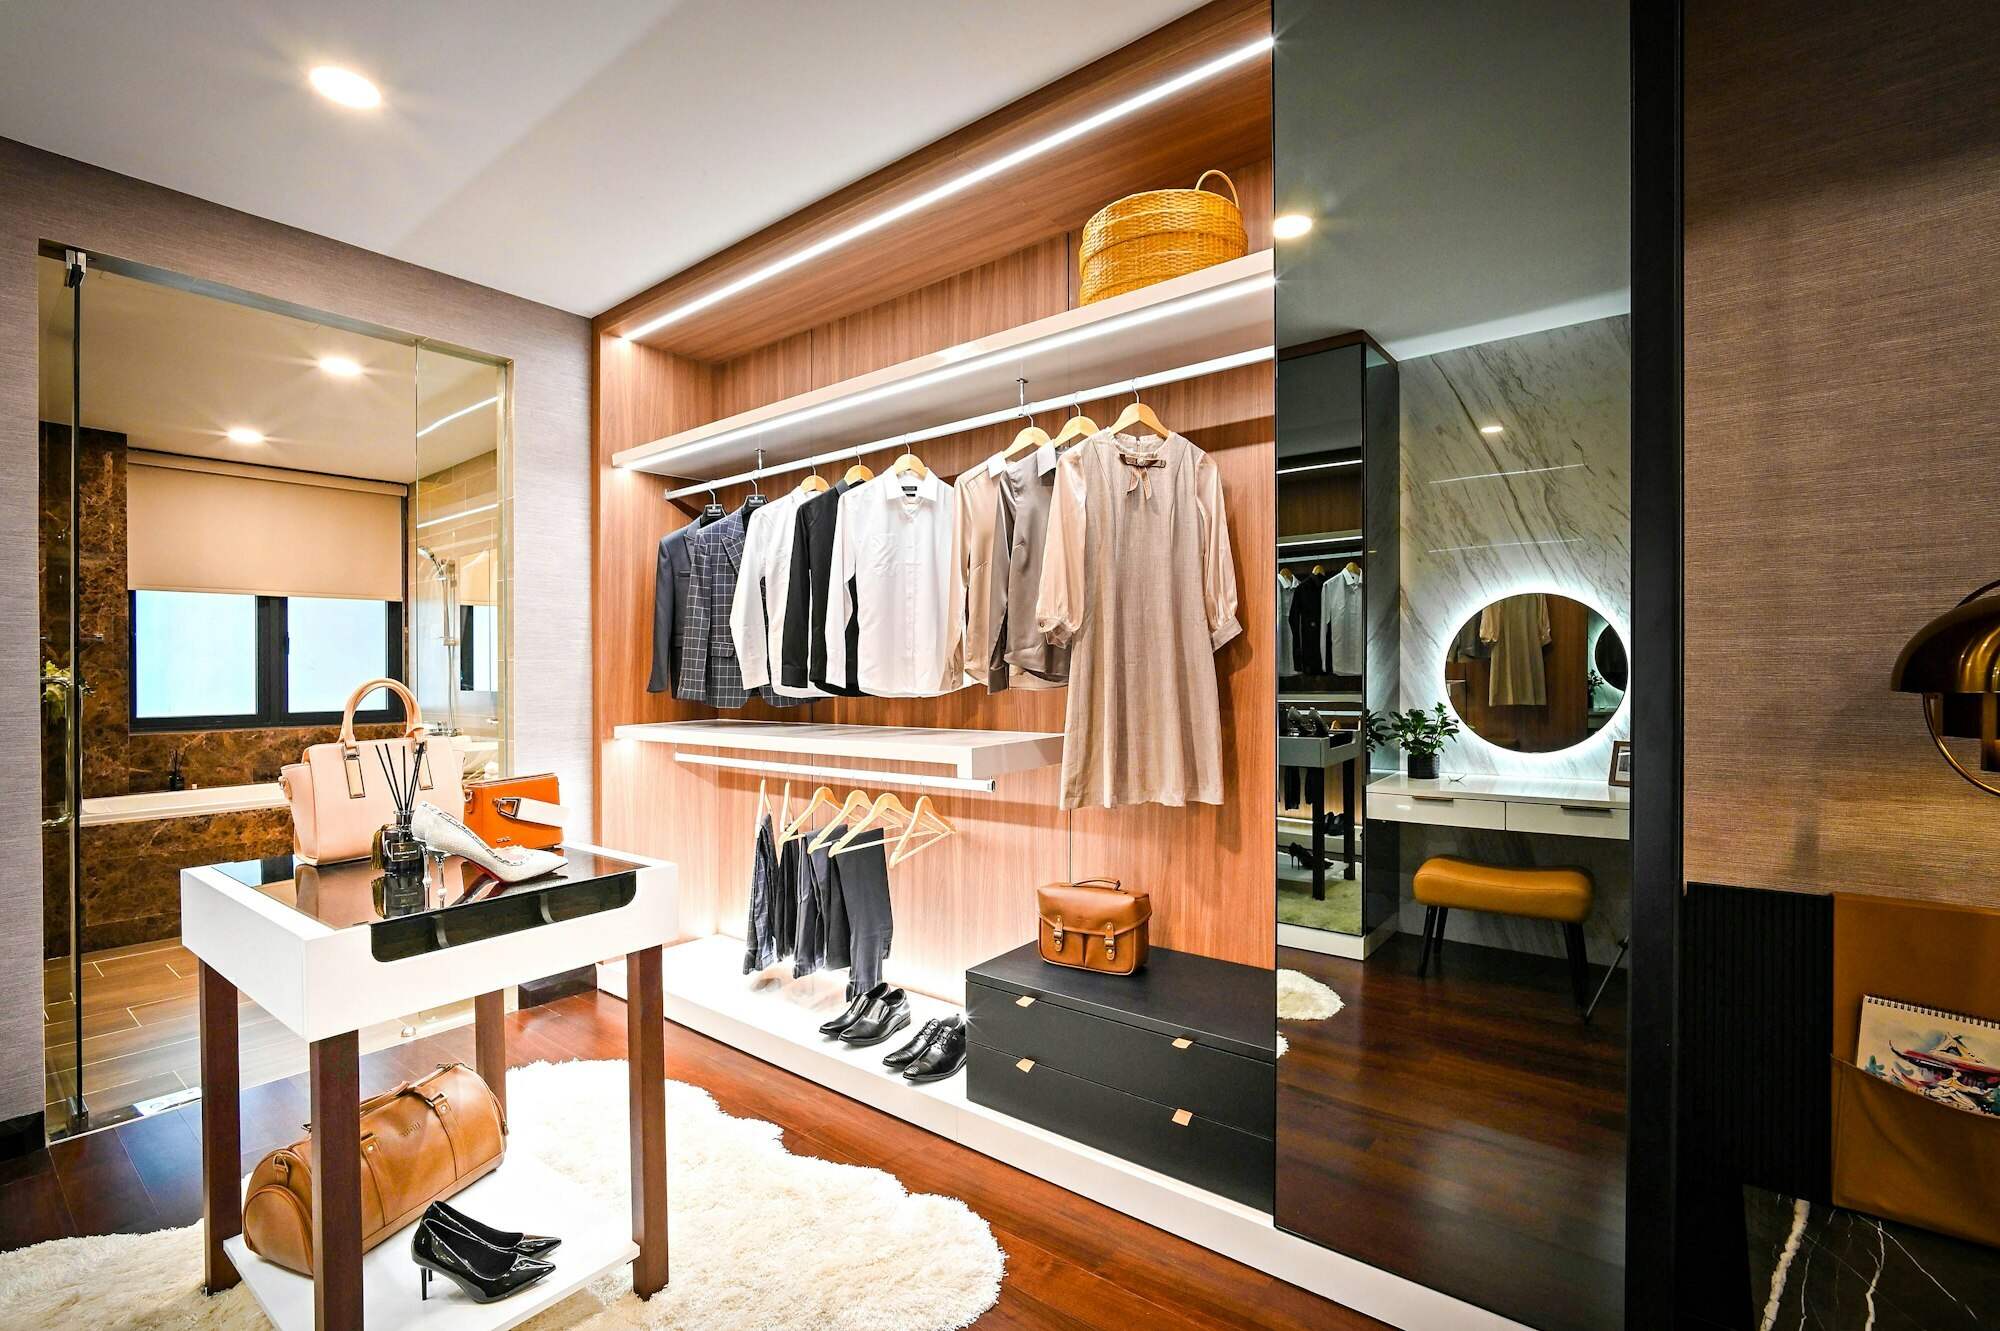
A walk-in closet offers a luxurious and functional storage solution for keeping your clothes, shoes, accessories, and other belongings neatly organized. It provides you with the opportunity to create a customized space that caters to your specific needs and preferences. By following a step-by-step plan and incorporating smart storage ideas, you can transform your walk-in closet into a stylish and efficient storage haven.
In this article, we will guide you through the process of building your own walk-in closet. From planning and design to organizing and styling, we will cover every aspect of creating a functional and beautiful storage space. So, let’s dive in and discover how to build the walk-in closet of your dreams!
Key Takeaways:
- Planning and Design
Careful planning and design are essential for creating a functional walk-in closet. Consider storage needs, layout, and personal style to maximize space and create an efficient and aesthetically pleasing storage solution. - Organization and Styling
Organizing and styling your walk-in closet is key to maintaining a clutter-free and visually appealing space. Categorize items, utilize storage solutions, and regularly declutter to ensure a well-organized and functional storage haven.
Read more: What Is A Walk-in Closet
Step 1: Planning and Design
The first step in building a walk-in closet is to carefully plan and design the layout. This stage is crucial as it sets the foundation for organizing your belongings effectively and maximizing the available space.
Start by assessing your storage needs. Consider the types of items you will be storing in the closet, such as clothing, shoes, accessories, and any other personal belongings. Take inventory of your current items and estimate how much space you will need to accommodate them.
Next, measure the dimensions of the closet space. Note the height, width, and depth of the area to ensure accurate planning. Take into account any architectural features, such as windows, doors, or sloped ceilings, that may affect the layout.
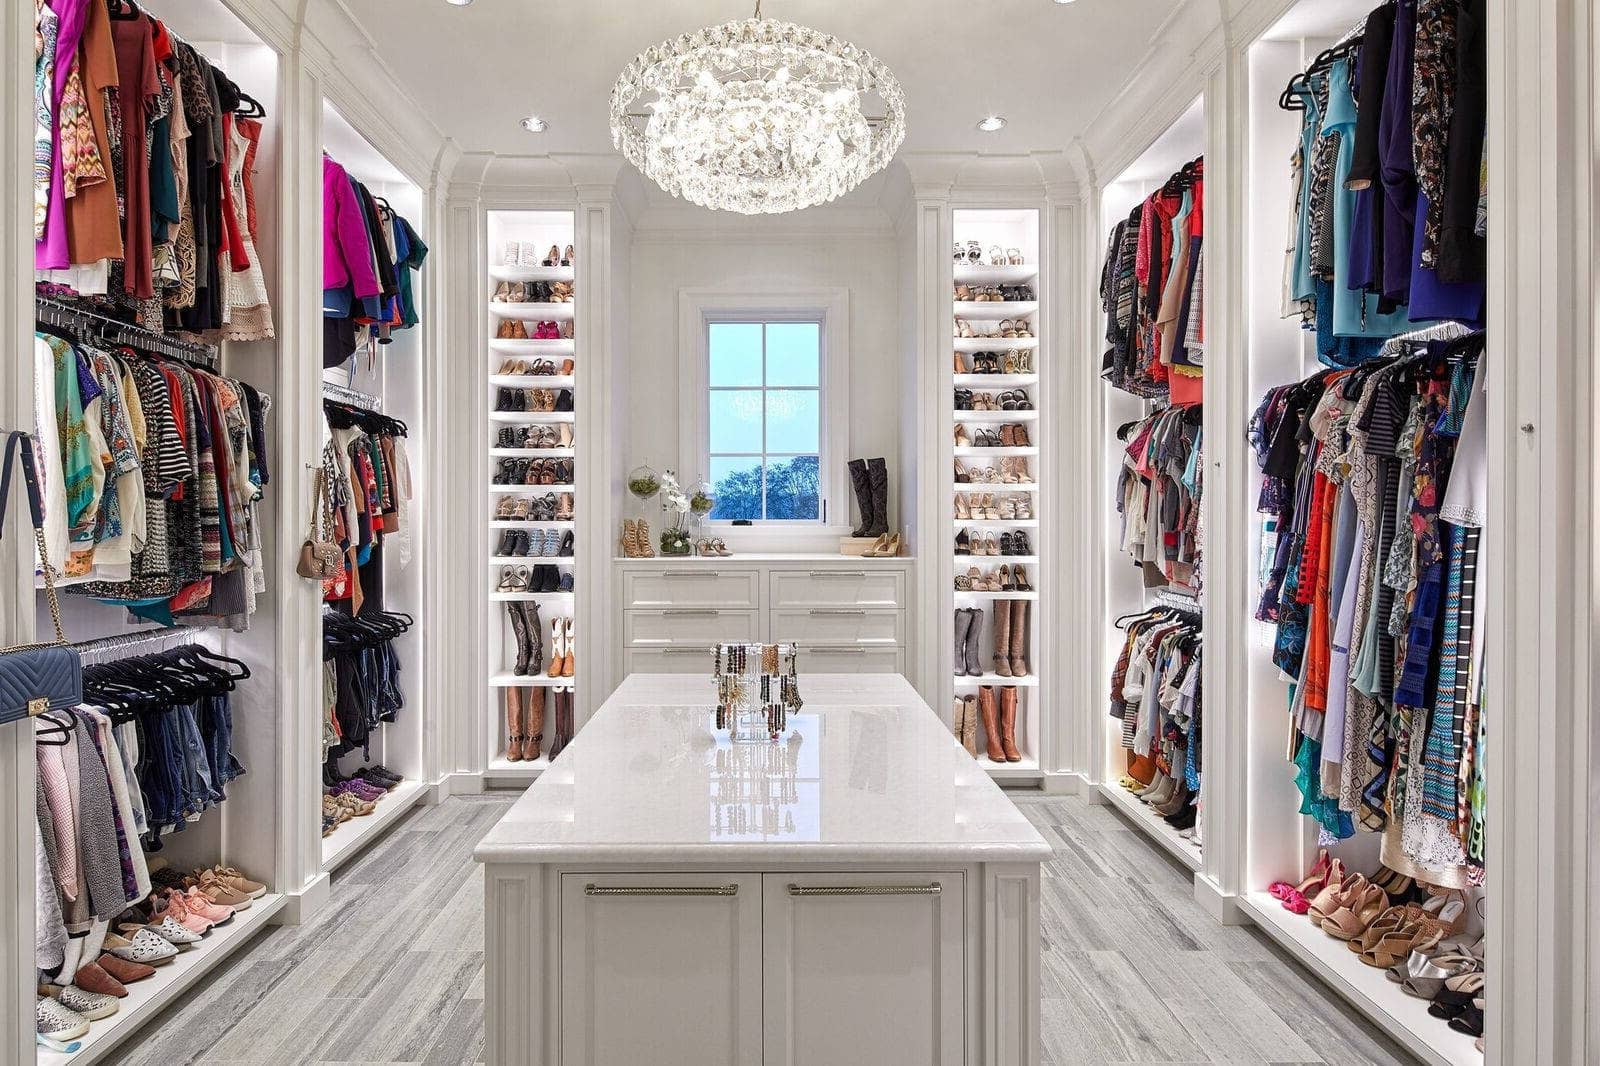
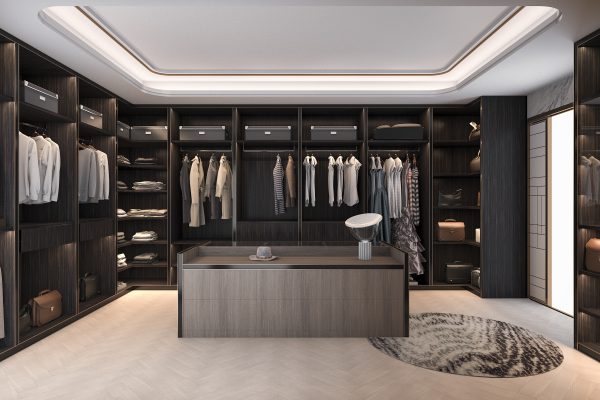
Once you have the measurements, start sketching out a floor plan for your walk-in closet. Consider the placement of storage units, shelving, hanging rods, and any additional features you want to include, such as an island or seating area. Think about the flow of the space and how you can optimize it for easy access to your belongings.
When it comes to designing the layout, take into consideration your personal preferences and style. Choose a color scheme that reflects your taste and complements the overall design of your home. Consider incorporating elements such as mirrors, decorative lighting fixtures, or a statement wall to add character to your walk-in closet.
Additionally, think about the functionality of the space. Allocate specific areas for different types of items, such as a shoe rack or dedicated sections for tops, bottoms, and accessories. Consider the ergonomics of the storage units and their ease of use.
Finally, explore various storage solutions that can help optimize space and keep your belongings organized. Look into options such as adjustable shelving, pull-out drawers, and shoe racks that can maximize vertical space. Consider incorporating storage baskets or bins for smaller items and accessories.
By taking the time to plan and design your walk-in closet, you can ensure that every inch of space is utilized effectively and tailored to your specific needs. With a well-thought-out layout, you’ll be on your way to creating a functional and aesthetically pleasing storage space.
Step 2: Clearing the Space
Before you can start building your walk-in closet, you need to clear out the existing space and prepare it for the construction process. This step is essential to create a clean canvas for building your new storage solution.
Start by emptying the entire space. Remove all clothing, shoes, and belongings from the current closet area. This will allow you to have a clear view of the space and make it easier to assess any potential issues or limitations.
Once the space is empty, thoroughly clean the area. Dust and wipe down the walls, ceilings, and floors. This will ensure that no dirt or debris interfere with the installation process and that you have a clean slate to work with.
During this step, it’s also a good idea to inspect the walls, floor, and ceiling for any damage or necessary repairs. Address any issues, such as cracks or water damage, before proceeding with the construction process.
If you plan to make any modifications to the existing walls, such as installing additional electrical outlets or lighting fixtures, this is the time to do so. It’s important to consult with a professional electrician to ensure that all electrical work is up to code and done safely.
Clearing the space also involves removing any existing shelving or hanging rods. Use appropriate tools to dismantle and remove these items, being careful not to damage the walls or other structures in the process.
During this step, it’s important to tackle any necessary repairs or modifications to the space. By clearing out the existing area and addressing any issues, you set the foundation for a smooth and successful construction process for your walk-in closet.
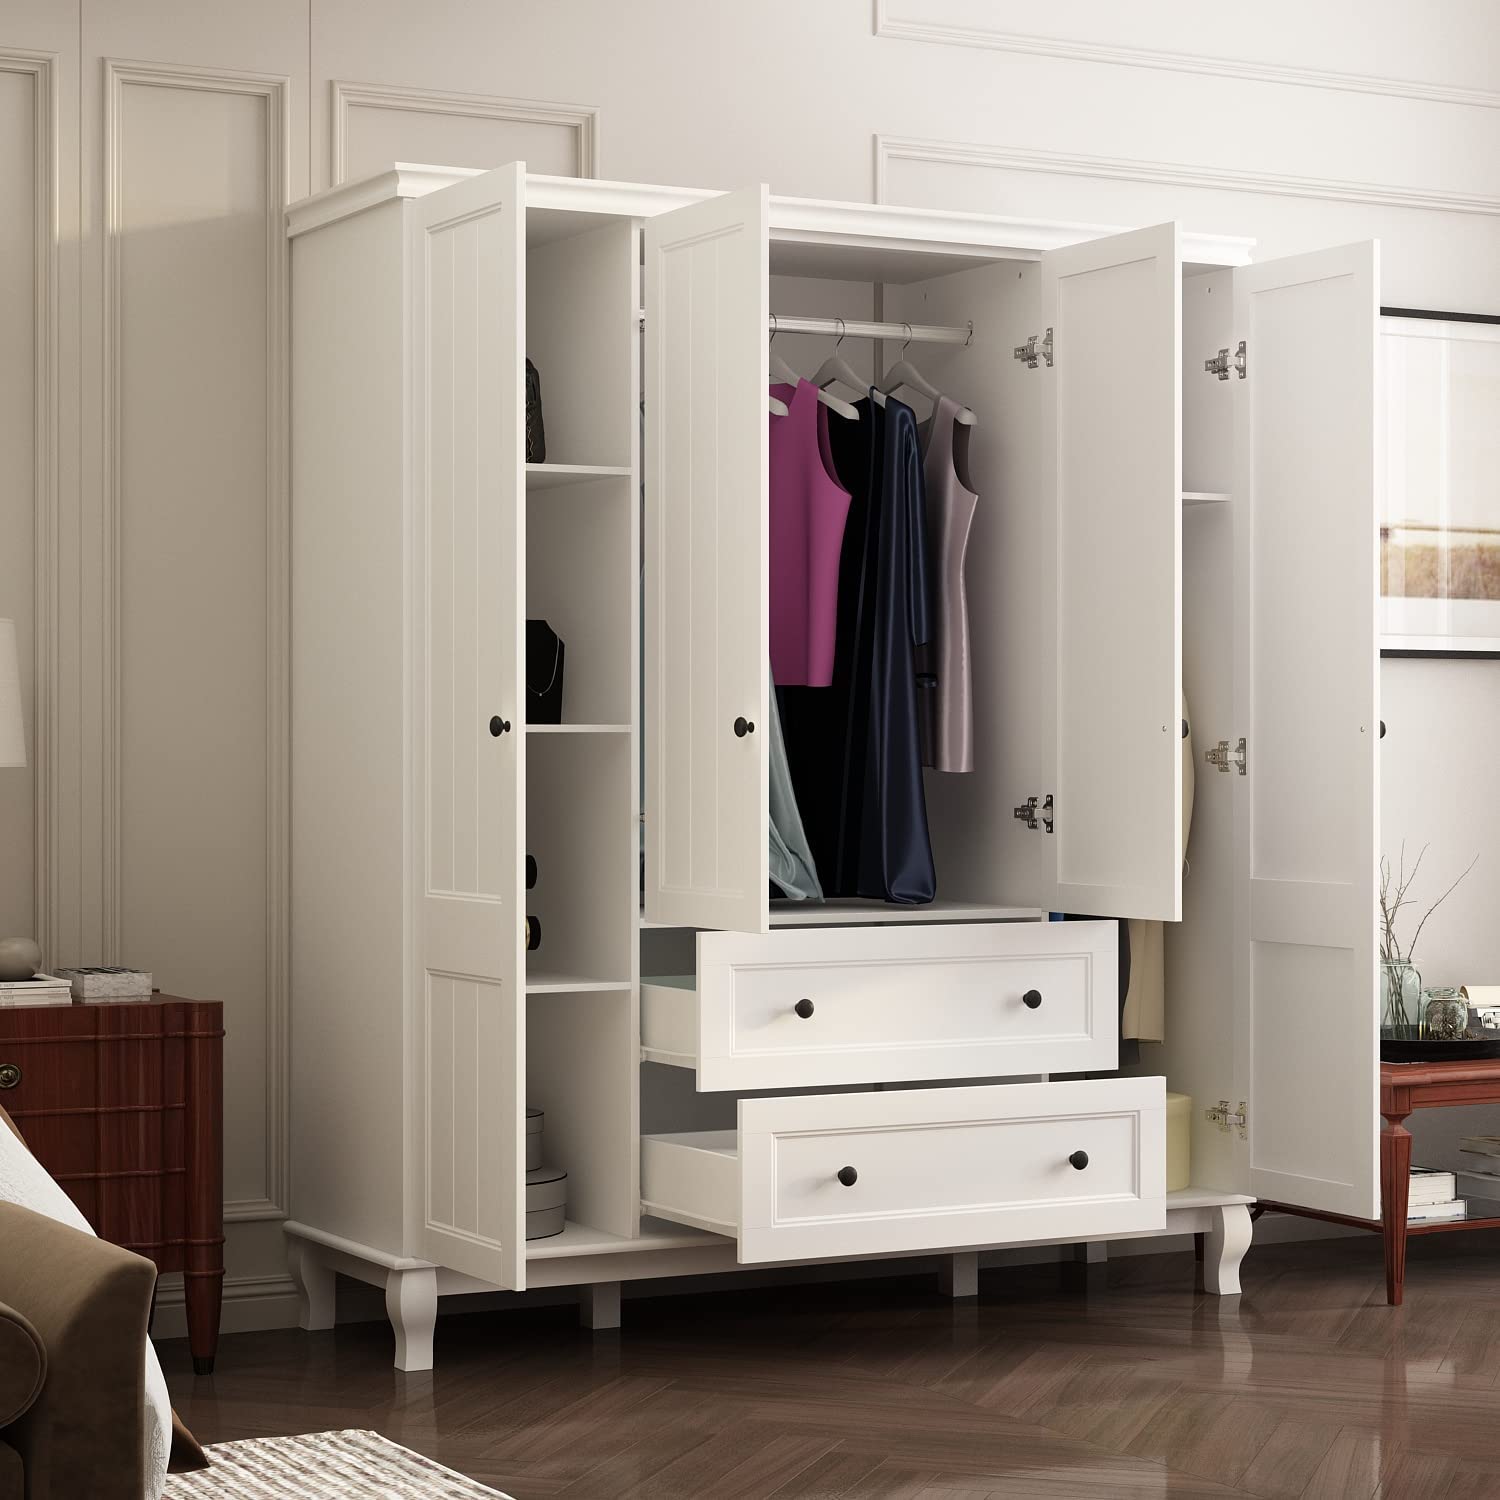
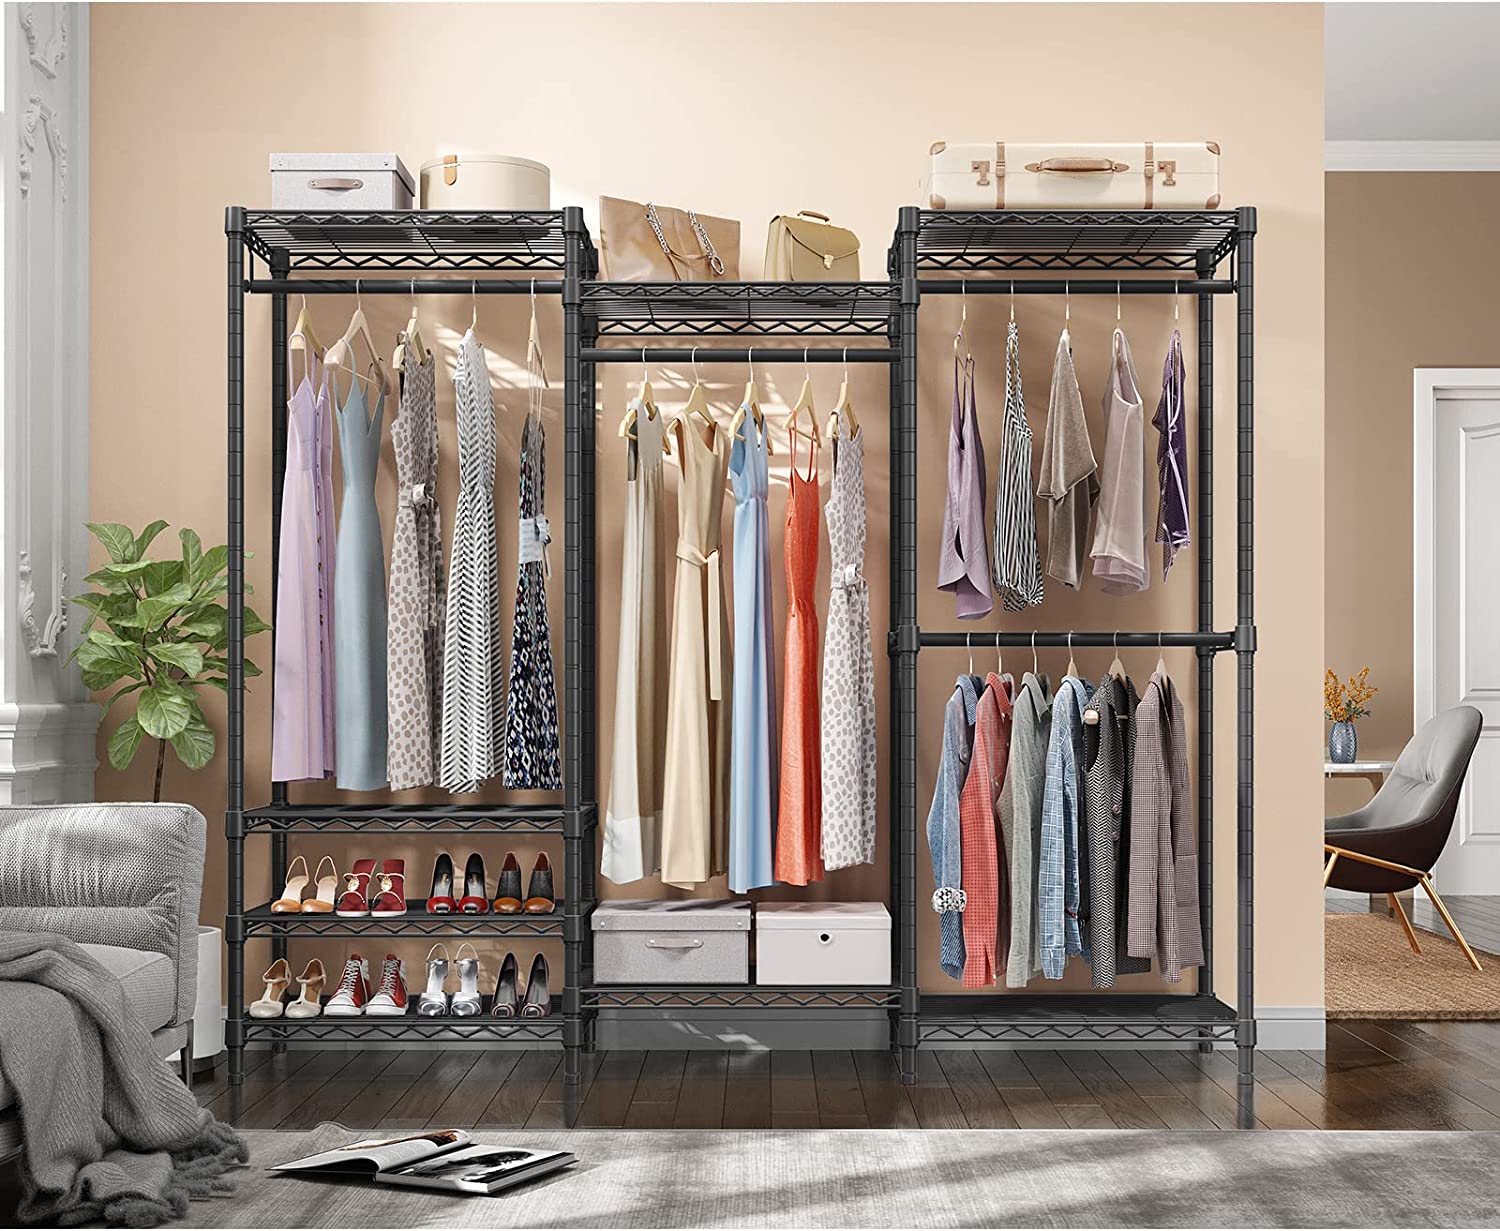
Step 3: Installing Storage Units
Once you have cleared the space and prepared it for construction, it’s time to start installing the storage units in your walk-in closet. This step involves building the foundation of your storage system and setting up the framework for organizing your belongings efficiently.
Start by assessing the available space and determining the configuration of your storage units. Consider elements such as the size and shape of the area, any existing architectural features, and your specific storage needs.
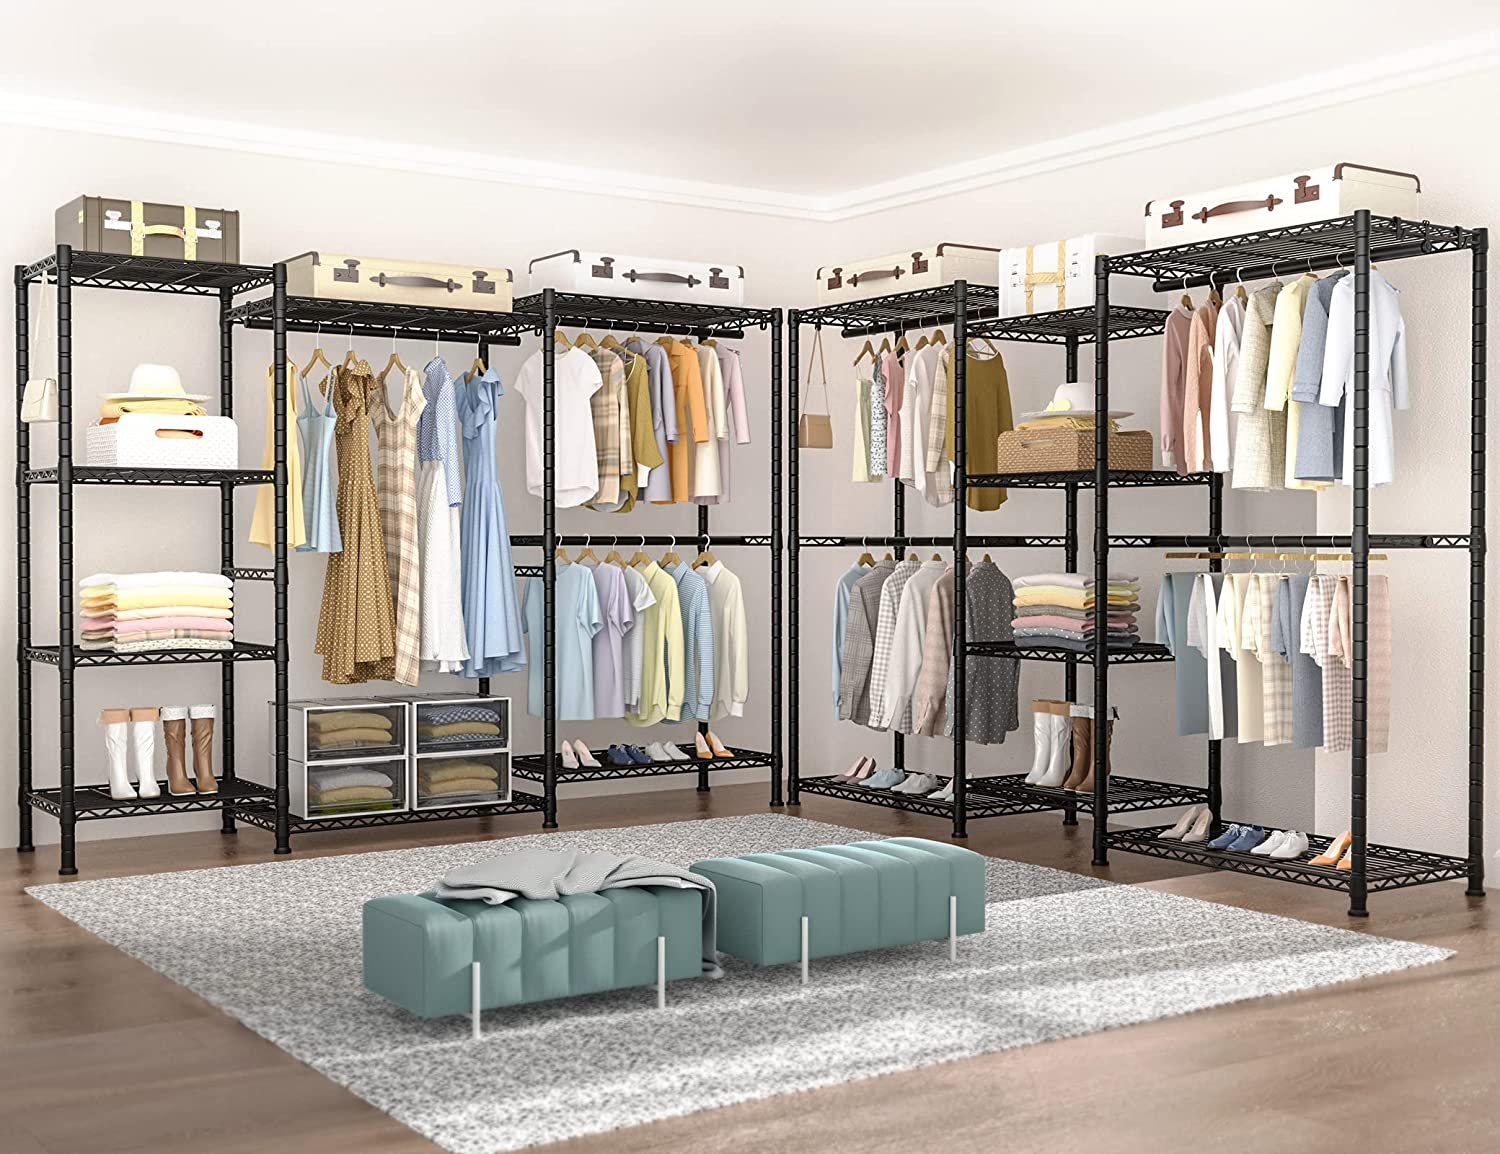
There are various types of storage units to choose from, including pre-made closet systems, custom-built cabinets, or a combination of both. Pre-made closet systems offer convenience and ease of installation, while custom-built cabinets provide the flexibility to design a storage solution that perfectly suits your needs.
Whether you choose pre-made or custom-built, it’s important to properly measure the space before purchasing any storage units. Take accurate measurements of the height, width, and depth of the area to ensure a proper fit.
When installing the storage units, follow the manufacturer’s instructions carefully. Use appropriate tools and hardware to securely attach the units to the walls or floor. Ensure that the units are level and aligned properly to create a cohesive and visually appealing look.
Incorporate a mix of hanging rods, shelves, drawers, and cubbies to accommodate various types of clothing and accessories. Consider adjustable shelves or modular systems that can be easily reconfigured as your storage needs change over time.
During the installation process, it’s also a good idea to incorporate features that promote organization and accessibility, such as pull-out shoe racks, jewelry trays, or belt and tie racks. These additions can help maximize space and make it easier to find and access your belongings.
Remember to leave some open space for potential future storage needs or for incorporating additional accessories or features into your walk-in closet design.
By installing the storage units in a thoughtful and strategic manner, you can lay the foundation for an organized and functional walk-in closet. This step sets the stage for the next steps of adding shelving, hanging rods, lighting, and accessories to complete your storage space.
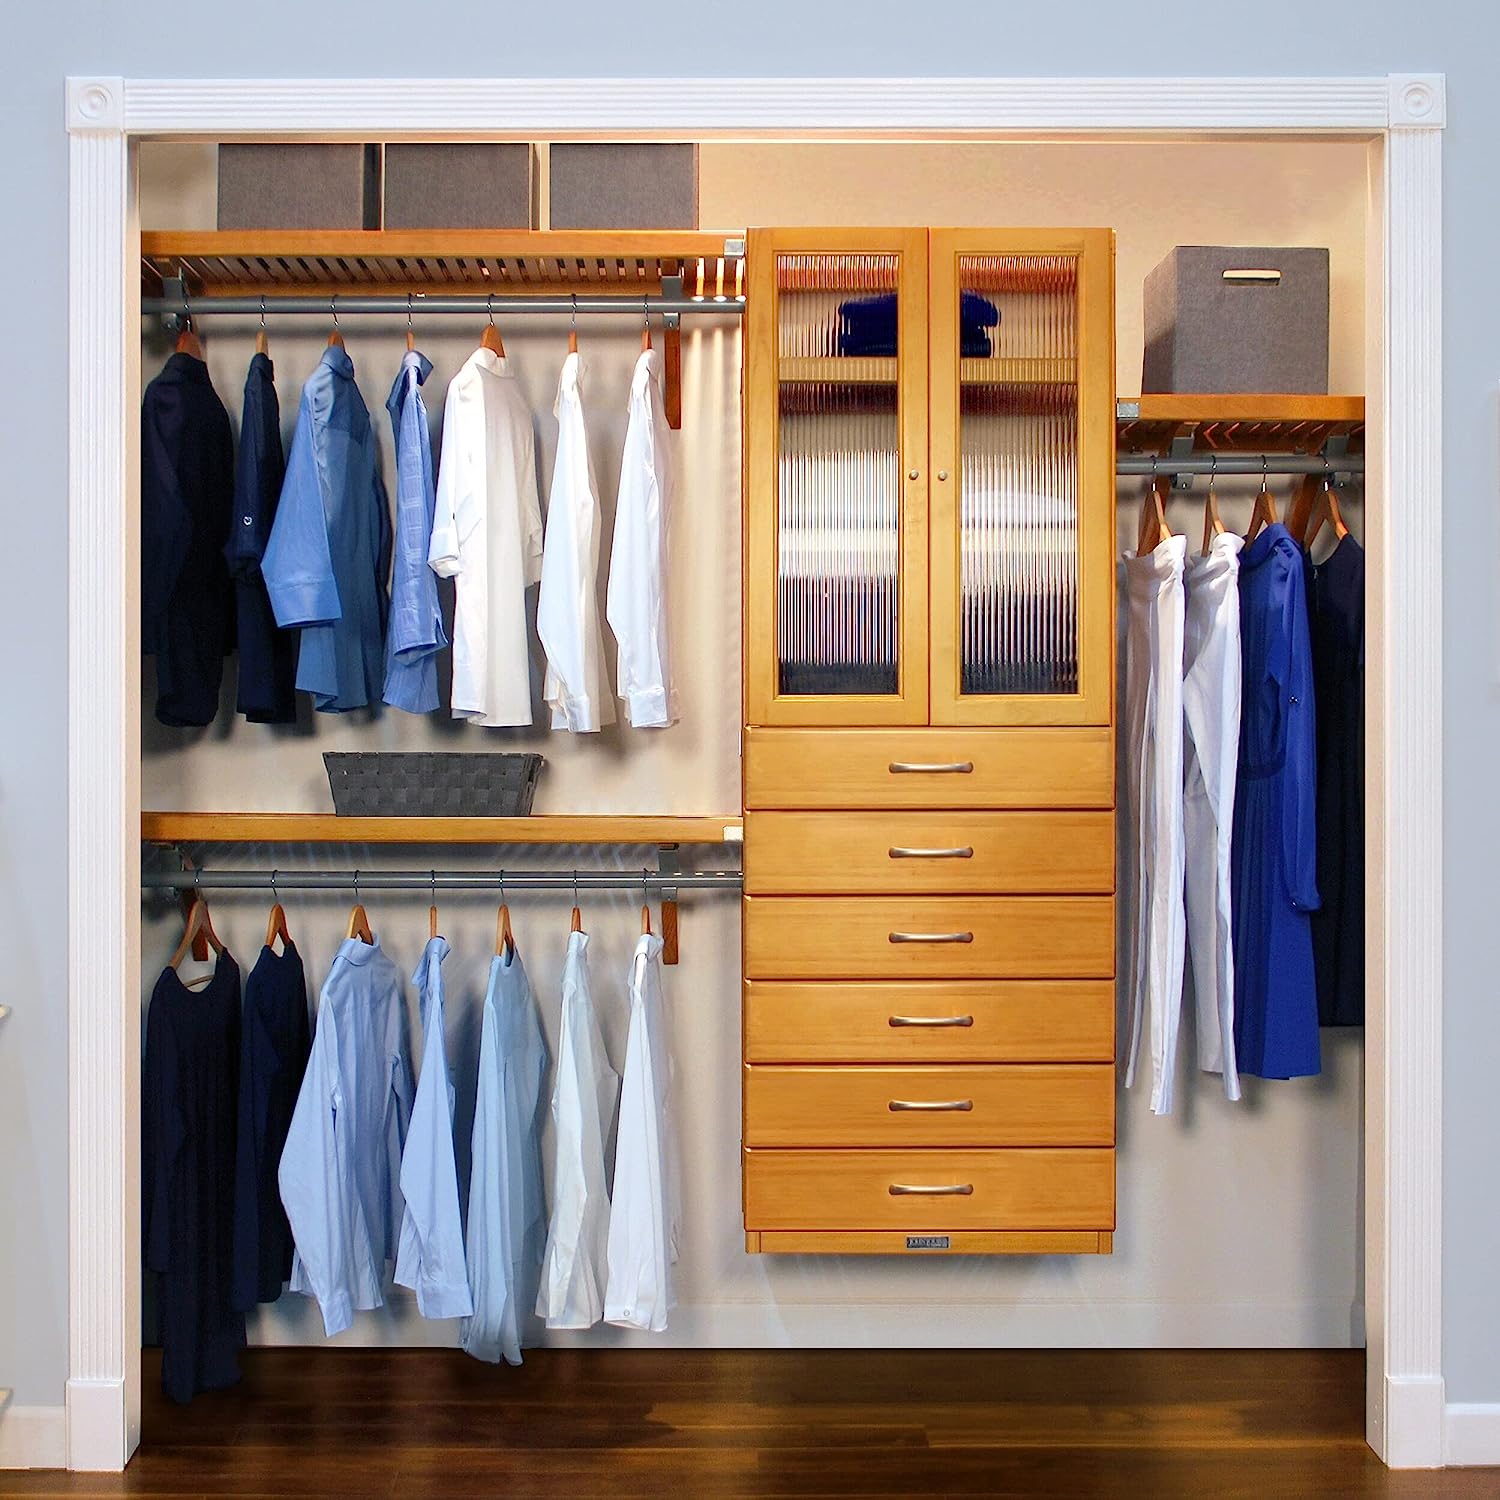
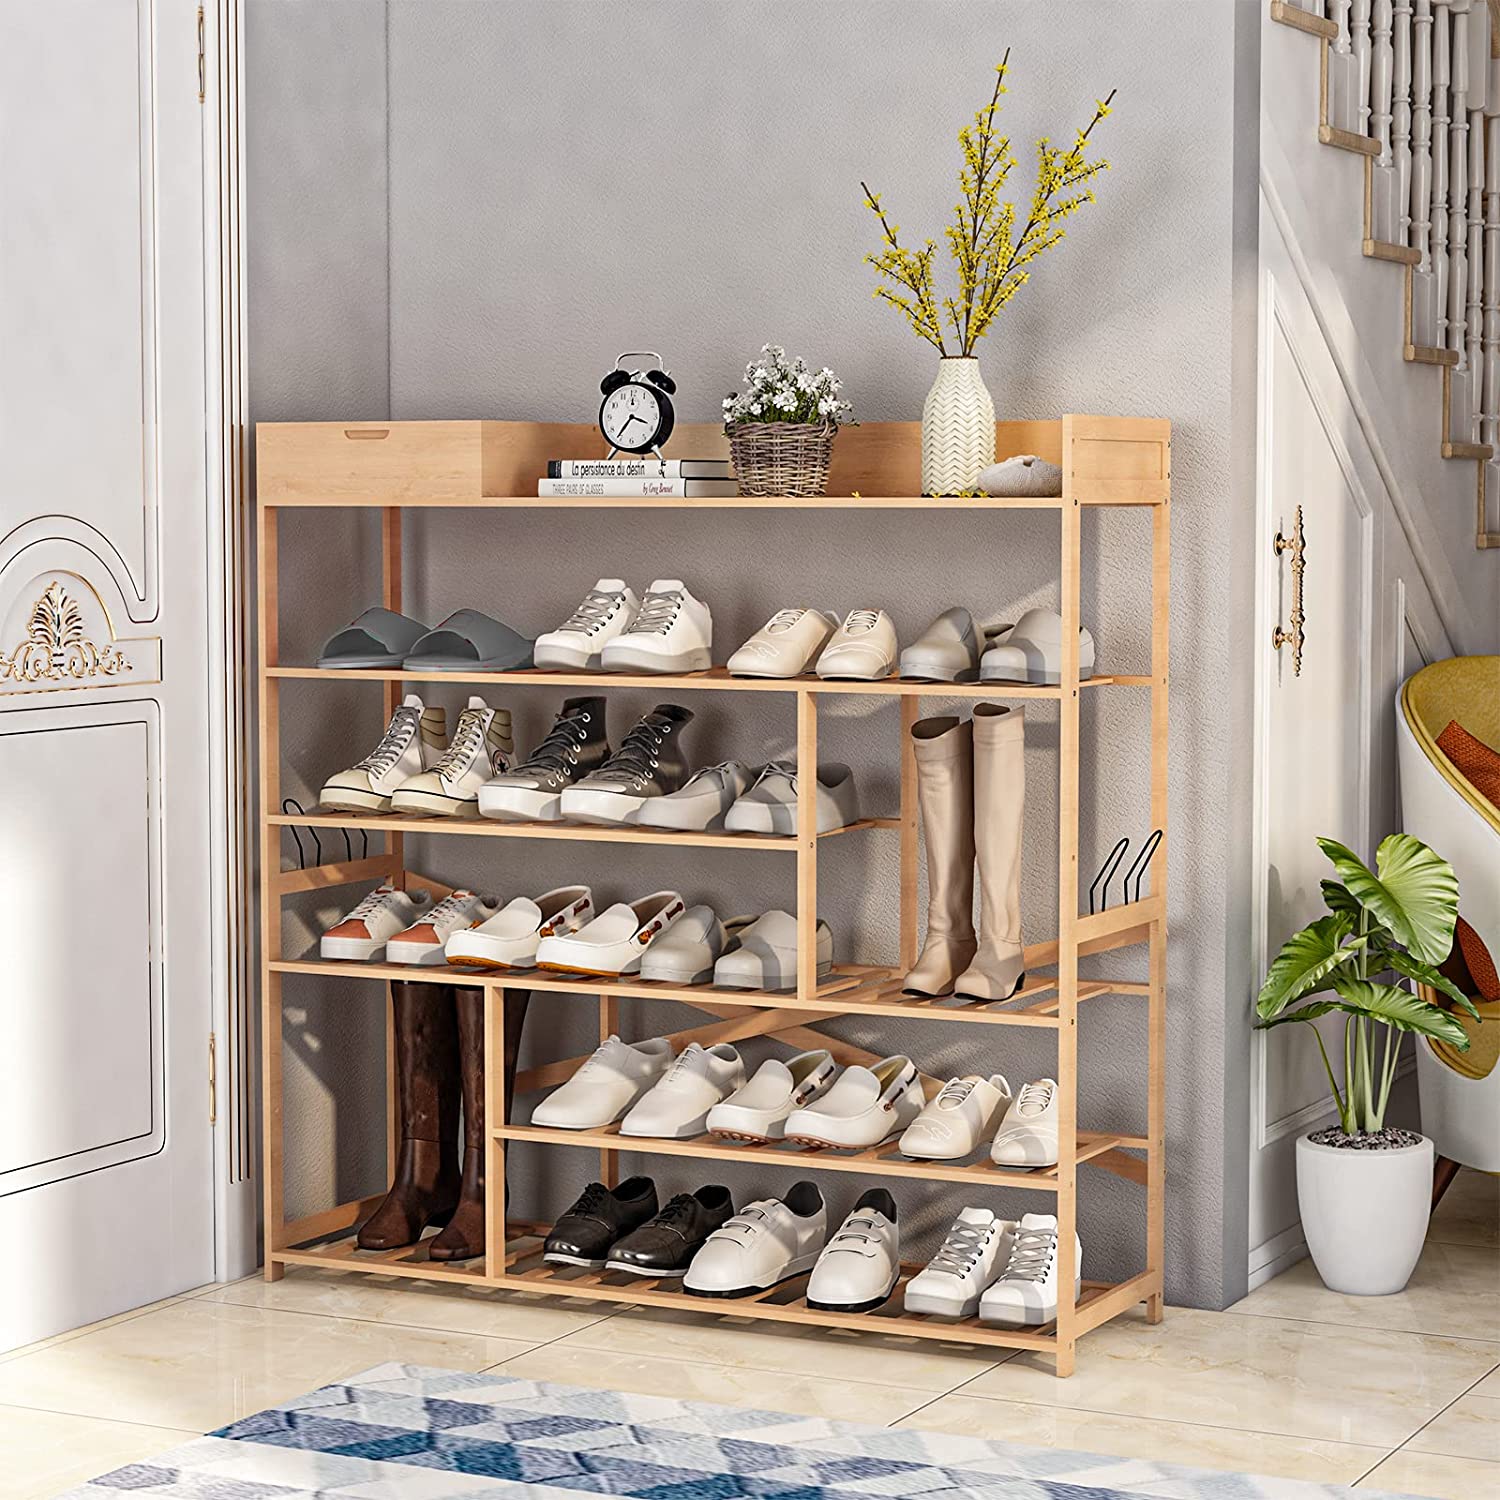
Step 4: Adding Shelving and Hanging Rods
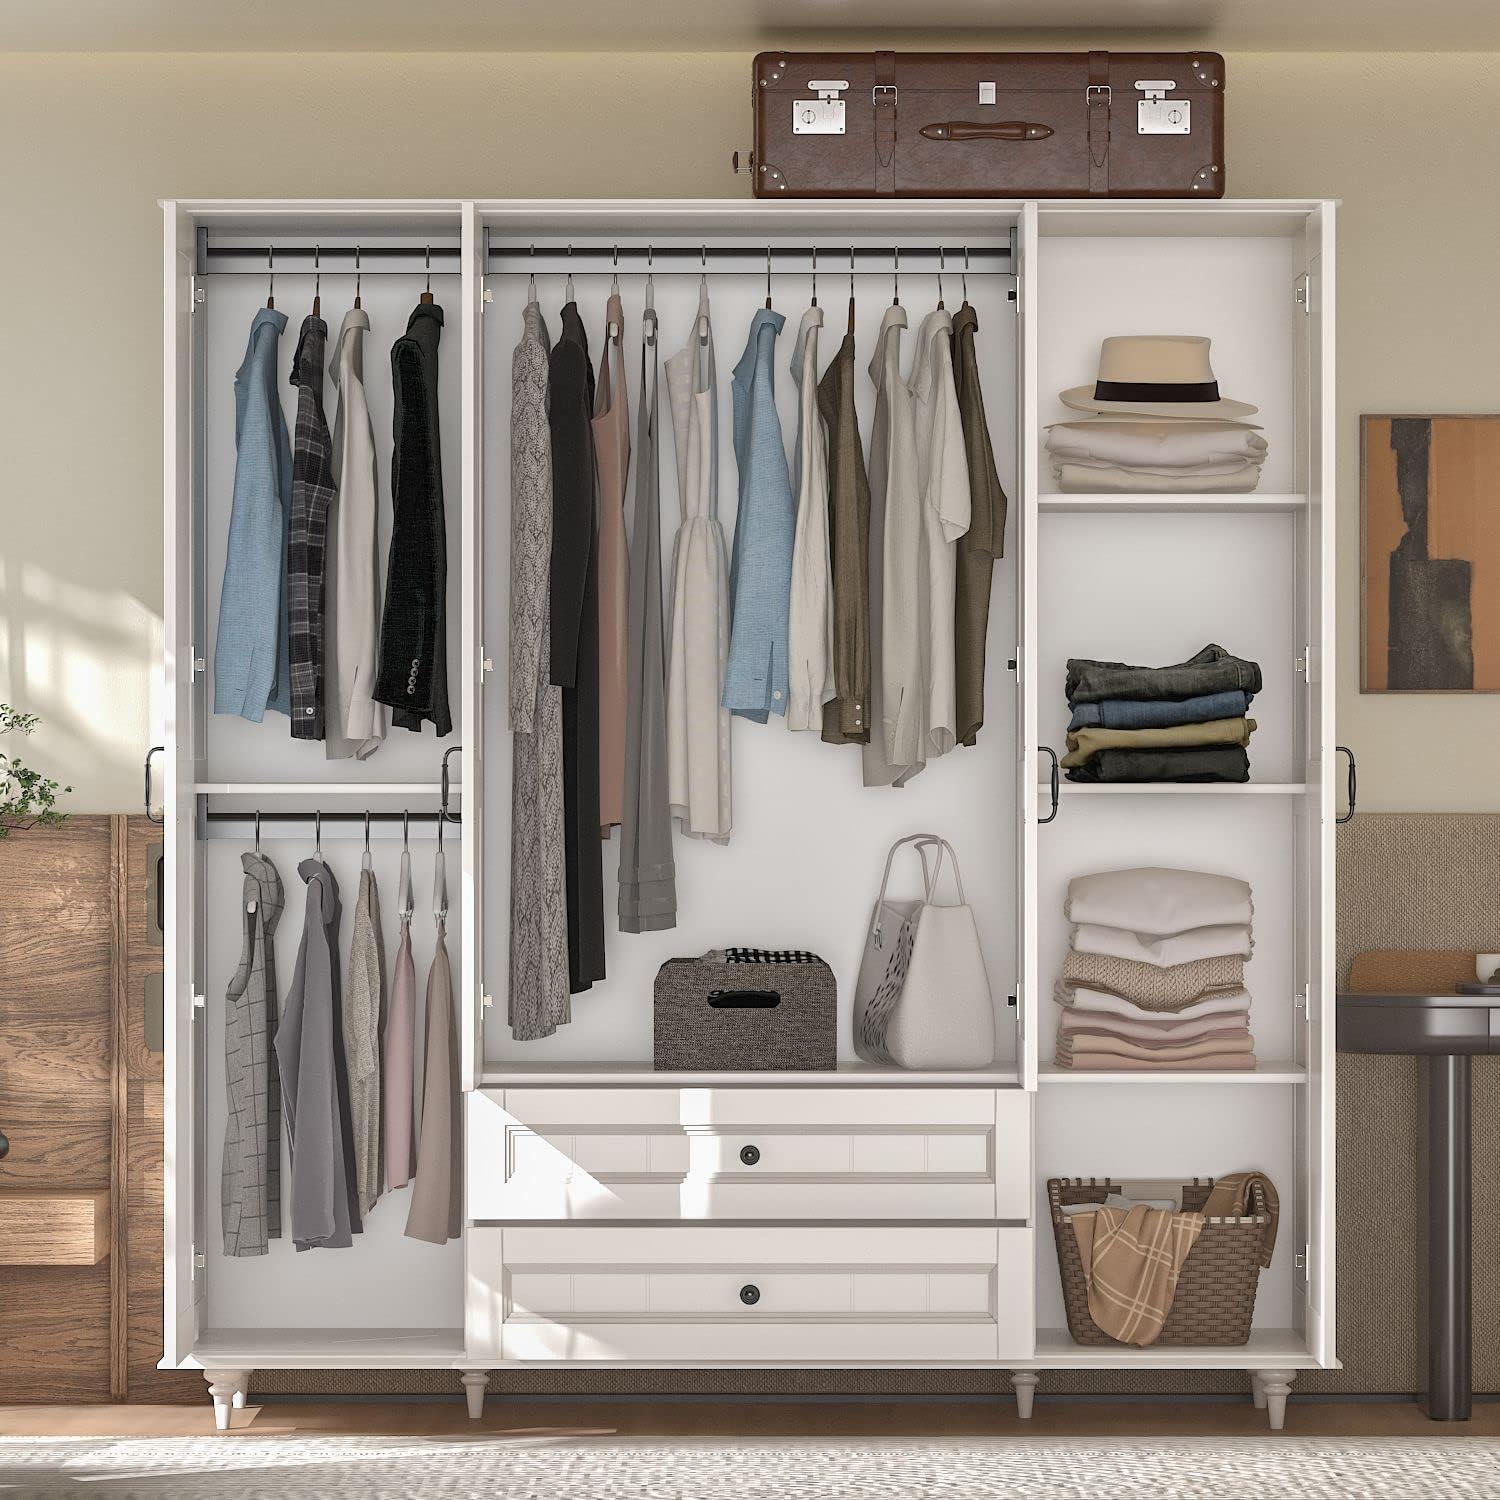
With the storage units in place, it’s time to focus on incorporating shelving and hanging rods into your walk-in closet. These elements will provide additional space for organizing and displaying your clothes, shoes, and accessories.
Start by strategically placing shelves throughout the closet space. Consider the height and depth of the shelves to accommodate different types of items. Reserve taller shelves for folded clothes, sweaters, or bins, while shorter shelves can be used for shoes, handbags, or accessories.
When installing the shelves, ensure they are securely attached to the walls or storage units. Use appropriate hardware, such as shelf brackets or anchors, to provide stability and support.
Consider incorporating adjustable shelves that can be moved or repositioned as your storage needs change. This will allow you to customize the space and accommodate items of different heights.
In addition to shelves, hanging rods are essential for organizing and displaying your clothing. Install the rods at a comfortable height, typically around 66 inches from the floor, to ensure easy access to your garments.
When installing the hanging rods, ensure they are level and securely attached to the walls or storage units. Use sturdy brackets or rod supports to prevent sagging or damage to your clothing.
Consider grouping clothing items by type, such as organizing shirts together, pants together, and dresses together. This will make it easier to locate and retrieve specific items when getting dressed.
If you have limited horizontal space, consider utilizing double-hang rods to maximize hanging space. This allows you to hang shorter garments, such as shirts or skirts, below longer items like dresses or coats.
Incorporate accessories such as hooks or valet rods for hanging hats, belts, scarves, or clothes that you plan on wearing the next day. These accessories can enhance organization and make your walk-in closet more functional.
By adding shelving and hanging rods, you can optimize the storage capacity of your walk-in closet and create designated spaces for different types of clothing and accessories. This step will help keep your belongings organized, visible, and easily accessible.
When building a walk-in closet, make sure to measure the space accurately and plan for sufficient storage and hanging space. Consider adding shelves, drawers, and lighting for a functional and organized closet.
Step 5: Incorporating Lighting
Lighting plays a crucial role in creating a functional and visually appealing walk-in closet. Proper lighting not only helps you see your clothes and accessories clearly but also enhances the overall ambiance of the space. In this step, we will explore different lighting options and how to incorporate them into your closet.
Start by assessing the natural light sources in your walk-in closet. If you have windows, consider utilizing natural light during the day by keeping the windows uncovered or using sheer curtains. Natural light can make the space feel bright and inviting.
However, it’s important to note that natural light might not be sufficient, especially during the evening or in areas with limited access to natural light. In these cases, artificial lighting becomes crucial to ensure proper visibility.
Consider installing overhead lighting to provide general illumination. This can be achieved through recessed ceiling lights, track lighting, or a combination of both. Position the lights evenly throughout the space to eliminate any dark spots and create an overall bright atmosphere.
In addition to overhead lighting, utilize task lighting in specific areas where you need focused illumination, such as around mirrors or in shoe storage areas. Wall-mounted sconces or lighted vanity mirrors are excellent options for providing targeted lighting.
When selecting lighting fixtures, opt for fixtures that emit a bright, white light to mimic natural sunlight. This type of light will help you accurately assess colors and make getting dressed easier.
Consider incorporating dimmer switches to adjust the intensity of the lighting based on your needs. This allows you to create different moods or to have softer lighting in the evenings when you want a more relaxed atmosphere.
For added functionality, investigate motion sensor lights or automatic lighting systems. These can be particularly useful in walk-in closets, as they turn on and off automatically when you enter or leave the space, ensuring energy efficiency.
Incorporate lighting in key areas such as inside drawers or display cabinets to highlight specific items. LED strip lights can be an excellent choice for adding a subtle glow and highlighting the contours of your storage units or shelves.
By incorporating proper lighting, you can transform your walk-in closet into a well-lit and inviting space. Adequate lighting enhances visibility, allows you to see your wardrobe clearly, and adds an element of luxury to your storage solution.
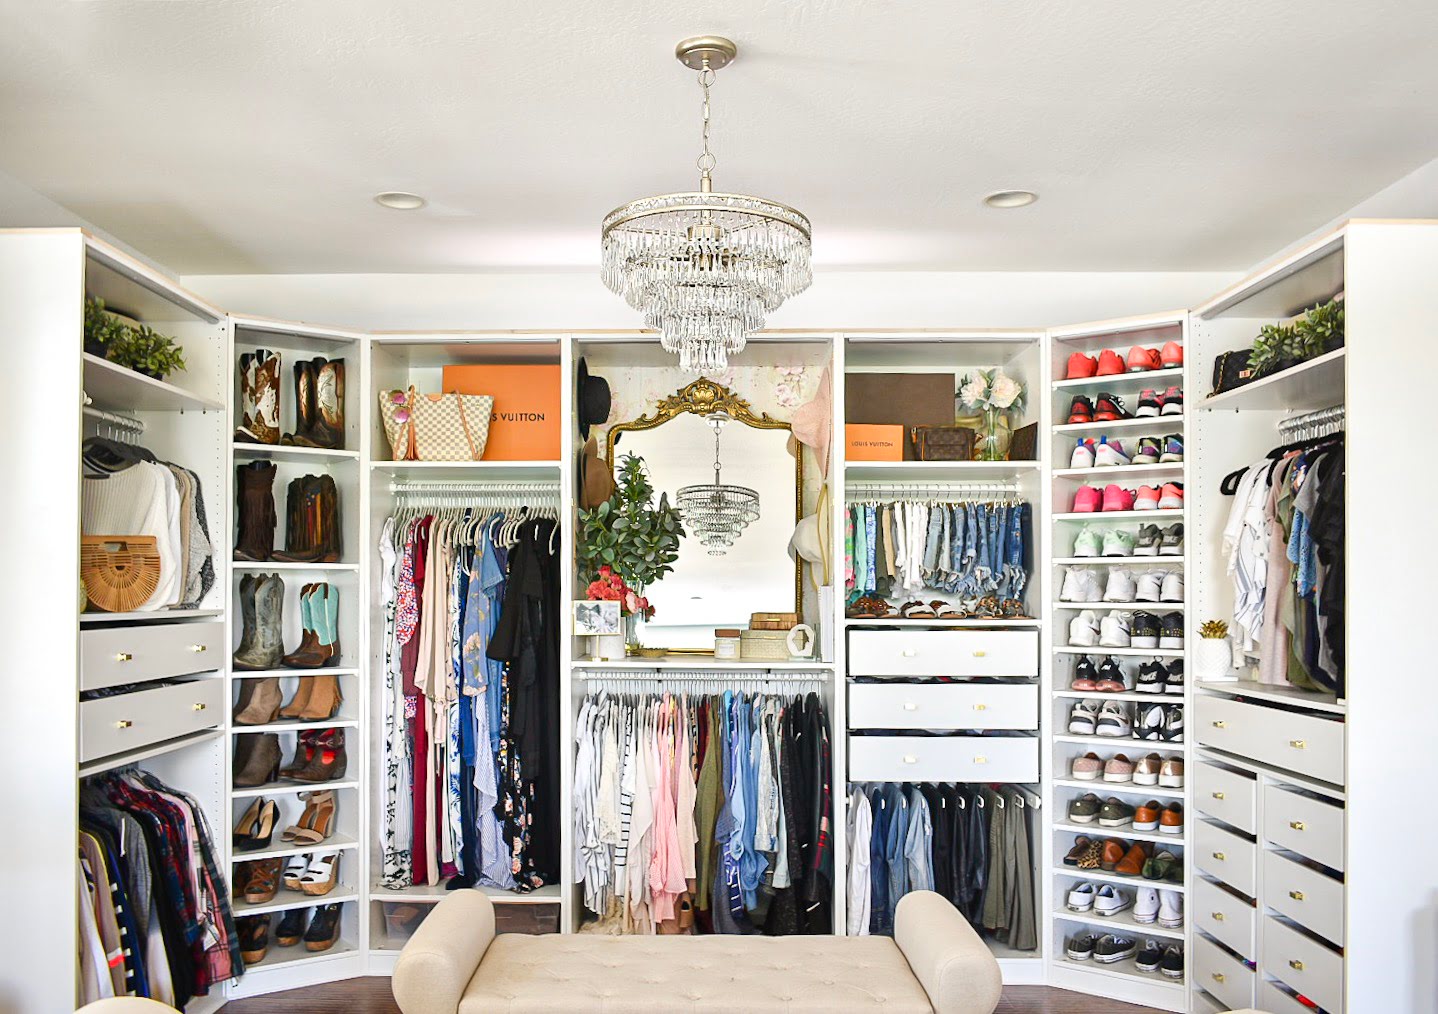
Step 6: Installing Mirrors and Accessories
Mirrors and accessories are essential components of a functional and stylish walk-in closet. Mirrors not only serve a practical purpose by allowing you to check your outfits and appearance but also help create a sense of space and reflect light. Here in Step 6, we will explore how to incorporate mirrors and other accessories into your closet design.
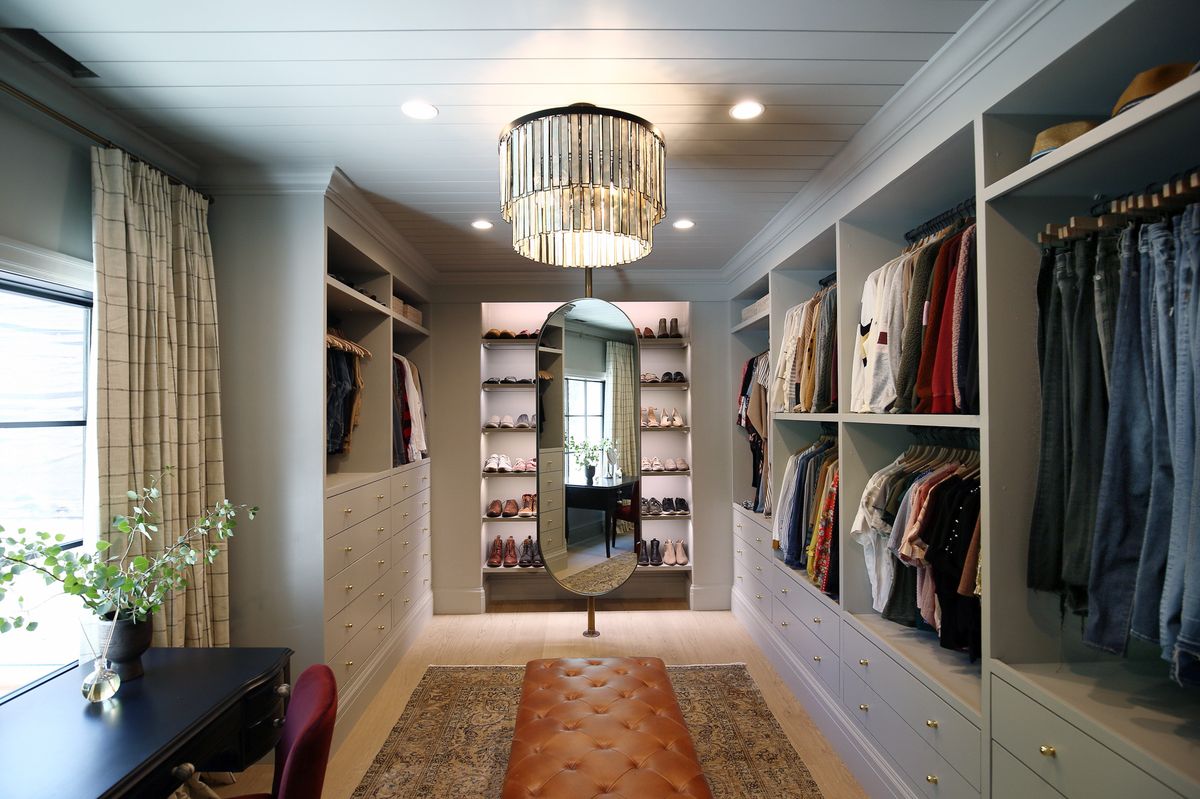
Start by determining the ideal location for a full-length mirror. Consider a wall-mounted mirror or a freestanding floor mirror that allows you to see your entire outfit. Place it in a spot where you can easily access it and make sure it is securely mounted or stable.
If space allows, consider adding additional mirrors strategically throughout the closet. Mirrors on cabinet doors, inside drawers, or on the back of shelving units can provide different angles for checking your appearance and add a touch of elegance to the space.
Incorporate lighting around the mirrors to ensure optimal visibility. Sconces mounted on either side of a mirror or above it can provide enhanced lighting for grooming and selecting outfits.
In addition to mirrors, accessories can help elevate the functionality and aesthetics of your walk-in closet. Incorporate hooks for hanging jewelry, scarves, or bags. Use decorative bowls or trays to hold smaller accessories like watches, cufflinks, or earrings.
Consider adding a seating area or an ottoman where you can comfortably put on or take off your shoes. This can also serve as extra storage where you can keep items like purses or blankets.
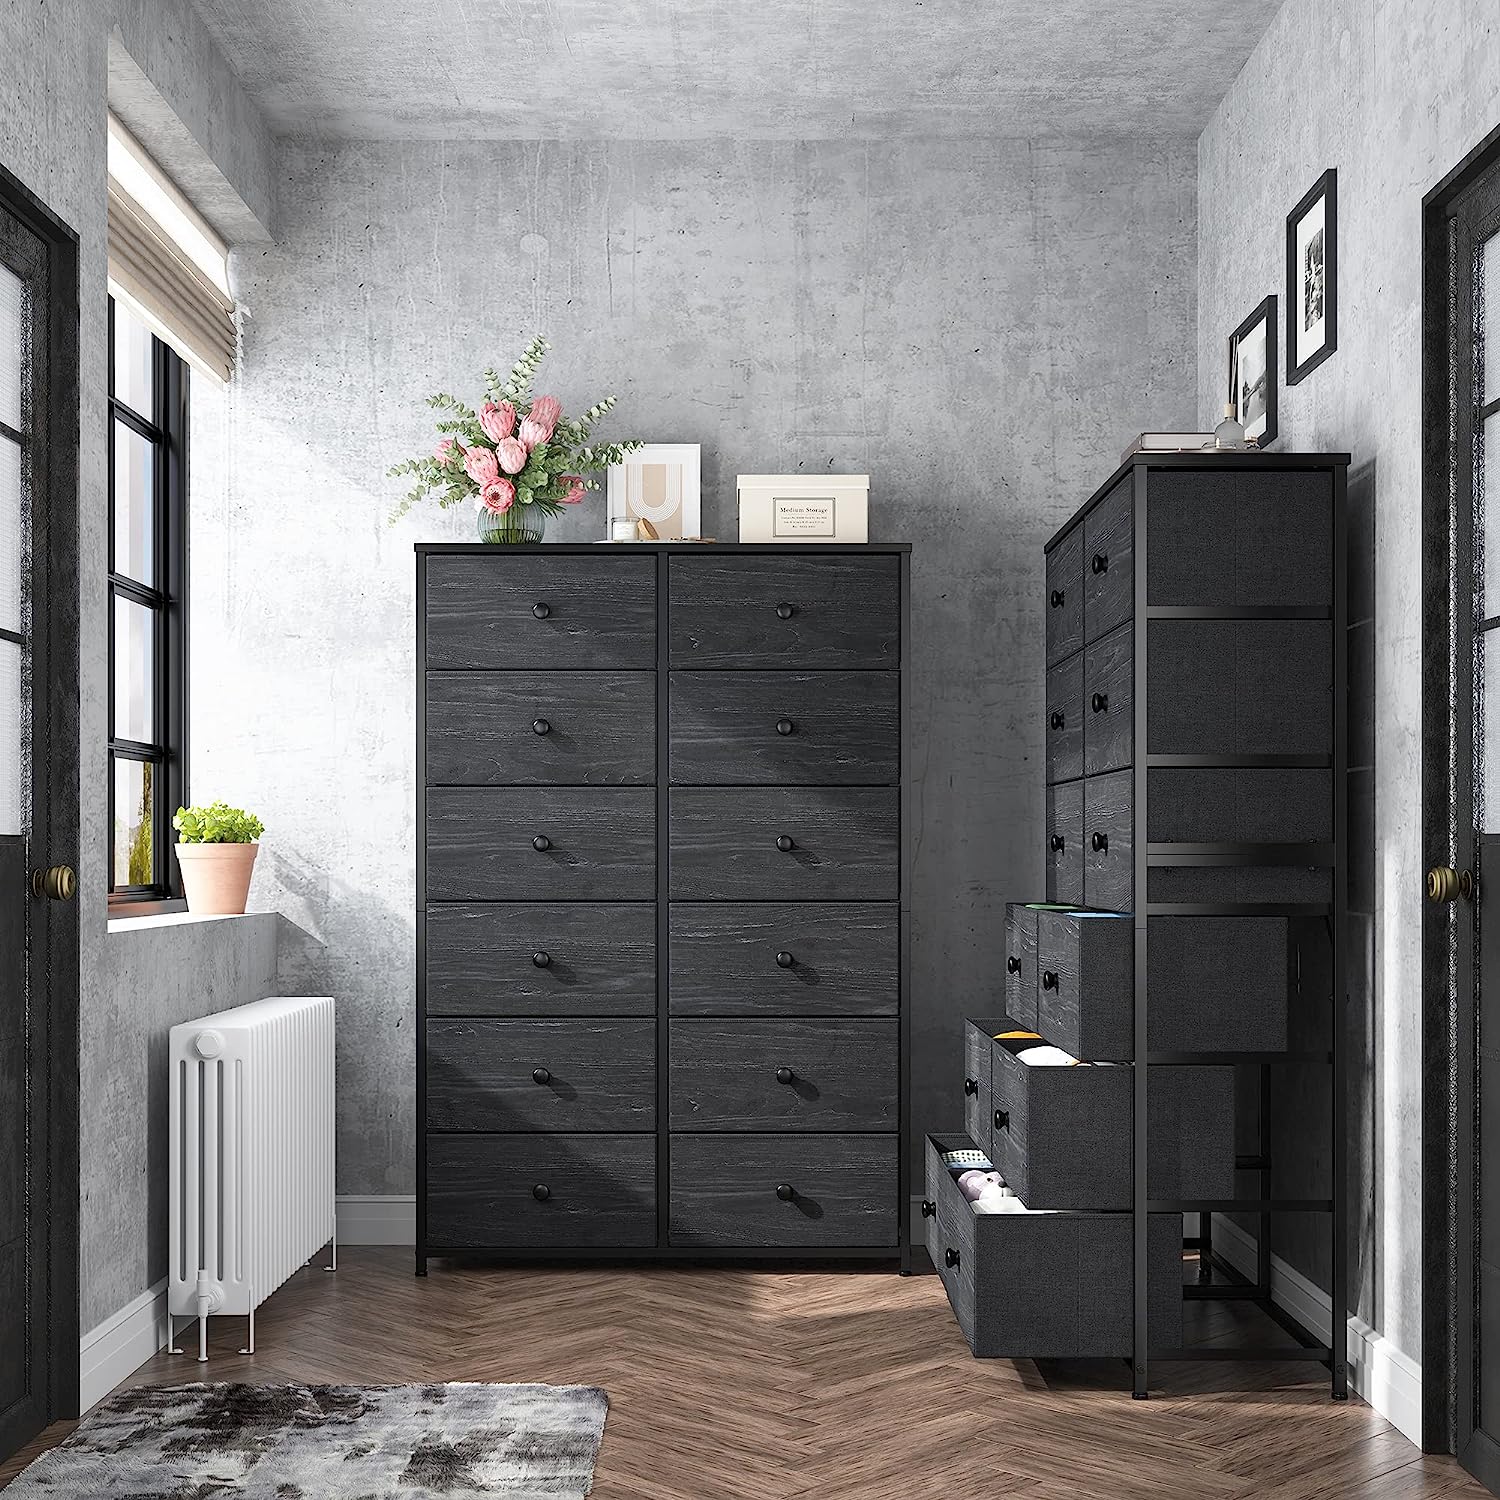
Utilize decorative boxes or baskets to store smaller items like socks, ties, or belts. Label or organize them in a way that makes it easy to find what you need. Incorporating dividers or organizers within drawers can also help keep your accessories neatly arranged.
Customize your walk-in closet with personal touches like artwork, plants, or decorative objects that reflect your style. These accessories can add a sense of personality to the space and make it more enjoyable to spend time in.
Remember to consider functionality and accessibility when incorporating accessories. Ensure that everything is within reach and organized in a way that makes getting dressed and creating outfits effortless.
By installing mirrors and incorporating accessories, you can transform your walk-in closet into a stylish and functional space. Mirrors offer practicality and enhance the overall aesthetic, while accessories add personalization and organization to your storage solution.
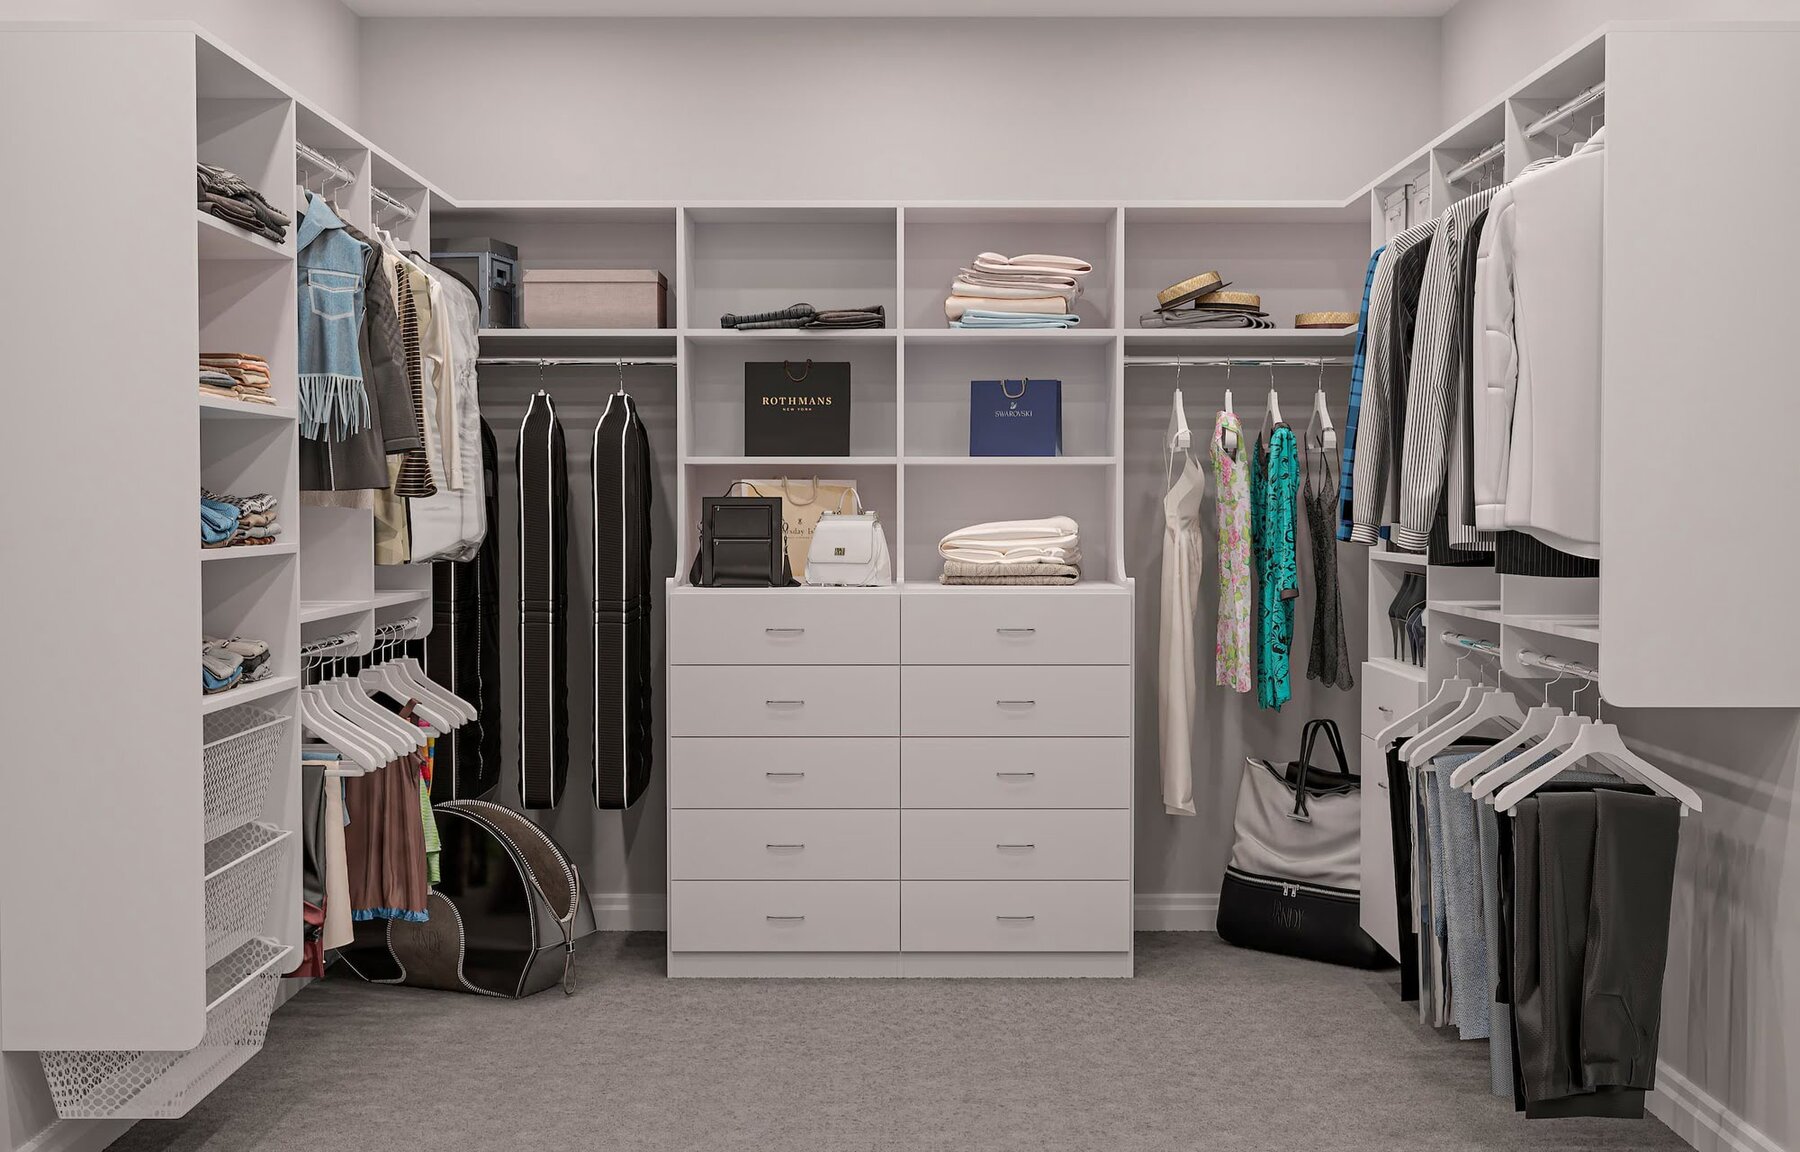
Step 7: Organizing and Styling the Closet
In the final step of building your walk-in closet, it’s time to focus on organizing and styling the space. A well-organized and visually appealing closet will make it easier to find what you need and create a sense of satisfaction every time you open its doors. Let’s explore how to effectively organize and style your newly built walk-in closet.
Start by categorizing your clothing and accessories. Group similar items together, such as shirts, pants, coats, dresses, shoes, and bags. This will make it easier to locate specific items when getting dressed.
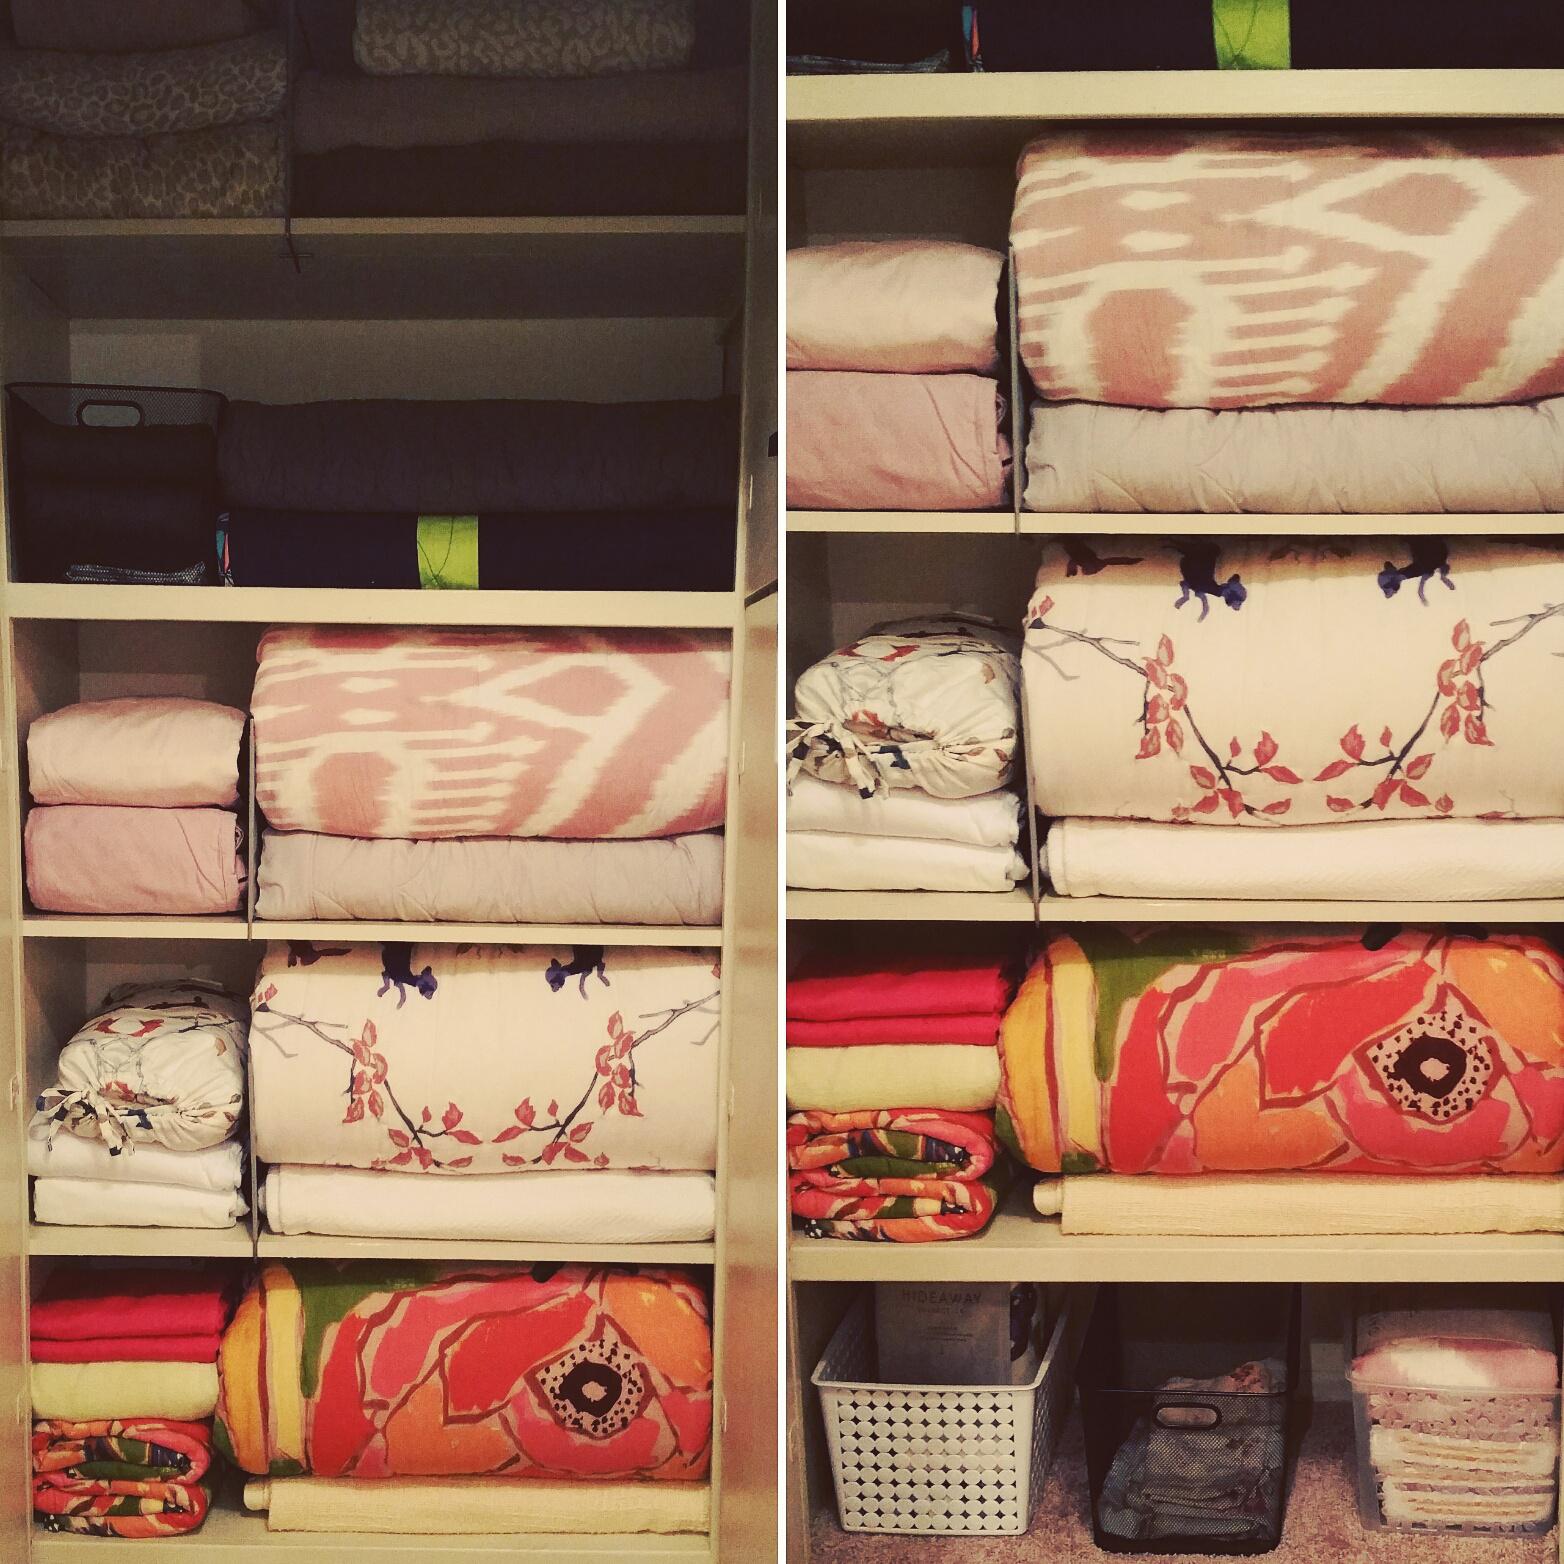
Consider organizing your garments by color for a visually pleasing display. Arrange your clothing from light to dark or use a color-coding system that works for you. This not only looks aesthetically pleasing but also makes it easier to find specific items quickly.
Utilize storage solutions such as bins, baskets, or drawer dividers to keep smaller items like socks, underwear, or accessories organized and easily accessible. Label or separate them based on their intended use to streamline your daily routine.
Make use of vertical space by utilizing hanging organizers or shoe racks on the back of doors. This can help maximize storage capacity while keeping items visible and within reach.
Consider using clear storage containers or transparent boxes for items that you want to keep protected but still want to be able to see at a glance. This can be useful for storing delicate accessories like jewelry or special occasion shoes.
Always leave some empty space or room for growth in your walk-in closet. This allows you to add new items and adjust your storage setup as your needs change over time. Flexibility is key in maintaining an organized and functional space.
Now that you have the basic organization in place, it’s time to style your walk-in closet. Add decorative elements such as artwork, plants, or rugs to enhance the space’s ambiance. Choose items that complement your personal tastes and create a cohesive look.
Consider implementing a rotating seasonal wardrobe system. Store out-of-season clothing in labeled bins or separate sections of the closet to ensure a clutter-free space while maximizing the functionality of your storage units.
Finally, regularly maintain and declutter your walk-in closet. Sort through your items periodically and donate or sell anything you no longer wear or need. Regularly reevaluate your organization system to ensure it continues to meet your needs and lifestyle.
By organizing and styling your walk-in closet, you will transform it into a functional and visually appealing space. Enjoy the satisfaction of stepping into a well-organized closet every day and effortlessly finding the perfect outfit for any occasion.
Conclusion
Congratulations! You have successfully completed the journey of building a walk-in closet. By following the steps outlined in this article, you have transformed a simple storage space into a well-organized and visually appealing oasis for your clothing, accessories, and personal items.
Through careful planning and design, you created a layout that maximizes the available space and caters to your specific storage needs. By clearing the space and installing storage units, shelving, and hanging rods, you established a solid foundation for organizing your belongings.
Incorporating lighting, mirrors, and accessories added functionality and style to your walk-in closet. The proper use of lighting ensured visibility, while mirrors created the illusion of more space and provided a practical feature for checking your appearance. Accessories such as hooks, seating areas, and storage solutions added personalization and extra convenience.
Lastly, by organizing and styling your closet, you achieved a storage solution that not only looks good but also functions efficiently. Categorizing your items, utilizing storage containers and dividers, and leaving room for growth allows you to maintain an organized space and adapt to changing needs over time.
Remember, building a walk-in closet is an ongoing process. It requires regular maintenance, decluttering, and reassessment to ensure that your storage solution continues to meet your needs and remains functional. By staying vigilant and making small adjustments when necessary, you can enjoy a clutter-free and well-organized walk-in closet for years to come.
Now it’s time to step back and admire your hard work. Your walk-in closet is not just a place to store your clothes; it’s a reflection of your personal style and a space that brings joy and efficiency to your everyday routine. So go ahead, enjoy the benefits of your newly built walk-in closet, and revel in the satisfaction of a beautiful and well-organized storage haven!
Frequently Asked Questions about How To Build A Walk In Closet
Was this page helpful?
At Storables.com, we guarantee accurate and reliable information. Our content, validated by Expert Board Contributors, is crafted following stringent Editorial Policies. We're committed to providing you with well-researched, expert-backed insights for all your informational needs.
0 thoughts on “How To Build A Walk In Closet”