Home>Technology>Smart Home Devices>How To Change My Wi-Fi Router Name
Smart Home Devices
How To Change My Wi-Fi Router Name
Modified: January 4, 2024
Learn how to change your Wi-Fi router name to enhance security and improve connectivity for your smart home devices. Step-by-step guide for optimizing your network.
(Many of the links in this article redirect to a specific reviewed product. Your purchase of these products through affiliate links helps to generate commission for Storables.com, at no extra cost. Learn more)
Introduction
Welcome to the era of smart homes, where every aspect of our living spaces can be seamlessly integrated with technology. From smart thermostats to intelligent lighting systems, the modern home is a marvel of connectivity and convenience. At the heart of this networked ecosystem lies the humble yet indispensable Wi-Fi router, the gateway that enables our devices to communicate and function harmoniously.
One of the fundamental settings that can be personalized on a Wi-Fi router is its name, technically known as the Service Set Identifier (SSID). This name is what users see when they search for available networks on their devices, and it plays a crucial role in distinguishing your network from others in the vicinity. Changing the Wi-Fi router name can be a simple yet impactful way to personalize your network and enhance its security.
In this guide, we will walk through the process of changing the Wi-Fi router name, providing clear and easy-to-follow steps that will empower you to customize your network according to your preferences. Whether you wish to give your network a unique and memorable name or simply update it for security reasons, this guide will equip you with the knowledge and confidence to make the desired changes.
So, let’s embark on this journey of Wi-Fi customization, where a few simple steps can transform your network into a reflection of your individuality and priorities. Let’s dive in and discover how to change your Wi-Fi router name with ease and efficiency.
Key Takeaways:
- Personalize your Wi-Fi network by changing the router name through simple steps, reflecting your individuality and enhancing security for a unique smart home experience.
- Access and modify your Wi-Fi router name with confidence, empowering yourself to make personalized adjustments that align with your lifestyle and preferences.
Step 1: Accessing the Router Settings
Before diving into the process of changing your Wi-Fi router name, it’s essential to access the router settings interface. This is where you can make various configurations and adjustments to your network, including the Wi-Fi name. The router settings can be accessed through a web browser on a device connected to the network. Here’s how to do it:
- Connect to the Wi-Fi Network: Ensure that your device is connected to the Wi-Fi network for which you want to change the name. This could be a laptop, smartphone, or tablet.
- Open a Web Browser: Launch a web browser such as Google Chrome, Mozilla Firefox, Safari, or Microsoft Edge on your device.
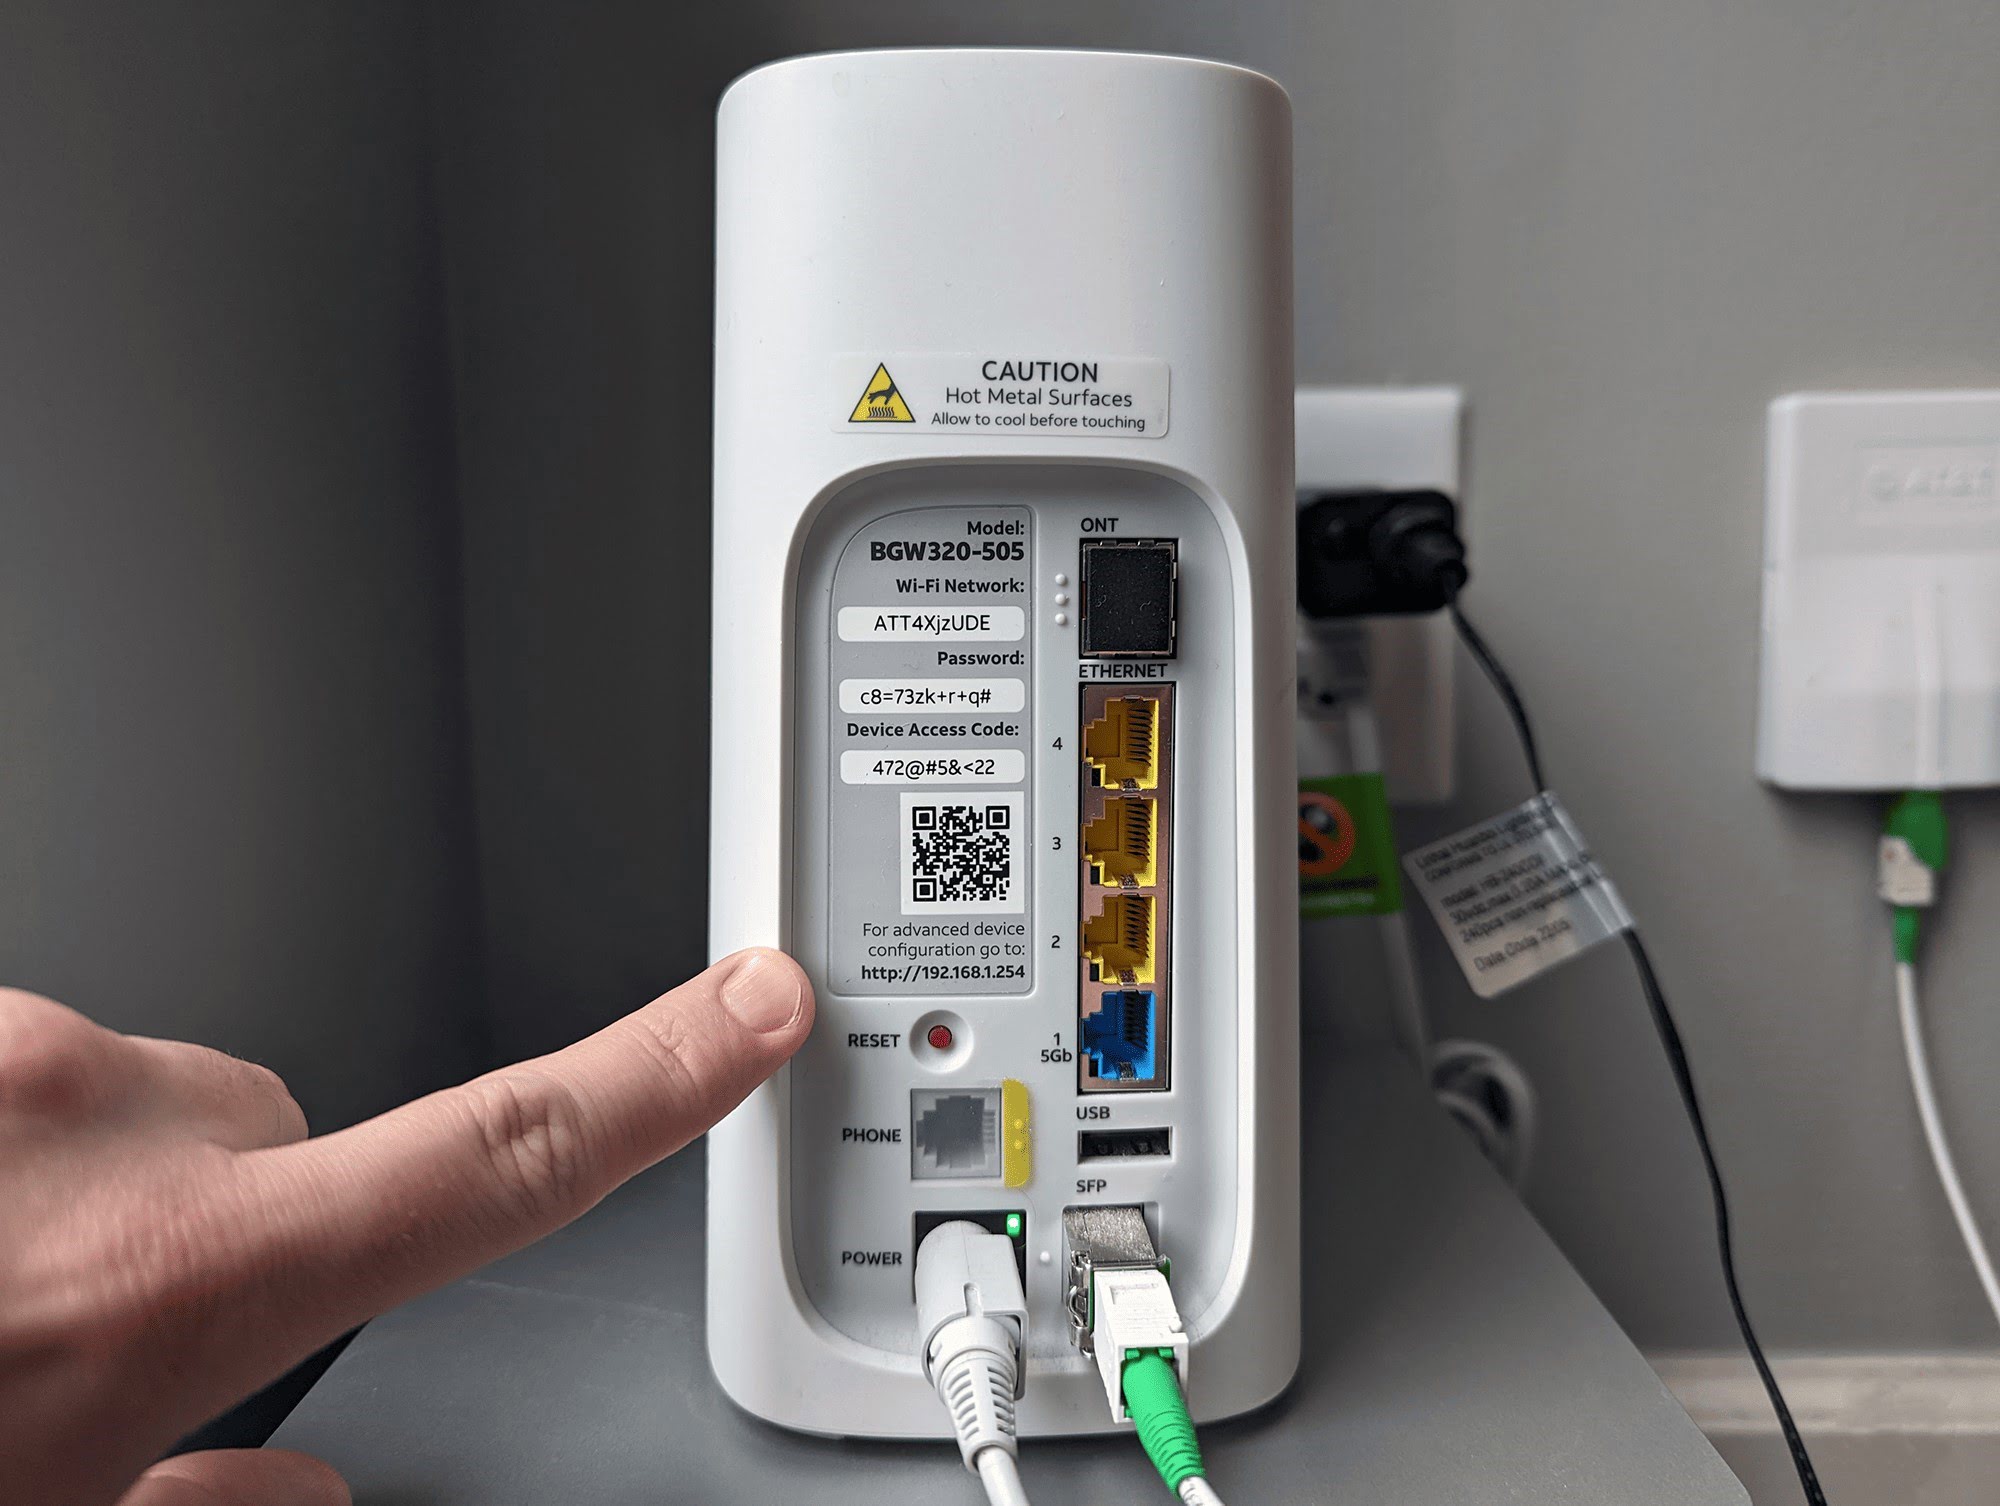
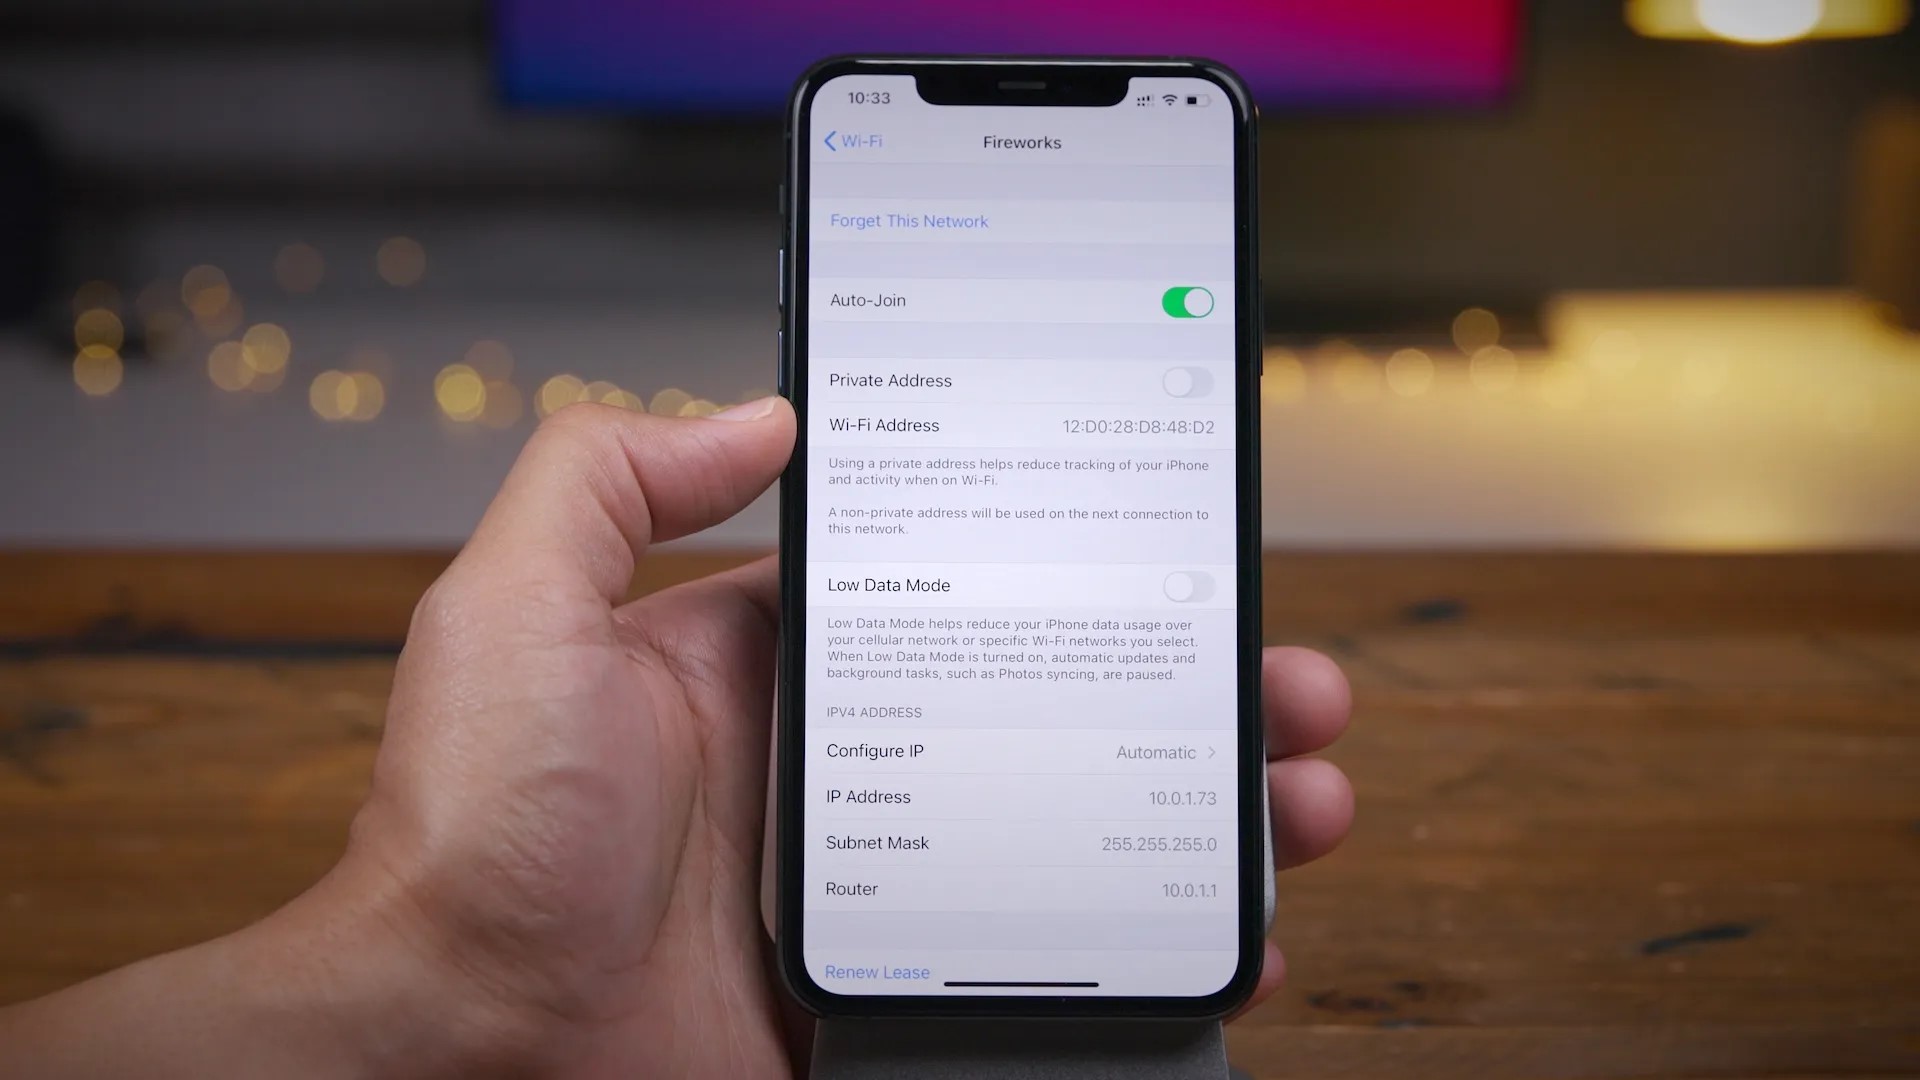
- Enter the Router’s IP Address: In the address bar of the web browser, type the IP address of your router. This address is typically something like 192.168.1.1 or 192.168.0.1, but it can vary based on the router manufacturer. If you are unsure of the specific IP address for your router, you can find it in the router’s manual or by searching online for the default IP address associated with your router model.
- Enter Login Credentials: After entering the router’s IP address, you will be prompted to enter your router’s login credentials. This usually involves entering a username and password. If you haven’t changed these credentials from the default settings, you can find them in the router’s manual or on the manufacturer’s website.
- Access the Router Settings: Once you have entered the correct login credentials, you will gain access to the router’s settings interface. This is where you can configure various aspects of your network, including the Wi-Fi name.
By following these steps, you will successfully access the router settings, laying the groundwork for the subsequent process of changing the Wi-Fi name. With access to the settings interface, you are now ready to proceed to the next steps in customizing your network to your preferences.
Step 2: Locating the Wi-Fi Name (SSID) Setting
Once you have accessed the router settings interface, the next step in changing your Wi-Fi router name involves locating the specific setting that governs the SSID, or Wi-Fi name. This setting is where you can view the current Wi-Fi name and make adjustments as needed. Here’s how to locate the Wi-Fi name setting within the router settings interface:
- Navigate to the Wireless Settings: Within the router settings interface, look for a tab or section related to wireless settings or Wi-Fi configuration. This is where you can find the SSID setting, along with other parameters related to the wireless network.
- Locate the SSID Field: Once you have accessed the wireless settings, you will find a field labeled “SSID” or “Wireless Network Name.” This is where the current Wi-Fi name is displayed. Take note of the existing name if you wish to simply modify it, or proceed to enter a new name as desired.
- Review Additional Wi-Fi Settings: While in the wireless settings section, you may also encounter other options related to the Wi-Fi network, such as security settings, channel selection, and more. These settings can impact the performance and security of your network, so it’s beneficial to familiarize yourself with them as well.
By navigating to the wireless settings and locating the SSID field, you are now prepared to make the necessary adjustments to the Wi-Fi router name. This brings us to the next step in the process, where we will delve into the actual procedure of changing the Wi-Fi name to reflect your preferences and priorities.
Access your router’s settings by typing its IP address into your web browser. Log in with your username and password. Look for the option to change the SSID (Wi-Fi name) and save your new name.
Step 3: Changing the Wi-Fi Name
With the SSID setting located within the router settings interface, you are now poised to change the Wi-Fi router name according to your preferences. Whether you seek to personalize the name, enhance security, or simply refresh the network identity, this step will guide you through the process of modifying the Wi-Fi name. Here’s how to change the Wi-Fi name:
- Enter the New Wi-Fi Name: Within the SSID or Wireless Network Name field, delete the existing name and enter the new name that you wish to assign to your Wi-Fi network. Ensure that the name is unique and easily recognizable, as it will be visible to anyone searching for available networks in the vicinity.
- Avoid Special Characters: When entering the new Wi-Fi name, it’s advisable to avoid using special characters or symbols, as these can sometimes cause compatibility issues with certain devices. Stick to alphanumeric characters and spaces to ensure broad compatibility across various devices.
- Consider Security Implications: While changing the Wi-Fi name, it’s a good opportunity to assess the overall security of your network. If you haven’t done so already, consider implementing strong encryption and a secure password to fortify your network against unauthorized access.
- Reflect Your Identity: If you seek to personalize the Wi-Fi name, consider incorporating elements that reflect your individuality or the nature of your home network. Whether it’s a clever play on words, a nod to a favorite hobby, or a simple identifier for your household, the Wi-Fi name can be a subtle yet impactful expression of your preferences.
By following these steps, you can confidently change the Wi-Fi router name to align with your desired specifications and priorities. The process is straightforward and offers a degree of customization that can enhance the overall experience of using your home network.
Step 4: Saving the Changes
After making the desired adjustments to the Wi-Fi router name, it’s crucial to save the changes within the router settings interface. This ensures that the new Wi-Fi name is applied to your network, allowing it to be broadcasted and recognized by devices within its range. Here’s how to save the changes effectively:
- Locate the Save or Apply Button: Within the router settings interface, navigate to the section where you modified the Wi-Fi name. Look for a button or option that allows you to save or apply the changes you have made. This could be labeled as “Save Settings,” “Apply Changes,” or something similar.
- Click to Save: Once you have located the save or apply option, click on it to ensure that the changes to the Wi-Fi name are finalized and implemented. This action confirms that the new name will be broadcasted as the identifier for your Wi-Fi network.
- Wait for Confirmation: After clicking to save the changes, the router settings interface may provide a confirmation message indicating that the modifications have been successfully applied. This reassures you that the new Wi-Fi name is now active and visible to devices within range.
By following these steps, you can effectively save the changes made to the Wi-Fi router name, ensuring that the updated name is now in effect for your network. With the new Wi-Fi name successfully applied, your network is now personalized according to your preferences and ready to be discovered by your devices and those of your guests.
Read more: How To Change The Password On Wi-Fi Router
Conclusion
Congratulations! You have successfully navigated the process of changing your Wi-Fi router name, a simple yet impactful customization that can enhance the identity and security of your home network. By following the steps outlined in this guide, you have gained the knowledge and confidence to modify the Wi-Fi name according to your preferences and priorities.
Customizing the Wi-Fi router name not only allows you to give your network a distinct and memorable identity but also presents an opportunity to bolster its security and reflect your individuality. Whether you opted for a playful moniker, a meaningful identifier, or a security-focused update, the new Wi-Fi name now serves as a reflection of your choices and preferences within your connected environment.
Furthermore, by accessing the router settings, locating the SSID setting, and making the necessary adjustments, you have demonstrated your ability to engage with the foundational aspects of your home network. This empowerment can extend to other configurations and optimizations, enriching your experience with smart home devices and digital connectivity.
As you continue to explore the possibilities of your smart home ecosystem, remember that the Wi-Fi router name is just one aspect of the customizable landscape. From smart lighting and thermostats to entertainment systems and security devices, your home network serves as the backbone of a seamlessly interconnected environment.
With the knowledge and proficiency gained from this guide, you are well-equipped to navigate the complexities of your network and make personalized adjustments that align with your lifestyle and preferences. Your journey towards a fully customized and secure smart home environment begins with simple yet impactful steps, and changing the Wi-Fi router name is a significant stride in this direction.
Embrace the potential for personalization, security, and individuality within your home network, and let your Wi-Fi router name stand as a testament to your unique choices and priorities. As you continue to refine and personalize your smart home ecosystem, may your network name serve as a beacon of connectivity and distinction within the digital landscape of your living space.
Frequently Asked Questions about How To Change My Wi-Fi Router Name
Was this page helpful?
At Storables.com, we guarantee accurate and reliable information. Our content, validated by Expert Board Contributors, is crafted following stringent Editorial Policies. We're committed to providing you with well-researched, expert-backed insights for all your informational needs.


0 thoughts on “How To Change My Wi-Fi Router Name”