Home>Technology>Smart Home Devices>How To Make 3D Printer Filament

Smart Home Devices
How To Make 3D Printer Filament
Modified: March 26, 2024
Learn how to make 3D printer filament at home and save money on smart home devices. Follow our step-by-step guide and start creating your own filament today!
(Many of the links in this article redirect to a specific reviewed product. Your purchase of these products through affiliate links helps to generate commission for Storables.com, at no extra cost. Learn more)
Introduction
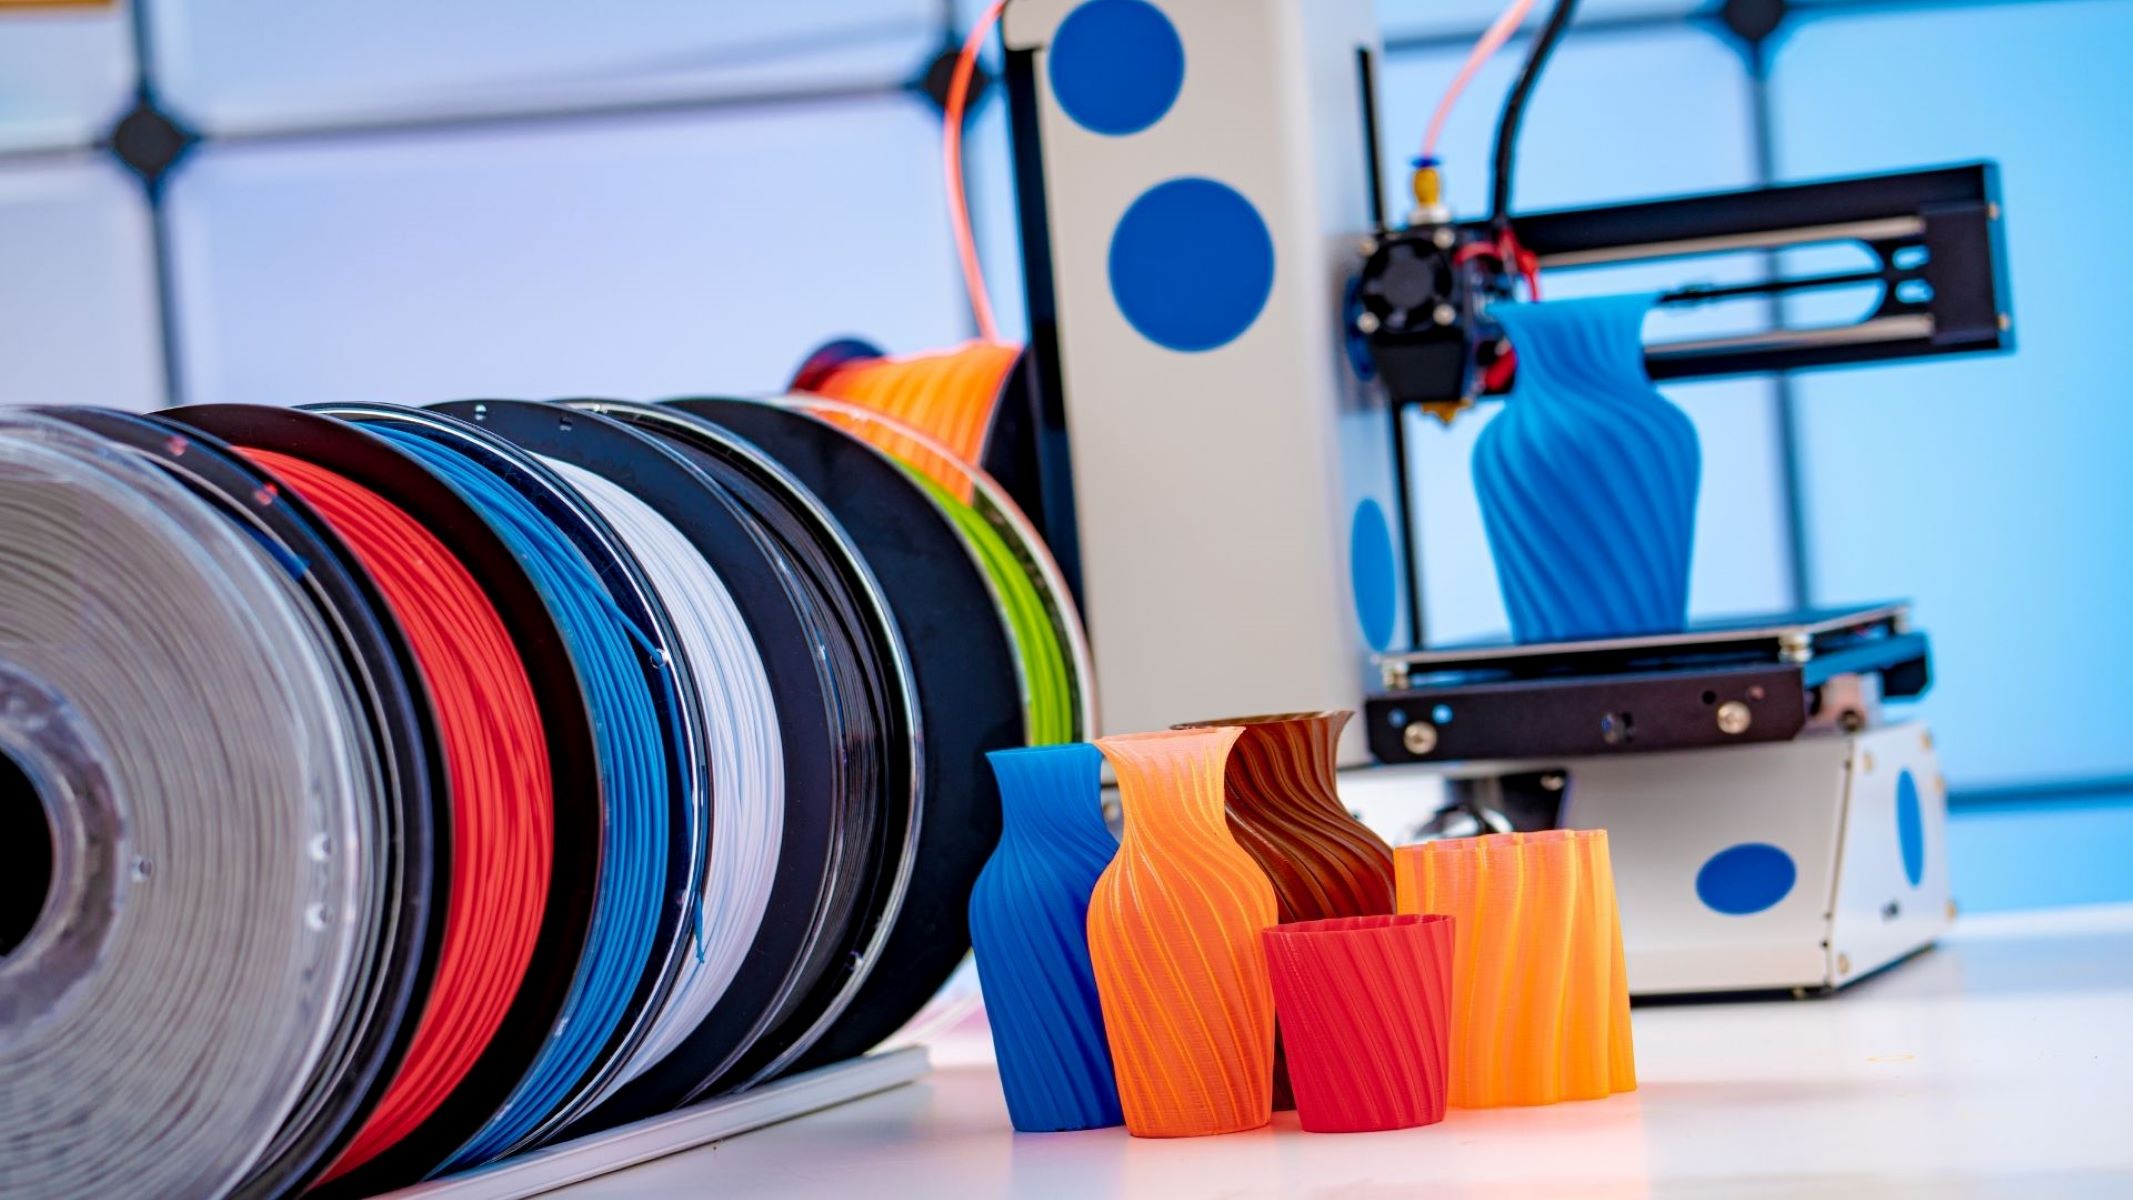
Welcome to the fascinating world of 3D printing! While purchasing filament is a convenient option, there’s something truly rewarding about creating your own filament for 3D printing. Not only does it offer a sense of accomplishment, but it also allows for customization and experimentation with different materials. In this guide, we’ll walk through the process of making 3D printer filament from raw materials, providing you with the knowledge and confidence to embark on this exciting DIY journey.
By crafting your own filament, you gain insight into the intricacies of 3D printing, from the composition of the material to the extrusion process. Whether you’re a hobbyist seeking a new challenge or a professional aiming to expand your expertise, learning how to make 3D printer filament opens up a world of possibilities. So, gather your materials and let’s dive into the art of creating custom filament for your 3D printing projects!
Key Takeaways:
- Creating your own 3D printer filament is a rewarding DIY journey that offers customization and insight into 3D printing intricacies. Experiment, innovate, and let your creativity flourish in the world of custom filament production!
- Meticulously preparing, controlling, and spooling the filament ensures high-quality and reliable 3D printing results. Embrace continuous learning and exploration to push the boundaries of what’s possible with your custom filament creations.
Read more: How To Store 3D Printer Filament
Materials and Equipment
Before delving into the process of making 3D printer filament, it’s crucial to gather the necessary materials and equipment. Here’s what you’ll need:
- Raw Plastic Granules: The primary material for creating filament. ABS and PLA are popular choices, each offering distinct characteristics for 3D printing.
- Pigments or Additives (Optional): If you wish to customize the color or properties of the filament, pigments or additives can be incorporated into the raw material.
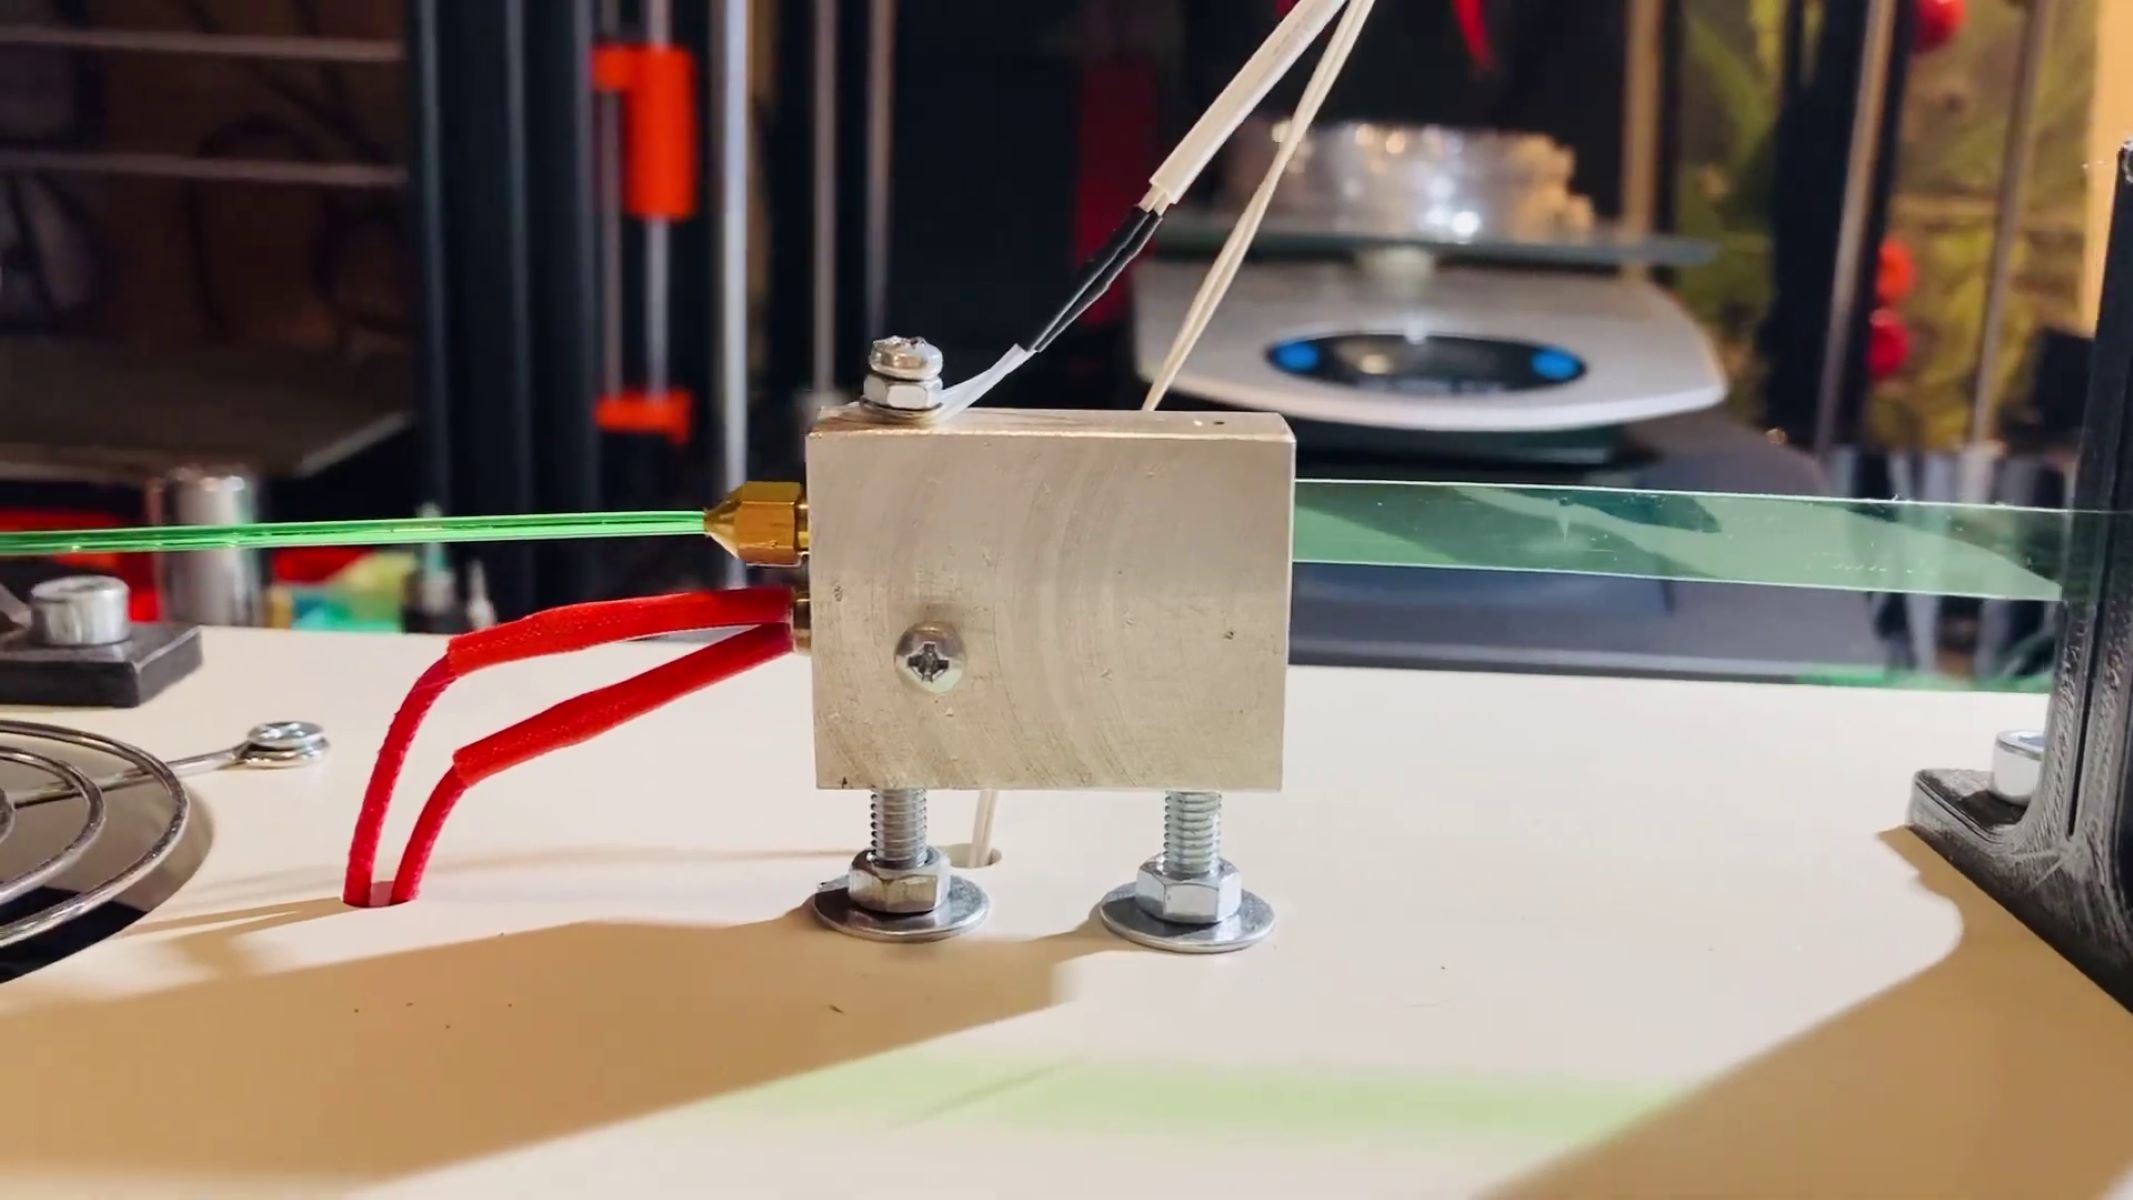
- Filament Extruder: This machine is essential for melting the raw plastic and extruding it into filament form. There are various types of extruders available, ranging from DIY kits to commercial-grade models.
- Filament Cooling System: A mechanism for rapidly cooling the extruded filament to ensure its dimensional accuracy and structural integrity.
- Filament Spooler: Used to neatly wind the produced filament onto spools for convenient storage and usage with 3D printers.
- Digital Scale and Measuring Tools: Accurately measuring the raw materials is crucial for achieving consistent filament quality.
- Safety Gear: As with any manufacturing process, safety goggles, gloves, and a well-ventilated workspace are essential for personal protection.
By assembling these materials and equipment, you’ll be well-prepared to embark on the journey of creating your own 3D printer filament. The next steps will guide you through the intricate process of transforming raw plastic granules into high-quality filament suitable for your 3D printing projects.
Step 1: Preparing the Raw Material
Before diving into the extrusion process, it’s essential to prepare the raw plastic granules for optimal filament production. Here’s a step-by-step guide to this crucial initial phase:
- Selection of Raw Material: Choose the type of plastic granules based on the specific properties you desire in the filament. ABS is known for its strength and durability, while PLA is favored for its biodegradability and ease of use.
- Drying the Raw Material (If Necessary): Moisture content in the plastic granules can adversely affect the quality of the filament. If the raw material has been exposed to moisture, it’s imperative to dry it thoroughly before proceeding to the next step.
- Weighing and Mixing (Optional): If you intend to create custom-colored filament or enhance the material properties with additives, this is the stage to weigh the raw plastic granules and incorporate pigments or additives as desired.
- Homogenizing the Mixture: To ensure uniform color and composition, thoroughly mix the raw plastic granules with any added pigments or additives. This can be achieved through mechanical mixing or using specialized equipment for homogenization.
- Quality Control: Prior to the extrusion process, it’s advisable to conduct quality checks on the prepared raw material. This involves inspecting the color consistency, moisture content, and overall homogeneity of the mixture to guarantee high-quality filament production.
By meticulously preparing the raw material, you lay the foundation for producing filament that meets your exact specifications. This attention to detail in the initial phase sets the stage for a successful extrusion process, ensuring the creation of superior-quality filament for your 3D printing endeavors.
When making 3D printer filament, ensure that the raw material is thoroughly dried to prevent bubbles and inconsistencies in the final product.
Step 2: Melting and Extruding the Filament
With the raw material meticulously prepared, it’s time to embark on the transformative process of melting and extruding the filament. This crucial step requires precision and careful control of temperature and pressure to achieve the desired filament characteristics. Here’s a comprehensive guide to the melting and extrusion process:
- Feeding the Raw Material: The prepared raw plastic granules are fed into the filament extruder, where they undergo controlled heating and compression to facilitate the melting process.
- Heating Zone: Within the extruder, the raw material is subjected to gradually increasing temperatures in a series of heating zones. This gradual heating ensures thorough melting of the plastic without causing degradation or overheating.
- Melting and Pressurization: As the plastic granules reach the optimal temperature, they transition into a molten state while being subjected to controlled pressure. This phase is critical for achieving consistent filament diameter and structural integrity.
- Die and Sizing: The molten plastic is forced through a precision die, shaping it into the desired filament diameter. This die plays a pivotal role in determining the final dimensions of the extruded filament.
- Cooling Bath: Immediately after extrusion, the filament passes through a cooling bath or chamber to rapidly cool and solidify. This rapid cooling is essential for maintaining the filament’s dimensional accuracy and preventing deformation.
- Quality Inspection: Throughout the extrusion process, continuous monitoring and quality checks are conducted to ensure that the produced filament meets the specified diameter and quality standards.
By meticulously controlling the melting and extrusion process, you can produce high-quality filament with consistent diameter and structural integrity. This precise control over the extrusion parameters is instrumental in creating filament that performs reliably during 3D printing, resulting in exceptional print quality and dimensional accuracy.
Step 3: Cooling and Spooling
After the filament is extruded, it’s essential to subject it to a controlled cooling process before spooling it for storage and use in 3D printing. The cooling and spooling phase plays a critical role in ensuring the dimensional accuracy and usability of the produced filament. Here’s a detailed overview of the cooling and spooling process:
- Rapid Cooling System: The freshly extruded filament passes through a rapid cooling system, which may involve a combination of air cooling and water cooling to expedite the solidification process. Rapid cooling is essential for locking in the filament’s dimensions and preventing warping or deformation.
- Length Measurement and Cutting: Once the filament has been sufficiently cooled and solidified, it is precisely measured and cut into uniform lengths. This ensures that the filament spools contain consistent lengths of filament for seamless 3D printing operations.
- Spooling the Filament: The cooled and cut filament is meticulously wound onto spools using a filament spooler. This process demands precision to prevent tangles and ensure that the filament is neatly and evenly wound onto the spools.
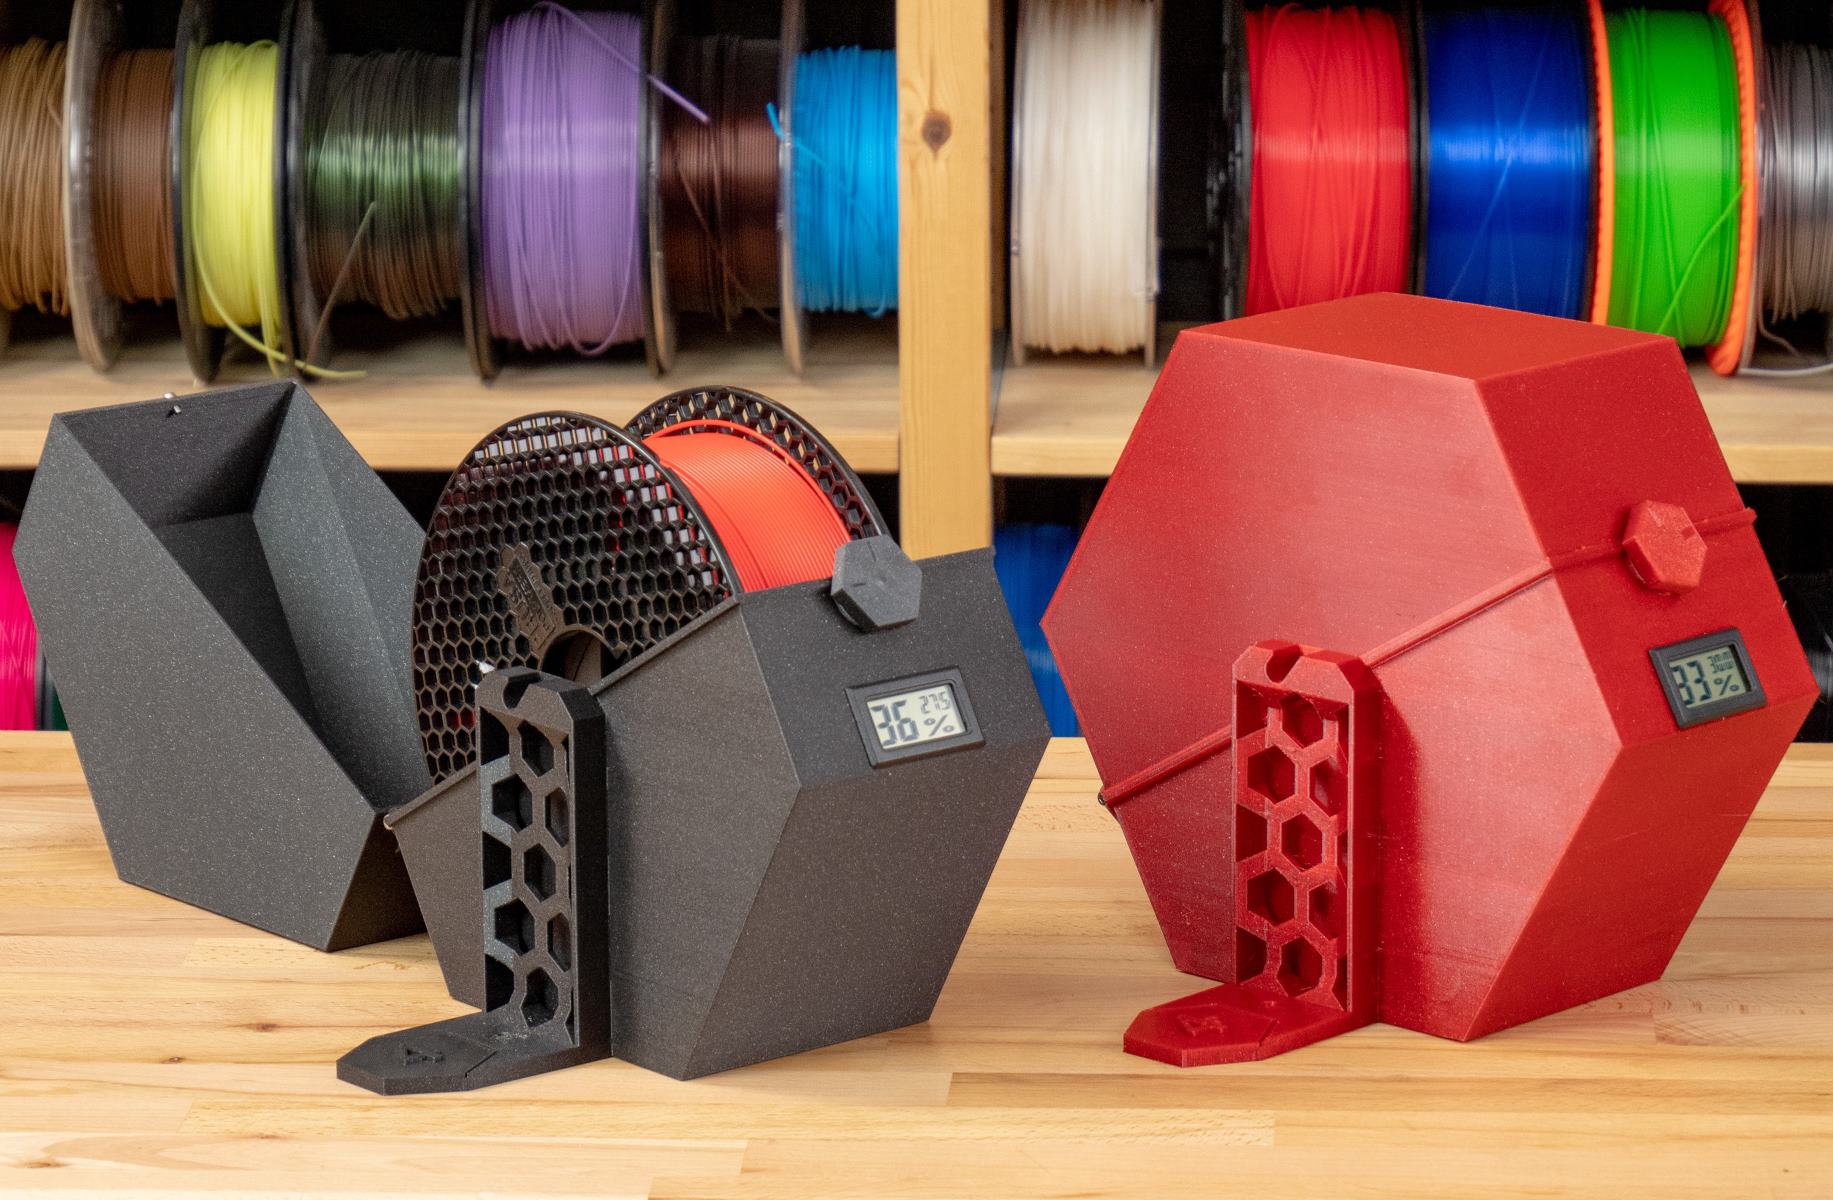
- Spool Labeling and Storage: Each spool of filament is labeled with pertinent details such as the material type, color, and production date. Proper labeling facilitates easy identification and storage, safeguarding the filament’s quality for future use.
- Quality Assurance: Throughout the cooling and spooling process, quality checks are conducted to verify the dimensional accuracy, consistency, and overall quality of the produced filament. Any deviations from the specified standards are addressed to maintain the highest quality standards.
By meticulously executing the cooling and spooling process, you ensure that the produced filament is ready for seamless integration into your 3D printing projects. The careful attention to cooling, cutting, and spooling guarantees that the filament maintains its dimensional accuracy and structural integrity, paving the way for successful and reliable 3D printing endeavors.
Read more: How To Reuse 3D Printer Filament
Conclusion
Congratulations on mastering the art of creating your own 3D printer filament! By following the comprehensive process outlined in this guide, you’ve gained valuable insights into the intricate craft of filament production. From meticulously preparing the raw material to precisely controlling the melting, extrusion, cooling, and spooling processes, you’ve embarked on a journey that combines creativity and technical precision.
As you venture into the world of custom filament production, remember that experimentation and innovation are key drivers of progress. Whether you’re exploring new materials, refining color formulations, or optimizing filament properties for specific applications, the possibilities are endless. Embrace the freedom to tailor filament characteristics to suit your unique 3D printing requirements, and let your creativity flourish.
Furthermore, the knowledge and skills you’ve acquired empower you to delve deeper into the realm of 3D printing, opening doors to new opportunities and creative endeavors. Whether you’re a hobbyist, educator, or professional in the field, the ability to create custom filament adds a new dimension to your 3D printing capabilities.
Remember, the journey doesn’t end here. Continuous learning, exploration, and innovation are integral to the world of 3D printing. Stay curious, stay inventive, and keep pushing the boundaries of what’s possible with your custom filament creations. Your unique filament formulations have the potential to bring your imaginative designs to life with precision and excellence.
So, as you embark on your filament-making adventures, may your creations inspire awe and spark innovation in the ever-evolving landscape of 3D printing.
Frequently Asked Questions about How To Make 3D Printer Filament
Was this page helpful?
At Storables.com, we guarantee accurate and reliable information. Our content, validated by Expert Board Contributors, is crafted following stringent Editorial Policies. We're committed to providing you with well-researched, expert-backed insights for all your informational needs.

0 thoughts on “How To Make 3D Printer Filament”