Home>Technology>Smart Home Devices>How To Connect To HP Printer Using Hotspot
Smart Home Devices
How To Connect To HP Printer Using Hotspot
Modified: February 18, 2024
Learn how to connect your HP printer to a hotspot for seamless printing from your smart home devices. Follow our simple guide for easy setup and printing.
(Many of the links in this article redirect to a specific reviewed product. Your purchase of these products through affiliate links helps to generate commission for Storables.com, at no extra cost. Learn more)
Introduction
In today's digital age, the integration of smart home devices has revolutionized the way we interact with our living spaces. From intelligent thermostats to connected security systems, these devices offer convenience, efficiency, and enhanced living experiences. Among these cutting-edge innovations, HP printers have evolved to seamlessly integrate into smart home ecosystems, allowing users to print from various devices with unparalleled ease.
Connecting your HP printer using a hotspot is a convenient way to ensure that your printing needs are met, regardless of your network setup. Whether you're working from a remote location, traveling, or simply prefer the flexibility of a hotspot connection, this method empowers you to print effortlessly without being tethered to a traditional Wi-Fi network.
This comprehensive guide will walk you through the step-by-step process of connecting your HP printer to a hotspot, enabling you to harness the full potential of your smart home printing capabilities. By following these simple instructions, you can enjoy the freedom and flexibility of printing from your HP printer using a hotspot, enhancing your overall printing experience. Let's delve into the details and get your HP printer seamlessly connected to a hotspot!
Key Takeaways:
- You can connect your HP printer to a hotspot for easy printing from anywhere within the hotspot’s range. Just follow the simple steps to set up your printer and activate the hotspot for seamless wireless printing.
- By connecting your HP printer to a hotspot, you unlock the freedom to print without being tied to a traditional Wi-Fi network. This integration offers convenience and flexibility, enhancing your smart home printing experience.
Read more: How To Connect Printer To Hotspot
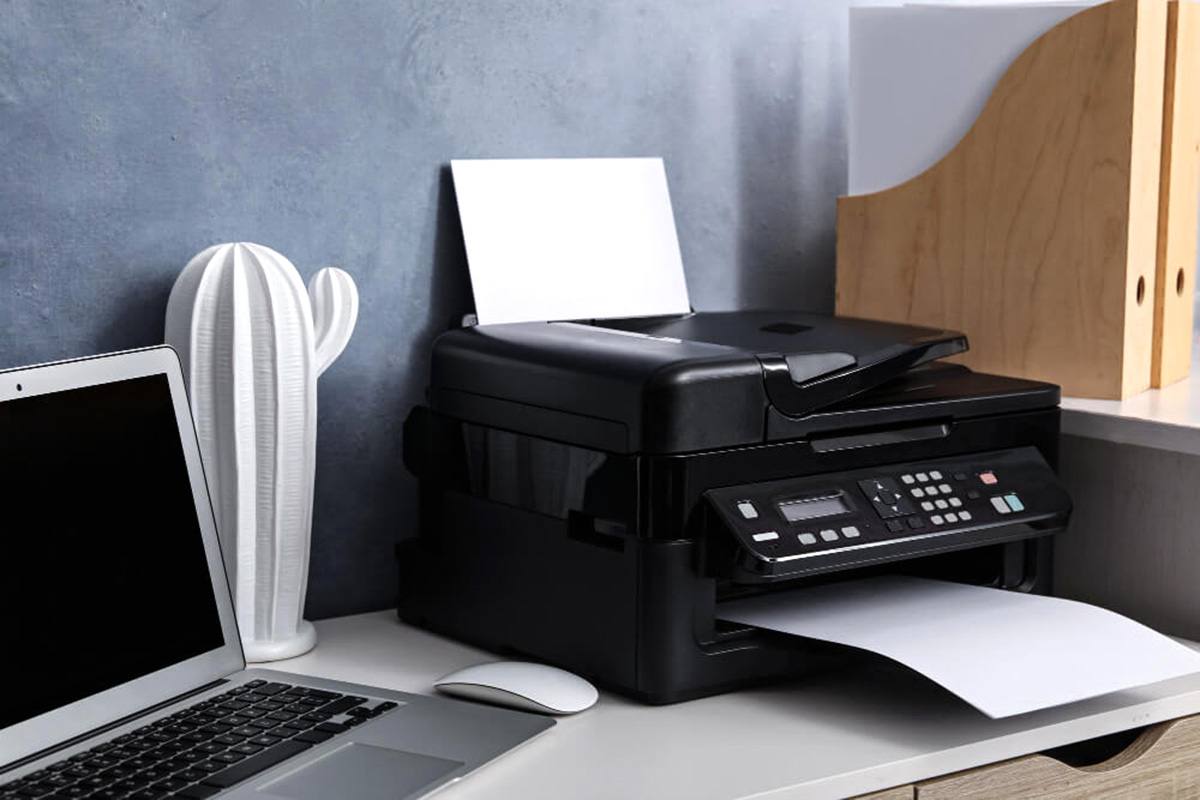
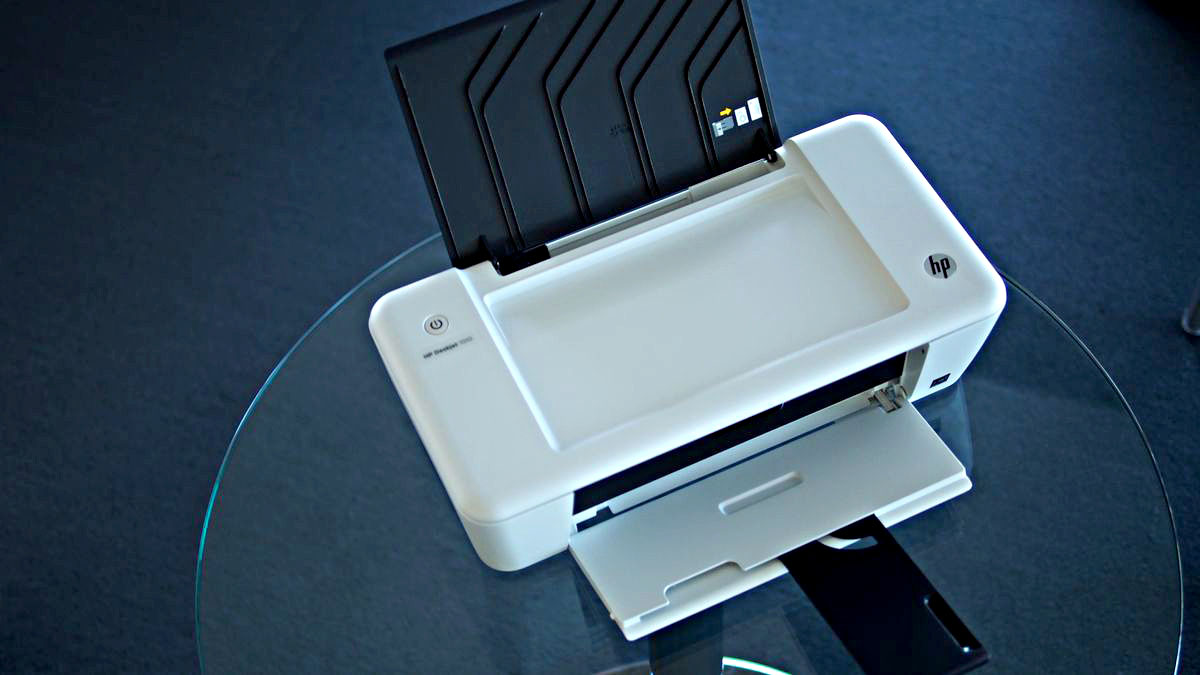
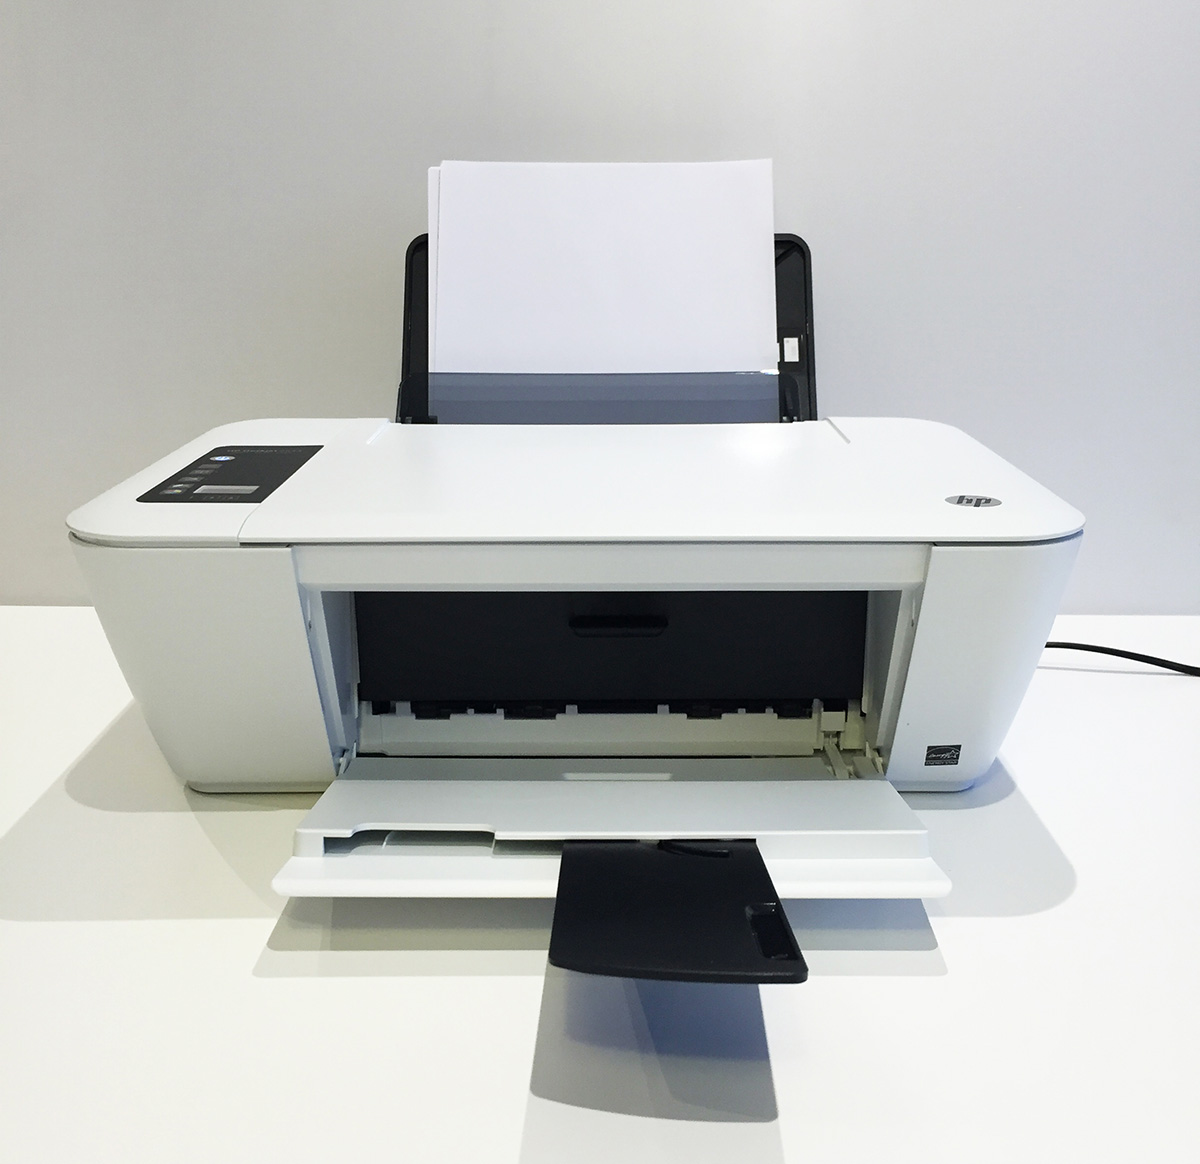
Step 1: Set Up Your HP Printer
Before connecting your HP printer to a hotspot, it is essential to ensure that the printer is properly set up and ready for the connection process. Follow these steps to prepare your HP printer for the hotspot connection:
- Unbox and Power On: Unpack your HP printer from its packaging and place it in a suitable location within the range of the hotspot signal. Connect the power cord to the printer and a power source, then power on the printer to initiate the setup process.
- Install Ink Cartridges: If your printer requires ink cartridges, carefully install them according to the manufacturer’s instructions. Ensure that the cartridges are securely in place to avoid any printing issues.
- Load Paper: Insert the appropriate paper type and size into the printer’s input tray. Adjust the paper guides to secure the paper in position, preventing potential jams during the printing process.
- Configure Printer Settings: Use the printer’s control panel or touchscreen interface to set your preferences, such as language, date, time, and any other initial settings required for optimal functionality.
- Connect to Power Source: Ensure that your printer is connected to a stable power source to prevent any interruptions during the setup and connection process.
By completing these preliminary steps, you will have your HP printer ready for the subsequent process of connecting it to a hotspot. Properly setting up your printer lays the foundation for a seamless and successful connection, ensuring that you can enjoy hassle-free printing from your preferred devices via the hotspot connection.
Step 2: Turn on the Hotspot
Once your HP printer is prepared for the connection, the next step involves activating the hotspot that the printer will connect to. If you are using a mobile device or a portable hotspot device, follow these general steps to turn on the hotspot:
- Access Hotspot Settings: On your mobile device or portable hotspot device, navigate to the settings menu to locate the option for enabling the hotspot feature. This may be found under “Wireless & Networks,” “Connections,” or a similar section, depending on the device.
- Enable Hotspot: Within the settings, locate the “Hotspot” or “Tethering” option and toggle the switch to enable the hotspot functionality. You may have the option to set a custom network name (SSID) and password for the hotspot to enhance security.
- Verify Hotspot Activation: Once the hotspot is enabled, ensure that the device displays a confirmation that the hotspot is active and ready for connections. Take note of the network name (SSID) and password, as these details will be used to connect your HP printer.
By activating the hotspot, you create a dedicated wireless network that your HP printer can join, allowing seamless communication between your devices and the printer. This step sets the stage for the subsequent process of connecting your HP printer to the hotspot, enabling convenient and flexible printing from various locations within the hotspot’s range.
Make sure your HP printer and the device you want to print from are connected to the same hotspot network. Then, download the HP Smart app and follow the on-screen instructions to connect your printer to the hotspot.
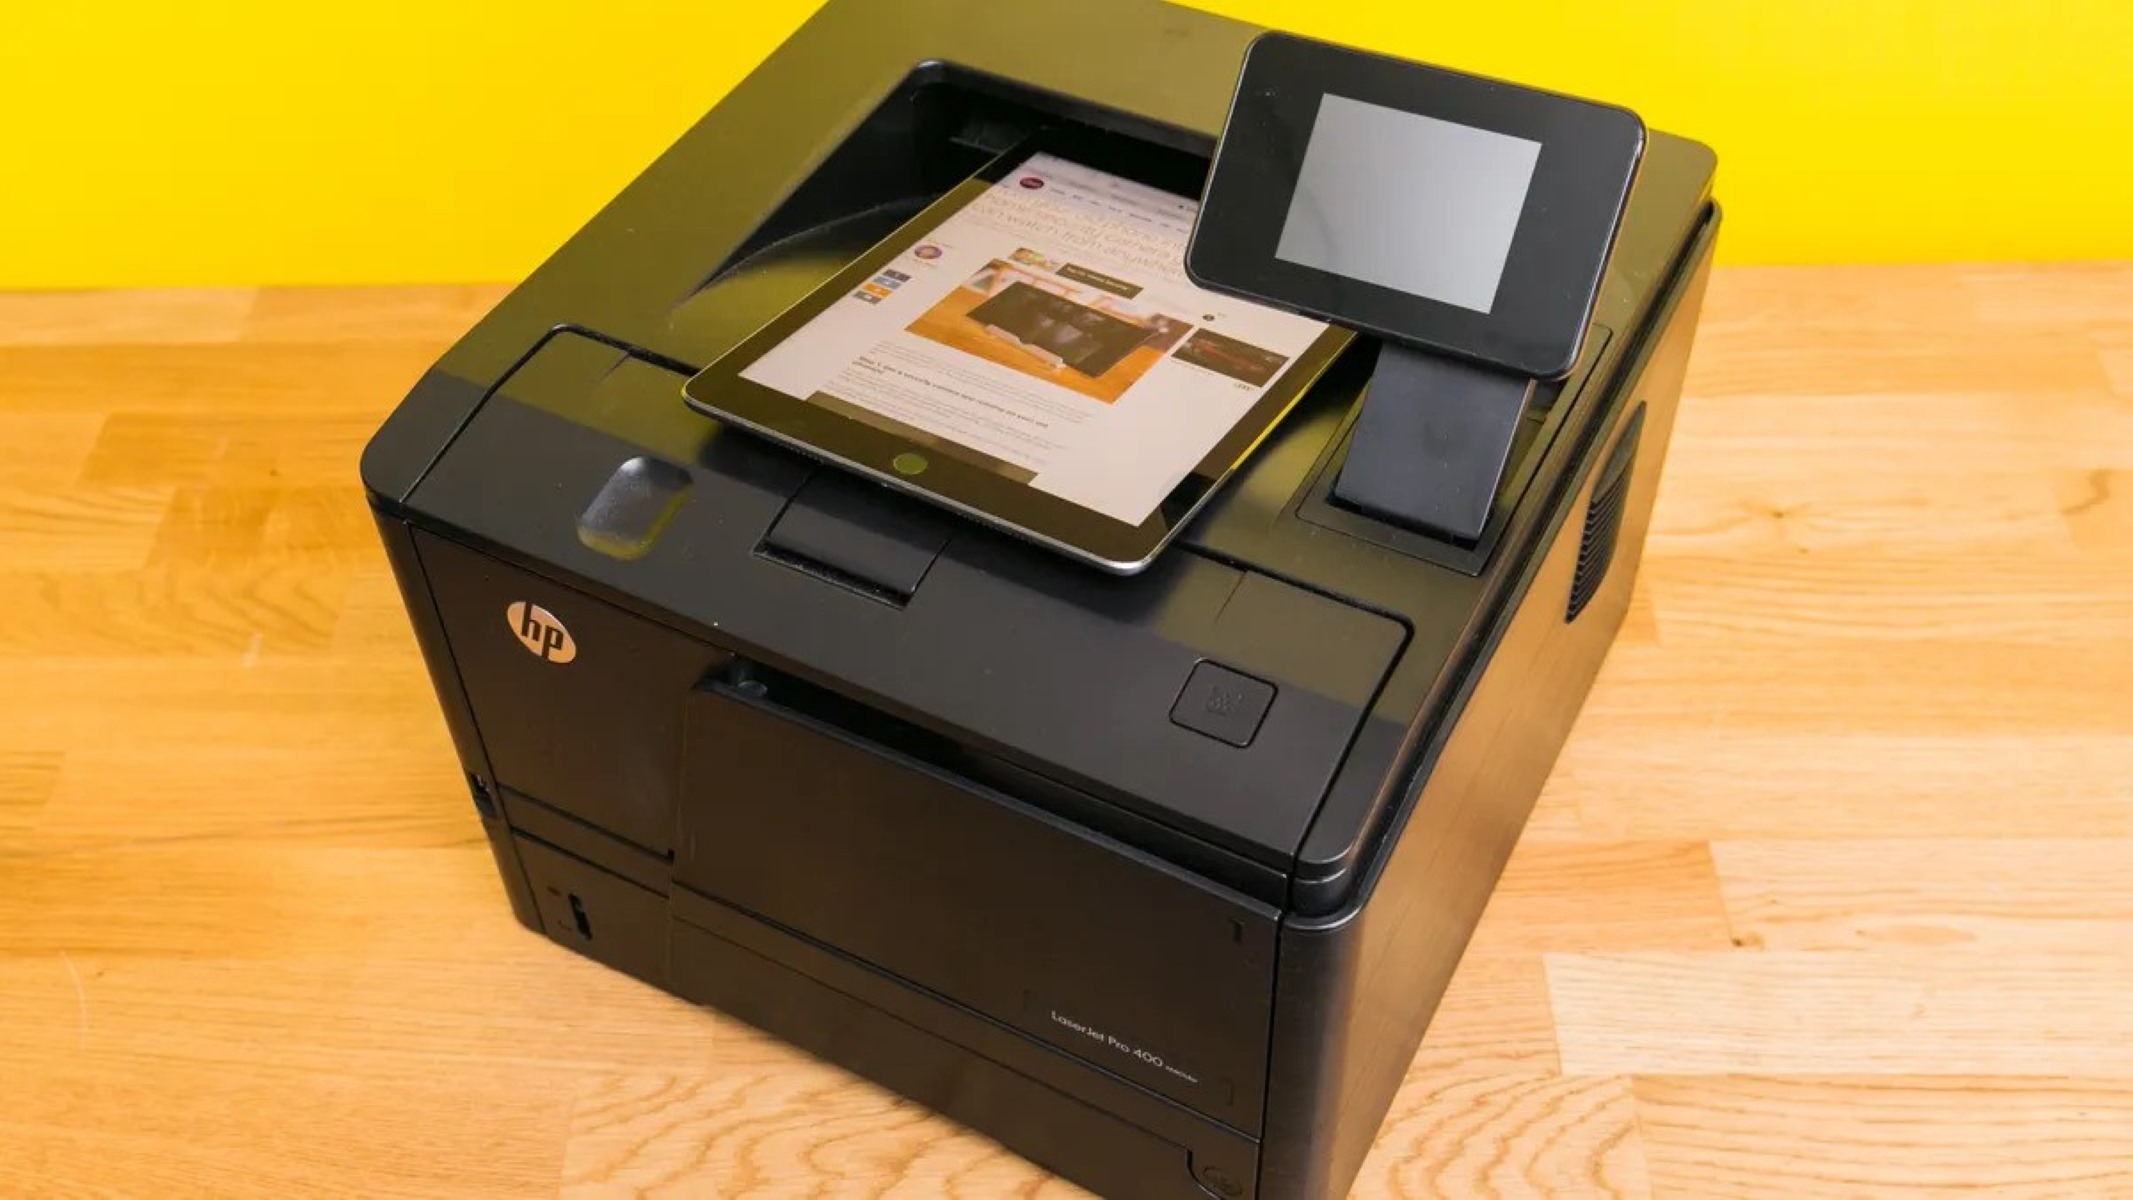
Step 3: Connect Your Printer to the Hotspot
With the hotspot activated and your HP printer prepared for the connection, it’s time to establish the wireless connection between the printer and the hotspot. Follow these steps to connect your HP printer to the hotspot:
- Access Printer Settings: On the control panel or display screen of your HP printer, navigate to the wireless or network settings. Look for the option to set up a new wireless connection or join an existing network.
- Select the Hotspot Network: Within the printer’s wireless settings, locate the list of available networks and select the hotspot network created in the previous step. Enter the network password (if applicable) to initiate the connection process.
- Complete the Connection: Once the printer successfully connects to the hotspot network, a confirmation message or indicator light on the printer will signal the successful establishment of the wireless connection.
- Verify Connectivity: To ensure that the connection is stable, print a test page or access the printer’s status report to confirm that it is actively connected to the hotspot network.
By connecting your HP printer to the hotspot, you enable seamless printing capabilities from any device within the hotspot’s range. Whether you’re working from a remote location, a temporary setup, or simply prefer the flexibility of hotspot connectivity, this process empowers you to print effortlessly without the constraints of a traditional Wi-Fi network.
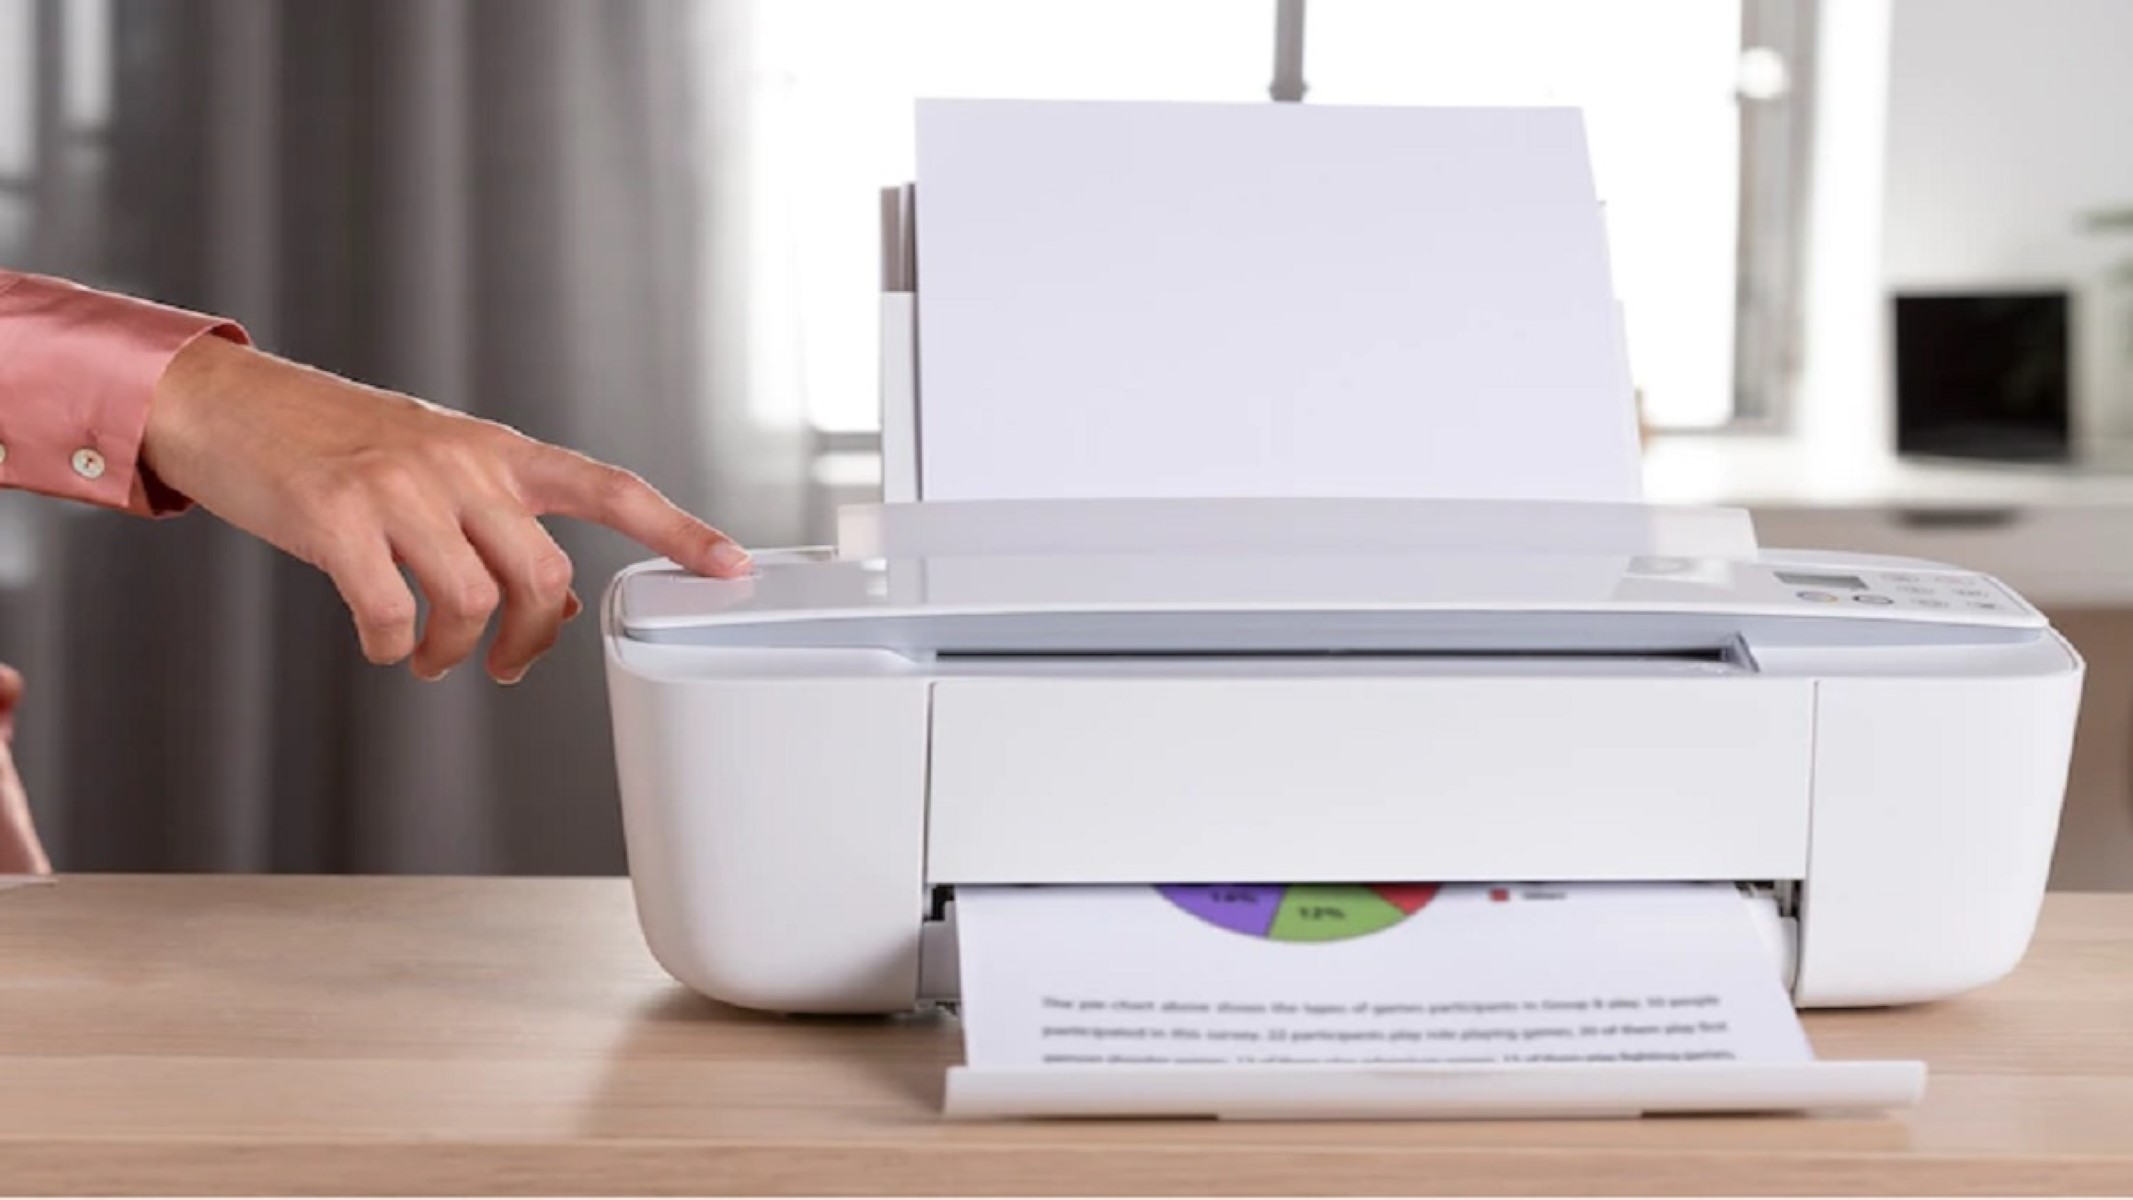
Step 4: Print a Test Page
After successfully connecting your HP printer to the hotspot, it’s essential to verify the functionality of the wireless connection by printing a test page. This simple yet crucial step allows you to confirm that the printer is actively communicating with the connected devices via the hotspot network. Follow these steps to print a test page from your HP printer:
- Send a Test Print Command: From your computer, smartphone, or any connected device, open a document or image and select the option to print. Choose the connected HP printer as the designated printing device.
- Review Print Settings: Before sending the print command, ensure that the print settings, such as paper size, orientation, and quality, are configured according to your preferences.
- Initiate Printing: Send the print command and monitor the printer for any error messages or indicators. The printer should promptly receive the print job and begin processing the test page.
- Inspect the Test Page: Once the printer completes the printing process, retrieve the test page and assess the quality of the printout. Verify that the content is accurately reproduced and that the printer operates seamlessly via the hotspot connection.
By printing a test page, you can confirm that your HP printer is fully operational and capable of delivering high-quality prints through the hotspot connection. This final validation ensures that you can rely on your HP printer for all your printing needs, regardless of the network setup or location.
Conclusion
Connecting your HP printer to a hotspot opens up a world of possibilities, allowing you to print from virtually anywhere within the range of the hotspot signal. This seamless integration of your printer into your smart home ecosystem empowers you to print with unparalleled convenience and flexibility, transcending the limitations of traditional network setups.
By following the step-by-step process outlined in this guide, you have successfully equipped your HP printer to harness the power of hotspot connectivity. From setting up your printer and activating the hotspot to establishing the wireless connection and verifying the printing capabilities, you have unlocked a new dimension of printing convenience.
Whether you’re working remotely, traveling, or simply seeking a dynamic printing solution, the ability to connect your HP printer to a hotspot ensures that your printing needs are effortlessly met. This seamless integration aligns with the modern demands for flexible and adaptable technologies, allowing you to stay productive and efficient in a rapidly evolving digital landscape.
As you embark on your printing journey with hotspot connectivity, remember that this method offers not only practicality but also the freedom to print on your terms. Embrace the convenience and flexibility that hotspot-connected printing provides, and let your HP printer seamlessly complement your smart home experience.
With your HP printer now connected to a hotspot, you are poised to embark on a printing adventure that transcends traditional boundaries, empowering you to print with unparalleled ease and flexibility.
Frequently Asked Questions about How To Connect To HP Printer Using Hotspot
Was this page helpful?
At Storables.com, we guarantee accurate and reliable information. Our content, validated by Expert Board Contributors, is crafted following stringent Editorial Policies. We're committed to providing you with well-researched, expert-backed insights for all your informational needs.


0 thoughts on “How To Connect To HP Printer Using Hotspot”