Home>Technology>Smart Home Devices>How Do You Connect A HP Printer To A Laptop
Smart Home Devices
How Do You Connect A HP Printer To A Laptop
Modified: August 17, 2024
Learn how to connect a HP printer to your laptop and enjoy the convenience of printing from your smart home devices. Easy step-by-step guide for seamless setup.
(Many of the links in this article redirect to a specific reviewed product. Your purchase of these products through affiliate links helps to generate commission for Storables.com, at no extra cost. Learn more)
**
Introduction
**
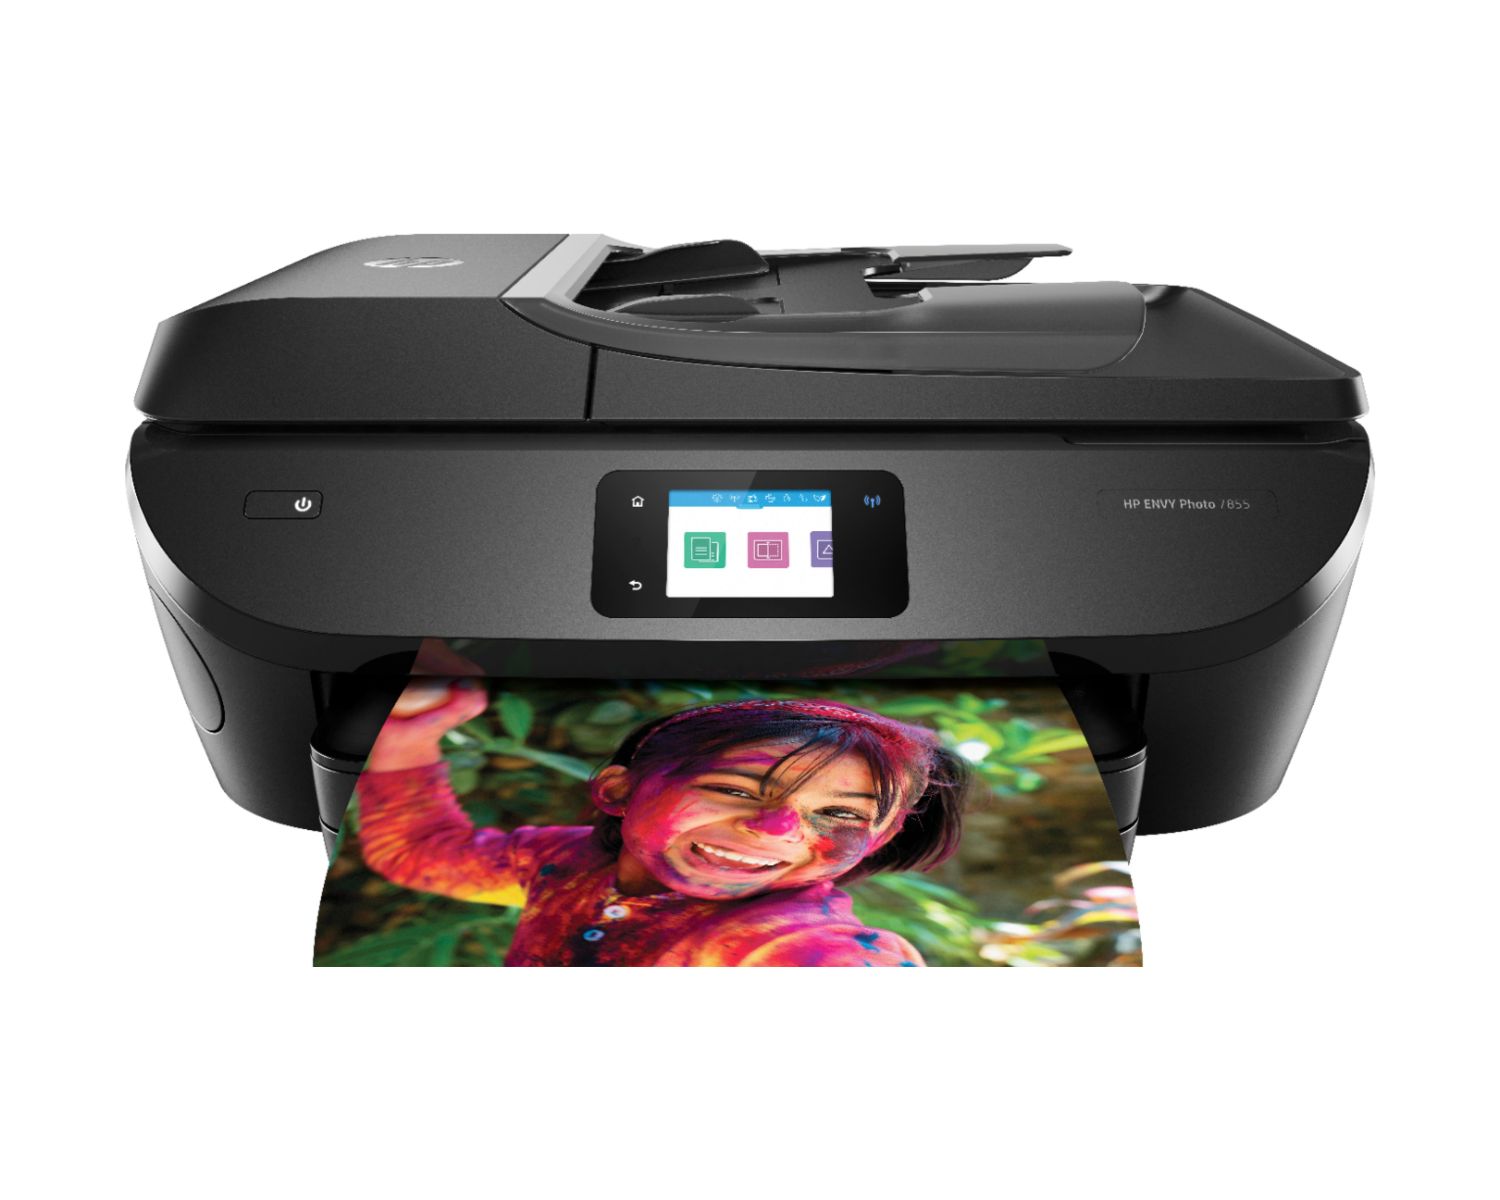
In today's digital age, the seamless integration of devices has become a cornerstone of productivity and convenience. The ability to connect a HP printer to a laptop is a fundamental aspect of modern computing, empowering users to effortlessly produce high-quality documents and vibrant images. Whether you're a student preparing a research paper, a professional finalizing a presentation, or a creative individual bringing your ideas to life, the process of connecting a HP printer to a laptop is a crucial step towards achieving your goals.
As technology continues to evolve, the once intricate task of setting up a printer has become remarkably streamlined. With the right guidance and a clear understanding of the necessary steps, you can establish a reliable connection between your HP printer and laptop in no time. This article will serve as your comprehensive guide, walking you through each essential step with clarity and precision. By following these instructions, you'll be able to harness the full potential of your HP printer, unleashing its capabilities to enhance your personal and professional endeavors.
So, let's embark on this journey together, unraveling the process of connecting your HP printer to your laptop with confidence and ease. Whether you're a tech-savvy enthusiast or a newcomer to the world of digital devices, this guide is designed to equip you with the knowledge and skills needed to achieve a successful connection. Let's dive in and unlock the boundless possibilities that await at the intersection of your HP printer and laptop.
**
Key Takeaways:
- Connecting your HP printer to your laptop involves checking compatibility, installing printer software, and establishing a physical or wireless connection. Once connected, set the printer as the default for seamless printing.
- By following the steps in this guide, you can confidently connect your HP printer to your laptop, unlocking the potential for efficient and high-quality printing. Embrace the seamless integration for productive and creative endeavors.
Read more: How To Connect Laptop To Printer
Step 1: Check the Compatibility
**
Before initiating the connection process, it's crucial to ensure that your HP printer is compatible with your laptop. This involves verifying the compatibility of both devices, including their operating systems and connectivity options. Here are the key considerations to keep in mind:
Operating System Compatibility:
Begin by checking the compatibility of your HP printer with the operating system of your laptop. HP provides comprehensive support for a wide range of operating systems, including Windows, macOS, and Linux. Visit the official HP website or refer to the printer's documentation to confirm that the printer is compatible with your laptop's operating system.
Connection Options:
Examine the available connection options for your HP printer and laptop. HP printers typically offer versatile connectivity, including USB, wireless, and network connections. Determine the connection method that best suits your preferences and infrastructure. If you prefer a wireless connection, ensure that your laptop has Wi-Fi capabilities and that the printer supports wireless connectivity.
Driver Compatibility:
Check whether the necessary printer drivers are compatible with your laptop's operating system. HP provides dedicated drivers for each printer model, tailored to work seamlessly with specific operating systems. Ensure that the latest printer drivers are available for download and compatible with your laptop's operating system version.
Hardware Requirements:
Verify the hardware requirements for connecting the HP printer to your laptop. This includes assessing the availability of USB ports, network infrastructure, and Wi-Fi capabilities on your laptop. For wireless connections, ensure that your laptop is within the range of your Wi-Fi network and that the network settings are compatible with the printer's requirements.
By meticulously examining the compatibility of your HP printer and laptop, you can lay a solid foundation for a successful connection. Addressing these compatibility factors will enable you to proceed with confidence, knowing that your devices are poised to work harmoniously together.
With the compatibility checks completed, you're ready to embark on the next crucial step: installing the printer software.
**
Step 2: Install the Printer Software
**
Once you've confirmed the compatibility of your HP printer and laptop, the next pivotal step is to install the printer software on your laptop. The printer software, also known as the printer driver, serves as the bridge between your laptop's operating system and the HP printer, facilitating seamless communication and functionality. Follow these steps to install the printer software:
1. Visit the HP Official Website:
Access the official HP website through your laptop's web browser. Navigate to the "Support" or "Drivers" section of the website, where you can enter your printer model to locate the relevant software and drivers.
2. Download the Printer Software:
Locate the specific software package tailored for your HP printer and laptop's operating system. Download the latest version of the printer software to ensure compatibility and access to the most up-to-date features and enhancements.
3. Run the Software Installation:
Once the software package is downloaded, initiate the installation process by double-clicking on the downloaded file. Follow the on-screen prompts to proceed with the installation. Ensure that you carefully review and accept the license agreements and settings to customize the installation based on your preferences.
4. Connect the Printer (if prompted):
During the installation process, you may be prompted to connect your HP printer to your laptop. If you're using a USB connection, ensure that the printer is powered on and connect it to your laptop using a USB cable when prompted. For wireless connections, follow the specific instructions provided to establish the wireless connection.
5. Complete the Installation:
Once the installation is complete, restart your laptop to finalize the software setup. After the restart, your HP printer software will be fully integrated into your laptop's operating system, enabling seamless printing and access to advanced features.
By installing the printer software, you pave the way for a cohesive relationship between your HP printer and laptop, allowing you to harness the full spectrum of printing capabilities with ease. With the software successfully installed, you're now prepared to proceed to the next step: connecting the printer to your laptop.
**
To connect a HP printer to a laptop, you can use a USB cable or connect wirelessly. For USB, simply plug the cable into both the printer and laptop. For wireless, ensure both devices are on the same network and follow the printer’s instructions to connect.
Step 3: Connect the Printer to the Laptop
**
With the printer software successfully installed on your laptop, the time has come to establish the physical or wireless connection between your HP printer and laptop. Depending on your preferences and the capabilities of your devices, you can choose from various connection methods to suit your needs. Follow these steps to connect your HP printer to your laptop:
1. Physical Connection (USB):
If you opt for a physical connection using a USB cable, ensure that your HP printer is powered on and your laptop is running. Connect one end of the USB cable to the printer and the other end to an available USB port on your laptop. Your laptop will automatically detect the connected printer and configure the necessary settings.
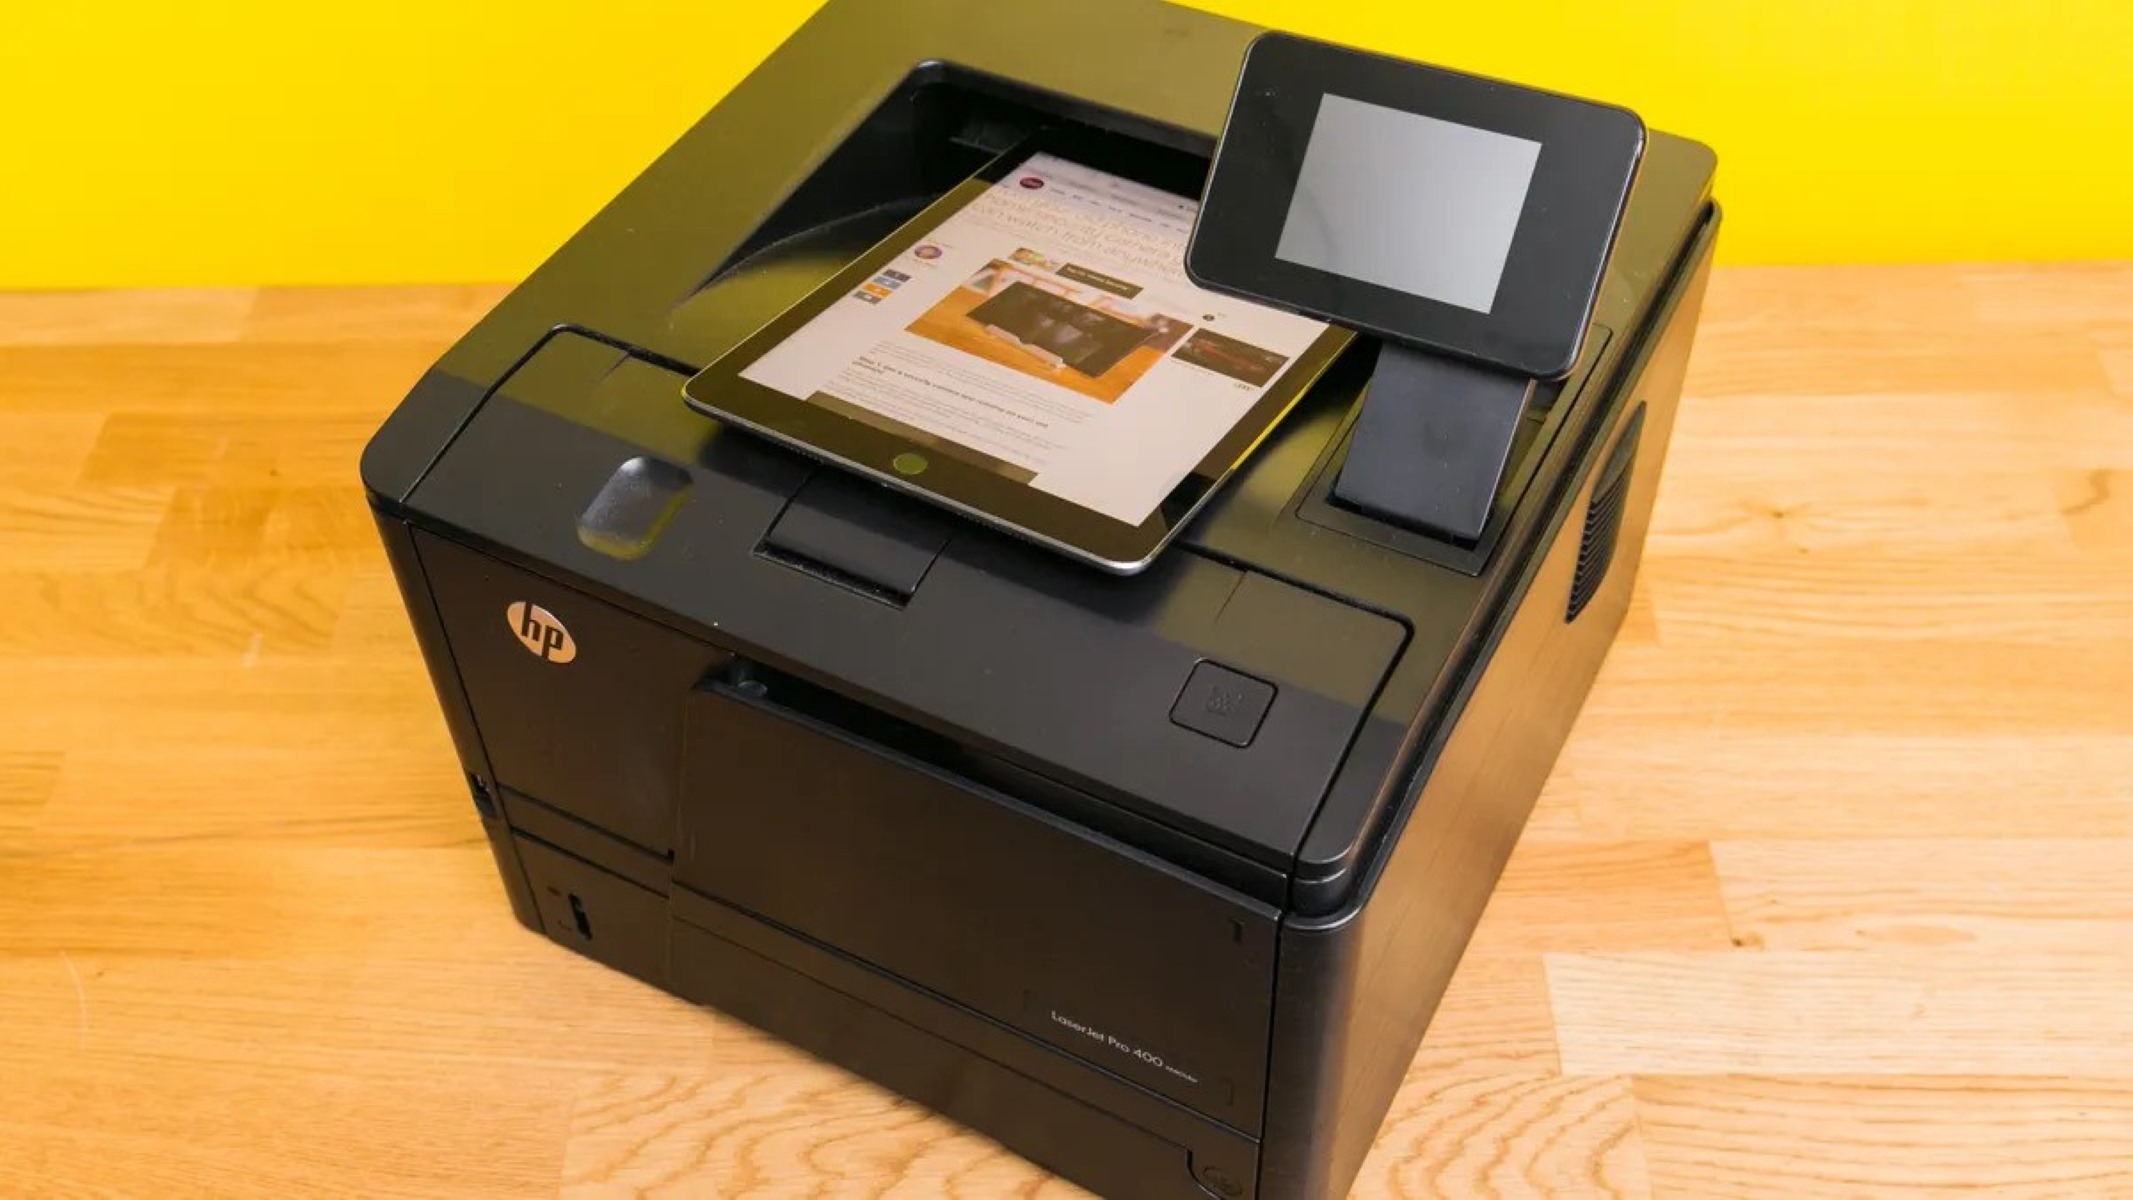
2. Wireless Connection:
For a wireless connection, ensure that your HP printer and laptop are connected to the same Wi-Fi network. Access the printer's control panel or settings menu to initiate the wireless setup process. Follow the on-screen instructions to select your Wi-Fi network, enter the network password (if required), and establish the wireless connection. Once connected, your laptop will detect the wireless printer and complete the setup process.
3. Network Connection:
If your HP printer is part of a network, you can connect it to your laptop through the network infrastructure. Ensure that your laptop is connected to the same network as the printer. Access the "Devices and Printers" or "Printers & Scanners" settings on your laptop, and select "Add a printer or scanner." Your laptop will search for available printers on the network, and you can select your HP printer to establish the network connection.
4. Test the Connection:
After establishing the connection, perform a test print to verify the successful integration of your HP printer with your laptop. Select a document or image on your laptop and initiate the printing process. Your HP printer should respond promptly, producing the desired output and confirming the seamless connection.
By connecting your HP printer to your laptop, you unlock the potential for efficient and versatile printing capabilities, empowering you to bring your digital creations to life with precision and clarity. With the connection established, you can proceed to the final step: setting the printer as the default printing device on your laptop.
**
Step 4: Set the Printer as Default
**
Once your HP printer is successfully connected to your laptop, it’s essential to designate it as the default printing device to streamline your printing workflow. By setting the HP printer as the default option, you ensure that all print jobs are directed to this device by default, simplifying the printing process and enhancing efficiency. Follow these steps to set your HP printer as the default printing device on your laptop:
1. Access Printer Settings:
On your laptop, navigate to the "Devices and Printers" or "Printers & Scanners" settings, depending on your operating system. This can usually be found in the Control Panel or System Settings.
2. Select the HP Printer:
Locate your HP printer in the list of available devices. Right-click on the HP printer and select "Set as default printer" from the context menu. This action designates the HP printer as the primary printing device for your laptop.
3. Confirm Default Status:
Once the HP printer is set as the default device, a green checkmark or a tick icon may appear next to its icon or name, indicating its default status. This visual cue serves as a confirmation that the HP printer is now the default printing option for your laptop.
4. Adjust Default Printer Settings (Optional):
If you have specific preferences for print quality, paper size, or other printing parameters, you can access the printer properties and adjust the default settings to align with your preferences. This ensures that your printing tasks consistently adhere to your desired specifications without the need for manual adjustments each time.
5. Test the Default Setting:
To confirm that the HP printer is functioning as the default printing device, initiate a test print from your laptop. Select a test document or image, and proceed with the printing process. The output should be directed to your HP printer without requiring you to manually select the printer for each print job.
By setting your HP printer as the default printing device on your laptop, you establish a seamless and efficient printing environment, allowing you to effortlessly produce high-quality prints with minimal effort. With this final step completed, your HP printer is fully integrated into your laptop’s printing infrastructure, ready to cater to your diverse printing needs.
**
Read more: How To Connect Laptop To Canon Printer
Conclusion
**
Connecting your HP printer to your laptop is a transformative endeavor that unlocks a world of possibilities, enabling you to translate your digital creations into tangible, high-quality prints. By following the comprehensive steps outlined in this guide, you have successfully navigated the process of establishing a seamless connection between your HP printer and laptop, laying the groundwork for a harmonious printing experience.
Throughout this journey, you meticulously checked the compatibility of your devices, ensuring that they are poised to work in unison. You adeptly installed the essential printer software, bridging the gap between your laptop’s operating system and the printing capabilities of your HP printer. With precision and care, you connected the printer to your laptop, whether through a physical USB link, a wireless network, or a network infrastructure, tailoring the connection to suit your preferences and infrastructure.
As the final touch, you designated your HP printer as the default printing device on your laptop, streamlining your printing workflow and ensuring that your printing tasks are seamlessly directed to the designated device. With each step, you have empowered yourself to harness the full potential of your HP printer, leveraging its capabilities to bring your ideas to life with clarity and precision.
Now, armed with the knowledge and skills acquired through this guide, you possess the confidence and proficiency to navigate the intricacies of connecting your HP printer to your laptop. Whether you’re embarking on a creative project, finalizing a professional presentation, or simply seeking to streamline your printing tasks, the successful connection between your HP printer and laptop serves as a testament to your adeptness in the digital realm.
As you embark on your printing endeavors, may the seamless integration of your HP printer and laptop serve as a catalyst for productivity, creativity, and efficiency. With this foundational connection in place, you are poised to embark on a journey of seamless printing experiences, supported by the robust partnership between your HP printer and laptop.
Embrace the boundless potential that awaits as you leverage the power of your HP printer to bring your digital visions to life, one impeccably printed page at a time.
Frequently Asked Questions about How Do You Connect A HP Printer To A Laptop
Was this page helpful?
At Storables.com, we guarantee accurate and reliable information. Our content, validated by Expert Board Contributors, is crafted following stringent Editorial Policies. We're committed to providing you with well-researched, expert-backed insights for all your informational needs.


0 thoughts on “How Do You Connect A HP Printer To A Laptop”