Home>Technology>Smart Home Devices>How To Change Paper Settings On Canon Printer
Smart Home Devices
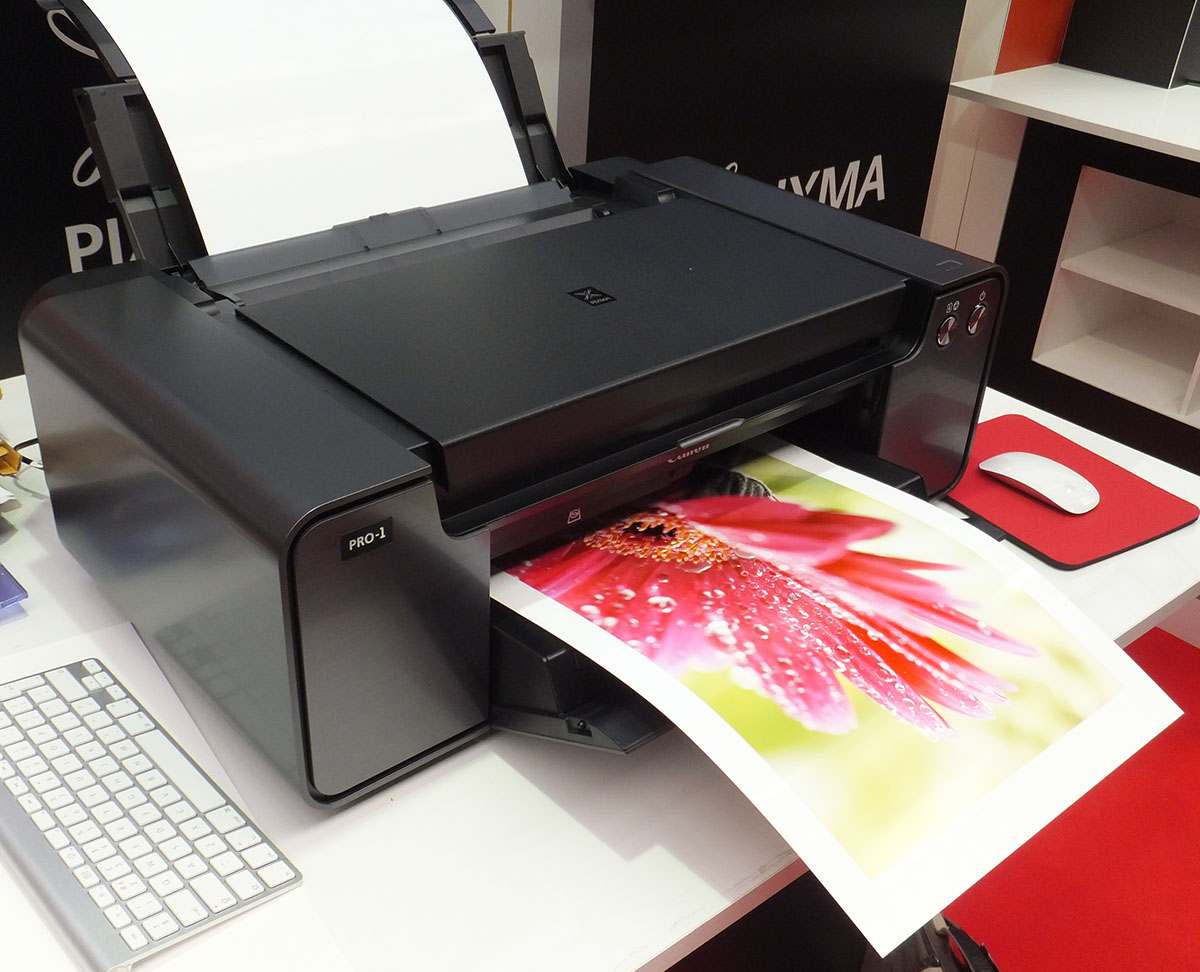
How To Change Paper Settings On Canon Printer
Modified: January 9, 2024
Learn how to easily change paper settings on your Canon printer for seamless printing. Discover the best tips for optimizing your smart home devices effortlessly. Unlock smooth printing with our expert guide!
(Many of the links in this article redirect to a specific reviewed product. Your purchase of these products through affiliate links helps to generate commission for Storables.com, at no extra cost. Learn more)
Introduction
Read more: How To Change Paper Type On Canon Printer
Introduction
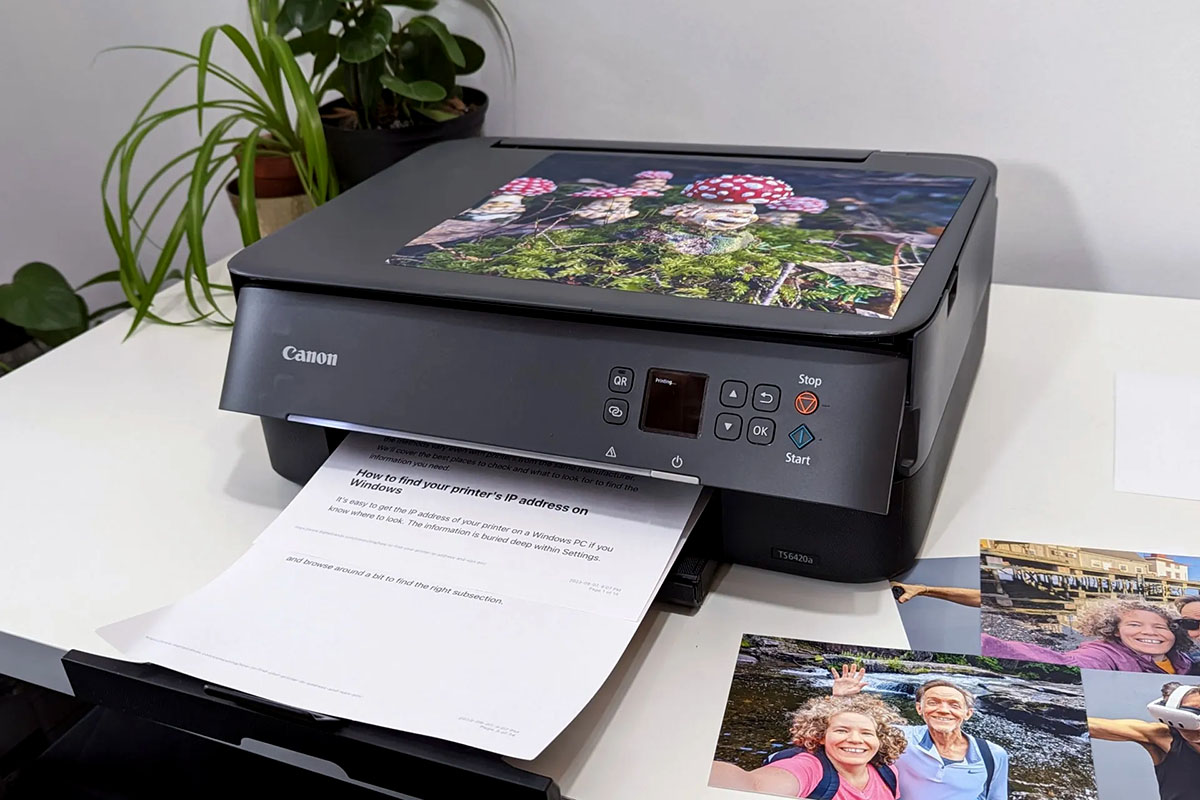
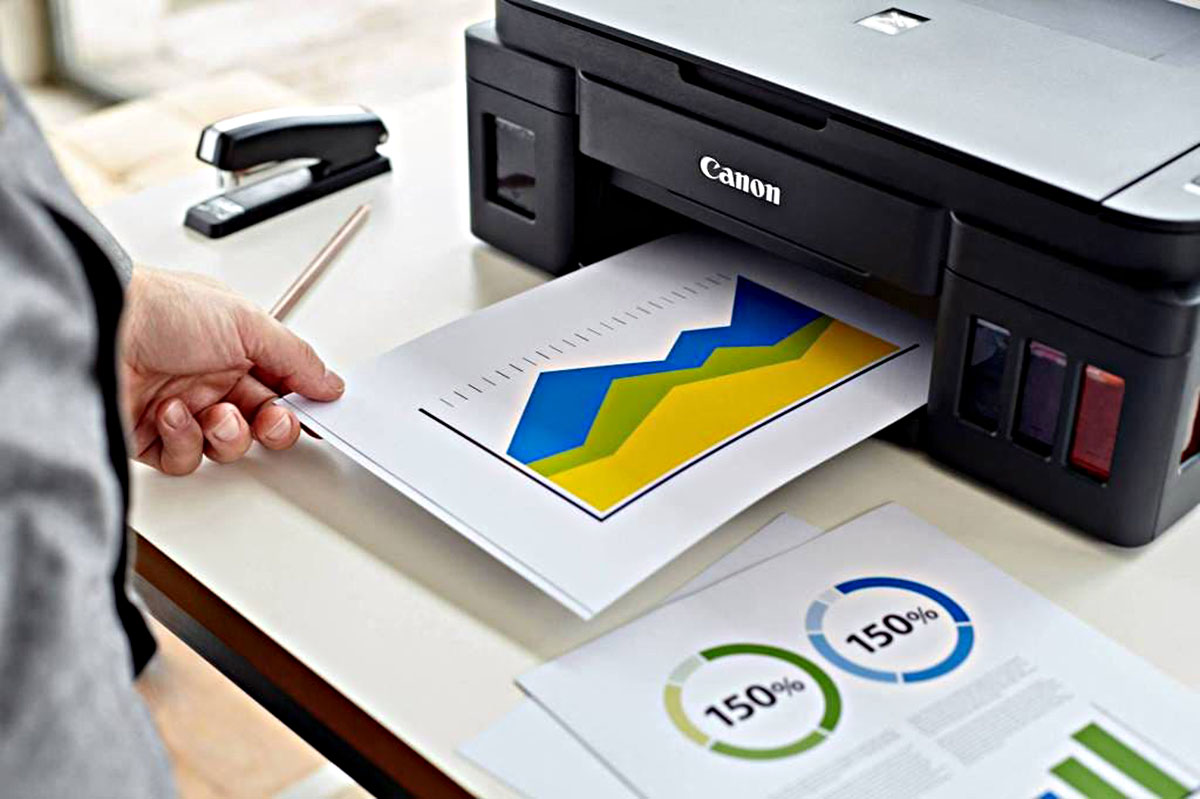
Canon printers are versatile devices that cater to various printing needs, from documents and photos to creative projects. To ensure optimal printing results, it’s crucial to configure the paper settings according to your specific requirements. This comprehensive guide will walk you through the process of checking and adjusting paper settings on your Canon printer, empowering you to achieve the desired print quality with ease.
Whether you’re aiming to print on different paper sizes, types, or sources, understanding the paper settings is essential for seamless printing. By mastering the art of customizing paper settings, you can unleash the full potential of your Canon printer, bringing your ideas to life with precision and clarity.
Key Takeaways:
- Mastering paper settings on your Canon printer empowers you to customize the printing process for diverse projects with precision and finesse, ensuring exceptional results for every endeavor.
- By adjusting paper size, type, source, and orientation, you can unleash your creativity and bring your ideas to life with unparalleled clarity and impact using your Canon printer.
Checking Paper Settings on Canon Printer
Before delving into the process of changing paper settings on your Canon printer, it’s crucial to familiarize yourself with the existing configurations. This initial step ensures that you have a clear understanding of the current paper size, type, source, and orientation settings, enabling you to make informed adjustments as needed.
To check the paper settings on your Canon printer, follow these simple steps:
- Turn on the printer and ensure that it is in a ready state.
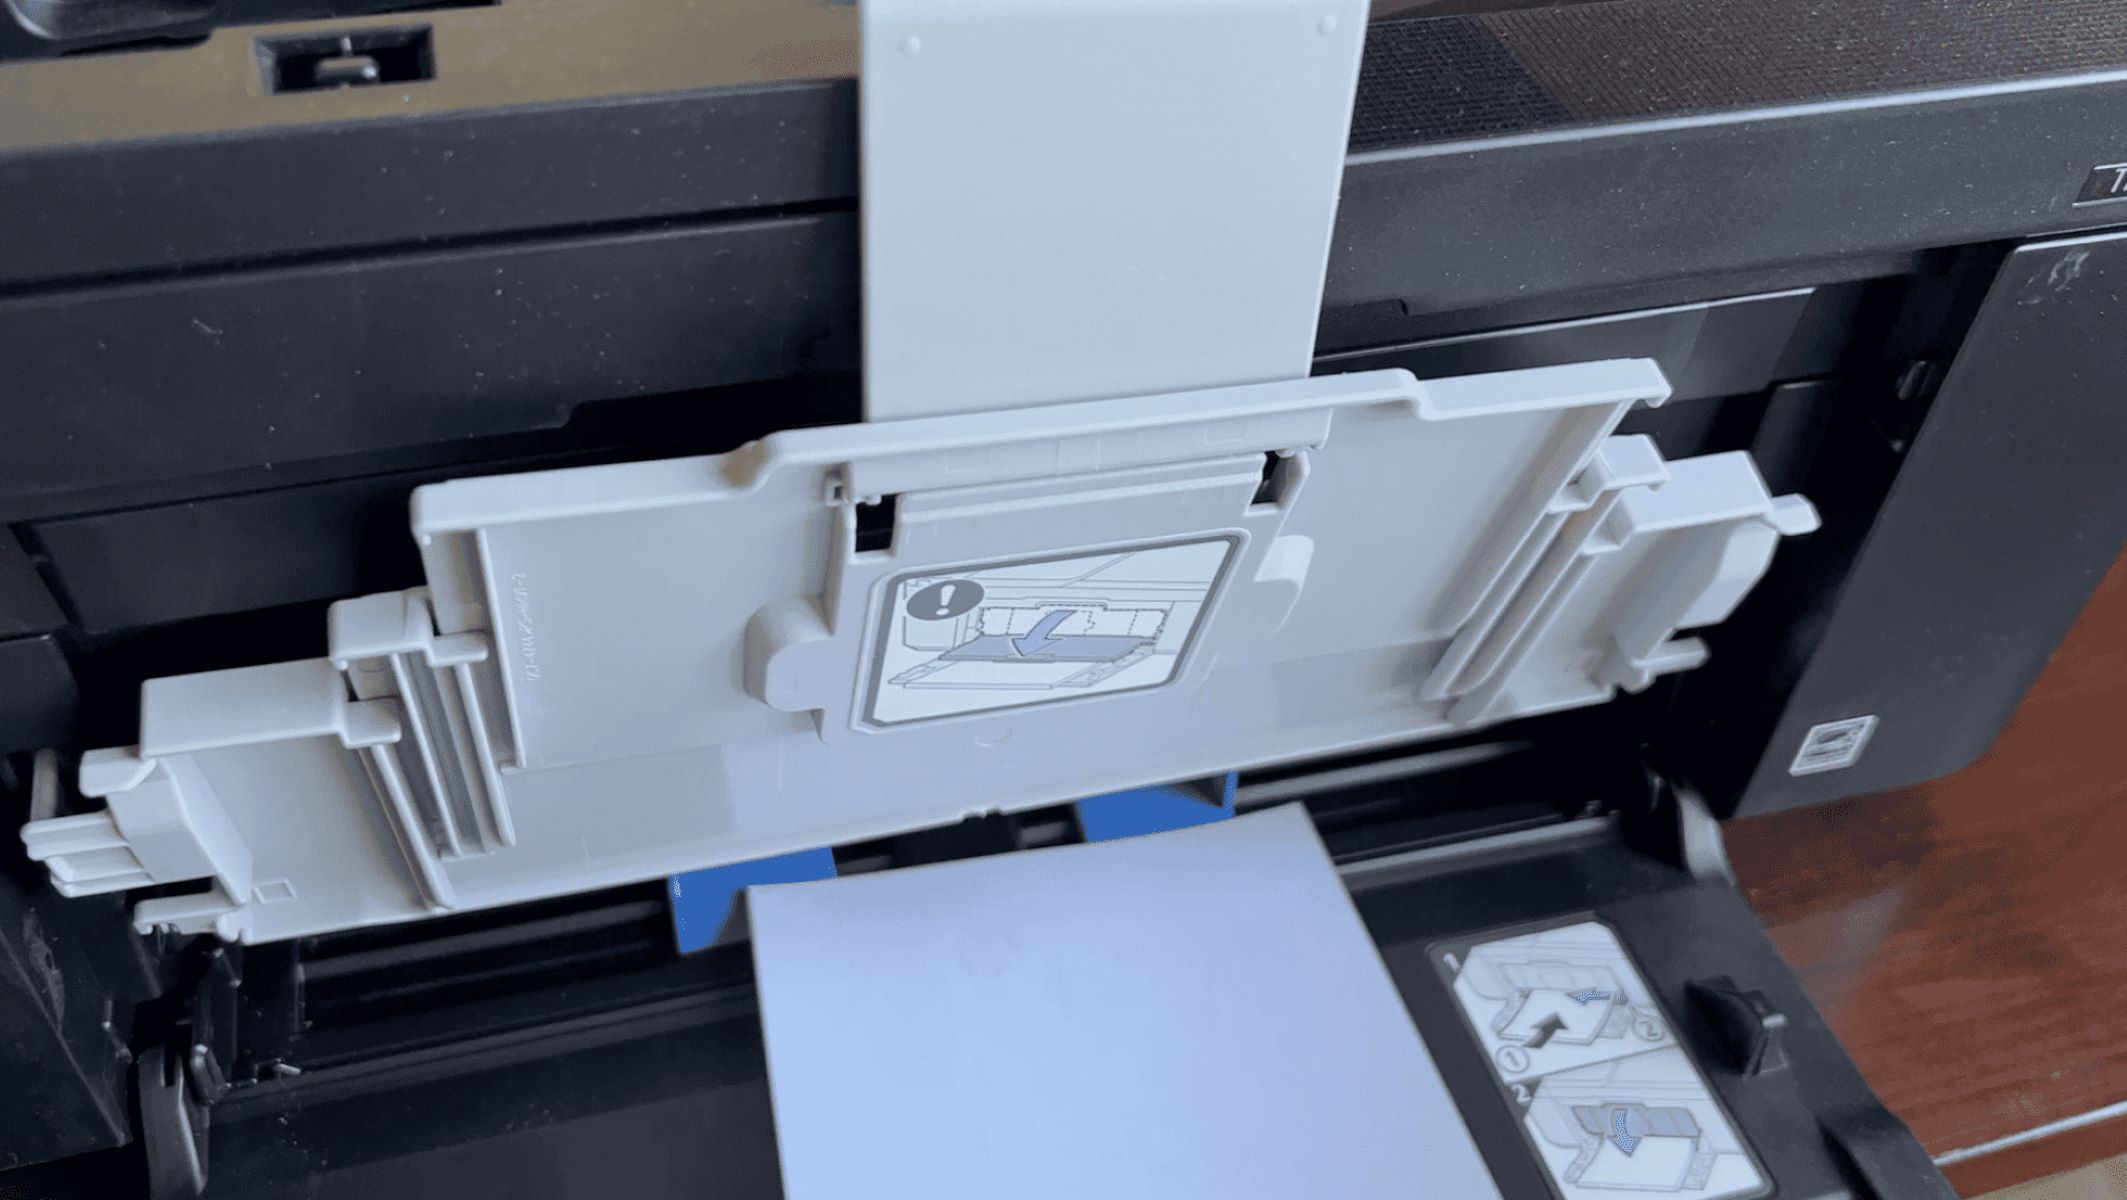
- Open the printer’s paper tray or cassette, where the paper is loaded for printing.
- Inspect the adjustable paper guides within the tray to determine the supported paper sizes and types. These guides are typically marked with indicators corresponding to standard paper dimensions, such as letter, legal, A4, A5, and more.
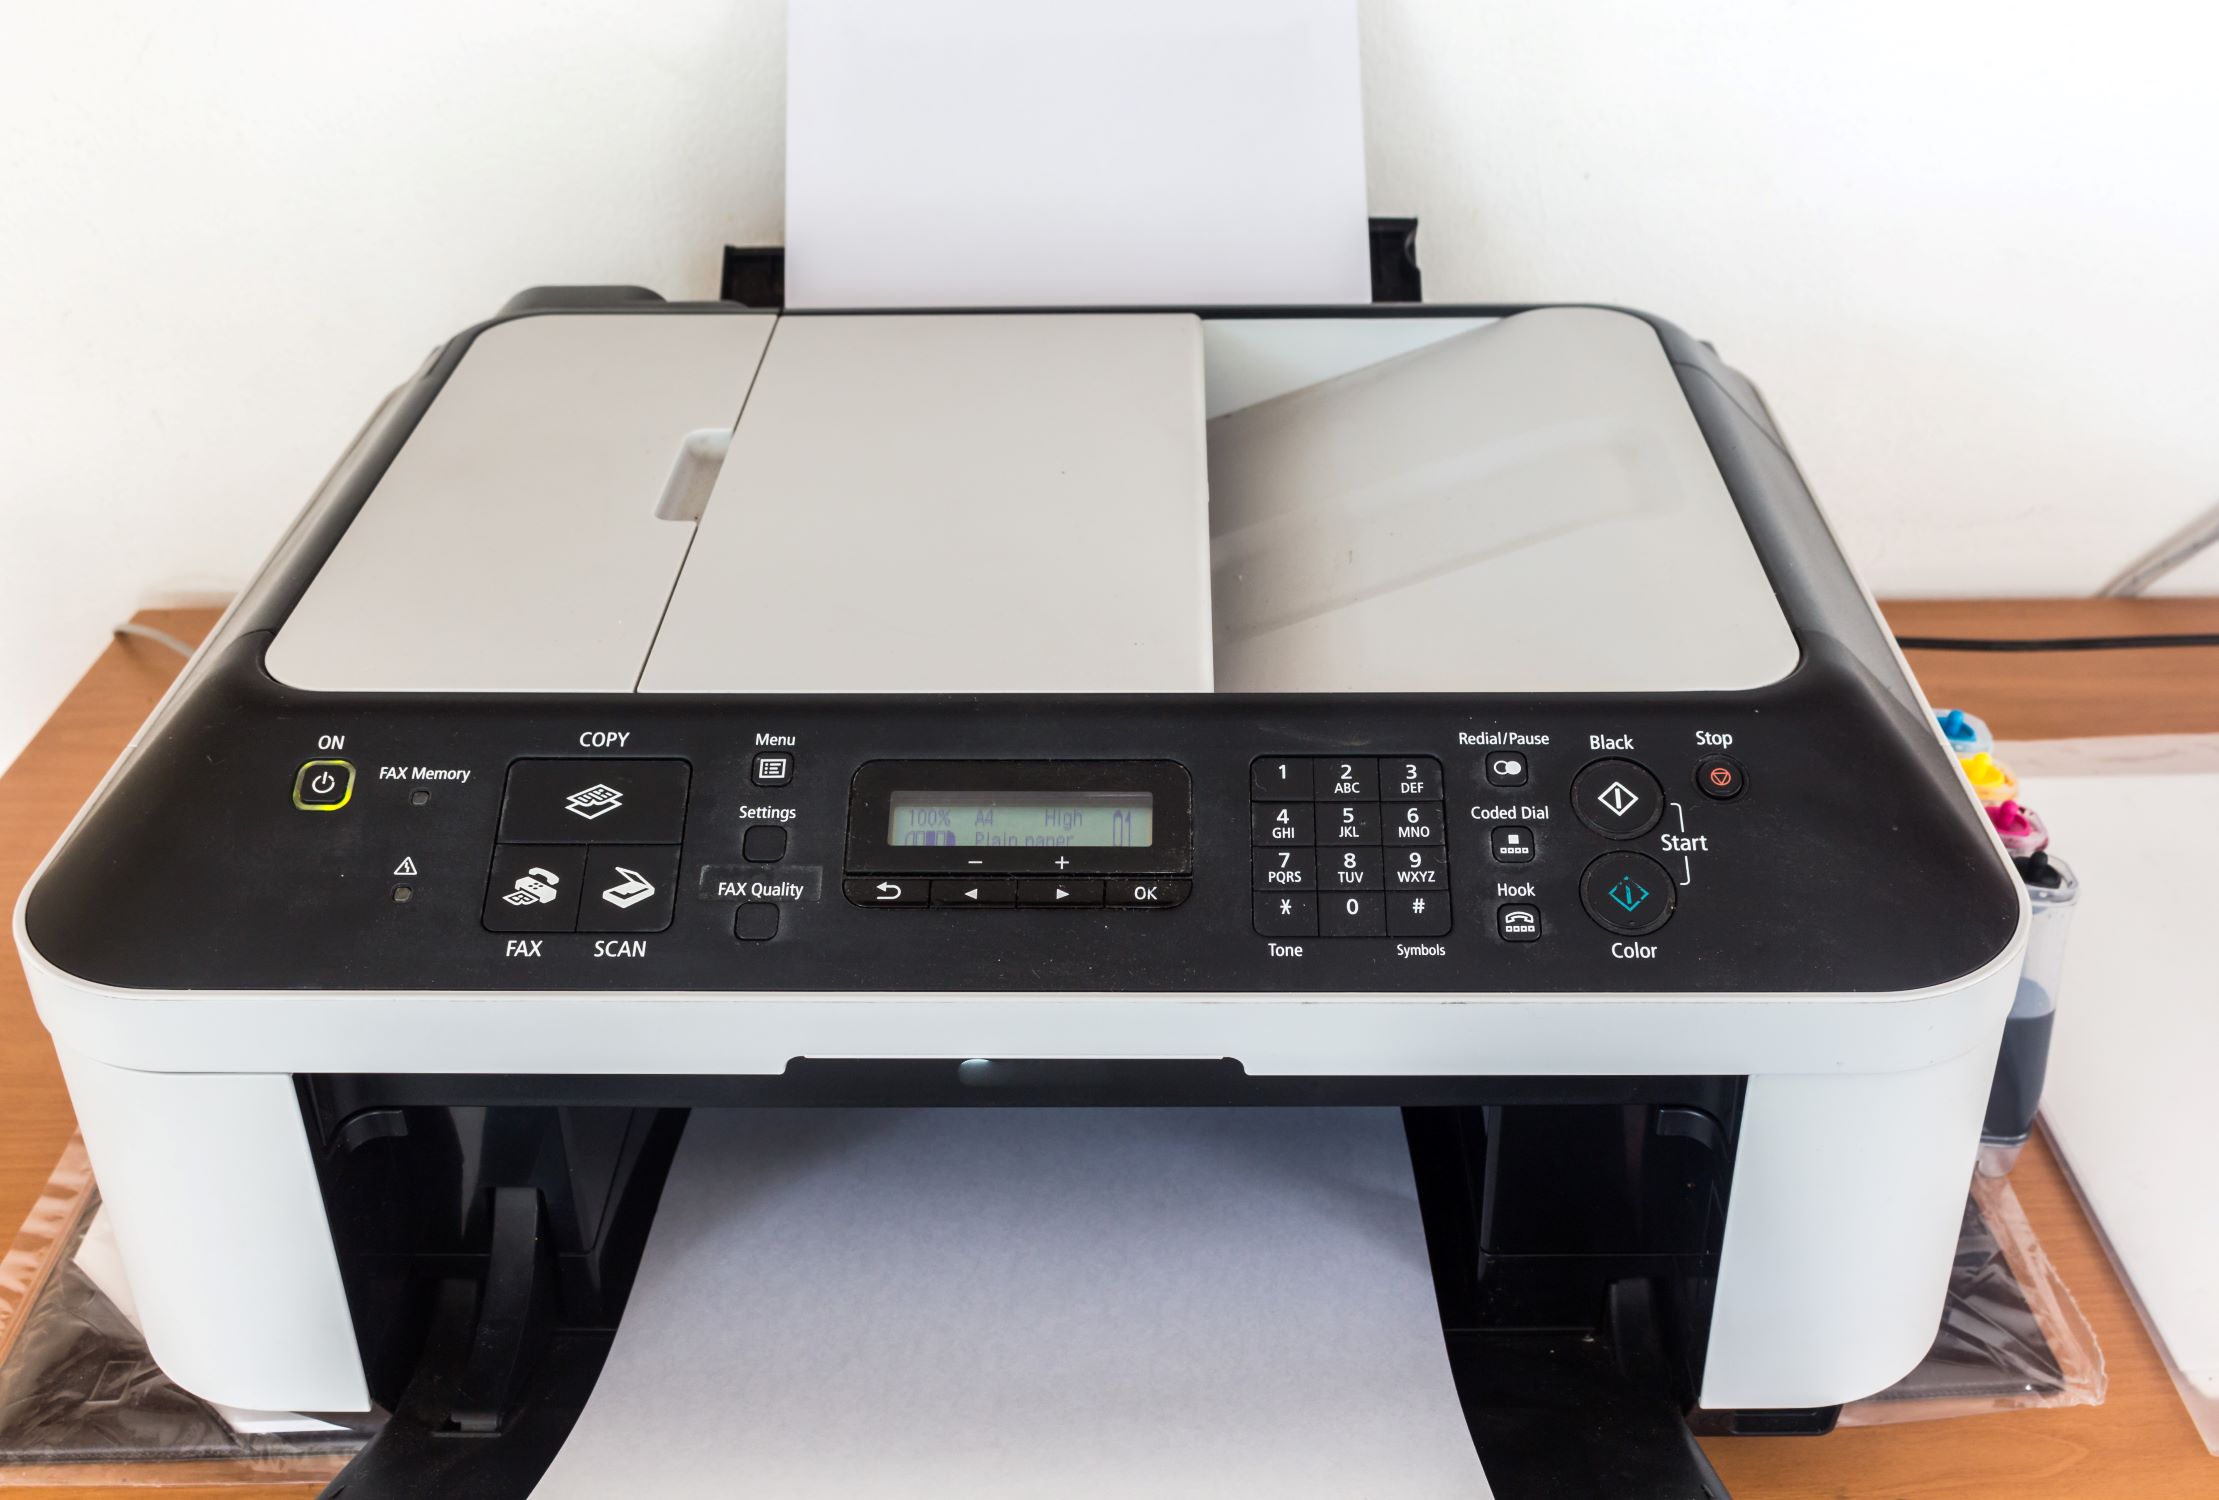
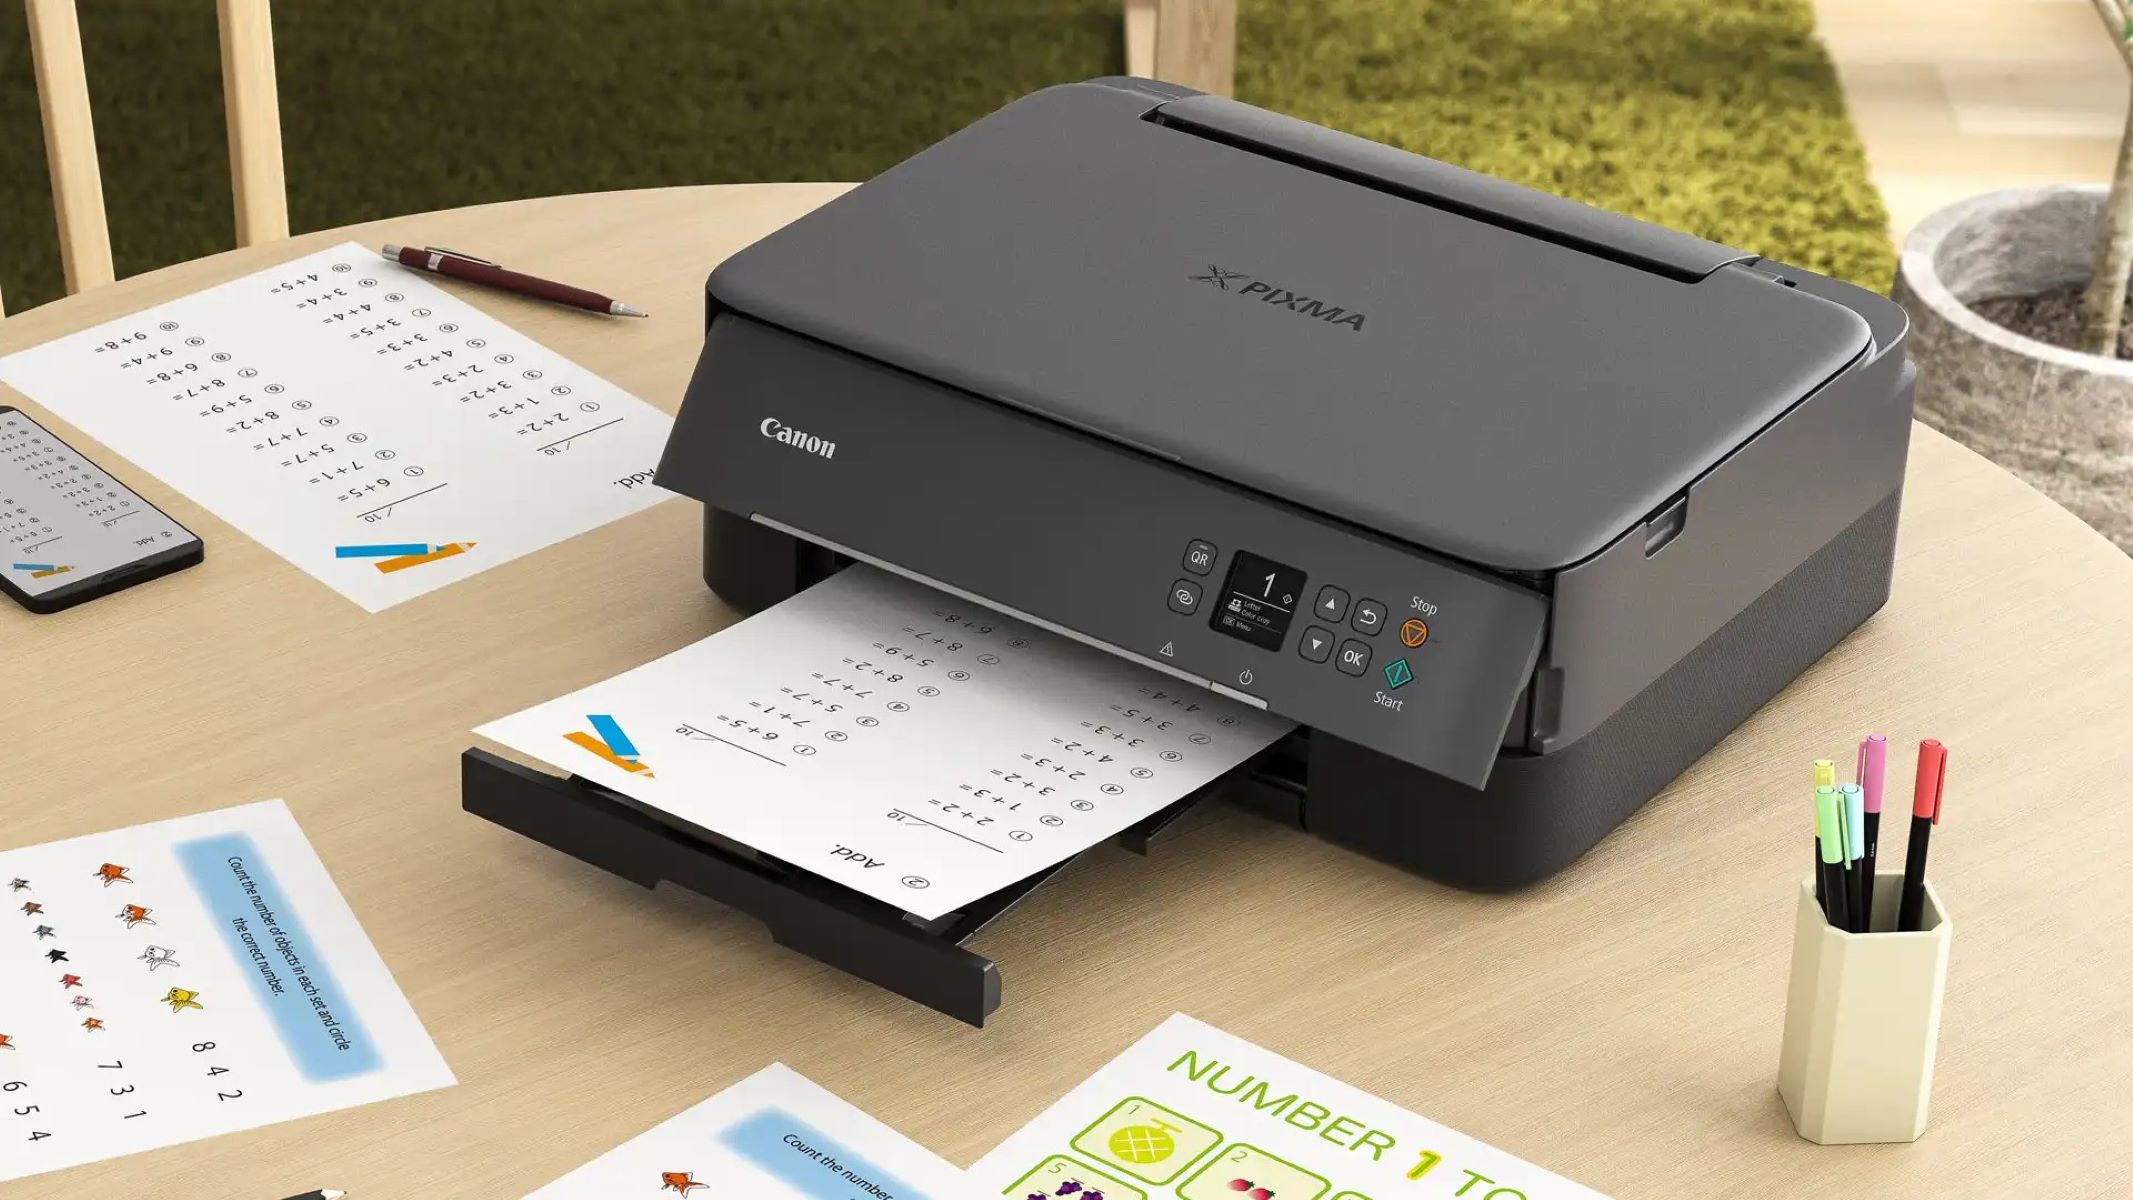
- Access the printer’s control panel or display screen, where you can navigate through the settings menu to locate the paper settings option. Depending on the model of your Canon printer, the exact steps to access the settings menu may vary. Refer to the printer’s user manual for specific instructions tailored to your device.
- Once you have accessed the paper settings menu, review the displayed information to identify the current paper size, type, and source settings. Take note of any predefined settings that may impact your printing requirements.
By following these steps, you can effectively check the paper settings on your Canon printer, gaining valuable insights into the existing configurations. This foundational knowledge serves as a springboard for making targeted adjustments to accommodate your specific printing needs, ensuring that the output aligns with your expectations.
Changing Paper Size and Type
Customizing the paper size and type settings on your Canon printer is instrumental in adapting the printing process to suit diverse projects and preferences. Whether you’re transitioning from standard letter-sized paper to a specialized format or switching from plain paper to glossy photo paper, the ability to modify these settings empowers you to achieve optimal results for each printing task.
Here’s a step-by-step guide to changing the paper size and type settings on your Canon printer:
- Access the printer’s settings menu through the control panel or display screen, as per the specific instructions outlined in the user manual for your Canon printer model.
- Navigate to the paper settings section, where you will find options to modify the paper size and type settings. Depending on the printer model, these options may be listed separately or grouped under a unified paper settings menu.
- Select the “Paper Size” option to choose from a range of supported dimensions, including standard sizes such as letter, legal, A4, A5, and more. If you require a custom paper size that is not listed, some Canon printers offer the flexibility to input specific dimensions for a tailored printing experience.
- Similarly, proceed to the “Paper Type” option to specify the type of paper being used for the upcoming print job. This selection encompasses various categories, such as plain paper, photo paper, envelopes, and specialty media, each optimized for distinct printing requirements.
- Once you have chosen the desired paper size and type settings, confirm the selections to apply the changes, ensuring that the printer is primed to accommodate the designated paper specifications for your next printing endeavor.
By following these steps, you can seamlessly modify the paper size and type settings on your Canon printer, tailoring the printing process to align with the unique demands of each project. Whether you’re embarking on a text-heavy document or a vibrant photo print, the ability to adapt the paper settings empowers you to achieve exceptional outcomes with precision and finesse.
Adjusting Paper Source
Configuring the paper source on your Canon printer is pivotal in directing the device to retrieve paper from the designated input tray or cassette, aligning with your specific printing requirements. By seamlessly adjusting the paper source, you can ensure that the printer draws paper from the intended reservoir, whether it’s the standard paper tray, rear tray, or other available sources, optimizing the printing process for diverse paper types and sizes.
Here’s a comprehensive guide to adjusting the paper source on your Canon printer:
- Access the printer’s settings menu through the control panel or display screen, adhering to the instructions provided in the user manual tailored to your Canon printer model.
- Navigate to the paper settings section, where you will find the option to modify the paper source settings. This feature allows you to specify the precise input tray or source from which the printer should retrieve paper for the upcoming print job.
- Select the “Paper Source” option to explore the available choices, which may include the primary paper tray, rear tray, manual feed slot, or additional trays if your Canon printer is equipped with multiple paper sources.
- Choose the appropriate paper source based on your specific printing needs. For instance, if you’re printing on specialty media loaded in the rear tray or using letterhead stationery from a dedicated tray, selecting the corresponding paper source ensures seamless compatibility and optimal output.
- Upon confirming the paper source selection, the printer will be primed to retrieve paper from the designated input tray, aligning with the chosen source settings for the impending print job.
By following these steps, you can effortlessly adjust the paper source on your Canon printer, streamlining the printing process to accommodate diverse paper sources and optimize the output for various printing tasks. Whether you’re utilizing different paper types or accessing specialized trays for distinct media, the ability to customize the paper source settings empowers you to achieve tailored printing results with precision and efficiency.
To change paper settings on a Canon printer, open the printer properties on your computer, select the paper type and size, and then click “OK” to save the changes.
Read more: How To Change Ink On Canon Printer
Setting Paper Orientation
The paper orientation setting on your Canon printer plays a pivotal role in determining the arrangement of content on the printed page, ensuring that text, images, and graphics are presented in the desired orientation. By adjusting the paper orientation, you can effectively tailor the layout of your prints to suit specific document formats and creative projects, enhancing the visual impact and readability of the final output.
Here’s a step-by-step guide to setting the paper orientation on your Canon printer:
- Access the printer’s settings menu through the control panel or display screen, following the instructions outlined in the user manual corresponding to your Canon printer model.
- Navigate to the paper settings section, where you will find the option to modify the paper orientation settings. This feature empowers you to specify whether the content should be printed in portrait or landscape orientation, aligning with the layout requirements of your print job.
- Select the “Paper Orientation” option to toggle between portrait and landscape modes, allowing you to visualize the anticipated arrangement of the printed content based on the chosen orientation.
- Consider the nature of your document or project to determine the optimal paper orientation. For text-heavy documents, portrait orientation may be preferred to facilitate reading, while landscape orientation is well-suited for expansive visuals, spreadsheets, and panoramic imagery.
- Upon confirming the paper orientation selection, the printer will be primed to render the content in the designated orientation, ensuring that the printed output aligns with your intended layout specifications.
By following these steps, you can seamlessly set the paper orientation on your Canon printer, tailoring the layout of your prints to suit the unique demands of each document or creative endeavor. Whether you’re crafting professional reports, captivating visuals, or engaging presentations, the ability to customize the paper orientation settings empowers you to achieve impactful and visually compelling prints with ease.
Conclusion
Mastering the art of adjusting paper settings on your Canon printer opens a realm of possibilities, empowering you to tailor the printing process to suit diverse projects with precision and finesse. By navigating through the paper settings menu and making targeted adjustments, you can seamlessly adapt the paper size, type, source, and orientation to align with your specific printing requirements, ensuring exceptional results for every endeavor.
Whether you’re transitioning from standard letter-sized paper to specialized formats, fine-tuning the paper source for distinct media, or setting the optimal orientation for varied layouts, the flexibility offered by Canon printers allows you to unleash your creativity and bring your ideas to life with unparalleled clarity and impact.
As you embark on your printing journey, remember that the paper settings serve as a conduit for transforming your vision into tangible, high-quality prints. Embrace the versatility of your Canon printer, and leverage the nuanced paper settings to elevate your printing experience, whether you’re crafting professional documents, vibrant photographs, or captivating visual presentations.
With a deep understanding of the paper settings and their seamless customization, you are poised to embark on a dynamic printing odyssey, where each adjustment reflects your unique vision and amplifies the allure of your printed creations.
Embrace the power of paper settings, and let your Canon printer be the conduit through which your imagination takes flight, one meticulously tailored print at a time.
Frequently Asked Questions about How To Change Paper Settings On Canon Printer
Was this page helpful?
At Storables.com, we guarantee accurate and reliable information. Our content, validated by Expert Board Contributors, is crafted following stringent Editorial Policies. We're committed to providing you with well-researched, expert-backed insights for all your informational needs.
0 thoughts on “How To Change Paper Settings On Canon Printer”