Home>Technology>Smart Home Devices>How To Make Your Own 3D Printer
Smart Home Devices
How To Make Your Own 3D Printer
Modified: August 16, 2024
Learn how to create your own 3D printer to enhance your smart home setup. Discover step-by-step instructions and tips for building a customized device. Elevate your smart home experience with this DIY project.
(Many of the links in this article redirect to a specific reviewed product. Your purchase of these products through affiliate links helps to generate commission for Storables.com, at no extra cost. Learn more)
Introduction
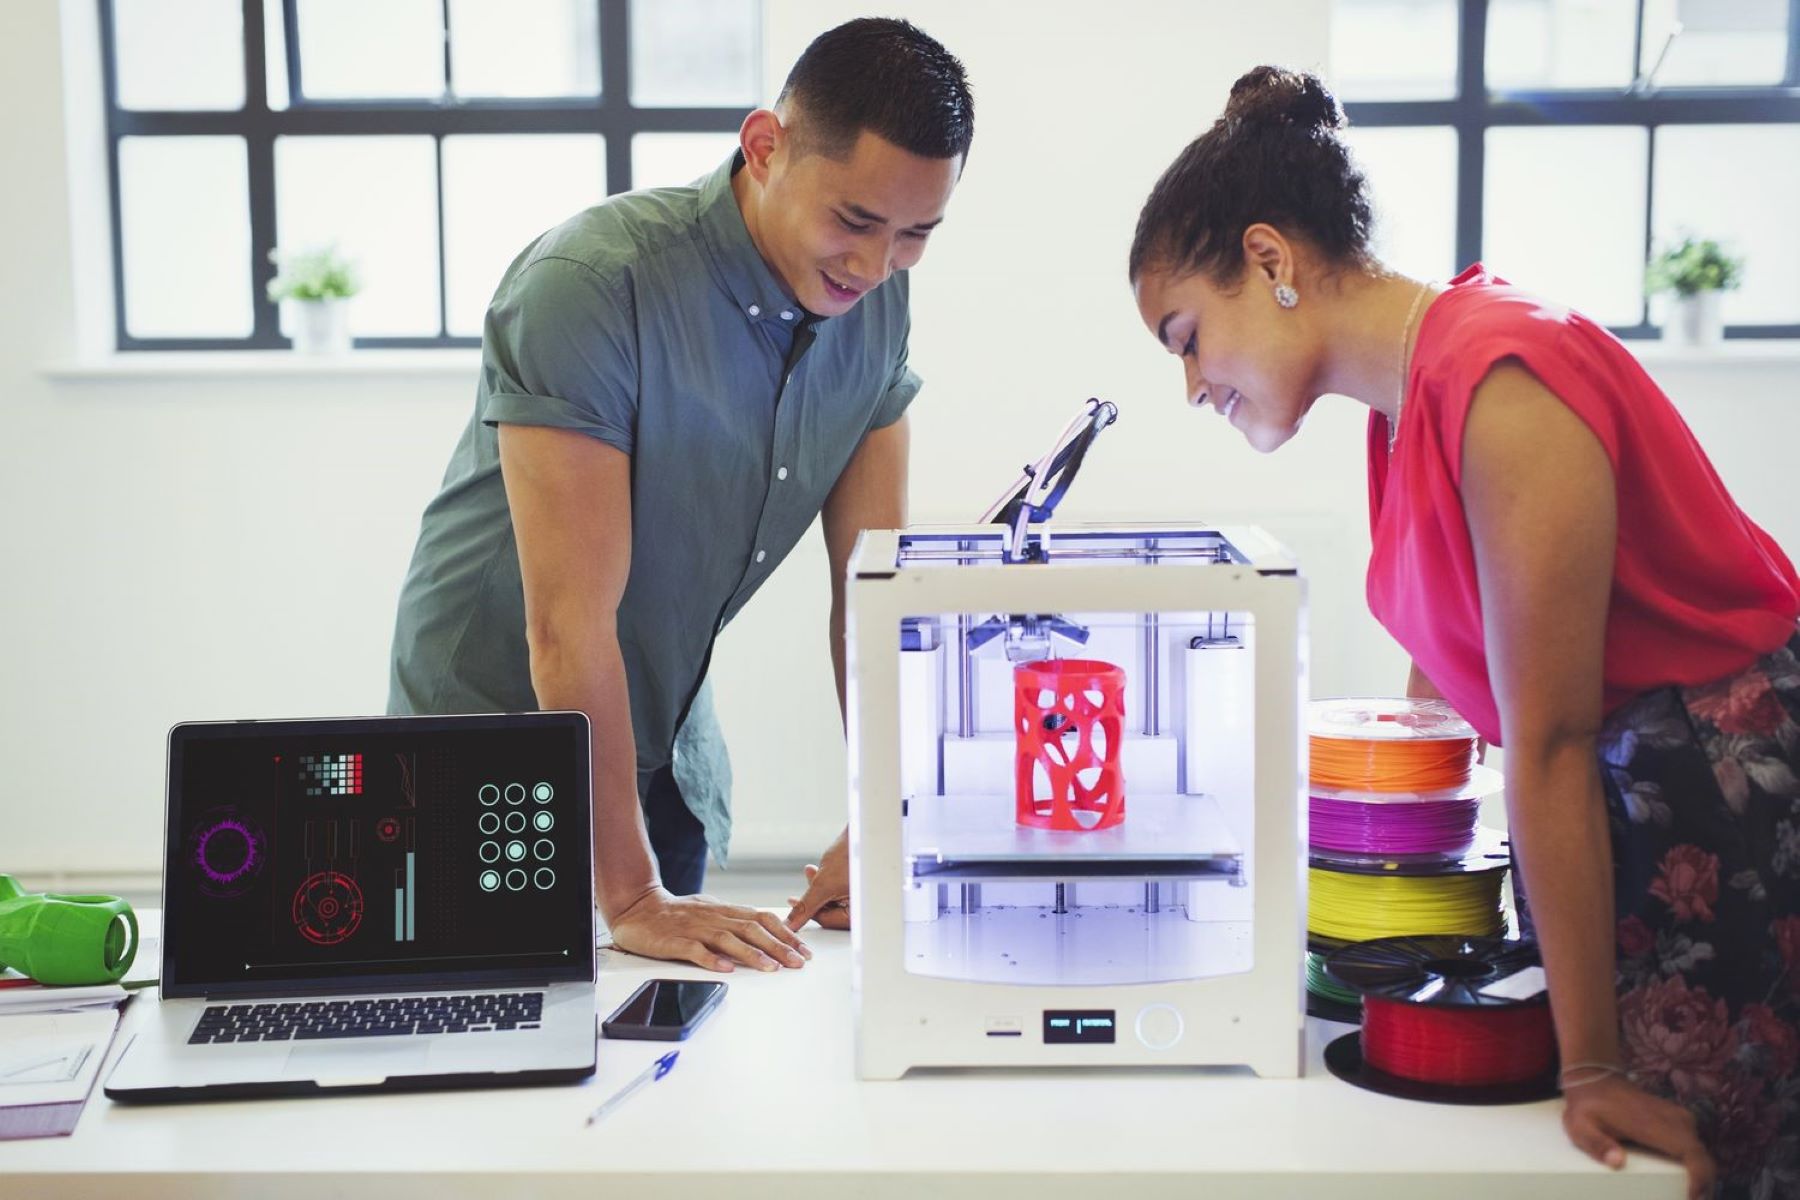
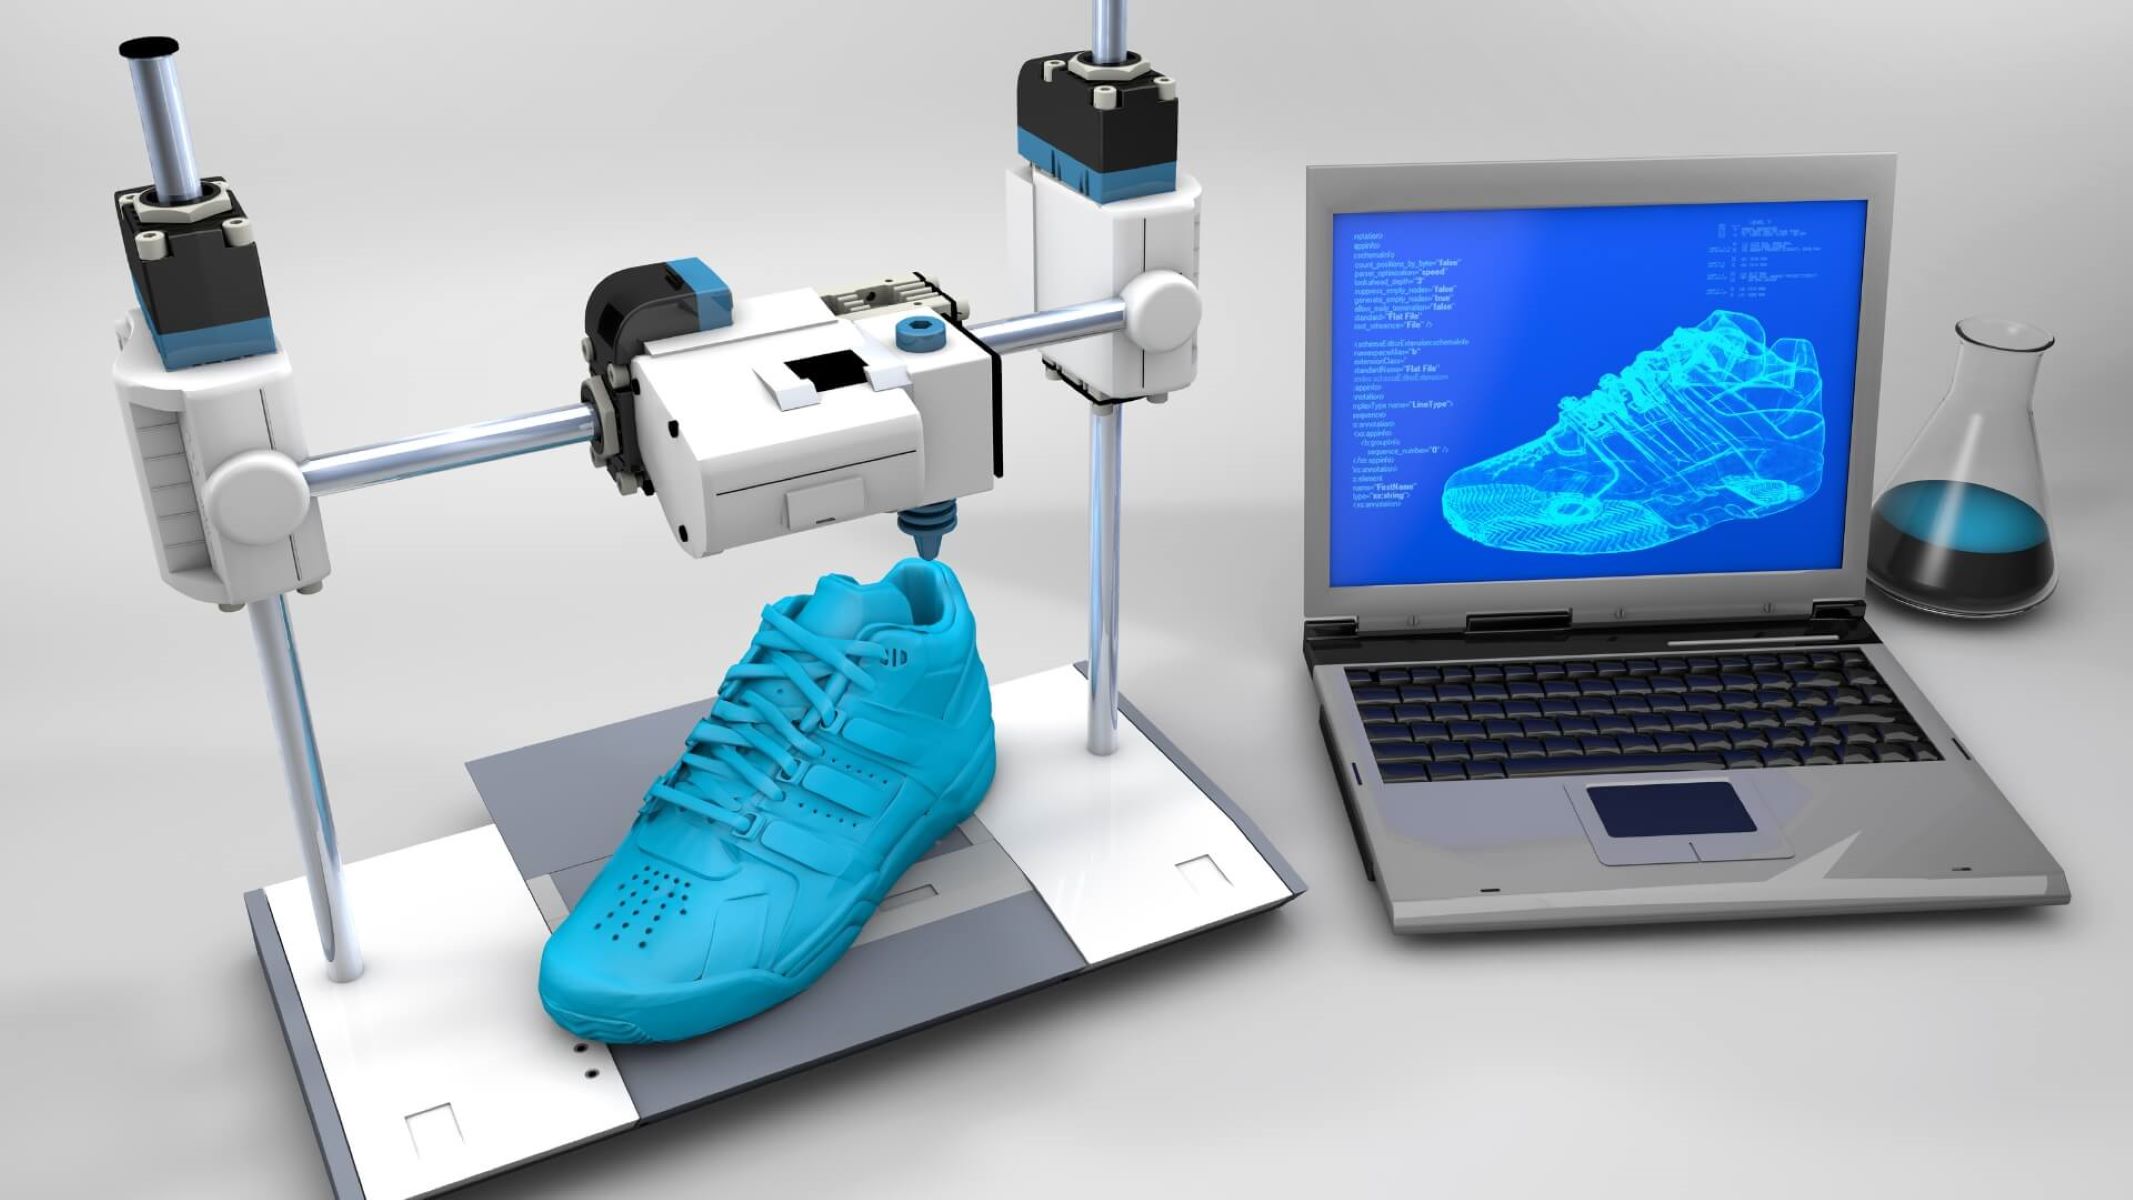
Welcome to the fascinating world of 3D printing! Imagine being able to bring your digital designs to life, layer by layer, right in the comfort of your own home. With a 3D printer, this is not just a dream, but a tangible reality. In this comprehensive guide, we will delve into the exciting realm of 3D printing and explore the process of building your very own 3D printer from scratch.
3D printing, also known as additive manufacturing, has revolutionized the way we create objects. Instead of traditional subtractive methods, which involve cutting away material to form a shape, 3D printing adds material layer by layer to construct a three-dimensional object. This innovative technology has found applications in various industries, including aerospace, automotive, healthcare, and consumer goods.
Building your own 3D printer not only allows for customization according to your specific needs and preferences, but it also provides a valuable learning experience. By understanding the intricacies of 3D printing technology and the components that comprise a 3D printer, you gain insight into the inner workings of this cutting-edge technology.
Throughout this guide, we will embark on a step-by-step journey, starting with the fundamentals of 3D printing and gradually progressing to the assembly and calibration of your homemade 3D printer. Whether you are a hobbyist, a tinkerer, or an aspiring entrepreneur, this endeavor promises to be both rewarding and enlightening.
By the end of this tutorial, you will not only have a functional 3D printer at your disposal, but you will also have acquired a wealth of knowledge about 3D printing principles, hardware components, and software integration. So, roll up your sleeves, unleash your creativity, and let's embark on this exhilarating venture into the realm of DIY 3D printing.
Key Takeaways:
- Building your own 3D printer from scratch allows for customization and provides a valuable learning experience about 3D printing technology, making it a rewarding and enlightening endeavor for hobbyists and tinkerers.
- Understanding the basics of 3D printing, selecting the right components, and meticulous testing and calibration are essential for achieving optimal performance and consistent high-quality prints with your DIY 3D printer.
Read more: How To Make 3D Printer Faster
Understanding the Basics of 3D Printing
Before delving into the construction of a 3D printer, it is essential to grasp the foundational principles of 3D printing technology. At its core, 3D printing is a process of creating three-dimensional objects from a digital model by depositing successive layers of material. This additive manufacturing technique enables the production of intricate and customized objects with a high degree of precision.
One of the key components in 3D printing is the filament, which serves as the raw material for creating the physical object. Common filament materials include PLA (polylactic acid), ABS (acrylonitrile butadiene styrene), PETG (polyethylene terephthalate glycol), and TPU (thermoplastic polyurethane). Each type of filament possesses unique properties, such as strength, flexibility, and heat resistance, making it suitable for specific applications.
The 3D printing process begins with a digital 3D model, which is created using computer-aided design (CAD) software or obtained from a 3D scanner. This digital model is sliced into thin horizontal layers using slicing software, which generates a set of instructions for the 3D printer to follow. These instructions dictate the precise movements of the printer”s extruder and build platform, ensuring the accurate deposition of material layer by layer.
3D printers utilize various printing technologies, including fused deposition modeling (FDM), stereolithography (SLA), selective laser sintering (SLS), and digital light processing (DLP). FDM, the most common 3D printing method for hobbyists and DIY enthusiasts, involves the extrusion of molten filament through a heated nozzle onto the build platform, where it solidifies to form each layer of the object.
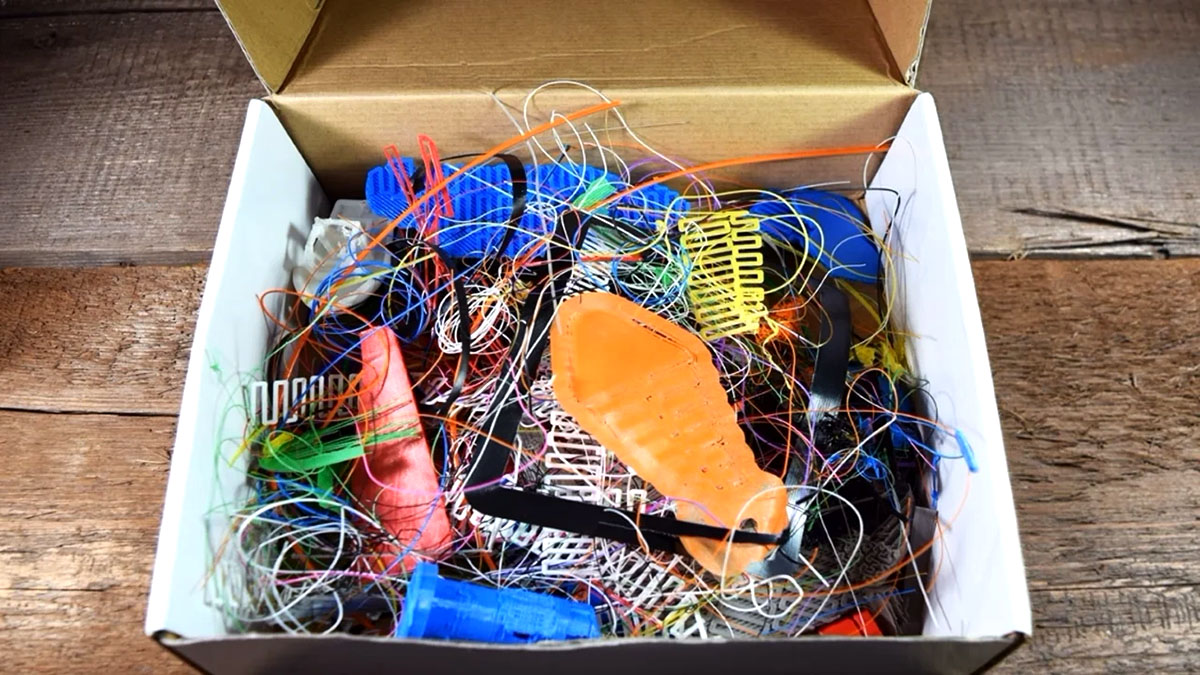
Layer adhesion, infill density, and print speed are crucial parameters that influence the quality and structural integrity of 3D-printed objects. Achieving the optimal balance of these parameters is essential for producing durable and aesthetically pleasing prints. Moreover, post-processing techniques such as sanding, painting, and assembly may be employed to refine the final appearance and functionality of the printed objects.
By comprehending the fundamental concepts and processes underlying 3D printing, you will be well-equipped to embark on the construction of your own 3D printer. Armed with this knowledge, you can tailor the design and functionality of your printer to align with your specific creative endeavors and production requirements.
Choosing the Right Components for Your 3D Printer
Building a 3D printer from scratch requires careful consideration of the various components that form the foundation of the machine. Selecting the right components is crucial to ensuring the functionality, reliability, and performance of your DIY 3D printer. Let’s explore the key elements that constitute a 3D printer and the factors to consider when choosing them.
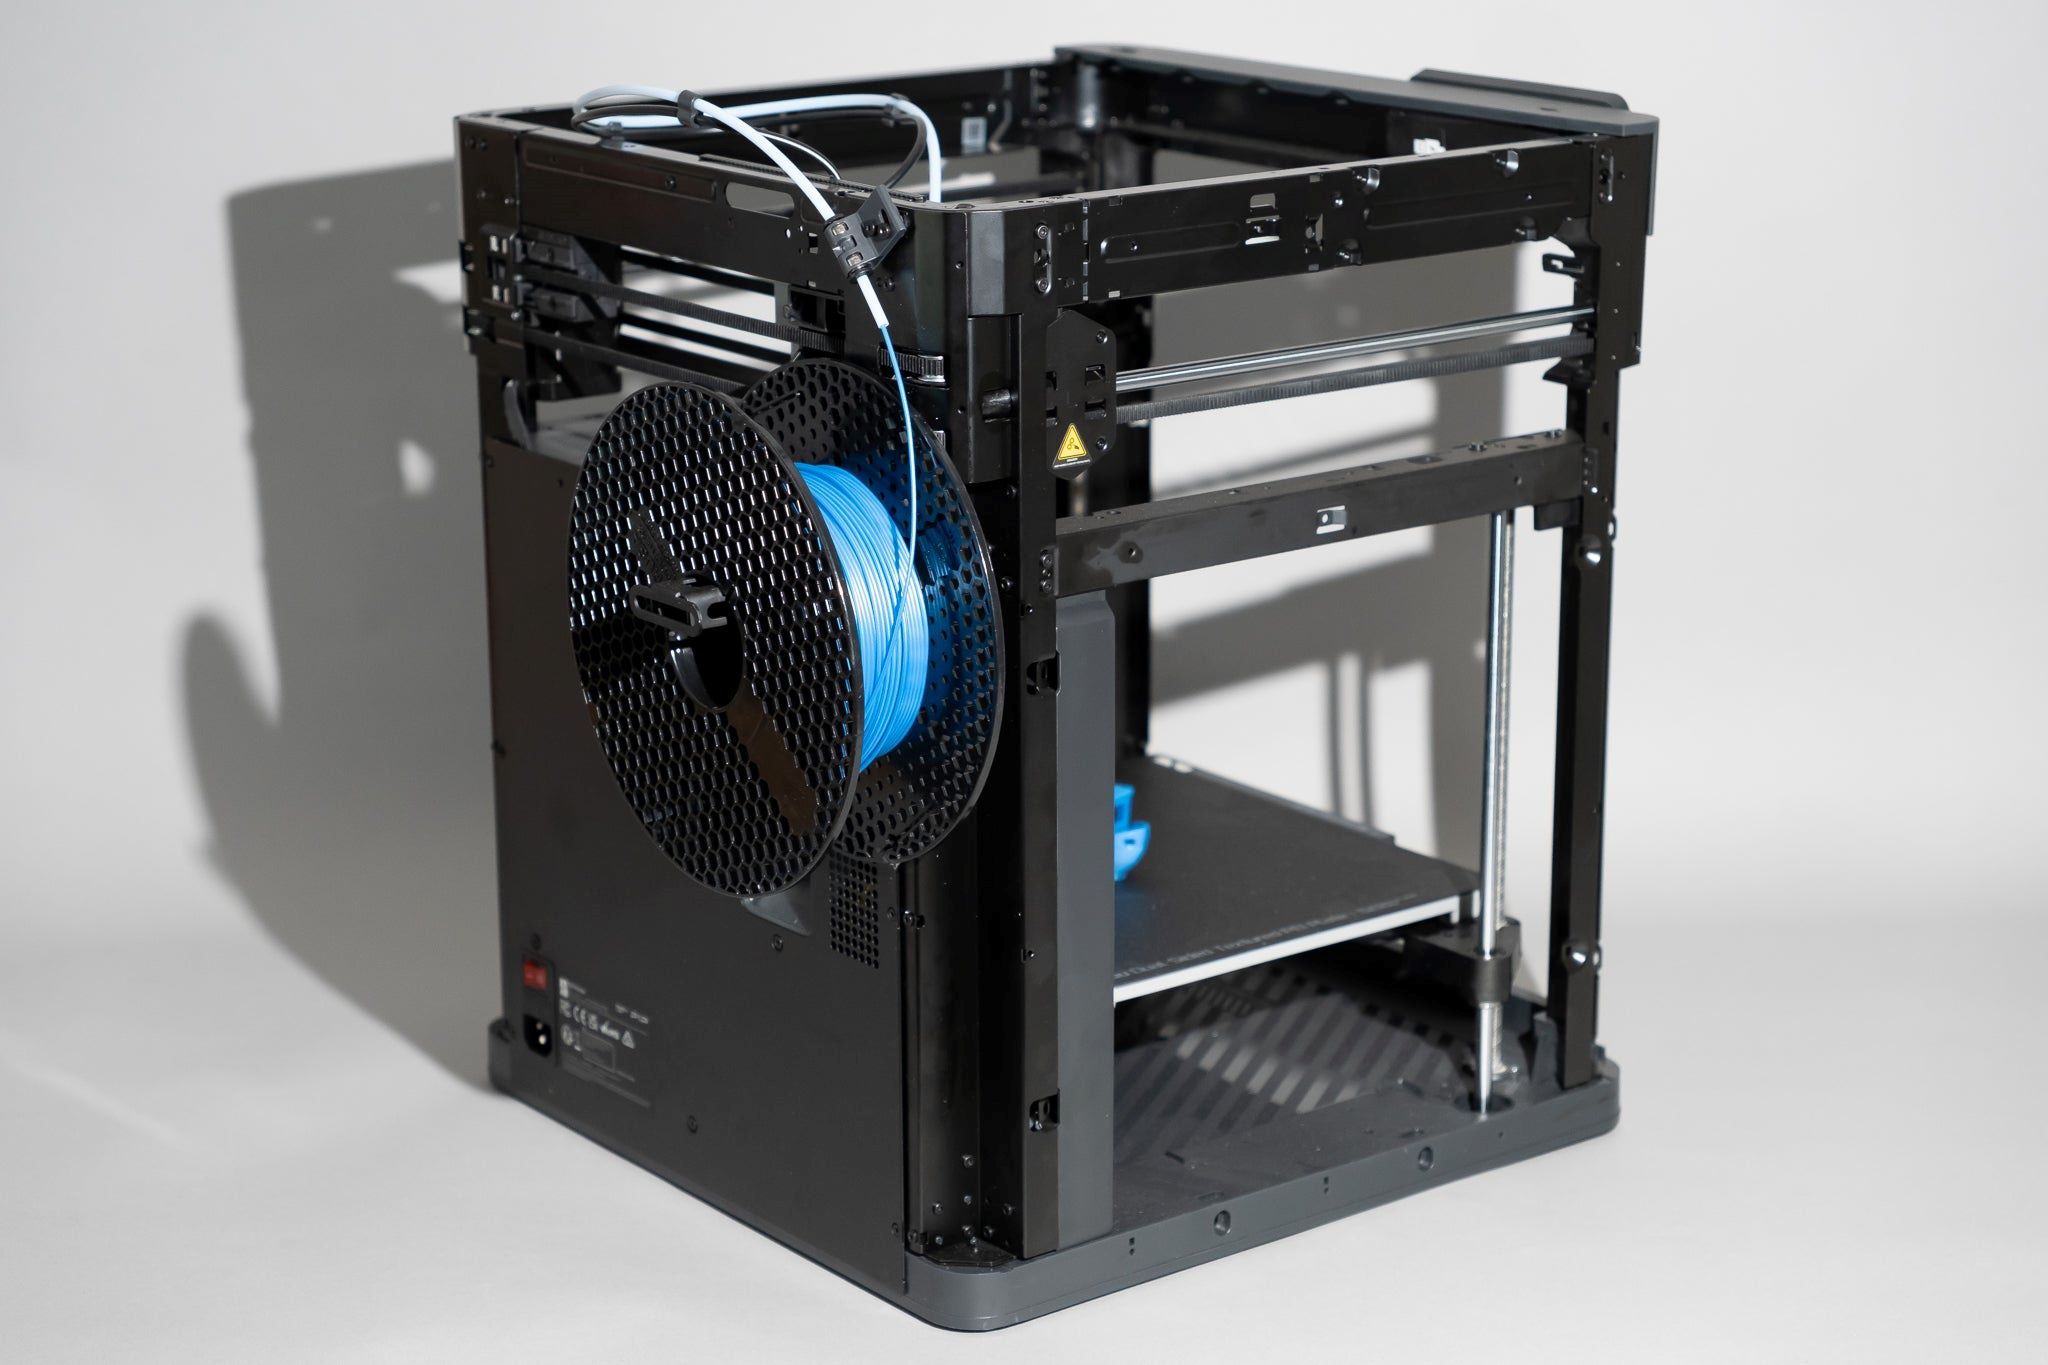
Frame and Structure: The frame of a 3D printer provides structural support and stability during the printing process. Common materials for 3D printer frames include aluminum extrusions, steel rods, and acrylic panels. When selecting a frame, factors such as rigidity, weight, and assembly flexibility should be taken into account to ensure the overall stability and durability of the printer.
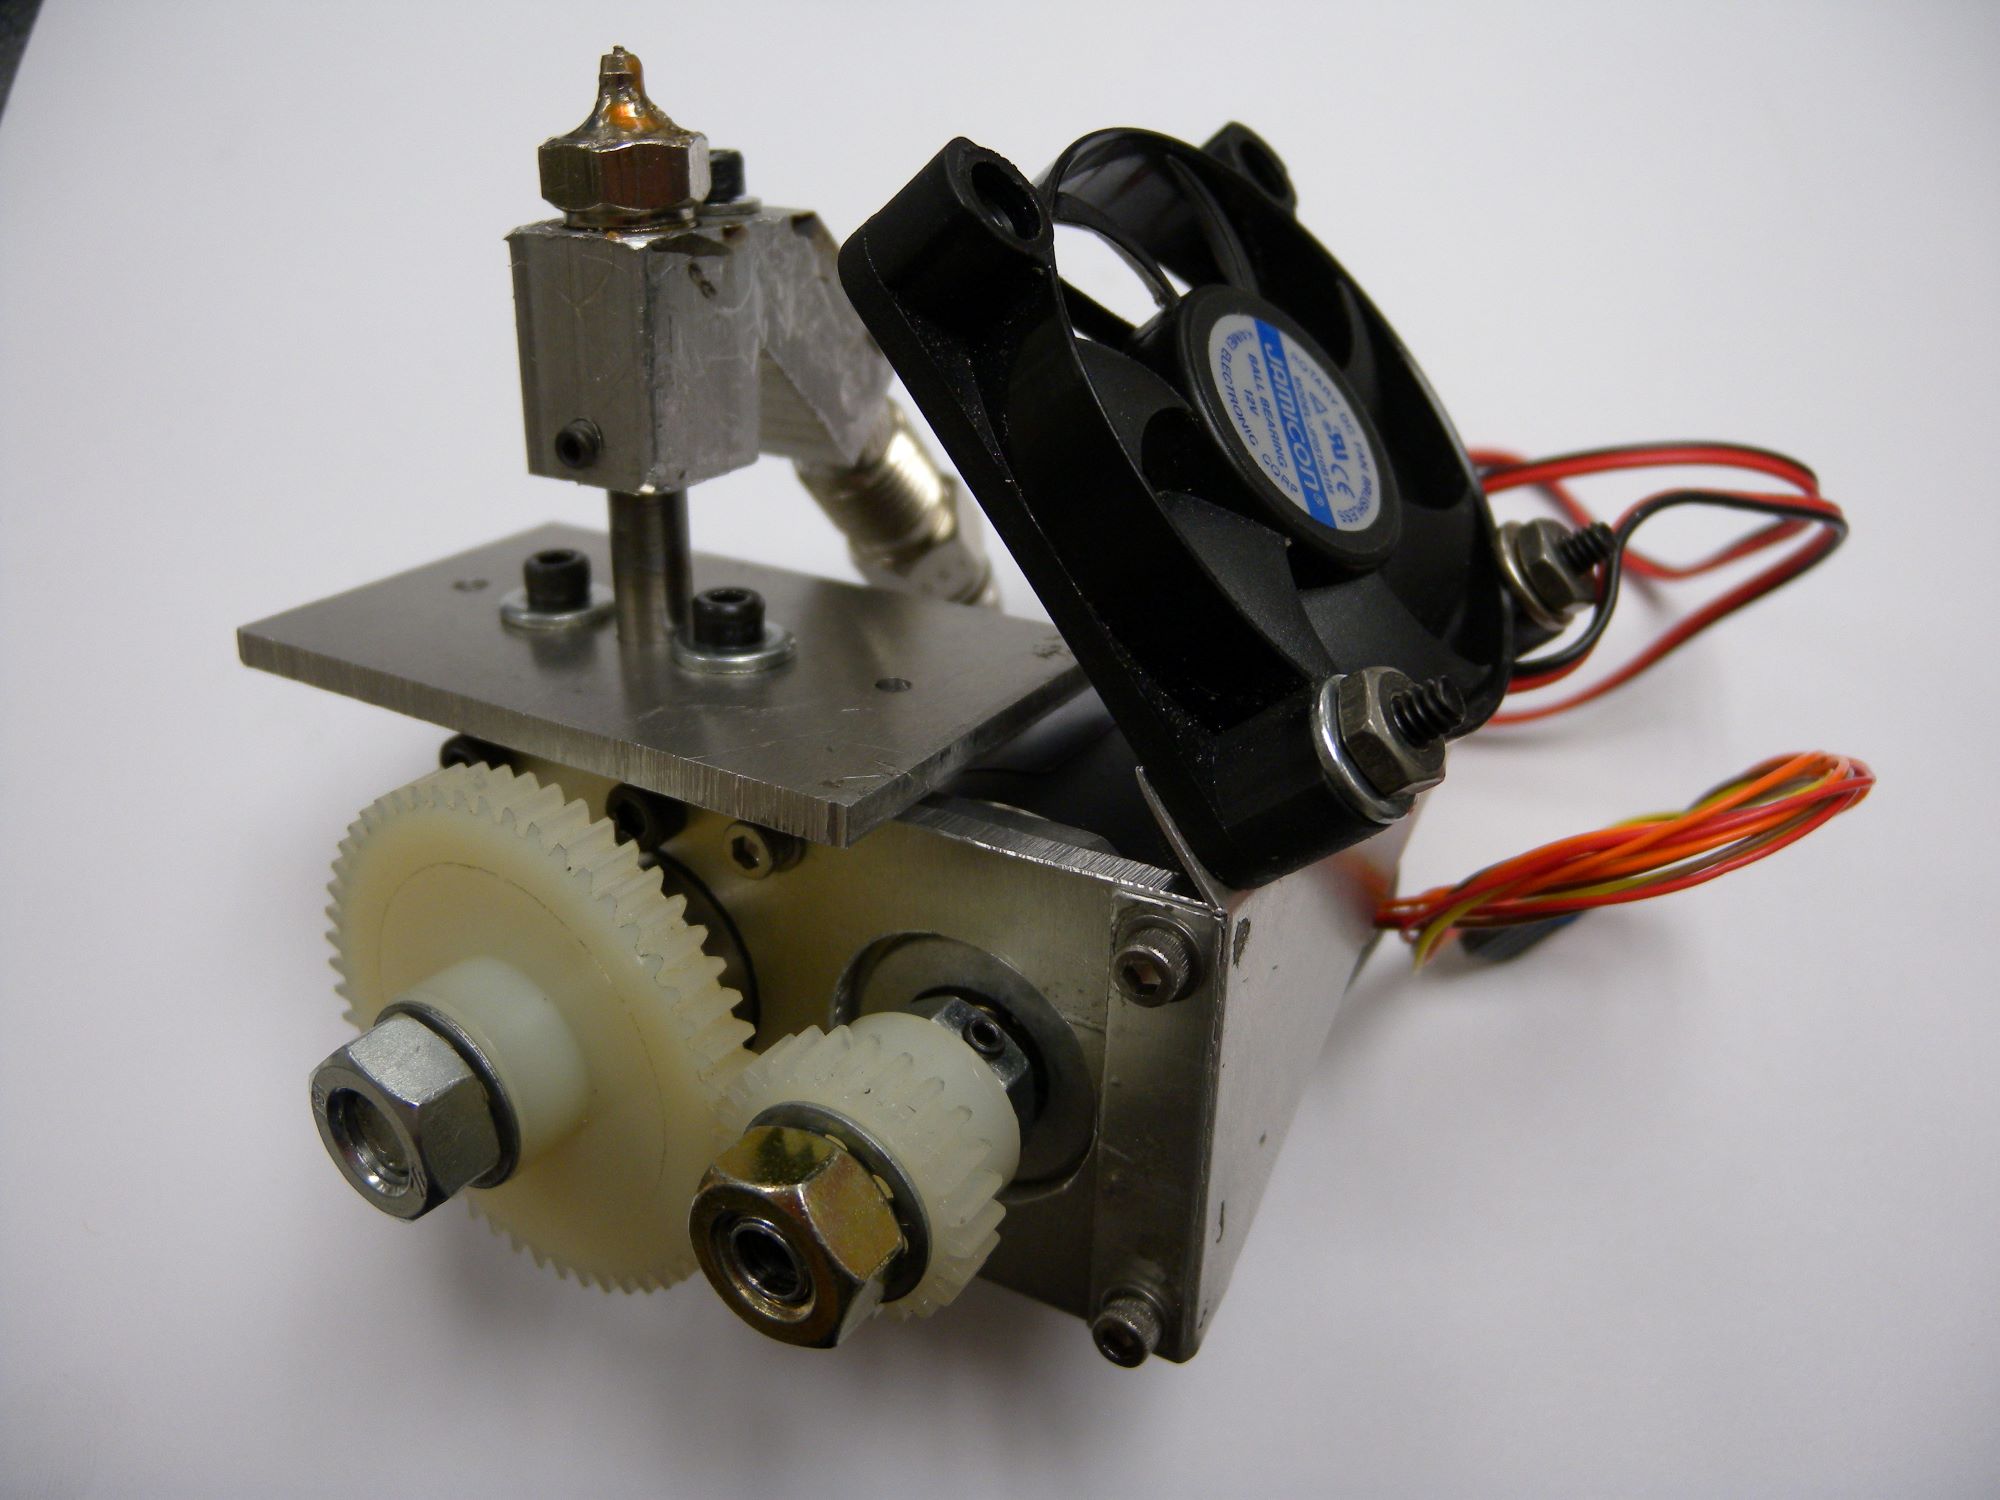
Extruder and Hotend: The extruder is responsible for feeding the filament into the printer, while the hotend melts the filament and deposits it onto the build platform. When choosing an extruder and hotend assembly, factors such as filament compatibility, temperature control, and nozzle size should be considered to accommodate a wide range of printing materials and achieve precise extrusion.
Motion System: The motion system, comprising stepper motors, lead screws, linear rails, and pulleys, governs the movement of the printer’s extruder and build platform. Smooth and precise motion is essential for accurate layer deposition and dimensional accuracy. Selecting high-quality motion components is vital to achieving consistent and reliable print results.
Electronics and Control Board: The control board serves as the brain of the 3D printer, coordinating the operation of the various components. When choosing an electronics setup, factors such as compatibility with the chosen firmware, support for multiple extruders, and expansion options for additional features should be taken into consideration to accommodate future upgrades and customization.
Heated Bed and Build Surface: A heated bed facilitates adhesion and minimizes warping of the printed layers, especially when using materials like ABS. The build surface, whether it’s a glass plate, PEI sheet, or magnetic mat, plays a crucial role in ensuring proper adhesion and easy removal of printed objects. Selecting a suitable heated bed and build surface is essential for achieving successful prints across various materials.
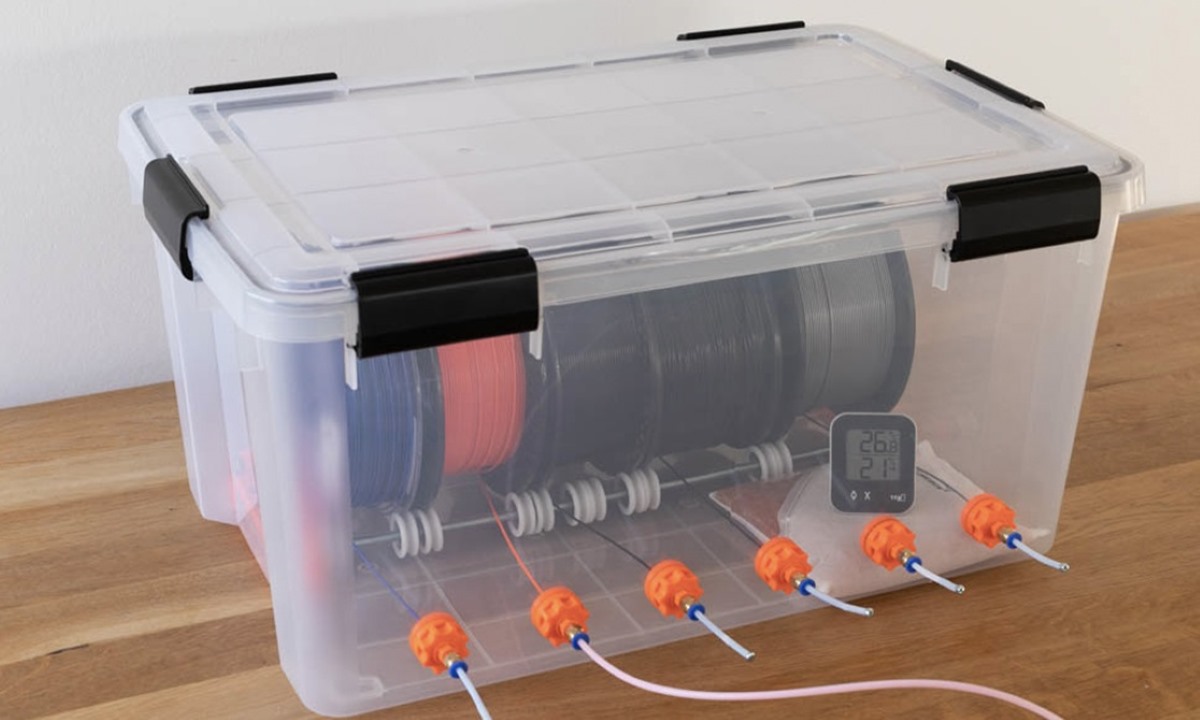
Power Supply and Wiring: A stable and reliable power supply is essential for the safe and consistent operation of the 3D printer. Additionally, well-organized wiring and cable management contribute to the overall safety and efficiency of the printer. When selecting a power supply and organizing the wiring, factors such as voltage compatibility, current capacity, and insulation should be prioritized to ensure a secure and tidy electrical setup.
By carefully evaluating and selecting the components that best align with your printing needs and technical preferences, you can lay a solid foundation for the construction of a robust and versatile 3D printer. The synergy of these components will determine the overall performance and capabilities of your DIY 3D printer, setting the stage for a successful and fulfilling printing journey.
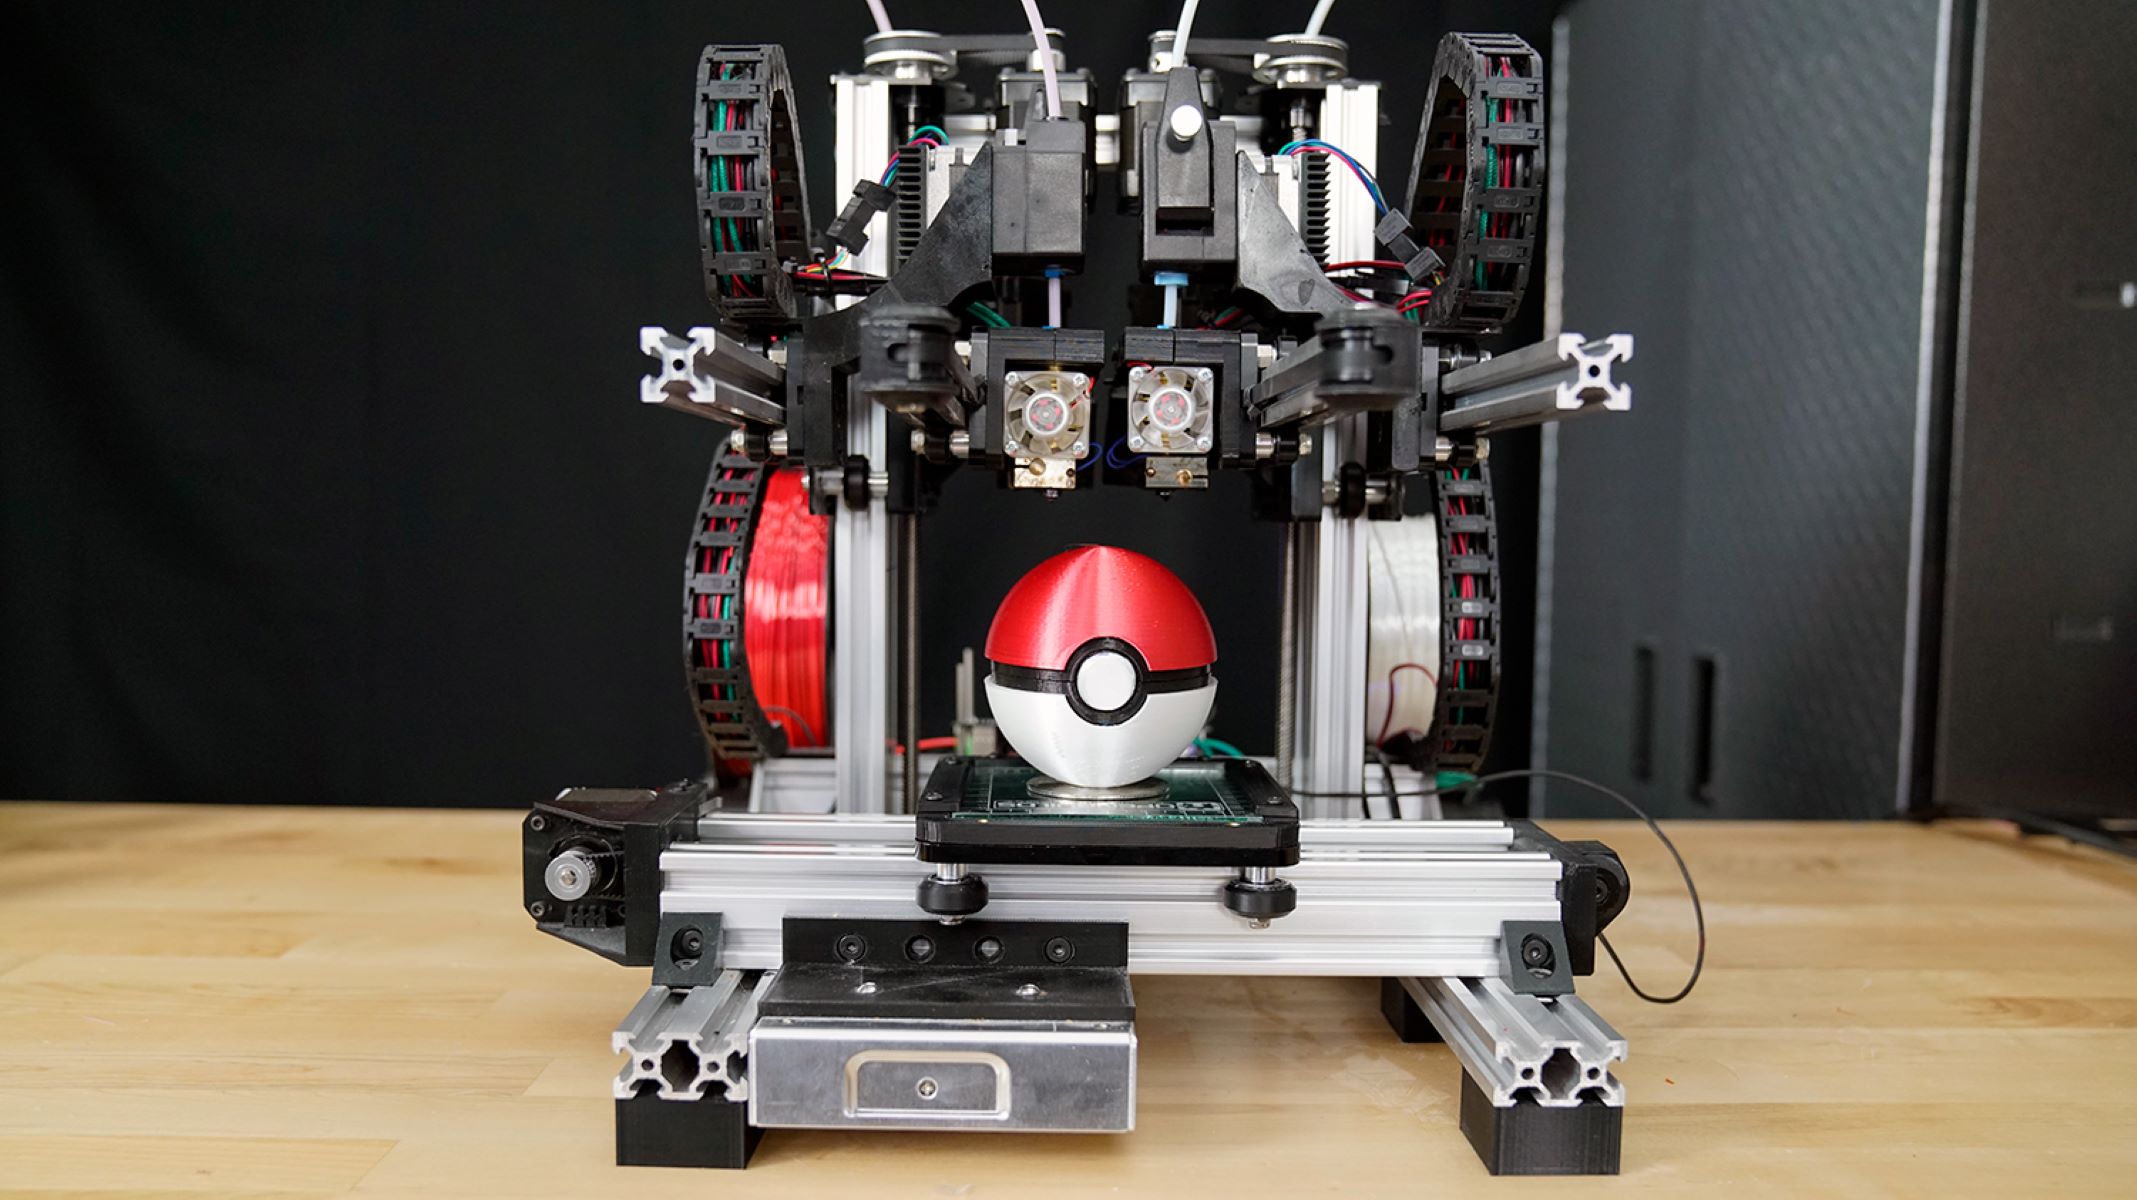
Building Your 3D Printer Frame
The frame of a 3D printer serves as the structural backbone, providing stability and support for the various components and ensuring the precision and accuracy of the printing process. Constructing a sturdy and well-aligned frame is essential for achieving high-quality prints and minimizing vibrations during operation. Let’s explore the steps involved in building the frame for your DIY 3D printer.
Material Selection: The choice of material for the frame plays a significant role in determining the overall rigidity, weight, and durability of the 3D printer. Common materials for 3D printer frames include aluminum extrusions, steel rods, and acrylic panels. Aluminum extrusions offer a balance of strength and weight, making them a popular choice for DIY 3D printers.
Frame Design: The design of the frame should prioritize stability, accessibility for maintenance, and compatibility with the selected motion system and electronics. Many DIY 3D printer enthusiasts opt for a Cartesian-style frame, characterized by a stationary base and moving gantry, or a CoreXY design, which features a dual-motor motion system for enhanced precision and speed.
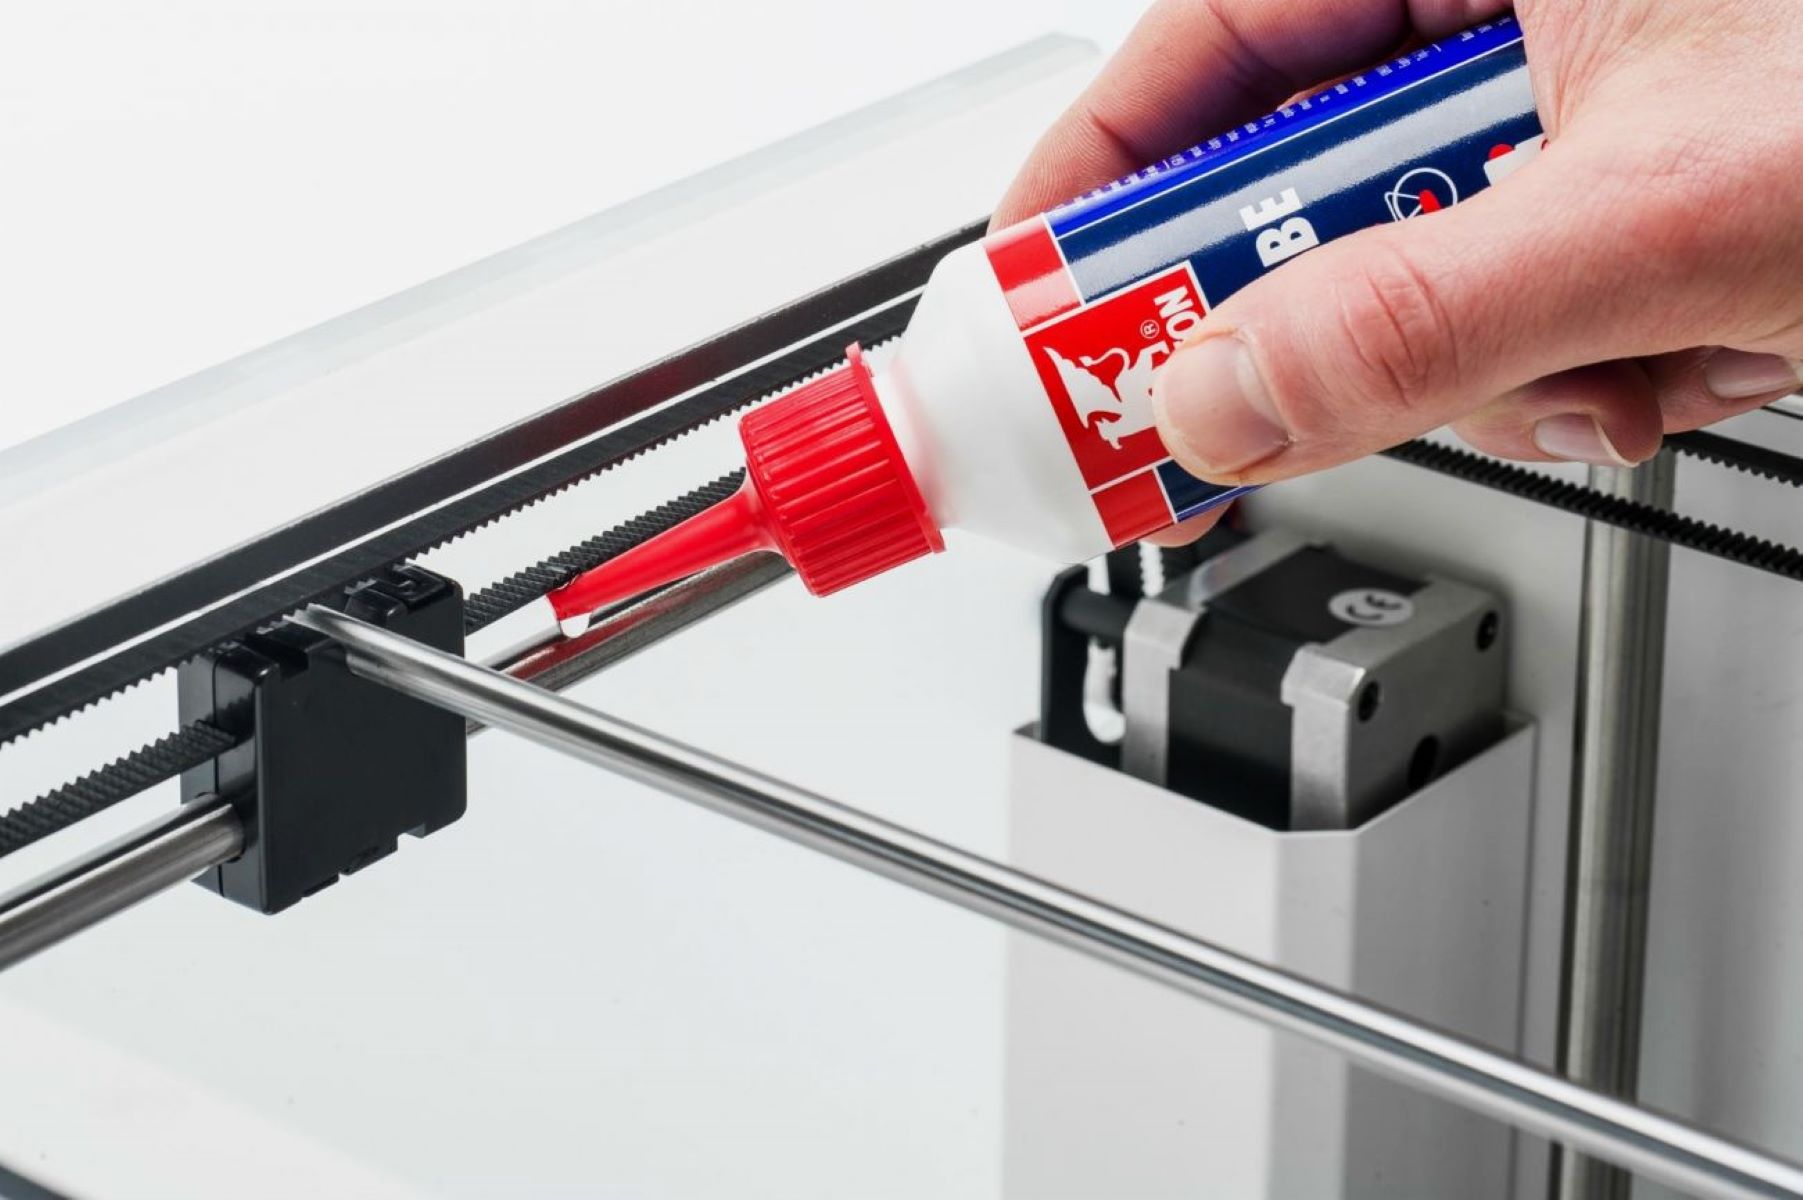
Assembly Process: Assembling the frame involves cutting the chosen material to the required lengths and joining the structural components using brackets, corner connectors, or T-slot nuts and bolts. Precision in cutting and alignment is crucial to ensure the squareness and dimensional accuracy of the frame. Utilizing right-angle tools and measuring instruments is essential for achieving a well-aligned and stable structure.
Alignment and Squaring: Once the frame components are assembled, it is essential to verify the squareness and alignment of the structure. This can be achieved by measuring the diagonals of the frame to ensure they are equal in length, indicating a square and well-aligned assembly. Adjustments can be made by shifting the frame components and tightening the fasteners to achieve the desired squareness.
Stability and Rigidity Enhancement: To further enhance the stability and rigidity of the frame, additional bracing, cross members, or vibration-dampening materials may be incorporated. These enhancements help minimize frame deflection and vibrations during the printing process, contributing to improved print quality and dimensional accuracy.
By meticulously constructing and aligning the frame of your DIY 3D printer, you lay the groundwork for a stable and reliable printing platform. A well-built frame not only ensures the precise movement of the printer’s components but also provides the foundation for future upgrades and customization. With the frame in place, you are one step closer to bringing your homemade 3D printer to life.
Assembling the Electronics and Wiring
Assembling the electronics and wiring of your DIY 3D printer is a pivotal stage that brings the machine to life, enabling it to interpret digital instructions and execute precise movements during the printing process. This phase involves integrating the control board, stepper motors, endstops, and power supply, and organizing the wiring to ensure safe and efficient operation. Let’s delve into the essential steps and considerations for assembling the electronics and wiring of your 3D printer.
Control Board Installation: The control board, often based on platforms like Arduino or RAMPS (RepRap Arduino Mega Pololu Shield), serves as the central nervous system of the 3D printer, orchestrating the operation of the various components. Mounting the control board securely within the printer’s frame and connecting it to the power supply and stepper motor drivers is the first step in the assembly process.
Stepper Motor and Endstop Connection: The stepper motors, responsible for precise movement along the printer’s axes, are connected to the control board through dedicated motor drivers. Similarly, endstops, which serve as positional reference points for the printer, are connected to the control board to enable accurate homing and positioning of the print head and build platform.
Power Supply Integration: The power supply unit, typically a 12V or 24V DC unit, is integrated into the printer’s electronics setup to provide the necessary voltage and current for the operation of the motors, heaters, and control electronics. Care should be taken to ensure proper insulation and secure mounting of the power supply to prevent electrical hazards.
Wiring Organization and Management: Organizing the wiring and cables within the printer’s frame is crucial for maintaining a tidy and safe electrical setup. Cable management techniques, such as using cable chains, sleeves, and mounts, help organize the wiring and prevent tangling or snagging during printer operation. Additionally, labeling the wires and connectors aids in troubleshooting and maintenance.
Heated Bed and Hotend Wiring: The wiring for the heated bed and hotend, including thermistors and heating elements, is integrated into the electronics setup to enable precise temperature control and regulation during the printing process. Proper insulation and strain relief should be employed to ensure the safety and longevity of the wiring connections.
By meticulously assembling the electronics and wiring of your DIY 3D printer, you pave the way for a cohesive and efficient system that translates digital designs into physical objects with precision and reliability. Attention to detail and adherence to safety standards during the assembly process are essential for ensuring the smooth and trouble-free operation of your homemade 3D printer.
When making your own 3D printer, make sure to carefully calibrate the printer’s settings to ensure precise and accurate printing. This will help you avoid any errors or misalignments in your 3D prints.
Read more: How To Make Money With A 3D Printer
Installing and Configuring the 3D Printing Software
Once the hardware components of your DIY 3D printer are assembled, it’s time to focus on the software aspect, which plays a critical role in translating digital designs into tangible objects. The 3D printing software, comprising slicing programs, firmware, and printer control interfaces, facilitates the preparation of print jobs, management of printer settings, and execution of the printing process. Let’s explore the essential steps for installing and configuring the software components of your 3D printer.
Slicing Software Installation: Slicing software, such as Ultimaker Cura, Simplify3D, or PrusaSlicer, is used to convert 3D models into a series of instructions that the printer can understand. Installing and configuring the slicing software involves specifying the printer model, filament type, print settings, and generating G-code, which contains the instructions for the printer’s movements and material deposition.
Firmware Setup: The printer’s firmware, often based on open-source platforms like Marlin or Repetier, is responsible for controlling the printer’s movements, temperature regulation, and communication with the host computer. Configuring the firmware involves specifying parameters such as motor steps, endstop positions, thermistor settings, and bed leveling compensation to ensure accurate and reliable printer operation.
Printer Control Interface: Printer control interfaces, such as OctoPrint or Repetier-Host, provide a user-friendly platform for managing print jobs, monitoring printer status, and adjusting settings during the printing process. Installing and configuring the control interface allows for remote access to the printer, real-time monitoring of print progress, and seamless interaction with the printer’s functionalities.
Calibration and Bed Leveling: As part of the software configuration, calibrating the printer’s axes, extruder steps, and bed leveling is essential for achieving accurate and dimensionally precise prints. This involves fine-tuning the firmware settings and using calibration objects to verify the printer’s accuracy and adjust any discrepancies in movement or material deposition.
Material and Print Profile Management: Configuring the slicing software to manage material profiles, print settings, and custom print profiles enables seamless adaptation to different filament types, print qualities, and specific project requirements. This allows for efficient switching between materials and print configurations without the need for manual adjustments for each print job.
By installing and configuring the 3D printing software components, you empower your DIY 3D printer with the capability to interpret digital designs accurately and execute precise print jobs. Attention to detail and thorough calibration during the software setup phase are essential for ensuring the seamless integration of the hardware and software components, leading to successful and consistent print outcomes.
Testing and Calibrating Your 3D Printer
With the hardware components assembled and the software configured, it’s time to embark on the crucial phase of testing and calibrating your DIY 3D printer. This stage involves verifying the functionality of the printer’s components, fine-tuning the settings, and ensuring the accuracy and reliability of the printing process. Let’s explore the essential steps for testing and calibrating your 3D printer to achieve optimal performance.
Initial Power-Up and Homing: Upon powering up the printer, the homing sequence allows the printer to establish the reference positions for the print head and build platform. Verifying that the axes move smoothly and accurately during homing is essential for ensuring the proper functionality of the motion system and endstops.
Temperature Calibration: Calibrating the hotend and heated bed temperatures ensures accurate and consistent thermal performance. Using a reliable thermometer or thermal imaging camera, verify that the actual temperatures match the set values and adjust the firmware settings if necessary to achieve precise temperature control.
Extrusion and Flow Calibration: Testing the extrusion and flow characteristics of the printer involves verifying the accuracy of filament feeding, adjusting the extruder steps, and fine-tuning the flow rate to achieve the desired material deposition and dimensional accuracy in printed objects.
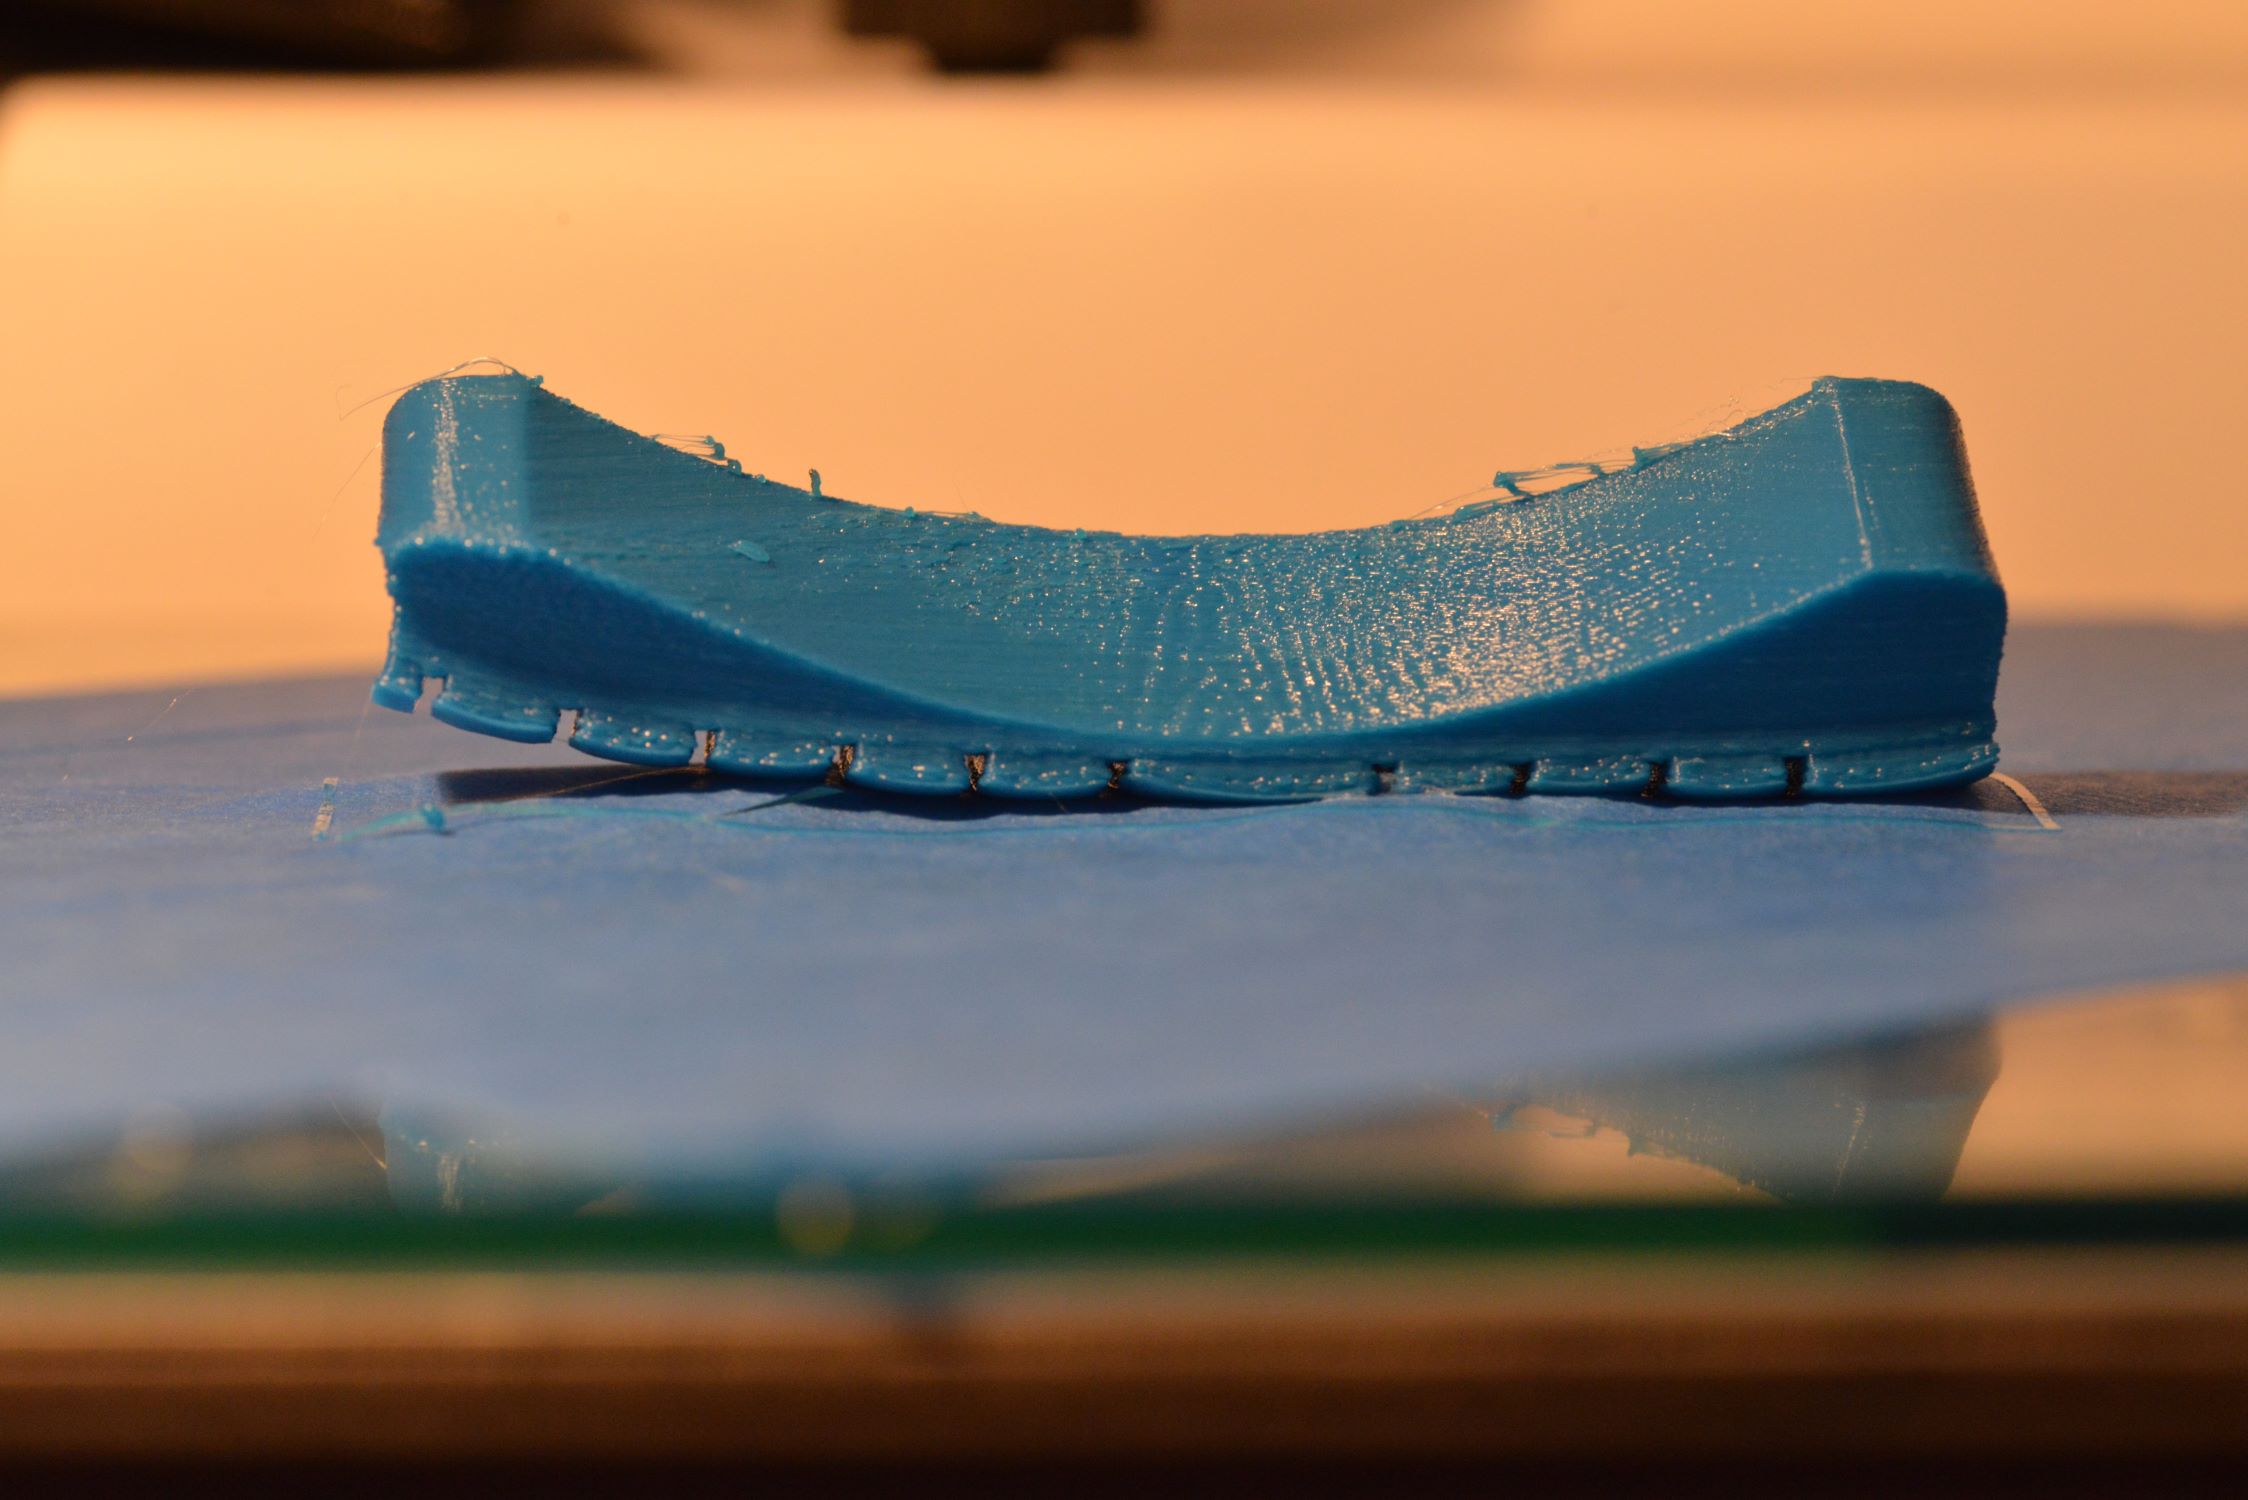
Print Quality Assessment: Conducting test prints, such as calibration cubes, bridges, and overhangs, allows for the assessment of print quality, dimensional accuracy, and layer adhesion. Analyzing the surface finish, dimensional tolerances, and structural integrity of the test prints provides valuable insights into the printer’s performance and guides adjustments to the print settings.
Bed Leveling and Adhesion Testing: Calibrating the bed leveling and adhesion properties involves fine-tuning the leveling screws or automated bed leveling system to achieve uniform and consistent first-layer adhesion. Conducting adhesion tests with different print surfaces and materials helps identify the optimal bed adhesion settings for successful print outcomes.
Dimensional Accuracy and Retraction Tuning: Verifying the dimensional accuracy of printed objects and adjusting retraction settings helps minimize stringing, oozing, and warping in the prints. Fine-tuning retraction distance and speed mitigates filament-related artifacts and enhances the overall surface quality of printed objects.
By meticulously testing and calibrating your DIY 3D printer, you ensure that it operates with precision and reliability, yielding high-quality prints with consistent dimensional accuracy and surface finish. Attention to detail and iterative adjustments based on test results are essential for optimizing the performance of your 3D printer and achieving successful print outcomes across various materials and print configurations.
Troubleshooting Common Issues
While embarking on your 3D printing journey, encountering technical challenges is not uncommon. Understanding and addressing common issues that may arise during the operation of your DIY 3D printer is essential for maintaining optimal performance and print quality. Let’s explore some prevalent issues and their troubleshooting methods to ensure a smooth printing experience.
Print Adhesion Problems: If prints fail to adhere to the build surface or exhibit warping, adjusting the bed leveling, increasing the bed temperature for better adhesion, and using adhesion aids such as glue sticks or adhesive sprays can improve the first-layer adhesion and minimize warping issues.
Extrusion and Filament Feeding Issues: Inconsistent extrusion, under-extrusion, or filament slipping may result from improper filament path alignment, nozzle clogs, or incorrect extruder tension. Clearing nozzle obstructions, adjusting the extruder tension, and verifying the filament path for smooth feeding can mitigate extrusion-related challenges.
Layer Misalignment and Banding: Misaligned layers, z-axis artifacts, or banding in prints can stem from loose belts, insufficient stepper motor current, or mechanical irregularities. Tightening the belts, adjusting the stepper motor current, and verifying the mechanical integrity of the printer’s motion system can rectify layer alignment issues.
Stringing and Oozing: Excessive stringing between printed features and filament oozing during travel moves can be mitigated by fine-tuning retraction settings, adjusting print temperatures, and verifying the cleanliness of the hotend and nozzle to prevent filament buildup and dripping.
Print Surface Imperfections: Surface defects, such as blobs, zits, or layer inconsistencies, may result from incorrect print speeds, retraction settings, or insufficient cooling. Adjusting print speeds, optimizing retraction parameters, and enhancing part cooling can minimize surface imperfections and enhance print quality.
Communication and Firmware Issues: Unresponsive printer controls, communication errors, or firmware glitches can be addressed by verifying the integrity of the USB or SD card connection, updating the printer’s firmware, and ensuring compatibility between the slicing software and the printer’s firmware version.
By familiarizing yourself with these common issues and their respective troubleshooting methods, you can effectively diagnose and resolve technical challenges that may arise during the operation of your DIY 3D printer. Patience, systematic problem-solving, and iterative adjustments based on test prints are key to overcoming these challenges and optimizing the performance of your 3D printer.
Conclusion
Congratulations on embarking on the exhilarating journey of building your own 3D printer! Throughout this comprehensive guide, we have explored the intricate process of constructing a DIY 3D printer from scratch, delving into the fundamental principles of 3D printing technology, selecting the right components, and assembling and calibrating the printer to achieve optimal performance.
By understanding the basics of 3D printing, you have gained insight into the additive manufacturing process and the essential components that form the backbone of a 3D printer. Choosing the right components, from the frame and motion system to the electronics and wiring, has laid the foundation for a robust and reliable printing platform.
Assembling the electronics and wiring, integrating the control board, stepper motors, and power supply, and organizing the wiring with meticulous attention to detail have brought your printer to life, enabling it to interpret digital designs and execute precise print jobs.
Installing and configuring the 3D printing software, from slicing programs and firmware to printer control interfaces, has empowered your printer with the capability to translate digital designs into tangible objects with precision and reliability.
Testing and calibrating your 3D printer, from homing sequences and temperature calibration to print quality assessment and dimensional accuracy tuning, has fine-tuned the performance of your printer, ensuring consistent and high-quality print outcomes.
Understanding common issues and their troubleshooting methods equips you with the knowledge and skills to address technical challenges that may arise, fostering a smooth and rewarding printing experience.
As you embark on this fulfilling endeavor, remember that patience, perseverance, and a spirit of continuous learning are essential companions. Embrace the iterative nature of 3D printing, where each print serves as an opportunity to refine your skills, optimize your printer, and unleash your creativity.
With your DIY 3D printer at the ready, you are poised to embark on a world of innovation and creativity, bringing your digital designs to life and exploring the boundless possibilities of additive manufacturing. Whether you are a hobbyist, a maker, or an aspiring entrepreneur, the journey of DIY 3D printing promises to be a captivating and rewarding pursuit, filled with discovery, creativity, and the joy of bringing imagination to reality.
Frequently Asked Questions about How To Make Your Own 3D Printer
Was this page helpful?
At Storables.com, we guarantee accurate and reliable information. Our content, validated by Expert Board Contributors, is crafted following stringent Editorial Policies. We're committed to providing you with well-researched, expert-backed insights for all your informational needs.


0 thoughts on “How To Make Your Own 3D Printer”