Home>Technology>Smart Home Devices>How To Calibrate Toybox 3D Printer

Smart Home Devices
How To Calibrate Toybox 3D Printer
Modified: August 20, 2024
Learn how to calibrate your Toybox 3D printer for optimal performance and precision. Get expert tips and tricks for fine-tuning your smart home devices.
(Many of the links in this article redirect to a specific reviewed product. Your purchase of these products through affiliate links helps to generate commission for Storables.com, at no extra cost. Learn more)
Introduction
Welcome to the exciting world of 3D printing with the Toybox 3D Printer! This innovative device has the power to turn your imagination into reality, allowing you to create unique and personalized toys and trinkets at the touch of a button. However, to ensure that your prints are of the highest quality, it’s essential to calibrate your Toybox 3D Printer correctly.
In this comprehensive guide, we will delve into the intricate process of calibrating your Toybox 3D Printer, providing step-by-step instructions, valuable tips, and troubleshooting advice to help you achieve impeccable print results. Whether you’re a novice enthusiast or a seasoned 3D printing aficionado, mastering the art of calibration is crucial for unleashing the full potential of your Toybox 3D Printer.
Join us as we embark on this enlightening journey, unraveling the nuances of Toybox 3D Printer calibration and empowering you to elevate your 3D printing endeavors to new heights.
Key Takeaways:
- Mastering Toybox 3D Printer calibration is crucial for achieving precise and detailed prints. By fine-tuning settings and troubleshooting issues, you can unleash your creativity with exceptional 3D creations.
- Preparing for calibration with essential tools and thorough cleaning sets the stage for successful Toybox 3D Printer calibration. Diligent preparation ensures optimal print quality and performance.
Read more: Where To Put A 3D Printer
Understanding Toybox 3D Printer Calibration
Calibration is a fundamental aspect of 3D printing that involves fine-tuning various parameters of the printer to ensure precise and accurate print results. When it comes to the Toybox 3D Printer, calibration plays a pivotal role in optimizing the printing process and achieving exceptional output quality.
One of the key elements of calibration is ensuring that the printer’s build platform is perfectly level. This is crucial for the first layer of the print to adhere uniformly to the build surface, laying the foundation for a flawless print. Additionally, calibrating the printer’s extruder ensures that the filament is deposited at the correct thickness, contributing to the overall accuracy and detail of the printed object.
Moreover, calibrating the printer’s motion system, including the X, Y, and Z axes, is essential for precise movement and positioning during the printing process. This meticulous calibration ensures that each layer of the print is accurately aligned, resulting in a cohesive and structurally sound final product.
Understanding the nuances of Toybox 3D Printer calibration empowers users to optimize their printing experience, minimize print failures, and unlock the full potential of the printer’s capabilities. By mastering the art of calibration, users can harness the power of the Toybox 3D Printer to bring their creative visions to life with unparalleled precision and quality.
Preparing for Calibration
Before diving into the calibration process, it’s essential to make adequate preparations to ensure a smooth and effective calibration experience. Here are the key steps to prepare for calibrating your Toybox 3D Printer:
- Gather Essential Tools: Ensure that you have all the necessary tools at hand, including a calibration card or feeler gauge, a small ruler or calipers, and a reliable leveling tool. These tools are indispensable for accurately adjusting the printer’s components during calibration.
- Clean the Build Platform: Thoroughly clean the build platform to remove any residual filament or debris. A clean and level build platform is essential for achieving optimal print adhesion and surface finish.
- Check Filament Quality: Verify that the filament spool is free from tangles or knots, and ensure that the filament diameter is consistent throughout the spool. High-quality filament is essential for achieving consistent and reliable print results.
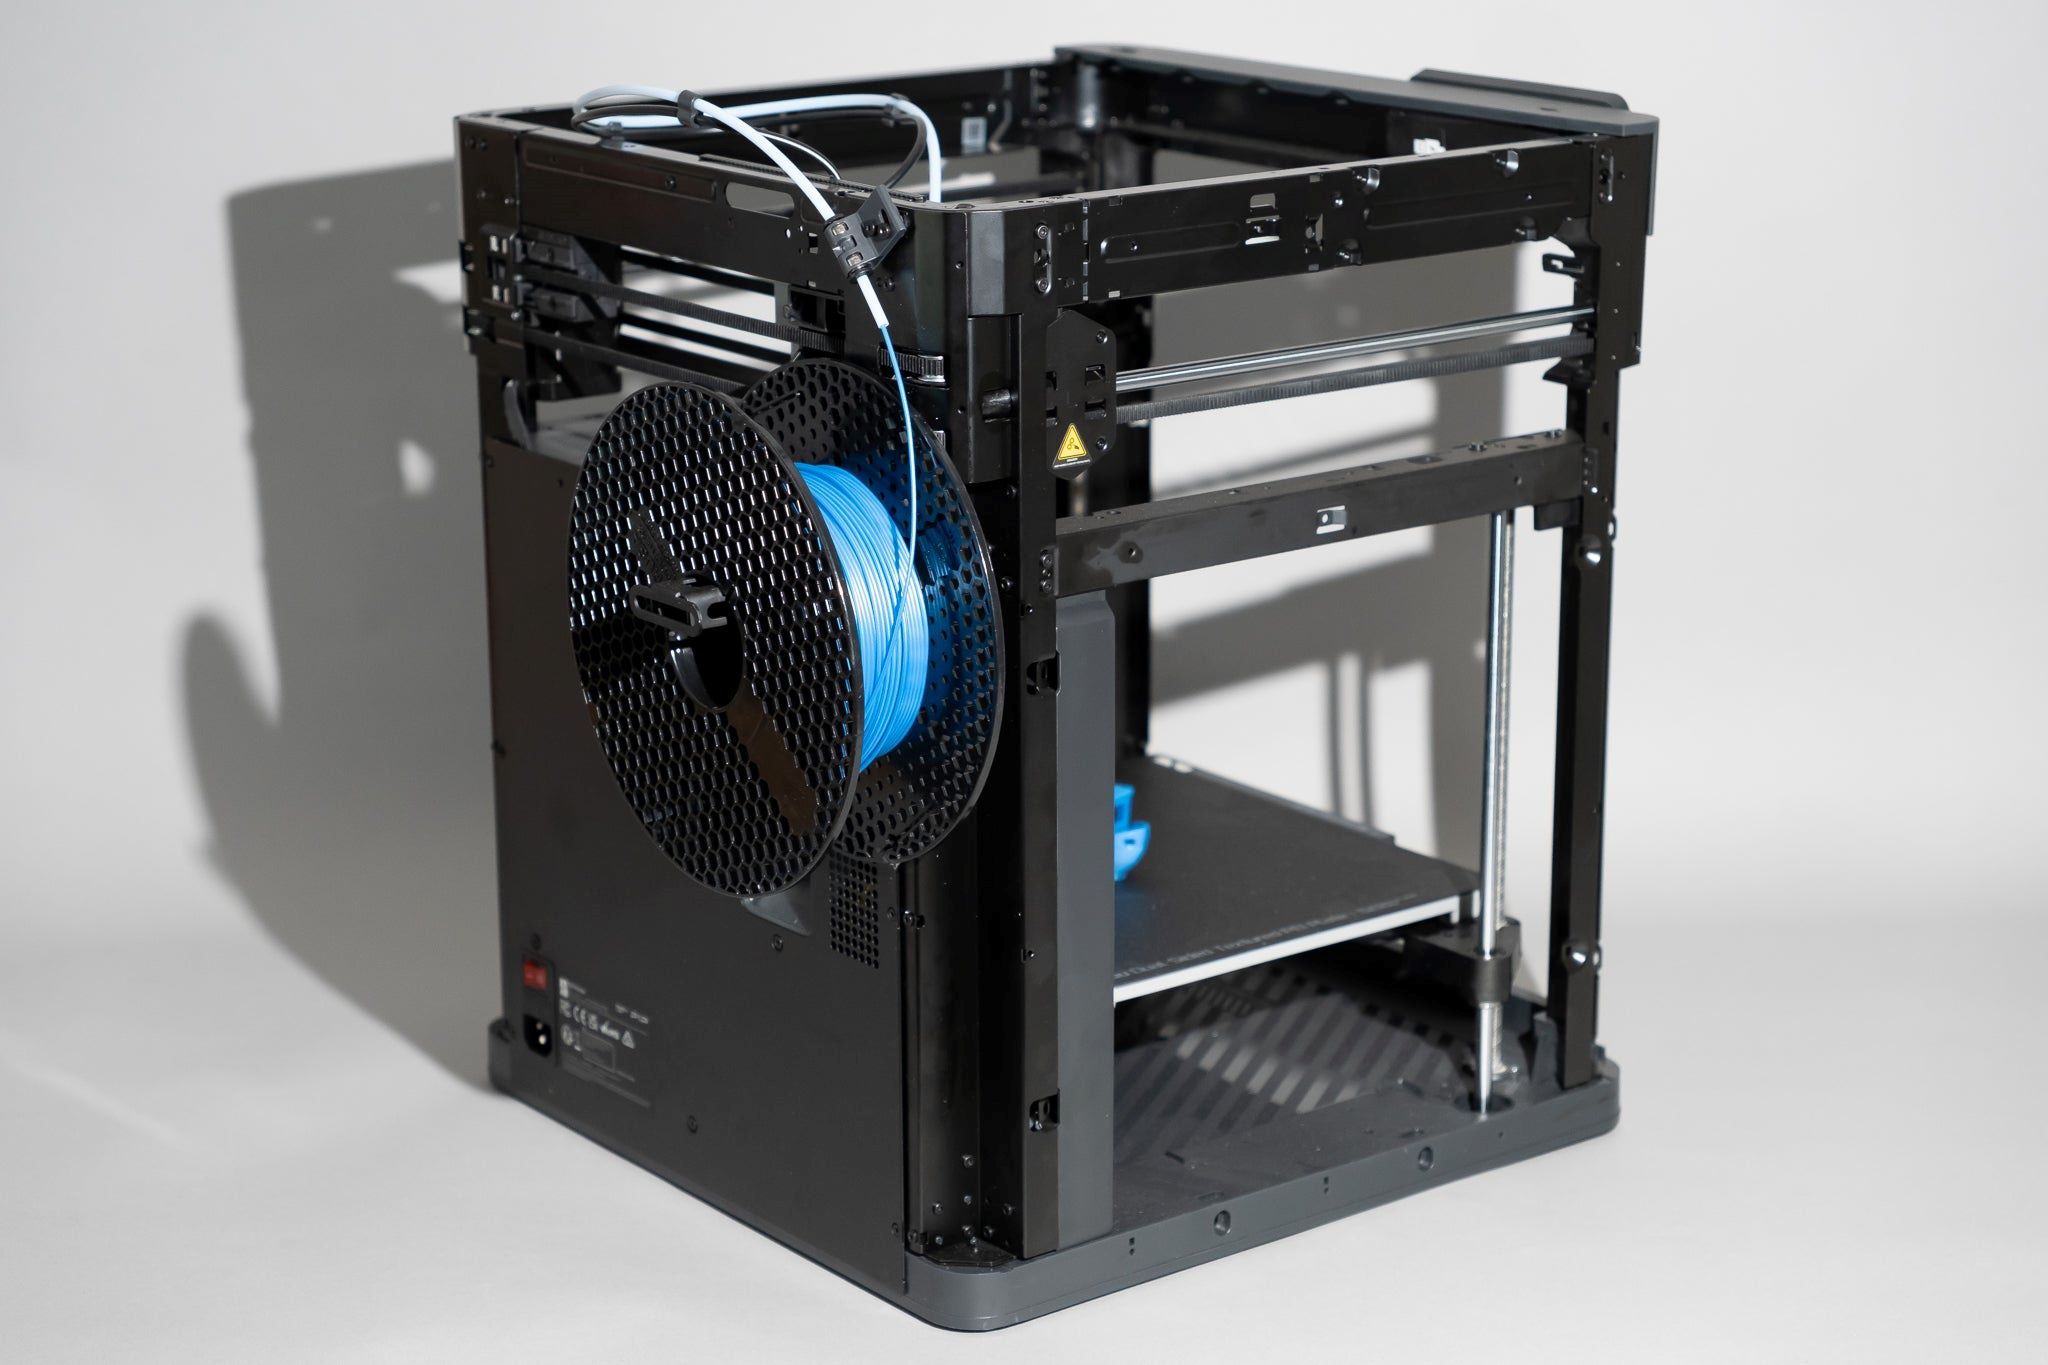
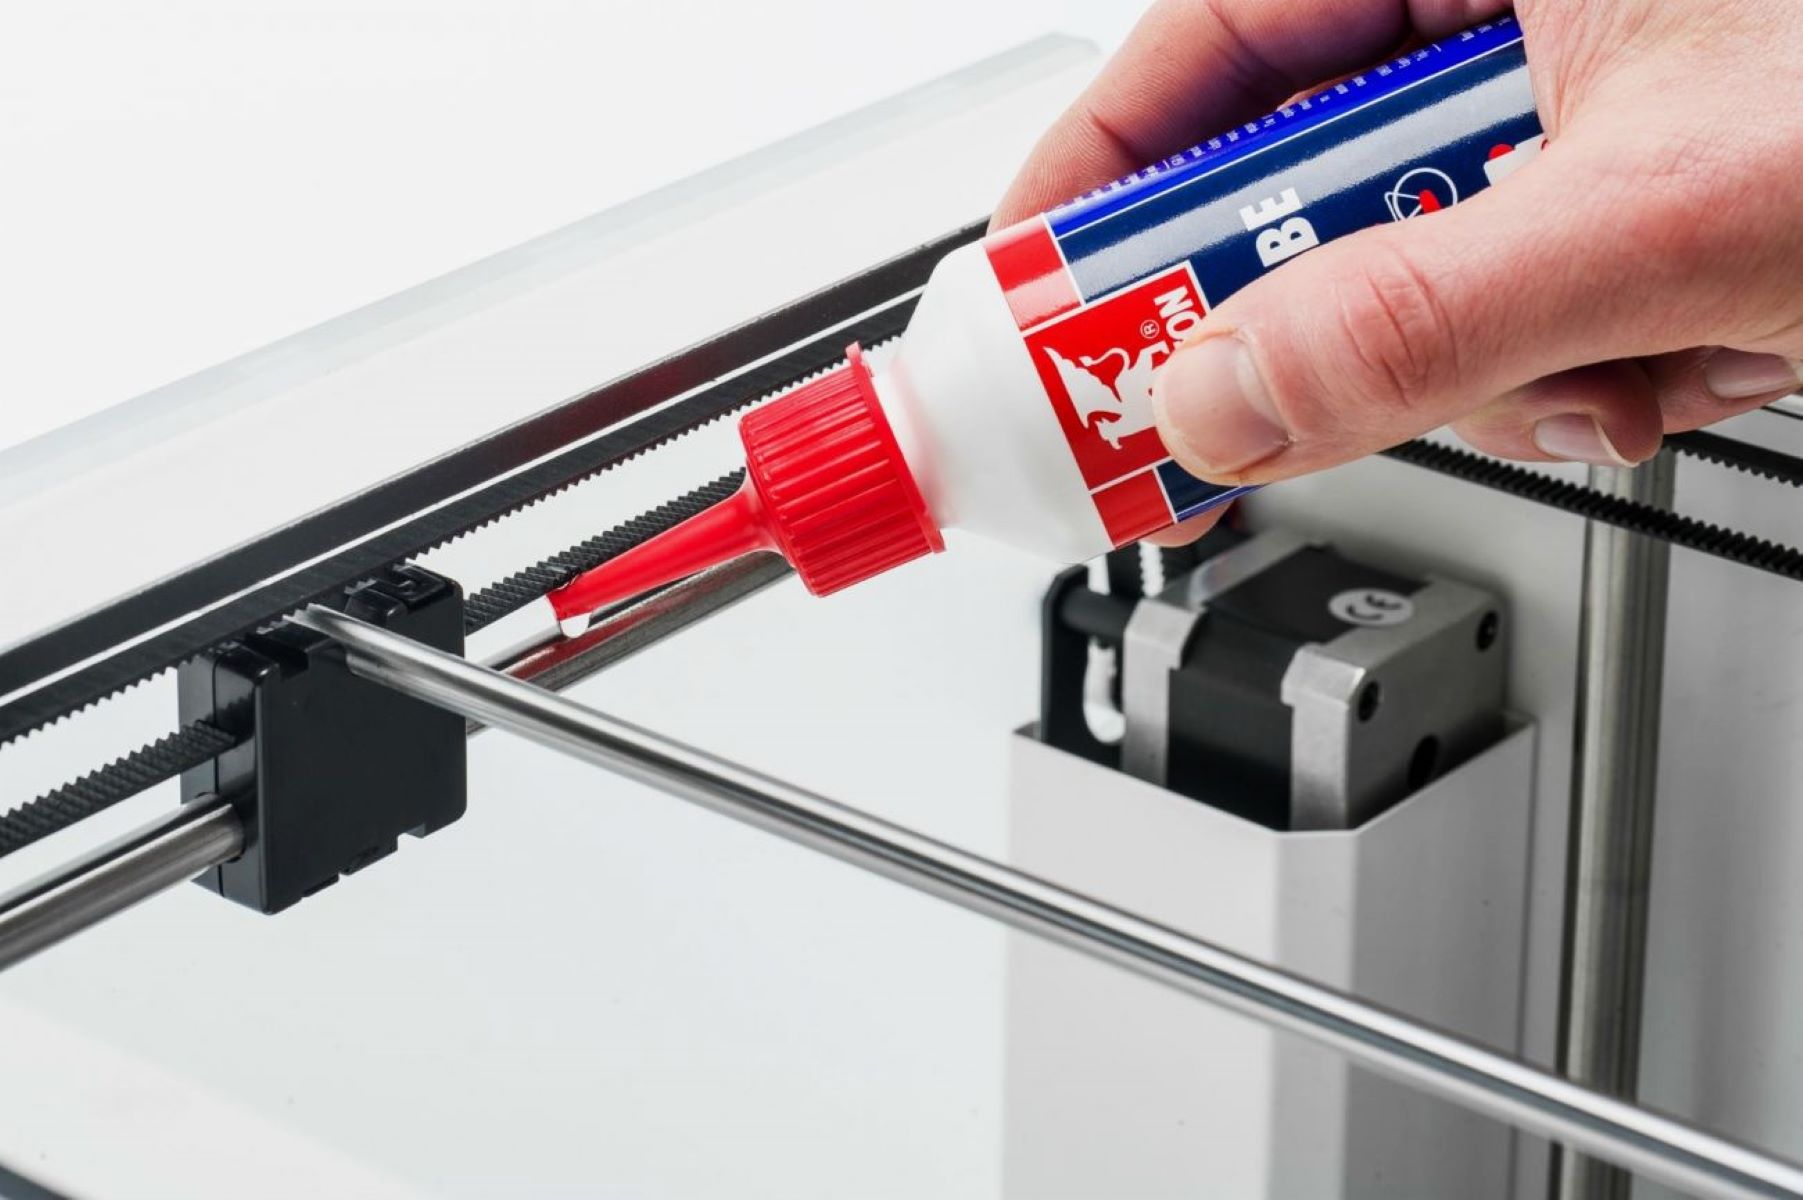
- Inspect Printer Components: Conduct a visual inspection of the printer’s components, including the extruder, belts, and motion system. Ensure that all components are in good condition and properly aligned, as any misalignments can impact print quality.
- Review Printer Documentation: Familiarize yourself with the calibration procedures outlined in the printer’s user manual or documentation. Understanding the specific calibration steps recommended by the manufacturer is crucial for achieving precise calibration results.
By diligently preparing for the calibration process, you set the stage for a successful calibration session, laying the groundwork for achieving optimal print quality and performance. With the necessary tools at your disposal and a thorough understanding of the calibration procedures, you are ready to embark on the journey of calibrating your Toybox 3D Printer with confidence and precision.
Calibrating the Toybox 3D Printer
Calibrating your Toybox 3D Printer is a meticulous process that involves adjusting various parameters to ensure precise and consistent print quality. Here’s a comprehensive guide to calibrating your Toybox 3D Printer:
- Leveling the Build Platform: Begin by ensuring that the build platform is perfectly level. Use a calibration card or feeler gauge to adjust the platform’s leveling screws, ensuring that the distance between the nozzle and the build surface is uniform across the entire platform.
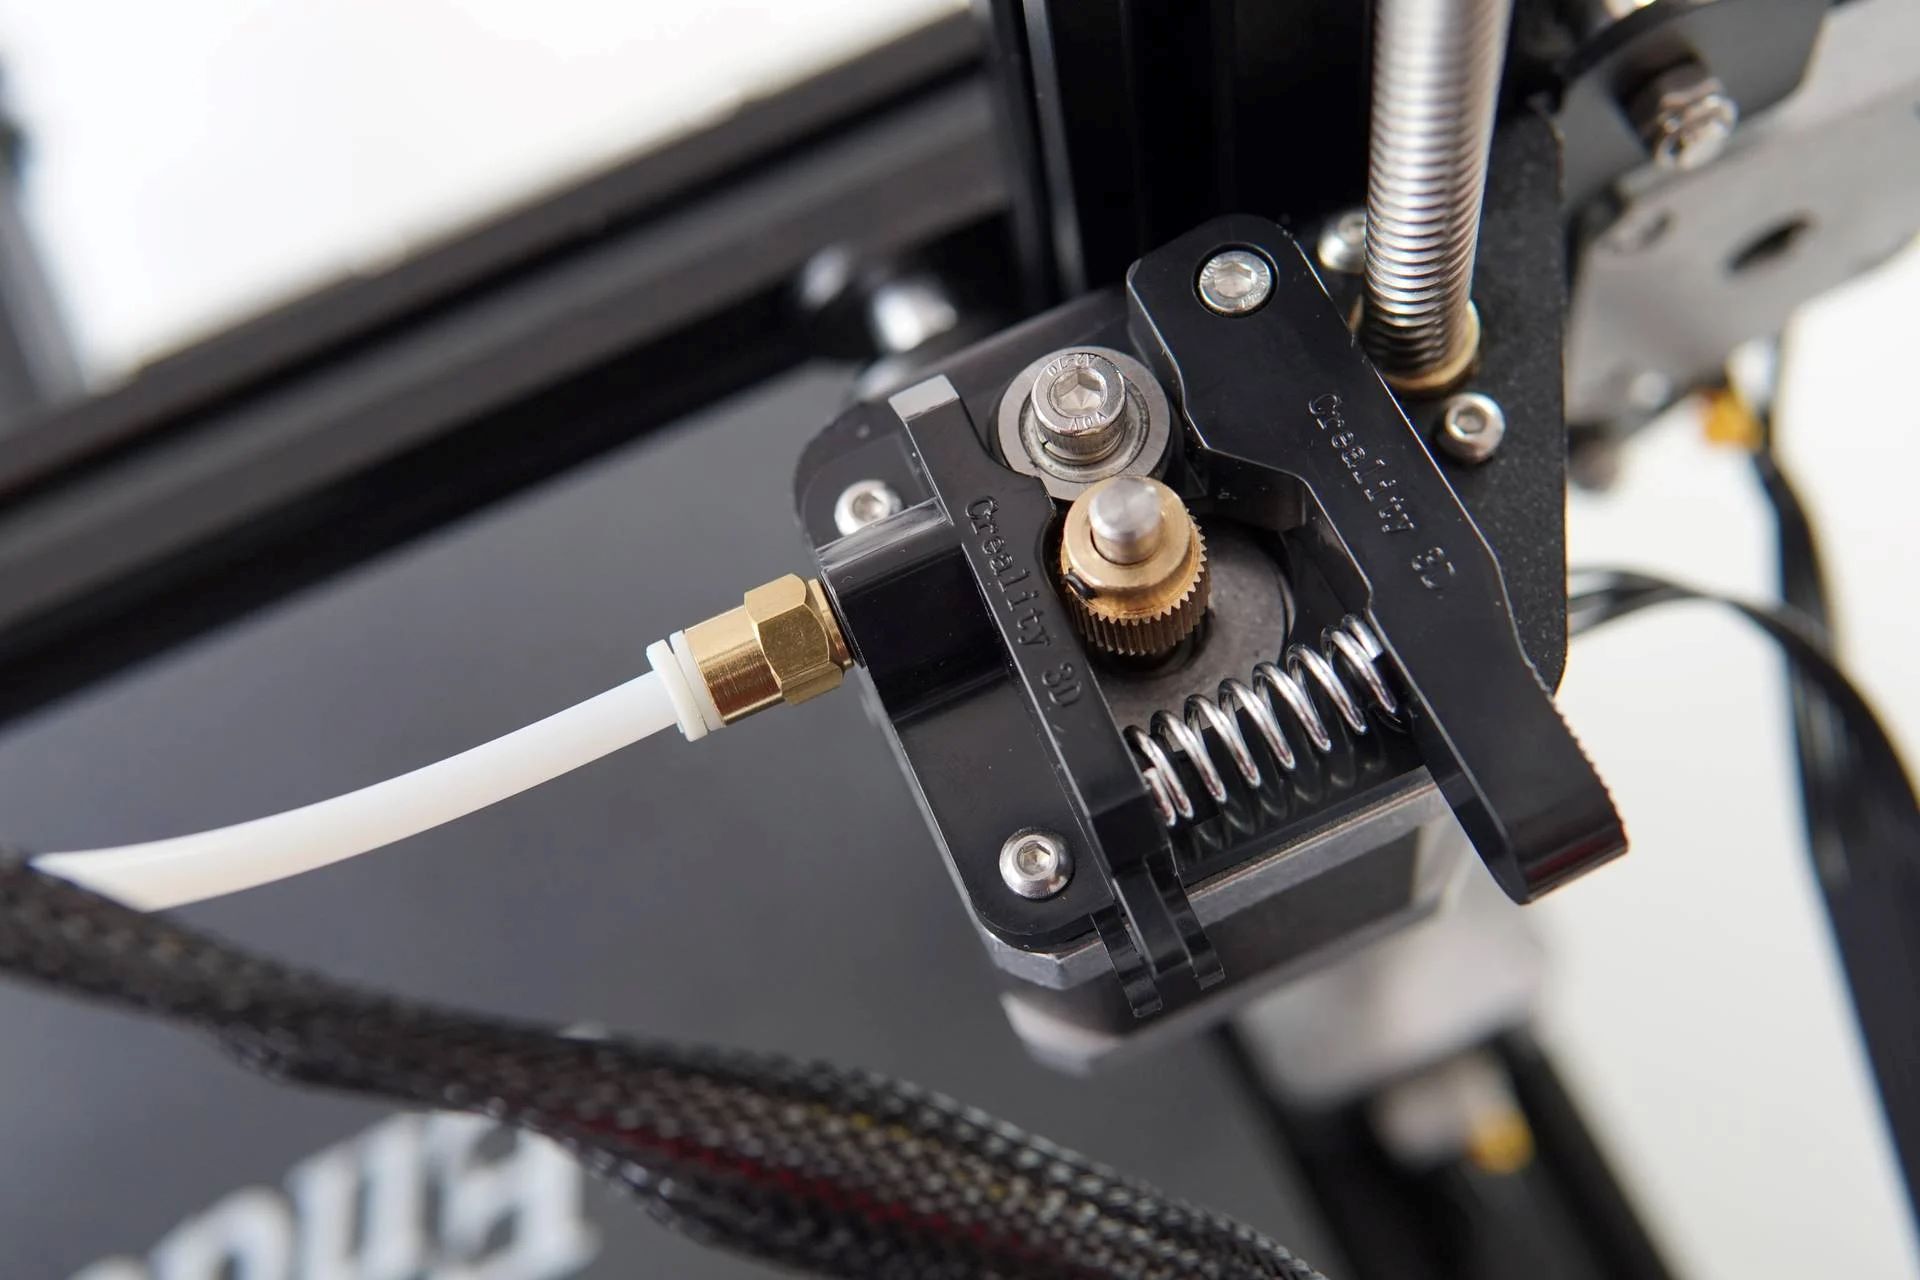
- Calibrating the Extruder: Next, calibrate the extruder to ensure that the filament is deposited at the correct thickness. This involves adjusting the extrusion multiplier or flow rate to achieve the desired filament flow, resulting in consistent layer adhesion and print detail.
- Verifying Motion System Alignment: Check the alignment of the printer’s motion system, including the X, Y, and Z axes. Ensure that the axis movements are smooth and precise, and make any necessary adjustments to eliminate any irregularities or misalignments.
- Adjusting Print Settings: Fine-tune the print settings in the slicer software, including layer height, print speed, and temperature settings. These adjustments can significantly impact print quality and structural integrity, so it’s crucial to optimize these settings for your specific printing needs.
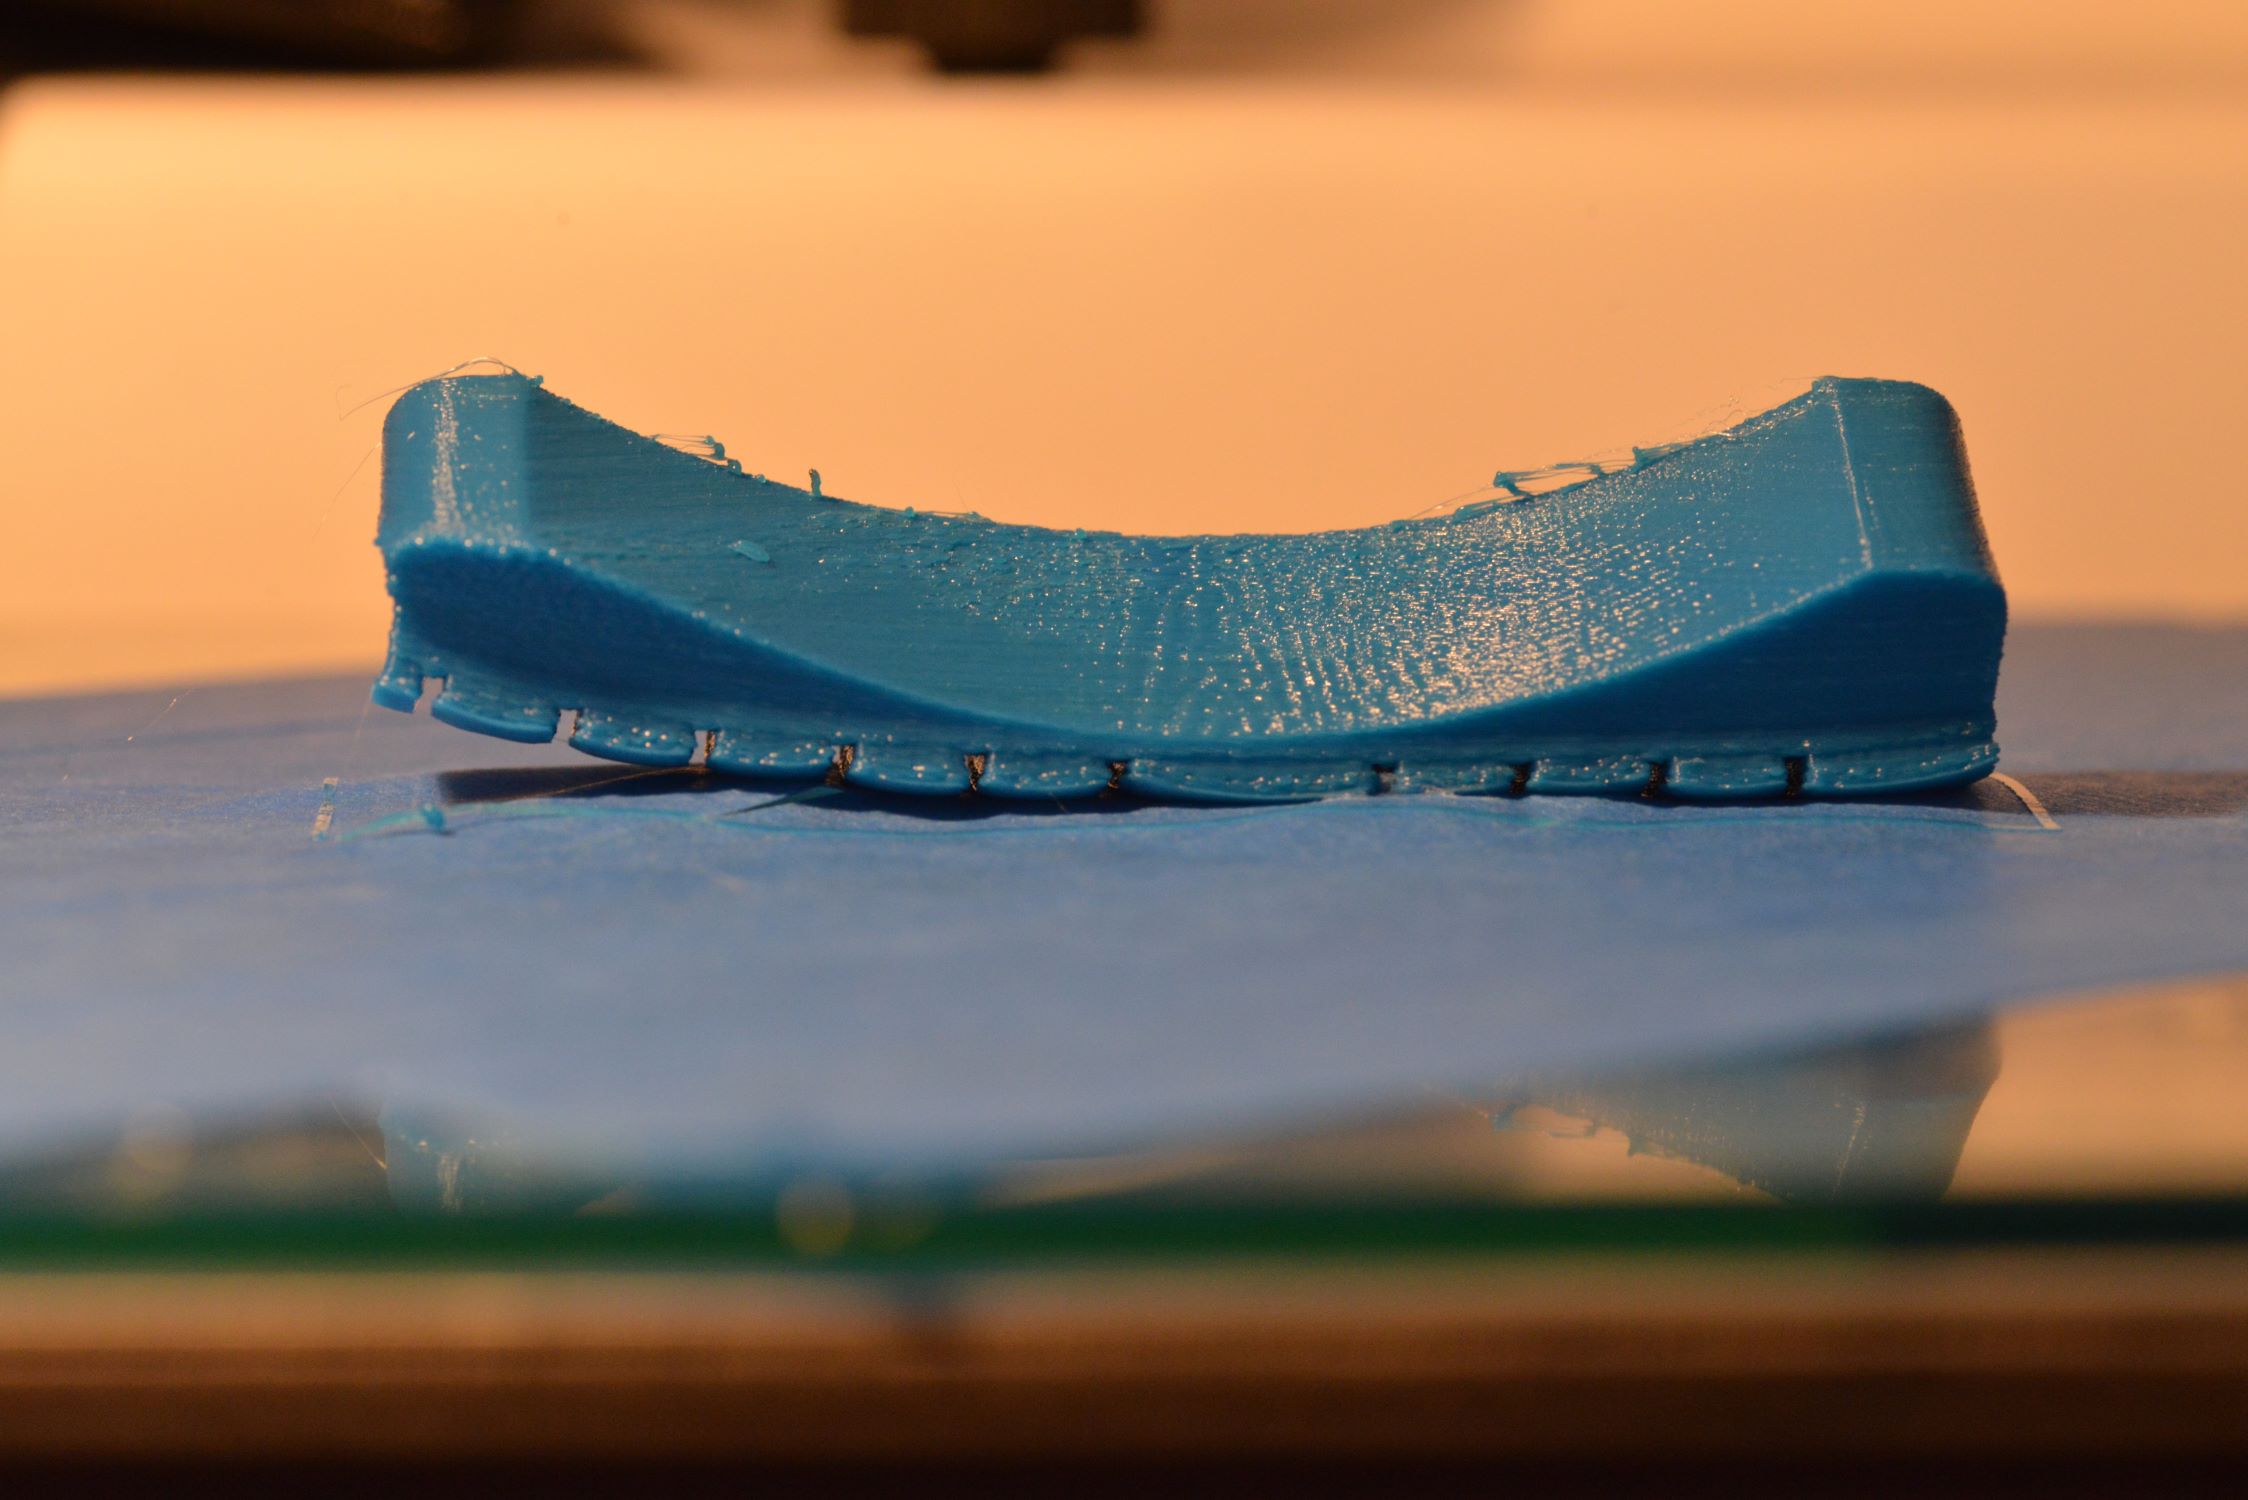
- Performing Test Prints: After calibrating the printer, perform test prints to evaluate the results. Pay close attention to the first layer adhesion, dimensional accuracy, and overall print quality. Adjust the calibration parameters as needed based on the test print outcomes.
Throughout the calibration process, it’s important to approach each adjustment methodically and patiently, making incremental changes and carefully evaluating the impact on print quality. By diligently calibrating the Toybox 3D Printer, you can fine-tune its performance to achieve exceptional print results that align with your creative vision.
When calibrating a Toybox 3D printer, make sure to level the build plate, adjust the nozzle height, and check the extruder tension for smooth and accurate printing.
Testing the Calibration
Once you have completed the calibration process for your Toybox 3D Printer, it’s crucial to conduct thorough testing to validate the effectiveness of the adjustments and ensure that the printer is primed for producing high-quality prints. Here are the key steps for testing the calibration:
- First Layer Adhesion Test: Initiate a print with a focus on evaluating the adhesion of the first layer to the build platform. Monitor the initial layer deposition and assess whether it adheres uniformly and securely to the platform. A well-calibrated printer will produce a smooth and consistent first layer with optimal adhesion.
- Dimensional Accuracy Assessment: Print a test object with precise dimensional features, such as a calibration cube or a geometric model. Use calipers or a ruler to measure the dimensions of the printed object and compare them to the intended design specifications. Accurate calibration will yield printed objects that closely match the intended dimensions.
- Overhang and Bridging Evaluation: Test the printer’s ability to handle overhangs and bridging by printing models with challenging overhang angles and suspended bridge structures. Assess the quality of the overhanging sections and the integrity of the bridged spans to gauge the printer’s calibration for complex geometries.
- Fine Detail and Surface Finish Analysis: Print models with intricate details and smooth surfaces to evaluate the printer’s ability to reproduce fine features and achieve a high-quality surface finish. Inspect the printed details and surfaces under adequate lighting to identify any imperfections or inconsistencies that may indicate calibration issues.
By meticulously testing the calibration of your Toybox 3D Printer, you can gain valuable insights into the printer’s performance and identify any remaining calibration adjustments that may be necessary. Through a systematic and thorough testing process, you can fine-tune the printer’s settings and parameters to achieve exceptional print quality across a diverse range of objects and designs.
Read more: What Is An Extruder On A 3D Printer
Troubleshooting Calibration Issues
While calibrating your Toybox 3D Printer, you may encounter certain issues that impact the quality and consistency of your prints. Understanding how to troubleshoot calibration issues is essential for overcoming challenges and achieving optimal print results. Here are some common calibration issues and their troubleshooting solutions:
- Poor First Layer Adhesion: If the first layer of your prints does not adhere well to the build platform, ensure that the platform is level and clean. Adjust the platform’s leveling screws and verify that the printing surface is free from debris or contamination.
- Inconsistent Extrusion: Inconsistent extrusion can result from improper extruder calibration. Check the extrusion multiplier or flow rate settings and adjust them to achieve consistent filament deposition. Additionally, ensure that the filament path is free from obstructions or tangles.
- Misaligned Layers: Misaligned layers may indicate issues with the printer’s motion system or Z-axis calibration. Verify the alignment of the motion components and adjust the Z-axis settings to ensure that each layer is deposited accurately and uniformly.
- Over-Extrusion or Under-Extrusion: Over-extrusion (excess filament deposition) or under-extrusion (insufficient filament deposition) can impact print quality. Fine-tune the extrusion settings and filament diameter to achieve the correct flow rate, addressing over- or under-extrusion issues.
- Print Warping or Curling: Warping or curling of printed objects can stem from inadequate bed adhesion or excessive cooling. Adjust the print bed temperature and consider using a brim or raft for improved adhesion. Additionally, optimize the printer’s cooling settings to mitigate warping issues.
When troubleshooting calibration issues, it’s important to approach each issue systematically, making incremental adjustments and observing the impact on print quality. By identifying and addressing specific calibration challenges, you can refine the printer’s performance and overcome obstacles to achieve consistent and exceptional print results.
Conclusion
Congratulations on embarking on the enlightening journey of calibrating your Toybox 3D Printer! By gaining a comprehensive understanding of the calibration process and diligently fine-tuning the printer’s settings, you have taken a significant step toward unlocking the full potential of your 3D printing endeavors.
Calibration is a continuous learning experience, and mastering the art of calibration empowers you to achieve exceptional print quality, precise dimensional accuracy, and the ability to bring your creative visions to life with unparalleled detail and finesse. As you navigate the calibration process, remember that patience, attention to detail, and a methodical approach are key ingredients for achieving optimal calibration results.
Furthermore, the ability to troubleshoot calibration issues and refine the printer’s performance is a valuable skill that will enhance your 3D printing journey. By identifying and addressing specific calibration challenges, you can elevate the quality and consistency of your prints, opening doors to a world of limitless creativity and innovation.
As you continue to explore the boundless possibilities of 3D printing with your Toybox 3D Printer, remember that calibration is not merely a technical process, but an art form that allows you to transform digital designs into tangible, awe-inspiring creations. Embrace the journey of calibration with enthusiasm and curiosity, and let your passion for 3D printing propel you toward new horizons of imagination and ingenuity.
With a well-calibrated Toybox 3D Printer at your command, the possibilities are endless, and the world of 3D printing is yours to explore and conquer. May your calibration endeavors yield remarkable results, and may each print be a testament to your dedication, creativity, and the remarkable capabilities of the Toybox 3D Printer.
Frequently Asked Questions about How To Calibrate Toybox 3D Printer
Was this page helpful?
At Storables.com, we guarantee accurate and reliable information. Our content, validated by Expert Board Contributors, is crafted following stringent Editorial Policies. We're committed to providing you with well-researched, expert-backed insights for all your informational needs.


0 thoughts on “How To Calibrate Toybox 3D Printer”