Home>Technology>Smart Home Devices>How To Use An Ender 3D Printer

Smart Home Devices
How To Use An Ender 3D Printer
Modified: August 20, 2024
Learn how to use an Ender 3D printer to create smart home devices and bring your DIY projects to life. Get step-by-step instructions and expert tips.
(Many of the links in this article redirect to a specific reviewed product. Your purchase of these products through affiliate links helps to generate commission for Storables.com, at no extra cost. Learn more)
Introduction
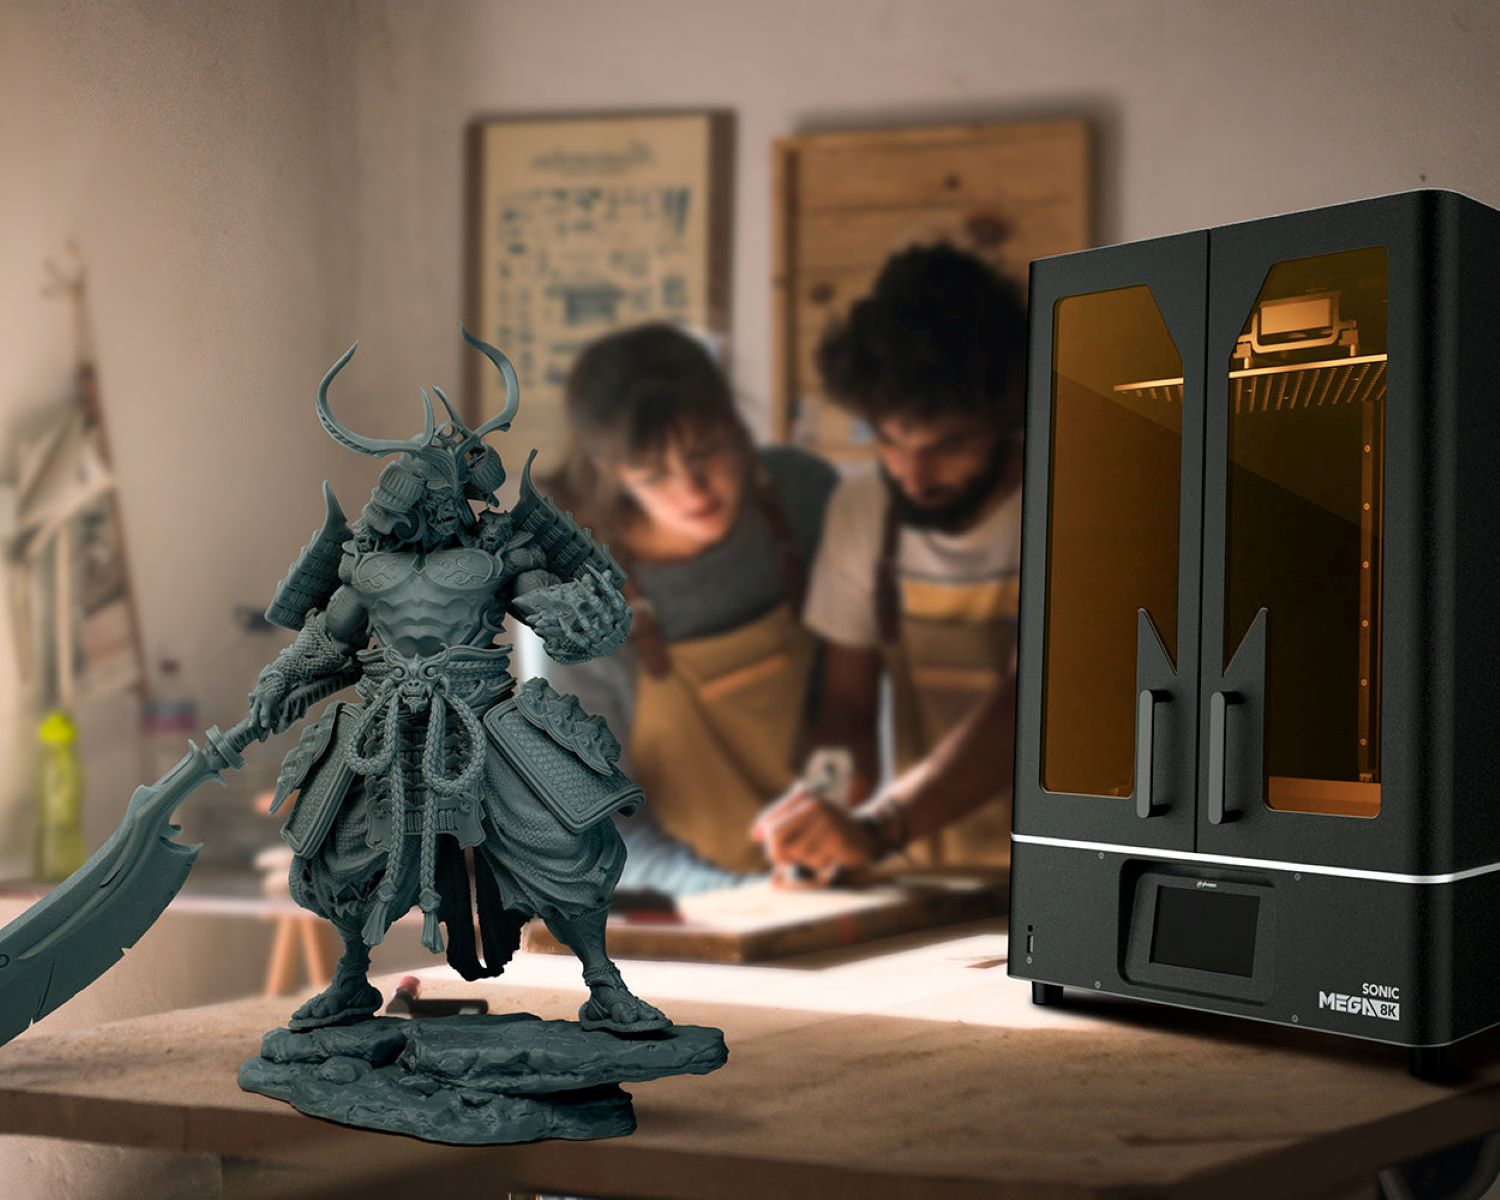
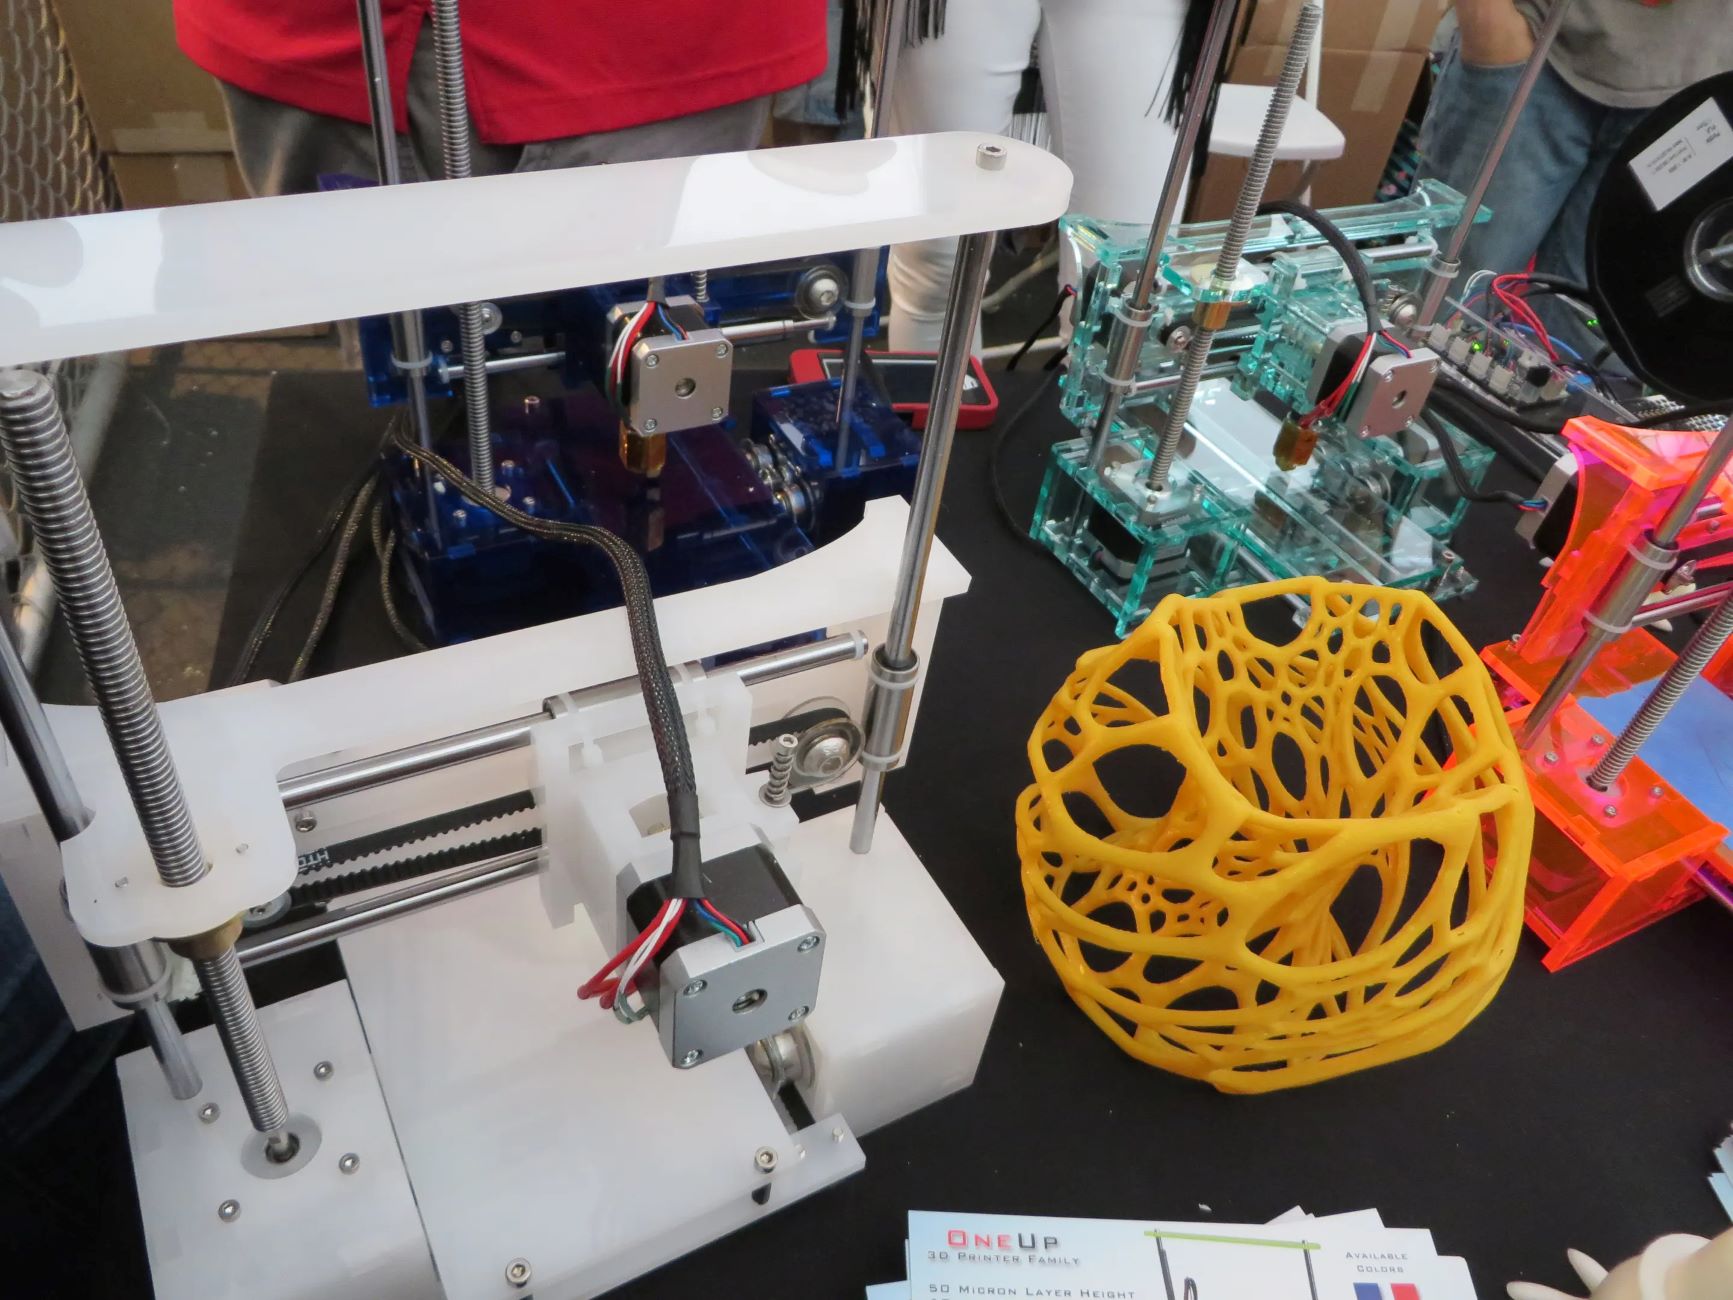
Welcome to the fascinating world of 3D printing with the Ender 3D printer! Whether you are a hobbyist, an entrepreneur, or an educator, the Ender 3D printer opens up a realm of endless possibilities for creating three-dimensional objects. This innovative technology allows you to bring your ideas to life, from intricate prototypes to personalized gifts and practical household items.
The Ender 3D printer, manufactured by Creality, has gained immense popularity due to its affordability, reliability, and impressive print quality. Its user-friendly design makes it an ideal choice for beginners while offering advanced features that appeal to experienced 3D printing enthusiasts. In this comprehensive guide, we will explore the step-by-step process of setting up the Ender 3D printer, preparing and executing a print, and troubleshooting common issues that may arise.
By the end of this journey, you will have the knowledge and confidence to unleash your creativity and embark on exciting 3D printing projects. So, let's dive into the world of Ender 3D printing and unlock the potential of this cutting-edge technology!
Key Takeaways:
- Unleash Your Creativity with Ender 3D Printing
Discover the joy of bringing your ideas to life with the Ender 3D printer. From setting up to troubleshooting, this guide empowers you to create personalized 3D objects with confidence and expertise. - Master the Art of 3D Printing
With the Ender 3D printer, you can transform digital designs into tangible objects. Embrace the iterative nature of the craft, celebrate your achievements, and let your imagination soar as you embark on a journey of boundless exploration and expression.
Read more: How Do You Use A 3D Printer
Setting up the Ender 3D Printer
Before delving into the world of 3D printing, it is essential to set up your Ender 3D printer properly. The initial setup process is straightforward and ensures that your printer operates smoothly. Here’s a step-by-step guide to get your Ender 3D printer up and running:
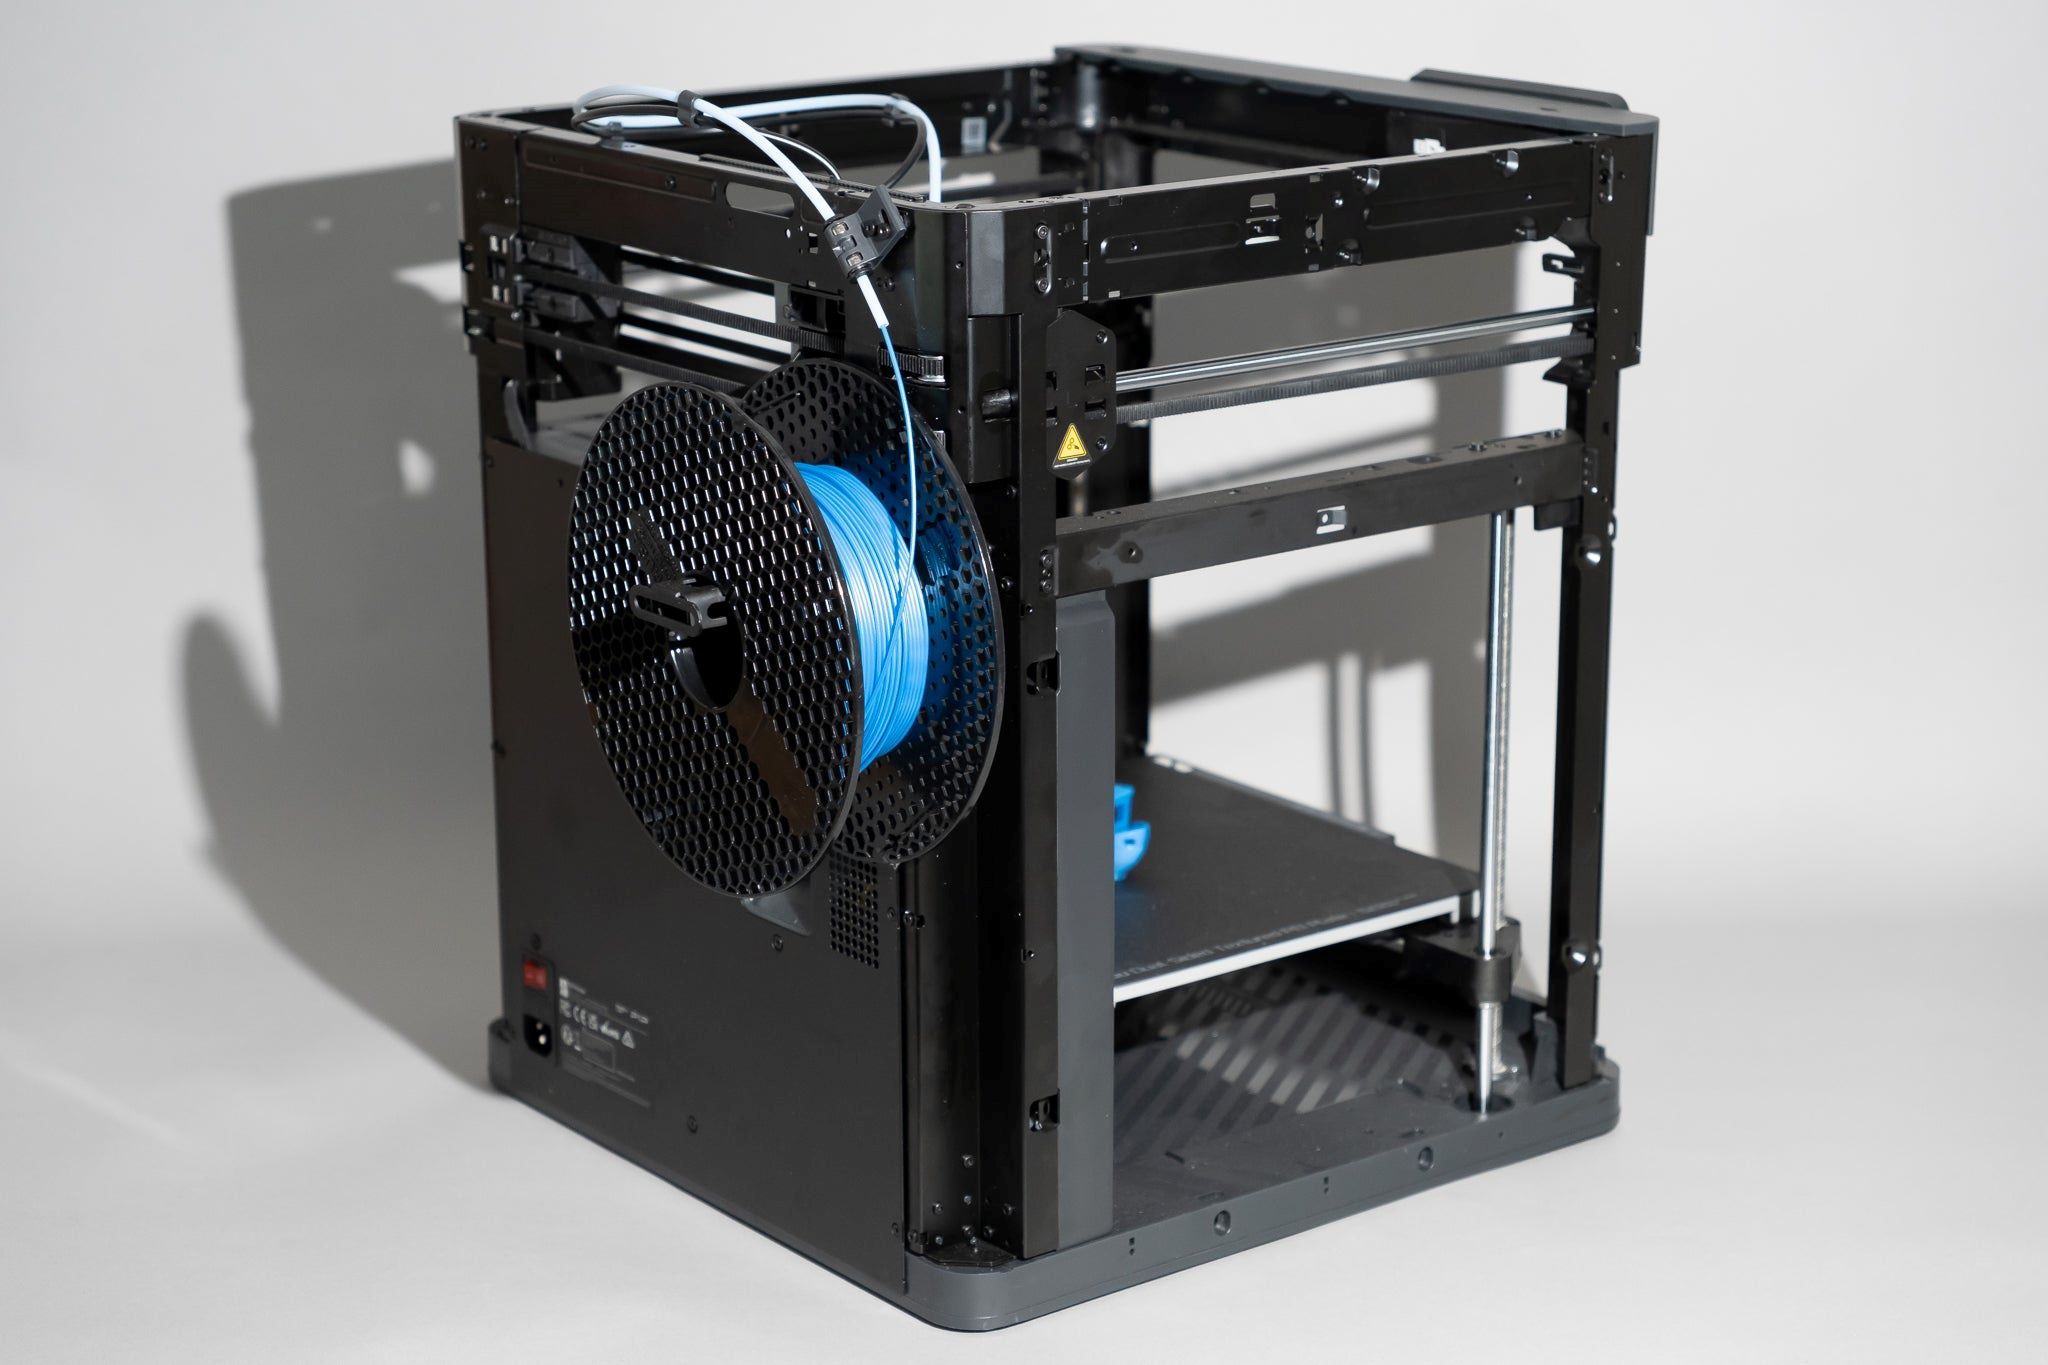
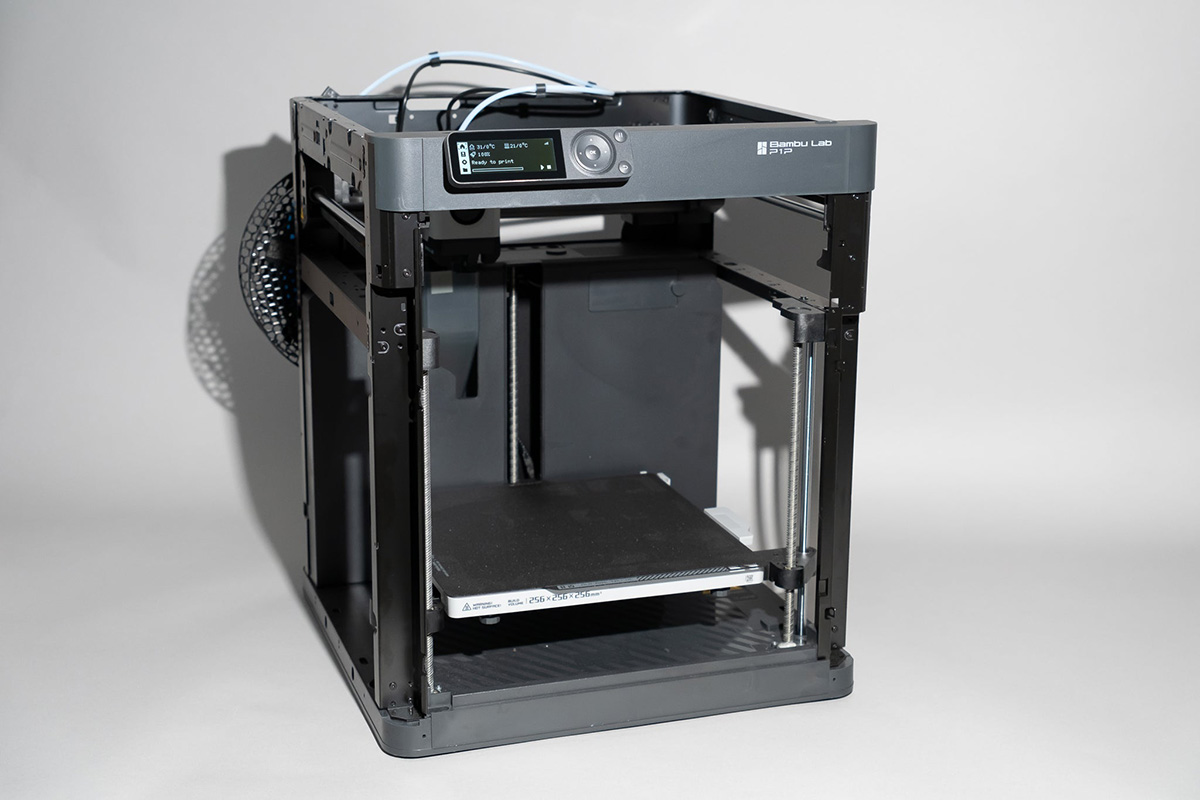
- Unboxing: Carefully unpack the Ender 3D printer, ensuring that all components are present and undamaged. The package typically includes the printer frame, print bed, control panel, spool holder, power supply, and assorted tools.
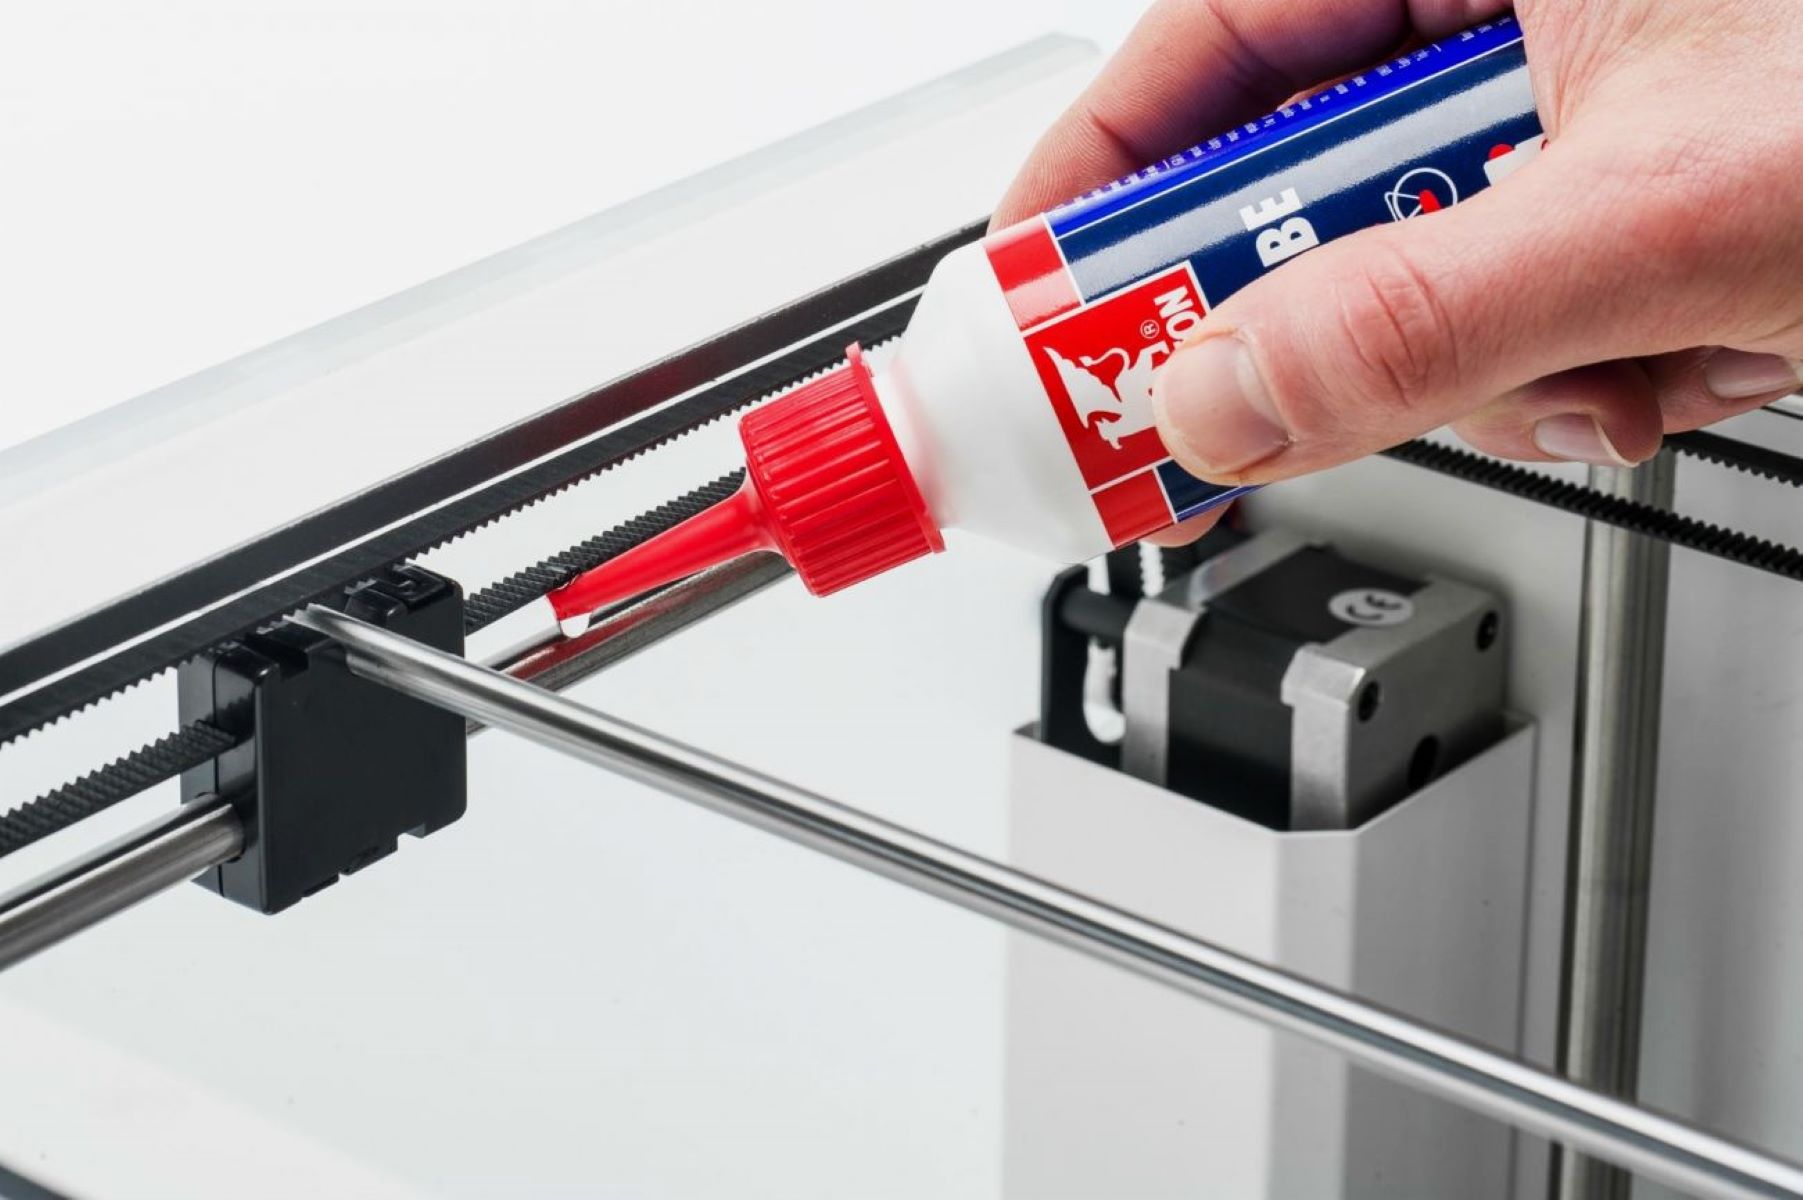
- Assembling the Frame: Follow the detailed assembly instructions provided by Creality to construct the sturdy frame of the Ender 3D printer. This involves attaching the vertical and horizontal aluminum extrusions, ensuring that the structure is stable and secure.
- Mounting the Print Bed: Install the heated print bed onto the frame, ensuring that it is level and securely fastened. The print bed is a crucial component that provides a stable surface for printing and allows for proper adhesion of the filament.
- Attaching the Spool Holder: Fix the spool holder to the designated location on the frame, ensuring that it can smoothly dispense filament to the extruder during printing.
- Connecting the Control Panel: Securely attach the control panel to the frame and connect the cables according to the provided instructions. The control panel serves as the interface for controlling the printer settings and initiating prints.
- Powering Up: Connect the power supply to the printer and plug it into a reliable power source. Ensure that all connections are secure and that the power switch is in the off position before plugging in the printer.
Once the Ender 3D printer is assembled and powered up, you are ready to move on to the next steps of loading the filament, leveling the print bed, and preparing to bring your 3D creations to life.
Loading and Preparing the Filament
Now that your Ender 3D printer is set up, the next crucial step is loading and preparing the filament. Filament is the material used for 3D printing, typically made of thermoplastic polymers such as PLA (Polylactic Acid) or ABS (Acrylonitrile Butadiene Styrene). Here’s a detailed guide to loading and preparing the filament for printing:
- Choosing the Filament: Select the appropriate filament material based on your printing requirements. PLA is a popular choice for its ease of use, environmental friendliness, and low warping tendencies, making it suitable for a wide range of projects.
- Preparing the Filament: If the filament is not already wound onto the spool, carefully unwind a sufficient length and trim the end to ensure a clean, straight edge. This facilitates smooth feeding into the extruder.
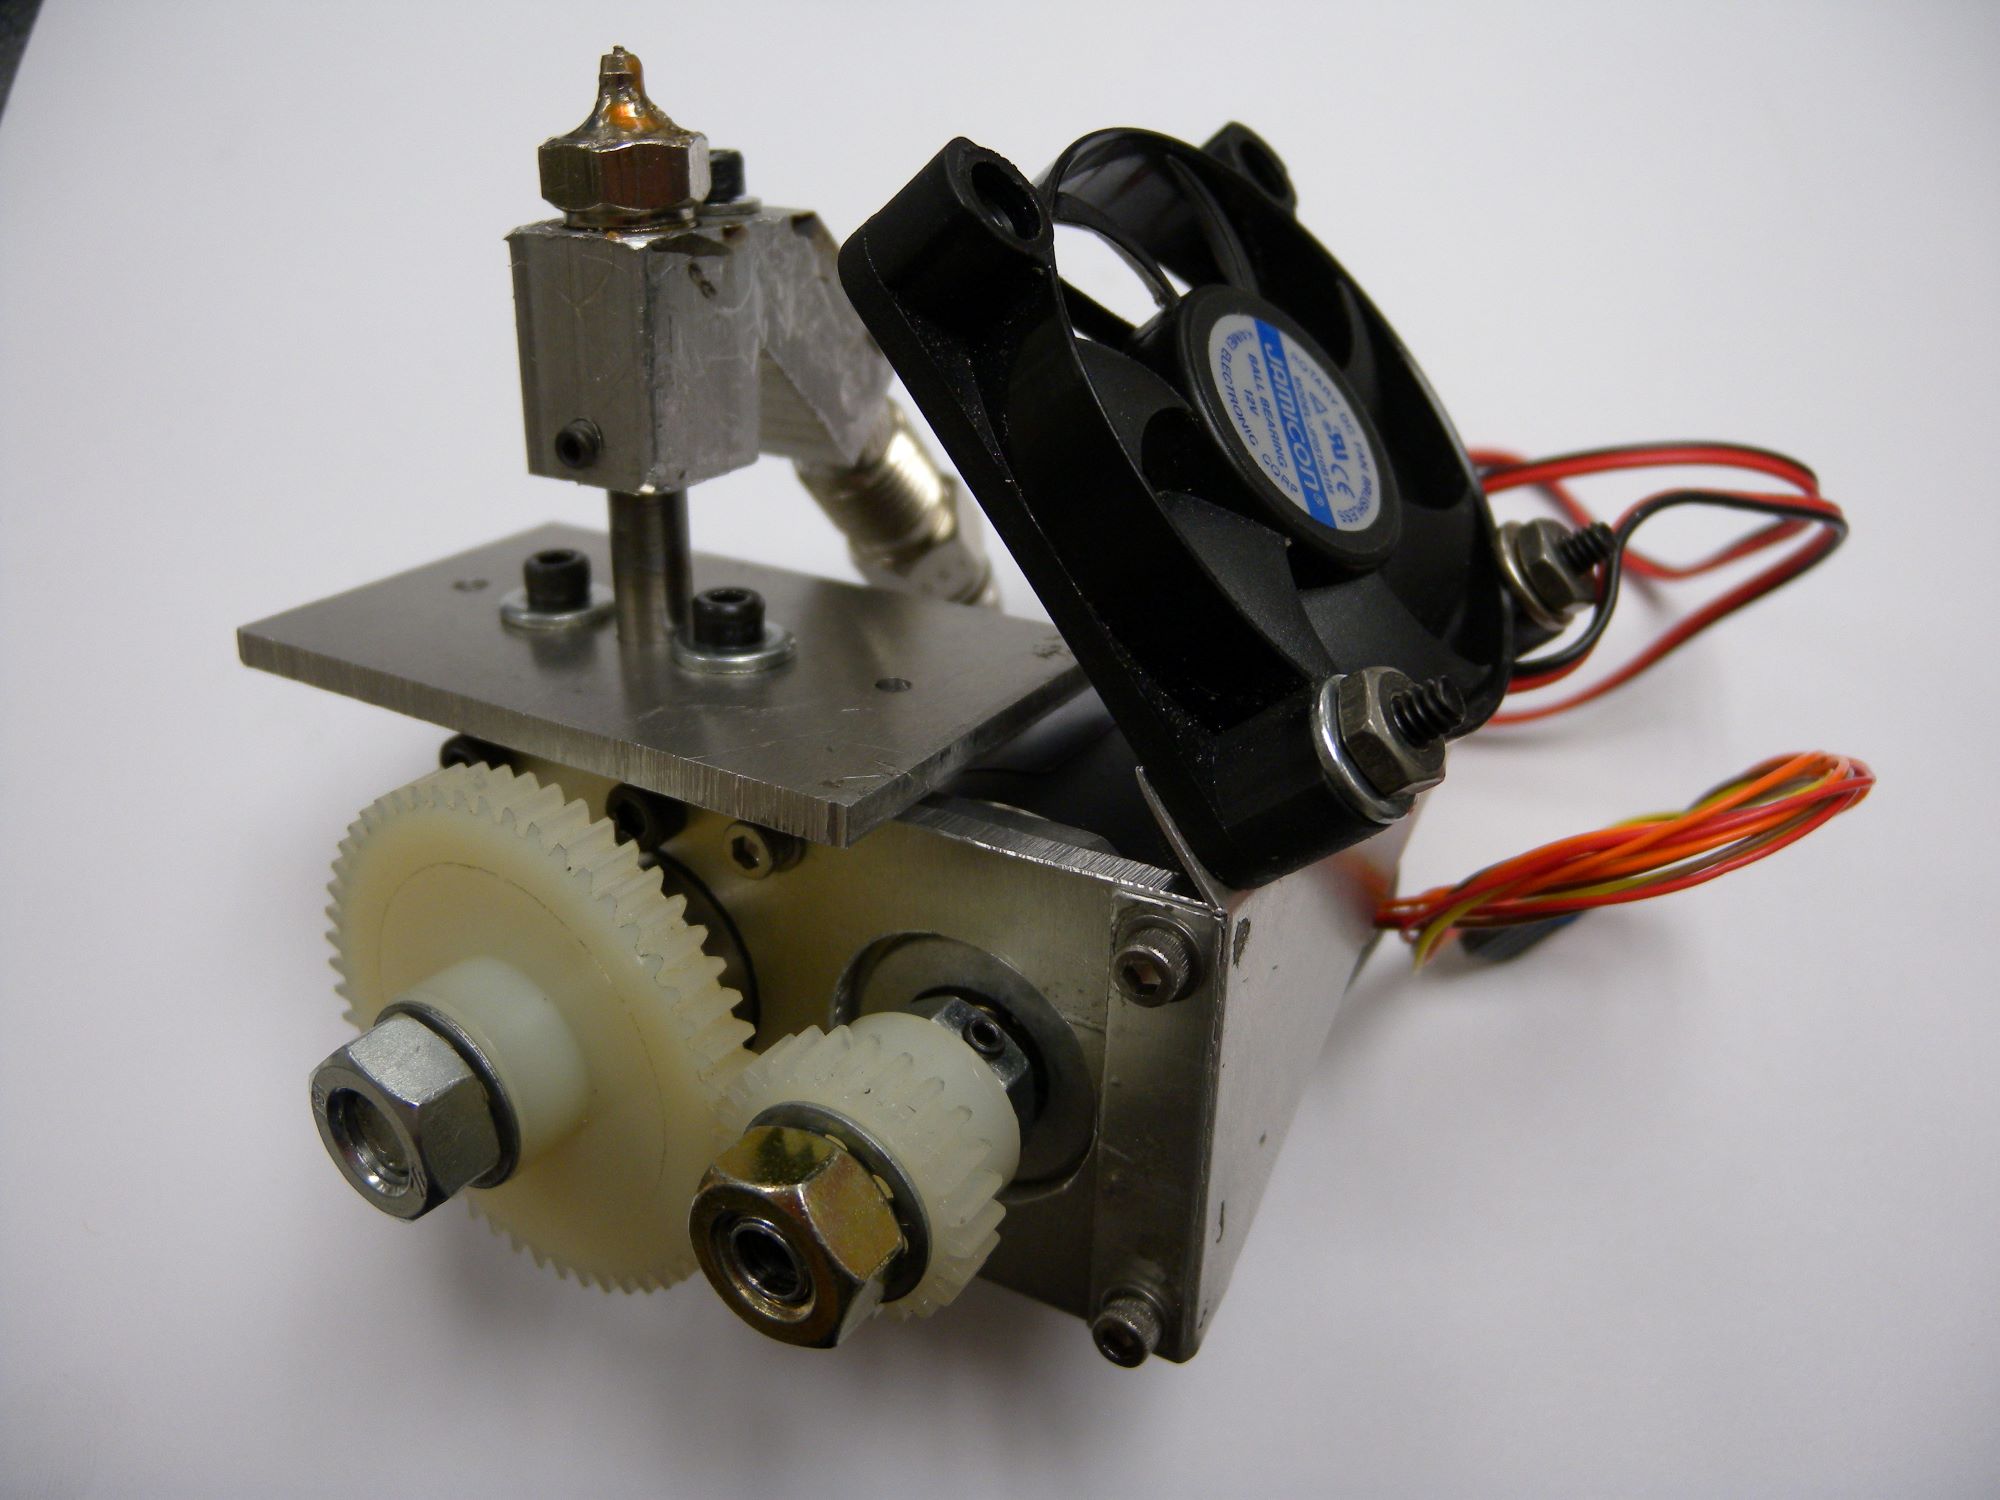
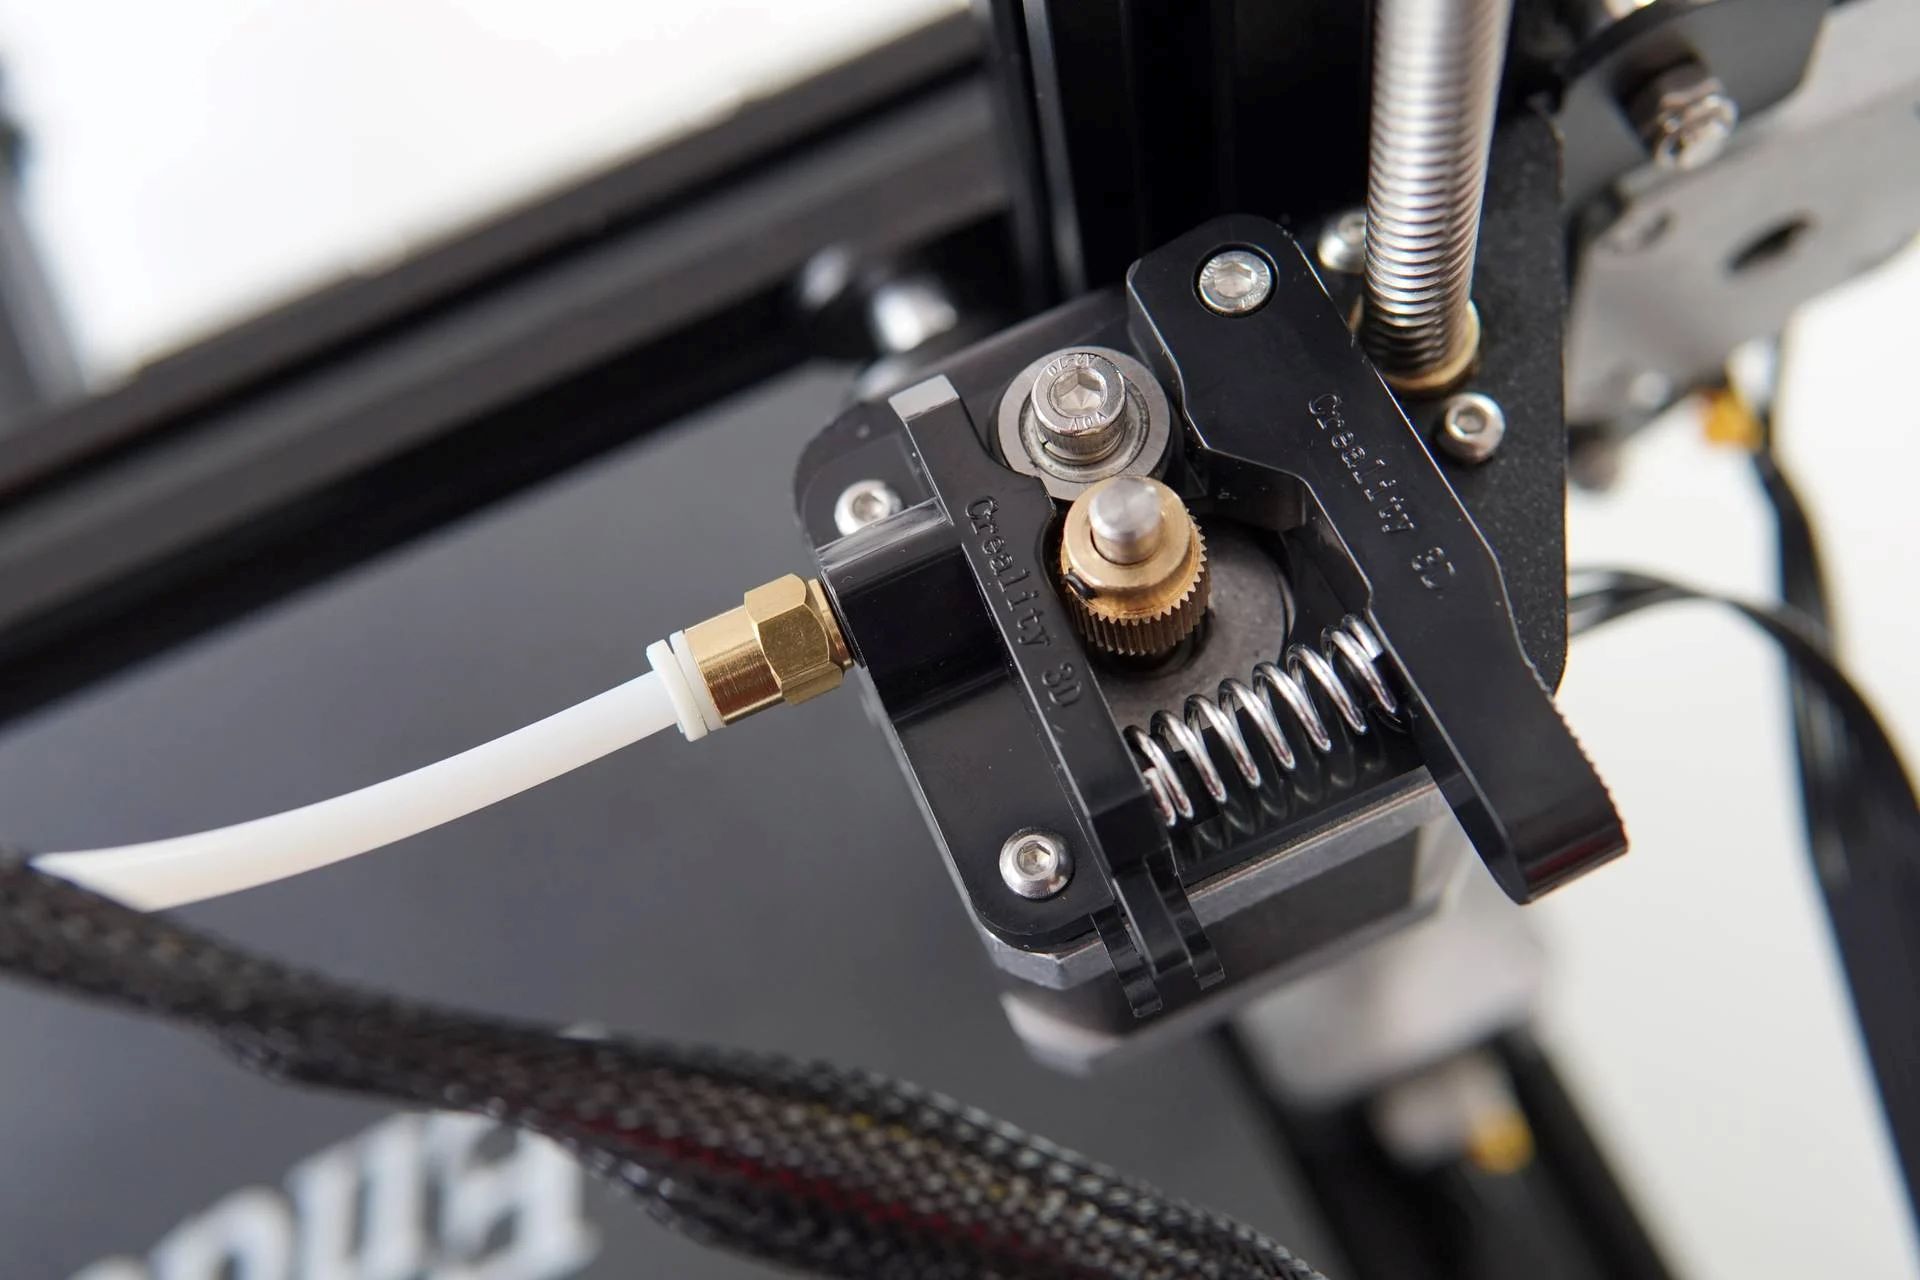
- Inserting the Filament: Locate the filament inlet on the extruder assembly and gently insert the filament, ensuring that it travels smoothly through the filament path and reaches the hot end of the extruder.
- Feeding the Filament: Using the control panel interface, heat the extruder to the recommended temperature for the chosen filament material. Once the extruder reaches the specified temperature, initiate the filament feeding process to ensure that the filament is securely gripped and begins to flow smoothly from the nozzle.
- Performing a Test Extrusion: To verify proper filament feeding, perform a test extrusion by manually instructing the printer to extrude a small amount of filament. This allows you to confirm that the filament is flowing consistently and that there are no obstructions in the extrusion path.
- Retracting the Filament: After completing the test extrusion, retract the filament to prevent oozing or stringing during the initial stages of printing. This can be done using the control panel to reverse the filament feeding process slightly.
With the filament loaded and prepared, your Ender 3D printer is now primed for the next steps of leveling the print bed, selecting and preparing a 3D model, and embarking on the exciting process of bringing your designs to life through 3D printing.
Leveling the Print Bed
Ensuring that the print bed of your Ender 3D printer is properly leveled is a critical step that directly impacts the quality and success of your 3D prints. Leveling the print bed involves adjusting the bed’s position to ensure that it is parallel to the movement of the printer’s extruder. Here’s a comprehensive guide to leveling the print bed of the Ender 3D printer:
- Home the Printer: Using the control panel, instruct the printer to home itself, which positions the print head and bed to their default starting positions. This allows for easy access to the print bed for leveling adjustments.
- Disable the Stepper Motors: Once the printer is homed, disable the stepper motors to allow manual movement of the print bed. This prevents the motors from resisting adjustments as you level the bed.
- Adjusting the Four Corners: Using the provided leveling knobs or adjustment screws located beneath the print bed, begin the process of leveling by adjusting the four corners of the bed. This is typically done by moving the print head to each corner and sliding a piece of paper between the nozzle and the bed. The ideal distance allows the paper to move with slight friction while not being too loose or tight.
- Checking the Center: After adjusting the four corners, move the print head to the center of the bed and perform the paper test once again. This ensures that the entire bed surface is uniformly leveled and ready for printing.
- Fine-Tuning the Leveling: Make minor adjustments as needed to fine-tune the leveling of the print bed, ensuring that the nozzle maintains a consistent distance from the bed surface across all areas. This meticulous approach is crucial for achieving precise and reliable prints.
- Verifying the Leveling: Once the leveling adjustments are made, perform a final check to verify that the entire print bed is uniformly leveled. This can be done by repeating the paper test in multiple areas to confirm that the nozzle maintains the desired distance from the bed.
By diligently leveling the print bed of your Ender 3D printer, you establish a solid foundation for successful 3D printing, allowing for accurate adhesion of the filament and consistent layer deposition. With the print bed leveled, you are now ready to select and prepare a 3D model for printing, bringing your creations to life layer by layer.
When using an Ender 3D printer, make sure to level the print bed before starting a print. This will help ensure that the first layer of your print sticks properly and prevents any printing issues.
Choosing and Preparing a 3D Model
With your Ender 3D printer set up, the filament loaded, and the print bed leveled, it’s time to embark on the exciting process of choosing and preparing a 3D model for printing. Whether you are creating a custom design or selecting a pre-existing model, careful consideration and preparation are essential for a successful print. Here’s a comprehensive guide to choosing and preparing a 3D model for printing:
- Choosing a 3D Model: Select a 3D model that aligns with your creative vision and printing objectives. This could range from intricate figurines and functional prototypes to decorative objects and mechanical components. Numerous online repositories offer a vast selection of 3D models, catering to diverse interests and applications.
- File Format Compatibility: Ensure that the chosen 3D model is compatible with your slicing software and the Ender 3D printer. Common file formats for 3D printing include STL (Stereolithography) and OBJ (Object) files. These formats are widely supported and can be easily imported into slicing software for further preparation.
- Importing the Model: Using slicing software such as Cura or Simplify3D, import the selected 3D model into the workspace. This allows you to visualize the model, apply necessary settings, and generate the G-code instructions required for printing.
- Orienting the Model: Orient the 3D model within the slicing software to ensure optimal printing results. Consider factors such as overhangs, support structures, and the overall stability of the print. Proper orientation minimizes the need for excessive support material and enhances the structural integrity of the printed object.
- Applying Print Settings: Configure print settings such as layer height, infill density, print speed, and support structure placement based on the specific requirements of the 3D model and the desired print quality. These settings directly influence the visual and structural characteristics of the printed object.
- Generating G-Code: Once the model is positioned and the print settings are adjusted, generate the G-code, which contains the precise instructions for the Ender 3D printer to execute the print. The G-code encompasses layer-by-layer instructions, toolpath movements, and extrusion parameters.
By carefully choosing and preparing a 3D model, you lay the groundwork for a successful and visually impressive print. The meticulous attention to detail in model selection, file preparation, and print settings ensures that your Ender 3D printer can bring your creations to life with precision and finesse.
Read more: Where To Put A 3D Printer
Printing the 3D Model
With the 3D model prepared and the printer primed for action, it’s time to embark on the exhilarating process of printing the 3D model using your Ender 3D printer. This stage marks the culmination of meticulous preparation and sets the stage for witnessing your digital designs materialize into physical objects. Here’s a comprehensive guide to the process of printing the 3D model:
- Preheating the Printer: Initiate the preheating process to bring the print bed and extruder to the required temperatures for the chosen filament material. This ensures optimal adhesion and layer bonding during the printing process.
- Initiating the Print: Using the control panel or interface of the slicing software, initiate the print process, allowing the Ender 3D printer to execute the G-code instructions. Observe the initial layer adhesion and filament deposition to ensure that the print begins smoothly.
- Monitoring the Print: Throughout the printing process, monitor the printer to ensure that the layers are being deposited accurately and that there are no signs of filament binding, warping, or other irregularities. This vigilance allows for timely intervention in the event of any issues that may arise.
- Optimizing Print Parameters: Fine-tune print parameters as needed during the initial layers to optimize adhesion and surface finish. Adjustments to the print speed, extrusion temperature, and cooling settings can significantly impact the print quality and overall success of the print.
- Support Material Removal (If Applicable): For prints requiring support structures, carefully remove the support material once the print is complete. This process demands precision to avoid damaging the printed object while effectively eliminating the support structures.
- Inspecting the Completed Print: Once the print is finished, carefully remove it from the print bed and inspect it for quality and accuracy. Evaluate the layer adhesion, dimensional accuracy, and overall surface finish to ensure that the printed object meets your expectations.
By meticulously overseeing the printing process and maintaining a keen eye on the quality of the printed object, you can achieve exceptional results with your Ender 3D printer. The successful completion of the print marks the realization of your creative vision and sets the stage for further exploration and innovation in the realm of 3D printing.
Troubleshooting Common Issues
While 3D printing with the Ender 3D printer is an exciting and rewarding endeavor, it’s not uncommon to encounter occasional challenges that can impact the printing process. Understanding and effectively addressing common issues is essential for maintaining a smooth and successful 3D printing experience. Here’s a comprehensive guide to troubleshooting common issues that may arise during 3D printing:
- Poor Adhesion to Print Bed: If the initial layers of the print fail to adhere to the print bed, ensure that the bed is properly leveled and clean. Applying a thin layer of adhesive such as glue stick or specialized bed adhesives can enhance adhesion for certain filament materials.
- Extrusion Problems: Inconsistent extrusion or under-extrusion can result from factors such as clogged nozzles, improper filament feeding, or incorrect extrusion temperature. Clearing the nozzle, adjusting filament tension, and fine-tuning temperature settings can alleviate extrusion issues.
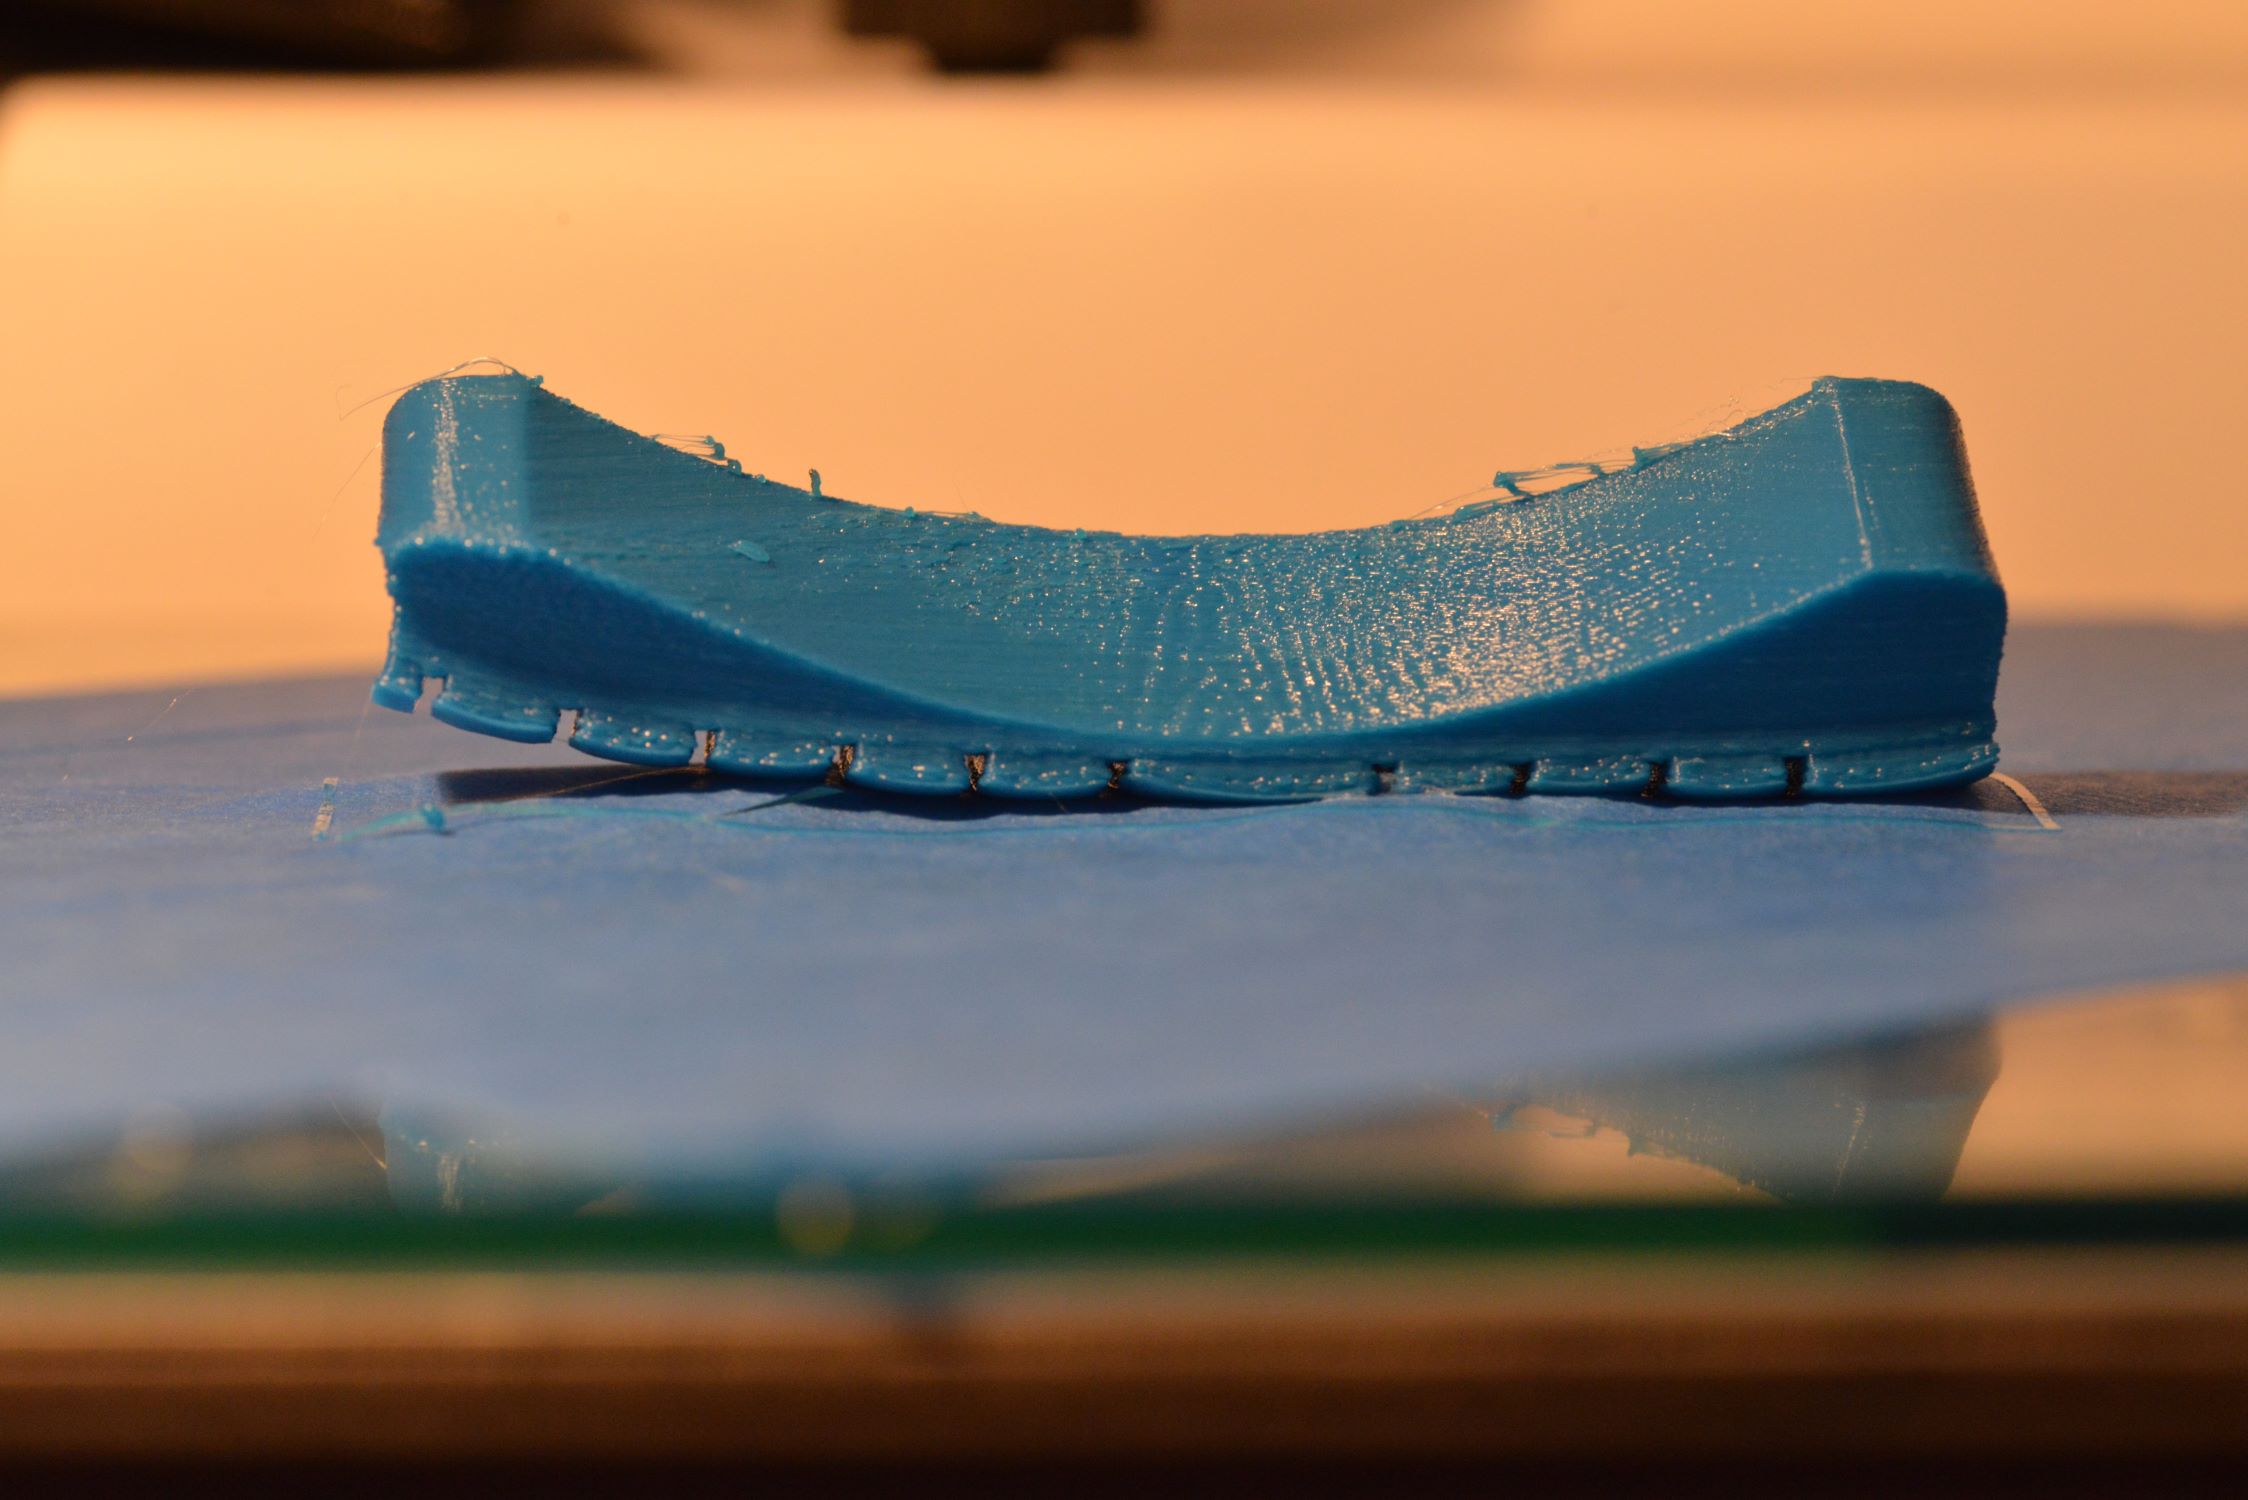
- Warping and Lifting: Warping and lifting of printed objects, particularly with materials such as ABS, can occur due to inadequate bed adhesion, excessive cooling drafts, or insufficient bed heating. Addressing these factors through improved bed adhesion methods and optimized temperature settings can mitigate warping issues.
- Layer Misalignment or Shifting: Misalignment or shifting of print layers can stem from mechanical issues, such as loose belts or pulleys, or software-related factors, including incorrect print speed and acceleration settings. Ensuring that the printer’s mechanical components are properly tensioned and adjusting print speed parameters can rectify layer alignment issues.
- Stringing and Oozing: Excessive stringing and oozing of filament between printed features can result from high extrusion temperatures, inadequate retraction settings, or inconsistent cooling. Fine-tuning retraction parameters and optimizing cooling fan settings can minimize stringing and oozing during printing.
- Print Layer Defects: Defects such as gaps, blobs, or inconsistent layer deposition may arise from factors including insufficient cooling, incorrect print speed, or filament diameter variations. Adjusting cooling fan settings, optimizing print speed, and verifying filament specifications can mitigate layer defects.
By proactively identifying and addressing common issues that may affect the 3D printing process, you can optimize the performance of your Ender 3D printer and achieve consistent, high-quality prints. This troubleshooting guide empowers you to overcome challenges and elevate your 3D printing capabilities, ensuring a seamless and rewarding printing experience.
Conclusion
Congratulations on embarking on the captivating journey of 3D printing with the Ender 3D printer! Throughout this comprehensive guide, we’ve delved into the essential steps of setting up the printer, preparing and executing prints, and troubleshooting common issues. As you continue to explore the boundless possibilities of 3D printing, it’s important to approach each print with a blend of creativity, precision, and adaptability.
The process of 3D printing is a harmonious fusion of artistry and technology, allowing you to transform digital designs into tangible objects with remarkable intricacy and precision. Whether you are crafting functional prototypes, artistic creations, or practical everyday items, the Ender 3D printer serves as your gateway to materializing your imagination.
As you venture further into the realm of 3D printing, remember to embrace the iterative nature of the craft. Each print offers valuable insights and opportunities for refinement, empowering you to hone your skills and elevate the quality of your creations. Embrace the spirit of experimentation and continuous learning, as it is through these experiences that you will unlock the full potential of your Ender 3D printer.
By mastering the intricacies of filament loading, print bed leveling, model preparation, and troubleshooting, you are equipped to navigate the diverse landscape of 3D printing with confidence and expertise. As you witness your designs materialize layer by layer, revel in the sense of accomplishment and anticipation that accompanies each successful print.
With each completed print, you contribute to the ever-expanding tapestry of 3D printing innovation, joining a global community of creators, makers, and innovators. Your journey with the Ender 3D printer is a testament to the transformative power of technology and creativity, and it paves the way for boundless exploration and expression in the realm of three-dimensional fabrication.
As you continue to hone your craft and expand your repertoire of prints, remember that the journey itself is as enriching as the destination. Embrace the process, celebrate your achievements, and let your imagination soar as you breathe life into your digital designs through the remarkable artistry of 3D printing.
Frequently Asked Questions about How To Use An Ender 3D Printer
Was this page helpful?
At Storables.com, we guarantee accurate and reliable information. Our content, validated by Expert Board Contributors, is crafted following stringent Editorial Policies. We're committed to providing you with well-researched, expert-backed insights for all your informational needs.


0 thoughts on “How To Use An Ender 3D Printer”