Home>Technology>Smart Home Devices>How To Tune A 3D Printer

Smart Home Devices
How To Tune A 3D Printer
Modified: August 28, 2024
Learn how to tune a 3D printer for optimal performance and precision. Get expert tips and techniques for calibrating your printer at home.
(Many of the links in this article redirect to a specific reviewed product. Your purchase of these products through affiliate links helps to generate commission for Storables.com, at no extra cost. Learn more)
Introduction
Welcome to the exciting world of 3D printing! Whether you're a hobbyist, a professional, or an enthusiast, the ability to create three-dimensional objects from digital designs is nothing short of magical. However, to achieve the best results, it's essential to tune your 3D printer properly. This article will guide you through the process of tuning a 3D printer, covering everything from understanding the basics to troubleshooting and fine-tuning.
Tuning a 3D printer is a crucial step that can significantly impact the quality of your prints. By ensuring that your printer is properly calibrated and adjusted, you can achieve precise and accurate prints, minimize the risk of errors, and optimize the overall performance of your device.
Throughout this guide, we'll explore the fundamental concepts of 3D printing, delve into the necessary preparations for tuning your printer, and provide detailed steps for calibrating the printer, adjusting the settings, conducting test prints, and troubleshooting any potential issues. Whether you're a newcomer to the world of 3D printing or a seasoned enthusiast looking to refine your printing process, this article is designed to equip you with the knowledge and skills needed to tune your 3D printer effectively.
So, let's embark on this journey together and unlock the full potential of your 3D printer. Whether you're aiming to create intricate prototypes, functional parts, or artistic designs, mastering the art of tuning your 3D printer will undoubtedly elevate your printing experience and bring your digital creations to life with precision and finesse.
Key Takeaways:
- Tuning your 3D printer is crucial for achieving precise and accurate prints. It involves calibrating the printer, adjusting settings, conducting test prints, and troubleshooting potential issues to optimize performance.
- Understanding the basics of 3D printing, preparing the printer, and fine-tuning settings are essential steps in the tuning process. Test printing and troubleshooting help refine the printer’s performance for exceptional results.
Read more: Where To Put A 3D Printer
Understanding the Basics of 3D Printing
Before delving into the intricacies of tuning a 3D printer, it’s essential to grasp the fundamental principles of 3D printing. At its core, 3D printing, also known as additive manufacturing, involves the layer-by-layer fabrication of three-dimensional objects from digital models. This innovative technology has revolutionized various industries, including prototyping, manufacturing, healthcare, and education, offering unparalleled versatility and customization.
The 3D printing process typically begins with a digital 3D model created using computer-aided design (CAD) software or obtained from online repositories. This digital model serves as the blueprint for the physical object that will be printed. The model is then sliced into thin horizontal layers using slicing software, which generates the instructions necessary for the 3D printer to create each layer.
Once the slicing process is complete, the 3D printer translates the digital instructions into tangible objects by depositing material layer by layer. The materials used in 3D printing vary widely and can include thermoplastics, resins, metals, ceramics, and composites, depending on the specific printing technology and intended application.
Understanding the different 3D printing technologies is crucial for optimizing the tuning process. Common 3D printing techniques include fused deposition modeling (FDM), stereolithography (SLA), selective laser sintering (SLS), and digital light processing (DLP), each with its unique advantages and considerations for tuning and calibration.
Moreover, factors such as layer height, print speed, nozzle temperature, bed adhesion, and cooling settings significantly impact the quality and accuracy of 3D prints. Tuning a 3D printer involves fine-tuning these parameters to achieve precise and consistent results, ensuring that each layer adheres correctly, and the dimensions of the printed object align with the digital model.
By comprehending the underlying principles of 3D printing, including the role of slicing software, the intricacies of different printing technologies, and the influence of printing parameters on the final output, you’ll be better equipped to navigate the tuning process effectively. With this knowledge as our foundation, we can now proceed to prepare the 3D printer for calibration and optimization.
Preparing the 3D Printer
Before diving into the calibration and tuning process, it’s essential to ensure that your 3D printer is properly prepared for the task at hand. This involves conducting a thorough inspection of the printer’s components, verifying the integrity of key elements, and making necessary adjustments to create an optimal environment for calibration and tuning.
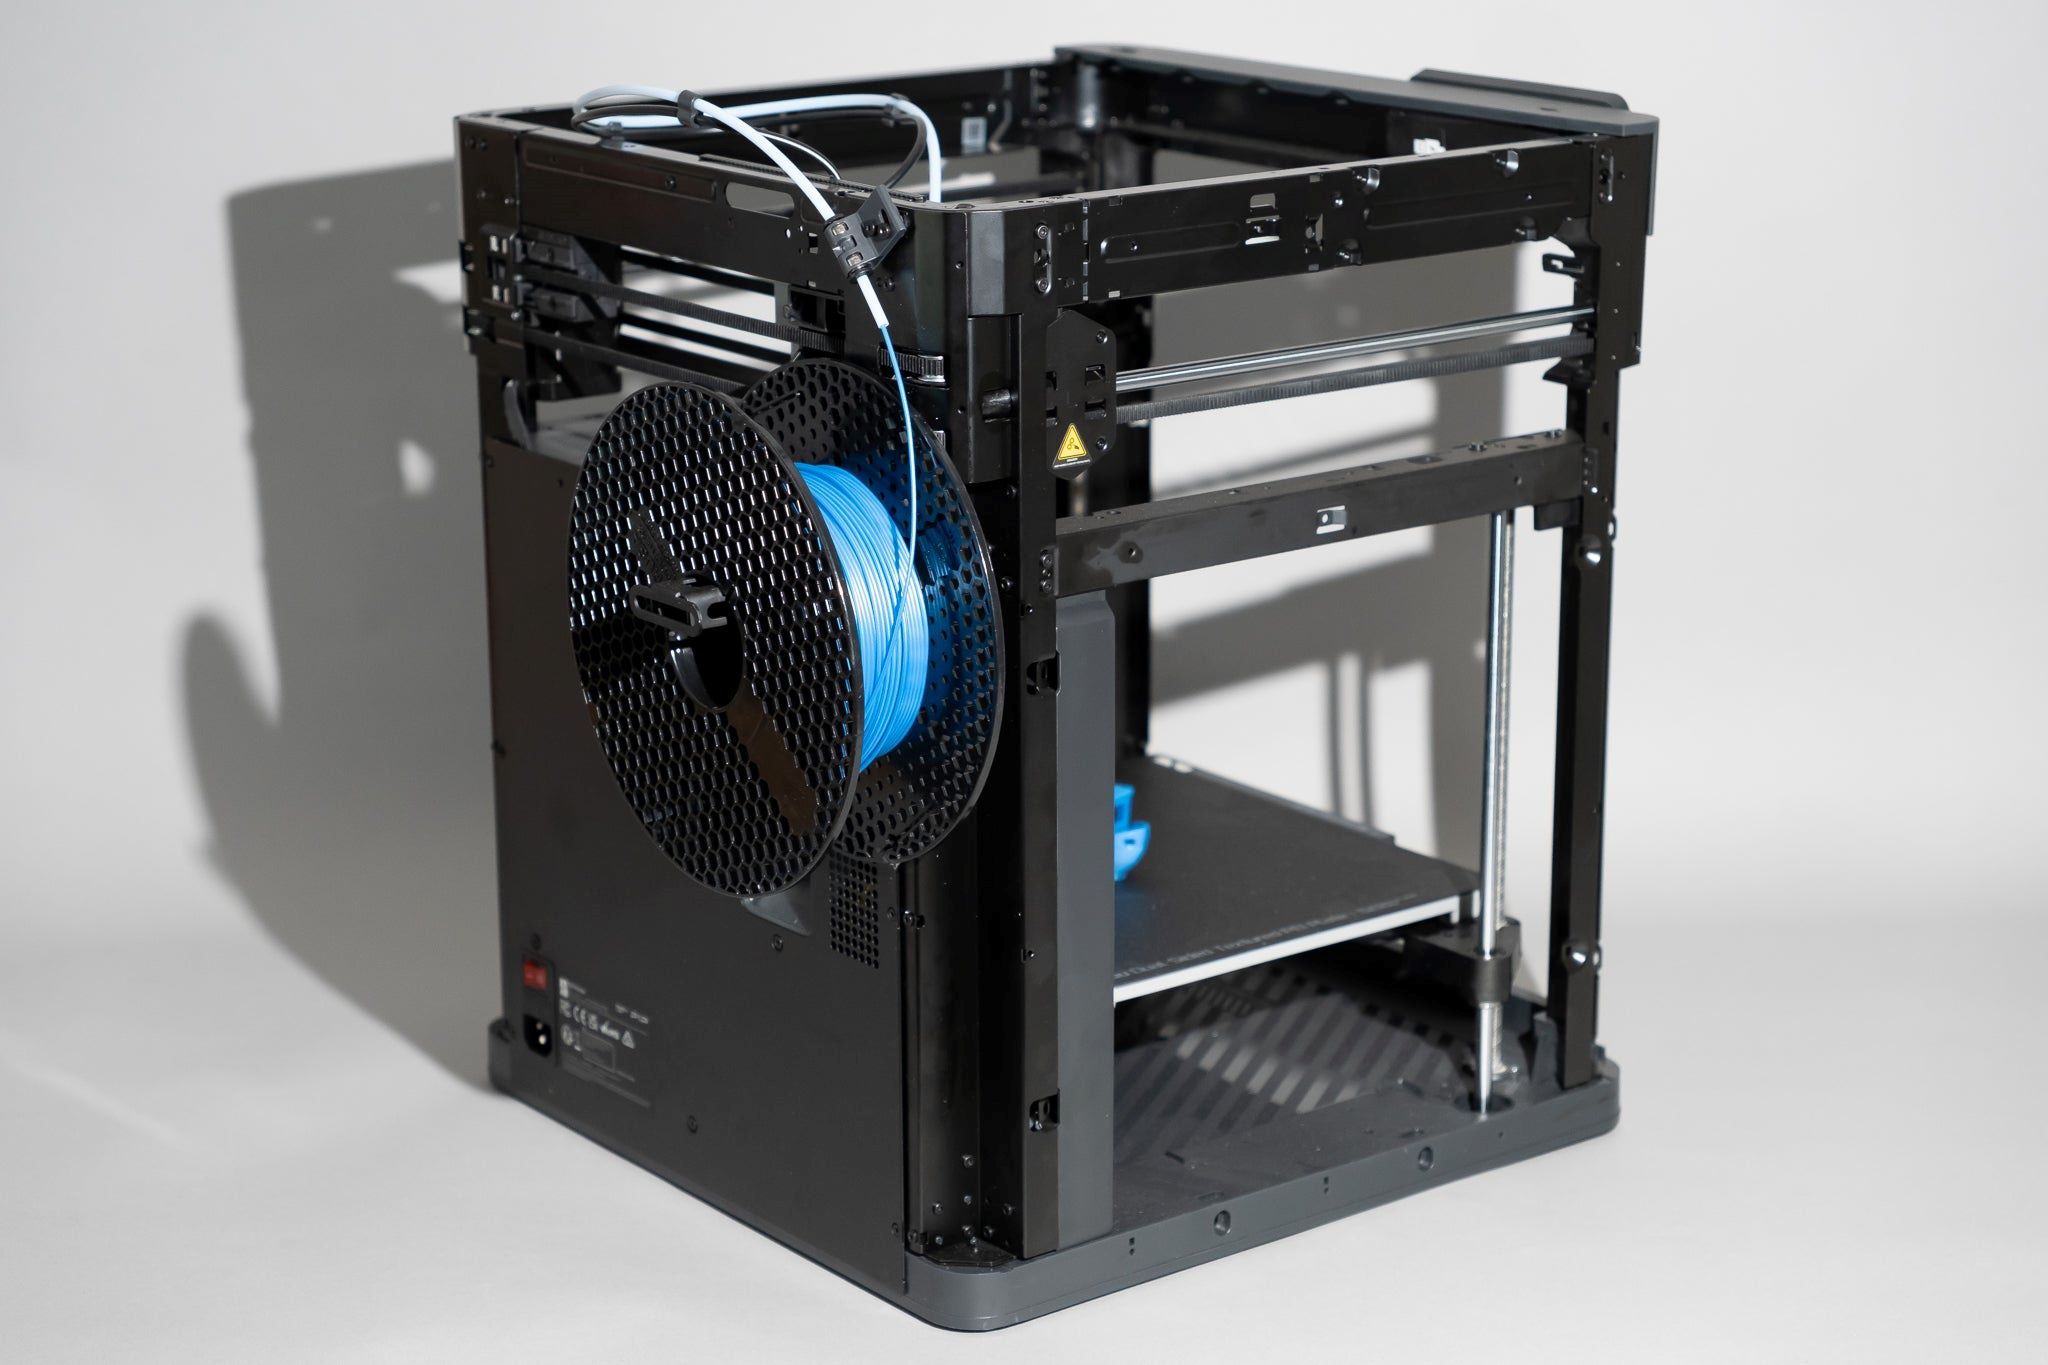
Begin by examining the printer’s physical structure, including the frame, build platform, and extruder assembly. Ensure that the frame is sturdy and free from any structural issues that could affect the printer’s stability during operation. Additionally, check the build platform for any signs of warping or damage, as a level and uniform build surface is critical for successful prints.
Next, inspect the extruder assembly, including the hotend, nozzle, and filament path. Clean any residual filament or debris that may have accumulated, as obstructions in the filament path can lead to inconsistent extrusion and print quality issues. Additionally, verify that the nozzle is clear and free from any clogs, as a clean and unobstructed nozzle is essential for precise extrusion.
Once the physical components are inspected and cleaned, it’s crucial to ensure that the printer’s firmware and software are up to date. Check for firmware updates provided by the manufacturer and install the latest version to benefit from performance improvements, bug fixes, and new features that may enhance the tuning process.
Similarly, verify that the slicing software used to generate print instructions is configured with the correct printer settings and material profiles. Accurate slicing settings, including filament diameter, nozzle size, and print speeds, are integral to achieving optimal print quality and should align with the specifications of your 3D printer.
Furthermore, consider the environmental factors that can impact the printer’s performance. Ensure that the printer is located in a well-ventilated area with stable ambient temperatures, as fluctuations in temperature and humidity can affect the print quality and adhesion. Additionally, minimize external vibrations and disturbances that could disrupt the printing process.
By meticulously preparing the 3D printer and its surrounding environment, you lay the groundwork for a successful tuning process. With the printer in prime condition and the necessary software and firmware updates in place, you’re ready to embark on the calibration phase, ensuring that your 3D printer is finely tuned to deliver exceptional results.
Calibrating the Printer
Calibrating a 3D printer is a critical step that involves adjusting various settings and parameters to ensure precise and consistent printing. Proper calibration is essential for achieving accurate dimensional accuracy, optimal layer adhesion, and overall print quality. In this section, we’ll explore the key aspects of calibrating a 3D printer, from leveling the build platform to fine-tuning the extruder and motion systems.
Leveling the build platform is a fundamental aspect of printer calibration. A well-leveled build platform ensures that the first layer of the print adheres uniformly to the printing surface, preventing issues such as warping and poor adhesion. Follow the manufacturer’s guidelines to adjust the build platform’s leveling screws or knobs, ensuring that it is parallel to the printer’s motion plane.
Next, calibrate the extruder to ensure accurate filament extrusion. This involves measuring and adjusting the extrusion multiplier and flow rate to match the printer’s actual extrusion capabilities. By extruding a specified length of filament and measuring the output, you can calibrate the extrusion settings to achieve consistent and accurate filament deposition.
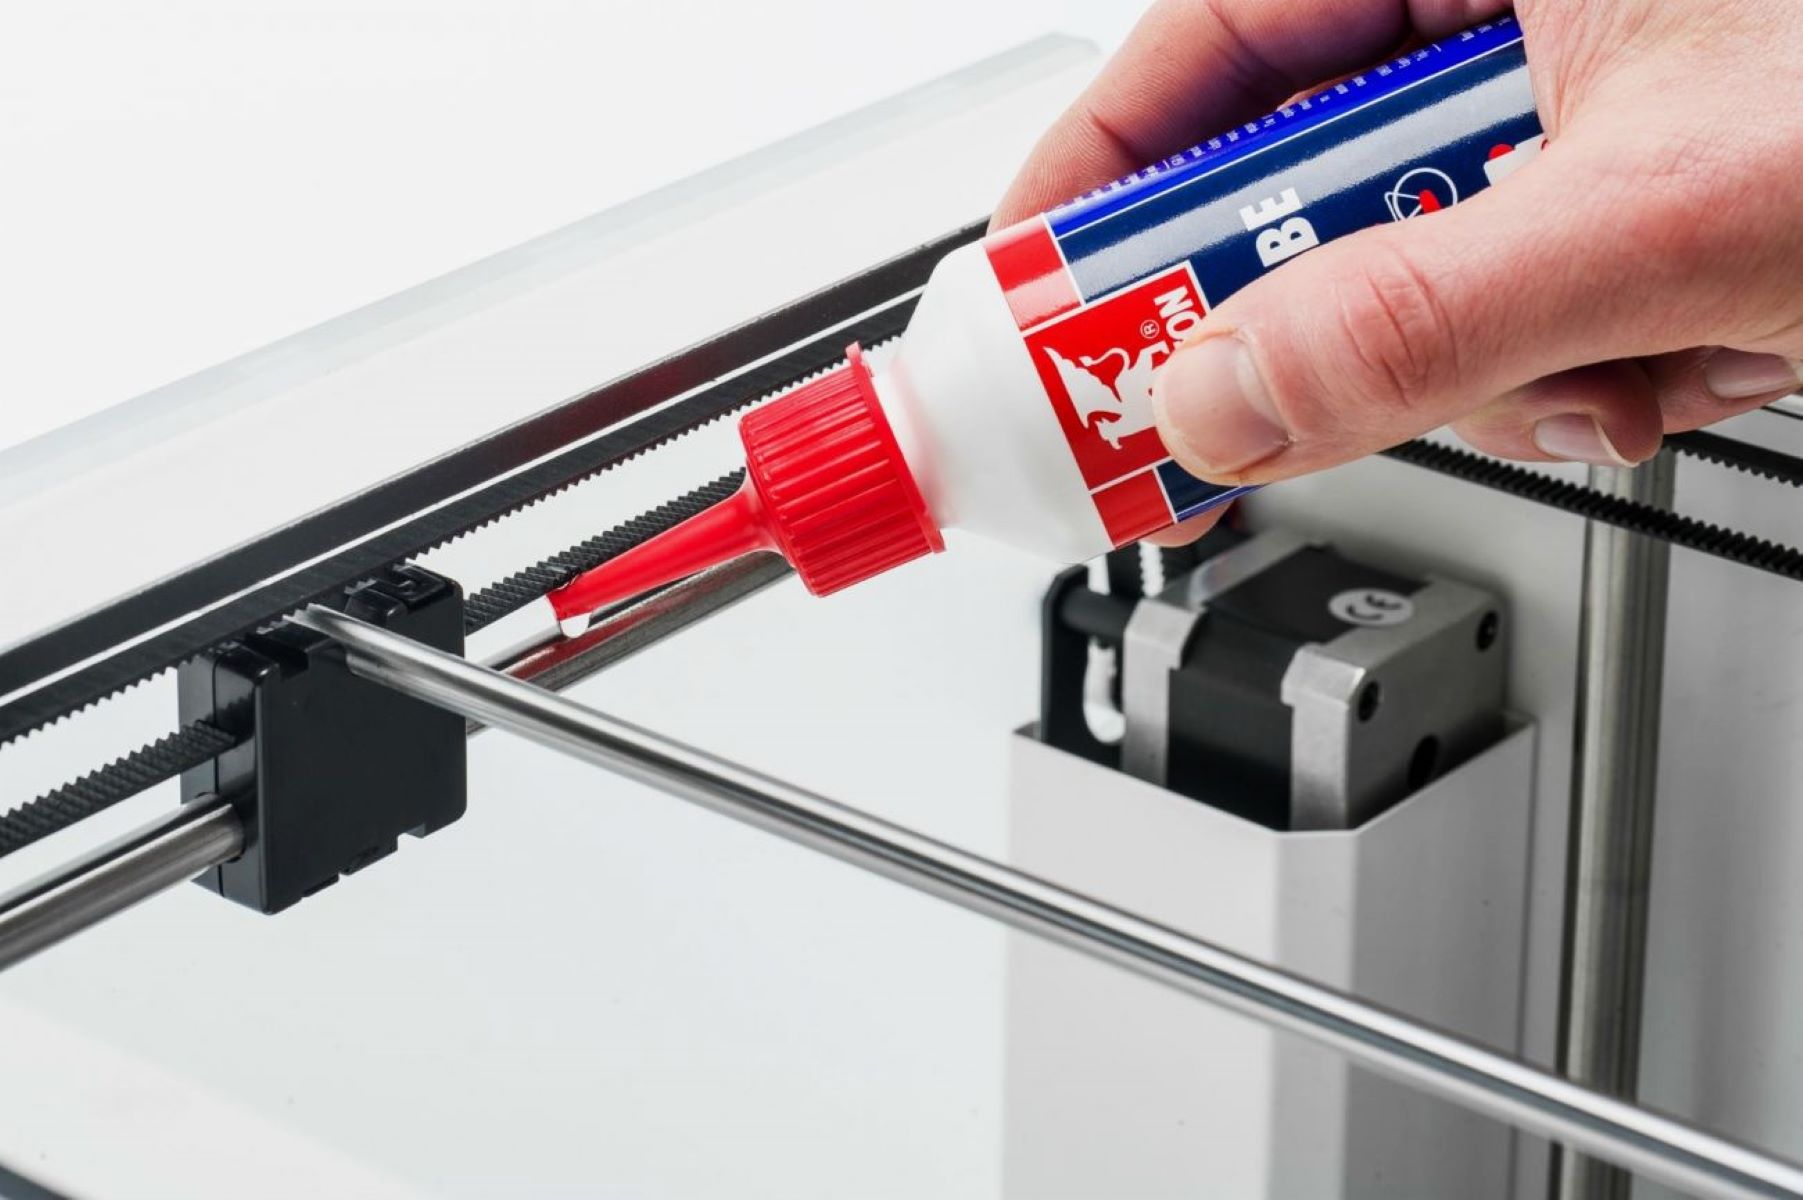
Additionally, fine-tune the printer’s motion systems, including the stepper motor drivers, belt tensions, and axis movements. Ensuring that the printer’s movements are smooth, precise, and free from backlash is crucial for achieving dimensional accuracy and print consistency. Adjust the stepper motor drivers’ voltage and the belt tensions according to the manufacturer’s recommendations to optimize the printer’s motion control.
Calibrating the printer’s temperature settings is equally important, particularly the nozzle and bed temperatures. Use a reliable temperature measurement device to verify the accuracy of the temperature readings and adjust the settings accordingly. Consistent and accurate temperature control is essential for achieving proper material flow and adhesion during printing.
Furthermore, consider calibrating the retraction settings to minimize stringing and oozing during prints. By adjusting the retraction distance and speed, you can optimize the printer’s retraction behavior, reducing the likelihood of filament stringing between printed features and enhancing the overall print quality.
Throughout the calibration process, document the adjustments made and the corresponding outcomes, as this will aid in fine-tuning the printer’s settings for future prints. By meticulously calibrating the build platform, extruder, motion systems, and temperature settings, you lay the groundwork for achieving exceptional print quality and consistency.
With the printer calibrated to precision, we can now turn our attention to adjusting the printer settings to further optimize the printing process and ensure outstanding results.
When tuning a 3D printer, start by leveling the print bed to ensure proper adhesion. Then, calibrate the extruder to ensure accurate filament flow. Finally, adjust the print speed and temperature for optimal print quality.
Adjusting the Printer Settings
Once the 3D printer is calibrated to precision, the next step in the tuning process involves adjusting the printer settings to optimize the printing process and achieve exceptional results. From fine-tuning the print parameters to configuring advanced settings, this phase is essential for tailoring the printer’s behavior to suit specific materials, models, and printing conditions.
Begin by reviewing the basic print parameters, including layer height, print speed, and infill density. These settings directly impact the visual quality, strength, and print duration. Adjust the layer height to achieve the desired balance between print resolution and speed, considering the intricacy of the model and the intended application. Similarly, fine-tune the print speed and infill density to optimize print quality and structural integrity.
Consider the material-specific settings, particularly the nozzle and bed temperatures, as different filaments require precise temperature control for optimal extrusion and adhesion. Refer to the filament manufacturer’s recommendations and adjust the temperature settings accordingly. Additionally, configure the cooling fan settings to ensure effective part cooling and minimize warping and stringing.
Furthermore, explore advanced settings such as retraction parameters, print acceleration, and jerk control. Adjusting the retraction distance and speed can mitigate stringing and oozing, particularly for intricate models with small features. Fine-tune the print acceleration and jerk settings to optimize the printer’s motion control, minimizing vibrations and enhancing print quality.
For printers equipped with dual extruders or multi-material capabilities, configure the tool change and prime tower settings to streamline the printing process and minimize color bleeding or material contamination. Ensuring seamless transitions between different materials or colors is essential for achieving pristine multi-material prints.
Moreover, consider enabling features such as z-hop, wipe towers, and coasting to further refine the printing process and address specific printing challenges. These advanced settings can enhance the overall print quality and mitigate issues such as z-scarring, filament oozing, and color mixing in multi-material prints.
Throughout the process of adjusting the printer settings, it’s essential to conduct test prints to evaluate the impact of each adjustment on the print quality and overall performance. Document the settings used for each test print and assess the results to iteratively refine the printer settings for optimal performance.
By meticulously adjusting the printer settings to align with the specific requirements of the model, material, and printing conditions, you can optimize the printing process and unlock the full potential of your 3D printer. With the settings finely tuned, we can now proceed to conduct test prints to validate the adjustments and ensure exceptional print quality.
Read more: What Is An Extruder On A 3D Printer
Test Printing
Conducting test prints is a pivotal phase in the 3D printer tuning process, serving as a means to validate the calibration, settings adjustments, and overall printer performance. Test prints allow you to assess the impact of the tuning efforts on print quality, dimensional accuracy, and structural integrity, providing valuable insights for further refinement.
When embarking on test printing, it’s advisable to begin with calibration models designed to evaluate specific aspects of print quality and dimensional accuracy. These models often include features such as overhangs, bridges, surface details, and dimensional references, enabling you to assess the printer’s capability to reproduce intricate details and challenging geometries accurately.
Start by printing a calibration model that assesses dimensional accuracy, such as a calibration cube or a set of calibration steps. These models feature precise dimensions and geometries, allowing you to verify that the printer accurately reproduces the intended shapes and sizes. Measure the printed dimensions and compare them to the design specifications to identify any discrepancies and fine-tune the printer settings accordingly.
Next, evaluate the printer’s ability to handle overhangs and bridges by printing models that incorporate these features, such as a bridging test or an overhang test. These models assess the printer’s capability to maintain structural integrity and surface quality when printing overhanging and bridging sections. Assess the quality of the overhangs and bridges and adjust the cooling and print speed settings as needed to enhance performance.
Assessing surface quality is equally important, particularly for models with intricate details and smooth surfaces. Print models that feature complex surface textures or fine details to evaluate the printer’s ability to reproduce intricate features accurately. Inspect the surface finish and fine-tune the print speed, cooling, and retraction settings to achieve smoother and more detailed prints.
Moreover, if you’re working with multi-material or multi-color prints, conduct test prints to assess the transitions between materials or colors, ensuring seamless shifts and minimal color bleeding. Evaluate the effectiveness of the prime towers, tool change settings, and retraction parameters to optimize the multi-material printing process.
Throughout the test printing phase, document the outcomes of each print, noting any imperfections, dimensional discrepancies, or areas for improvement. This documentation serves as a valuable reference for refining the printer settings and addressing specific challenges encountered during the test prints.
By thoroughly evaluating the printer’s performance through test prints, you can iteratively refine the calibration and settings adjustments, ultimately achieving exceptional print quality, dimensional accuracy, and overall performance. With the insights gained from test printing, we can now address any potential issues and fine-tune the printer to deliver outstanding results consistently.
Troubleshooting and Fine-Tuning
As you progress through the 3D printer tuning process, it’s essential to be prepared to address potential issues that may arise during test prints and daily use. Troubleshooting and fine-tuning are integral aspects of optimizing a 3D printer’s performance, allowing you to identify and rectify challenges to achieve consistent and exceptional print quality.
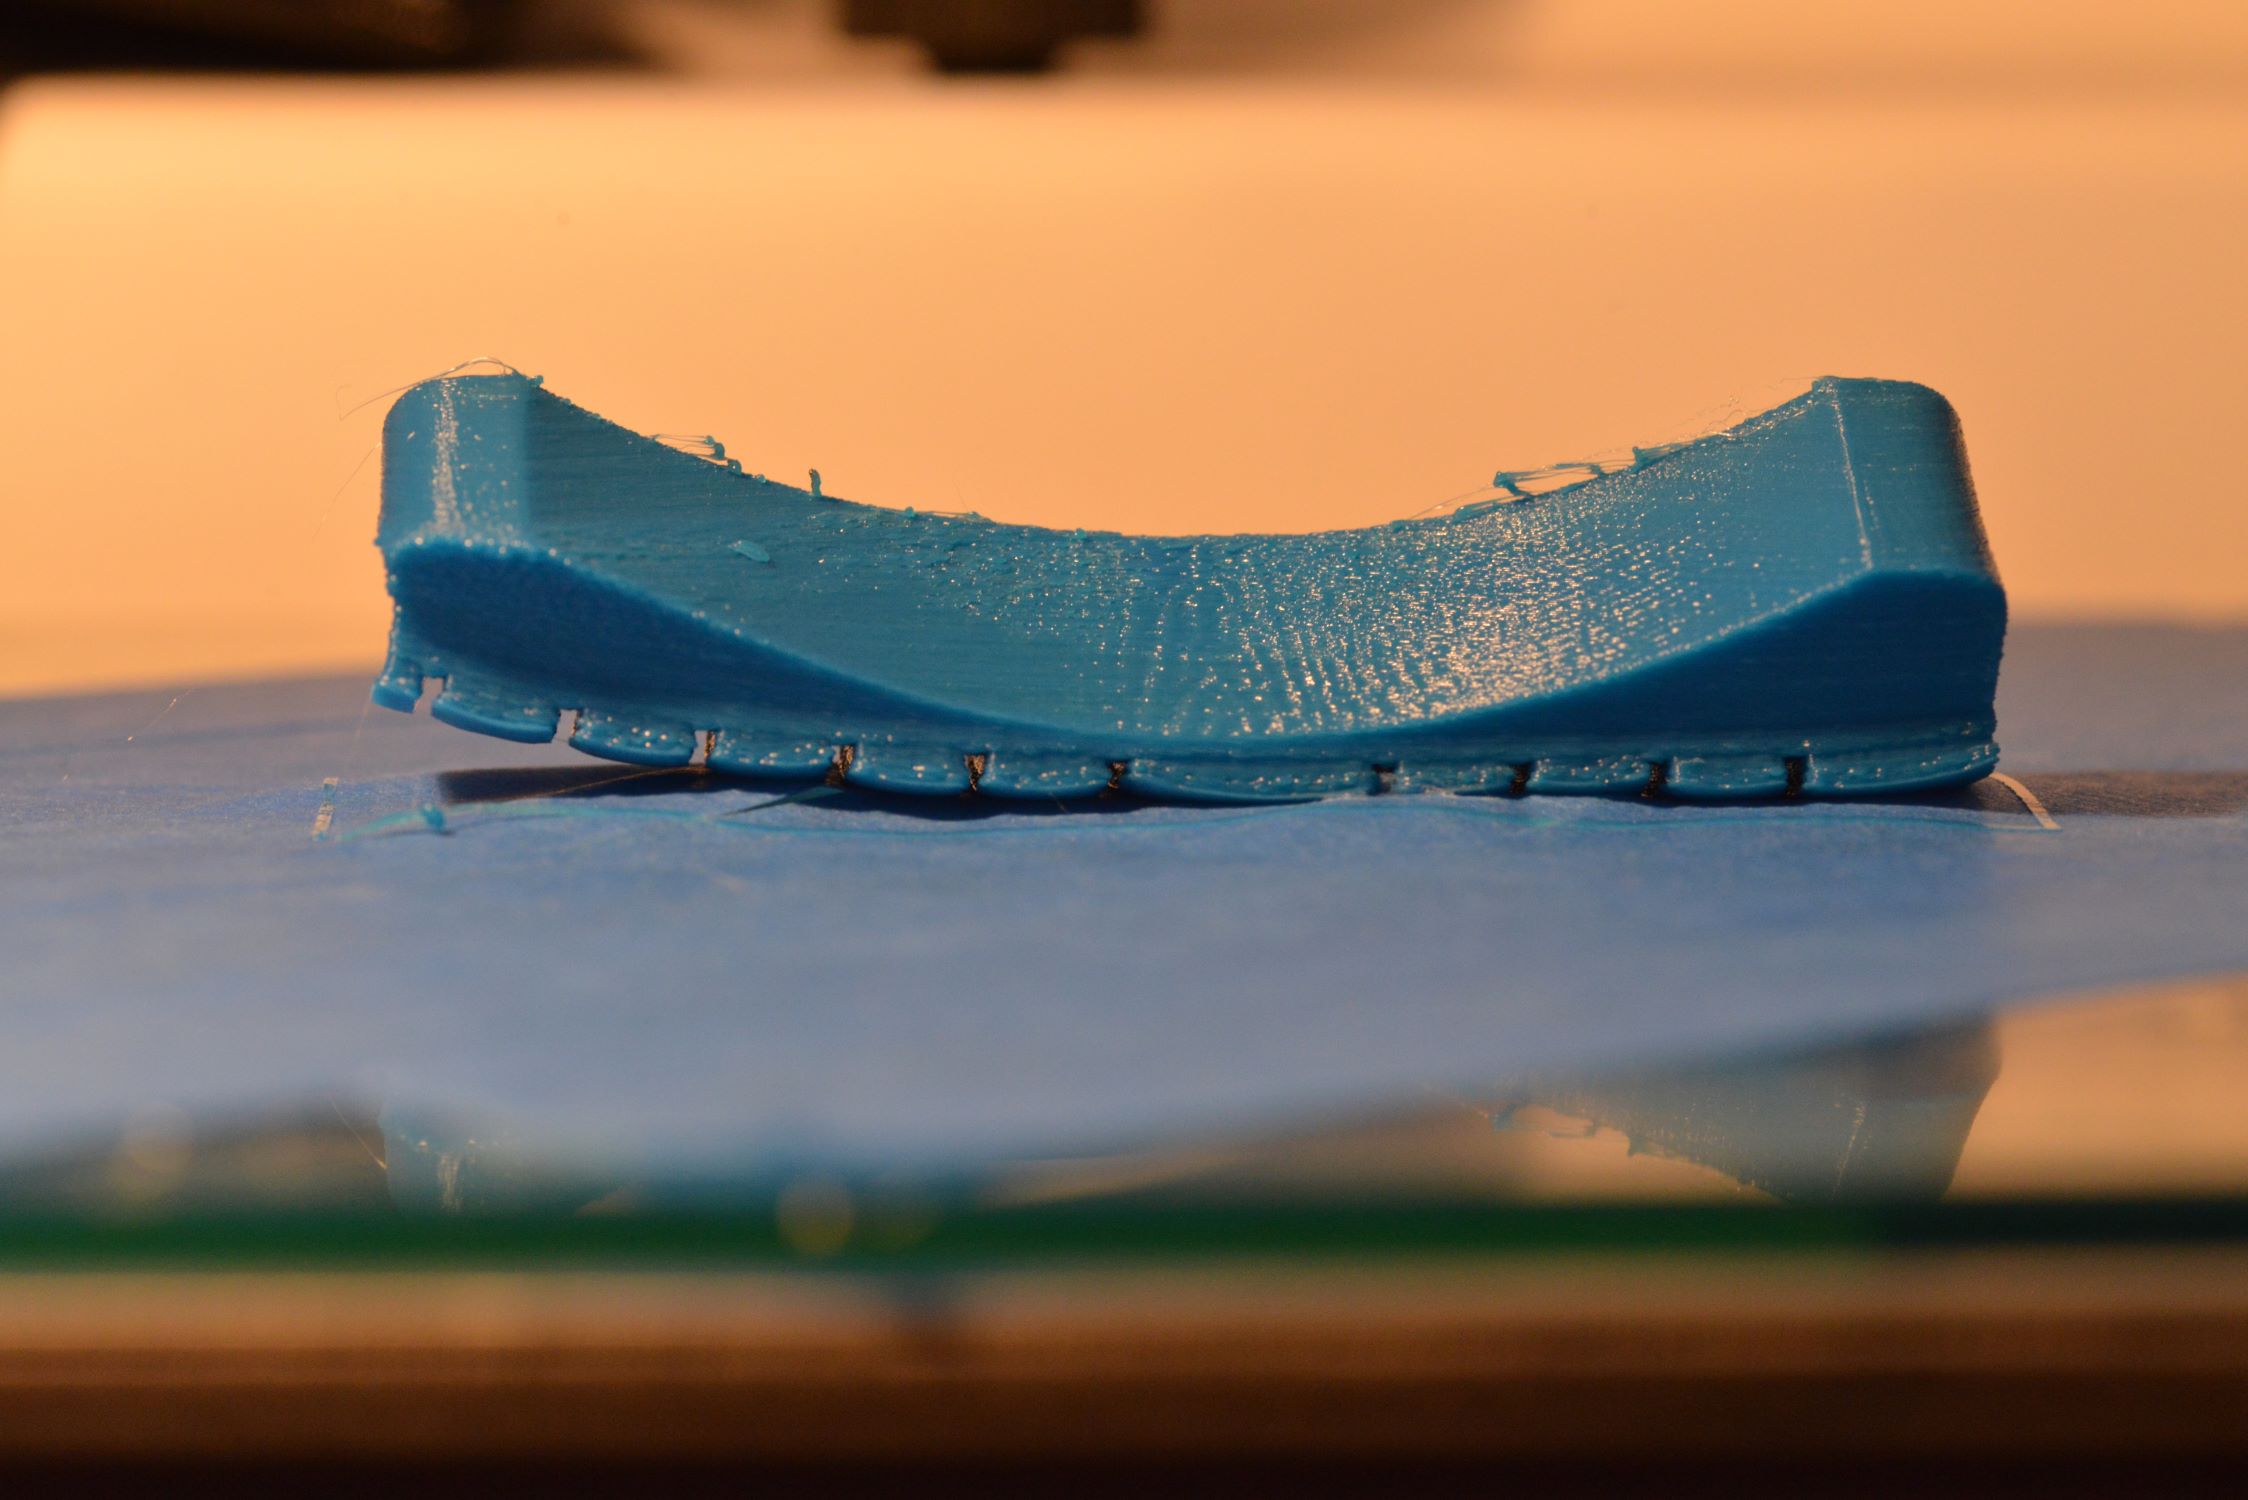
One common issue encountered during 3D printing is adhesion problems, such as warping, lifting, or poor first layer adhesion. Address these issues by fine-tuning the bed leveling, adjusting the initial layer height and flow rate, and optimizing the bed adhesion method, whether it’s through the use of adhesives, heated beds, or specialized print surfaces.
Filament extrusion issues, including under-extrusion, over-extrusion, and inconsistent flow, can significantly impact print quality. Fine-tune the extrusion multiplier, flow rate, and retraction settings to ensure precise and consistent filament deposition. Additionally, verify the filament diameter and adjust the settings accordingly to match the actual filament dimensions.
Layer adhesion and strength are critical for producing durable and reliable prints. If you encounter layer separation or poor interlayer adhesion, consider adjusting the print temperature, nozzle cooling, and print speed to optimize layer bonding. Additionally, evaluate the infill pattern and density to enhance the structural integrity of the prints.
Stringing, oozing, and artifacts such as z-scarring can detract from the visual quality of prints. Fine-tune the retraction settings, print acceleration, and cooling fan control to minimize stringing and artifacts. Additionally, consider enabling features such as z-hop and coasting to mitigate these issues further.
For multi-material or multi-color prints, troubleshoot issues related to color bleeding, material contamination, or ineffective tool changes. Refine the prime tower settings, retraction parameters, and tool change scripts to ensure seamless transitions between materials and colors, minimizing the risk of imperfections in multi-material prints.
Throughout the troubleshooting and fine-tuning process, leverage the insights gained from test prints and daily use to iteratively refine the printer settings and calibration. Document the adjustments made and the corresponding outcomes, allowing you to track the effectiveness of each refinement and maintain a record of successful solutions for future reference.
Furthermore, stay informed about firmware updates, software enhancements, and new tuning techniques that may further optimize your printer’s performance. Regularly review manufacturer guidelines, community forums, and industry resources to stay abreast of best practices and emerging solutions for 3D printer tuning.
By actively troubleshooting and fine-tuning your 3D printer, you can address challenges, refine the printer’s performance, and achieve exceptional print quality consistently. With a proactive approach to addressing issues and optimizing the printer’s settings, you’ll be well-equipped to unlock the full potential of your 3D printer and bring your digital creations to life with precision and finesse.
Conclusion
Congratulations on completing the comprehensive process of tuning your 3D printer! Throughout this journey, you’ve gained valuable insights into the intricacies of 3D printing and the essential steps required to calibrate, adjust, and fine-tune your printer for exceptional performance. By mastering the art of printer tuning, you’ve unlocked the full potential of your 3D printer and are well-equipped to produce outstanding prints with precision and consistency.
Understanding the fundamental principles of 3D printing, including the role of slicing software, the influence of different printing technologies, and the impact of printing parameters, has provided you with a solid foundation for navigating the tuning process effectively. Armed with this knowledge, you’ve meticulously prepared your 3D printer, ensuring that it is in prime condition for calibration and optimization.
Calibrating the printer involved leveling the build platform, fine-tuning the extruder, adjusting the motion systems, and optimizing the temperature settings. By meticulously calibrating these key aspects, you’ve set the stage for achieving accurate dimensional accuracy, optimal layer adhesion, and overall print quality.
Adjusting the printer settings allowed you to tailor the printer’s behavior to suit specific materials, models, and printing conditions. From basic print parameters to advanced settings such as retraction and multi-material configurations, you’ve optimized the printing process to deliver exceptional results consistently.
Conducting test prints served as a crucial means to validate the calibration, settings adjustments, and overall printer performance. By evaluating the printer’s capability to reproduce intricate details, handle overhangs, bridges, and surface details, and seamlessly transition between materials or colors, you’ve gained valuable insights for further refinement.
Troubleshooting and fine-tuning have empowered you to address potential issues and challenges encountered during test prints and daily use. By actively refining the printer’s performance and addressing imperfections, you’ve honed your ability to achieve exceptional print quality and consistency.
As you continue your 3D printing journey, remember to stay informed about firmware updates, software enhancements, and emerging tuning techniques. By remaining proactive and engaged with the 3D printing community, you’ll be well-positioned to leverage new solutions and best practices to further optimize your printer’s performance.
By mastering the art of tuning your 3D printer, you’ve embarked on a journey of creativity, innovation, and precision. Whether you’re crafting intricate prototypes, functional parts, or artistic designs, your tuned 3D printer is poised to bring your digital creations to life with unparalleled accuracy and finesse.
Embrace the endless possibilities of 3D printing, and may your tuned printer continue to inspire and elevate your creative endeavors. Happy printing!
Frequently Asked Questions about How To Tune A 3D Printer
Was this page helpful?
At Storables.com, we guarantee accurate and reliable information. Our content, validated by Expert Board Contributors, is crafted following stringent Editorial Policies. We're committed to providing you with well-researched, expert-backed insights for all your informational needs.


0 thoughts on “How To Tune A 3D Printer”