Home>Technology>Smart Home Devices>What Side Do You Put Transfer Paper In The Printer
Smart Home Devices
What Side Do You Put Transfer Paper In The Printer
Modified: August 17, 2024
Discover the right way to load transfer paper in your printer for flawless smart home device designs. Learn how to avoid common mistakes and achieve professional results.
(Many of the links in this article redirect to a specific reviewed product. Your purchase of these products through affiliate links helps to generate commission for Storables.com, at no extra cost. Learn more)
Introduction
Welcome to the world of creative possibilities with transfer paper printing! Whether you’re a seasoned crafter or a novice DIY enthusiast, transfer paper opens up a realm of opportunities for customizing fabrics and other surfaces with your unique designs. However, the process of using transfer paper can be a bit perplexing, especially when it comes to determining the correct side for printing. In this comprehensive guide, we’ll delve into the intricacies of transfer paper, demystify the printing process, and provide valuable insights to ensure that you always get it right.
By the end of this article, you’ll be equipped with the knowledge and confidence to embark on your transfer paper projects with ease. So, let’s embark on this enlightening journey to unravel the mystery of which side to put transfer paper in the printer!
Key Takeaways:
- Transfer paper has a coated side for printing, which is smoother and may have a subtle sheen. Look for manufacturer’s instructions or visual indicators to confidently identify the correct side.
- To achieve exceptional results when printing on transfer paper, use high-quality images, perform test prints, select the correct paper type, adjust printer settings, handle with care, allow for drying time, trim and position the paper, and follow heat and pressure guidelines.
Read more: What Printer To Use For Heat Transfer Paper
Understanding Transfer Paper
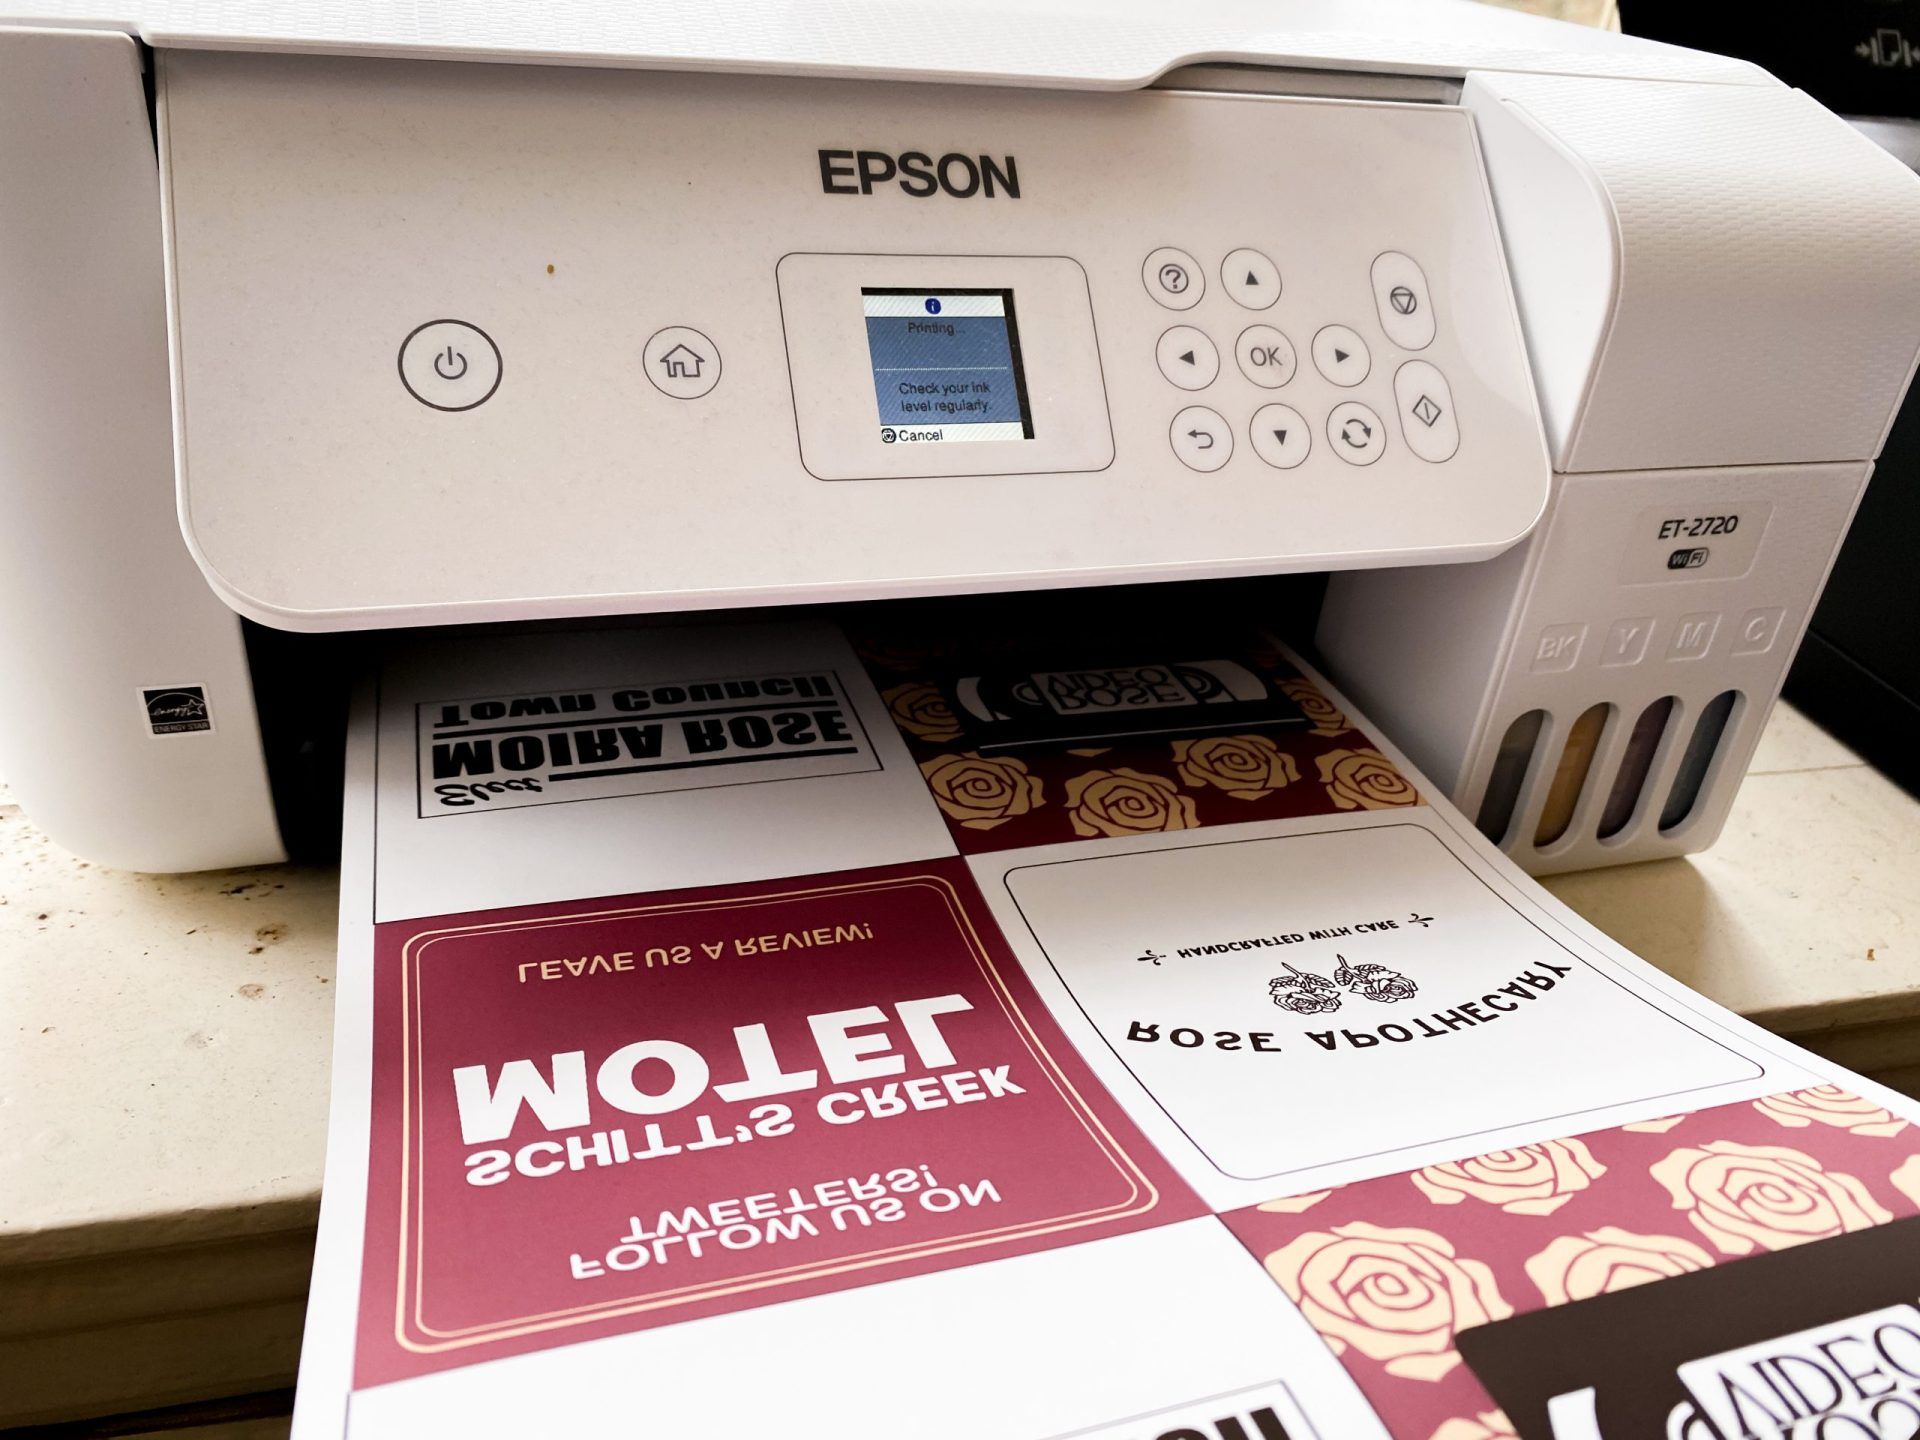
Transfer paper, also known as heat transfer paper, is a specialized type of paper that allows you to transfer images, designs, or text onto various surfaces using heat and pressure. It is widely used for creating custom T-shirts, tote bags, pillow covers, and other fabric-based items. The versatility of transfer paper extends beyond textiles, as it can also be used to transfer designs onto ceramics, wood, and metal surfaces, opening up a world of creative possibilities.
Transfer paper is available in different varieties, including light and dark transfer papers. Light transfer paper is designed for use on white or light-colored fabrics, while dark transfer paper is suitable for darker fabrics. Each type of transfer paper is formulated with specific properties to ensure optimal results based on the color of the target surface.
When selecting transfer paper, it’s essential to consider the compatibility with your printer type, as different transfer papers are designed for use with inkjet or laser printers. Understanding the characteristics of the transfer paper and its compatibility with your printing equipment is crucial for achieving high-quality, durable transfers.
Now that we’ve gained a foundational understanding of transfer paper, let’s delve into the mechanics of how this remarkable material works its magic in transferring your designs onto various surfaces.
How Transfer Paper Works
Transfer paper operates on a simple yet ingenious principle that harnesses the power of heat to facilitate the transfer of designs onto different surfaces. The paper is coated with a layer of heat-activated adhesive on one side, which enables it to bond with the target material when subjected to heat and pressure.
When an image is printed onto the transfer paper using an inkjet or laser printer, the ink saturates the surface, forming a mirror image of the original design. This printed side of the transfer paper is then placed in direct contact with the target surface, whether it’s a fabric, ceramic, or another material.
Upon applying heat and pressure, typically through the use of a heat press machine or a regular household iron, the heat-activated adhesive on the transfer paper softens and adheres to the target material. Simultaneously, the ink undergoes a phase change from a solid to a gas state, a process known as sublimation. This transformation allows the ink particles to permeate the surface of the material, resulting in a vibrant and long-lasting transfer of the original design.
The duration and temperature of the heat application, as well as the pressure exerted, play a crucial role in ensuring a successful transfer. Proper heat and pressure settings are essential for achieving vibrant colors, sharp details, and a durable bond between the transferred design and the target surface.
Understanding the underlying mechanism of how transfer paper works empowers you to make informed decisions when selecting the appropriate paper for your projects and optimizing the heat transfer process for exceptional results. With this knowledge in mind, let’s unravel the mystery of determining the correct side of the transfer paper for printing.
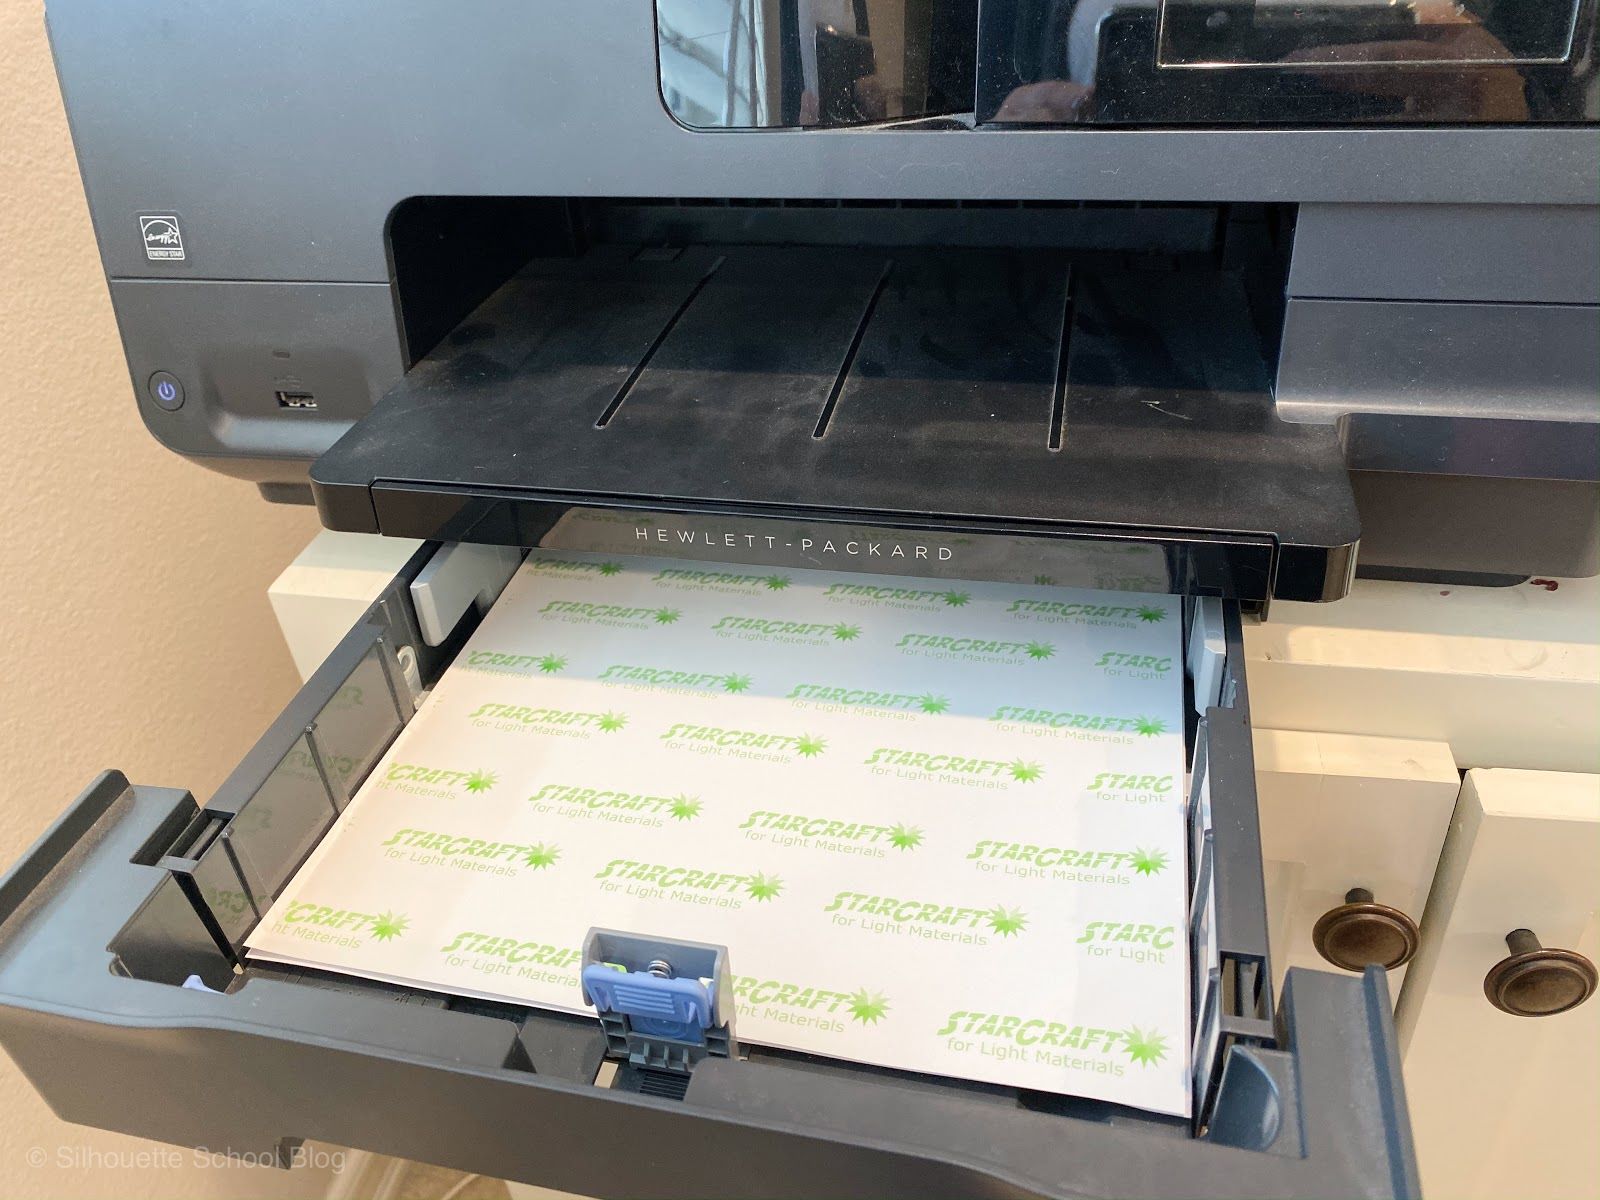
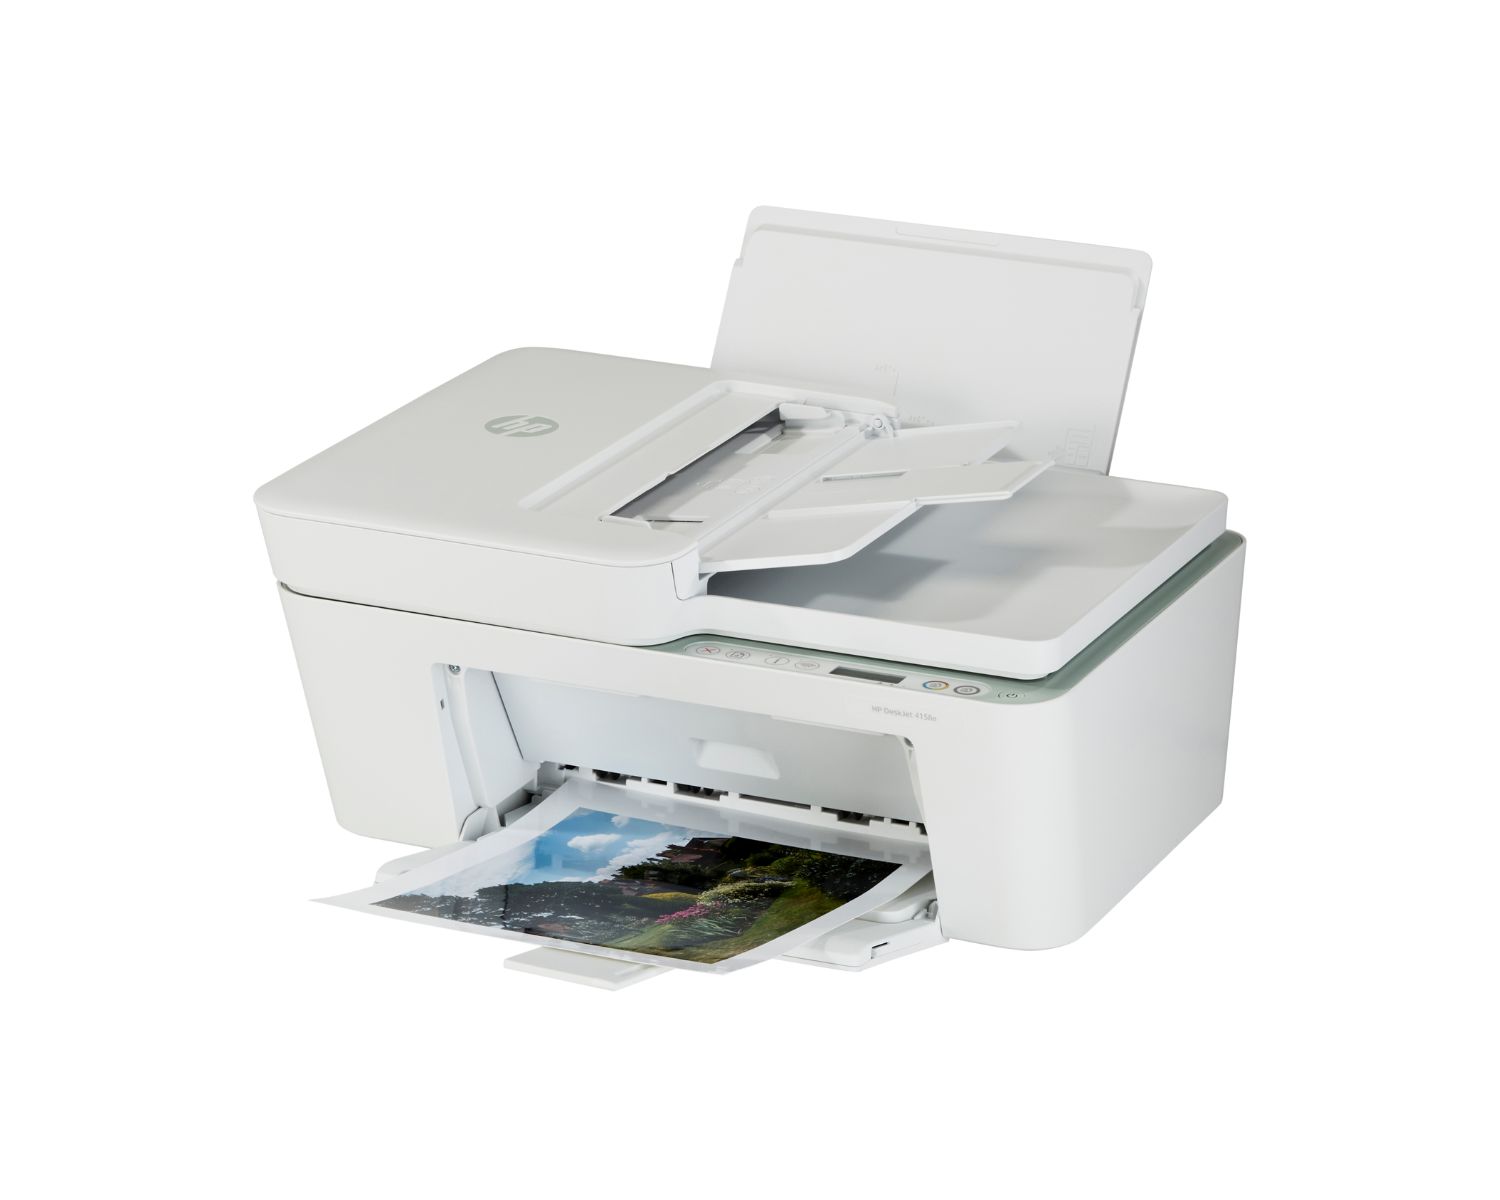
When using transfer paper in a printer, always place the transfer paper with the glossy or coated side facing down. This will ensure that the ink is printed onto the correct side for transferring onto fabric or other surfaces.
Determining the Correct Side
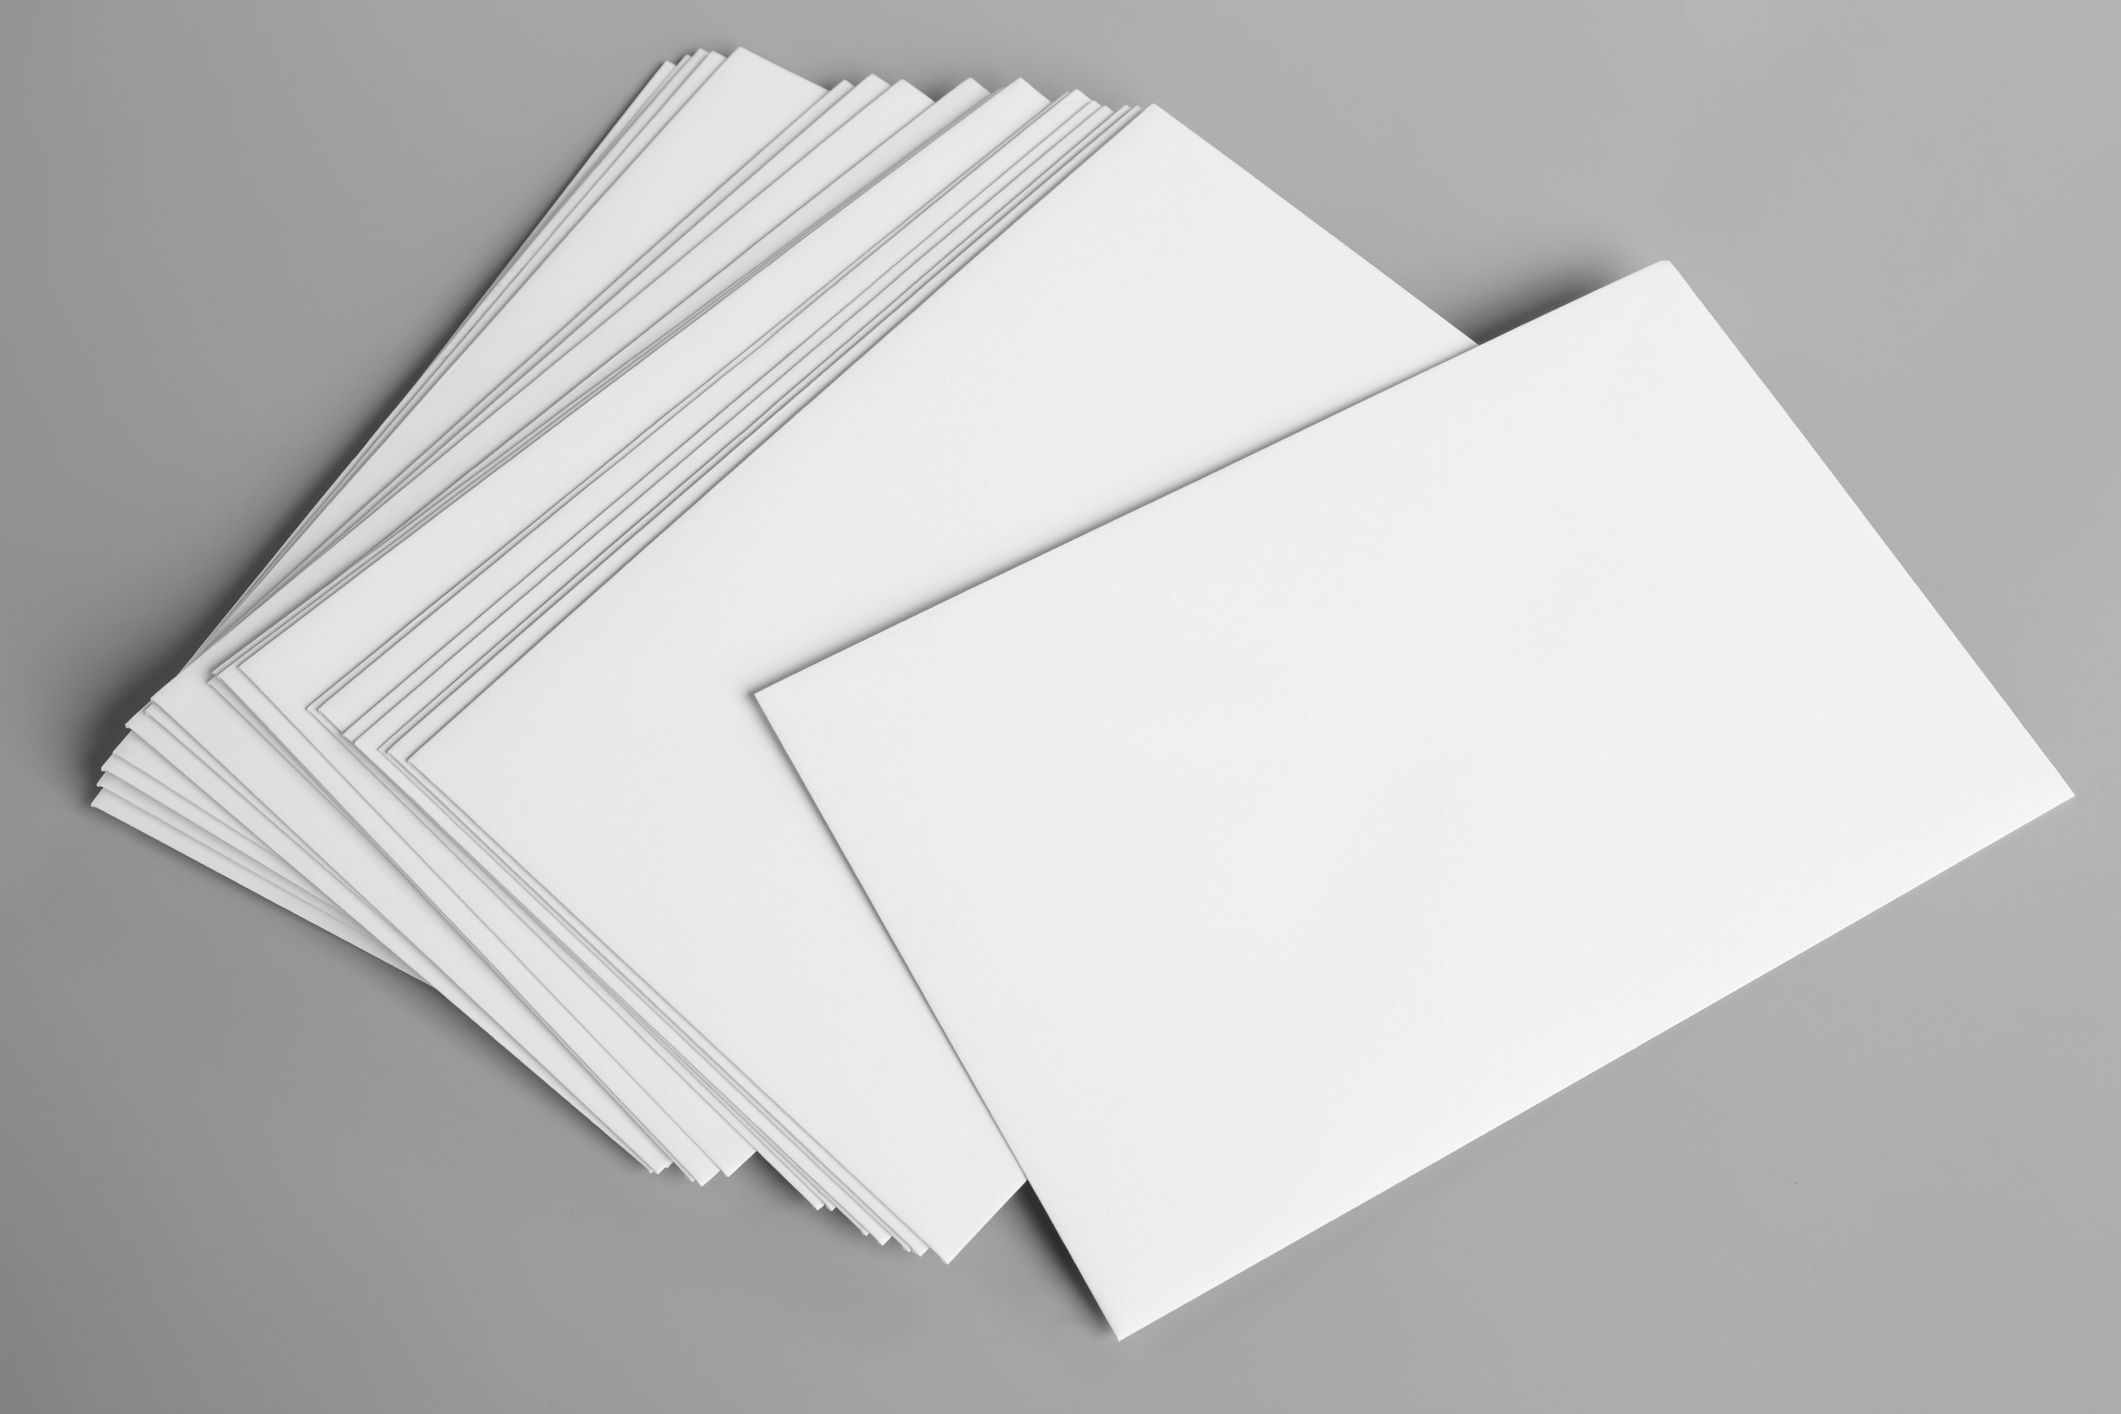
One of the most common sources of confusion when using transfer paper is identifying the correct side for printing. The two sides of transfer paper may appear nearly identical, leading to uncertainty about which side should be used for printing the design. To dispel this ambiguity, it’s essential to understand the key characteristics of transfer paper and how to discern the correct side with confidence.
Most transfer papers have a slightly glossy or coated side, which is the side that should be printed on. This coating serves a crucial purpose in facilitating the adhesion of the ink and the subsequent transfer of the design onto the target surface. The coated side is receptive to the ink and enables it to form a durable bond with the heat-activated adhesive during the transfer process.
To determine the correct side of the transfer paper, you can perform a simple visual and tactile inspection. The coated side typically has a slightly smoother texture and may exhibit a subtle sheen when viewed at an angle. Running your fingers over the surface can also help differentiate between the coated and uncoated sides, with the coated side feeling smoother to the touch.
If you’re still uncertain about which side to print on, a foolproof method involves referencing the manufacturer’s instructions and any markings on the paper that indicate the printable side. Additionally, some transfer papers are designed with a grid or logo on the printable side, providing a clear visual indicator to eliminate any guesswork.
By familiarizing yourself with these visual and tactile cues and leveraging the guidance provided by the manufacturer, you can confidently identify the correct side of the transfer paper for printing, ensuring that your designs are flawlessly transferred onto your chosen surfaces.
Now that we’ve demystified the process of determining the correct side, let’s explore some invaluable tips for optimizing your printing on transfer paper.
Tips for Printing on Transfer Paper
Printing on transfer paper requires attention to detail and a few strategic considerations to achieve exceptional results. By incorporating the following tips into your printing process, you can elevate the quality and longevity of your transferred designs while minimizing the potential for errors.
- Use High-Quality Images: Prior to printing, ensure that your design or image is of high resolution and quality. Crisp, detailed images result in superior transfers with vibrant colors and sharp, defined lines.
- Perform Test Prints: Before printing onto the actual transfer paper, conduct test prints on regular paper to assess the colors, size, and orientation of the design. This allows you to make any necessary adjustments before committing to the transfer paper.
- Select the Correct Paper Type: Choose the appropriate transfer paper based on the color of the target surface and the compatibility with your printer type. Using the wrong type of transfer paper can lead to subpar results and diminished durability.
- Adjust Printer Settings: Set your printer to the highest quality or photo printing mode to ensure optimal ink saturation and color accuracy. Additionally, follow the manufacturer’s recommendations for paper settings to achieve the best results.
- Handle with Care: Avoid touching the printable side of the transfer paper, especially with moist or oily hands, as this can affect the ink adhesion and compromise the transfer quality.
- Allow for Drying Time: After printing, allow the ink to fully dry before proceeding with the transfer process. This helps prevent smudging and ensures that the ink is ready for the heat transfer.
- Trimming and Positioning: Trim the excess paper around the design to minimize any unwanted borders. When positioning the transfer paper on the target surface, ensure proper alignment and secure it in place to prevent shifting during the transfer process.
- Follow Heat and Pressure Guidelines: Adhere to the recommended heat and pressure settings provided by the transfer paper manufacturer. Consistent and uniform application of heat and pressure is vital for achieving successful transfers.
By integrating these tips into your printing workflow, you can enhance the precision, visual appeal, and durability of your transferred designs, transforming your creative visions into tangible works of art.
Conclusion
Congratulations! You’ve now gained a comprehensive understanding of transfer paper, its intricate workings, and the essential considerations for successful printing. Armed with this knowledge, you’re well-equipped to embark on your transfer paper projects with confidence and precision.
From unraveling the mystery of determining the correct side for printing to mastering the art of optimizing your printing process, you’ve delved into the nuances of transfer paper usage, empowering yourself to achieve stunning results with every transfer.
As you venture into the realm of transfer paper creativity, remember that practice and experimentation are key to refining your techniques and unleashing your artistic potential. Embrace the joy of personalizing fabrics, accessories, and other surfaces with your unique designs, and revel in the satisfaction of witnessing your creations come to life through the magic of heat transfer.
Whether you’re crafting custom apparel, embellishing home decor items, or exploring innovative applications of transfer paper, let your imagination soar as you explore the endless possibilities that this versatile medium offers.
Now, armed with the knowledge and insights gleaned from this guide, go forth and embark on your transfer paper adventures with enthusiasm and creativity. Your journey into the world of transfer paper awaits, brimming with opportunities to transform ordinary surfaces into extraordinary expressions of your artistic vision.
So, gather your designs, prepare your transfer paper, and let the magic of heat transfer unfold as you bring your creative endeavors to life one vibrant transfer at a time.
Frequently Asked Questions about What Side Do You Put Transfer Paper In The Printer
Was this page helpful?
At Storables.com, we guarantee accurate and reliable information. Our content, validated by Expert Board Contributors, is crafted following stringent Editorial Policies. We're committed to providing you with well-researched, expert-backed insights for all your informational needs.


0 thoughts on “What Side Do You Put Transfer Paper In The Printer”