Home>Technology>Smart Home Devices>How To Put Ink In A Canon Pixma Printer
Smart Home Devices
How To Put Ink In A Canon Pixma Printer
Modified: April 23, 2024
Learn how to easily put ink in your Canon Pixma printer with our step-by-step guide. Keep your smart home devices running smoothly with these simple tips.
(Many of the links in this article redirect to a specific reviewed product. Your purchase of these products through affiliate links helps to generate commission for Storables.com, at no extra cost. Learn more)
Introduction
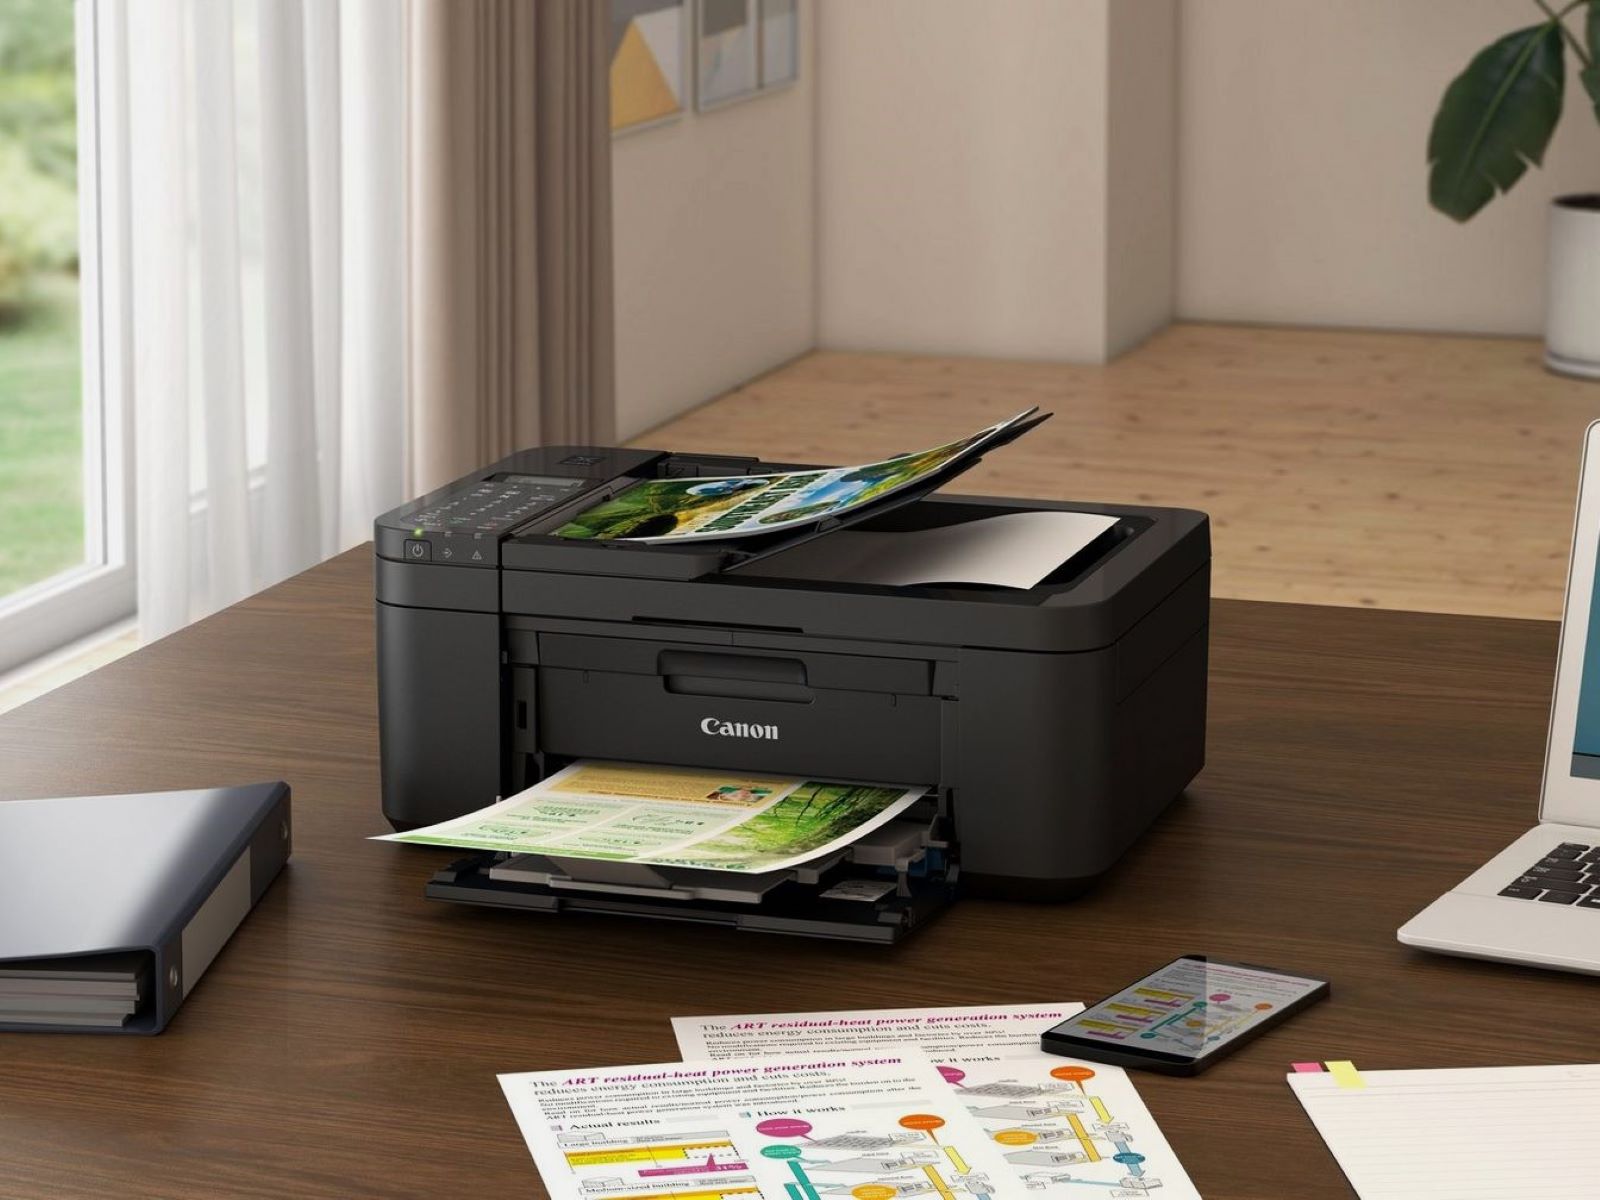
Setting up a Canon Pixma printer is an exciting venture into the world of high-quality printing. Whether you're a seasoned professional or a newcomer to the world of printing, the process of putting ink in a Canon Pixma printer is a crucial step to ensure optimal performance and exceptional print quality. This comprehensive guide will walk you through the step-by-step process of installing ink cartridges in your Canon Pixma printer, ensuring that you can start printing vibrant and crisp documents and images in no time. So, let's dive into the world of printing excellence and learn how to put ink in your Canon Pixma printer!
Key Takeaways:
- Gathering the right supplies and handling the ink cartridges with care are crucial for successful ink installation in your Canon Pixma printer. This sets the stage for exceptional print quality.
- After installing the ink cartridges, running a test print helps ensure that your printer is ready to produce vibrant and sharp documents. Regular monitoring of ink levels is also important for uninterrupted printing.
Read more: How To Reset A Canon Pixma Printer
Step 1: Gather Your Supplies
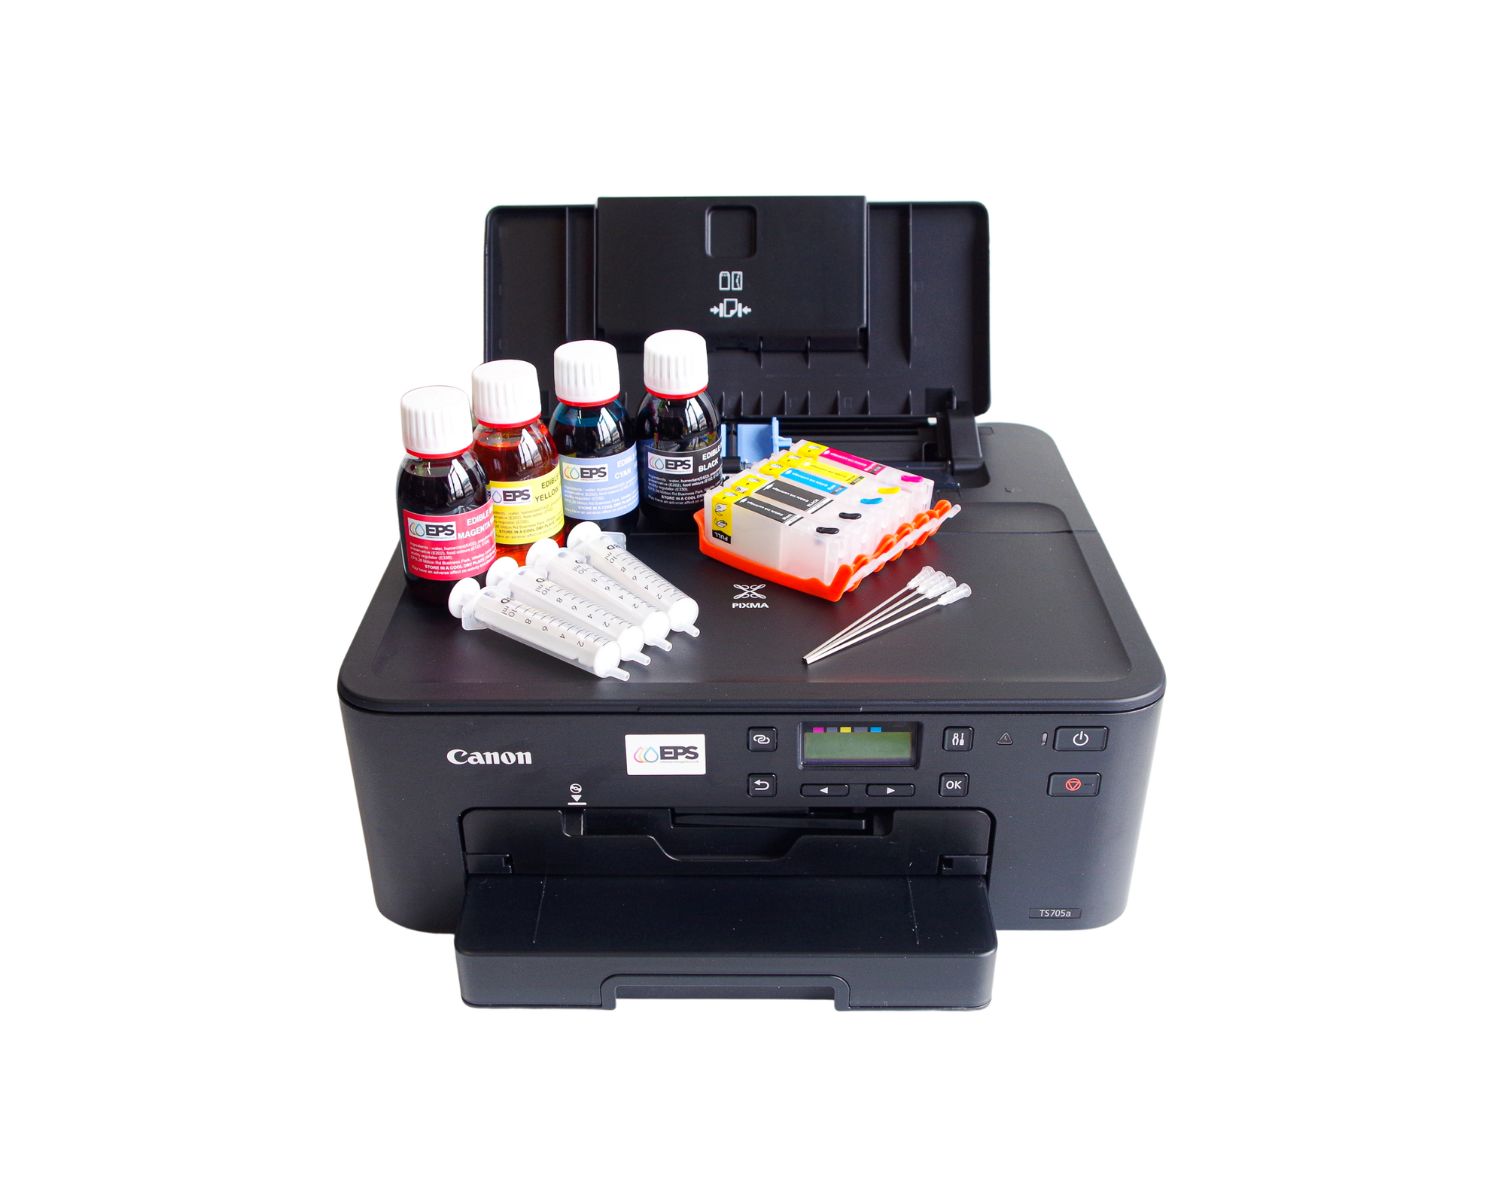
Before embarking on the ink installation process, it’s essential to gather all the necessary supplies. To ensure a smooth and efficient setup, you will need the following items:
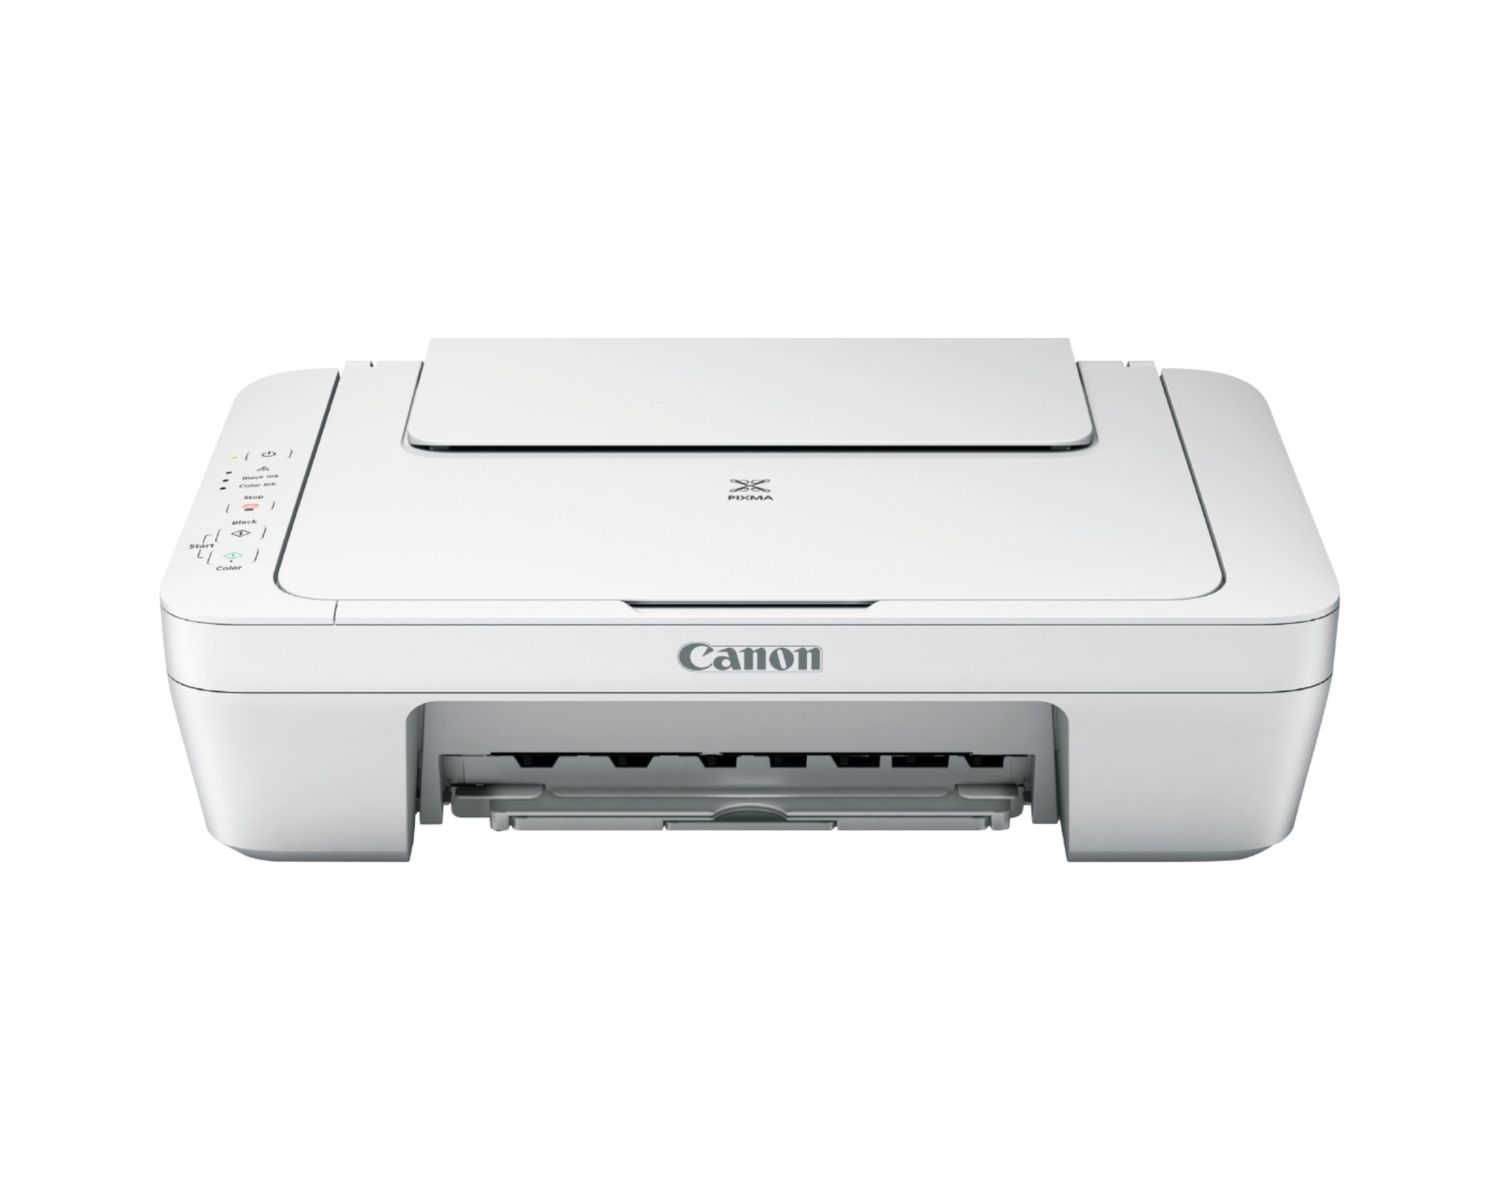
- Canon Pixma printer
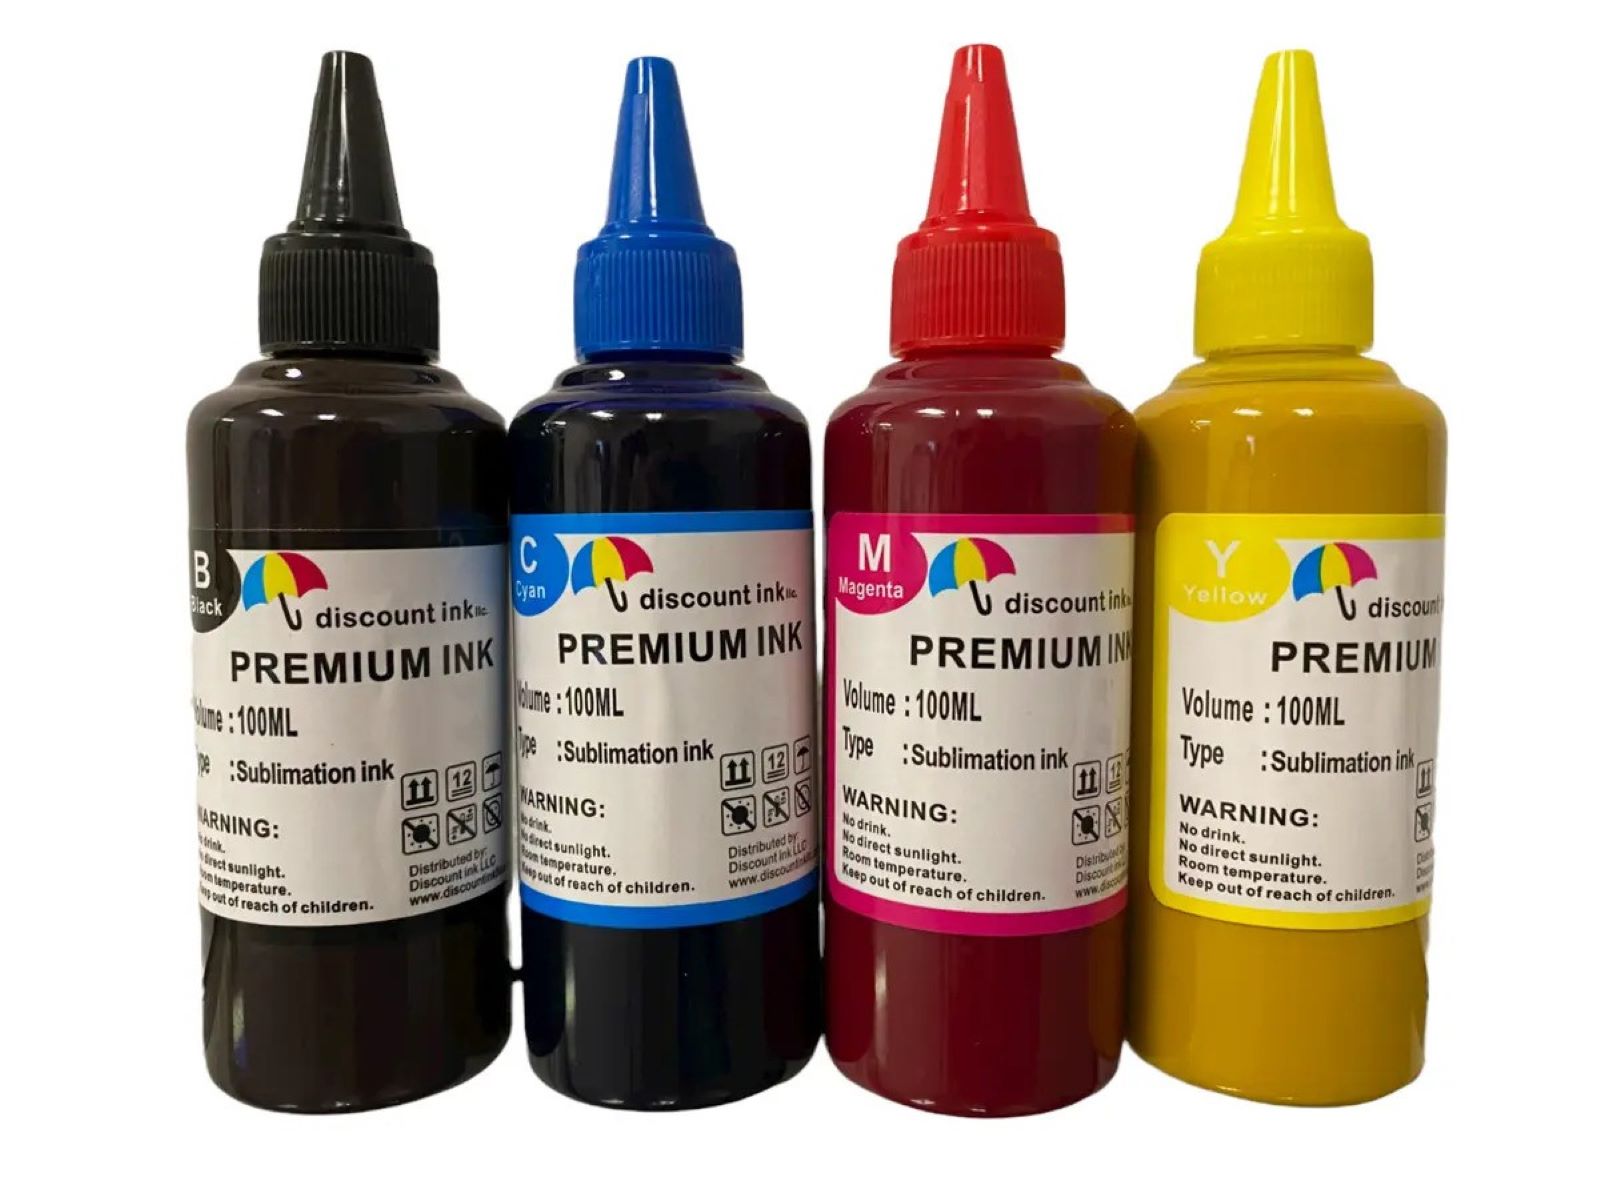
- Replacement ink cartridges compatible with your specific Canon Pixma printer model
- Clean, lint-free cloth
- Protective gloves (optional)
Ensure that you have ample space to work around the printer, allowing for easy access to the ink cartridge compartment. Additionally, it’s advisable to have a clear, well-lit area to facilitate the installation process and prevent any accidental spills or mishaps.
By gathering these supplies beforehand, you will streamline the ink installation process and minimize the likelihood of interruptions, allowing you to focus on achieving optimal printing results.
Step 2: Open the Ink Cartridge Compartment
After assembling your supplies, the next step is to access the ink cartridge compartment of your Canon Pixma printer. This process may vary slightly depending on the specific model of your printer, but the general steps remain consistent.
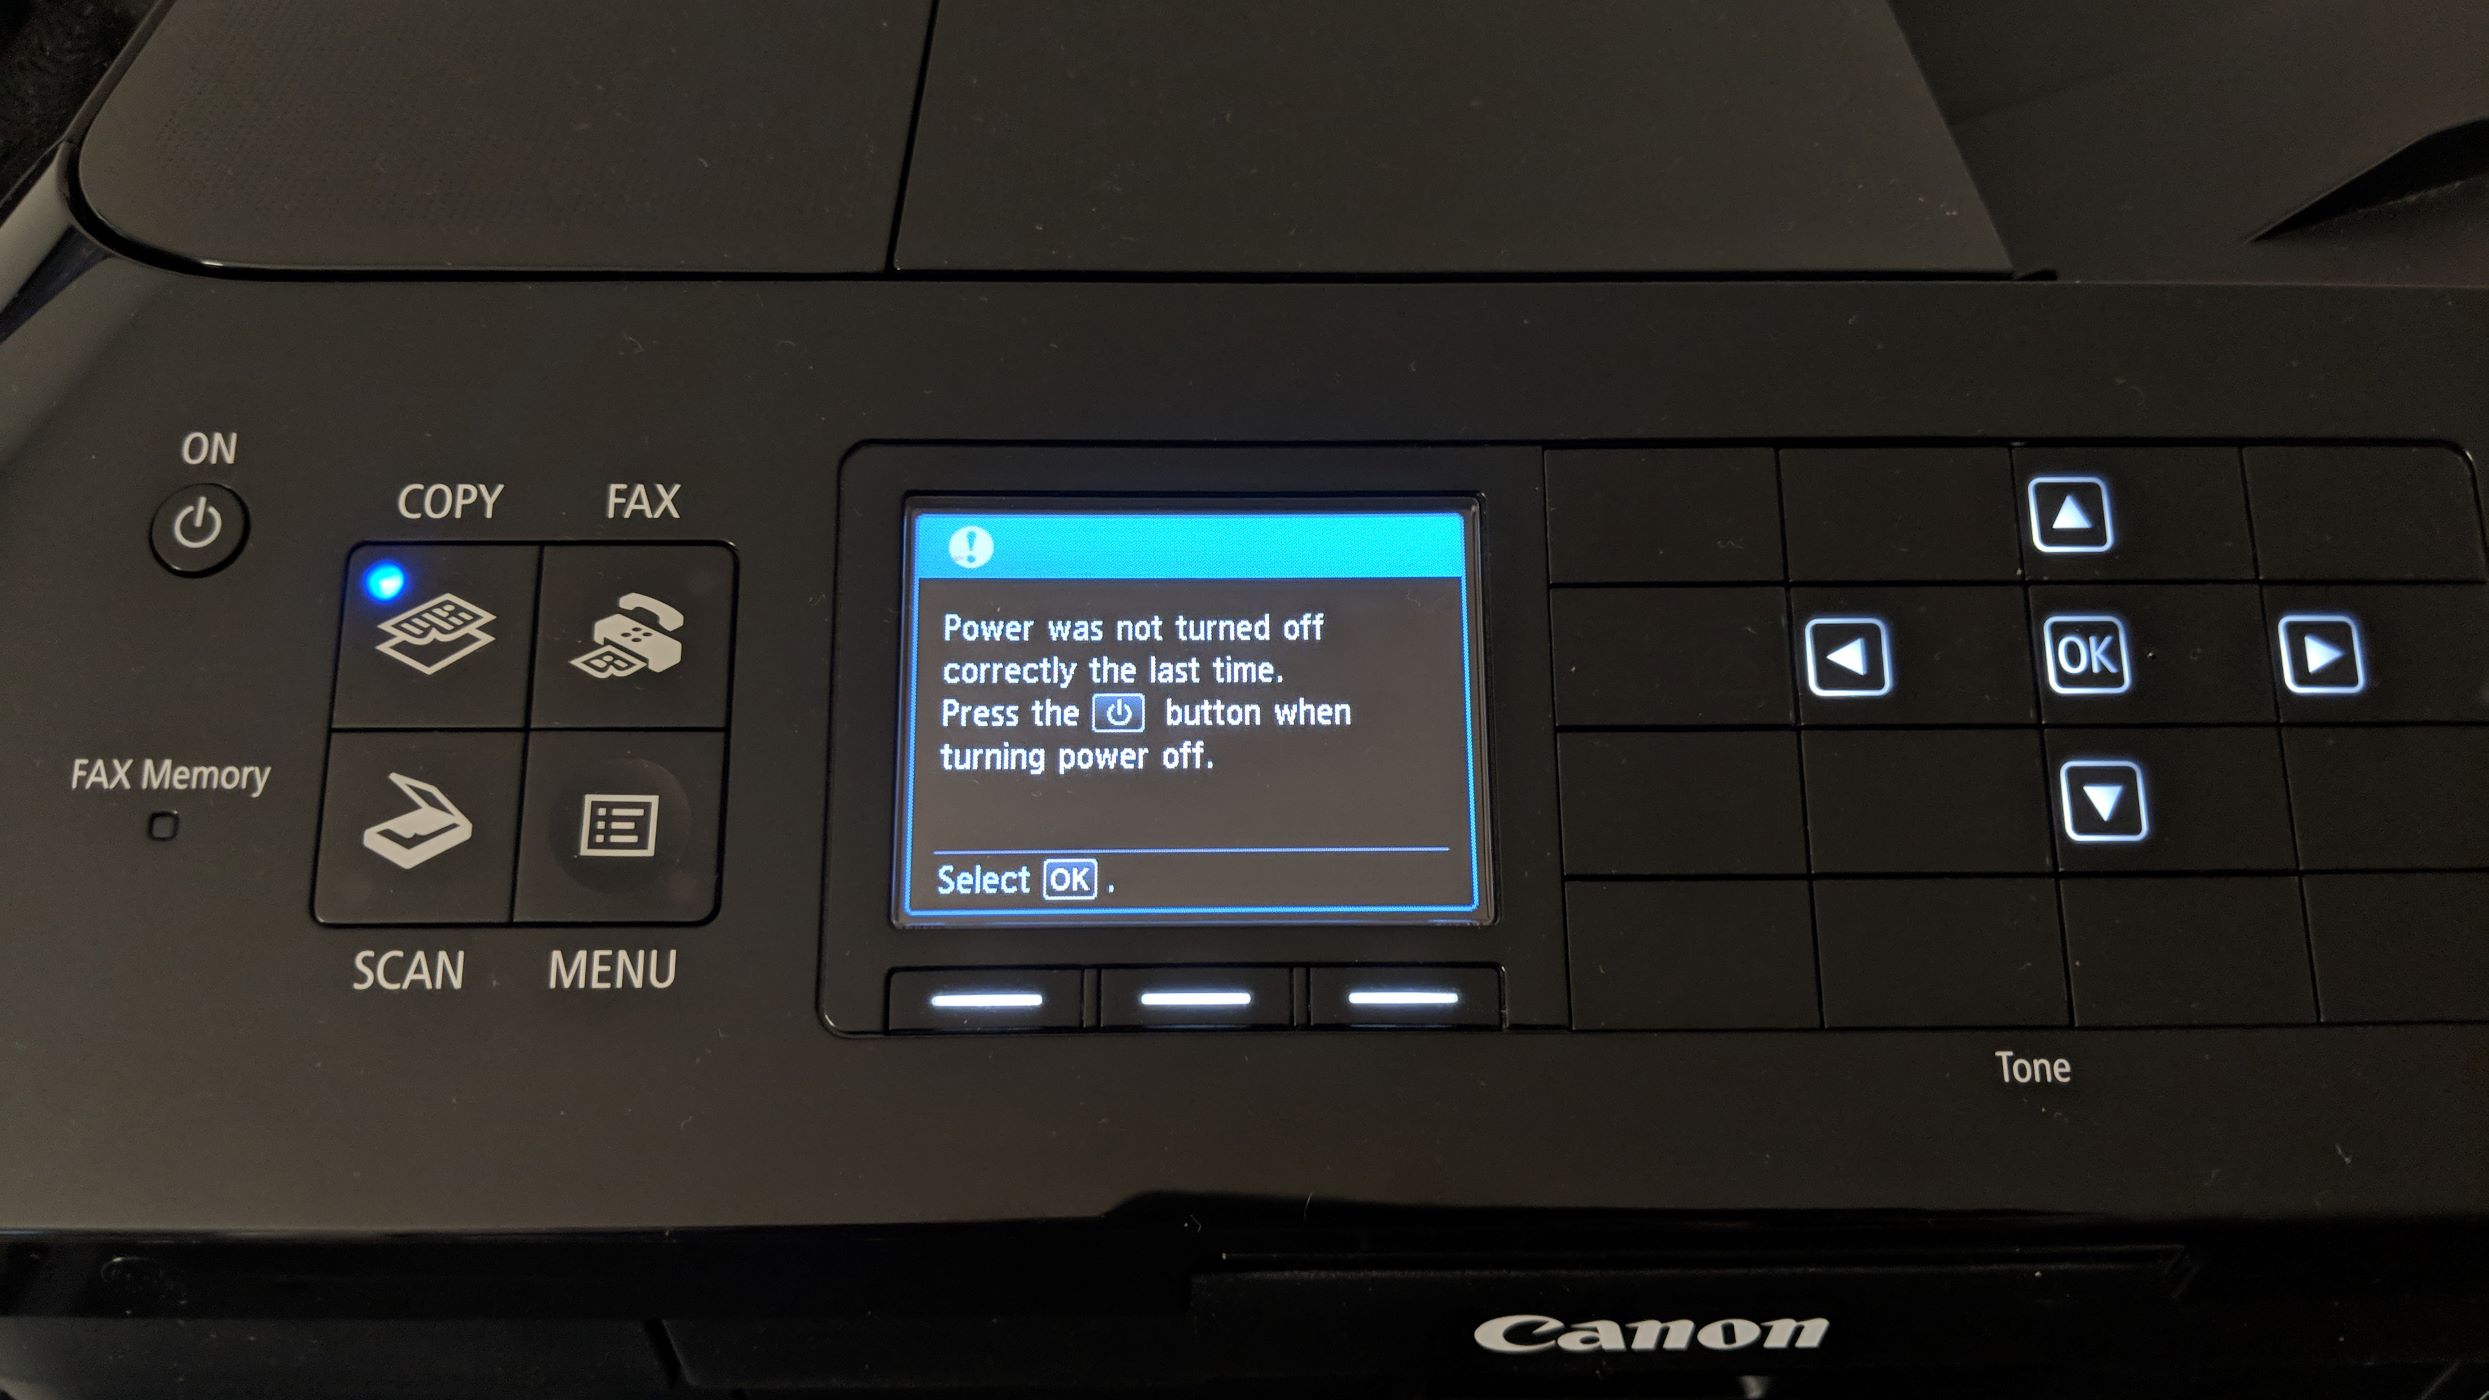
Begin by ensuring that your printer is turned on. Once the printer is powered up, gently lift the top cover or access panel. This action will provide you with access to the interior of the printer, allowing you to locate the ink cartridge compartment. Take a moment to familiarize yourself with the internal layout of the printer, identifying the location of the ink cartridges and any corresponding indicators or labels.
As you prepare to open the ink cartridge compartment, it’s important to handle the printer with care and attention. Avoid applying excessive force or causing any undue stress on the printer’s components. If you encounter any resistance while attempting to open the compartment, pause and reassess your approach to prevent potential damage to the printer.
Once the ink cartridge compartment is accessible, take a moment to inspect the interior for any signs of dust or debris. If necessary, use a clean, lint-free cloth to gently remove any foreign particles, ensuring a clean and optimal environment for the ink cartridge installation process.
By carefully opening the ink cartridge compartment and preparing the interior of the printer, you are laying the groundwork for a seamless and successful ink installation process, setting the stage for exceptional printing performance.
Step 3: Insert the Ink Cartridges
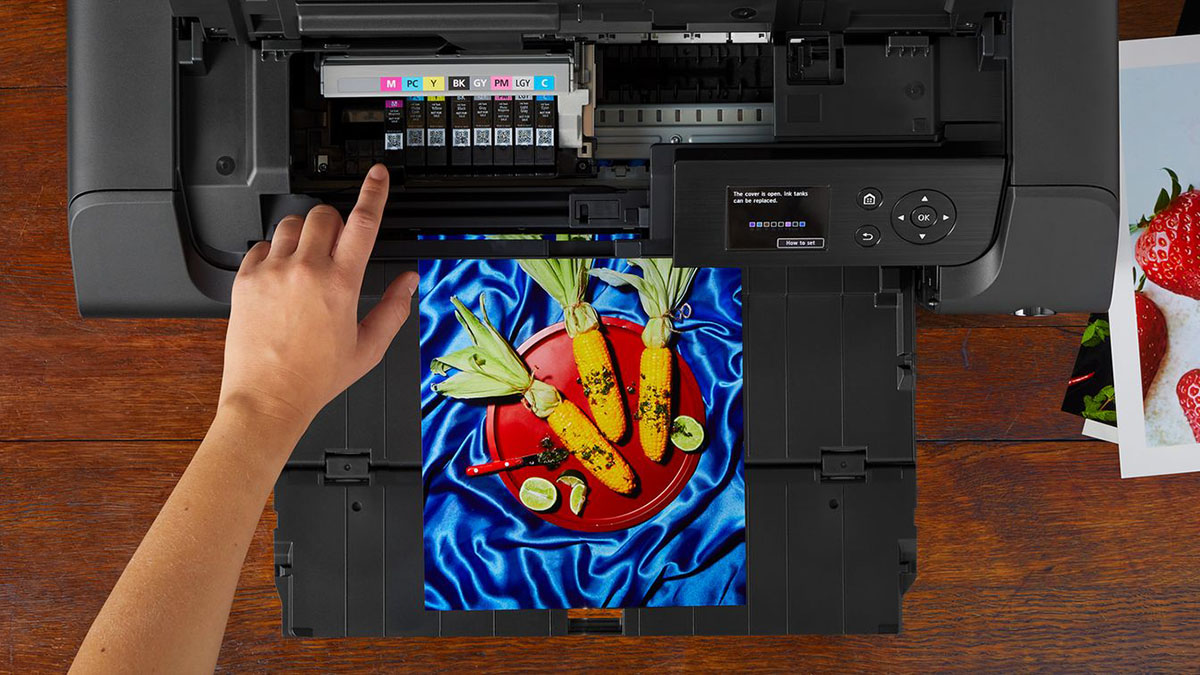
With the ink cartridge compartment accessible, it’s time to proceed with the crucial step of inserting the ink cartridges into your Canon Pixma printer. This process requires precision and attention to detail to ensure the proper installation of the cartridges.
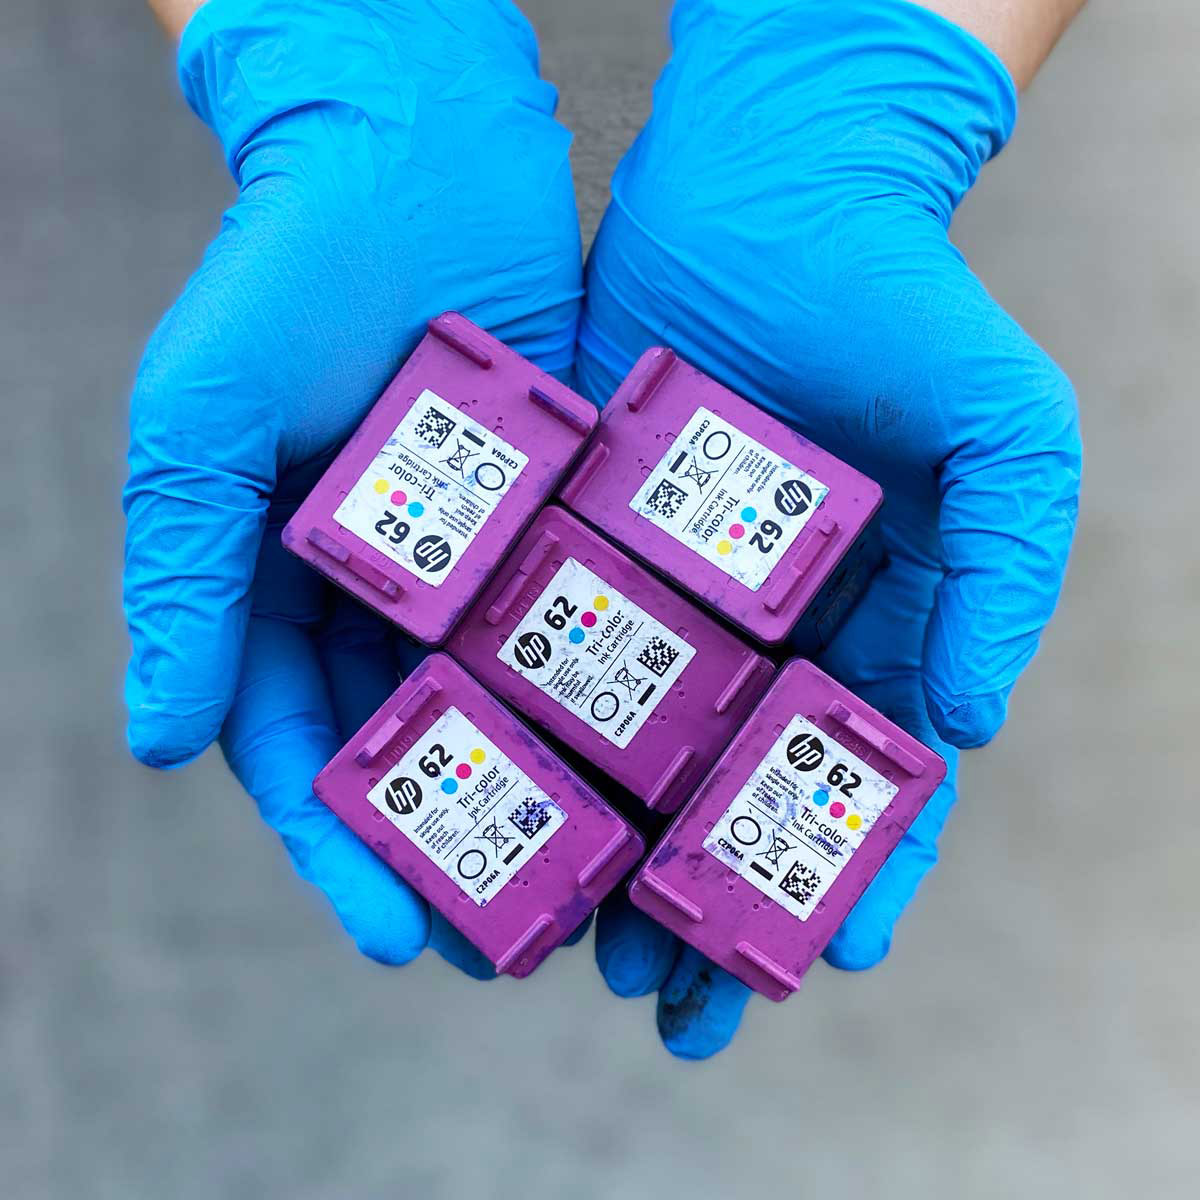
Before handling the ink cartridges, it’s advisable to wear protective gloves to prevent any contact with the ink and minimize the risk of smudges or stains. Carefully remove the replacement ink cartridges from their packaging, ensuring that you handle them with care to avoid any potential damage.
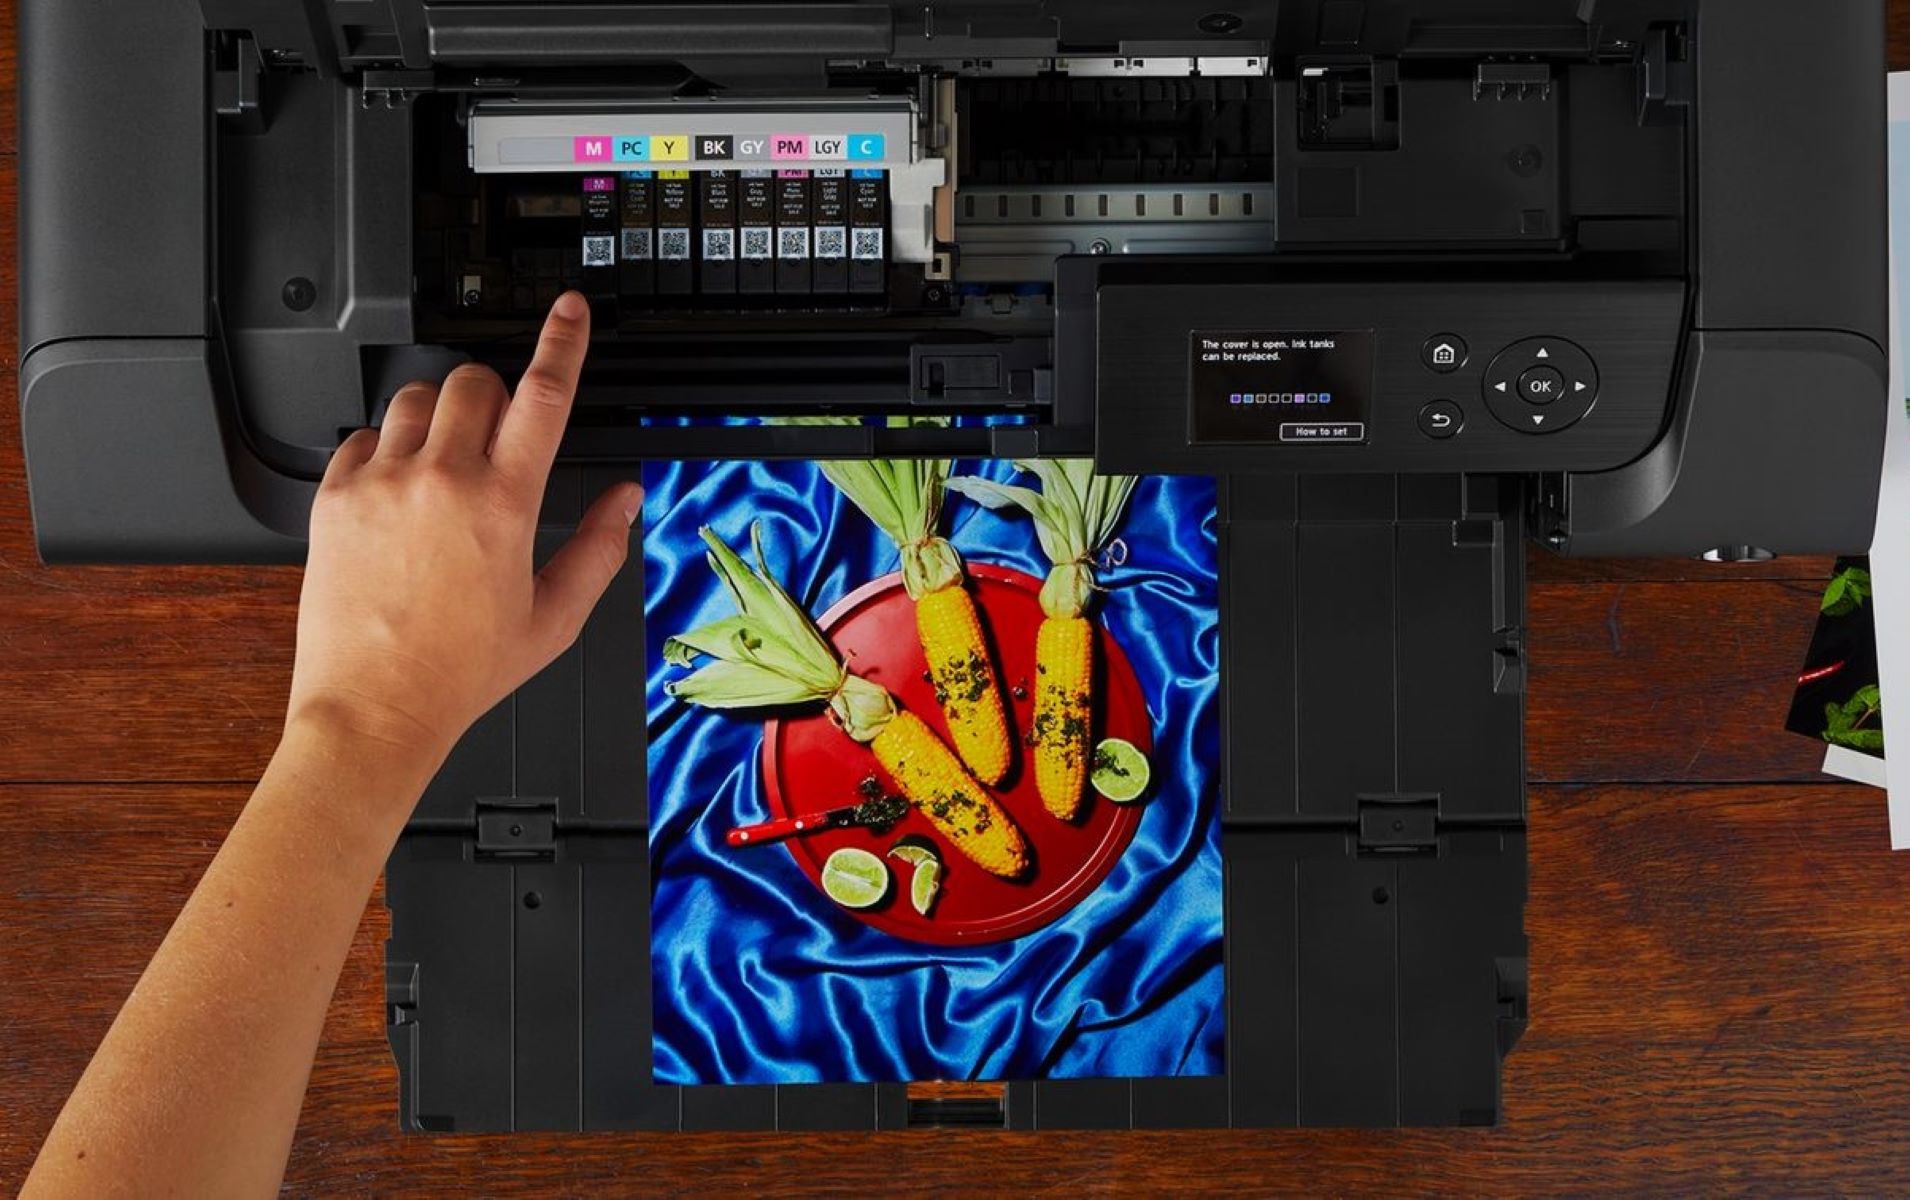
Next, take a moment to examine the cartridges, identifying the corresponding slots within the ink cartridge compartment. Most Canon Pixma printers feature distinct color-coded indicators or labels to assist in the correct placement of the ink cartridges.
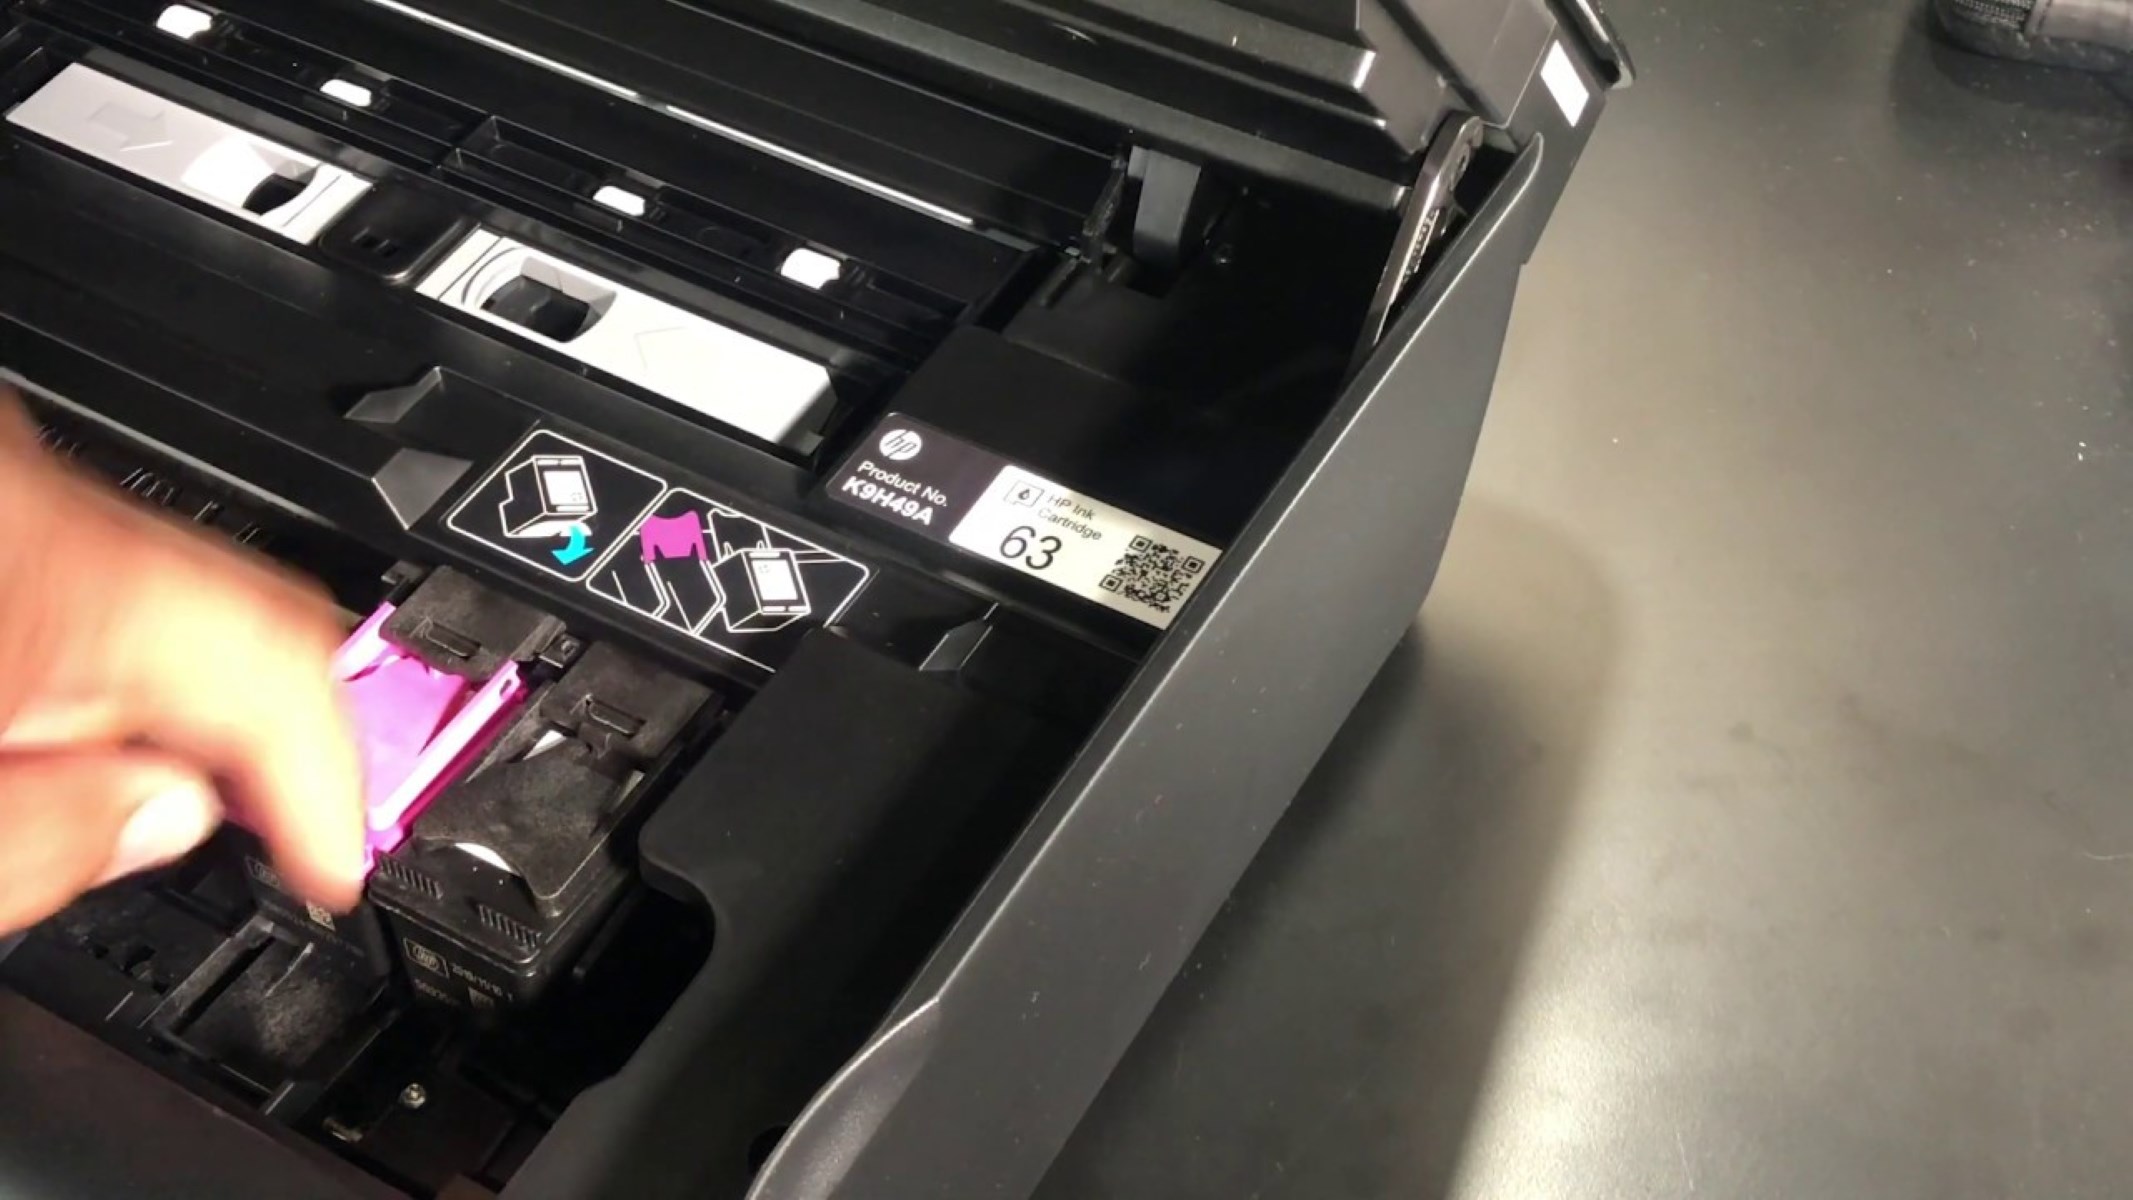
Align the ink cartridges with their designated slots, paying close attention to the orientation and ensuring a snug fit. With gentle and steady pressure, insert each cartridge into its respective slot, taking care to avoid applying excessive force that may cause damage to the cartridges or the printer.
As you secure the ink cartridges in place, listen for a subtle click or locking sound, indicating that the cartridges are properly seated within the printer. This step is crucial to ensure that the cartridges are securely in position, allowing for seamless printing operations.
Once the ink cartridges are securely inserted, take a moment to verify that they are properly aligned and seated. Any misalignment or improper placement may hinder the printing process and affect the quality of the printed output.
By meticulously inserting the ink cartridges into your Canon Pixma printer, you are laying the foundation for exceptional print quality and ensuring that your printer is poised to deliver outstanding results with every document and image.
When putting ink in a Canon Pixma printer, make sure to use the correct ink cartridges for your specific printer model. Open the printer cover, wait for the cartridge holder to stop moving, then insert the cartridges firmly until they click into place. Close the cover and follow the printer’s prompts to complete the ink installation process.
Step 4: Close the Ink Cartridge Compartment
After successfully inserting the ink cartridges into your Canon Pixma printer, the next crucial step is to securely close the ink cartridge compartment. This final stage of the ink installation process is essential to ensure the proper functioning of the printer and the integrity of the ink cartridges.
Gently lower the top cover or access panel of the printer, taking care to align it with the printer’s body. Ensure that the cover descends smoothly and evenly, without any obstructions or resistance. This deliberate approach helps prevent any potential damage to the printer’s components and maintains the overall integrity of the printing system.
As the ink cartridge compartment closes, listen for a reassuring click or locking sound, indicating that the cover is securely in place. This auditory confirmation signifies that the ink cartridges are properly housed within the printer, ready to facilitate seamless printing operations.
Once the ink cartridge compartment is closed, take a moment to visually inspect the printer, ensuring that the cover is flush with the printer’s body and that there are no gaps or misalignments. This visual confirmation provides peace of mind, affirming that the ink cartridges are protected and the printer is ready for action.
With the ink cartridge compartment securely closed, your Canon Pixma printer is primed for exceptional printing performance. The meticulous completion of this step sets the stage for a seamless and efficient printing experience, allowing you to produce vibrant and crisp documents and images with ease.
Read also: 9 Amazing Canon Pixma Printer For 2025
Step 5: Run a Test Print
After successfully installing the ink cartridges and closing the ink cartridge compartment, it’s time to verify the functionality of your Canon Pixma printer by running a test print. This pivotal step allows you to confirm that the ink installation process was executed accurately and ensures that your printer is ready to produce high-quality prints.
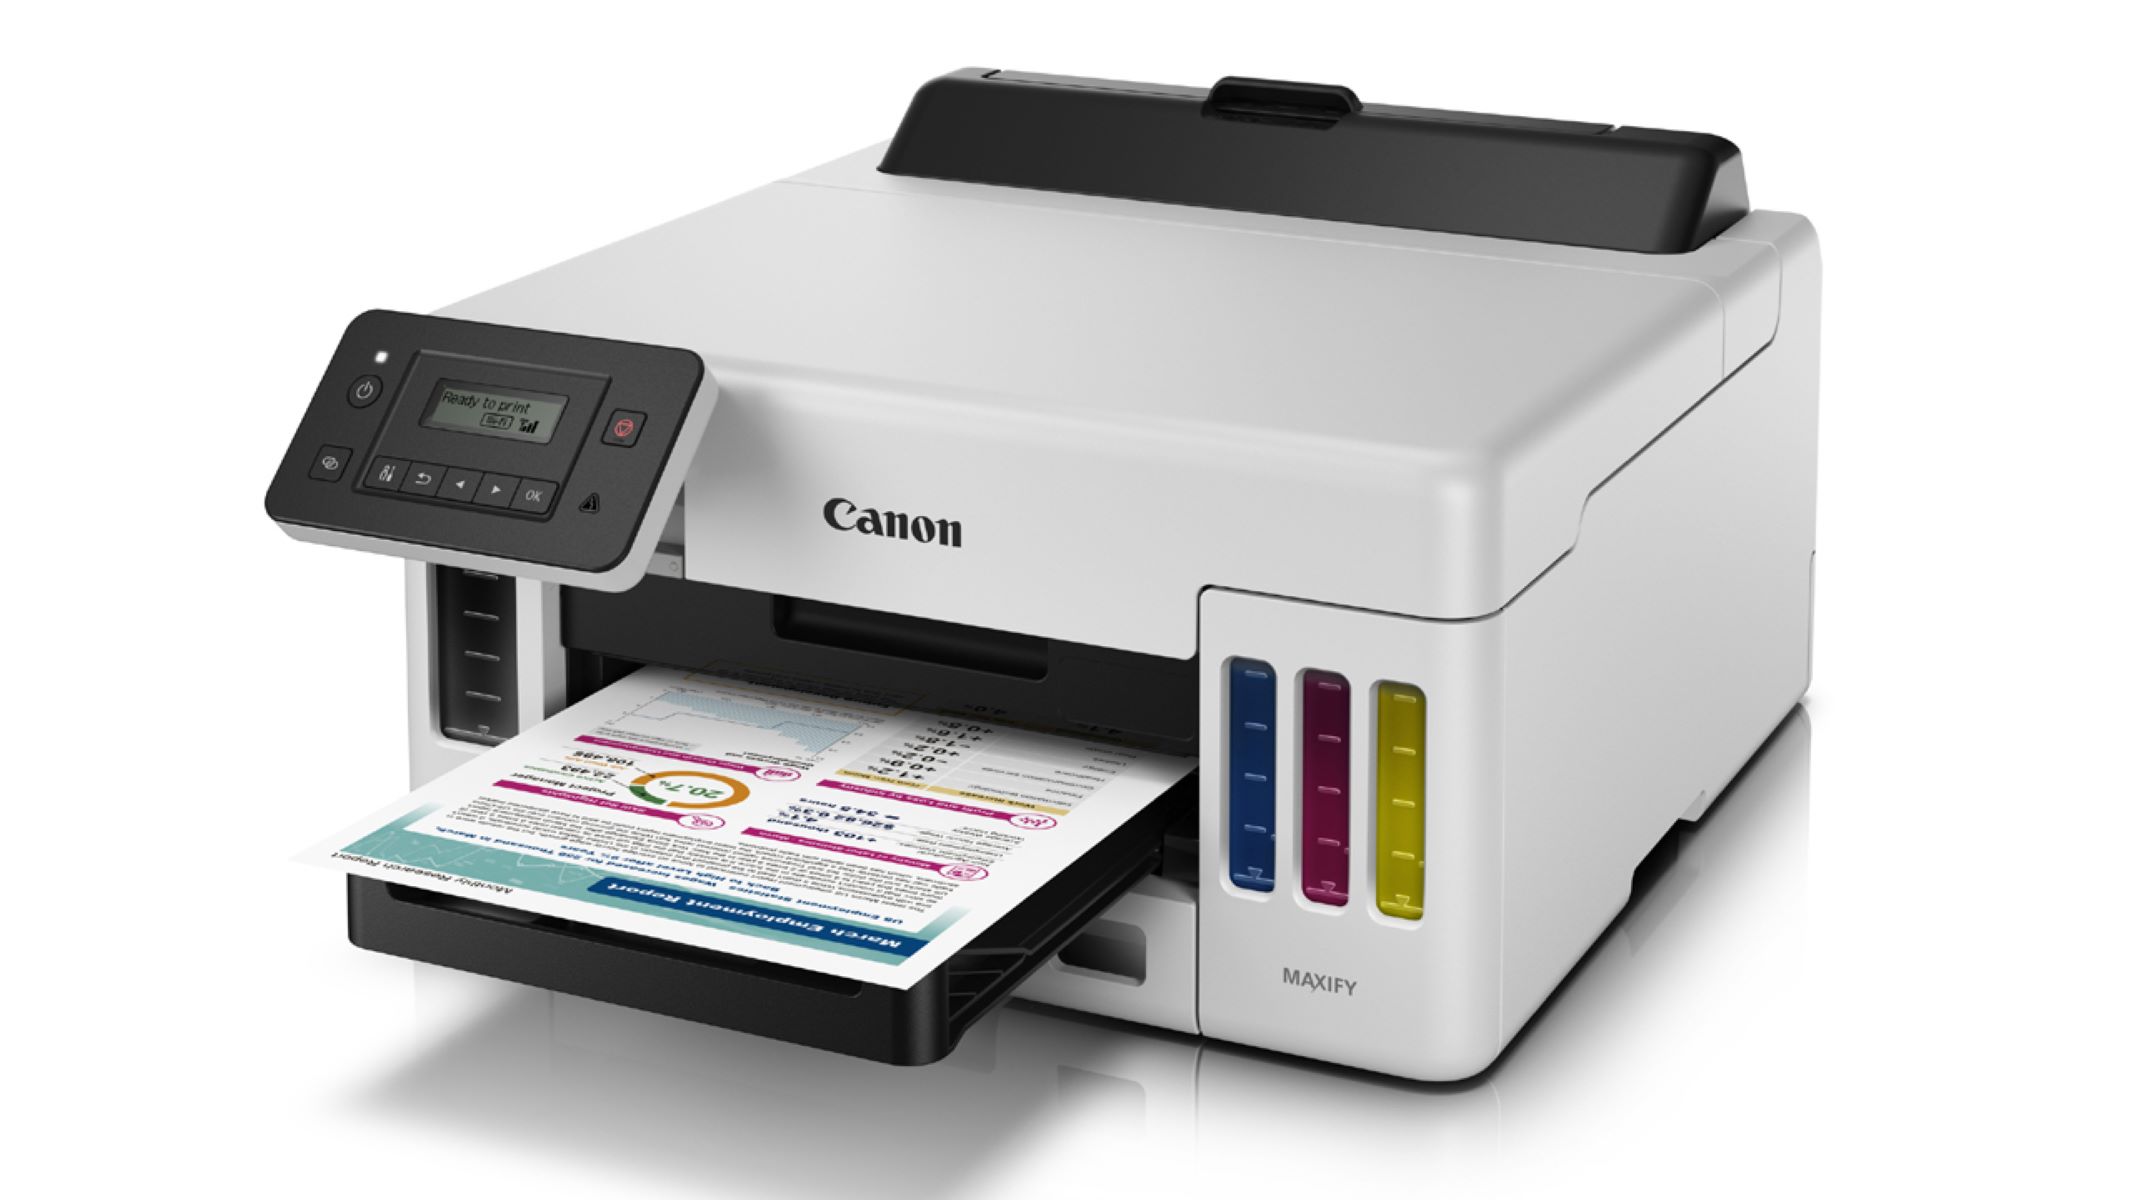
Begin by loading a few sheets of plain paper into the printer’s input tray, ensuring that the paper is neatly aligned and free from any folds or creases. Once the paper is loaded, initiate the test print process through your printer’s control panel or the accompanying software on your computer.
As the test print begins, observe the printer in action, paying close attention to the quality and clarity of the printed output. Take note of any irregularities, such as streaks, smudges, or color inconsistencies, as these may indicate potential issues with the ink installation or printer functionality.
Upon completion of the test print, carefully examine the printed output, evaluating its overall quality and ensuring that it meets your expectations for vibrant colors and sharp details. If the test print exhibits any anomalies, consider running a cleaning or alignment procedure as recommended by the printer’s manufacturer to address any potential issues.
By conducting a test print, you can confidently validate the successful installation of the ink cartridges and the readiness of your Canon Pixma printer to deliver exceptional print results. This final step provides assurance that your printer is poised to meet your printing needs with precision and excellence.
Conclusion
Congratulations! By following the comprehensive guide on how to put ink in your Canon Pixma printer, you have successfully completed the essential steps to ensure optimal printing performance. From gathering the necessary supplies to running a test print, each stage of the ink installation process plays a crucial role in preparing your printer to deliver exceptional print quality.
With the ink cartridges securely installed and the ink cartridge compartment closed, your Canon Pixma printer is poised to produce vibrant and crisp documents and images with precision and clarity. The meticulous attention to detail throughout the installation process reflects your commitment to achieving outstanding printing results.
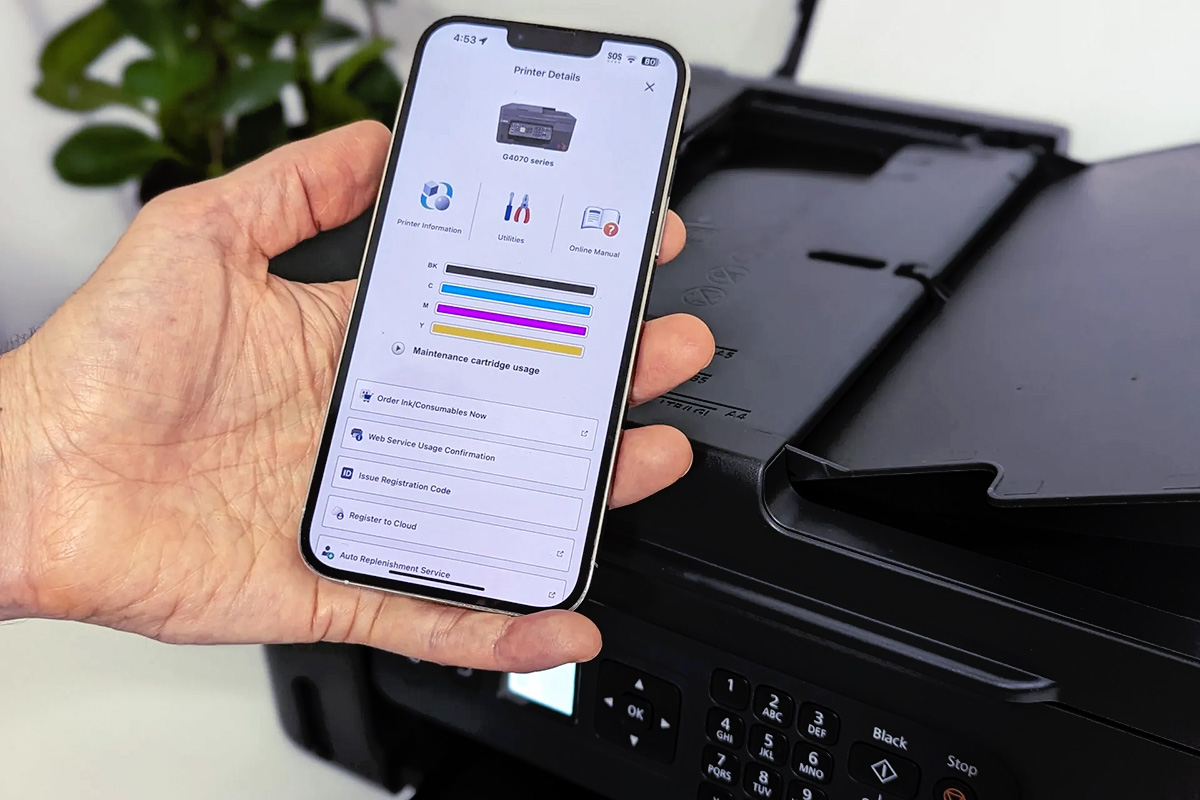
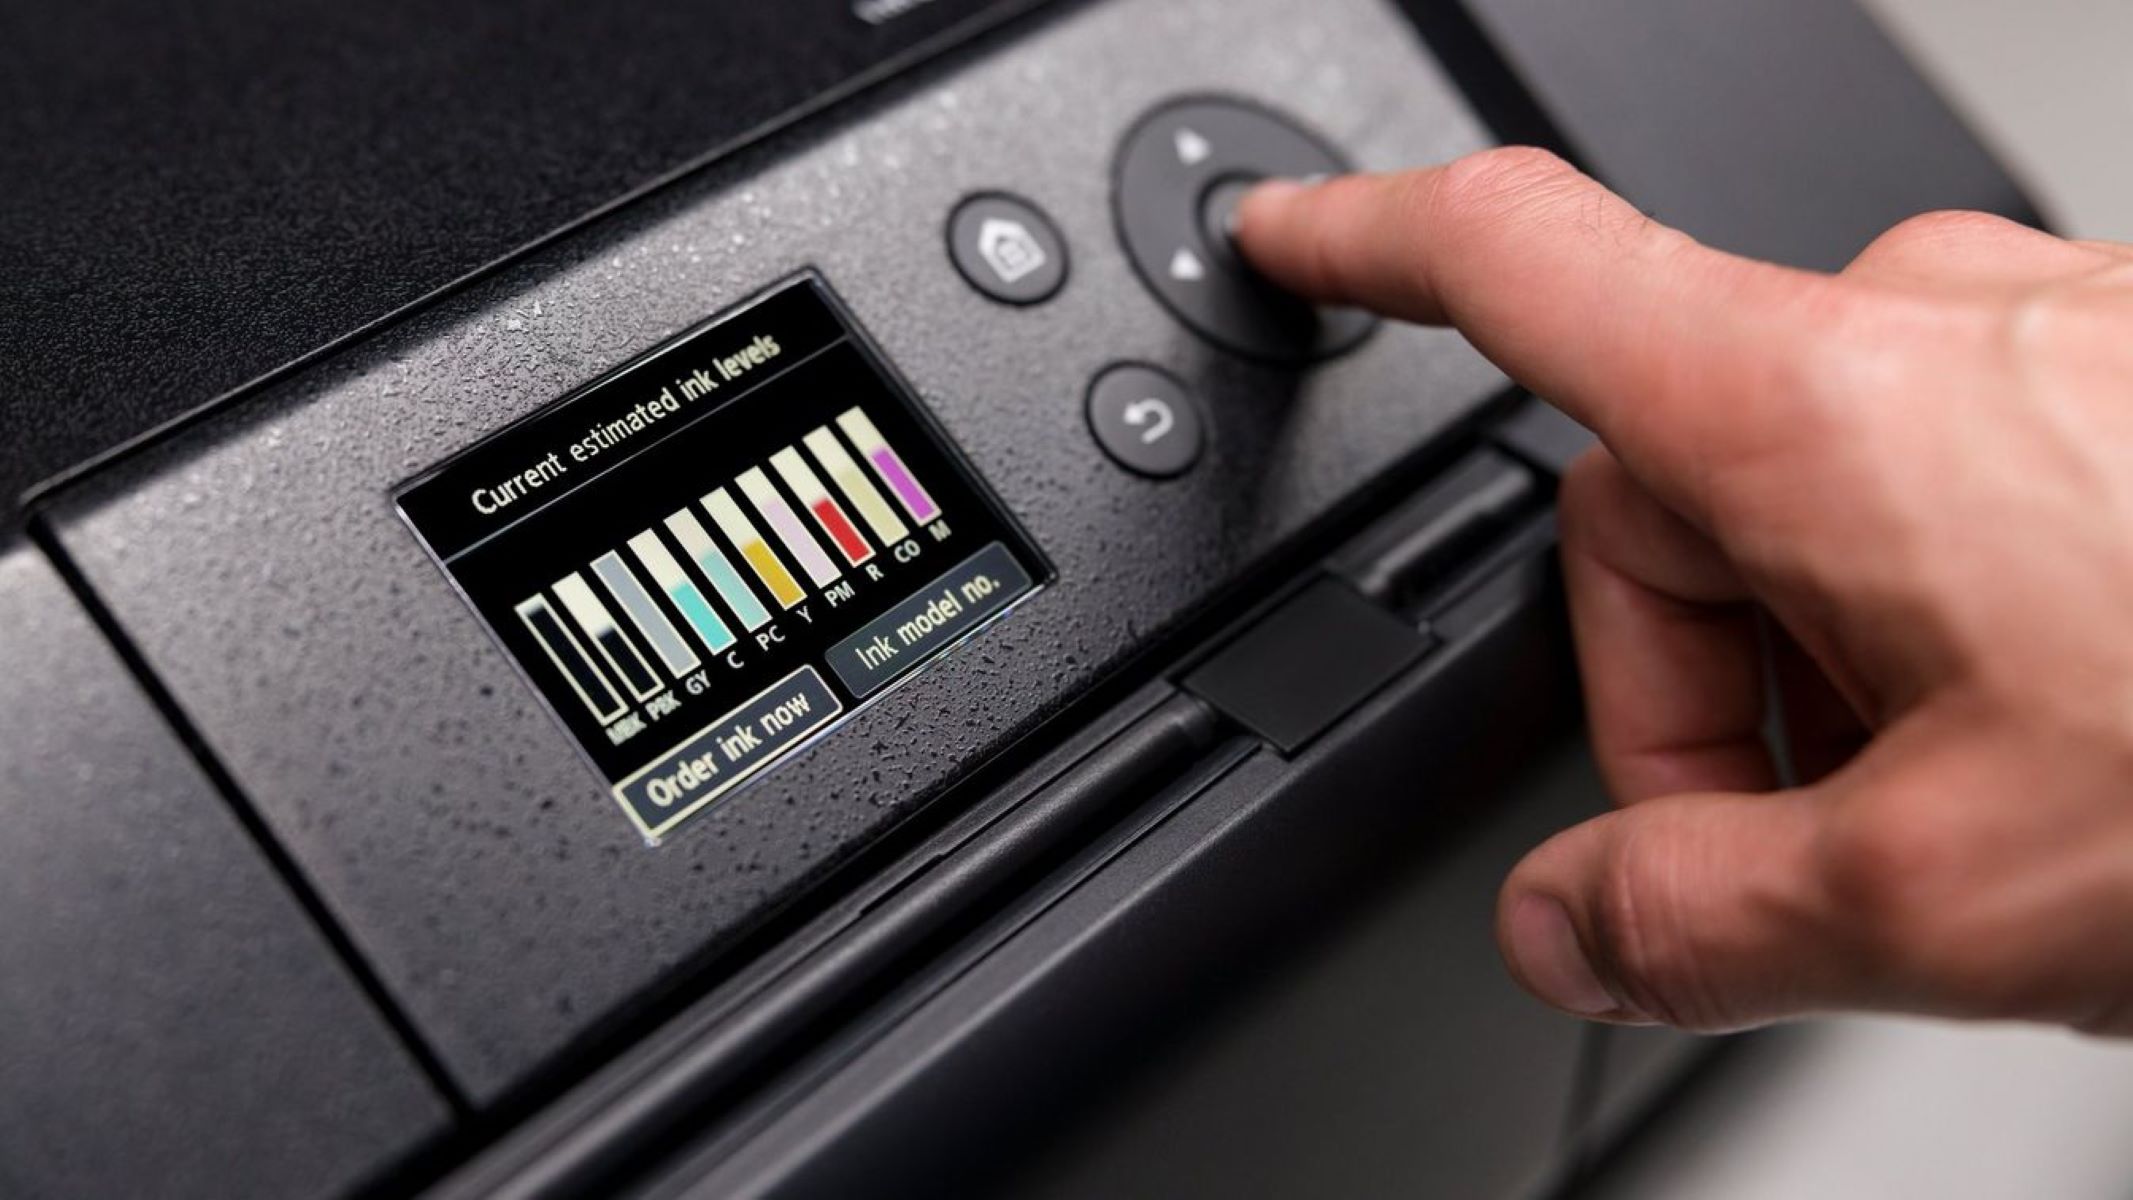
As you embark on your printing journey with your Canon Pixma printer, remember to monitor the ink levels regularly and replenish the cartridges as needed to maintain uninterrupted printing operations. Additionally, continue to explore the diverse features and capabilities of your printer to unlock its full potential and expand your creative possibilities.
By mastering the art of ink installation and printer maintenance, you are empowered to unleash your creativity and bring your ideas to life through the power of high-quality printing. Embrace the seamless printing experience facilitated by your Canon Pixma printer, and let your imagination soar as you produce captivating prints that leave a lasting impression.
Thank you for taking the time to embark on this ink installation journey with your Canon Pixma printer. May your printing endeavors be filled with brilliance, precision, and boundless creativity!
Now that you've mastered refilling ink in your Canon Pixma, why not tackle setting up the entire device? Our guide on Canon Printer Setup offers clear, easy-to-follow instructions to get you printing in no time. Whether you're looking to print documents, photos, or creative projects, understanding the setup process ensures seamless operation from your Canon printer. Don't miss out on making your home office more efficient and equipped for any task!
Frequently Asked Questions about How To Put Ink In A Canon Pixma Printer
Was this page helpful?
At Storables.com, we guarantee accurate and reliable information. Our content, validated by Expert Board Contributors, is crafted following stringent Editorial Policies. We're committed to providing you with well-researched, expert-backed insights for all your informational needs.
0 thoughts on “How To Put Ink In A Canon Pixma Printer”