Home>Technology>Smart Home Devices>How To Reset A HP Printer To Factory Settings
Smart Home Devices
How To Reset A HP Printer To Factory Settings
Modified: August 18, 2024
Learn how to reset your HP printer to its factory settings for optimal performance and troubleshoot issues. Get your smart home devices back up and running smoothly with these simple steps.
(Many of the links in this article redirect to a specific reviewed product. Your purchase of these products through affiliate links helps to generate commission for Storables.com, at no extra cost. Learn more)
Introduction
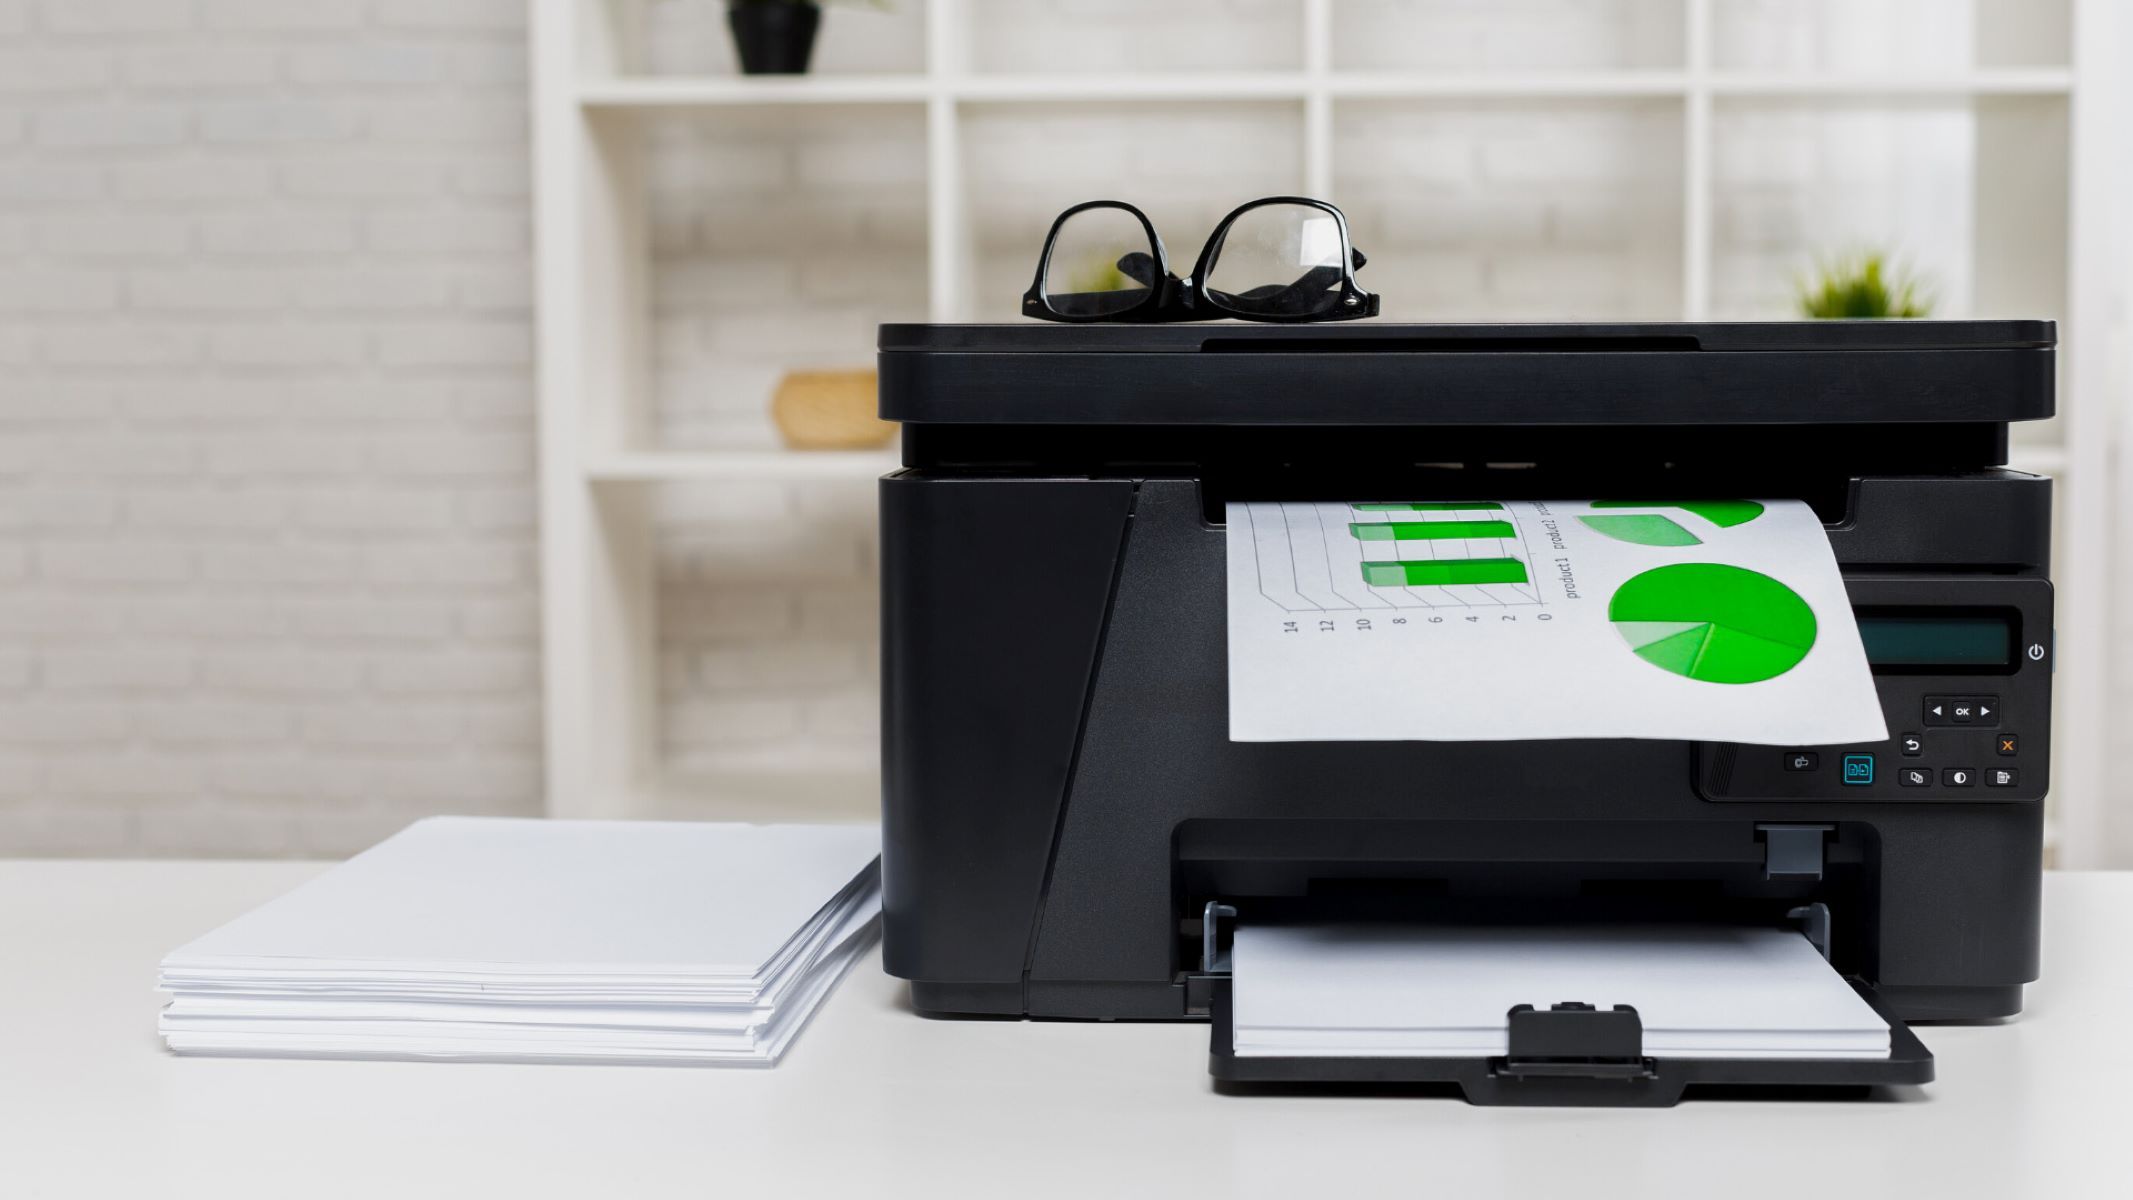
In the fast-paced digital age, printers have become indispensable tools for both personal and professional use. Hewlett-Packard (HP) printers, known for their reliability and advanced features, are favored by countless users worldwide. However, like any electronic device, HP printers may encounter issues that require a reset to factory settings. This comprehensive guide will walk you through the step-by-step process of resetting your HP printer, ensuring it returns to its original state and functions optimally.
Whether you're facing persistent error messages, connectivity problems, or performance issues, a factory reset can often resolve these issues and restore your printer to peak efficiency. By following the instructions provided in this article, you'll gain the knowledge and confidence to perform a successful reset on your HP printer, saving you time and frustration.
Resetting your HP printer to factory settings can be a straightforward solution to a range of common problems, allowing you to enjoy seamless printing experiences once again. Let's delve into the essential steps required to reset your HP printer and get it back on track.
Key Takeaways:
- Resetting your HP printer to factory settings can resolve common issues like error messages and connectivity problems, ensuring seamless printing experiences.
- After resetting, follow the setup process to configure your HP printer for optimal performance, including wireless connectivity and driver installation.
Read more: How To Factory Reset An Alexa
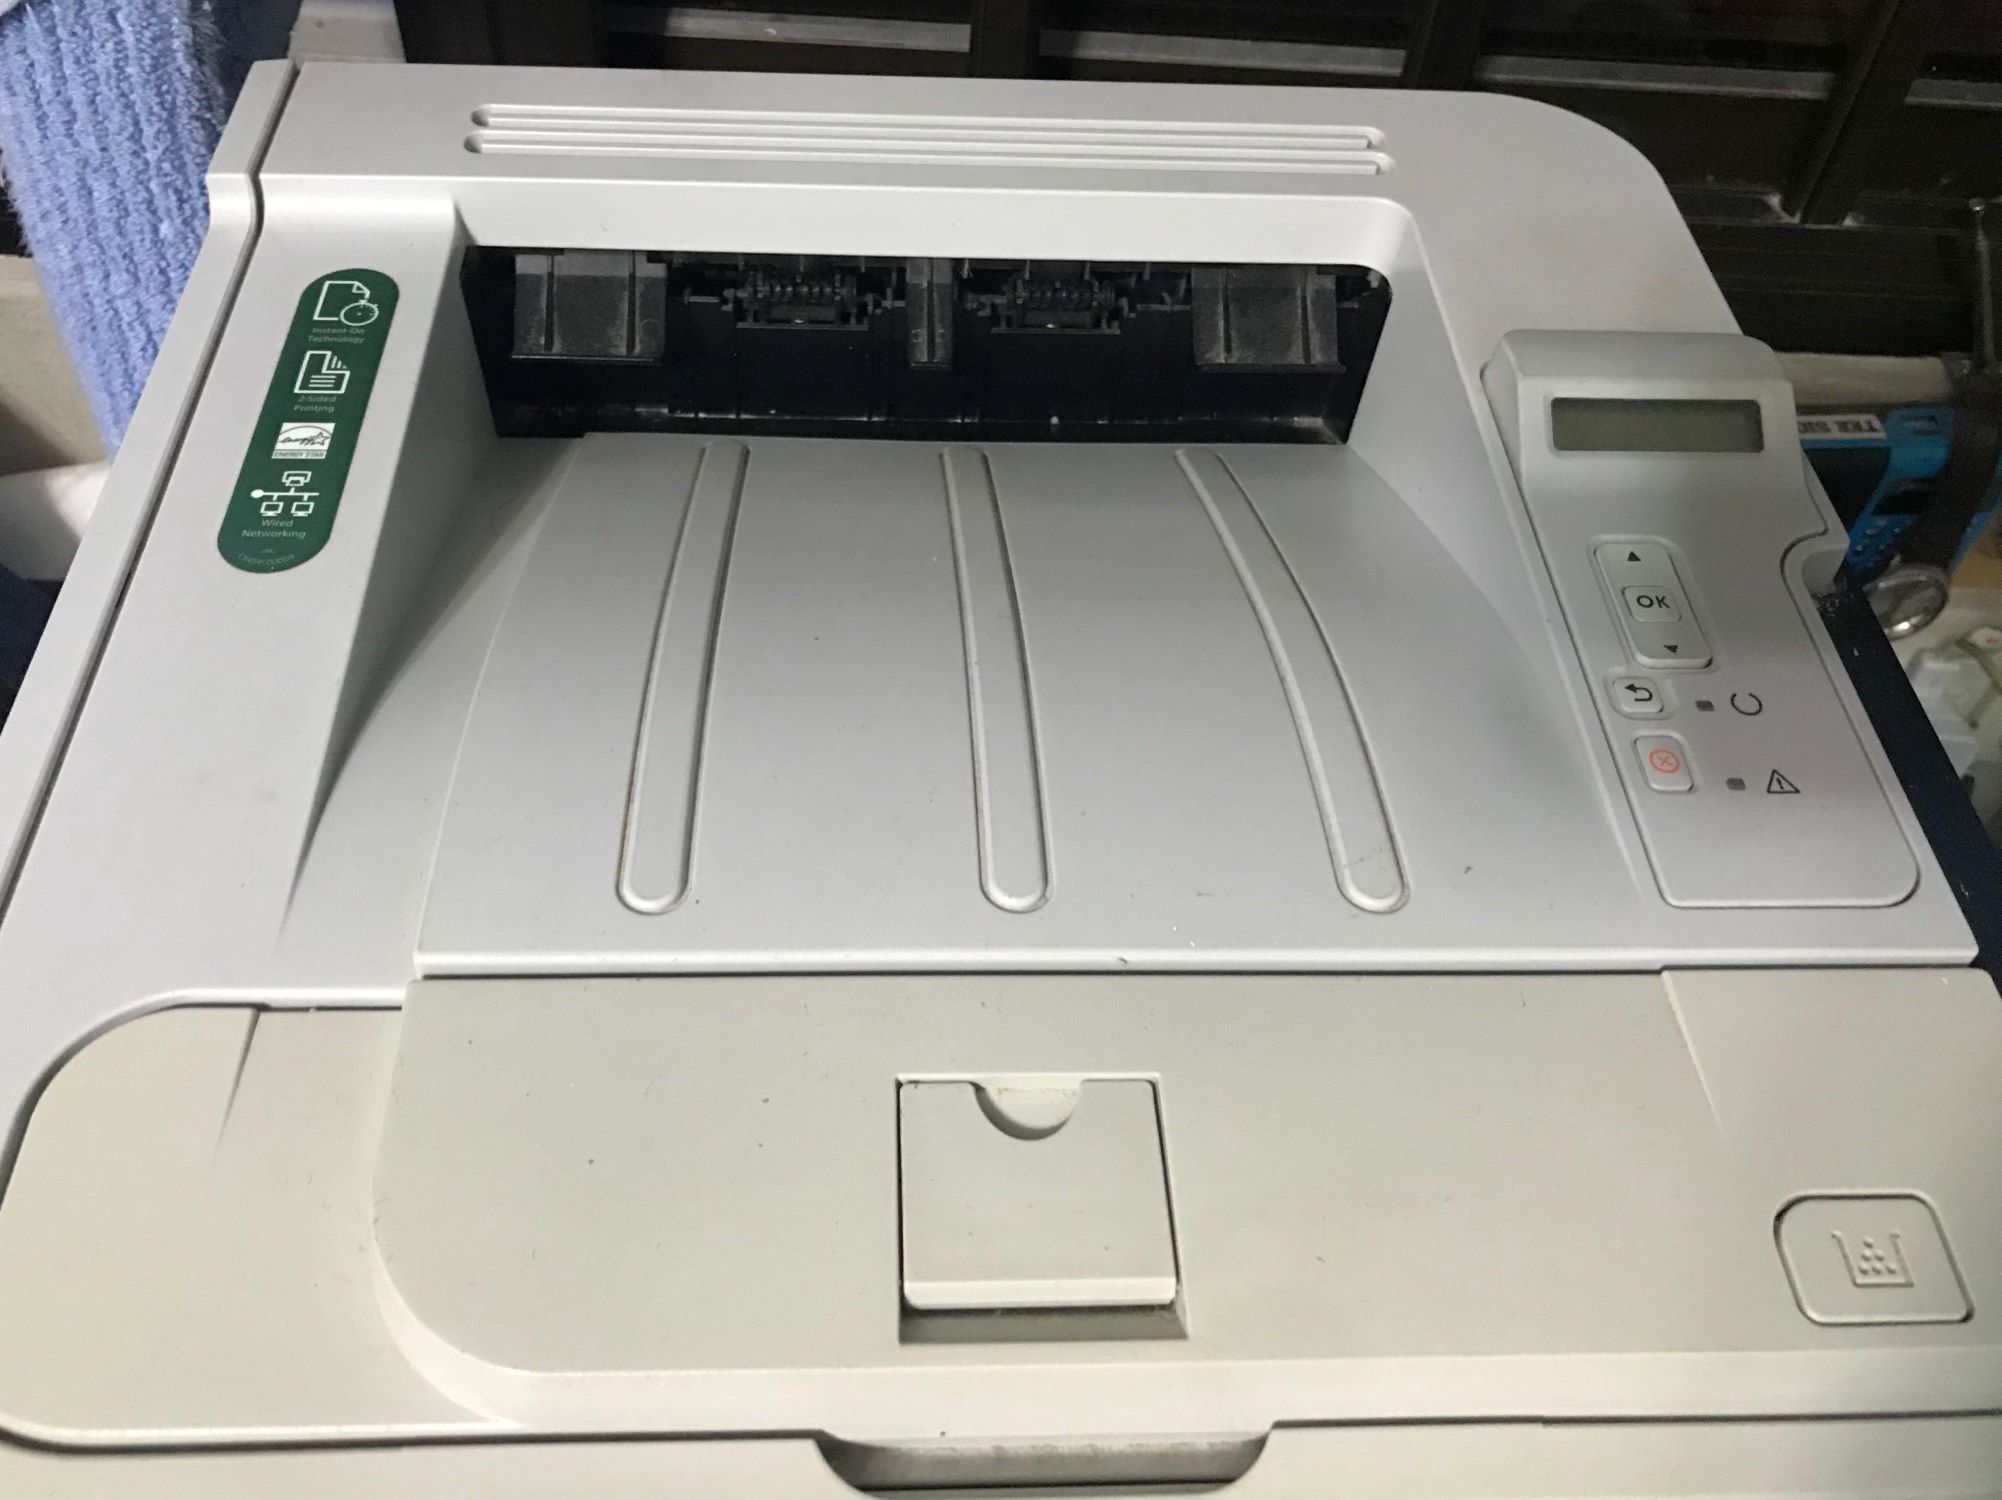
Step 1: Power off the Printer
Before initiating the reset process, it’s crucial to power off your HP printer properly. This step ensures that the printer is in a stable state and ready for the subsequent reset procedure.
To power off your HP printer, follow these simple steps:
- Locate the power button on your HP printer. It is typically positioned on the front panel or top surface of the printer for easy access.
- Press and hold the power button for a few seconds until the printer’s display, if applicable, turns off, indicating that the printer is shutting down.
- Once the display is off, release the power button and allow the printer to sit idle for a few minutes to ensure that it has completely powered down.
- Unplug the power cord from the electrical outlet or the power strip to fully disconnect the printer from the power source. This step is essential to guarantee that the printer is completely powered off and ready for the reset process.
By diligently following these steps to power off your HP printer, you’ll ensure that the reset procedure can be carried out smoothly and effectively. Properly shutting down the printer sets the stage for the subsequent steps, putting the device in the optimal state for the reset to factory settings.
Now that your HP printer is powered off, you’re ready to proceed with the next step in the reset process, which involves executing the reset itself. This critical step will restore the printer to its original factory settings, addressing a variety of potential issues and paving the way for seamless printing performance.
Step 2: Reset the Printer
With your HP printer powered off, it’s time to delve into the process of resetting the device to its factory settings. This step is pivotal in addressing persistent issues and restoring the printer to its original state, free from any lingering errors or performance hiccups.
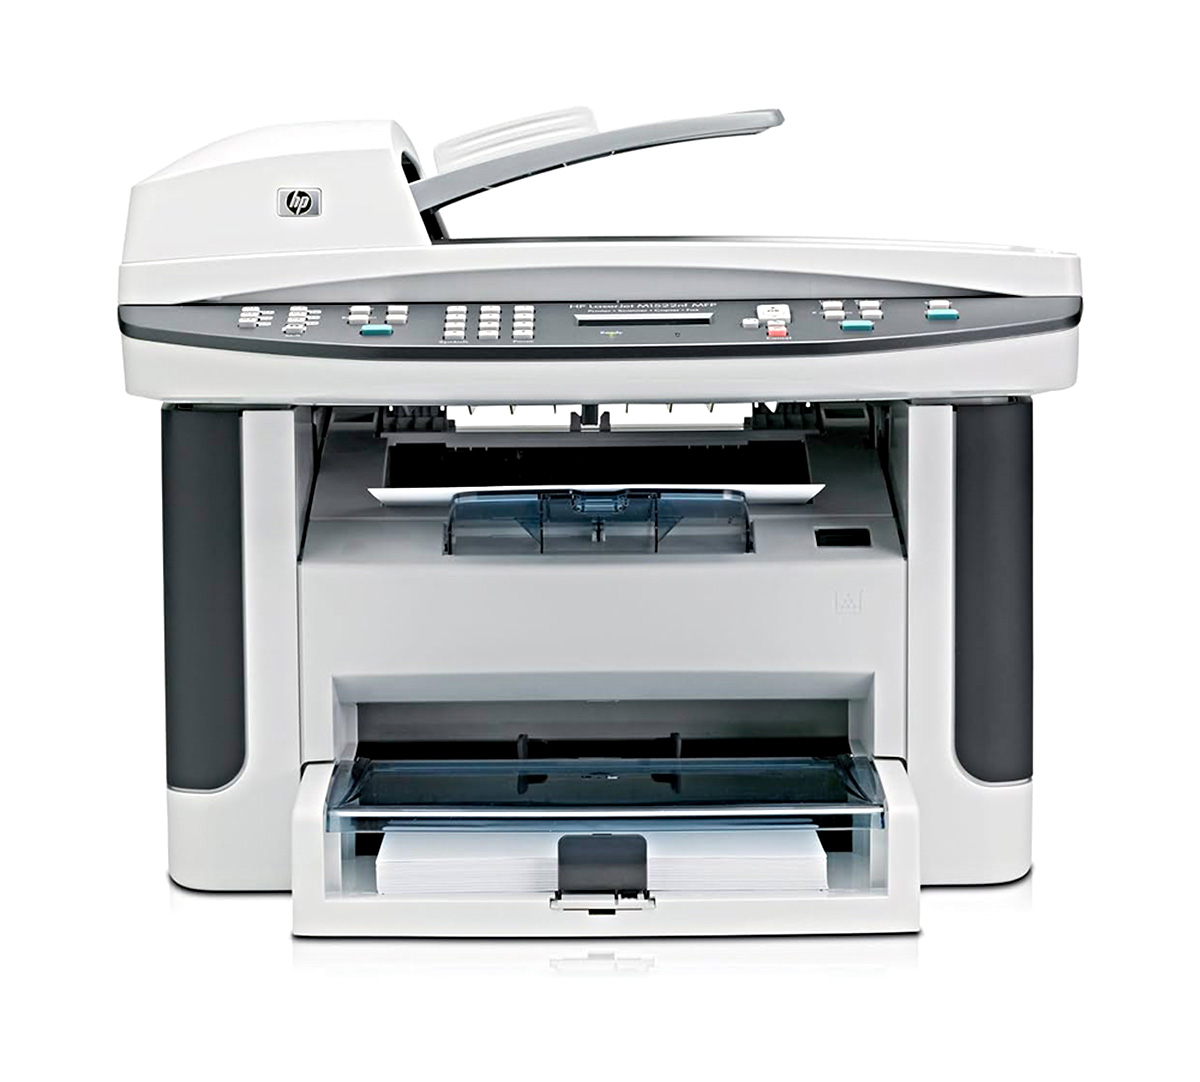
To reset your HP printer, follow the specific instructions provided in the printer’s user manual. While the exact steps may vary based on the model and series of your HP printer, the following general guidelines typically apply:
- Locate the control panel or display screen on your HP printer. This is where you’ll access the menu and settings required to initiate the reset process.
- Power on the printer by plugging the power cord back into the electrical outlet or power strip. Ensure that the printer is connected to a stable power source before proceeding.
- Access the printer’s menu or settings using the control panel or display screen. Navigate to the “Settings” or “Tools” menu, where you’ll find the option to reset the printer to its factory defaults.
- Follow the on-screen prompts or consult the user manual to locate the specific reset option. Depending on the model, you may be required to enter a confirmation code or password to initiate the reset process.
- Once you’ve located the reset option, proceed with initiating the reset. The printer will begin the reset process, reverting all settings and configurations to their original factory defaults.
- Allow the printer to complete the reset process, which may take a few minutes. During this time, the printer will restart and configure itself based on the factory settings.
By carefully following these steps and any model-specific instructions provided in the user manual, you’ll successfully reset your HP printer to its factory settings. This comprehensive reset process is designed to address a wide range of issues and ensure that your printer operates at peak performance, free from any lingering issues or errors.
Now that the reset process is complete, it’s time to move on to the next step, which involves setting up your HP printer to resume normal operation. This final step will enable you to configure the printer according to your preferences and establish seamless connectivity for your printing needs.
To reset a HP printer to factory settings, go to the printer’s control panel, select “Restore Defaults” or “Factory Reset” option, and follow the on-screen instructions. This will erase all custom settings and return the printer to its original state.
Step 3: Set up the Printer
After successfully resetting your HP printer to its factory settings, the next crucial step involves setting up the printer to resume normal operation. This step allows you to configure the printer according to your preferences, establish connectivity, and ensure that it is ready to fulfill your printing needs effectively.
Follow these essential steps to set up your HP printer after the factory reset:
- Power on the printer by pressing the power button and allowing it to boot up. The printer will initialize and prepare for the setup process.
- Access the printer’s menu or settings using the control panel or display screen. Navigate to the “Wireless Setup” or “Network Setup” option to configure the printer’s connectivity settings.
- Follow the on-screen prompts to connect the printer to your wireless network. Enter the network name (SSID) and password when prompted to establish a secure connection.
- Once the printer is successfully connected to your wireless network, proceed to install the printer drivers on your computer or mobile device. Visit the official HP website or use the installation CD provided with the printer to download and install the necessary drivers.
- Follow the installation wizard to complete the driver installation, ensuring that the printer is recognized and ready for use on your device.
- Perform a test print to verify that the printer is functioning correctly. Print a test page or document to confirm that the printer is operational and producing high-quality output.
- Adjust any additional settings or preferences, such as paper size, print quality, and advanced features, to customize the printer according to your specific requirements.
By diligently following these steps, you’ll successfully set up your HP printer after the factory reset, ensuring that it is ready to deliver exceptional printing performance. Establishing seamless connectivity and configuring the printer to your preferences will enable you to leverage its full capabilities and enjoy hassle-free printing experiences.
With the printer fully set up and configured, you can now confidently resume using your HP printer for a wide range of printing tasks, whether it’s producing documents, photos, or other materials. The meticulous setup process guarantees that your printer is optimized for performance and ready to meet your diverse printing needs.
Conclusion
Resetting an HP printer to its factory settings is a valuable troubleshooting technique that can effectively address a variety of issues, from persistent errors to connectivity problems. By following the comprehensive steps outlined in this guide, you’ve gained the knowledge and confidence to perform a successful reset on your HP printer, ensuring that it returns to its original state and functions optimally.
Properly powering off the printer, executing the reset process, and setting up the printer post-reset are essential steps that collectively contribute to restoring your HP printer to peak efficiency. These meticulous procedures enable you to address common issues and ensure that your printer operates seamlessly, delivering high-quality prints and reliable performance.
Remember to consult your printer’s user manual for model-specific instructions and guidelines tailored to your HP printer’s series and features. Adhering to the manufacturer’s recommendations will help you navigate the reset process with precision and achieve optimal results.
With your HP printer reset and set up, you can now confidently harness its capabilities for a wide range of printing tasks, whether it’s producing documents, photos, or other materials. The seamless setup process guarantees that your printer is optimized for performance and ready to meet your diverse printing needs.
By mastering the art of resetting and setting up your HP printer, you’ve empowered yourself to troubleshoot and maintain your printer with ease, ensuring that it continues to serve you reliably in the long run.
With these valuable insights and practical know-how, you’re well-equipped to navigate the process of resetting and setting up your HP printer, unlocking its full potential and enjoying uninterrupted printing experiences.
Armed with this knowledge, you can confidently address any future challenges that may arise, knowing that you have the expertise to reset and set up your HP printer with proficiency and precision.
Frequently Asked Questions about How To Reset A HP Printer To Factory Settings
Was this page helpful?
At Storables.com, we guarantee accurate and reliable information. Our content, validated by Expert Board Contributors, is crafted following stringent Editorial Policies. We're committed to providing you with well-researched, expert-backed insights for all your informational needs.


0 thoughts on “How To Reset A HP Printer To Factory Settings”