Home>Technology>Smart Home Devices>How To Set Up HP Envy 7640 Printer
Smart Home Devices
How To Set Up HP Envy 7640 Printer
Modified: October 19, 2024
Learn how to set up your HP Envy 7640 printer for seamless integration with your smart home devices. Follow our step-by-step guide for easy installation.
(Many of the links in this article redirect to a specific reviewed product. Your purchase of these products through affiliate links helps to generate commission for Storables.com, at no extra cost. Learn more)
Introduction
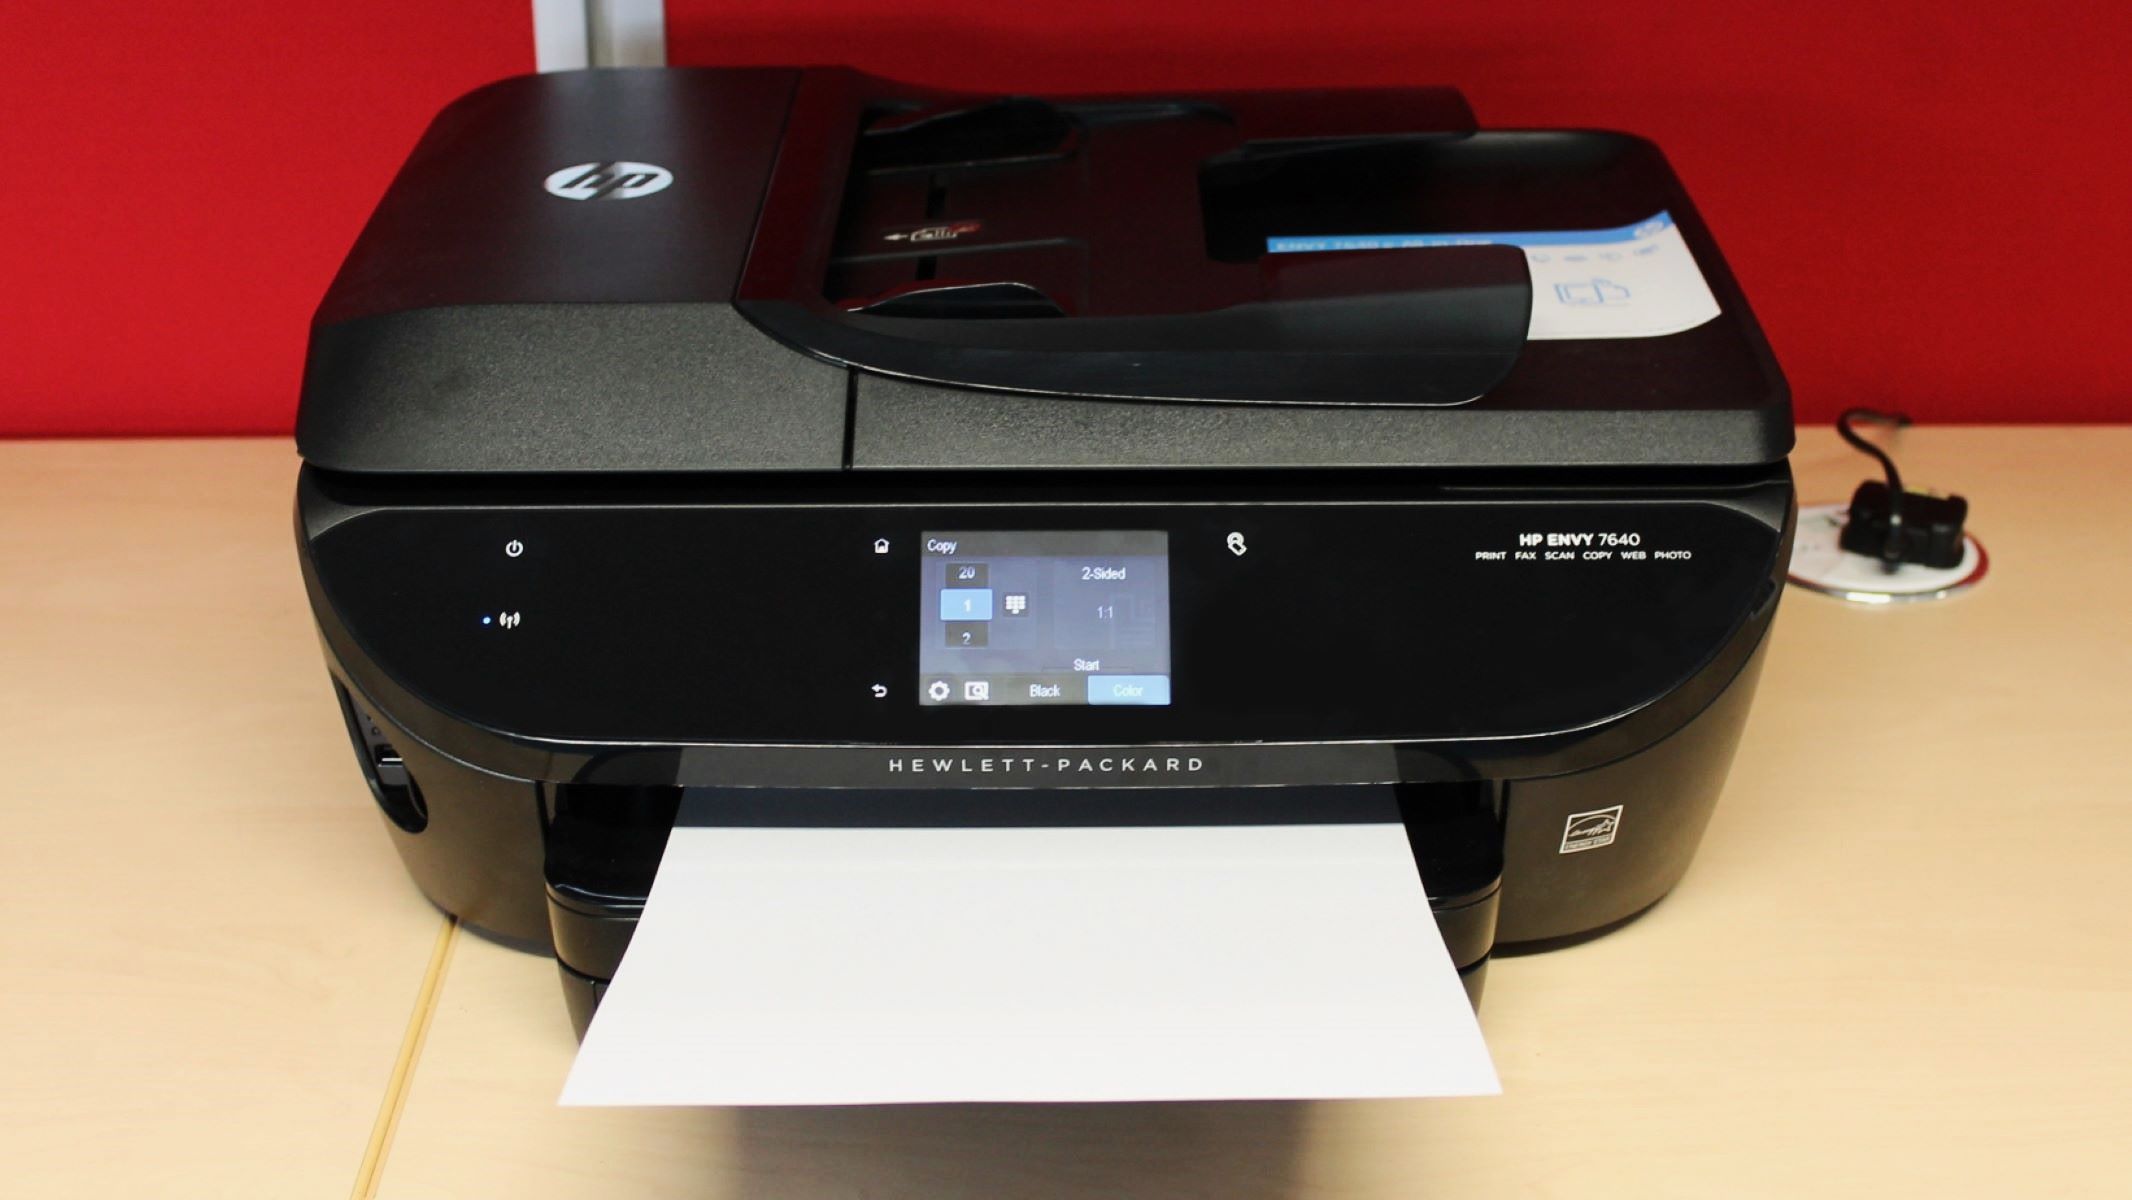
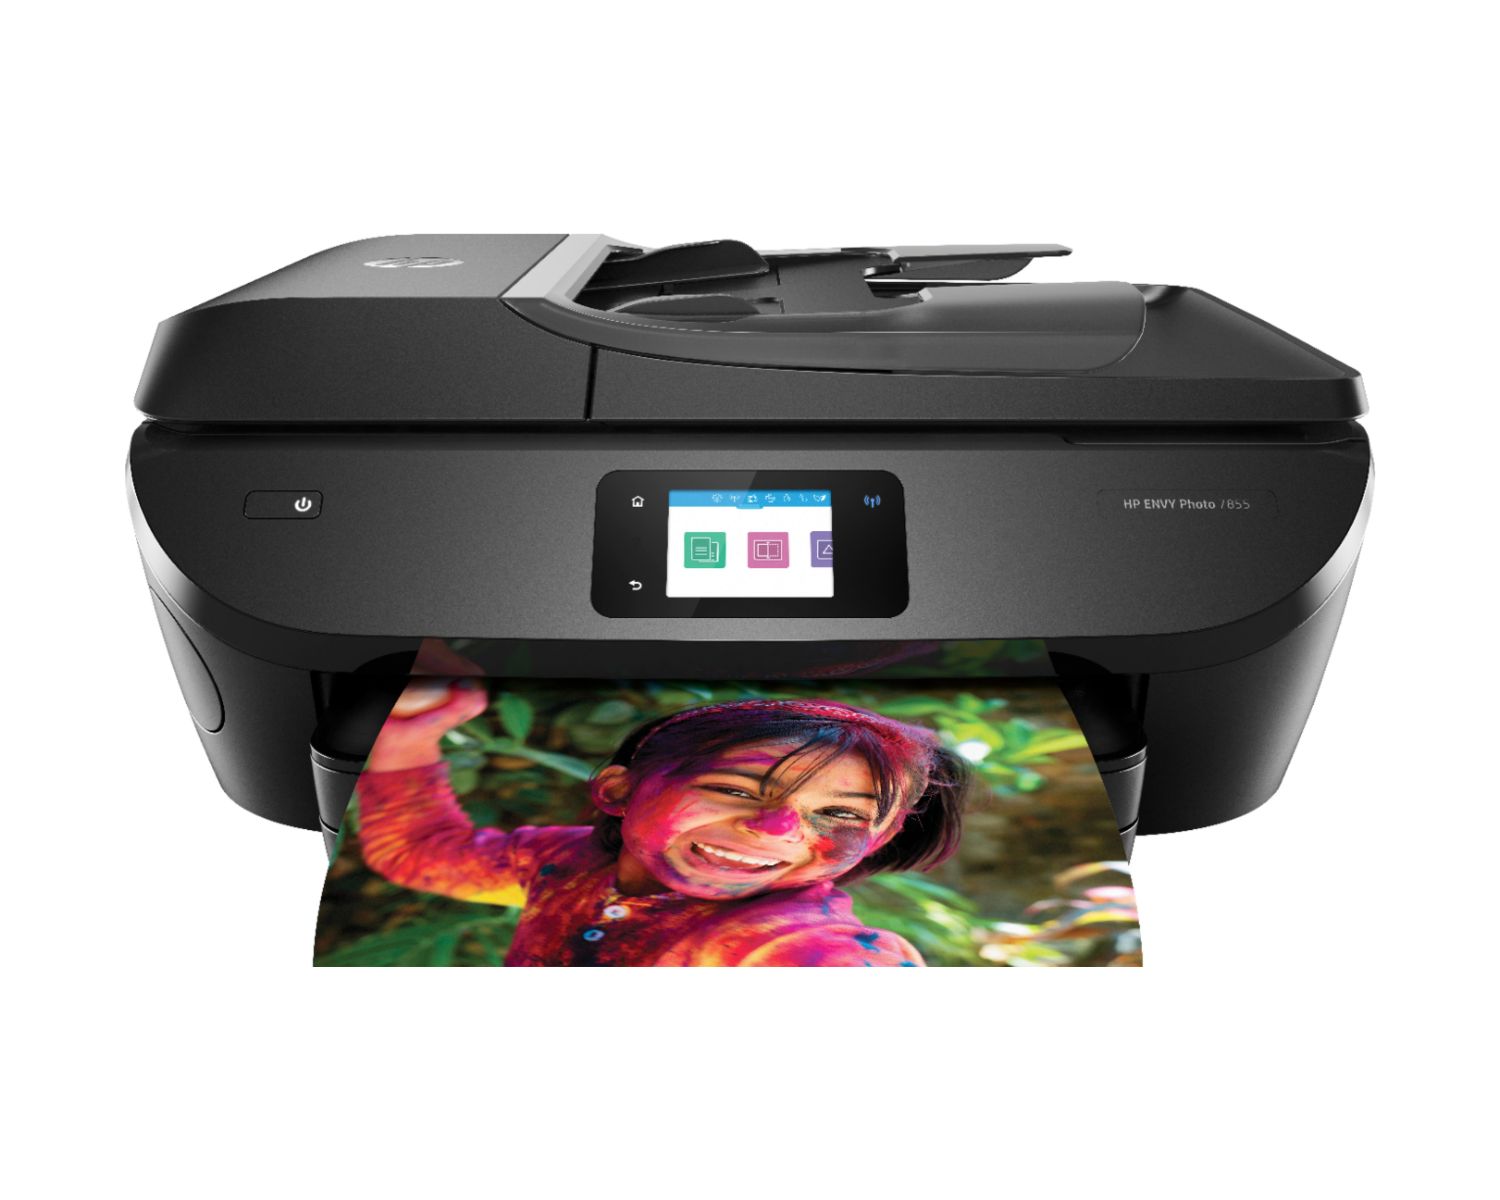
Setting up the HP Envy 7640 printer is a straightforward process that can be accomplished by following a few simple steps. This all-in-one printer offers a range of features, including wireless printing, mobile printing, and high-quality photo printing, making it a versatile addition to any home or office. By taking the time to properly unbox, set up, and connect the printer, users can ensure a smooth and efficient printing experience.
In this guide, we will walk through the process of setting up the HP Envy 7640 printer, from unboxing to troubleshooting common setup issues. Whether you are a first-time printer owner or simply upgrading to this model, this comprehensive tutorial will provide the information you need to get your printer up and running in no time.
Let's dive into the unboxing and setup process to ensure that you can start using your HP Envy 7640 printer with ease and confidence.
Key Takeaways:
- Setting up the HP Envy 7640 printer is a simple process involving unboxing, connecting to a power source, installing ink cartridges, loading paper, and connecting to a wireless network. Attention to detail ensures optimal print results and wireless convenience.
- Troubleshooting common setup issues, such as wireless connectivity, print quality, paper jams, and software installation, ensures a smooth and efficient setup experience. Thorough testing confirms the printer’s operational readiness for reliable performance and high-quality prints.
Read more: How To Load Paper In HP Envy Printer
Unboxing and Setting Up the Printer
When you first receive your HP Envy 7640 printer, it’s essential to handle the unboxing process with care to ensure that all components are intact and undamaged. Begin by locating a clear, spacious area to unbox the printer, ensuring that there is sufficient room to lay out the included accessories and components. Carefully remove the printer from its packaging, taking care not to damage any of the components, and place it on a flat, stable surface.
After unpacking the printer, you will find the following components:
- HP Envy 7640 printer
- Power cord
- Setup ink cartridges
- Setup instructions
- Installation CD (for software installation)
Once the printer is unboxed, you can begin the setup process by connecting the power cord to the printer and a power source. Ensure that the power source is easily accessible and that the printer is placed close enough to reach it with the power cord. Next, power on the printer by pressing the power button, typically located on the control panel.
As the printer powers on, it may prompt you to select your preferred language, country, and set the date and time. Follow the on-screen instructions to complete these initial setup steps. Once the printer is powered on and the initial settings are configured, you can proceed to the next steps, including installing the ink cartridges and loading paper.
With the printer now unboxed and powered on, the next steps in the setup process involve installing the ink cartridges and loading paper. These steps are crucial to ensure that the printer is ready for use and can produce high-quality prints. In the following sections, we will delve into the specifics of installing ink cartridges, loading paper, and connecting the printer to a power source.
Installing Ink Cartridges
Installing ink cartridges is a vital step in setting up the HP Envy 7640 printer. The printer uses individual ink cartridges for each color, ensuring efficient use of ink and high-quality prints. To install the ink cartridges, follow these simple steps:
- Open the ink cartridge access door, typically located on the front of the printer.
- Wait for the ink cartridge carriage to move to the center of the printer and become idle.
- Remove the new ink cartridge from its packaging, being careful not to touch the copper-colored contacts or the ink nozzles.
- Hold the ink cartridge by its sides, with the contacts facing the printer, and then gently slide it into the corresponding slot until it clicks into place.
- If replacing an existing ink cartridge, remove the old cartridge by pressing down on it to release it, and then gently pull it out of the slot.
- Repeat the process for each color, ensuring that all ink cartridges are securely installed.
- Close the ink cartridge access door, and wait for the printer to initialize and align the ink cartridges.
Once the ink cartridges are installed, the printer will typically run an alignment process to ensure optimal print quality. This process may involve printing an alignment page, which should be placed face down on the scanner glass for scanning. Follow the on-screen instructions to complete the alignment process, which may vary depending on the printer model and software version.
It’s important to use genuine HP ink cartridges to ensure the best performance and print quality from your HP Envy 7640 printer. Genuine HP ink cartridges are specifically designed to work with your printer and produce consistent, reliable results. Additionally, using non-HP ink cartridges may void the printer’s warranty and lead to potential print quality and reliability issues.
With the ink cartridges successfully installed, the next step in the setup process is to load paper into the printer’s input tray. This will ensure that the printer is ready to produce high-quality prints for a variety of documents and projects.
Loading Paper
Properly loading paper into the HP Envy 7640 printer is essential for achieving optimal print results. The printer is equipped with an input tray that can accommodate various paper sizes and types, making it versatile for a range of printing needs. Follow these steps to load paper into the printer:
- Locate the input tray, typically located at the bottom of the printer.
- Slide out the input tray and adjust the paper width guides to their outermost position.
- Load a stack of plain, white paper into the input tray. Ensure that the paper is free from tears, wrinkles, or curled edges, as these may cause printing errors.
- Adjust the paper width guides to fit snugly against the edges of the paper stack, ensuring that the stack is not too tight or too loose within the tray.
- Push the input tray back into the printer until it clicks into place.
Once the paper is loaded, the printer may prompt you to confirm the paper size and type. Follow the on-screen instructions to verify the paper settings, ensuring that they match the loaded paper. This step is crucial for preventing paper jams and ensuring accurate print results.
It’s important to use high-quality paper that is suitable for inkjet printing to achieve the best results with your HP Envy 7640 printer. Using paper that is specifically designed for inkjet printers can help prevent smearing, smudging, and ink absorption issues, resulting in crisp, vibrant prints for documents and photos.
With the ink cartridges installed and paper loaded, the next step in the setup process is to connect the printer to a power source and power it on. Once the printer is powered on, you can proceed to the installation of printer software, which is essential for accessing the printer’s full range of features and capabilities.
Connecting the Printer to a Power Source
Before proceeding with the setup of the HP Envy 7640 printer, it’s crucial to connect the printer to a power source. This step is essential for powering on the printer and initializing the setup process. Follow these simple steps to connect the printer to a power source:
- Locate the power cord that was included with the printer.
- Identify the power input port on the back of the printer, typically located near the bottom of the rear panel.
- Insert one end of the power cord into the power input port on the printer, ensuring a secure connection.
- Plug the other end of the power cord into a power outlet or surge protector. Ensure that the power source is easily accessible and that the printer is positioned close enough to reach it with the power cord.
- Turn on the power outlet or surge protector to supply power to the printer.
- Press the power button on the printer to turn it on. The printer will initialize and prepare for the next steps in the setup process.
Once the printer is powered on, it may prompt you to complete initial setup tasks, such as selecting the language, country, and setting the date and time. Follow the on-screen instructions to complete these initial settings, ensuring that the printer is configured according to your preferences.
By connecting the printer to a power source, you are taking a crucial step toward setting up the HP Envy 7640 printer for use. With the printer powered on and initialized, you can proceed to the installation of printer software, which will enable you to access the printer’s full range of features, including wireless printing, mobile printing, and more.
Next, we will delve into the installation of printer software, which is an essential step in maximizing the capabilities of the HP Envy 7640 printer and accessing its full range of features.
Read more: How To Install A HP Envy 4500 Printer
Installing Printer Software
Installing the printer software is a crucial step in setting up the HP Envy 7640 printer, as it enables you to access the printer’s full range of features and capabilities. The printer software includes drivers, applications, and utilities that allow you to print, scan, and manage the printer from your computer or mobile device. Follow these steps to install the printer software:
- Insert the installation CD that came with the printer into your computer’s CD/DVD drive. If your computer does not have a CD/DVD drive, you can download the software from the HP website.
- Follow the on-screen instructions to launch the printer software installation process. This may involve selecting the desired software components and agreeing to the terms and conditions of the software license.
- Connect the printer to your computer using a USB cable when prompted during the software installation process. This allows the computer to detect the printer and establish a connection for software installation.
- Complete the software installation process by following the on-screen instructions. This may include registering the printer, setting up wireless printing, and configuring additional features.
- Once the software installation is complete, restart your computer to ensure that the printer software is fully integrated and ready for use.
If you do not have the installation CD or prefer to download the software from the HP website, you can visit the HP Customer Support website, locate the HP Envy 7640 printer, and download the latest software and drivers for your specific operating system. This ensures that you have access to the most up-to-date printer software and drivers for optimal performance.
After installing the printer software, you can access the printer’s full range of features, including wireless printing, mobile printing, and scanning capabilities. The printer software provides a user-friendly interface for managing print tasks, adjusting settings, and accessing support resources to maximize your printing experience.
With the printer software successfully installed, the next step in the setup process is to connect the printer to a wireless network, enabling convenient wireless printing from multiple devices. We will explore the process of connecting the printer to a wireless network in the following section.
Connecting the Printer to a Wireless Network
Connecting the HP Envy 7640 printer to a wireless network enables convenient printing from multiple devices, including computers, laptops, smartphones, and tablets. This wireless connectivity allows for seamless printing without the need for direct physical connections, providing flexibility and convenience. Follow these steps to connect the printer to a wireless network:
- On the printer’s control panel, navigate to the wireless or network settings. This may involve pressing the wireless icon or accessing the setup menu, depending on the printer’s specific interface.
- Select the option to set up a new wireless connection or join an existing wireless network.
- Follow the on-screen instructions to search for available wireless networks and select your preferred network from the list. If prompted, enter the wireless network’s password to establish the connection.
- Once the printer is successfully connected to the wireless network, the wireless icon on the control panel will indicate a solid connection, and the printer will be ready for wireless printing.
After connecting the printer to a wireless network, you can verify the connection by printing a wireless network test report from the printer’s control panel. This report provides details about the wireless network connection, including the network name, signal strength, and IP address.
Wireless connectivity offers the flexibility to print from multiple devices within the same network, making it convenient for home and office environments. Additionally, the HP Envy 7640 printer supports mobile printing, allowing users to print from their smartphones and tablets using the HP ePrint app or other compatible mobile printing solutions.
With the printer successfully connected to a wireless network, you can enjoy the convenience of wireless printing and explore the printer’s full range of capabilities. The next step in the setup process is to test the printer by printing a sample document or photo to ensure that it is functioning properly.
Now that the printer is connected to a wireless network, we will proceed to the testing phase to confirm that the printer is ready for use and producing high-quality prints.
When setting up your HP Envy 7640 printer, make sure to connect it to a stable Wi-Fi network for seamless printing from multiple devices. Follow the on-screen instructions for a smooth installation process.
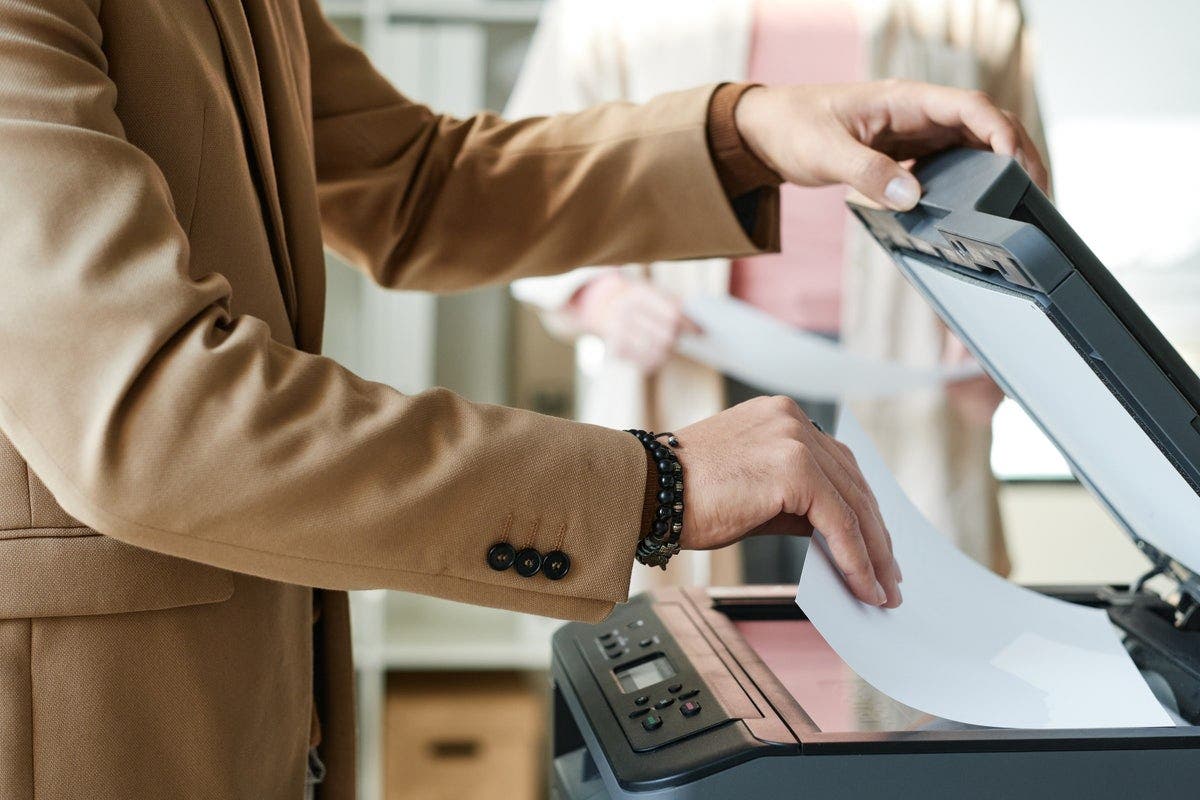
Testing the Printer
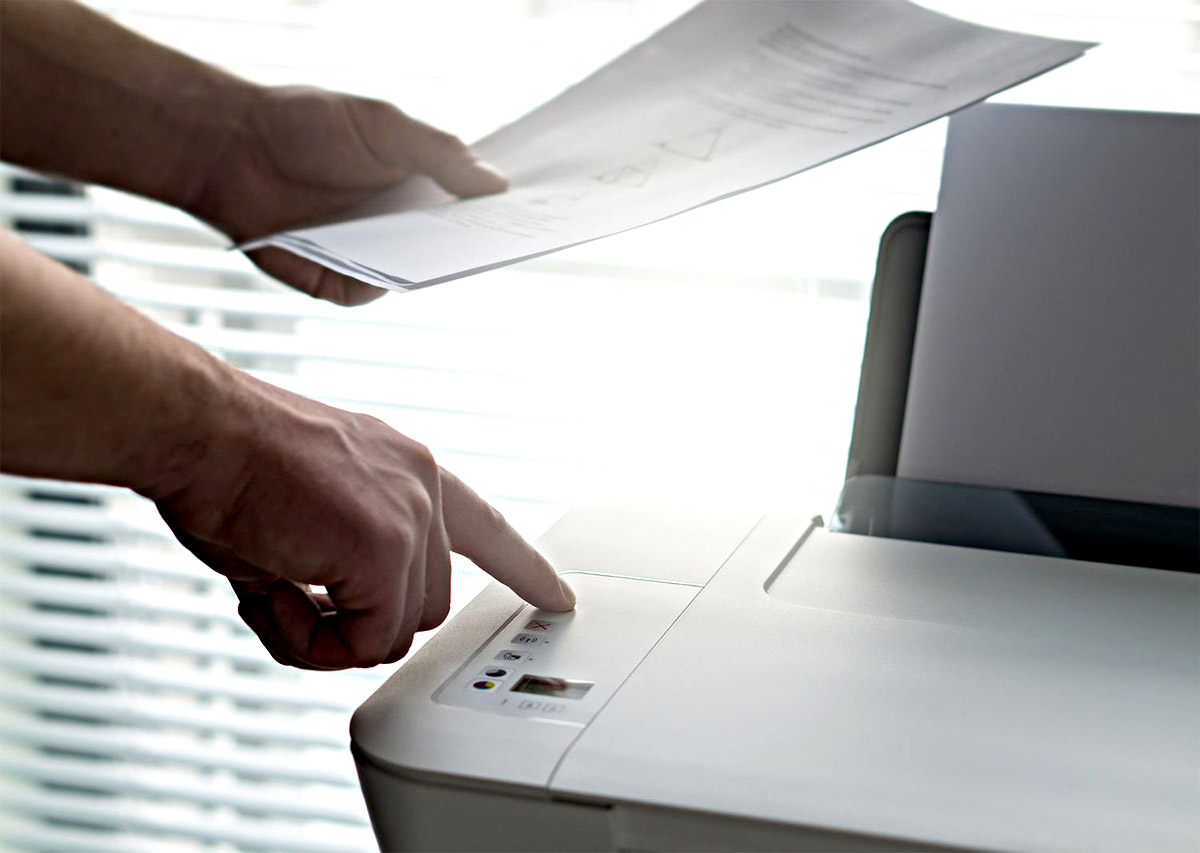
After completing the setup process for the HP Envy 7640 printer, it’s essential to perform a test print to ensure that the printer is functioning correctly and producing high-quality prints. Testing the printer allows you to verify the print output, assess the print quality, and confirm that the printer is ready for use. Follow these steps to perform a test print:
- Open a document or photo on your computer that you would like to print.
- Select the “Print” option within the application or document viewer to open the print dialog.
- Ensure that the HP Envy 7640 printer is selected as the default or active printer for the print job.
- Adjust the print settings, such as paper size, orientation, and quality, to match your desired output.
- Initiate the print job and monitor the printer as it processes the print job.
- Inspect the printed document or photo for print quality, color accuracy, and overall output.
By performing a test print, you can assess the printer’s performance and make any necessary adjustments to the print settings to achieve the desired results. If the test print meets your expectations and demonstrates high-quality output, the printer is ready for regular use.
It’s also advisable to test the printer’s scanning and copying capabilities if applicable. This allows you to verify that the scanner functions properly and produces accurate scans, as well as assess the quality of copied documents or photos.
If the test print or scan reveals any issues or concerns, such as print quality issues, paper jams, or connectivity problems, refer to the troubleshooting section of the printer’s user manual or online support resources for guidance on addressing common setup issues.
By thoroughly testing the printer’s printing, scanning, and copying functions, you can ensure that the HP Envy 7640 printer is fully operational and capable of meeting your printing needs. With the printer successfully tested and verified, you can proceed with confidence, knowing that it is ready to deliver high-quality prints and reliable performance.
In the event that any setup issues arise during testing, the following section will provide guidance on troubleshooting common setup issues to address any potential challenges.
Troubleshooting Common Setup Issues
While setting up the HP Envy 7640 printer, it’s possible to encounter common setup issues that may impact the printer’s performance or connectivity. By addressing these issues proactively, you can ensure that the printer operates smoothly and delivers consistent, high-quality prints. Here are some common setup issues and troubleshooting steps to resolve them:
Read also: 12 Amazing HP 7855 Envy Printer For 2025
Wireless Network Connectivity Issues:
If the printer encounters difficulty connecting to a wireless network, ensure that the wireless network settings, including the network name (SSID) and password, are entered correctly. Additionally, verify that the printer is within range of the wireless router and that there are no obstructions or interference affecting the signal. Restarting the printer and wireless router may also help resolve connectivity issues.
Print Quality Concerns:
If the test prints reveal issues with print quality, such as streaks, smudges, or faded colors, consider performing a printer maintenance process, such as printhead cleaning or alignment. These maintenance tasks can be initiated from the printer’s control panel or through the printer software on your computer. Additionally, ensure that genuine HP ink cartridges are installed and that the printer is using the appropriate paper type and settings for the print job.
Paper Jams and Feed Errors:
If the printer experiences paper jams or feed errors, carefully remove any jammed paper from the printer’s input and output areas. Check for any torn or wrinkled paper that may obstruct the paper path, and ensure that the paper is loaded correctly in the input tray. Clearing any debris or foreign objects from the printer’s paper path can also help prevent recurring paper jams.
Software Installation Issues:
If you encounter difficulties during the printer software installation process, ensure that the installation CD or downloaded software is compatible with your computer’s operating system. Additionally, temporarily disable any firewall or security software that may be blocking the installation process. If necessary, download the latest printer software and drivers from the HP website to ensure compatibility and functionality.
If you experience persistent setup issues or encounter error messages that are not resolved through troubleshooting, refer to the printer’s user manual, online support resources, or contact HP customer support for further assistance. HP’s support channels provide valuable guidance and solutions to address setup issues and ensure that the printer operates optimally.
By addressing common setup issues and performing troubleshooting steps as needed, you can overcome potential challenges and ensure that the HP Envy 7640 printer is ready for regular use, delivering reliable performance and high-quality prints.
With the setup process successfully completed and any potential issues addressed, you can now enjoy the full capabilities of your HP Envy 7640 printer for a seamless printing experience.
Read more: How To Set Up HP Tango Printer
Conclusion
Setting up the HP Envy 7640 printer is a straightforward process that begins with unboxing and progresses through installing ink cartridges, loading paper, connecting to a power source, installing printer software, connecting to a wireless network, testing the printer, and troubleshooting common setup issues. By following the steps outlined in this guide, users can ensure that their printer is ready for reliable and high-quality printing.
Throughout the setup process, attention to detail and adherence to best practices, such as using genuine HP ink cartridges and suitable paper, can contribute to optimal print results. Wireless connectivity further enhances the printer’s versatility, allowing for convenient printing from various devices within the same network.
Performing a thorough test of the printer’s printing, scanning, and copying functions is essential to confirm that the printer is fully operational and capable of meeting diverse printing needs. In the event of any setup issues, troubleshooting steps can be employed to address and resolve common concerns, ensuring a smooth and efficient setup experience.
By completing the setup of the HP Envy 7640 printer and addressing any potential issues, users can look forward to enjoying the printer’s full range of features, including wireless printing, mobile printing, and high-quality photo printing. The printer’s user-friendly interface and reliable performance make it an ideal addition to any home or office environment, providing convenience and consistent print results.
With the printer now set up and ready for use, users can explore its capabilities and leverage its features to fulfill a variety of printing needs. Whether printing documents, photos, or creative projects, the HP Envy 7640 printer offers the functionality and performance to deliver impressive results.
As users embark on their printing journey with the HP Envy 7640, they can rely on the setup process as a solid foundation for a seamless and enjoyable printing experience, making the most of the printer’s advanced features and versatile functionality.
With the printer successfully set up and primed for outstanding performance, users can confidently embrace the convenience and quality that the HP Envy 7640 printer brings to their printing endeavors.
Frequently Asked Questions about How To Set Up HP Envy 7640 Printer
Was this page helpful?
At Storables.com, we guarantee accurate and reliable information. Our content, validated by Expert Board Contributors, is crafted following stringent Editorial Policies. We're committed to providing you with well-researched, expert-backed insights for all your informational needs.

0 thoughts on “How To Set Up HP Envy 7640 Printer”