Home>Technology>Smart Home Devices>How To Set Up HP Printer To Scan To Email
Smart Home Devices
How To Set Up HP Printer To Scan To Email
Modified: January 9, 2024
Learn how to set up your HP printer to easily scan and send documents to your email, making it a convenient addition to your smart home devices. Simplify your scanning process with these step-by-step instructions.
(Many of the links in this article redirect to a specific reviewed product. Your purchase of these products through affiliate links helps to generate commission for Storables.com, at no extra cost. Learn more)
Introduction
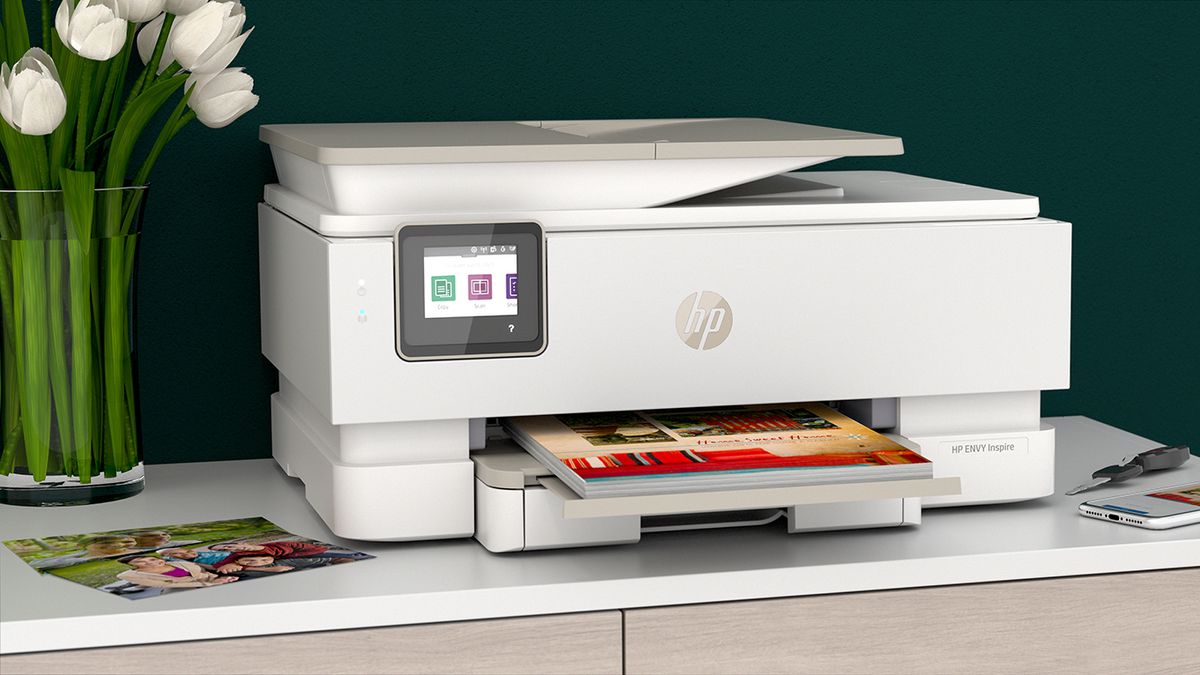
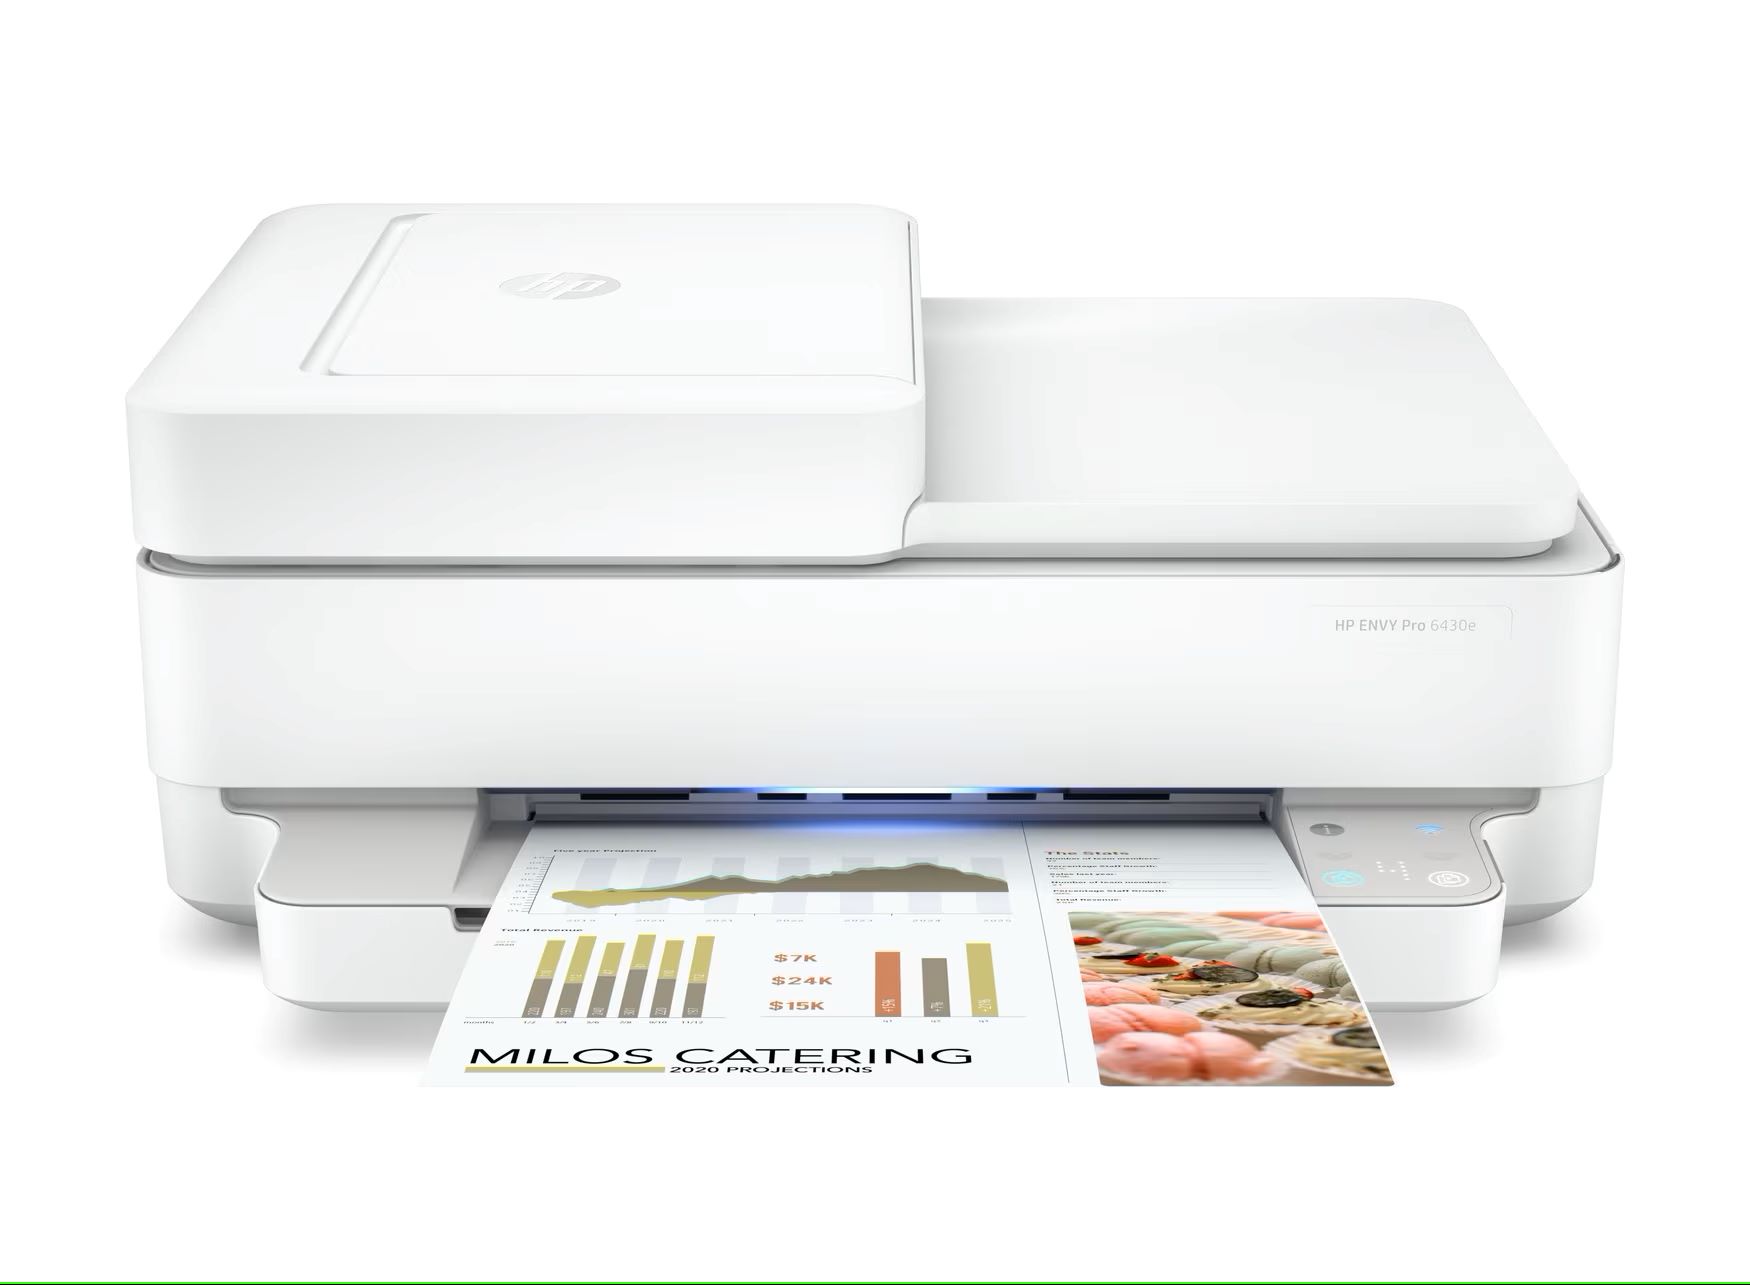
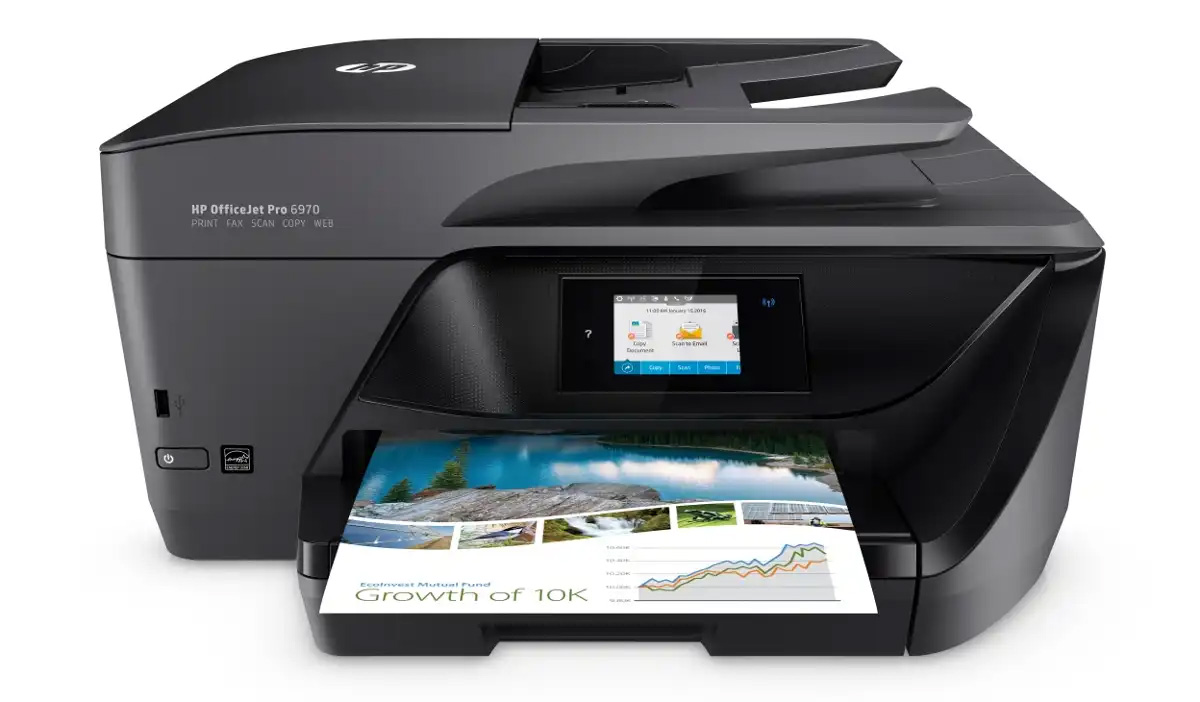
Welcome to the world of smart home devices, where convenience and efficiency converge to simplify everyday tasks. In this digital age, the integration of technology into our lives has revolutionized how we interact with our surroundings. One such innovation is the HP printer, a versatile device that goes beyond traditional printing capabilities. With the ability to scan and send documents directly to email, the HP printer streamlines the process of digitizing and sharing important information.
Setting up your HP printer to scan to email is a seamless process that enhances productivity and connectivity. Whether you’re a small business owner, a remote worker, or a tech-savvy individual looking to optimize your home office, this feature empowers you to effortlessly digitize and distribute documents. In this comprehensive guide, we’ll walk through the step-by-step process of configuring your HP printer to scan and send documents directly to your email inbox.
By the end of this tutorial, you’ll have a clear understanding of the requirements, connections, and settings necessary to enable the scan to email functionality on your HP printer. Let’s embark on this journey to unlock the full potential of your HP printer and elevate your digital workflow.
Key Takeaways:
- Setting up your HP printer to scan and send documents directly to email is a seamless process that enhances productivity and connectivity, making it easier to digitize and share important information.
- By following the step-by-step guide, you can empower your HP printer with valuable features that revolutionize how you interact with technology, streamlining document management and boosting productivity.
Read more: How To Set Up Email Scan On HP Printer
Step 1: Check Email Requirements
Before diving into the setup process, it’s essential to ensure that your email account meets the necessary requirements for seamless integration with your HP printer. The following considerations will help you verify the compatibility of your email service:
- Email Provider: Confirm that your email service provider supports the use of third-party applications to send emails. Some providers may have restrictions or additional security measures that could impact the configuration process.
- Authentication Method: Understand the authentication method required by your email provider for sending emails. This may involve using app-specific passwords or enabling two-factor authentication to ensure secure communication between your HP printer and the email server.
- SMTP Server Information: Gather the SMTP server details, including the server address, port number, and encryption method (e.g., SSL/TLS). This information is crucial for configuring the email settings on your HP printer.
- Email Account Credentials: Ensure that you have the correct email address and password associated with the account you intend to use for scanning and sending emails from the HP printer.
By verifying these email requirements, you’ll lay the foundation for a successful setup process and avoid potential issues related to email compatibility. Once you have confirmed the above details, you’re ready to proceed to the next step of connecting your HP printer to your email account.
Step 2: Connect HP Printer to Email
Now that you’ve confirmed the compatibility of your email account, it’s time to establish the connection between your HP printer and the email service. The following steps will guide you through the process of linking your printer to your email account:
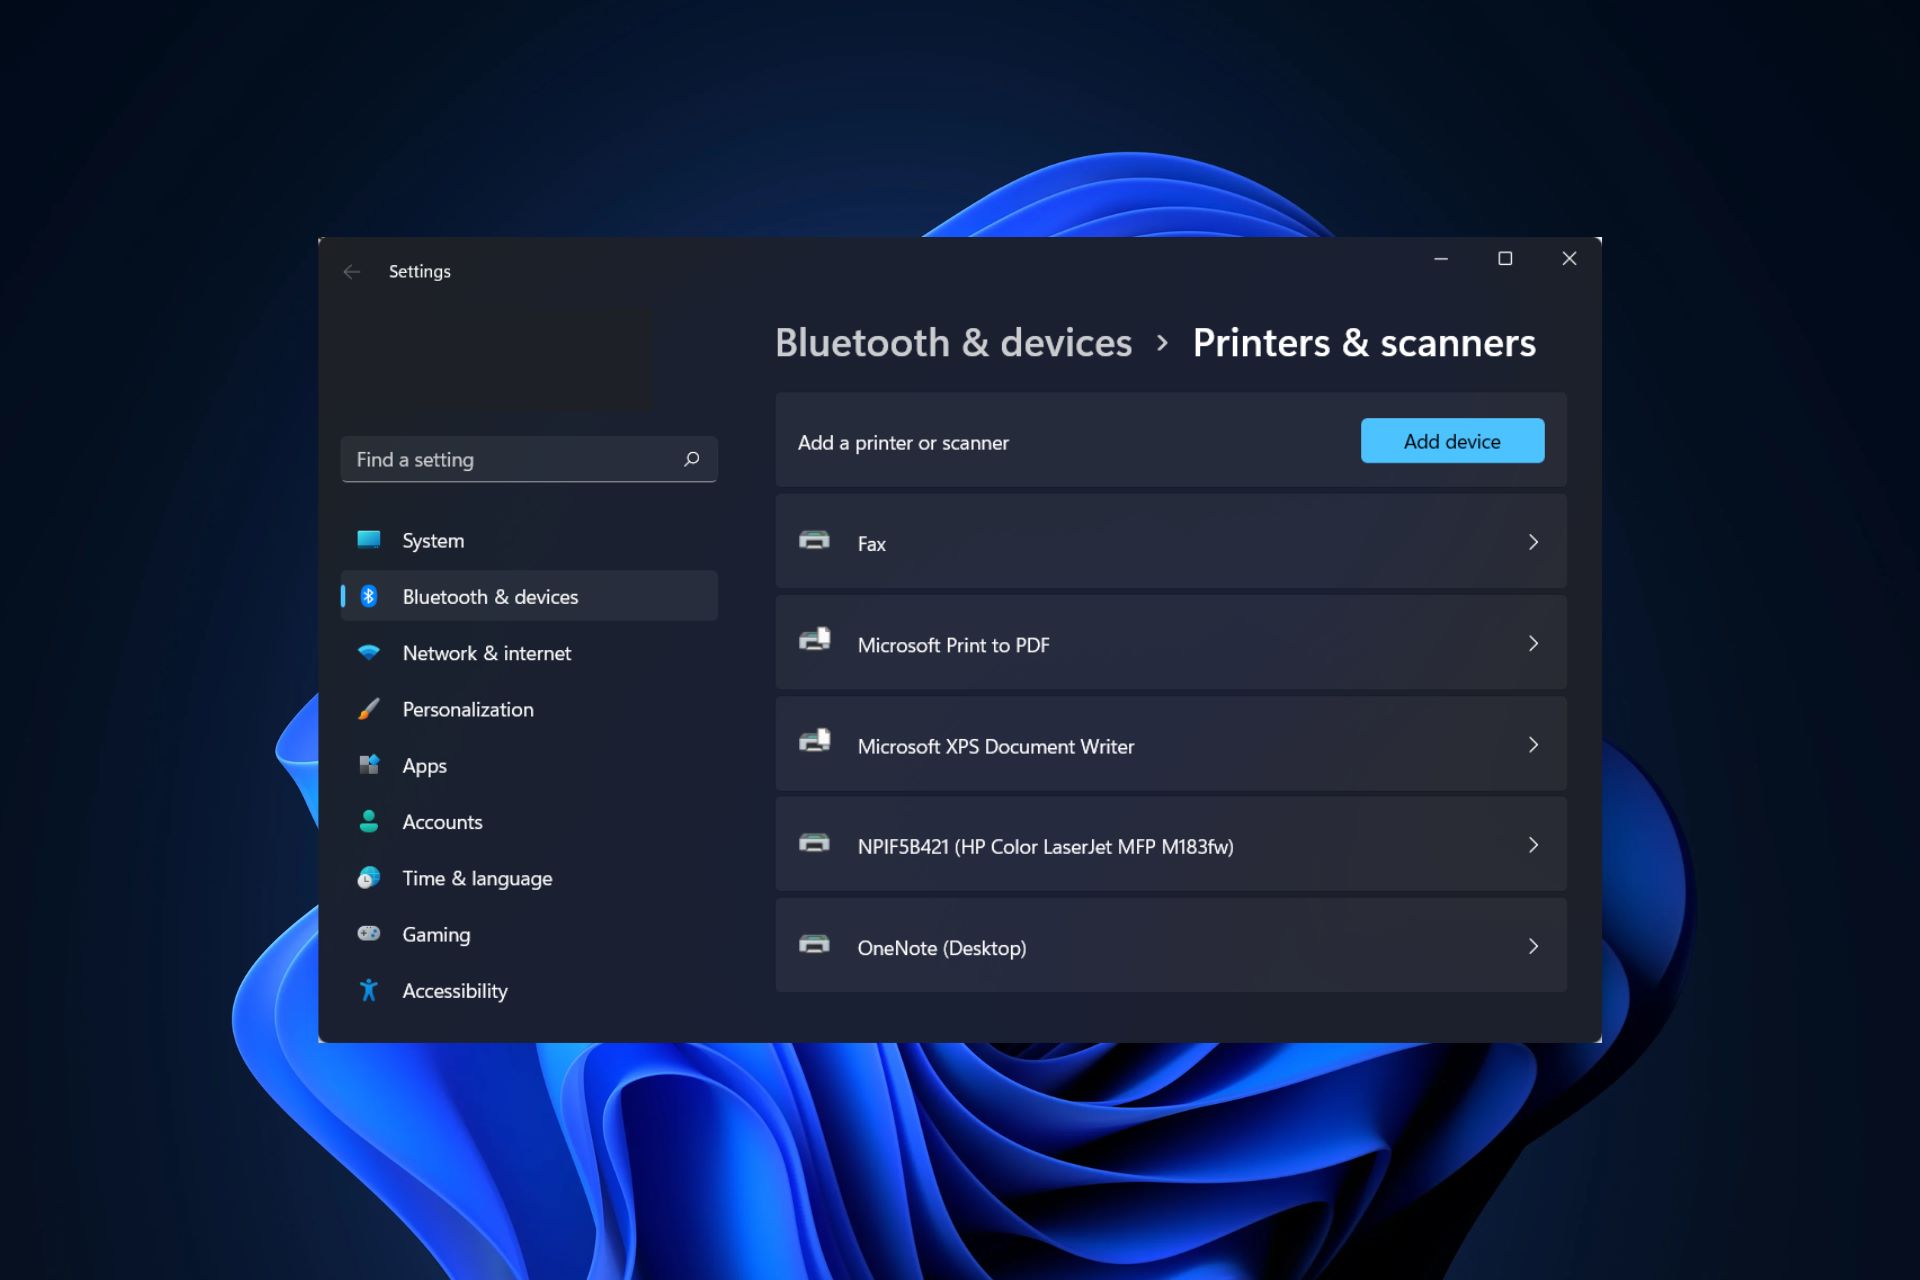
- Access Printer Settings: Begin by accessing the control panel or web interface of your HP printer. Navigate to the network or connectivity settings to initiate the setup process.
- Network Configuration: Connect your HP printer to the same network as your computer or mobile device. This ensures seamless communication between the printer, email server, and other devices on the network.
- Email Setup Wizard: Many HP printers offer an email setup wizard or a similar feature that guides you through the process of configuring email settings. Follow the on-screen instructions to initiate the email setup wizard.
- Enter Email Credentials: When prompted, input the email address and password associated with the email account you intend to use for scanning and sending emails. This step establishes the authentication credentials for accessing the email server.
- Verify Connection: Once the email credentials are entered, the printer will attempt to establish a connection with the email server. Verify that the connection is successful before proceeding to the next step.
By following these steps, you’ll effectively link your HP printer to your email account, laying the groundwork for configuring the scan to email settings. With the connection established, you’re ready to move on to the next phase of the setup process.
Make sure your HP printer is connected to the internet and has a valid email address. Then, access the printer’s web interface, go to the Scan to Email settings, and enter the email server details and recipient’s email address.
Step 3: Configure Scan to Email Settings
With the HP printer successfully connected to your email account, it’s time to configure the scan to email settings to enable seamless document scanning and email transmission. The following steps will guide you through the process of setting up the scan to email functionality on your HP printer:
- Access Printer Settings: Navigate to the printer’s control panel or web interface to access the settings related to scanning and email integration.
- Email Configuration: Locate the email settings or scan to email options within the printer’s menu. This is where you’ll input the specific details required for sending scanned documents via email.
- SMTP Server Settings: Enter the SMTP server details obtained during the email requirements check in Step 1. This includes the server address, port number, and encryption method (e.g., SSL/TLS).
- Sender Information: Provide the email address from which the scanned documents will be sent. This ensures that recipients can identify the source of the emails received from the HP printer.
- Recipient Settings: Depending on the printer model, you may have the option to pre-configure email addresses or specify recipient details during the scanning process. Ensure that the recipient information is accurately entered to streamline the emailing process.
- Default Settings: Consider setting default email parameters, such as file format (e.g., PDF, JPEG) and resolution, to align with your typical scanning and emailing preferences.
- Authentication Method: If prompted, select the appropriate authentication method based on the requirements of your email service provider. This may involve choosing between standard login credentials or utilizing app-specific passwords for enhanced security.
By meticulously configuring the scan to email settings on your HP printer, you’ll establish a seamless workflow for digitizing documents and transmitting them directly to your designated email recipients. With these settings in place, you’re ready to proceed to the final step of testing the scan to email functionality.
Step 4: Test the Scan to Email Functionality
After configuring the scan to email settings on your HP printer, it’s crucial to validate the functionality by performing a test scan and email transmission. This step allows you to confirm that the setup is successful and that scanned documents can be reliably sent to your desired email recipients. Follow these steps to test the scan to email functionality:
- Prepare Test Document: Place a sample document, such as a printed page or a handwritten note, on the scanner bed of your HP printer. Ensure that the document is positioned correctly for scanning.
- Initiate Scan: Using the printer’s control panel or associated software on your computer, initiate the scanning process. Select the desired scan settings, such as color mode and resolution, based on the nature of the document being scanned.
- Specify Recipient: If prompted, input the email address of the recipient to whom you wish to send the test scan. Some HP printers allow you to enter recipient details directly on the printer’s interface, while others may require you to specify the recipient through the accompanying software on your computer.
- Review and Send: Preview the scanned document to ensure clarity and accuracy. Once you’re satisfied with the scan, proceed to send the document via email using the designated scan to email functionality on your HP printer.
- Verify Email Reception: After sending the test scan, monitor the designated email account to confirm the successful reception of the scanned document. Check for any issues related to email delivery, such as delays or formatting discrepancies.
By conducting a comprehensive test of the scan to email functionality, you’ll gain confidence in the seamless integration of your HP printer with your email account. This validation step ensures that you can rely on the scan to email feature for efficient document transmission in your professional or personal endeavors.
Upon successfully completing the test, you can rest assured that your HP printer is fully equipped to streamline the digitization and email distribution of important documents, bolstering your productivity and connectivity in the digital realm.
Conclusion
Congratulations on successfully setting up your HP printer to scan and send documents directly to email! By following the comprehensive steps outlined in this guide, you’ve empowered your HP printer with a valuable feature that enhances your digital workflow and connectivity. As you reflect on the journey from verifying email requirements to testing the scan to email functionality, it’s evident that the integration of smart home devices continues to revolutionize how we interact with technology in our daily lives.
The seamless configuration of the scan to email settings on your HP printer not only simplifies the process of digitizing physical documents but also enables efficient distribution through the power of email communication. Whether you’re streamlining your office operations, collaborating with remote team members, or simply organizing personal documents, this functionality serves as a catalyst for enhanced productivity and seamless document management.
As you embrace the capabilities of your HP printer, remember that ongoing maintenance and periodic updates to the email settings can further optimize the performance of the scan to email feature. Stay attuned to advancements in smart home technology and leverage the evolving capabilities of your HP printer to stay ahead in the digital landscape.
With the ability to effortlessly scan and send documents to email, your HP printer stands as a testament to the convergence of innovation and practicality. Embrace the convenience and efficiency it offers, and continue exploring the myriad ways in which smart home devices enrich our daily experiences.
Thank you for embarking on this journey to unlock the full potential of your HP printer. May your digital endeavors be marked by seamless connectivity, enhanced productivity, and the boundless possibilities that smart home technology affords.
Frequently Asked Questions about How To Set Up HP Printer To Scan To Email
Was this page helpful?
At Storables.com, we guarantee accurate and reliable information. Our content, validated by Expert Board Contributors, is crafted following stringent Editorial Policies. We're committed to providing you with well-researched, expert-backed insights for all your informational needs.


0 thoughts on “How To Set Up HP Printer To Scan To Email”