Home>Technology>Smart Home Devices>How To Use A Munbyn Printer
Smart Home Devices
How To Use A Munbyn Printer
Published: January 19, 2024
Learn how to set up and use a Munbyn printer for your smart home devices. Get step-by-step instructions and troubleshooting tips. Improve your smart home experience today!
(Many of the links in this article redirect to a specific reviewed product. Your purchase of these products through affiliate links helps to generate commission for Storables.com, at no extra cost. Learn more)
Introduction
Welcome to the world of Munbyn printers, where convenience and efficiency converge to elevate your printing experience. Munbyn printers are designed to seamlessly integrate into your home or office, offering a myriad of features that simplify document printing, labeling, and more. In this comprehensive guide, we will explore the various facets of utilizing a Munbyn printer, from the initial setup to troubleshooting common issues.
Munbyn printers are renowned for their user-friendly design, high-quality output, and versatility. Whether you need to print shipping labels, barcodes, or documents, a Munbyn printer is a reliable companion for all your printing needs. By following the steps outlined in this guide, you will harness the full potential of your Munbyn printer and unlock a world of printing possibilities.
Throughout this journey, we will delve into the unboxing and setup process, connecting your Munbyn printer to a device, installing essential printer drivers, loading paper and ink, and executing flawless print jobs. Additionally, we will address common troubleshooting scenarios to ensure that you can swiftly overcome any obstacles that may arise.
By the end of this guide, you will feel confident and empowered to maximize the utility of your Munbyn printer, streamlining your printing tasks with precision and ease. So, let's embark on this enlightening expedition into the realm of Munbyn printers, where innovation meets practicality to redefine your printing endeavors.
Key Takeaways:
- Unbox, set up, connect, and install drivers for your Munbyn printer to unleash its full potential. Load paper and ink for flawless printing, and troubleshoot common issues to maintain seamless operations.
- Printing with a Munbyn printer is a breeze! Connect to your device, install drivers, load paper and ink, and execute flawless print jobs. Troubleshoot any issues for uninterrupted printing excellence.
Read more: How To Calibrate Munbyn Printer
Unpacking and Setting Up
Upon receiving your Munbyn printer, the excitement of unboxing and setting it up heralds the beginning of a seamless printing journey. The packaging of Munbyn printers is designed to ensure the safety of the device during transportation, and unwrapping it is the first step towards unlocking its potential.
As you carefully unbox your Munbyn printer, you will typically find the following components:
- The Munbyn printer
- Power adapter and cord
- USB cable (if applicable)
- Printer driver installation CD or manual with download instructions
- Labels or paper roll (depending on the printer model)
- Instruction manual
Once you have all the components laid out, it’s time to set up your Munbyn printer. Begin by finding a suitable location for the printer, ensuring that it is placed on a stable surface with ample space for ventilation and paper loading. Connect the power adapter to the printer and a power source, and if your printer model includes a USB connection, connect it to your computer or device.
Next, power on the Munbyn printer and follow the initial setup prompts displayed on the printer’s screen or the connected device. This may include language selection, date and time settings, and network connectivity if the printer is equipped with wireless capabilities. If your printer connects via Wi-Fi, you will need to input your network credentials to enable wireless printing.
During this process, it’s essential to refer to the instruction manual for model-specific guidance. The manual provides valuable insights into the setup process, ensuring that you configure your Munbyn printer optimally for your specific requirements.
With the initial setup completed, your Munbyn printer is now primed and ready to be seamlessly integrated into your printing ecosystem. The next step is to establish a connection between your device and the Munbyn printer, which we will explore in the following section.
Connecting to a Device
Connecting your Munbyn printer to a device is a pivotal step that facilitates seamless printing and ensures that your printing tasks are executed with precision. Munbyn printers offer versatile connectivity options, including USB, Wi-Fi, and Bluetooth, catering to a diverse range of user preferences and technological environments.
If your Munbyn printer utilizes a USB connection, simply connect one end of the USB cable to the printer and the other end to your computer or device. Once the physical connection is established, your device should automatically detect the printer, or you may need to install the necessary drivers, which we will cover in the subsequent section.
For wireless connectivity, Munbyn printers equipped with Wi-Fi capabilities enable effortless integration into your network. Begin by navigating to the printer’s settings menu and selecting the wireless setup option. Follow the on-screen prompts to locate and connect to your Wi-Fi network by entering the network name and password. Once connected, your device can communicate with the Munbyn printer over the wireless network, providing flexibility and convenience in printing from various locations within the network’s range.
If your Munbyn printer supports Bluetooth connectivity, you can pair it with compatible devices such as smartphones, tablets, or Bluetooth-enabled computers. The pairing process typically involves accessing the Bluetooth settings on both the printer and the device, initiating the pairing sequence, and confirming the connection. Once paired, you can effortlessly send print jobs to your Munbyn printer from the paired device, enhancing the accessibility of your printing capabilities.
It’s important to note that regardless of the connectivity method, ensuring that your device recognizes the Munbyn printer is essential for seamless printing. In the event of any connectivity issues, referring to the printer’s manual or online support resources can provide valuable troubleshooting insights to resolve connectivity challenges.
With your Munbyn printer successfully connected to your device, you are now poised to embark on the next phase of the printing journey – installing the necessary printer drivers to optimize functionality and performance.
Installing Printer Drivers
Installing the appropriate printer drivers is a fundamental step in optimizing the functionality and performance of your Munbyn printer. Printer drivers serve as the bridge between your device and the printer, facilitating seamless communication and enabling the translation of digital documents into physical prints with precision and clarity.
When connecting your Munbyn printer to a computer or device for the first time, the operating system may automatically attempt to install basic drivers to enable basic printing functionality. However, to harness the full potential of your Munbyn printer and access advanced features, it is advisable to install the dedicated printer drivers provided by Munbyn.
The installation process may vary depending on your operating system, but Munbyn typically provides a printer driver installation CD or downloadable drivers from their official website. Alternatively, you can visit the Munbyn website and navigate to the support or downloads section to locate the specific drivers for your printer model.
Once you have obtained the appropriate printer drivers, follow these general steps to install them:
- Insert the installation CD into your computer’s optical drive or run the downloaded driver file.
- Follow the on-screen prompts to initiate the installation process.
- Agree to any license agreements or terms and conditions presented during the installation.
- Choose the installation location and any additional settings as prompted.
- Complete the installation and restart your computer if prompted to do so.
After the installation is complete, your computer or device is now equipped with the necessary drivers to fully leverage the capabilities of your Munbyn printer. It’s important to periodically check for driver updates on the Munbyn website to ensure that you have the latest software enhancements and compatibility improvements for your printer.
By installing the dedicated printer drivers, you unlock a plethora of printing options and settings that empower you to tailor your print jobs to meet specific requirements. Whether you need to fine-tune print quality, adjust paper settings, or access advanced printing features, the installed drivers are the gateway to a comprehensive printing experience with your Munbyn printer.
With the printer drivers successfully installed, the next step is to prepare your Munbyn printer for printing by loading paper and ink, which we will explore in the following section.
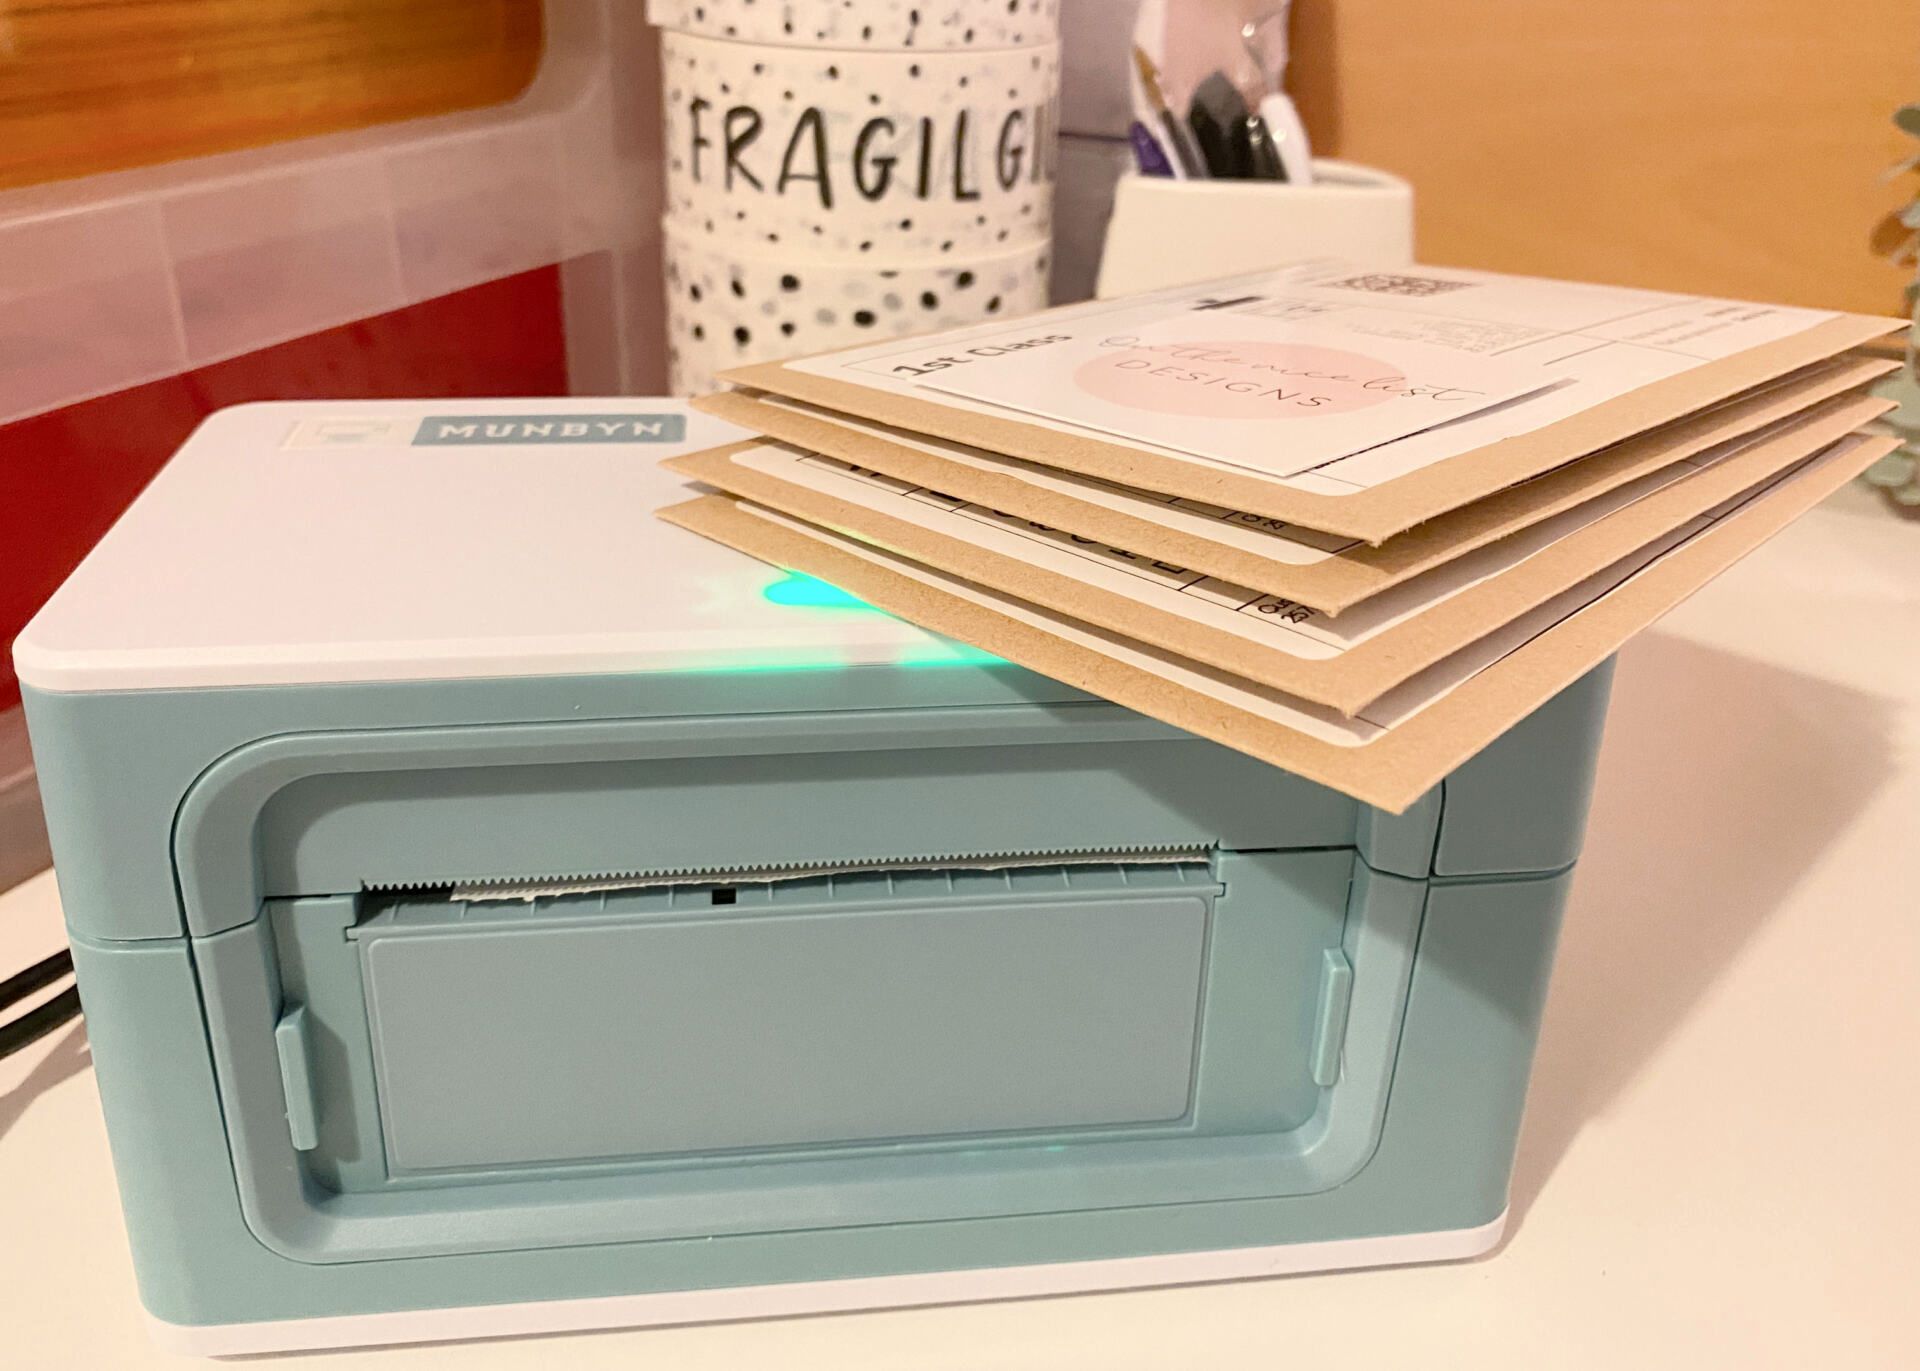
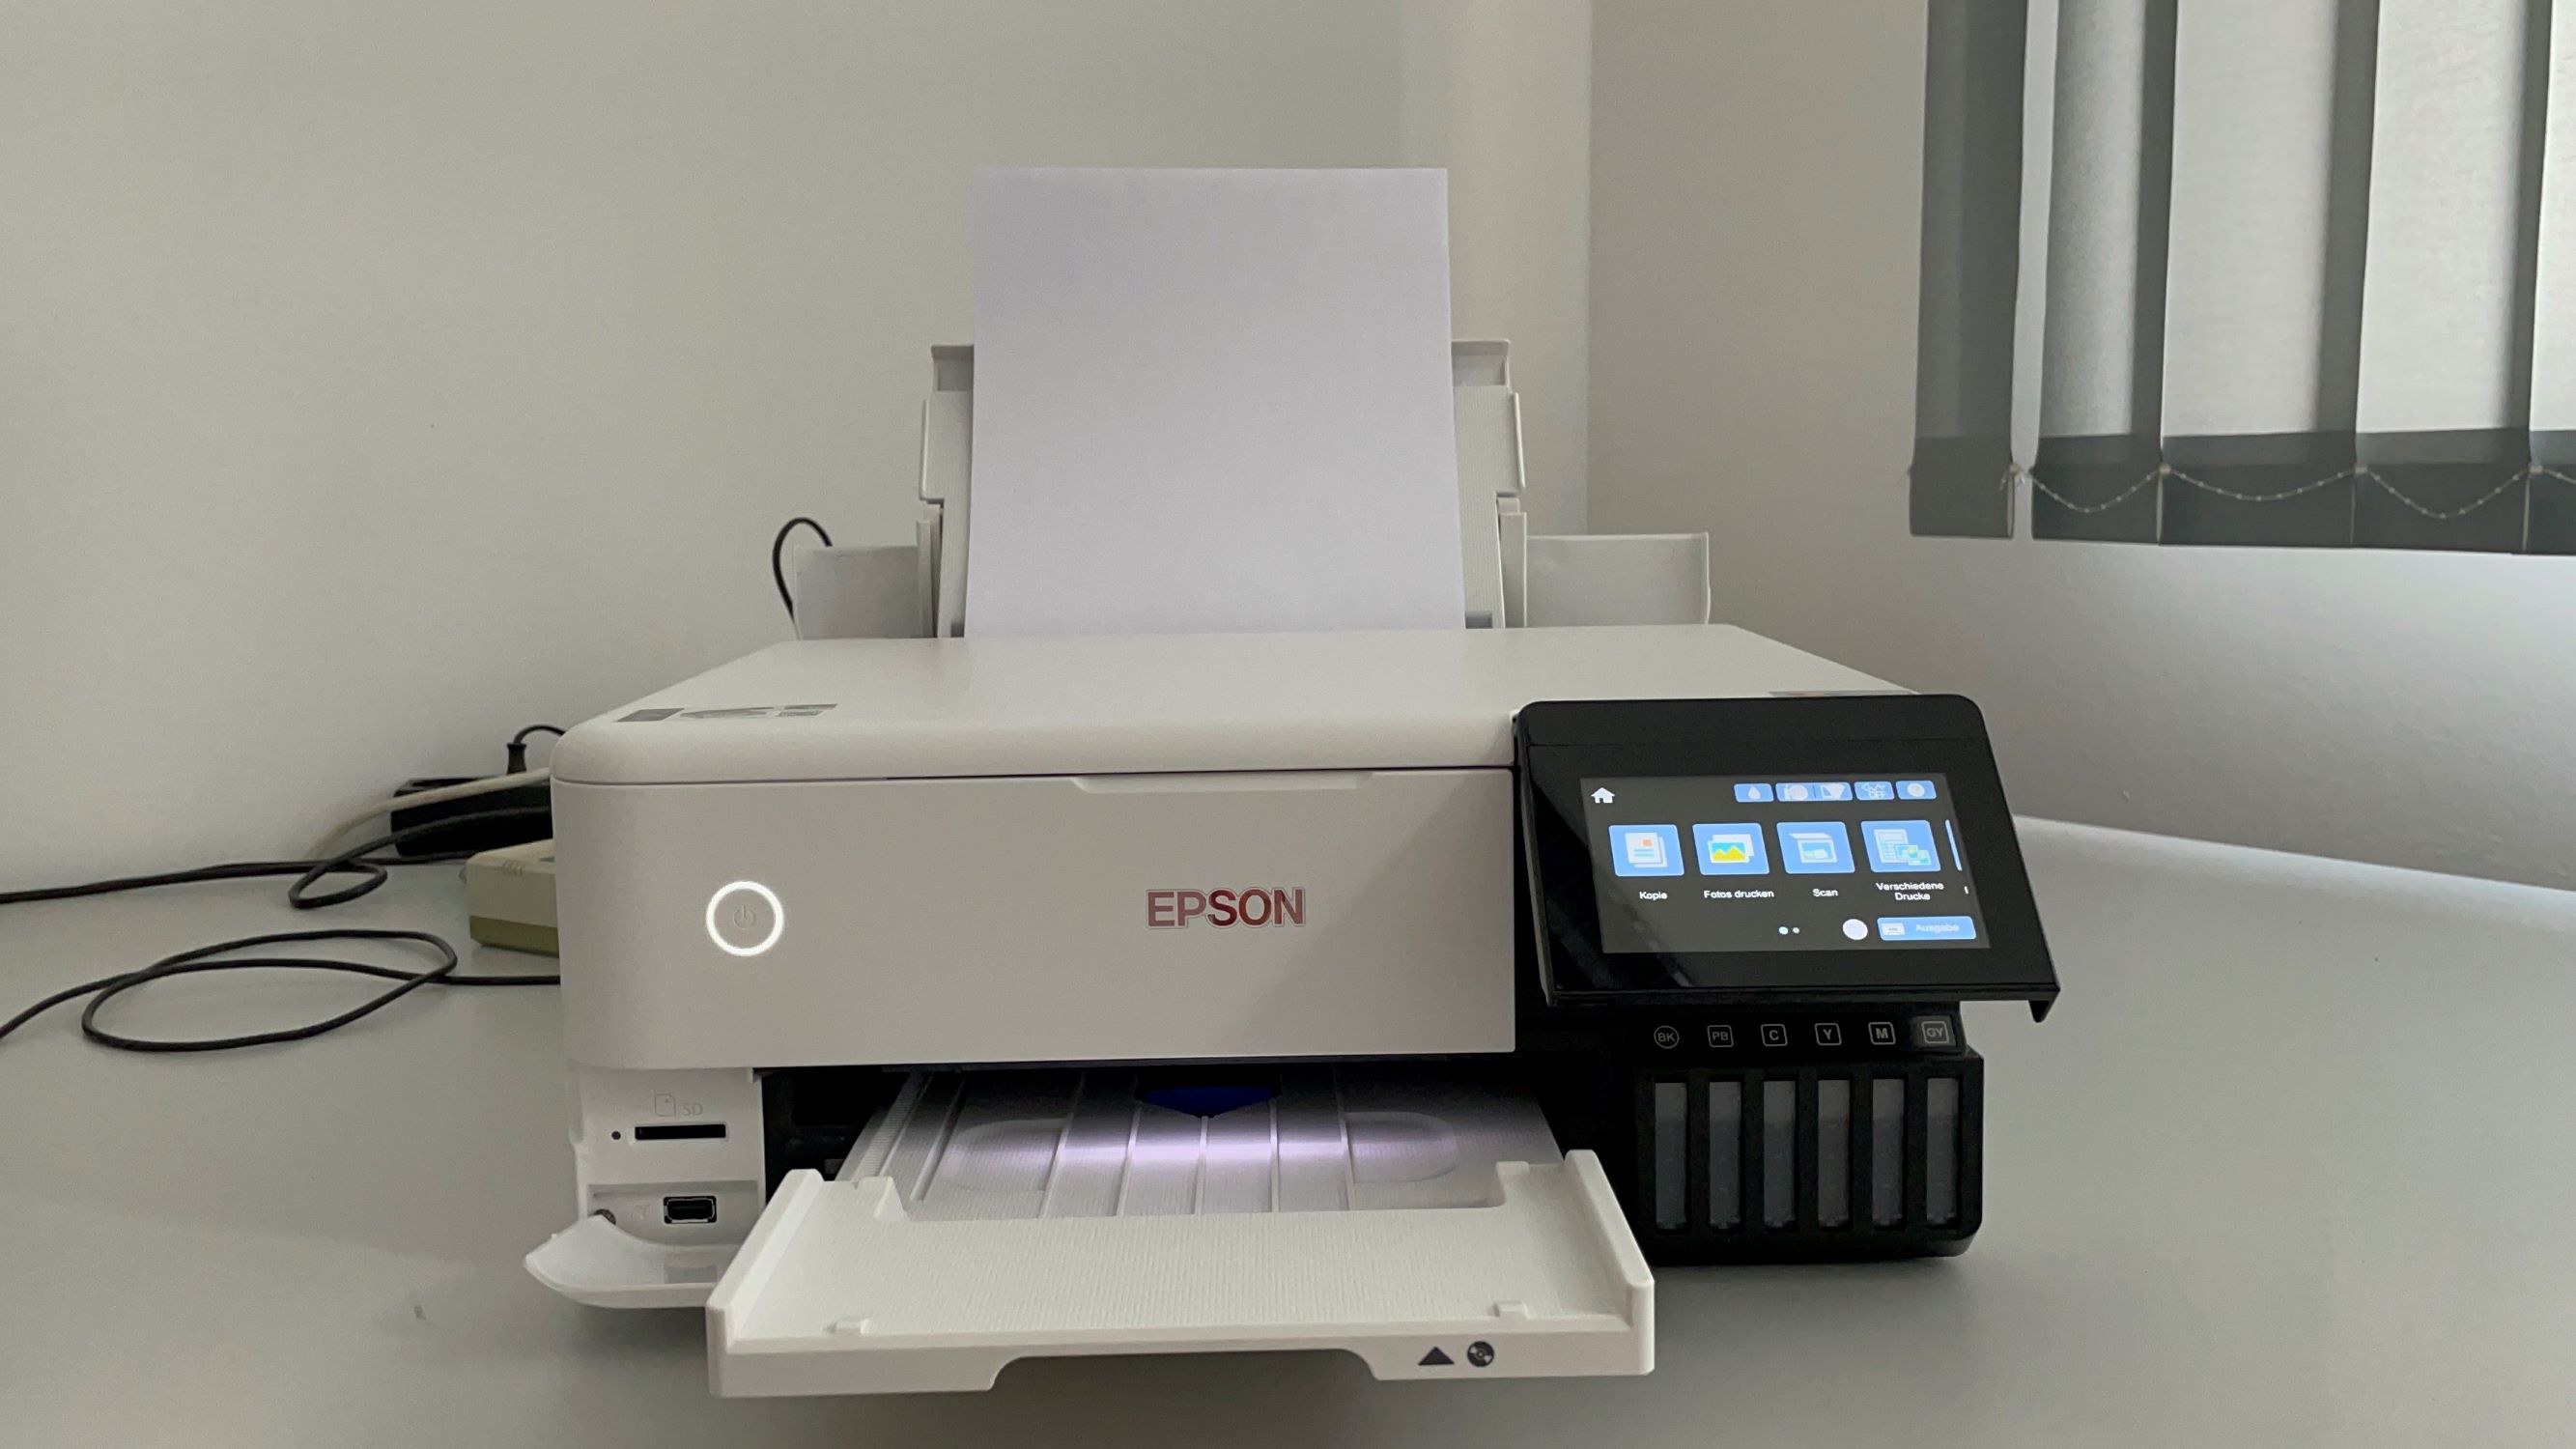
Loading Paper and Ink
Preparing your Munbyn printer for flawless print jobs involves the essential task of loading paper and ink, ensuring that your printer is primed to produce high-quality documents, labels, or any other printing tasks with precision and clarity.
When it comes to loading paper, Munbyn printers typically support various paper types and sizes, offering flexibility to accommodate diverse printing needs. Here’s a step-by-step guide to loading paper into your Munbyn printer:
- Open the paper tray or access the paper loading area of your Munbyn printer.
- Adjust the paper guides to match the width of the paper you are using, ensuring a snug fit to prevent misalignment during printing.
- Load the paper into the tray, making sure it is neatly stacked and not exceeding the maximum capacity indicated for the specific paper type.
- Once the paper is loaded, adjust the paper guides to lightly press against the edges of the paper, maintaining a consistent alignment.
- Close the paper tray or the paper loading area, ensuring that it is securely shut.
With the paper loaded, the next step is to ensure that your Munbyn printer is equipped with ink or toner to facilitate the printing process. Depending on the printer model, Munbyn printers may utilize thermal printing technology that does not require traditional ink cartridges. Instead, they use thermal paper or labels that are heat-sensitive and do not require ink or toner.
If your Munbyn printer requires ink or toner, follow these general steps to replace or install the ink or toner cartridge:
- Open the printer cover or access panel to reveal the ink or toner cartridge compartment.
- Remove the old or empty cartridge by following the manufacturer’s instructions, which may involve pressing a release button or gently pulling the cartridge out of its slot.
- Unpack the new ink or toner cartridge from its packaging, ensuring that you handle it carefully to avoid spills or damage.
- Insert the new cartridge into the designated slot, ensuring that it securely fits into place and aligns with any guiding marks or grooves.
- Close the printer cover or access panel, ensuring that it is securely latched or closed.
By meticulously loading paper and ensuring that your Munbyn printer is equipped with the necessary consumables, you are now poised to embark on a seamless printing journey, translating digital documents into tangible outputs with ease and precision.
With the paper and ink loaded, the next step is to delve into the process of executing flawless print jobs with your Munbyn printer, which we will explore in the following section.
Read more: How To Connect Munbyn Printer To Computer
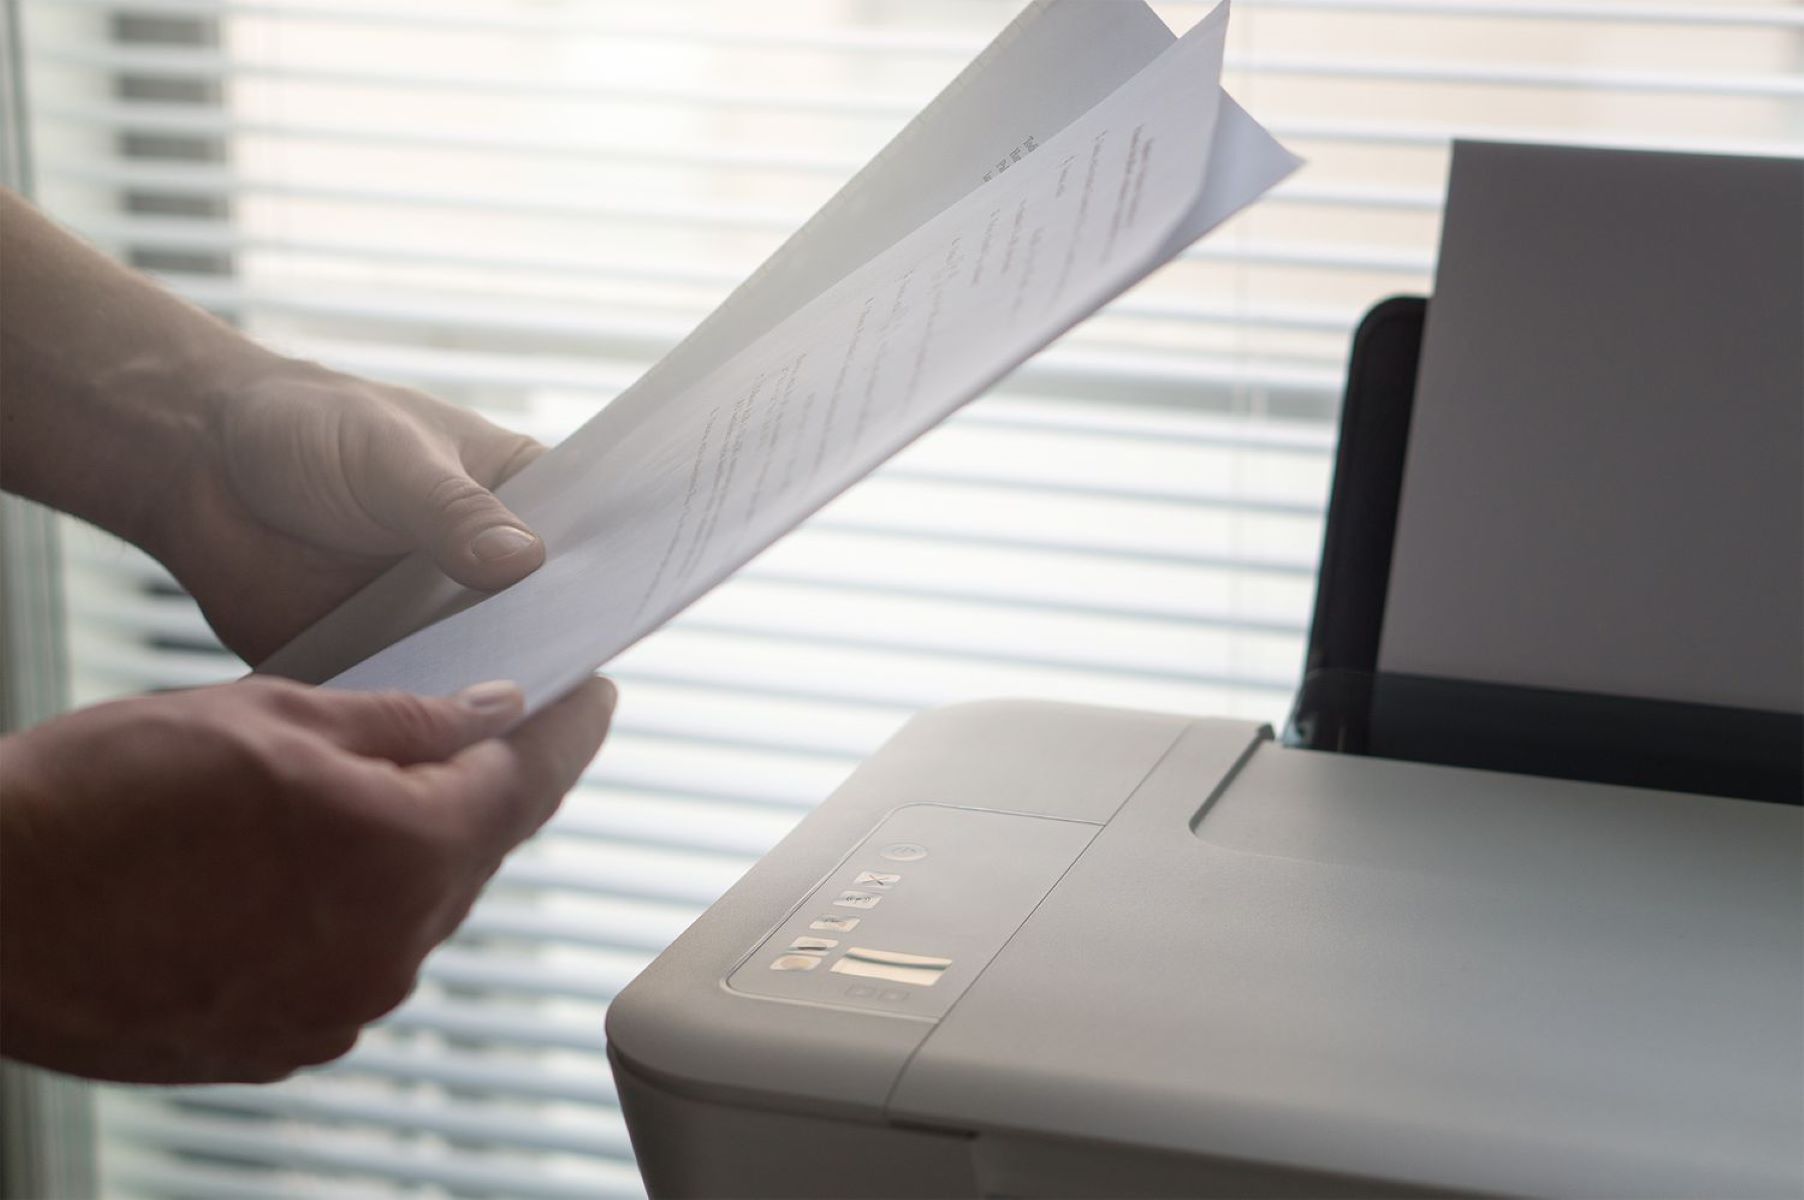
Printing Documents
Printing documents with your Munbyn printer is a straightforward and efficient process that empowers you to transform digital files into tangible outputs with remarkable clarity and precision. Whether you need to print shipping labels, invoices, or other essential documents, your Munbyn printer is equipped to handle a diverse range of printing tasks with ease.
To initiate a print job, begin by ensuring that your Munbyn printer is correctly connected to your device and that the necessary printer drivers are installed. Once these prerequisites are met, follow these general steps to print documents using your Munbyn printer:
- Open the document or file that you intend to print on your computer or device.
- Access the print dialog by selecting the “Print” option from the file menu or using the keyboard shortcut specific to your operating system.
- Choose your Munbyn printer from the list of available printers, ensuring that the print settings align with your desired output, such as paper size, orientation, and print quality.
- Optionally, configure any advanced print settings provided by the printer drivers, such as adjusting print density, selecting print modes, or enabling duplex printing if supported by your Munbyn printer.
- Initiate the print job by clicking the “Print” button, prompting your device to communicate the print job to the Munbyn printer.
As the print job is processed, your Munbyn printer efficiently translates the digital document into a physical print, leveraging its high-quality printing capabilities to deliver crisp text, vibrant graphics, and accurate barcodes or labels. The seamless integration between your device and the Munbyn printer ensures that your print jobs are executed with reliability and consistency.
For specialized printing tasks, such as generating shipping labels or barcodes, Munbyn printers offer dedicated printing modes and settings optimized for these specific applications. Leveraging the appropriate print settings tailored to your printing requirements ensures that your Munbyn printer delivers optimal results for each unique printing task.
By harnessing the printing prowess of your Munbyn printer, you can streamline your document printing processes, enhance operational efficiency, and elevate the professional presentation of your printed materials. The versatility and precision of Munbyn printers empower you to meet diverse printing needs with confidence and ease, enriching your printing experience with every document produced.
With your documents impeccably printed, the next section will delve into troubleshooting common issues that may arise during the printing process, equipping you with the knowledge to swiftly overcome any obstacles and maintain seamless printing operations with your Munbyn printer.
When using a Munbyn printer, make sure to properly load the paper and adjust the paper guides to avoid paper jams. Also, regularly clean the printer head to maintain print quality.
Troubleshooting
While Munbyn printers are engineered for reliability and seamless performance, occasional issues may arise that require troubleshooting to ensure uninterrupted printing operations. By familiarizing yourself with common troubleshooting techniques, you can swiftly address potential challenges and maintain the optimal functionality of your Munbyn printer.
Here are some common issues that may occur when using a Munbyn printer, along with corresponding troubleshooting steps:
Print Quality Issues:
If your printed documents exhibit faded text, streaks, or smudges, consider the following steps:
- Ensure that the ink or toner cartridge is not empty or nearing depletion. Replace the cartridge if necessary.
- Clean the printhead or toner drum to remove any accumulated debris or ink residue that may be affecting print quality.
- Adjust the print quality settings in the printer driver to enhance the clarity and vibrancy of the prints.
Paper Jams:
Encountering paper jams can disrupt printing operations, but these steps can help resolve the issue:
- Turn off the printer and carefully remove any jammed paper by following the manufacturer’s instructions for accessing the paper path and removing obstructions.
- Inspect the paper path and paper tray for any foreign objects or misaligned paper that may be causing the jams.
- After clearing the jam, ensure that the paper guides are correctly adjusted to prevent future jams.
Read more: How To Use A Printer
Connectivity Issues:
If your Munbyn printer experiences connectivity problems, consider these troubleshooting measures:
- Verify that the printer is correctly connected to your device via USB, Wi-Fi, or Bluetooth, and that the connection is stable.
- Restart both the printer and your device to reset the connection and resolve any temporary communication issues.
- Update the printer drivers to ensure compatibility with your operating system and device.
Label Alignment and Calibration:
For Munbyn printers designed for label printing, ensuring precise label alignment and calibration is essential. Follow these steps to address alignment issues:
- Access the printer’s label calibration settings and perform a calibration process to optimize label positioning and alignment.
- Adjust the label guides and sensors to ensure that the labels are fed and printed accurately without misalignment.
By proactively addressing these common issues and leveraging the troubleshooting techniques tailored to Munbyn printers, you can uphold a seamless printing experience and swiftly mitigate any obstacles that may arise. Additionally, consulting the printer’s manual or accessing online support resources provided by Munbyn can offer valuable insights and guidance for troubleshooting specific issues.
With a comprehensive understanding of troubleshooting techniques, you are well-equipped to maintain the optimal performance of your Munbyn printer and swiftly overcome any challenges that may arise, ensuring that your printing operations remain efficient and reliable.
With troubleshooting insights at your disposal, you are now poised to harness the full potential of your Munbyn printer, maximizing its capabilities and ensuring seamless printing operations. As we conclude this guide, you are empowered to embark on your printing endeavors with confidence, knowing that you have the knowledge and resources to navigate any printing challenges that may arise.
Conclusion
Congratulations on embarking on a comprehensive journey into the world of Munbyn printers, where innovation, efficiency, and reliability converge to redefine your printing experience. Throughout this guide, we have explored the essential facets of utilizing a Munbyn printer, from the initial unboxing and setup to troubleshooting common issues, equipping you with the knowledge and insights to optimize your printing endeavors.
Munbyn printers stand as a testament to cutting-edge printing technology, offering a versatile array of features, seamless connectivity options, and exceptional print quality. By following the steps outlined in this guide, you have gained a deeper understanding of maximizing the utility of your Munbyn printer, harnessing its capabilities to streamline your printing tasks with precision and ease.
From connecting your Munbyn printer to a device and installing essential printer drivers to loading paper, ink, and executing flawless print jobs, you have embarked on a journey that empowers you to unleash the full potential of your Munbyn printer. The troubleshooting insights provided ensure that you can swiftly address any challenges that may arise, maintaining uninterrupted printing operations with confidence and proficiency.
As you venture forward with your Munbyn printer, remember that the seamless integration between your device and the printer, coupled with the meticulous attention to print quality and operational efficiency, culminates in a printing experience that transcends expectations. Whether you are printing shipping labels, invoices, or documents, your Munbyn printer is a steadfast companion, delivering exceptional results with every print job.
Armed with the knowledge and insights garnered from this guide, you are well-prepared to navigate the intricacies of printing with your Munbyn printer, leveraging its capabilities to elevate your printing endeavors. As you harness the versatility, reliability, and precision of your Munbyn printer, you embark on a seamless printing journey that transcends conventional standards, redefining your approach to document printing and label creation.
With a wealth of printing possibilities at your fingertips, your Munbyn printer is poised to become an indispensable asset, seamlessly integrating into your home or office environment to meet diverse printing needs with unparalleled efficiency. As you continue to explore the boundless potential of your Munbyn printer, may your printing endeavors be imbued with seamless execution, exceptional quality, and unparalleled convenience.
Embrace the power of Munbyn printing technology, and embark on a printing journey where innovation, precision, and reliability converge to redefine your approach to document printing and label creation. With Munbyn, your printing experience transcends expectations, empowering you to achieve unparalleled results with every print job.
Frequently Asked Questions about How To Use A Munbyn Printer
Was this page helpful?
At Storables.com, we guarantee accurate and reliable information. Our content, validated by Expert Board Contributors, is crafted following stringent Editorial Policies. We're committed to providing you with well-researched, expert-backed insights for all your informational needs.


0 thoughts on “How To Use A Munbyn Printer”