Home>Technology>Smart Home Devices>How To Calibrate Munbyn Printer
Smart Home Devices
How To Calibrate Munbyn Printer
Published: January 6, 2024
Learn how to calibrate your Munbyn printer for optimal performance with smart home devices. Follow our step-by-step guide for easy calibration.
(Many of the links in this article redirect to a specific reviewed product. Your purchase of these products through affiliate links helps to generate commission for Storables.com, at no extra cost. Learn more)
**
Introduction
**
Welcome to the world of Munbyn printers! These innovative devices have revolutionized the printing experience, offering exceptional precision and functionality. However, to ensure optimal performance, it's crucial to understand the process of calibrating your Munbyn printer. Calibration plays a pivotal role in guaranteeing the accuracy and consistency of your printed materials, making it an indispensable aspect of maintaining your printer.
In this comprehensive guide, we will delve into the intricacies of Munbyn printer calibration, providing you with a step-by-step walkthrough to streamline the process. Whether you're a seasoned professional or a novice enthusiast, mastering the art of calibration will empower you to unleash the full potential of your Munbyn printer.
So, let's embark on this enlightening journey, unraveling the nuances of Munbyn printer calibration and equipping you with the knowledge and expertise to optimize your printing endeavors. By the end of this guide, you'll be well-versed in the art of calibration, ready to elevate your printing capabilities to unprecedented heights.
**
Key Takeaways:
- Mastering Munbyn printer calibration ensures precise and consistent print quality, empowering you to optimize your printing experience and unleash the full potential of your printer.
- Rigorous testing and iteration are integral to achieving optimal print quality, allowing you to validate the effectiveness of calibration adjustments and fine-tune the printer for exceptional results.
Read more: How To Use A Munbyn Printer
Understanding Munbyn Printer Calibration
**
Before delving into the practical aspects of calibrating your Munbyn printer, it's essential to grasp the fundamental concept of calibration and its significance in the printing process. Calibration refers to the meticulous adjustment of various printer settings to ensure precise and consistent output. This meticulous process involves fine-tuning parameters such as print density, alignment, and print head positioning to achieve optimal print quality.
For Munbyn printers, calibration holds a paramount importance in maintaining the accuracy and reliability of printed materials. By calibrating your printer, you can rectify potential discrepancies in print quality, ensuring that the output aligns with your desired specifications. Moreover, calibration mitigates the risk of misaligned prints, smudged text, or distorted images, thereby enhancing the overall print accuracy and clarity.
Understanding the intricacies of Munbyn printer calibration empowers you to proactively address any deviations in print quality, thereby upholding the professional standards of your printed materials. By familiarizing yourself with the nuances of calibration, you gain the insight and proficiency to fine-tune your printer’s settings, resulting in impeccable print outputs that resonate with precision and clarity.
As we proceed, we will explore the step-by-step process of calibrating your Munbyn printer, demystifying the technicalities and equipping you with the expertise to optimize your printing experience. Embrace the journey of mastering Munbyn printer calibration, and unlock the full potential of your printing endeavors.
**
Steps to Calibrate Munbyn Printer
**
Calibrating your Munbyn printer is a systematic process that involves a series of precise adjustments to ensure optimal print quality. By following these step-by-step instructions, you can streamline the calibration process and fine-tune your printer to deliver impeccable results:
1. Access Calibration Settings: Begin by accessing the calibration settings on your Munbyn printer. Navigate to the printer’s menu or settings interface to locate the calibration options. Familiarize yourself with the available calibration parameters, including print density, alignment, and print head positioning.
2. Print Test Page: Before initiating the calibration process, print a test page to assess the current print quality. This initial printout serves as a benchmark for evaluating the effectiveness of the calibration adjustments. Take note of any discrepancies or imperfections in the test print, which will guide the calibration process.
3. Adjust Print Density: Fine-tune the print density settings to achieve the desired level of ink deposition. Depending on your printing requirements, you may need to increase or decrease the print density to optimize the clarity and vibrancy of the printed materials. Monitor the impact of each adjustment on the test prints to gauge the ideal print density.
4. Align Print Heads: Calibrate the print head alignment to ensure precise positioning and uniform ink distribution. Misaligned print heads can result in skewed or distorted prints, compromising the overall print quality. Utilize the alignment settings to meticulously align the print heads, rectifying any deviations and enhancing print accuracy.
5. Fine-Tune Color Settings: If your Munbyn printer supports color printing, fine-tune the color settings to achieve accurate color reproduction. Adjust parameters such as hue, saturation, and color balance to ensure that the printed colors align with your expectations. Regularly evaluate the color accuracy through test prints as you make incremental adjustments.
6. Verify Paper Handling: Ensure that the printer’s paper handling settings are optimized for the type of media being used. Whether you’re printing on standard paper, labels, or specialized materials, configuring the paper handling settings is crucial for preventing feed errors and optimizing print consistency.
By meticulously following these steps, you can navigate the calibration process with confidence, leveraging the full potential of your Munbyn printer to achieve exceptional print quality. Calibration empowers you to fine-tune the printer’s settings according to your specific requirements, culminating in professional-grade printed materials that reflect precision and clarity.
**
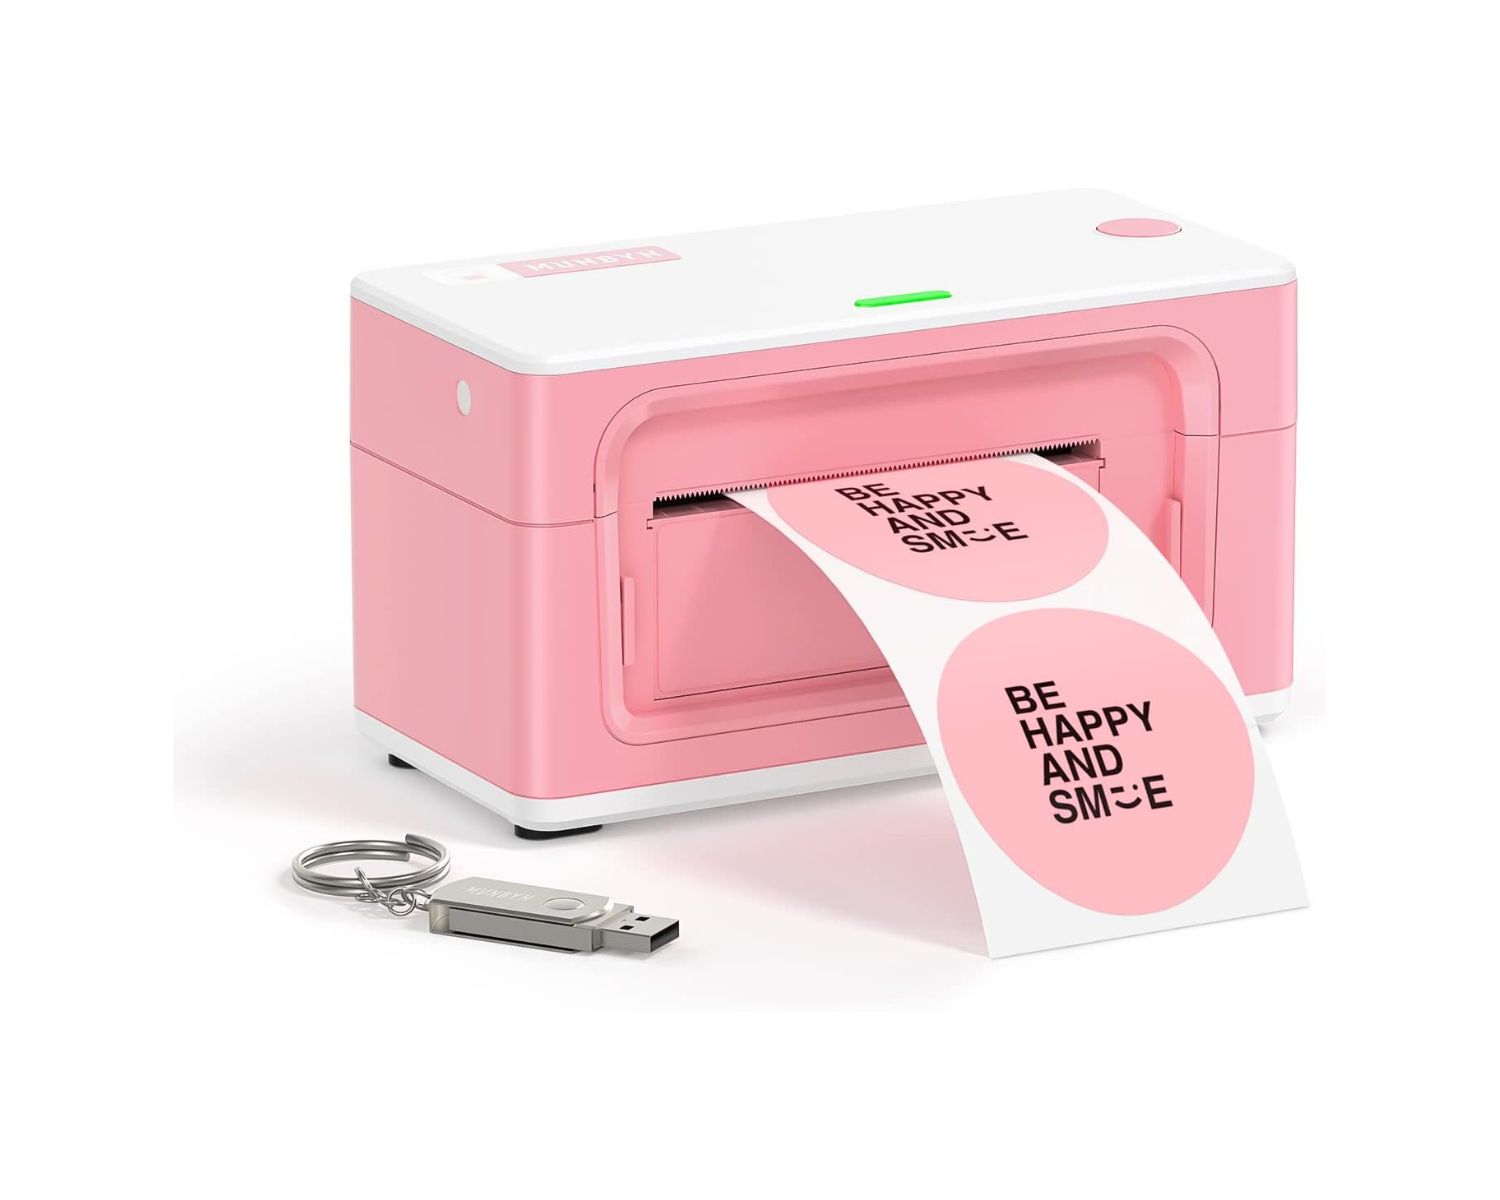
To calibrate a Munbyn printer, first ensure the printer is turned on. Then, press and hold the feed button until the indicator light flashes. Release the button and the printer will calibrate.
Testing the Calibration
**
Upon completing the calibration process for your Munbyn printer, it’s essential to conduct rigorous testing to validate the effectiveness of the adjustments and ensure the attainment of optimal print quality. Testing the calibration involves a systematic evaluation of the printer’s performance, allowing you to scrutinize the print outputs and identify any residual discrepancies that may require further refinement.
Here are the key steps to comprehensively test the calibration of your Munbyn printer:
1. Print Quality Assessment: Begin by printing a series of test documents that encompass various types of content, including text, graphics, and images. Evaluate the print quality across different media types and observe the clarity, color accuracy, and overall precision of the printed materials. Pay close attention to fine details, gradients, and text legibility to gauge the effectiveness of the calibration adjustments.
2. Consistency Check: Assess the consistency of print outputs by comparing multiple prints of the same document. Verify that the calibration adjustments have resulted in consistent print quality across successive print runs. Consistency is a hallmark of effective calibration, ensuring that each print mirrors the desired specifications without variation or deviation.
3. Color Accuracy Verification: If your Munbyn printer supports color printing, scrutinize the color accuracy of the printed materials. Compare the printed colors to the original source and assess the fidelity of color reproduction. Verify that the calibration adjustments have yielded accurate and vibrant colors that align with your expectations.
4. Fine-Tuning Iteration: During the testing phase, be prepared to iterate on the calibration adjustments based on the observed print outputs. If any discrepancies or imperfections persist in the test prints, revisit the calibration settings and make targeted refinements to address the specific areas of concern. Iterative testing and refinement are instrumental in achieving precise calibration.
5. Real-World Application: Consider printing real-world documents that align with your typical printing requirements, such as business reports, presentations, or marketing materials. Assess how the calibrated printer performs in meeting the demands of your specific printing tasks, ensuring that the print outputs meet the professional standards expected in practical applications.
By rigorously testing the calibration of your Munbyn printer, you can validate the efficacy of the calibration adjustments and fine-tune the printer to deliver exceptional print quality. Testing serves as a critical validation step, enabling you to ascertain the success of the calibration process and make informed refinements to optimize the printer’s performance.
**
Conclusion
**
Congratulations on embarking on the journey of mastering Munbyn printer calibration! Throughout this guide, we’ve delved into the intricacies of calibrating your Munbyn printer, equipping you with the knowledge and expertise to optimize the print quality and consistency of your printed materials. By understanding the significance of calibration and following the systematic steps outlined in this guide, you are well-positioned to harness the full potential of your Munbyn printer and elevate your printing endeavors to new heights.
Calibration is a transformative process that empowers you to fine-tune the printer’s settings, rectify discrepancies, and achieve unparalleled print accuracy. By meticulously adjusting parameters such as print density, alignment, and color settings, you can tailor the printer’s output to align with your specific requirements, resulting in professional-grade prints that exude precision and clarity.
As you immerse yourself in the calibration process, remember that testing and iteration are integral components of achieving optimal print quality. Rigorous testing allows you to validate the effectiveness of the calibration adjustments and make informed refinements to address any residual discrepancies. Embrace this iterative approach, leveraging the testing phase to fine-tune the printer and ensure consistent, high-quality print outputs.
By embracing the art of Munbyn printer calibration, you are poised to unleash the full potential of your printing capabilities, delivering exceptional printed materials that resonate with precision and professionalism. Whether you’re producing documents, graphics, or vibrant color prints, the calibrated Munbyn printer empowers you to achieve outstanding results that align with your exacting standards.
As you continue your journey with Munbyn printers, remember that calibration is not a one-time endeavor but an ongoing process of refinement and optimization. Regularly revisit the calibration settings, conduct periodic testing, and adapt the printer’s parameters to accommodate evolving printing requirements. By nurturing a proactive approach to calibration, you can consistently uphold the superior print quality that defines the hallmark of Munbyn printers.
Thank you for accompanying us on this enlightening exploration of Munbyn printer calibration. Embrace the knowledge and insights gained from this guide, and embark on your calibration journey with confidence, precision, and a steadfast commitment to excellence in printing.
Frequently Asked Questions about How To Calibrate Munbyn Printer
Was this page helpful?
At Storables.com, we guarantee accurate and reliable information. Our content, validated by Expert Board Contributors, is crafted following stringent Editorial Policies. We're committed to providing you with well-researched, expert-backed insights for all your informational needs.

0 thoughts on “How To Calibrate Munbyn Printer”