Home>Construction & Tools>Building Materials>How To Create A Faux Brick Interior Wall
Building Materials
How To Create A Faux Brick Interior Wall
Modified: January 23, 2024
Learn how to create a stunning faux brick interior wall using affordable building materials. Transform your space with this easy DIY project.
(Many of the links in this article redirect to a specific reviewed product. Your purchase of these products through affiliate links helps to generate commission for Storables.com, at no extra cost. Learn more)
Introduction
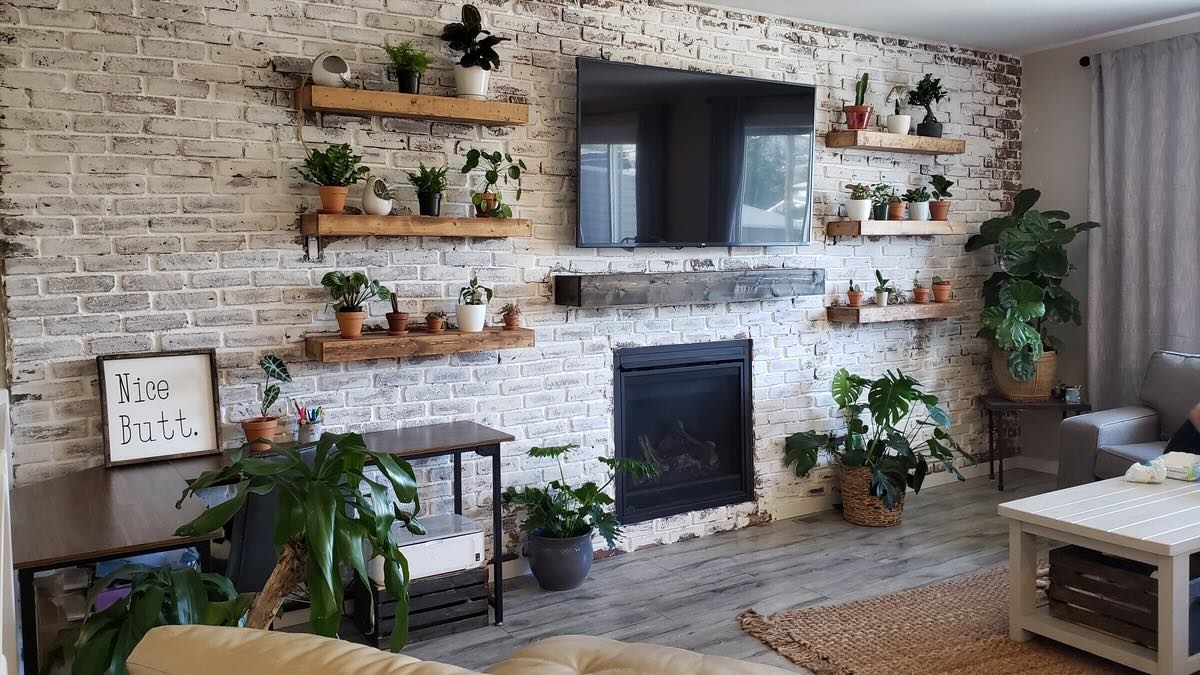
Creating a faux brick interior wall is a fantastic way to add character and warmth to any space. Whether you want to infuse a rustic charm into your home or give a modern room a touch of industrial flair, a faux brick wall can be the perfect solution. Not only does it provide an eye-catching focal point, but it also adds texture and depth, transforming a plain wall into a stunning feature.
While the idea of installing a real brick wall might seem daunting, creating a faux brick wall is a cost-effective and relatively simple alternative. With the right materials and a bit of creativity, you can achieve a realistic-looking brick wall that will impress your guests and elevate the ambiance of your space.
In this comprehensive guide, we will walk you through the step-by-step process of creating a faux brick interior wall. From gathering the necessary materials to adding the finishing touches, we will cover everything you need to know to embark on this exciting home improvement project. So, roll up your sleeves and get ready to transform your space with the timeless allure of a faux brick wall!
Key Takeaways:
- Creating a faux brick interior wall is a cost-effective and relatively simple way to add character and warmth to any space. With the right materials and creativity, you can achieve a realistic-looking brick wall that impresses guests and elevates the ambiance.
- By meticulously preparing the wall, applying the base coat, creating the brick pattern, adding texture, and painting the faux bricks, you can transform a plain wall into a visually striking and authentic brick wall. Embrace the unique character and warmth that the faux brick wall brings to your space.
Read more: How To Paint A Faux Brick Wall
Materials Needed
Before diving into the process of creating a faux brick interior wall, it’s essential to gather the necessary materials. Here’s a comprehensive list of what you’ll need to embark on this project:
- Medium-density fiberboard (MDF) panels or hardboard sheets
- Measuring tape and pencil
- Sandpaper
- Primer
- Paintbrushes and rollers
- Painter’s tape
- Joint compound or spackling paste
- Putty knife
- Acrylic paint in various shades of red, brown, and black
- Old cloth or sponge
- Sealer or clear coat
- Drop cloths or plastic sheets
- Level
- Saw (if cutting panels to size)
- Construction adhesive
- Safety goggles and gloves
It’s important to ensure that you have all the materials on hand before starting the project to streamline the process and minimize interruptions. Additionally, consider the size of the wall and the desired pattern when determining the quantity of materials required.
Once you have all the necessary materials assembled, you’ll be ready to move on to the next steps in creating your faux brick interior wall.
Preparing the Wall
Before you begin the exciting process of creating a faux brick interior wall, it’s crucial to prepare the surface that will serve as the canvas for your project. Follow these steps to ensure that the wall is ready for the transformation:
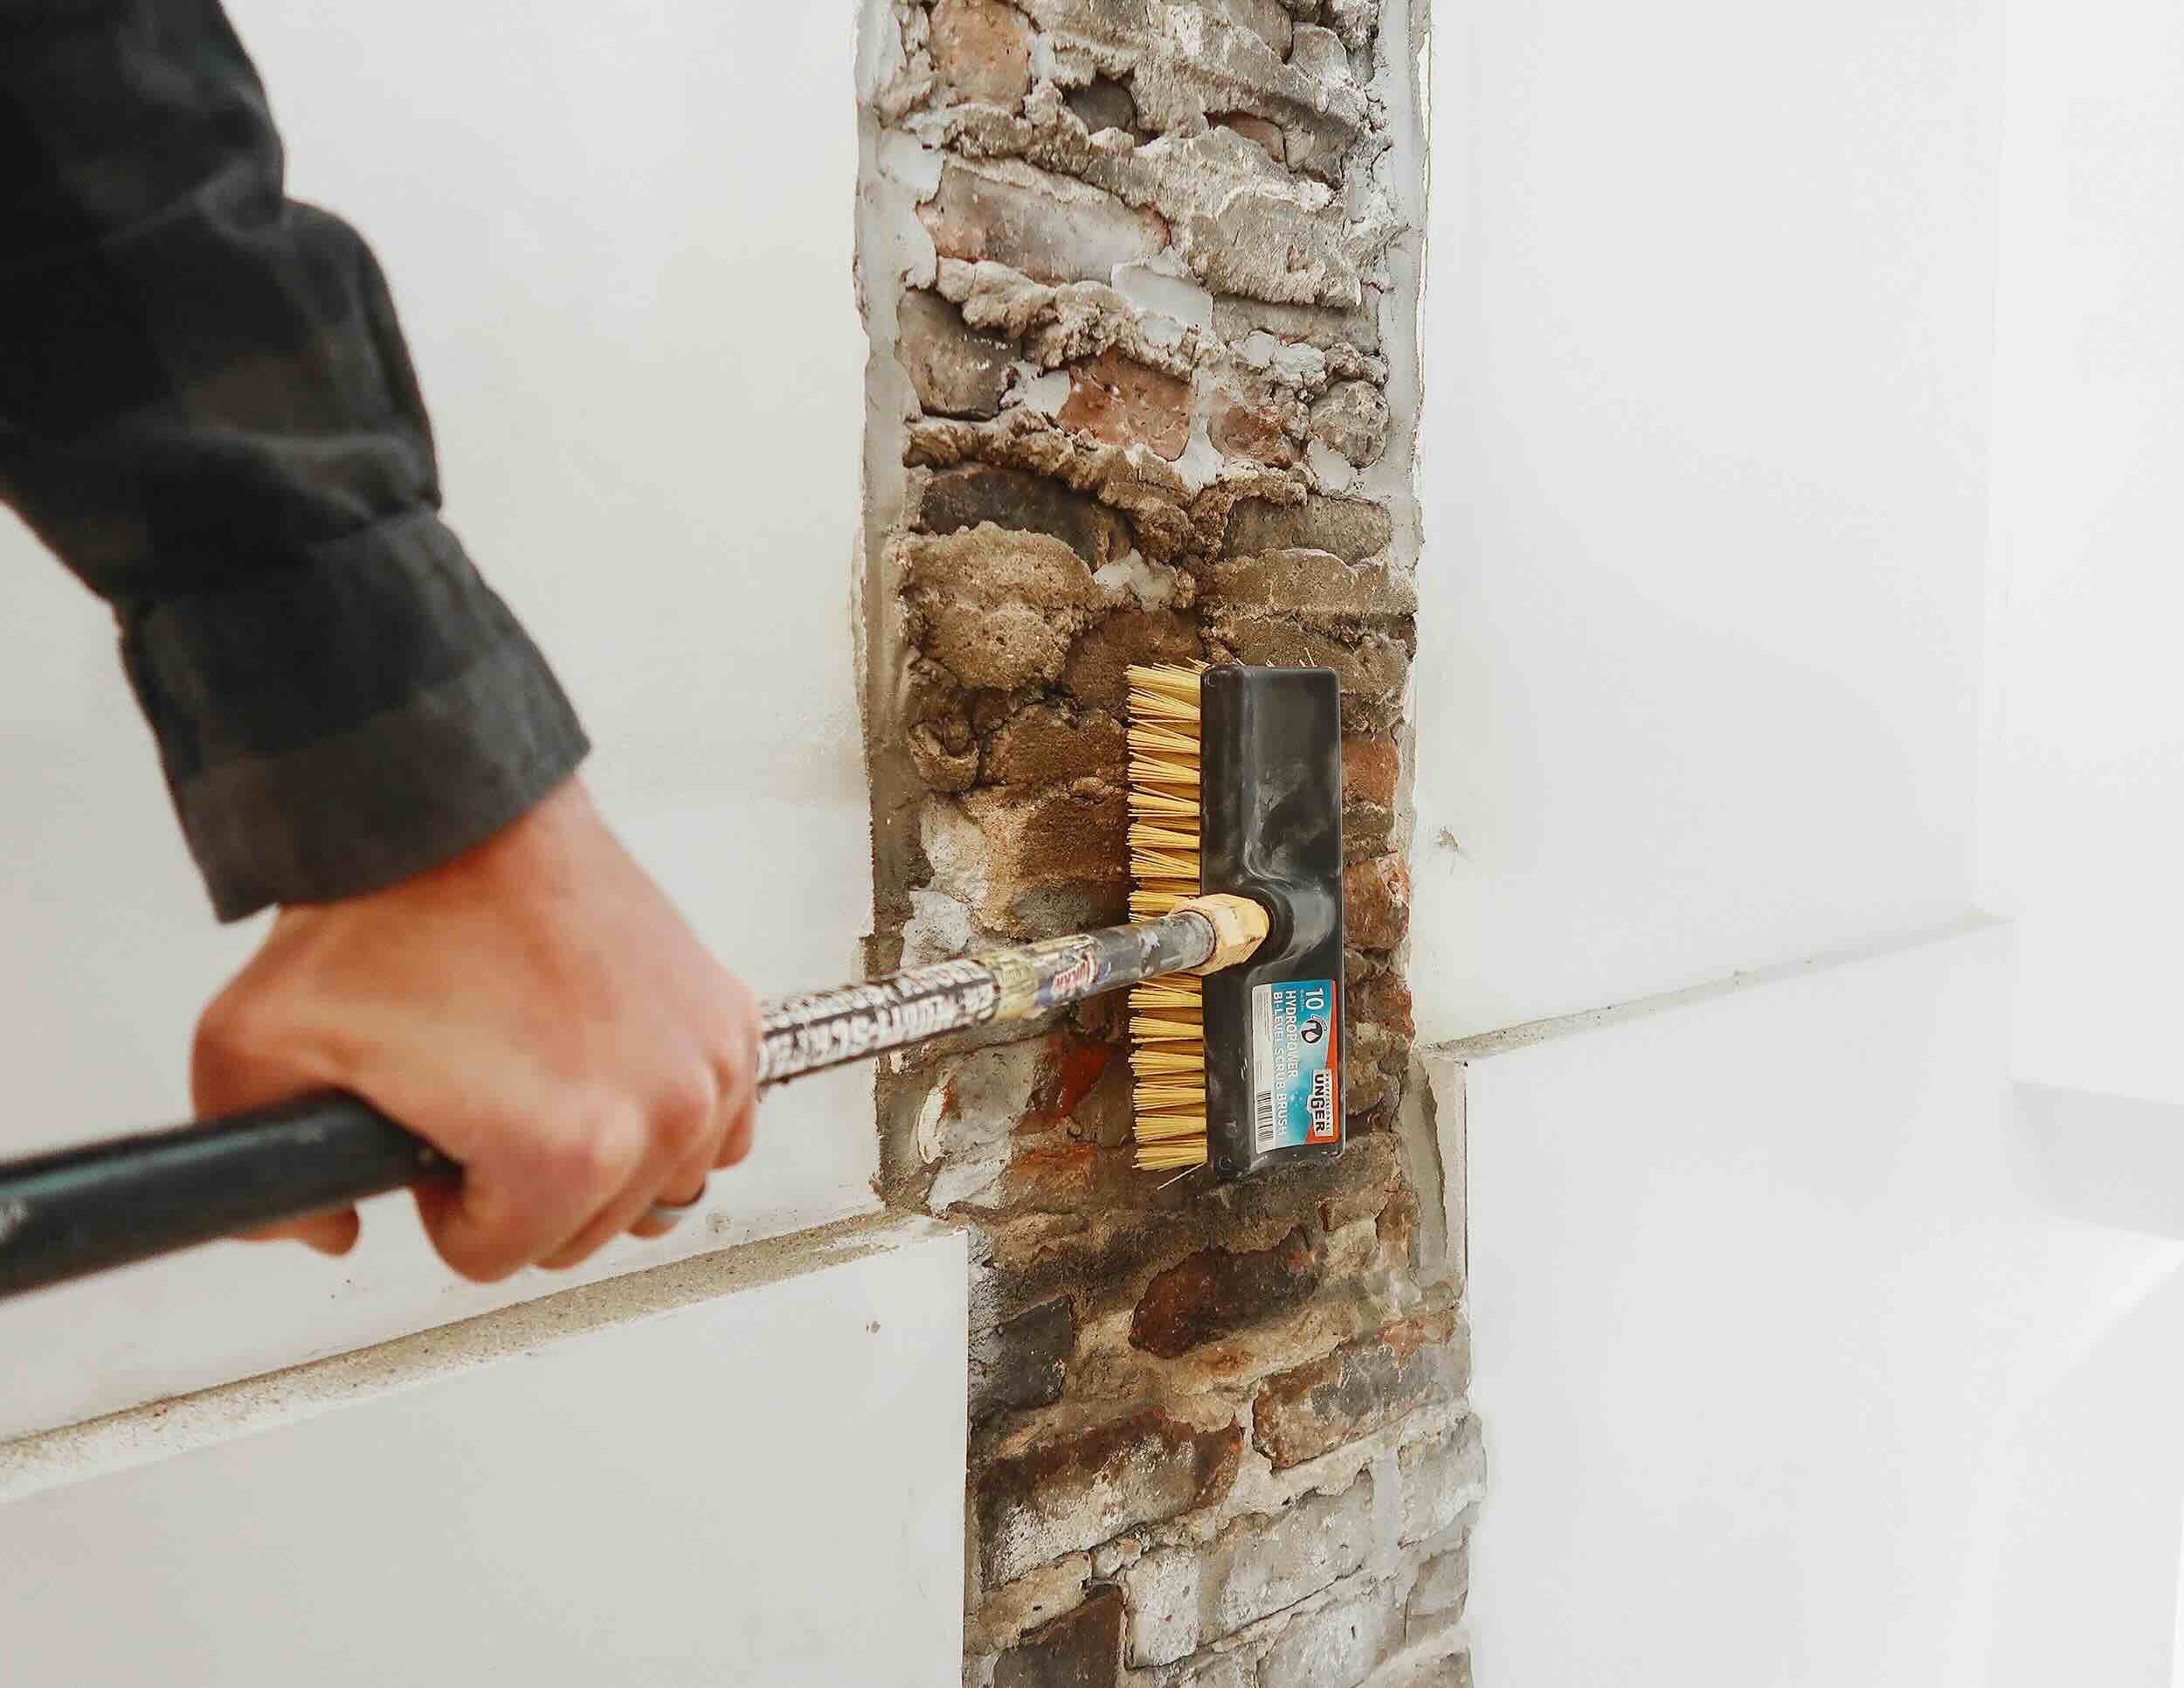
- Clean the Wall: Start by thoroughly cleaning the wall surface to remove any dirt, dust, or grease. Use a mild detergent and water to wash the wall, and allow it to dry completely before proceeding.
- Mark the Pattern: Using a measuring tape and pencil, mark the desired brick pattern on the wall. You can opt for a traditional running bond pattern, a herringbone pattern, or any other layout that suits your aesthetic preferences.
- Protect the Surrounding Area: Cover the floor and any adjacent surfaces with drop cloths or plastic sheets to prevent them from being splattered with paint or joint compound during the application process.
- Apply Primer: Once the wall is clean and the pattern is marked, apply a coat of primer to ensure better adhesion for the subsequent layers of paint and joint compound. Allow the primer to dry completely according to the manufacturer’s instructions.
By meticulously preparing the wall, you’ll create an ideal foundation for the faux brick application, setting the stage for a stunning end result. With the wall primed and ready, you can move on to the next steps in the process of bringing your faux brick interior wall to life.
Applying the Base Coat
Once the wall is prepped and ready, it’s time to apply the base coat that will serve as the background for your faux brick. Follow these steps to achieve a seamless and realistic base for your brick wall:
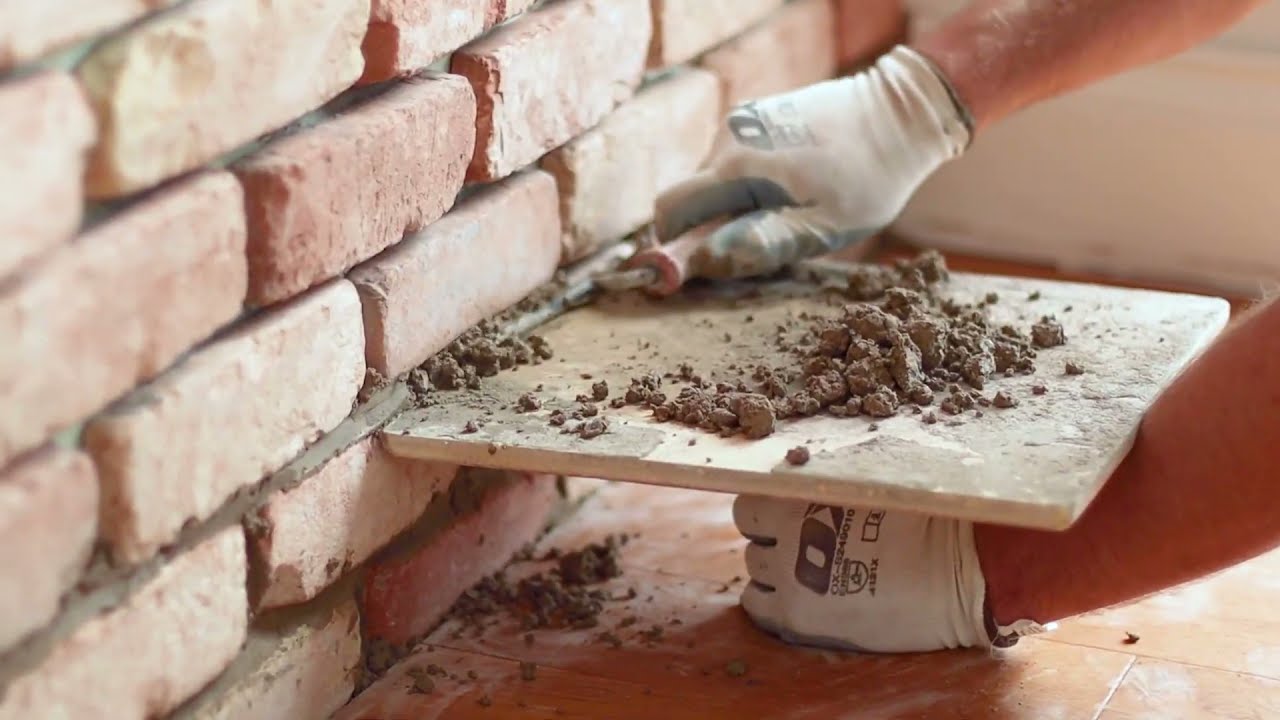
- Mix the Joint Compound: If you’re using joint compound as the base coat, mix it thoroughly in a large container according to the manufacturer’s instructions. Ensure that the consistency is smooth and easy to spread.
- Apply the Joint Compound: Using a putty knife, spread a thin, even layer of joint compound over the primed wall, covering the marked brick pattern. Work methodically, ensuring that the thickness of the layer is consistent throughout the application.
- Create Texture: To mimic the rough texture of brick, use a coarse sponge or an old cloth to dab and stipple the wet joint compound gently. This process will add depth and dimension to the base coat, emulating the natural irregularities found in brick surfaces.
- Allow for Drying Time: Let the base coat dry completely according to the manufacturer’s recommendations. This drying period is essential to ensure that the subsequent layers adhere properly and that the texture sets effectively.
By following these steps, you’ll establish a convincing foundation for your faux brick wall, setting the stage for the next phase of the process. The base coat not only provides the backdrop for the brick pattern but also contributes to the overall tactile and visual authenticity of the finished wall.
To create a faux brick interior wall, use faux brick panels or stencils to apply a brick pattern onto the wall. Paint the panels or stenciled area with brick-colored paint, and add shading for a realistic look.
Creating the Brick Pattern
With the base coat in place, it’s time to bring the brick pattern to life. This step involves marking and defining the individual bricks to achieve a realistic and visually compelling appearance. Follow these steps to create an authentic brick pattern on your faux brick wall:
- Measure and Mark: Use a measuring tape and pencil to mark the horizontal and vertical lines that will define the individual bricks. The size and spacing of the bricks can vary based on your preference, but common brick dimensions are approximately 2 1/4 inches by 7 5/8 inches.
- Create Mortar Lines: Using painter’s tape, mask off the areas that will represent the mortar lines between the bricks. Ensure that the tape follows the marked brick pattern precisely, as this will determine the clean and defined look of the faux bricks.
- Refine the Brick Edges: With a putty knife or similar tool, gently scrape the edges of the taped areas to soften and slightly round them. This step emulates the worn and imperfect edges often seen on real bricks, adding to the authenticity of the faux brick wall.
By meticulously following these steps, you’ll effectively create the illusion of individual bricks, complete with realistic mortar lines and textural details. This meticulous approach sets the stage for the next phase of the process, where the faux bricks will truly come to life with the addition of depth and color.
Read more: How To Install Faux Brick Wall Panels
Adding Texture
Texture plays a crucial role in lending authenticity to your faux brick wall. By incorporating depth and tactile variation, you can elevate the visual appeal and realism of the brick surface. Follow these steps to add texture to your faux brick wall:
- Layering Technique: Using a dry brush or a small roller, apply a light coat of paint over the entire surface, including the taped-off brick and mortar areas. This initial layer should be a lighter shade, such as a pale beige or off-white, to serve as the base color for the bricks.
- Dry Brushing: Once the base coat is dry, dip a dry brush lightly into a darker shade of paint, such as a warm brown or terracotta color. Remove most of the paint from the brush by gently dabbing it onto a paper towel or cloth until only a small amount remains on the bristles.
- Applying the Texture: With the lightly loaded brush, gently sweep and stipple the surface of the taped-off brick areas. The goal is to create subtle variations in color and texture, mimicking the natural nuances found in real brick surfaces.
- Blending and Layering: Experiment with layering different shades of paint to achieve a nuanced and authentic look. Blend the colors seamlessly, allowing the base coat to show through in places for added depth and dimension.
By employing these techniques, you’ll infuse your faux brick wall with a tactile and visually captivating texture, bringing it one step closer to resembling the genuine article. This attention to detail sets the stage for the final phase of the process, where the faux bricks will be brought to life with the application of color and finishing touches.
Painting the Faux Brick
With the texture in place, it’s time to bring the faux bricks to life with the application of color. This step involves adding depth, dimension, and visual interest to the textured surface, creating the illusion of individual bricks with varying shades and tones. Follow these steps to paint your faux brick wall:
- Base Coat for the Bricks: Select a mid-tone shade of red or brown to serve as the base color for the bricks. Using a paintbrush or roller, apply an even coat of the chosen color to the taped-off brick areas, ensuring complete coverage while allowing the textured undercoat to show through in places for added depth.
- Highlighting the Bricks: Once the base coat is dry, select a slightly lighter shade of the same color family to create highlights on the bricks. With a dry brush or a small roller, lightly apply the highlight color to the raised areas and edges of the faux bricks, accentuating the texture and adding dimension.
- Adding Depth and Variation: To enhance the realism of the faux bricks, consider using a darker shade to create subtle shadows and depth. Apply this darker color sparingly to the lower portions and crevices of the bricks, blending it seamlessly with the base and highlight colors.
- Refining the Mortar Lines: Once the brick colors are in place, carefully remove the painter’s tape to reveal the crisp, defined mortar lines. If necessary, touch up the mortar lines with a small brush and a light gray or off-white paint to ensure a clean and polished look.
By meticulously painting the faux bricks and mortar, you’ll create a visually striking and authentic brick wall that adds character and charm to your space. This transformative process sets the stage for the final phase, where the finishing touches will elevate the overall appearance and durability of your faux brick interior wall.
Finishing Touches
As you near the completion of your faux brick interior wall, it’s essential to add the finishing touches that will enhance its durability and visual appeal. Follow these steps to ensure that your faux brick wall is not only visually captivating but also long-lasting and resilient:
- Sealing the Surface: Once the painted faux brick wall has dried completely, consider applying a clear sealer or polyurethane coat to protect the surface and enhance its longevity. This step will safeguard the painted finish from wear and tear, making it easier to clean and maintain over time.
- Inspecting and Touching Up: Carefully examine the entire faux brick wall for any areas that may require touch-ups or refinements. Address any imperfections or inconsistencies in the texture or color, ensuring that the overall appearance is cohesive and polished.
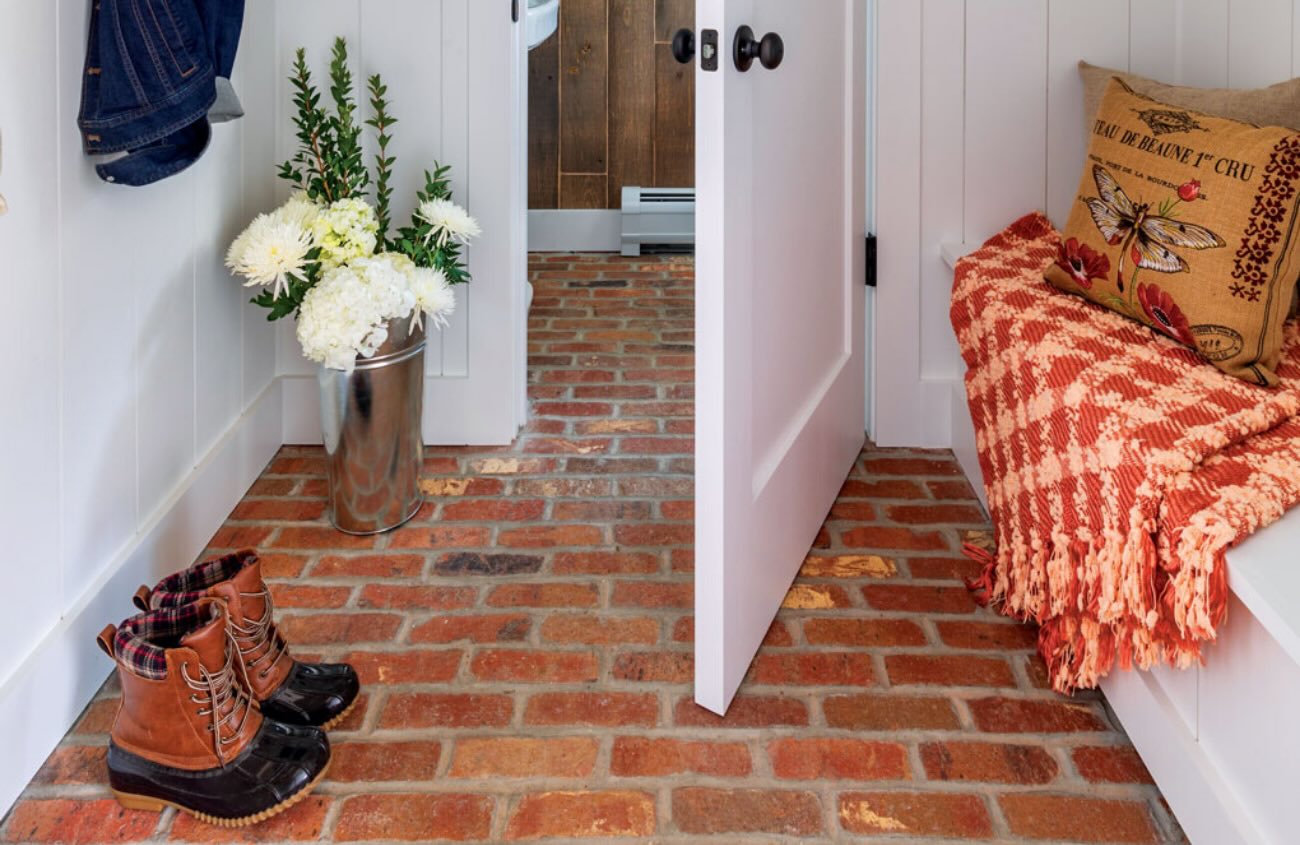
- Admiring Your Handiwork: Take a moment to step back and admire the transformation of your space. Revel in the warmth and character that the faux brick wall has brought to the room, and appreciate the craftsmanship and creativity that went into its creation.
- Showcasing Your Style: Consider how the faux brick wall can be complemented by your furnishings, decor, and lighting to create a cohesive and inviting ambiance. Whether it’s a focal point in a living room, a backdrop for a cozy reading nook, or an accent wall in a dining area, let your creativity guide the styling of the space around your new faux brick wall.
By attending to these finishing touches, you’ll ensure that your faux brick interior wall not only looks stunning but also stands the test of time, becoming a beloved feature of your home for years to come. Embrace the unique character and warmth that the faux brick wall brings to your space, and take pride in the artistry and ingenuity that have made it a reality.
Frequently Asked Questions about How To Create A Faux Brick Interior Wall
Was this page helpful?
At Storables.com, we guarantee accurate and reliable information. Our content, validated by Expert Board Contributors, is crafted following stringent Editorial Policies. We're committed to providing you with well-researched, expert-backed insights for all your informational needs.


0 thoughts on “How To Create A Faux Brick Interior Wall”