Home>Construction & Tools>Building Materials>How To Make A Faux Brick Wall
Building Materials
How To Make A Faux Brick Wall
Modified: February 18, 2024
Learn how to create a realistic faux brick wall using affordable building materials. Transform your space with this easy DIY project.
(Many of the links in this article redirect to a specific reviewed product. Your purchase of these products through affiliate links helps to generate commission for Storables.com, at no extra cost. Learn more)
Introduction
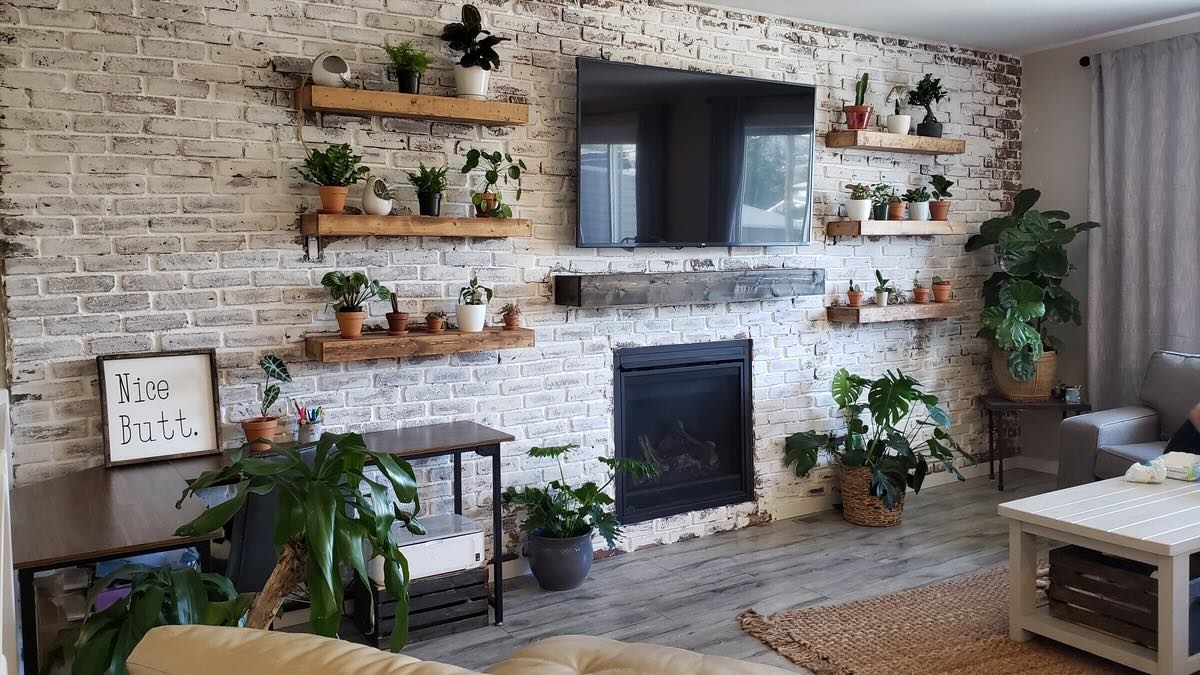
Creating a faux brick wall is a fantastic way to add character and charm to any space. Whether you want to evoke the rustic ambiance of a countryside cottage or the industrial chic of a modern loft, a faux brick wall can be the perfect addition to your interior design. Not only does it provide a visually appealing backdrop, but it also adds texture and warmth to the room.
In this comprehensive guide, we will walk you through the step-by-step process of creating a stunning faux brick wall. With the right materials, a bit of creativity, and a touch of patience, you can transform a plain, uninspiring wall into a captivating focal point that will impress your guests and elevate the aesthetic of your home.
So, roll up your sleeves, gather your supplies, and let's dive into the exciting world of faux brick wall creation. Whether you're a seasoned DIY enthusiast or a novice looking for a fun and rewarding project, this guide will equip you with the knowledge and inspiration you need to bring your vision to life. Let's embark on this creative journey together and unleash the transformative power of faux brick!
Key Takeaways:
- Transform a plain wall into a captivating focal point by creating a faux brick wall. With the right materials and step-by-step process, you can add warmth and character to your space with a touch of rustic charm.
- Meticulously measuring, marking, and painting the bricks will infuse your faux brick wall with rich colors and tactile authenticity, elevating its visual appeal and enduring charm.
Read more: How To Paint A Faux Brick Wall
Materials Needed
Before embarking on your faux brick wall project, it’s essential to gather the necessary materials to ensure a smooth and successful process. Here’s a list of the items you’ll need:
- Medium-density fiberboard (MDF) panels or faux brick wall panels
- Painter’s tape
- Sandpaper
- Primer
- Paint (brick red, off-white, and optional accent colors)
- Paintbrushes and rollers
- Trowel or putty knife
- Level
- Measuring tape
- Pencil
- Sealer
- Drop cloths or plastic sheets
- Protective gear (gloves, goggles, and mask)
These materials will serve as the foundation for your faux brick wall creation. Ensure that you have all the items on hand before starting the project to streamline the process and minimize interruptions. With these supplies at your disposal, you’ll be well-equipped to bring your faux brick vision to life with precision and finesse.
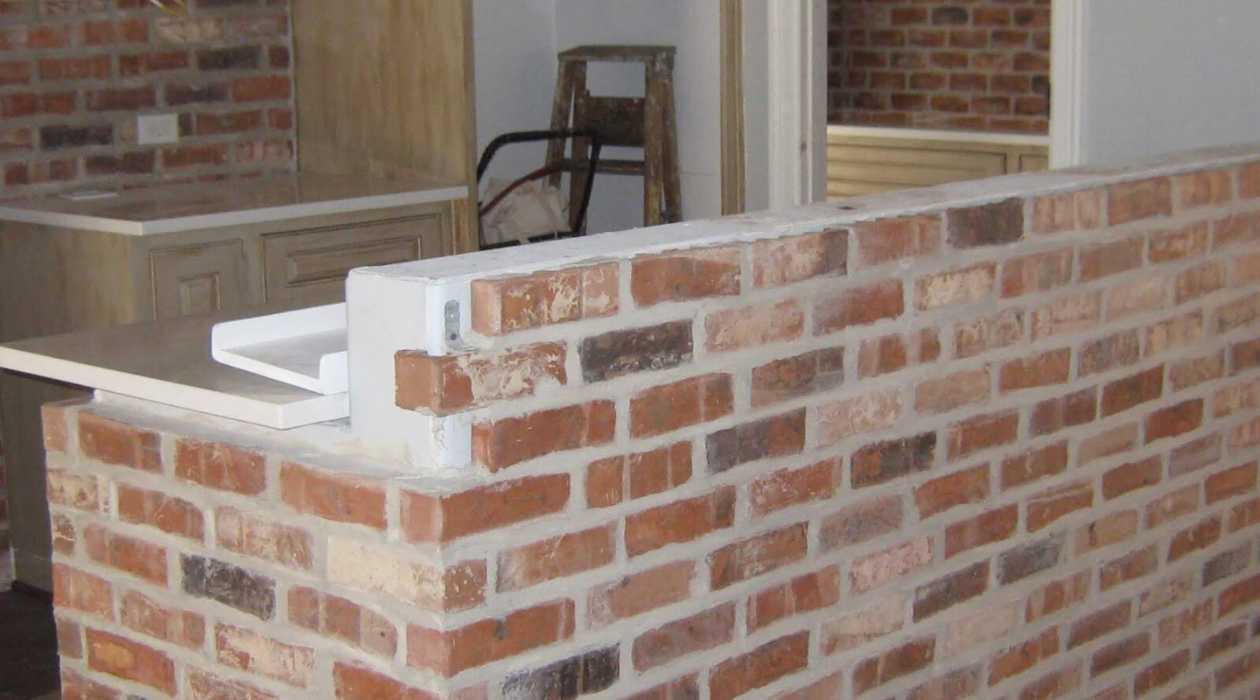
Step 1: Prepare the Wall Surface
Before diving into the exciting process of creating a faux brick wall, it’s crucial to prepare the wall surface to ensure optimal adhesion and a flawless end result. Follow these steps to ready the wall for the transformation:
- Clean the Wall: Begin by thoroughly cleaning the wall surface to remove any dirt, dust, or grease. A mixture of mild soap and water can effectively eliminate grime and ensure a clean canvas for the upcoming steps.
- Smooth Imperfections: Inspect the wall for any imperfections, such as bumps or cracks, and address them accordingly. Sand down rough areas and fill in any gaps or holes with spackling compound. Once the compound dries, sand the patched areas until they are smooth and level with the rest of the wall.
- Apply Primer: To promote strong adhesion and uniform absorption of the subsequent layers, apply a coat of primer to the wall. The primer will create a stable base for the faux brick application and enhance the durability of the finished product.
- Mark the Layout: Use a level, measuring tape, and pencil to mark the desired layout of the faux bricks on the wall. This step is crucial for achieving a symmetrical and visually pleasing arrangement.
- Protect Surrounding Areas: Cover the floor and any adjacent surfaces with drop cloths or plastic sheets to safeguard them from accidental spills or splatters during the application process.
By meticulously preparing the wall surface, you’ll set the stage for a seamless and professional-looking faux brick wall. These preparatory measures are essential for ensuring that the subsequent steps unfold with precision and yield a stunning end result that exudes authenticity and charm.
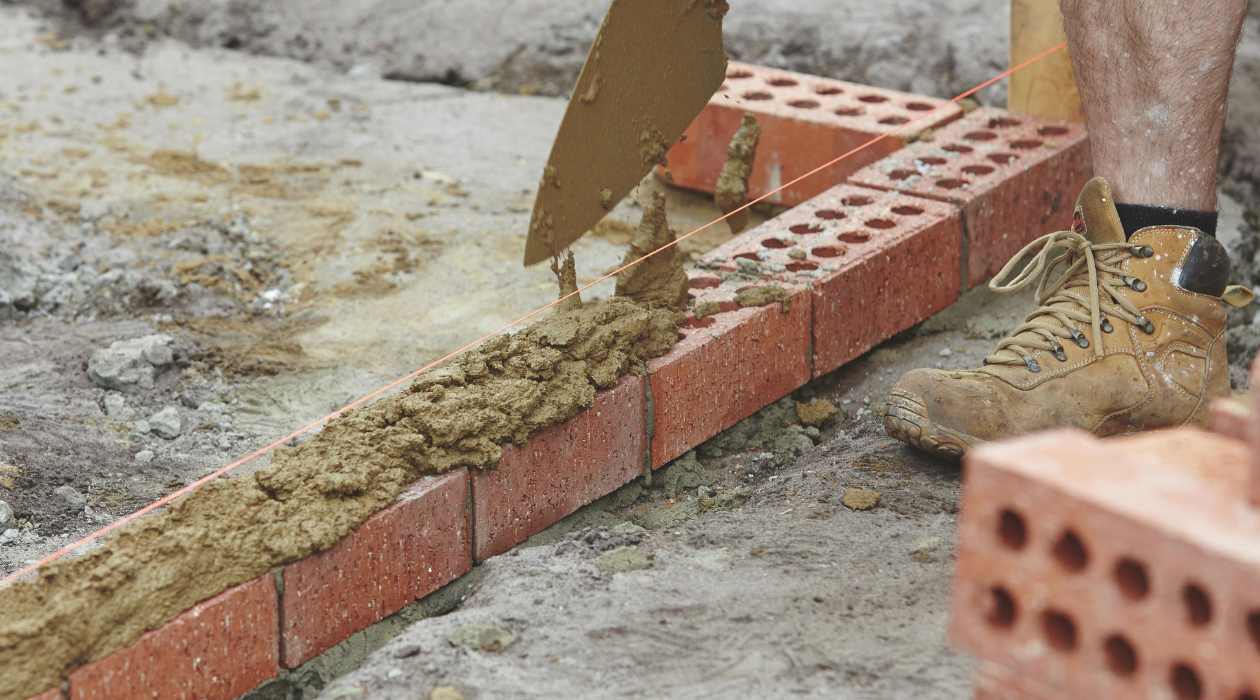
Step 2: Measure and Mark the Brick Pattern
Creating an authentic-looking faux brick wall hinges on meticulous planning and precise execution. In this step, you’ll embark on the crucial process of measuring and marking the brick pattern, laying the foundation for the visual appeal of the final outcome. Follow these guidelines to ensure a well-defined and visually captivating brick pattern:
- Determine Brick Size: Decide on the desired size of the faux bricks. Common brick dimensions include 2 1/4″ x 7 5/8″ or 3″ x 7 5/8″, but you can customize the dimensions to align with your aesthetic preferences.
- Establish Horizontal and Vertical Lines: Use a level and measuring tape to create horizontal and vertical reference lines on the wall. These lines will serve as guides for positioning the bricks and maintaining a uniform pattern throughout the installation process.
- Mark Brick Outlines: With the chosen brick dimensions in mind, use a pencil to outline the individual bricks on the wall, ensuring consistent spacing between each brick. This meticulous approach will contribute to a realistic and visually appealing faux brick layout.
- Create Natural Variations: Introduce subtle irregularities in the brick pattern to emulate the authentic charm of aged brick walls. Vary the brick spacing and occasionally offset the placement of bricks to infuse character and visual interest into the design.
- Step Back and Assess: After marking the brick pattern, take a step back to evaluate the layout from different angles. This vantage point will enable you to identify any inconsistencies and make adjustments before proceeding to the next phase.
By meticulously measuring and marking the brick pattern, you’ll lay the groundwork for a faux brick wall that exudes authenticity and visual allure. This preparatory phase is instrumental in ensuring that the subsequent steps unfold seamlessly, culminating in a captivating and aesthetically pleasing finished product.
Step 3: Apply the Base Coat
With the wall surface prepared and the brick pattern meticulously marked, it’s time to commence the application of the base coat, a pivotal stage that sets the tone for the faux brick wall’s aesthetic appeal. Follow these steps to apply the base coat with precision and finesse:
- Mix the Base Color: Select an off-white or light beige paint to serve as the base color for the faux bricks. Thoroughly mix the paint to ensure a consistent hue that will provide a neutral backdrop for the subsequent layers.
- Apply the Base Coat: Using a paint roller or brush, apply the base color evenly across the entire wall, encompassing the marked brick pattern. Exercise care to maintain clean edges along the brick outlines, ensuring that the base coat serves as a seamless foundation for the forthcoming brick texture.
- Create Subtle Texture: While the base coat is still wet, use a dry brush or sponge to introduce subtle texture and depth to the surface. Lightly dab or drag the brush or sponge across the base coat to emulate the porous and imperfect texture characteristic of brick surfaces.
- Blend and Soften: Blend any harsh lines or irregularities in the base coat to achieve a cohesive and natural appearance. This blending process will contribute to the overall authenticity of the faux brick wall, replicating the organic nuances found in genuine brickwork.
- Allow Drying Time: Let the base coat dry completely according to the manufacturer’s recommended drying time. This phase is crucial for ensuring that the subsequent layers adhere effectively and that the overall finish attains the desired durability and visual appeal.
By meticulously applying the base coat, you’ll establish a solid foundation for the faux brick wall, infusing it with the subtle nuances and texture reminiscent of authentic brick surfaces. This pivotal step sets the stage for the subsequent layers, propelling the transformation of the wall into a captivating focal point that exudes timeless charm and character.
When creating a faux brick wall, use a stencil and sponge to apply paint for a realistic texture. Start with a base coat and then add layers of different shades for depth.
Read more: How To Install Faux Brick Wall Panels
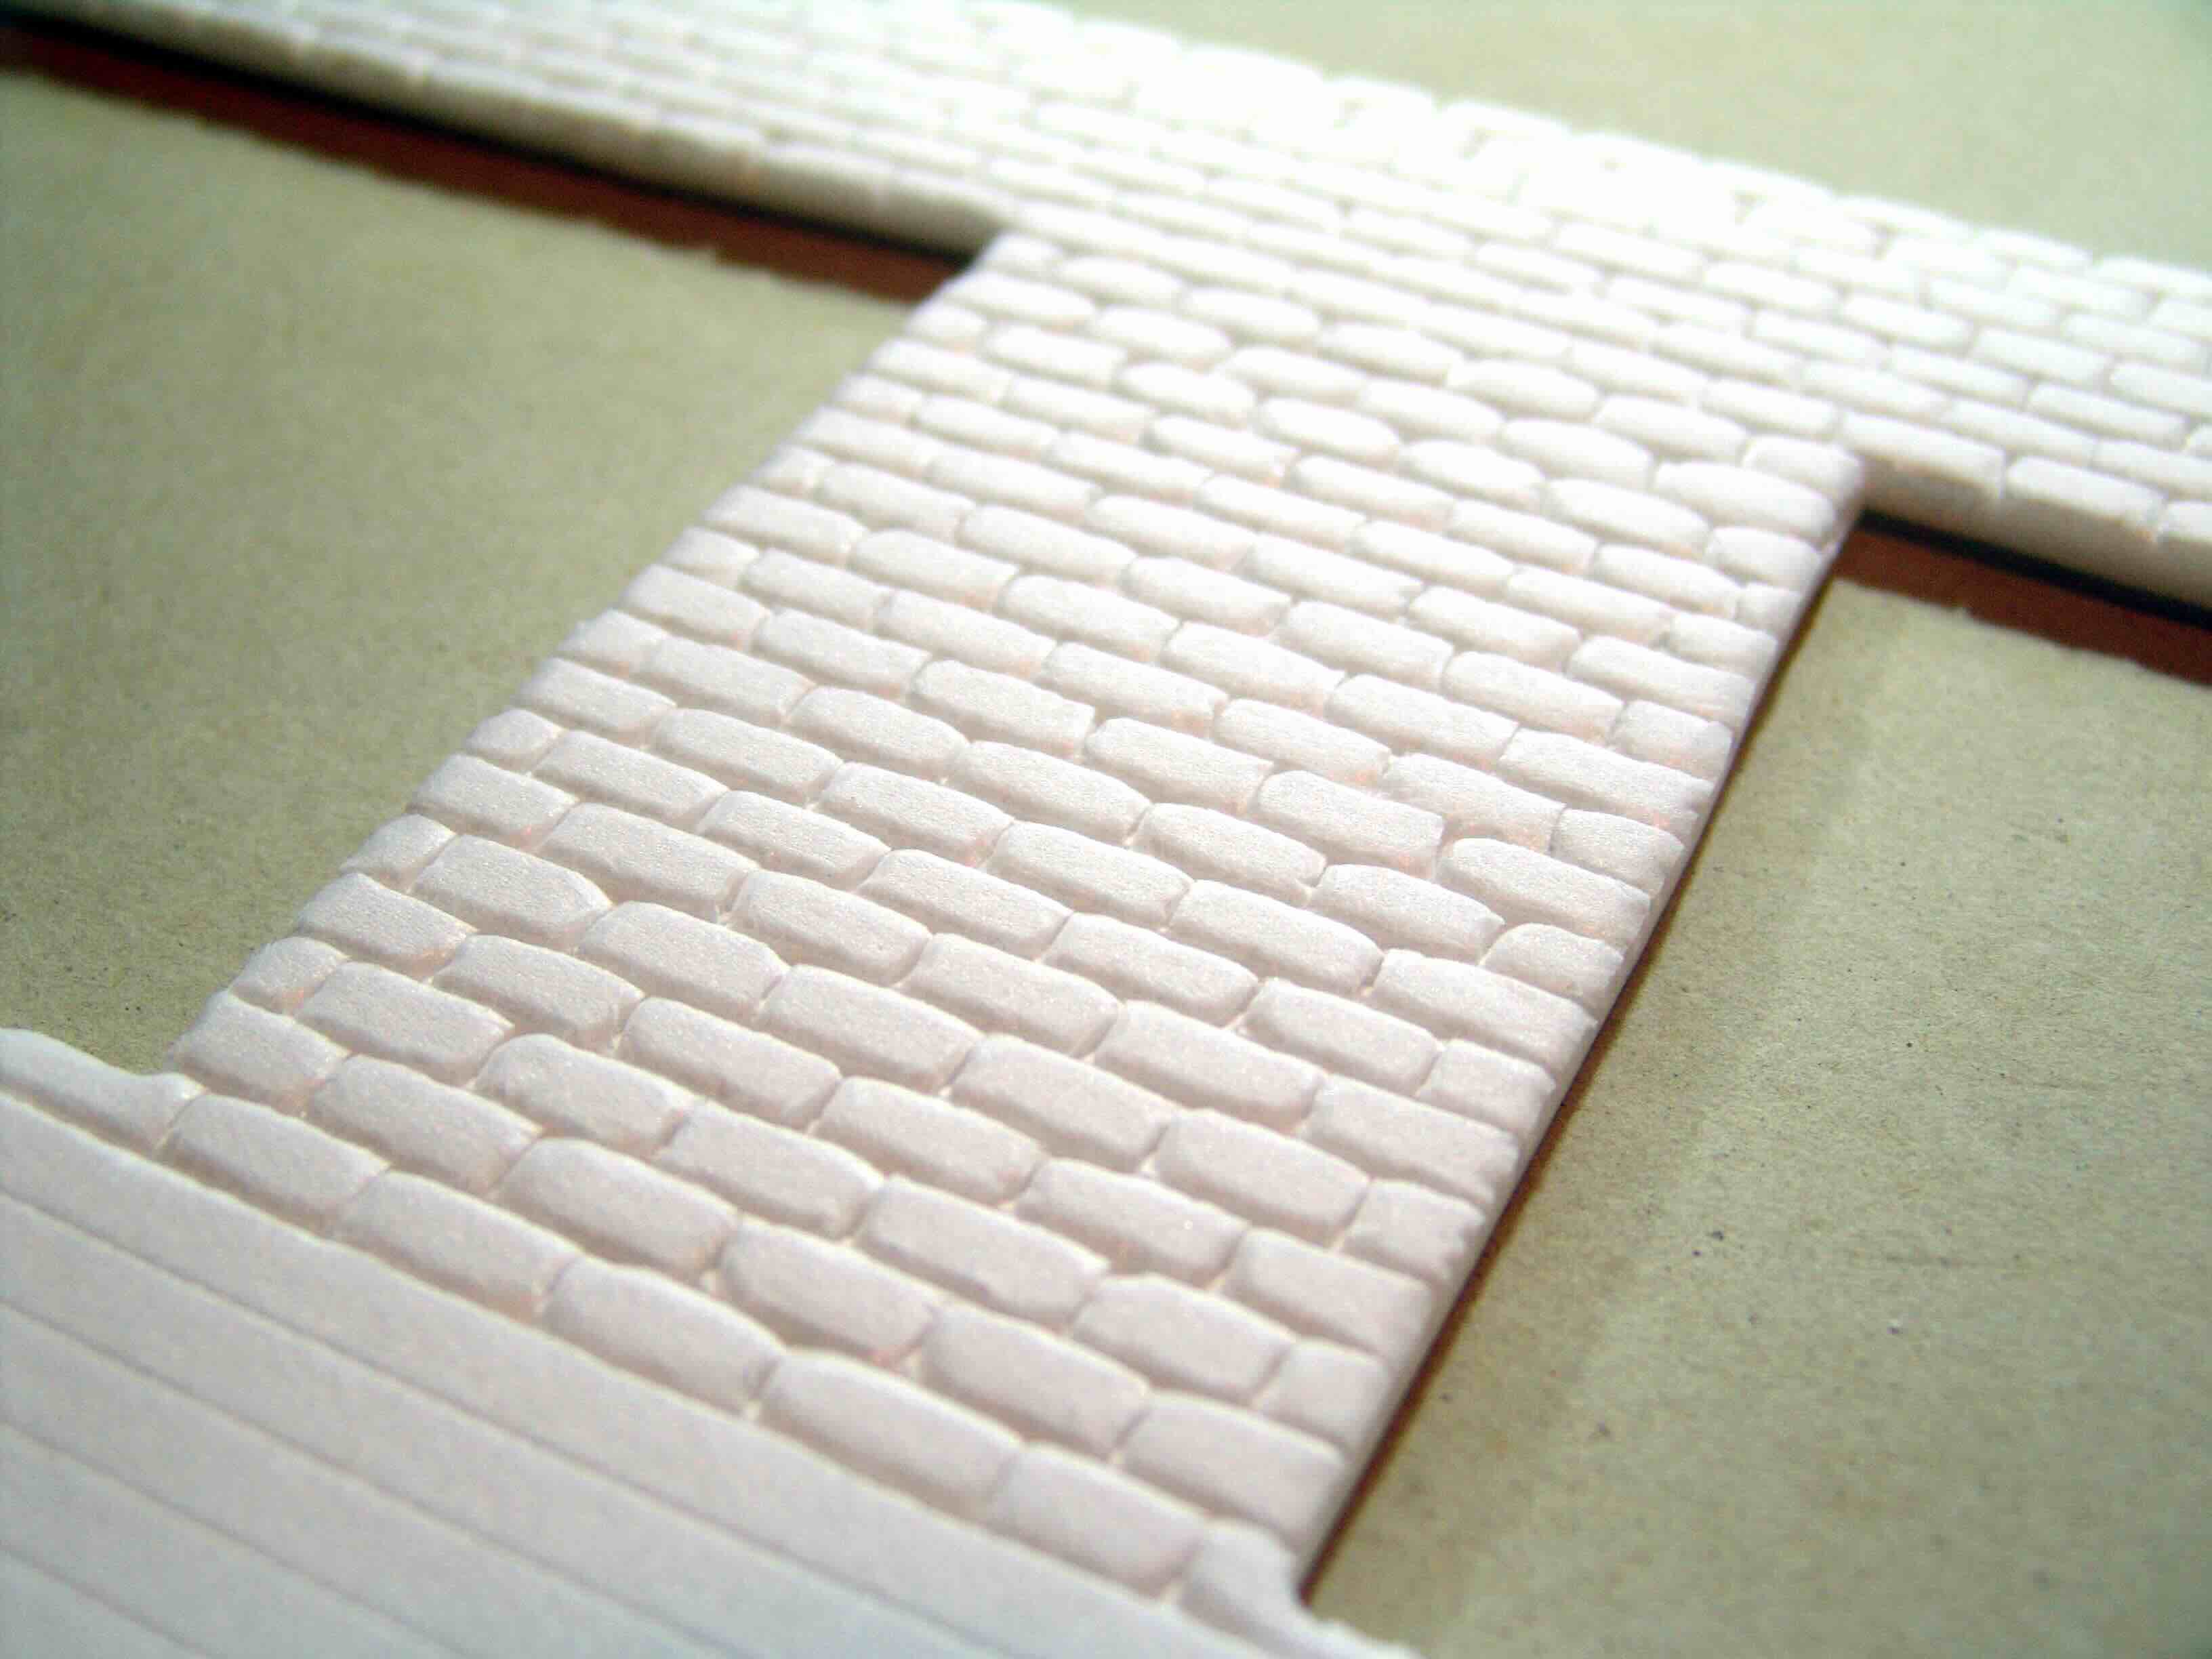
Step 4: Create the Brick Texture
As you progress in the creation of your faux brick wall, the next crucial step involves infusing the surface with the distinctive texture and depth characteristic of genuine brickwork. By meticulously crafting the brick texture, you’ll imbue the wall with an authentic and tactile quality that enhances its visual appeal. Follow these steps to achieve a convincing brick texture:
- Select the Appropriate Tools: Equip yourself with a trowel, putty knife, or specialized texture tool designed for creating brick patterns. These tools will enable you to meticulously sculpt the texture, replicating the irregularities and grooves inherent in traditional brick surfaces.
- Prepare the Brick Color: Choose a brick red paint or a hue that aligns with your desired aesthetic. Dilute the paint slightly to achieve a consistency conducive to the application of the textured layer.
- Apply the Textured Layer: Using the selected tool, carefully apply the diluted brick-colored paint over the base coat, focusing on the marked brick outlines. Employ deliberate strokes and movements to emulate the rugged texture of individual bricks, ensuring that each brick exhibits distinct depth and character.
- Emulate Realistic Imperfections: Introduce subtle imperfections and irregularities in the texture to mirror the natural variations found in authentic brickwork. Vary the depth and intensity of the texture across different bricks, infusing the wall with an organic and visually captivating appearance.
- Refine and Enhance: Fine-tune the texture by refining the edges of each brick and enhancing the depth of the grooves. This meticulous approach will contribute to a convincing and aesthetically pleasing brick texture that exudes authenticity.
- Step Back and Assess: After creating the brick texture, step back to evaluate the overall effect from various angles. This vantage point will enable you to identify any areas that require refinement or adjustments before proceeding to the next phase.
By meticulously crafting the brick texture, you’ll elevate the faux brick wall to new heights of authenticity and visual allure. This transformative phase infuses the wall with the tactile and dimensional qualities of genuine brickwork, culminating in a captivating and immersive design element that enriches the ambiance of the space.
Step 5: Paint the Bricks
With the textured layer in place, the next pivotal step in the creation of your faux brick wall involves infusing the bricks with rich, nuanced colors that emulate the natural variations found in authentic brick surfaces. By meticulously painting the bricks, you’ll imbue the wall with depth, character, and visual intrigue. Follow these steps to paint the bricks with precision and finesse:
- Select Brick Tones: Choose a range of brick tones, including varying shades of red, brown, and earthy hues. Opt for colors that evoke the weathered and time-worn appearance of traditional brickwork, capturing the essence of aged charm and character.
- Apply Base Colors: Using a small paintbrush, apply the base colors to the bricks, ensuring that each brick exhibits a unique hue that contributes to the overall depth and authenticity of the faux brick wall. Employ a combination of subtle blending and deliberate color differentials to achieve a natural and organic appearance.
- Introduce Weathering Effects: Emulate the weathering and patina characteristic of aged bricks by selectively applying darker tones and subtle washes to certain areas of the bricks. This technique infuses the wall with a sense of history and adds visual interest to the overall design.
- Highlight Individual Bricks: Use lighter accent colors to highlight specific bricks, adding dimension and visual intrigue to the overall composition. This selective highlighting imparts a sense of depth and texture, enhancing the realism of the faux brick wall.
- Blend and Soften: Employ blending techniques to soften color differentials and create a cohesive and harmonious color palette across the entire wall. This blending process contributes to a unified and visually captivating brick surface that exudes authenticity and timeless charm.
- Step Back and Assess: After painting the bricks, step back to evaluate the overall effect from various angles. This perspective will enable you to identify any areas that require refinement or adjustments before proceeding to the final phase.
By meticulously painting the bricks, you’ll infuse the faux brick wall with a rich tapestry of colors and nuances, elevating its visual appeal and authenticity. This transformative phase imbues the wall with the warmth, character, and timeless allure of genuine brickwork, culminating in a captivating design element that enriches the ambiance of the space.
Step 6: Seal the Faux Brick Wall
As you approach the culmination of your faux brick wall creation, the final step involves sealing the surface to enhance durability, protect the finish, and impart a professional touch to the overall design. By meticulously sealing the faux brick wall, you’ll ensure that it retains its visual allure and tactile authenticity for years to come. Follow these steps to seal the faux brick wall with precision and finesse:
- Choose a High-Quality Sealer: Select a clear, matte sealer designed for use on painted surfaces. Ensure that the sealer is compatible with the type of paint used on the faux brick wall to guarantee optimal adhesion and protection.
- Prepare the Work Area: Lay down protective coverings to shield the surrounding surfaces and floor from potential sealer drips or spills. Adequate preparation will safeguard the area and streamline the sealing process.
- Apply the Sealer: Using a paintbrush or roller, apply a uniform coat of sealer across the entire faux brick wall, ensuring comprehensive coverage and a consistent finish. Exercise care to avoid pooling or uneven application, as this can detract from the overall aesthetic of the wall.
- Allow Drying Time: Let the initial coat of sealer dry according to the manufacturer’s recommended duration. Once the first coat is dry, assess the wall to determine if an additional coat is necessary to achieve the desired level of protection and sheen.
- Inspect and Touch Up: After the final coat of sealer has dried, inspect the faux brick wall for any areas that may require touch-ups or additional sealing. Address any discrepancies to ensure that the surface is uniformly sealed and impeccably finished.
- Admire the Finished Result: Step back and admire the beautifully sealed faux brick wall, reveling in the seamless integration of durability, protection, and visual allure. The sealed surface will exude a subtle sheen and a tactile authenticity that elevates the overall ambiance of the space.
By meticulously sealing the faux brick wall, you’ll fortify its resilience and longevity while preserving the captivating aesthetic that defines the design. This final phase imparts a professional finish and ensures that your faux brick wall remains a timeless and enduring focal point that enriches the visual landscape of your space.
Conclusion
Congratulations on successfully embarking on the creative journey of crafting a stunning faux brick wall! Through meticulous preparation, precise execution, and a dash of artistic flair, you’ve transformed a plain wall into a captivating focal point that exudes timeless charm and character.
As you reflect on the journey from a blank canvas to a textured, vibrant brick surface, take pride in the craftsmanship and dedication that have culminated in a visually striking and immersive design element. The faux brick wall serves as a testament to your creativity and ingenuity, infusing the space with warmth, texture, and a touch of rustic allure.
With its meticulously crafted texture, nuanced colors, and enduring seal, the faux brick wall stands as a testament to the transformative power of DIY projects. It not only enhances the visual appeal of the space but also serves as a conversation piece that captures the attention and admiration of all who encounter it.
As you admire the finished result, revel in the knowledge that you’ve brought a touch of timeless elegance and character to your environment. The faux brick wall stands as a testament to your creativity and resourcefulness, enriching the ambiance of the space with its tactile authenticity and visual allure.
Embrace the sense of accomplishment that accompanies the completion of this project, knowing that your artistic vision and dedication have yielded a captivating and enduring design element. The faux brick wall stands as a testament to your ability to transform humble materials into a work of art that resonates with charm and sophistication.
May this creative endeavor inspire you to embark on further DIY projects, infusing your surroundings with personalized touches that reflect your unique style and vision. The faux brick wall stands as a reminder of the boundless potential for creativity and innovation within your living space, inviting you to explore new avenues of self-expression and design.
As you bask in the ambiance of your newly adorned space, take pride in the artistry and craftsmanship that have yielded a faux brick wall that transcends mere decoration, becoming a testament to your creative spirit and the transformative power of DIY endeavors.
Frequently Asked Questions about How To Make A Faux Brick Wall
Was this page helpful?
At Storables.com, we guarantee accurate and reliable information. Our content, validated by Expert Board Contributors, is crafted following stringent Editorial Policies. We're committed to providing you with well-researched, expert-backed insights for all your informational needs.


0 thoughts on “How To Make A Faux Brick Wall”