Home>Construction & Tools>Building Materials>How To Paint A Faux Brick Wall
Building Materials
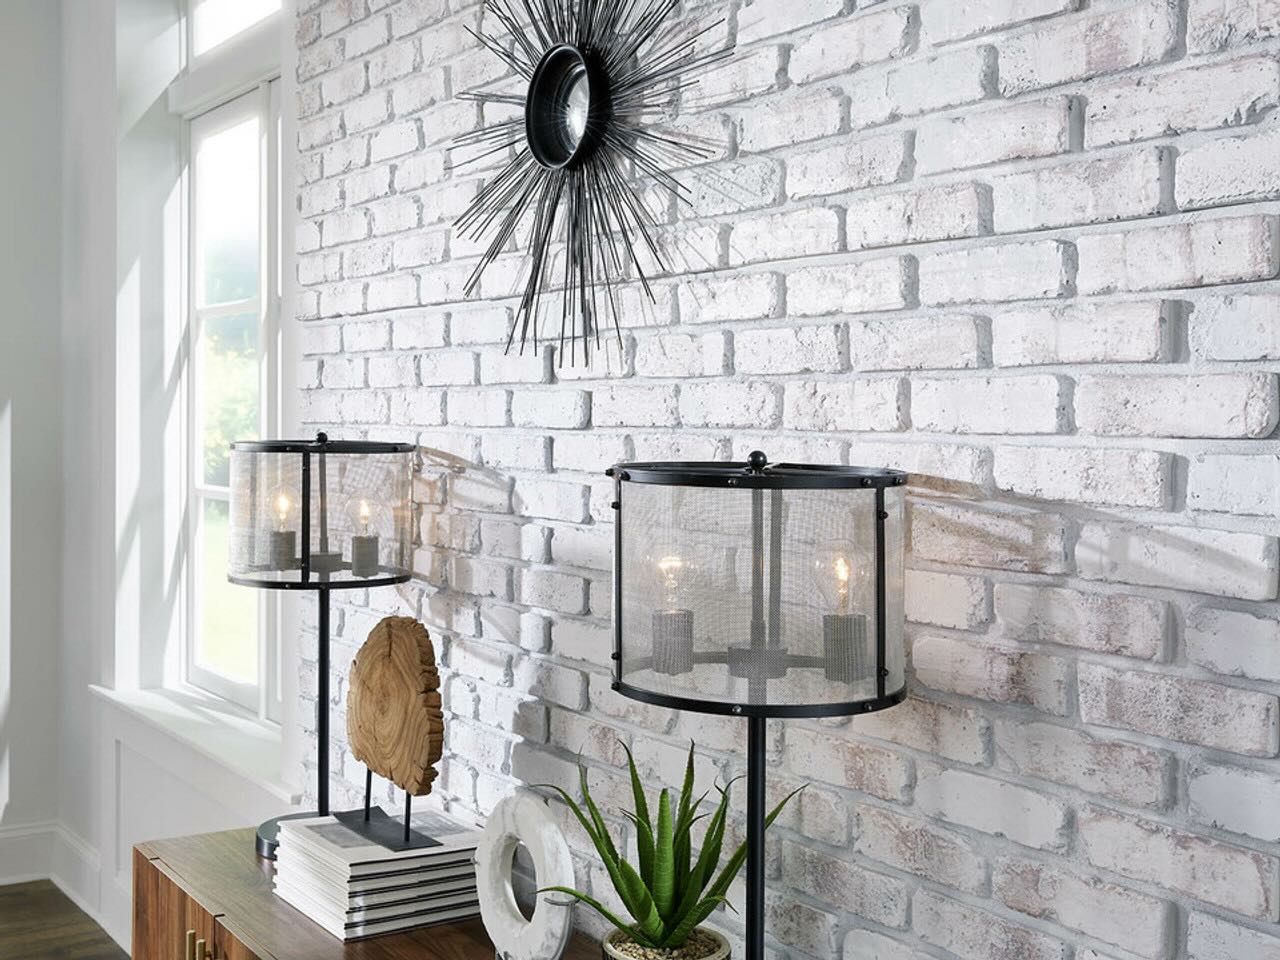
How To Paint A Faux Brick Wall
Modified: September 1, 2024
Learn how to create a realistic faux brick wall with our step-by-step guide using affordable building materials. Transform your space today!
(Many of the links in this article redirect to a specific reviewed product. Your purchase of these products through affiliate links helps to generate commission for Storables.com, at no extra cost. Learn more)
Introduction
Welcome to the world of faux brick walls! Whether you’re looking to add a touch of rustic charm to your home or create an eye-catching backdrop for your business, painting a faux brick wall can be a fun and rewarding project. Not only does it offer a cost-effective way to achieve the look of real brick, but it also provides endless possibilities for customization and creativity. In this comprehensive guide, we’ll walk you through the step-by-step process of creating a stunning faux brick wall that will leave your guests or customers in awe.
Before we dive into the nitty-gritty details, it’s important to note that the key to a successful faux brick wall lies in the careful attention to detail and the use of the right materials and techniques. While it may seem daunting at first, rest assured that with the right guidance and a bit of patience, you’ll be well on your way to mastering this impressive faux finishing technique.
So, roll up your sleeves, unleash your inner artist, and let’s embark on this exciting journey to transform an ordinary wall into a captivating faux brick masterpiece!
Key Takeaways:
- Transforming a plain wall into a stunning faux brick masterpiece is a fun and rewarding project that requires careful preparation, artistic finesse, and attention to detail. With the right materials and techniques, anyone can create a captivating faux brick wall.
- By meticulously following the step-by-step process of painting a faux brick wall, you can infuse depth, texture, and character into the surface, bringing the timeless allure of brickwork to life in a versatile and impactful form.
Read more: How To Install Faux Brick Wall Panels
Materials Needed
Before you begin painting your faux brick wall, it’s essential to gather all the necessary materials. Here’s a comprehensive list of what you’ll need:
Paint and Supplies
- Base coat paint in the desired brick color
- Brick red and dark brown paint for creating the brick pattern
- Paint rollers and brushes
- Paint trays
- Painter's tape
- Sea sponge or textured roller for adding depth and texture
- Small artist's brush for fine details
- Drop cloths to protect the surrounding area
Preparation and Protection
- Sandpaper for smoothing the wall surface
- Primer to ensure proper adhesion of the base coat
- Painter's plastic to cover furniture and floors
- Gloves and safety goggles for personal protection
Additional Tools and Materials
- Measuring tape and level for precise layout
- Pencil for marking the brick pattern
- Large stencil or homemade cardboard stencil for creating the brick pattern
- Water-based glaze for blending colors and adding a protective finish
- Old cloth or rag for blending and wiping excess glaze
- Bucket of water and rags for cleaning brushes and tools
By ensuring that you have all these materials on hand, you’ll be well-prepared to tackle the various stages of painting your faux brick wall with confidence and ease.
Read more: How To Create A Faux Brick Interior Wall
Preparing the Wall
Before you can embark on the exciting journey of painting a faux brick wall, it’s crucial to prepare the surface to ensure optimal results. Here’s a step-by-step guide to preparing the wall:
Step 1: Clean the Wall
Begin by thoroughly cleaning the wall to remove any dirt, dust, or grease that could affect the adhesion of the paint. Use a mild detergent and water solution, and allow the wall to dry completely before proceeding to the next step.
Step 2: Repair Imperfections
Inspect the wall for any imperfections such as cracks, holes, or uneven surfaces. Fill in any gaps with spackling compound and use sandpaper to smooth out the patched areas. This will ensure a uniform and flawless base for the faux brick finish.
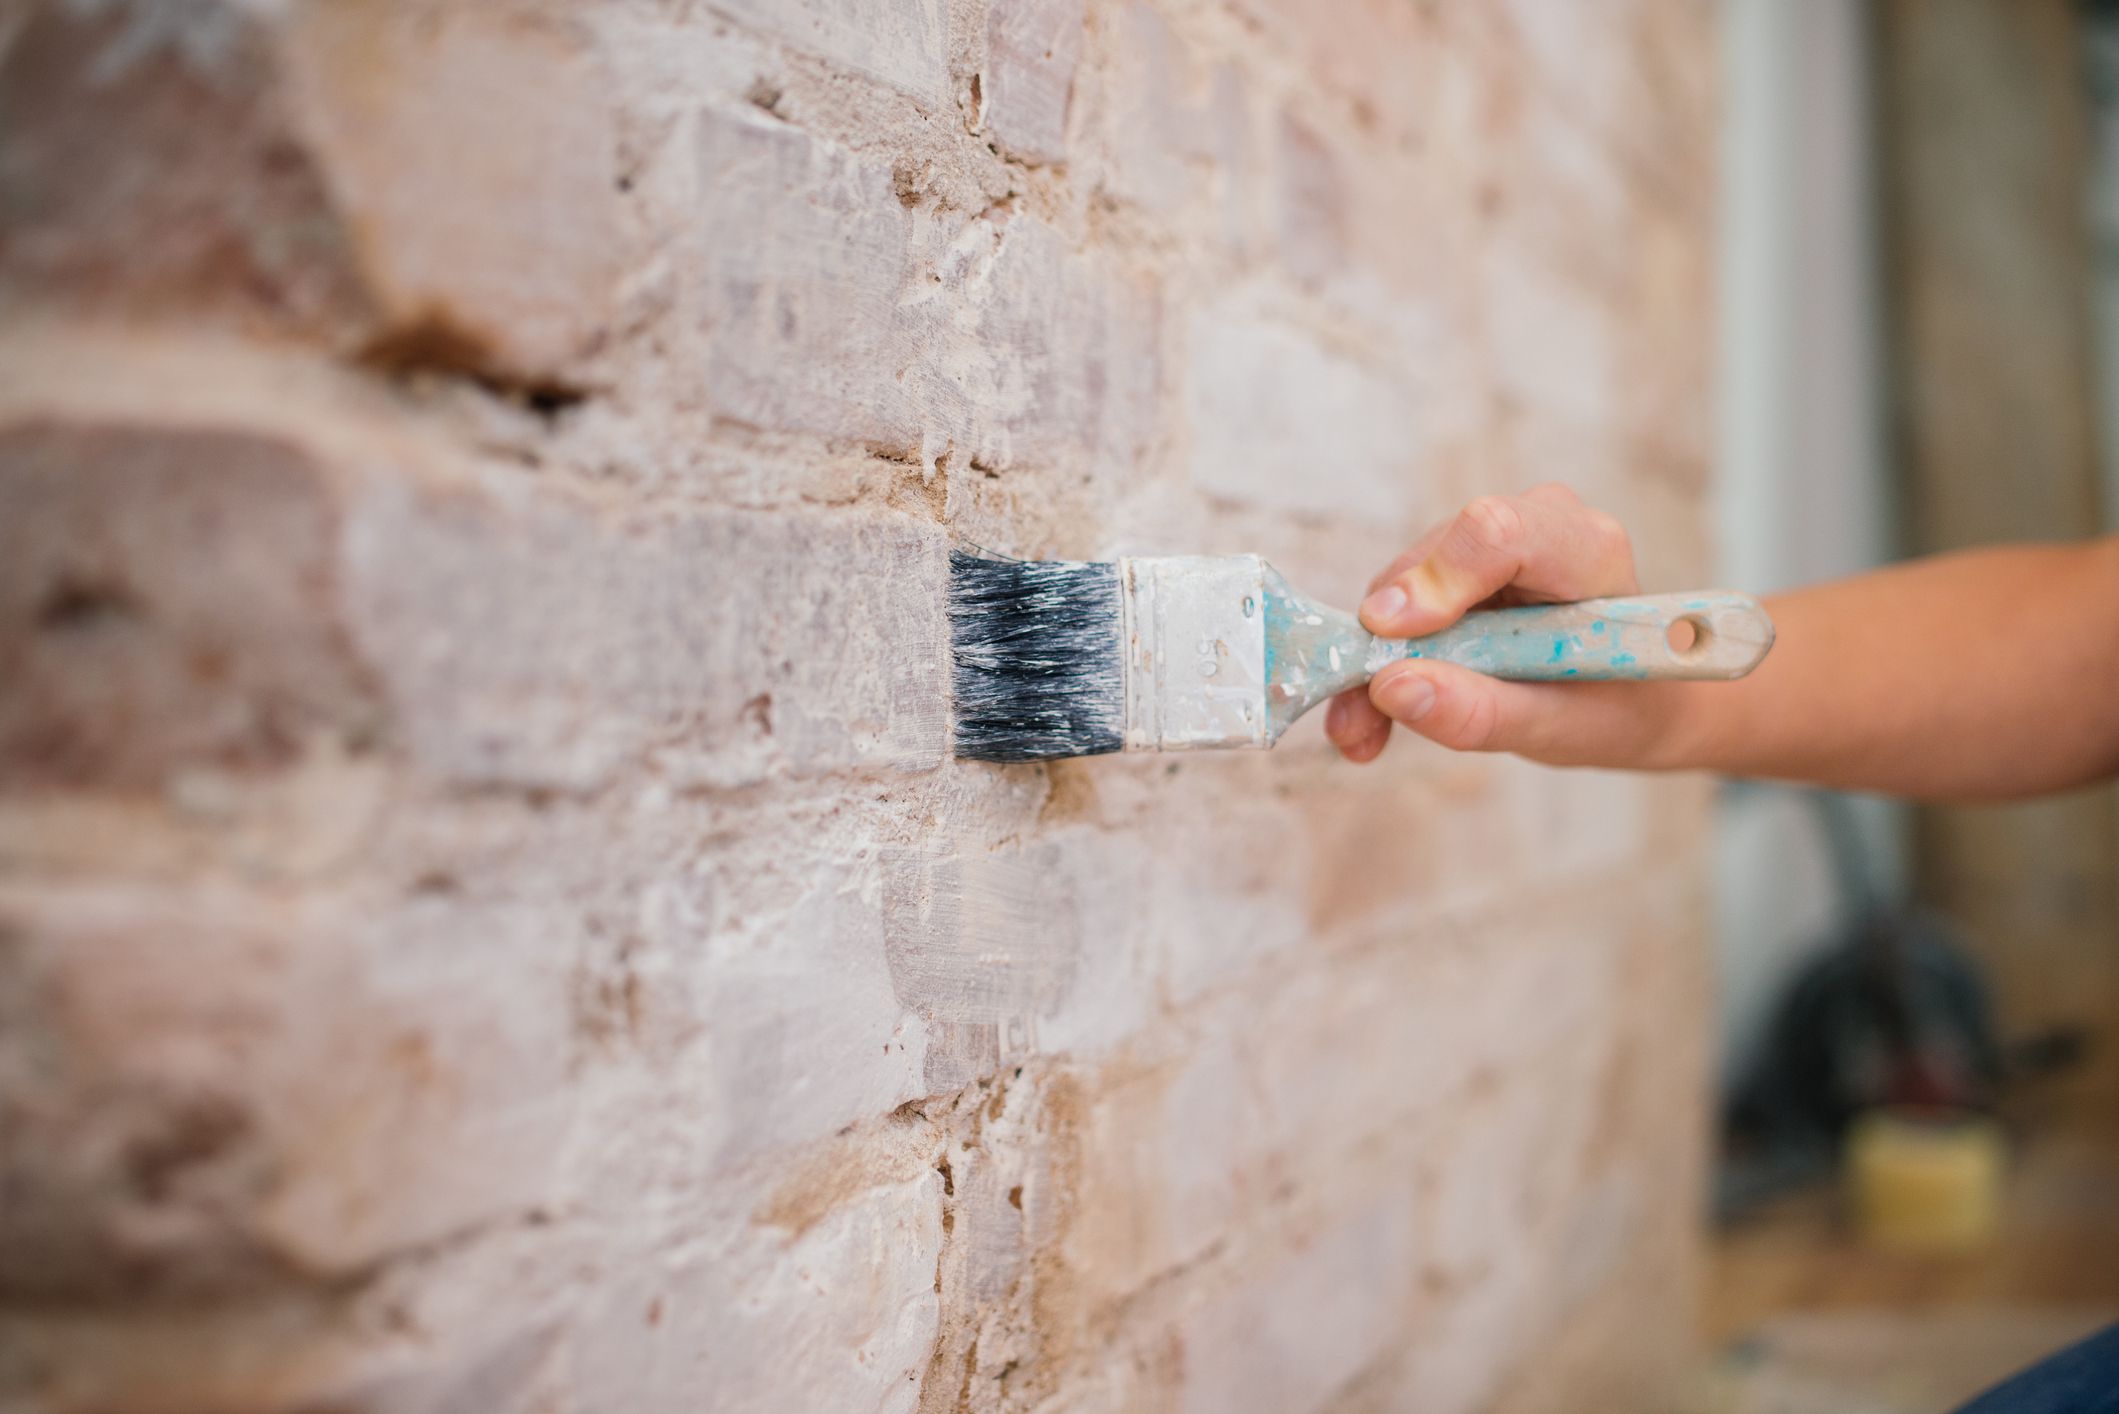
Step 3: Apply Primer
Applying a high-quality primer is essential for promoting adhesion and creating a smooth base for the base coat. Use a roller or brush to apply the primer evenly across the entire wall surface, and allow it to dry according to the manufacturer’s instructions.
Read more: How To Paint An Exposed Brick Wall
Step 4: Mark the Brick Pattern
Using a measuring tape and level, mark the vertical and horizontal lines to create the brick pattern. This step is crucial for achieving a realistic and symmetrical brick layout. You can also create a cardboard stencil or use a large pre-made stencil to guide the placement of the bricks.
By meticulously following these preparatory steps, you’ll set the stage for a successful faux brick painting endeavor. With the wall properly prepped and primed, you’re now ready to move on to the next exciting phase – applying the base coat.
Base Coat
Once the wall is meticulously prepared, it’s time to apply the base coat, setting the foundation for your faux brick masterpiece. Here’s a detailed guide to executing this crucial step with finesse:
Choosing the Right Color
Select a base coat paint that closely resembles the color of the mortar between the bricks. Typically, a light gray or off-white shade works well for this purpose. Apply the base coat evenly across the entire wall using a paint roller, ensuring complete coverage.
Creating a Textured Effect
To enhance the authenticity of the faux brick wall, consider using a textured roller or a sea sponge to add subtle variations in the base coat. This step will impart a tactile dimension to the surface, mimicking the rough, uneven texture of real brick mortar.
Read more: How To Paint Interior Brick Wall
Blending Techniques
Once the base coat is applied, consider using a dry brush or a rag to blend the paint and create a seamless transition between the textured areas. This technique will contribute to a more natural and organic appearance, laying the groundwork for the subsequent stages of the painting process.
Allowing for Drying Time
After completing the application of the base coat and any additional texturing or blending, allow sufficient time for the paint to dry thoroughly. This will ensure that the subsequent layers adhere properly and that the overall finish is smooth and uniform.
By paying close attention to these essential details during the base coat application, you’ll establish a solid canvas for the next phase – the creation of the distinctive brick pattern that will bring your faux brick wall to life.
Creating the Brick Pattern
With the base coat serving as the backdrop, it’s time to embark on the exciting process of creating the illusion of individual bricks. This step is where the magic truly begins to unfold, as you bring the timeless charm of brickwork to your wall. Here’s how to execute this pivotal stage with precision and artistry:
Marking the Brick Layout
Using a pencil and a ruler, carefully outline the individual brick shapes on the wall, ensuring uniformity in size and spacing. This step is crucial for achieving a realistic and visually pleasing brick pattern. Alternatively, you can use a large stencil to guide the placement of the bricks, ensuring consistency throughout the wall.
Read more: How To Make A Faux Greenery Wall
Choosing the Right Colors
Select brick red and dark brown paints to create the distinctive hues of the bricks. Using a small artist’s brush, carefully apply the brick red paint within the outlines, leaving narrow gaps to represent the mortar lines. Then, lightly blend the edges of the red paint with the base coat to soften any harsh lines and create a more natural appearance.
Adding Depth and Definition
To enhance the three-dimensional effect of the bricks, consider using a darker shade of brown to add depth and definition. Apply this darker color to the outer edges of each brick, blending it subtly with the red paint to create a shadowing effect that mimics the appearance of real brick.
Refining the Details
Once the basic brick pattern is in place, take a step back to assess the overall coherence and visual impact. Use a fine artist’s brush to refine any uneven edges, add subtle imperfections, or enhance specific areas to achieve a more authentic and organic look.
By meticulously following these steps and infusing your creativity into the process, you’ll gradually witness the transformation of your wall into a stunning faux brick masterpiece. With the brick pattern established, the next phase involves adding depth and texture to elevate the realism of your faux brick wall.
Adding Depth and Texture
With the brick pattern meticulously in place, the next step involves infusing depth and texture to elevate the authenticity of your faux brick wall. This phase is where the artistry truly shines, as you bring the two-dimensional bricks to life with tactile nuances and visual depth. Here’s how to imbue your faux brick wall with captivating texture and dimension:
Read more: How To Paint Brick Pavers
Utilizing a Textured Roller or Sponge
Consider using a sea sponge or a specialized textured roller to impart a tactile quality to the surface. Lightly dip the sponge or roller into a mixture of the base coat color and gently apply it over the bricks. This technique creates subtle variations in color and texture, mimicking the porous and uneven surface of real bricks.
Read more: How To Paint Interior Brick Wall
Blending Techniques
To achieve a seamless integration of the added texture, use a dry brush or a rag to gently blend the textured areas with the surrounding base coat. This step creates a harmonious transition, ensuring that the textured elements appear organic and integral to the overall composition.
Enhancing Realism with Shadowing
To further enhance the illusion of depth, consider using a darker shade of the base coat color to create shadowing effects along the edges and crevices of the bricks. This technique adds a sense of dimension and realism, imbuing the faux bricks with a captivating visual depth.
Subtle Imperfections for Authenticity
Introduce subtle imperfections and irregularities within the bricks to emulate the weathered and aged appearance of real brickwork. Using a fine artist’s brush, add minor chips, cracks, or discolorations to infuse character and authenticity into the faux brick surface.
By skillfully incorporating these techniques, you’ll breathe life into your faux brick wall, transforming it from a mere visual illusion into a tactile and visually compelling feature. With the depth and texture meticulously integrated, the final touches will bring your faux brick wall to its full potential.
Read more: How To Paint A Brick Pattern
Finishing Touches
As you near the completion of your faux brick wall masterpiece, the final touches will play a pivotal role in refining the overall appearance and ensuring a polished, professional finish. This stage is where meticulous attention to detail and a discerning eye for nuance will elevate your creation to a stunning work of art. Here’s how to add the finishing touches that will bring your faux brick wall to its full potential:
Sealing the Surface
Applying a water-based glaze over the entire faux brick wall serves multiple purposes. Not only does it provide a protective finish, safeguarding the painted surface from wear and tear, but it also enhances the visual depth and richness of the colors, creating a lustrous and professional appearance.
Subtle Antiquing and Aging Effects
Consider employing an antiquing glaze to impart a subtle weathered and aged look to the faux bricks. By selectively applying the glaze to specific areas and gently blending it with a cloth, you can infuse the surface with an air of vintage charm, adding character and depth to the overall composition.
Refining the Mortar Lines
To accentuate the mortar lines and ensure a crisp, defined appearance, use a fine artist’s brush to touch up any areas where the base coat may have overlapped onto the bricks. This meticulous step will contribute to the overall cohesiveness and authenticity of the faux brick wall.
Read more: How To Paint Brick Homes
Final Assessment and Touch-Ups
Step back and assess the wall as a whole, paying attention to any areas that may require additional refinement. Address any minor imperfections, uneven coloration, or blending irregularities to achieve a seamless and harmonious presentation.
With these final touches expertly applied, your faux brick wall will stand as a testament to your creativity and craftsmanship. Whether adorning a residential space or serving as a captivating backdrop in a commercial setting, your faux brick masterpiece is sure to captivate and inspire all who behold it.
Conclusion
Congratulations on completing the transformation of an ordinary wall into a stunning faux brick masterpiece! Through meticulous preparation, skilled application, and artistic finesse, you’ve brought the timeless allure of brickwork to life in a captivating and versatile form. As you stand back and admire the fruits of your labor, take pride in the artistry and creativity that have shaped this impressive endeavor.
Not only does your faux brick wall serve as a testament to your ingenuity, but it also stands as a versatile and impactful design element that can enhance any space. Whether adorning the interior of a home, adding visual interest to a retail environment, or serving as a backdrop for photography and events, your faux brick creation is a testament to the transformative power of creativity.
As you bask in the satisfaction of a job well done, consider the endless possibilities that your faux brick wall presents. From complementing a range of interior design styles to providing a striking focal point in diverse settings, your masterpiece is a testament to the enduring appeal of brickwork and the boundless potential of artistic expression.
Remember, the journey of creating a faux brick wall is not merely a process of painting; it’s a reflection of your vision, skill, and dedication. As you share your creation with others, may it inspire and delight, sparking conversations and igniting the imagination of all who encounter its captivating allure.
So, whether you’ve embarked on this endeavor for personal enrichment, to elevate a living space, or to add a touch of charm to a business environment, your faux brick wall stands as a testament to the transformative power of creativity and the enduring appeal of timeless design.
As you reflect on the journey from a blank wall to a captivating faux brick showcase, may it serve as a reminder of the boundless potential that lies within every surface, waiting to be brought to life through the artistry and vision of those who dare to create.
Frequently Asked Questions about How To Paint A Faux Brick Wall
Was this page helpful?
At Storables.com, we guarantee accurate and reliable information. Our content, validated by Expert Board Contributors, is crafted following stringent Editorial Policies. We're committed to providing you with well-researched, expert-backed insights for all your informational needs.


0 thoughts on “How To Paint A Faux Brick Wall”