Articles
How Do I Reset My Kitchenaid Ice Maker
Modified: August 25, 2024
Learn how to reset your Kitchenaid ice maker with our informative articles. Get step-by-step instructions and troubleshooting tips for a hassle-free reset.
(Many of the links in this article redirect to a specific reviewed product. Your purchase of these products through affiliate links helps to generate commission for Storables.com, at no extra cost. Learn more)
Introduction
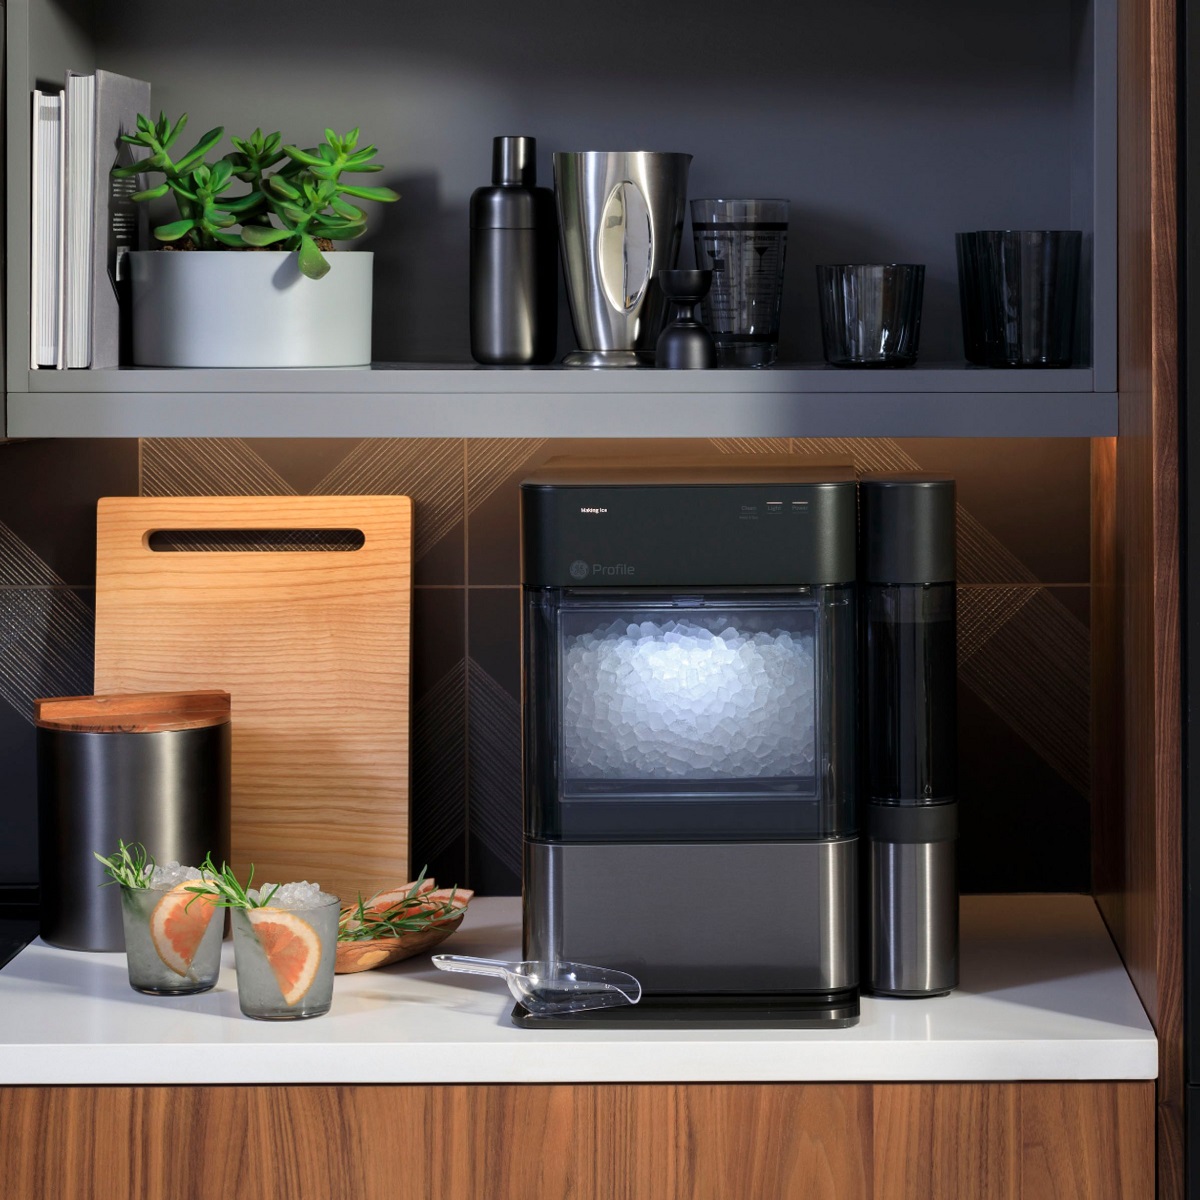
If you’re experiencing issues with your KitchenAid ice maker, such as not producing ice or dispensing ice irregularly, resetting the ice maker may help resolve the problem. Resetting the ice maker essentially restores it to its original factory settings and can often address common malfunctions.
Before attempting to reset your KitchenAid ice maker, it’s essential to unplug it from the power source for safety purposes. Additionally, make sure you have the necessary tools and equipment ready to perform the reset process.
In this article, we will guide you through the step-by-step process of resetting your KitchenAid ice maker. By following these simple instructions, you’ll be able to troubleshoot and potentially fix any issues you may be encountering with your ice maker.
Note: These instructions may vary slightly depending on the specific KitchenAid ice maker model you have. Consulting the manufacturer’s manual for your particular appliance is recommended for detailed instructions.
Key Takeaways:
- Resetting your KitchenAid ice maker is a simple process that can help troubleshoot and resolve common issues, restoring its functionality and ensuring a convenient supply of ice for your daily needs.
- Prioritize safety by unplugging the ice maker before starting the reset process, and follow each step carefully to ensure a successful reset. Regular maintenance and occasional resets can help prolong the life of your KitchenAid ice maker.
Read more: How Do I Reset My Ice Maker
Step 1: Unplug the Ice Maker
The first step in resetting your KitchenAid ice maker is to unplug it from the power source. This ensures your safety while working on the appliance and prevents any electrical mishaps. Locate the power cord attached to the back or side of the ice maker and disconnect it from the outlet.
It’s important to note that some ice makers might be built into the refrigerator, while others may be standalone units. If your ice maker is built into the refrigerator, you may need to remove the ice bin or flip a switch on the control panel to power off the ice maker.
Remember to exercise caution and handle the power cord carefully to avoid any damage or injuries. Once you’ve unplugged the ice maker, you can proceed to the next step of the reset process.
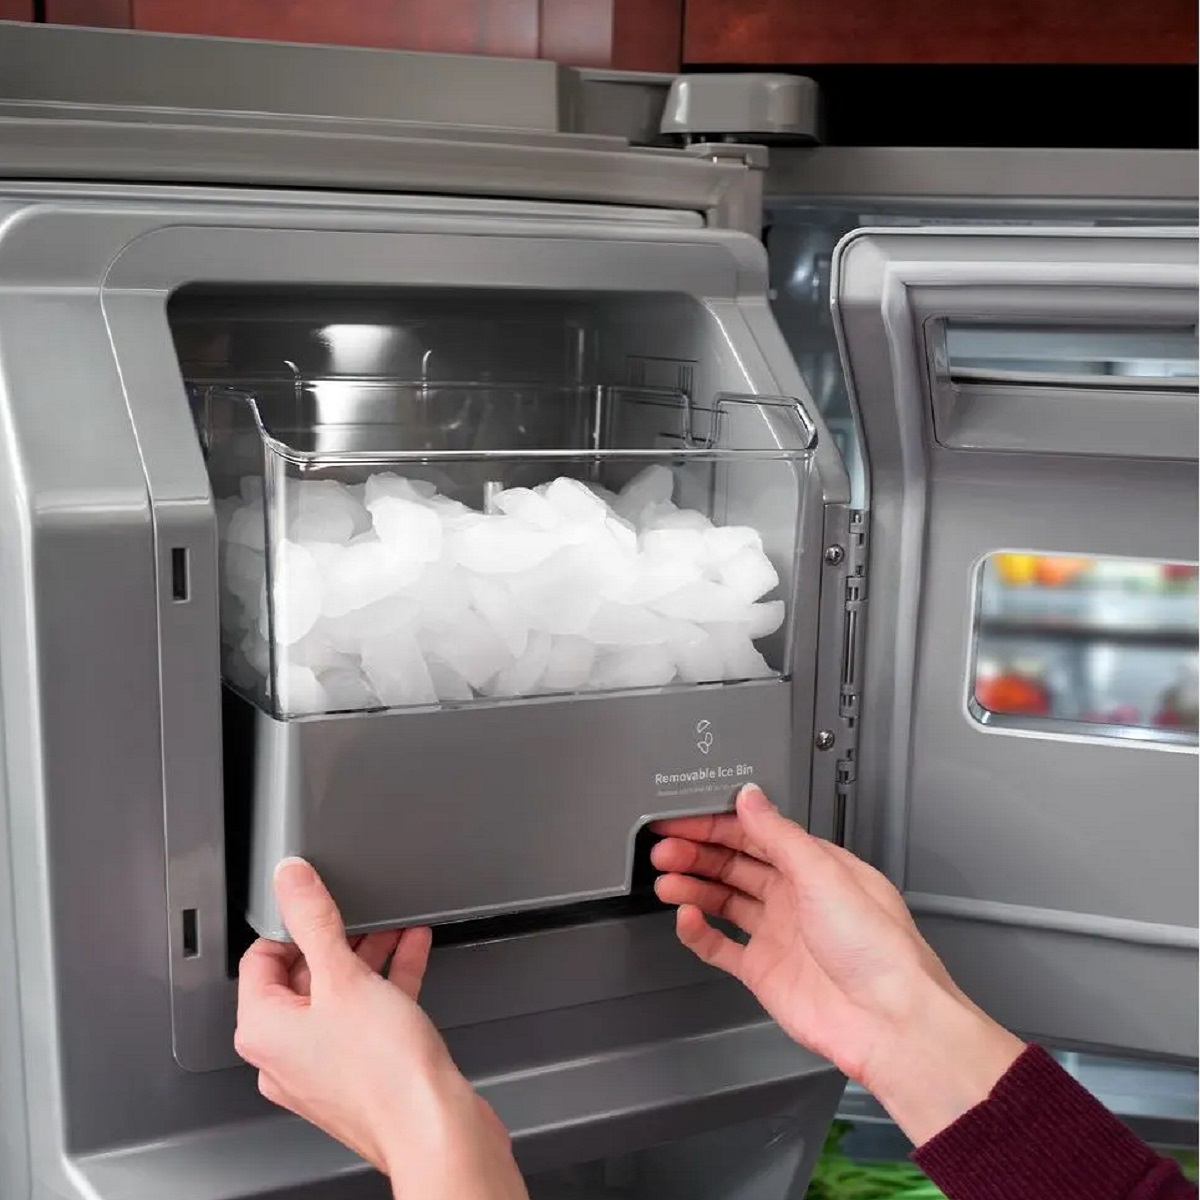
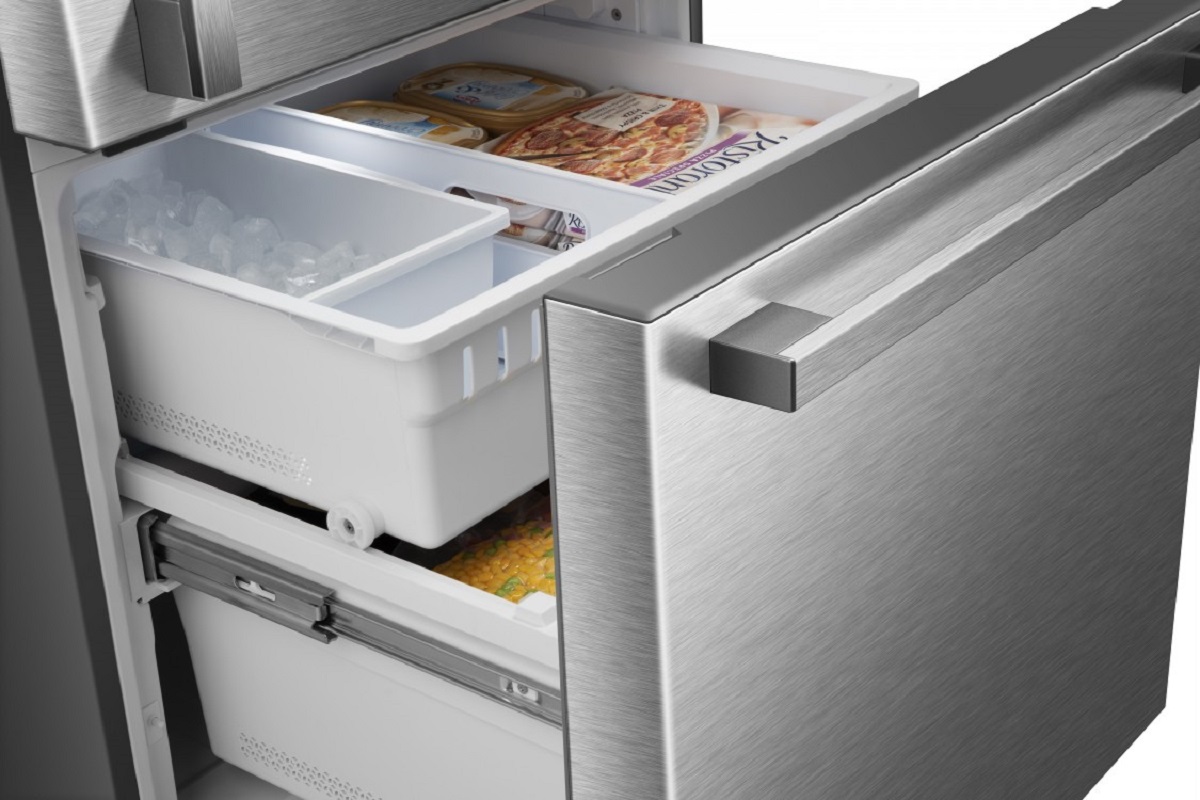
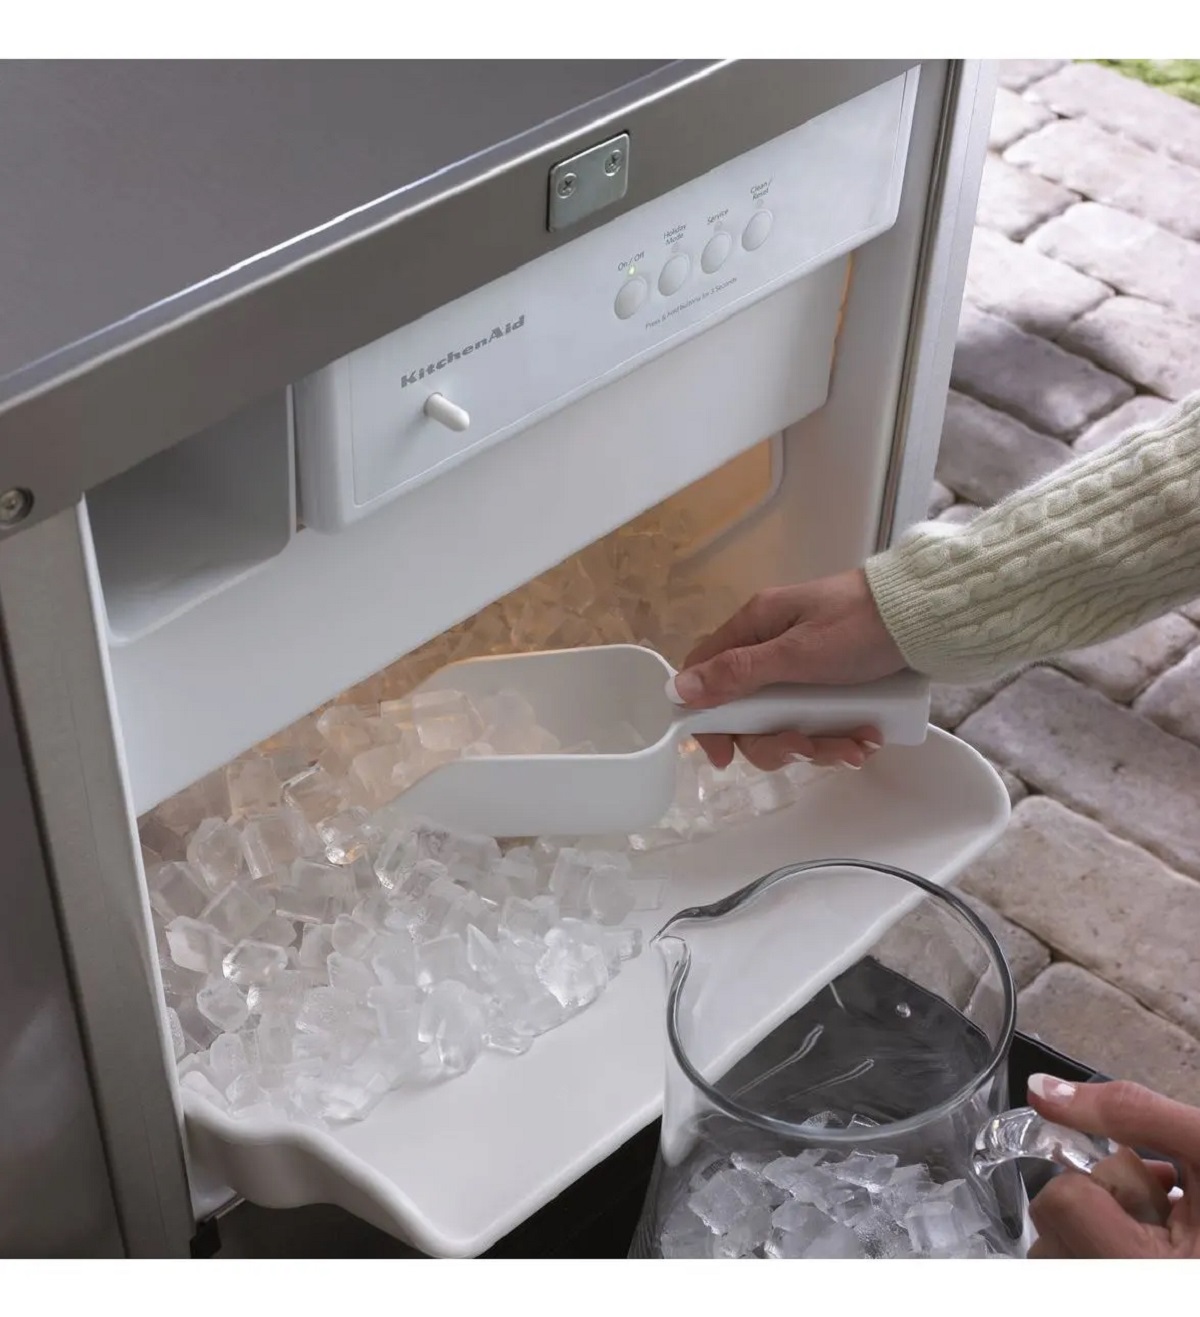
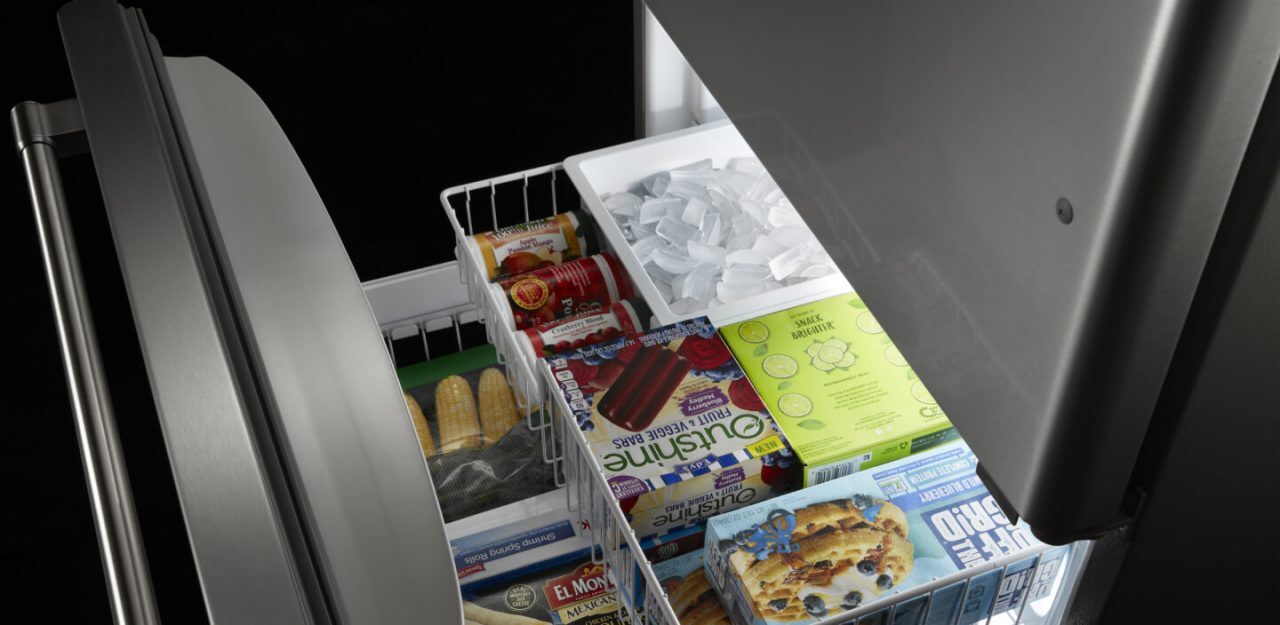
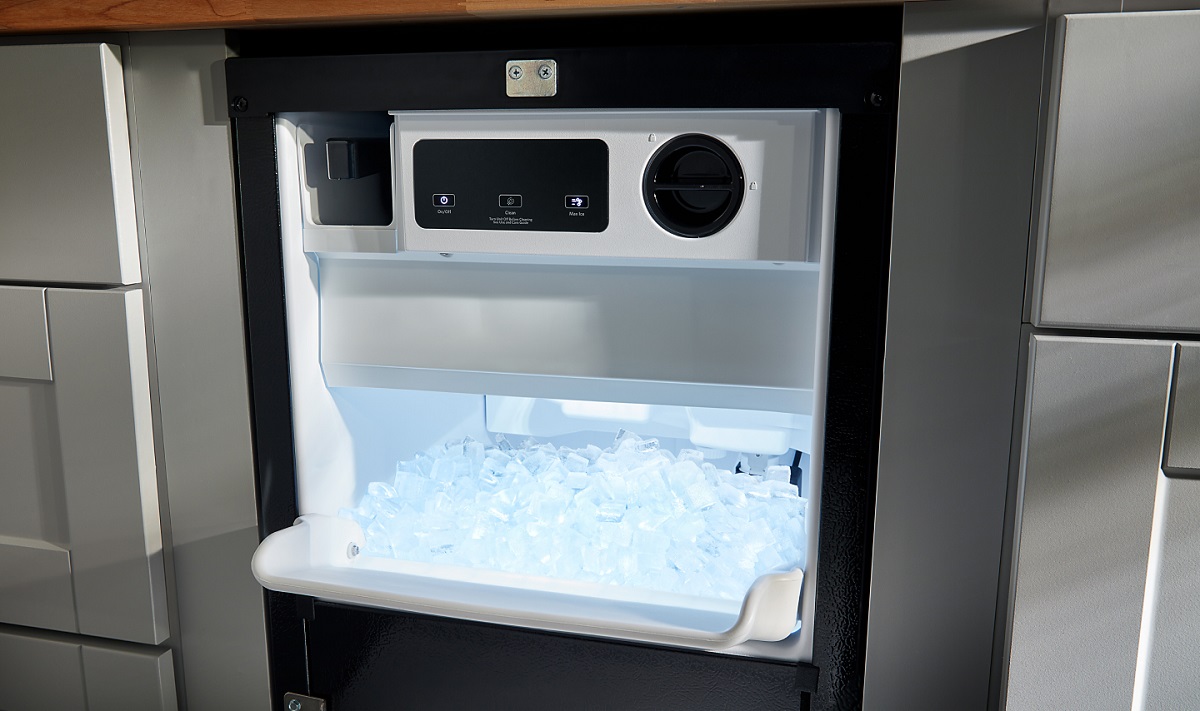
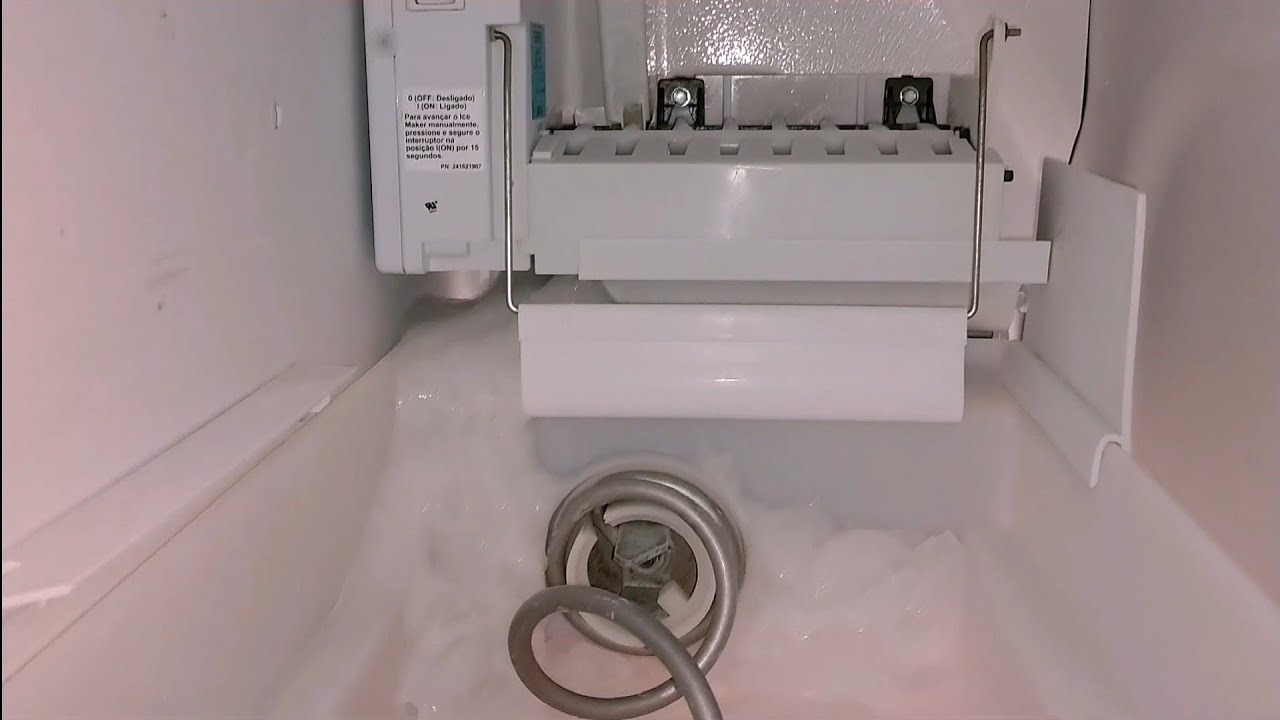
Step 2: Remove the Ice Bin
After unplugging the ice maker, the next step is to remove the ice bin. The ice bin is where the ice cubes are stored before they are dispensed. It’s usually located in the freezer compartment of the refrigerator.
To remove the ice bin, open the freezer door and locate the ice maker assembly. Depending on the model, there may be a switch or lever that you need to flip or press to release the ice bin. Once released, carefully pull out the ice bin from the freezer.
Be cautious when handling the ice bin, as it may be heavy or filled with ice. Place it on a stable surface to prevent any accidental spills. Empty the ice bin if necessary to make it easier to handle during the reset process.
Removing the ice bin provides you with better access to the ice maker and its components, allowing you to perform the reset more effectively. With the ice bin out of the way, you’re ready to move on to the next step.
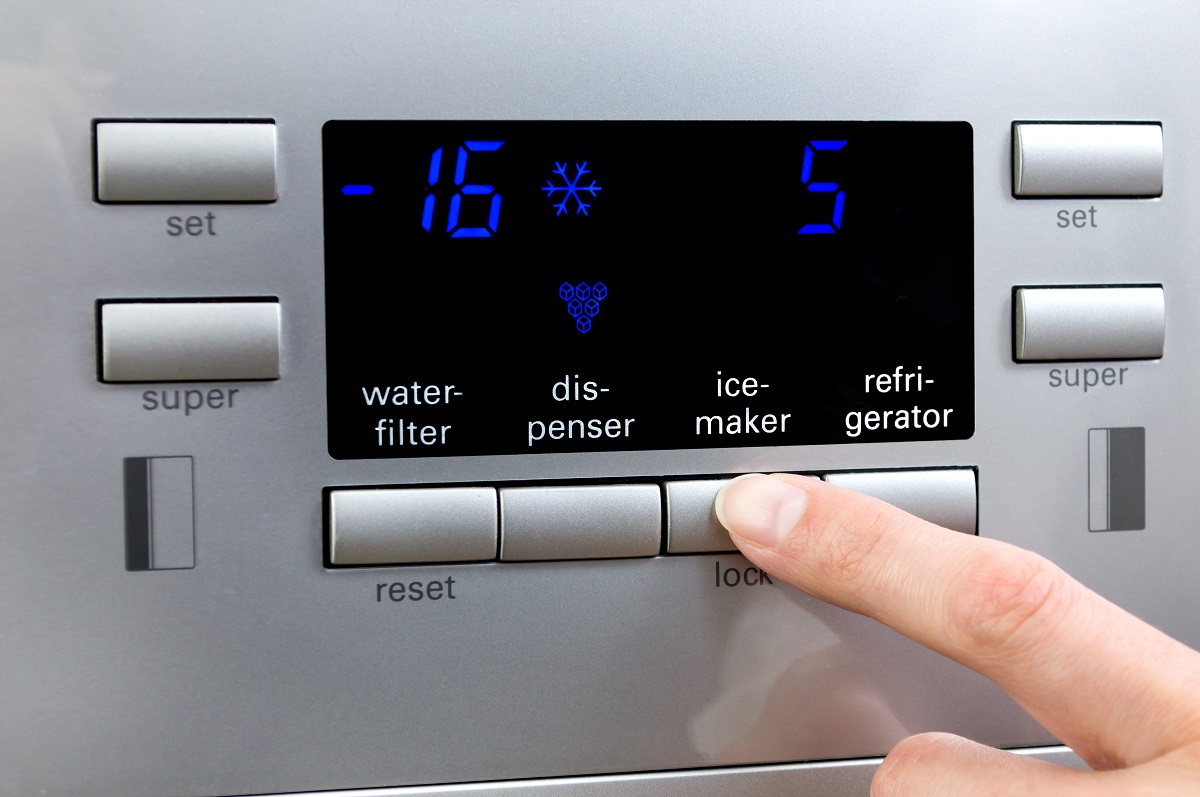
Step 3: Reset the Power
Now that the ice bin has been removed, it’s time to reset the power of your KitchenAid ice maker. Resetting the power essentially means cutting off the power supply temporarily to allow the ice maker to reset itself to its default settings.
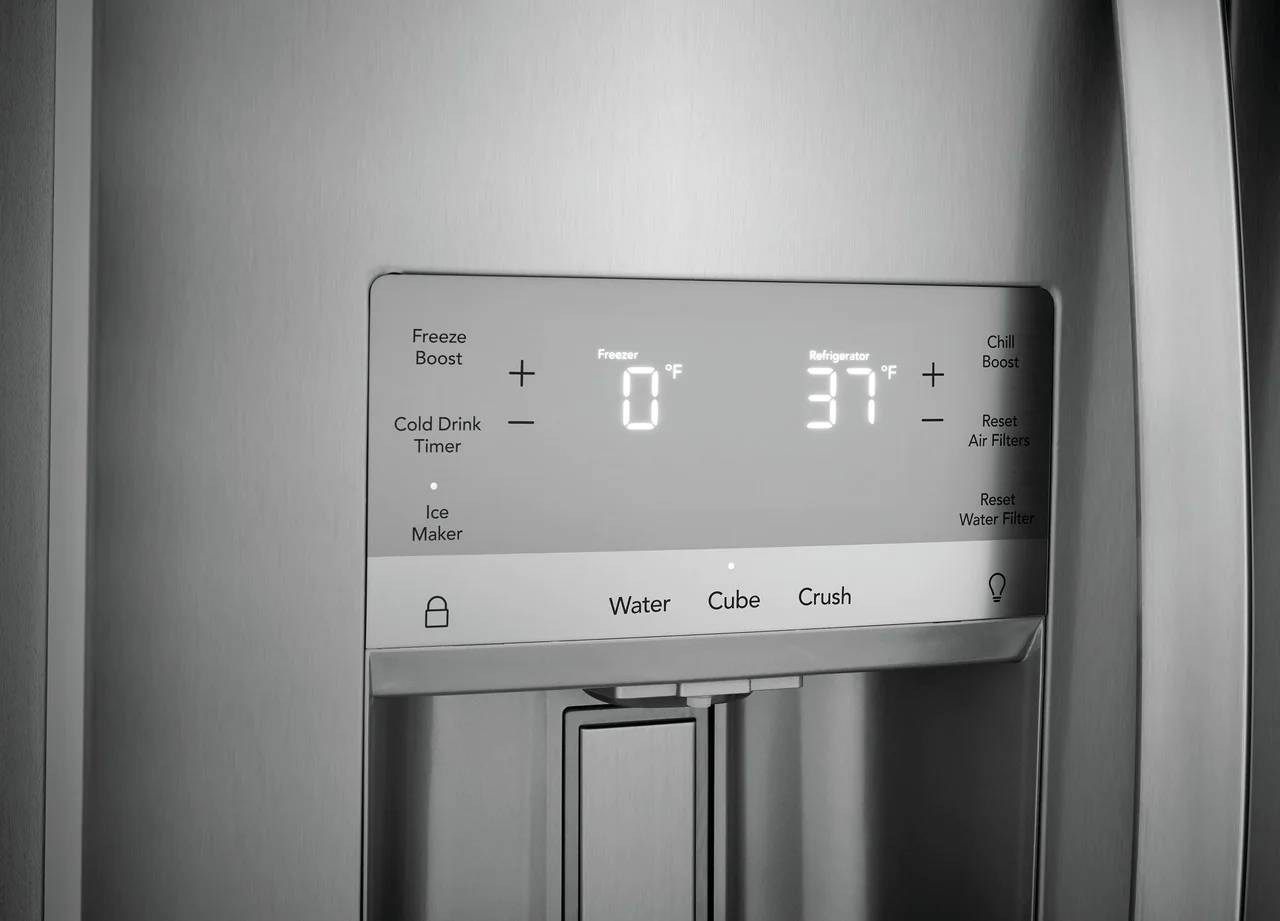
Locate the power switch or button on the ice maker. This switch is usually located on the front or side of the ice maker unit. Switch it to the “Off” or “Reset” position and leave it in that position for a few seconds. This will ensure that the power is completely cut off from the ice maker.
Resetting the power helps to clear any temporary glitches or errors that might be causing the ice maker malfunction. It gives the ice maker a fresh start and allows it to reboot itself. After waiting for a few seconds with the power off, you can proceed to the next step.
Step 4: Turn off the Power Switch
After resetting the power in the previous step, the next step is to turn off the power switch of your KitchenAid ice maker. This step ensures that the ice maker remains completely powered off during the reset process.
Locate the power switch on the front or side of the ice maker unit. It is usually labeled with an “Off” or “Power” symbol. Switch it to the “Off” position to ensure the ice maker is completely shut down.
Turning off the power switch helps to prevent any electrical surges or fluctuations that may interfere with the reset process. By keeping the power off, you allow the ice maker to fully reset and prepare for the next step in the procedure.
Once you have successfully turned off the power switch, you are ready to proceed to the next step of resetting your KitchenAid ice maker.
To reset your KitchenAid ice maker, locate the power switch on the ice maker and turn it off for 30 seconds, then turn it back on. This will reset the ice maker and may resolve any issues.
Read more: How Do I Reset My Kenmore Ice Maker
Step 5: Wait for 5 Minutes
After turning off the power switch, it’s important to give your KitchenAid ice maker a few minutes to fully reset before proceeding with the next step. Waiting for approximately 5 minutes allows any residual power to dissipate and gives the internal components of the ice maker enough time to reset.
During this waiting period, you can take a moment to inspect the ice maker for any visible signs of damage or blockages. Check for any ice buildup or obstructions that may have been causing the malfunction. Clearing any ice jams or removing debris from the ice maker can help improve its performance after the reset process.
It’s crucial to resist the temptation to rush through this waiting period. Allowing sufficient time ensures that the reset process is effective and increases the chances of resolving any issues with your KitchenAid ice maker.
Once the 5 minutes have passed, you can proceed to the next step of resetting your ice maker.
Step 6: Turn on the Power Switch
After the waiting period, it’s time to turn on the power switch of your KitchenAid ice maker. This step will restore the power supply to the ice maker and initiate the reset process.
Locate the power switch on the front or side of the ice maker unit. Switch it to the “On” position to turn on the power. You may see indicator lights or hear the sound of the ice maker starting up as it comes back to life.
Turning on the power switch allows the ice maker to reboot itself and go through its startup sequence. During this time, the ice maker will begin to cycle and produce ice again, if all components are functioning correctly.
Be patient as the ice maker restarts and goes through its initial operations. It may take a few moments for the ice maker to start producing ice, so don’t be alarmed if there is a brief delay.
Once you have successfully turned on the power switch, you can move on to the final step of resetting your KitchenAid ice maker.
Step 7: Replace the Ice Bin
With the power restored and the ice maker reset, it’s time to replace the ice bin. The ice bin is where the ice cubes will be collected and stored once the ice maker resumes its normal operation.
Take the ice bin that you removed earlier and carefully slide it back into place in the freezer compartment. Make sure to align it properly with the ice maker assembly to ensure a proper fit. Push the bin in until it clicks or locks into place.
It’s important to ensure that the ice bin is inserted correctly and securely. An improperly placed ice bin may prevent the ice maker from functioning properly or dispensing ice in a consistent manner.
Once the ice bin is in place, close the freezer door and check that it is fully sealed. This will help maintain the optimal environment for ice production and prevent any unnecessary air or temperature fluctuations.
With the ice bin replaced, your KitchenAid ice maker is now ready to produce ice again. Monitor its performance for the next few hours to ensure that it resumes normal operation and dispenses ice as expected.
Congratulations! You have successfully reset your KitchenAid ice maker and resolved any potential issues it had been facing. Enjoy the convenience of having a fully functioning ice maker once again!
Conclusion
Resetting your KitchenAid ice maker can be a simple and effective way to troubleshoot and solve common issues. By following the step-by-step instructions outlined in this article, you can successfully reset your ice maker and restore its functionality.
Remember to always prioritize your safety when working with electrical appliances. Unplug the ice maker before starting the reset process, and handle the power cord and ice bin with care.
Each step plays a crucial role in the reset process. Unplugging the ice maker ensures safety, removing the ice bin provides access to the necessary components, resetting the power clears any temporary malfunctions, turning off the power switch ensures a complete shutdown, waiting for a few minutes allows the ice maker to reset fully, and finally, turning on the power switch brings the ice maker back to life.
After completing all the steps, you can replace the ice bin and monitor the ice maker’s performance. It should resume normal operation and produce ice as expected.
If your KitchenAid ice maker continues to experience problems even after resetting, it may be beneficial to consult the manufacturer’s manual or contact KitchenAid customer support for further assistance.
Having a properly working ice maker can enhance your daily life, providing a convenient supply of ice for drinks, parties, and other occasions. By successfully resetting your KitchenAid ice maker, you can enjoy the convenience and reliability of a functional ice maker once again.
Remember to perform regular maintenance, such as cleaning and inspecting the ice maker, to prevent future issues and ensure its longevity. With proper care and occasional resets, your KitchenAid ice maker can serve you well for years to come.
Now that you've mastered resetting your Kitchenaid ice maker, why stop there? For anyone who's faced with a malfunctioning fridge, our guide on how to effectively tackle refrigerator issues is just what you need. With practical advice and easy-to-follow instructions, you'll be equipped to handle common refrigerator woes effortlessly. Don't let appliance troubles keep you from enjoying your kitchen to the fullest—check out our helpful guide and keep everything running smoothly!
Frequently Asked Questions about How Do I Reset My Kitchenaid Ice Maker
Was this page helpful?
At Storables.com, we guarantee accurate and reliable information. Our content, validated by Expert Board Contributors, is crafted following stringent Editorial Policies. We're committed to providing you with well-researched, expert-backed insights for all your informational needs.

0 thoughts on “How Do I Reset My Kitchenaid Ice Maker”