Articles
How Do I Test My Ice Maker Water Line
Modified: May 6, 2024
Looking for articles on how to test your ice maker water line? Get expert guidance and tips on troubleshooting and maintaining your ice maker's water supply.
(Many of the links in this article redirect to a specific reviewed product. Your purchase of these products through affiliate links helps to generate commission for Storables.com, at no extra cost. Learn more)
Introduction
Having a properly functioning ice maker is a necessity for many homeowners. It provides the convenience of having a constant supply of ice whenever you need it, whether it’s for refreshing beverages or entertaining guests. However, if you notice a decrease in ice production or suspect that there may be an issue with your ice maker’s water line, it’s important to address it promptly.
Testing your ice maker water line is a crucial step in troubleshooting any potential problems. By identifying and resolving issues early on, you can prevent further damage and ensure that your ice maker continues to work efficiently. In this article, we will guide you through the steps to test your ice maker water line, enabling you to diagnose and resolve any issues that may be hindering your ice production.
Key Takeaways:
- Regularly testing your ice maker water line is crucial for ensuring a steady supply of ice. By following the steps outlined, you can identify and resolve common issues that may be affecting ice production.
- Checking for leaks, inspecting the water filter, and verifying the ice maker’s functionality are key steps in testing your ice maker water line. Addressing any issues promptly can help maintain optimal ice production.
Read more: How To Unclog Water Line To Ice Maker
Materials Needed
Before you begin testing your ice maker water line, it’s important to gather the necessary materials. Here’s a list of items you may need:
- Phillips screwdriver
- Adjustable wrench
- Bucket or towel
- Replacement water filter (if necessary)
These materials will help you navigate through the process and ensure that you have everything you need to effectively test your ice maker water line.
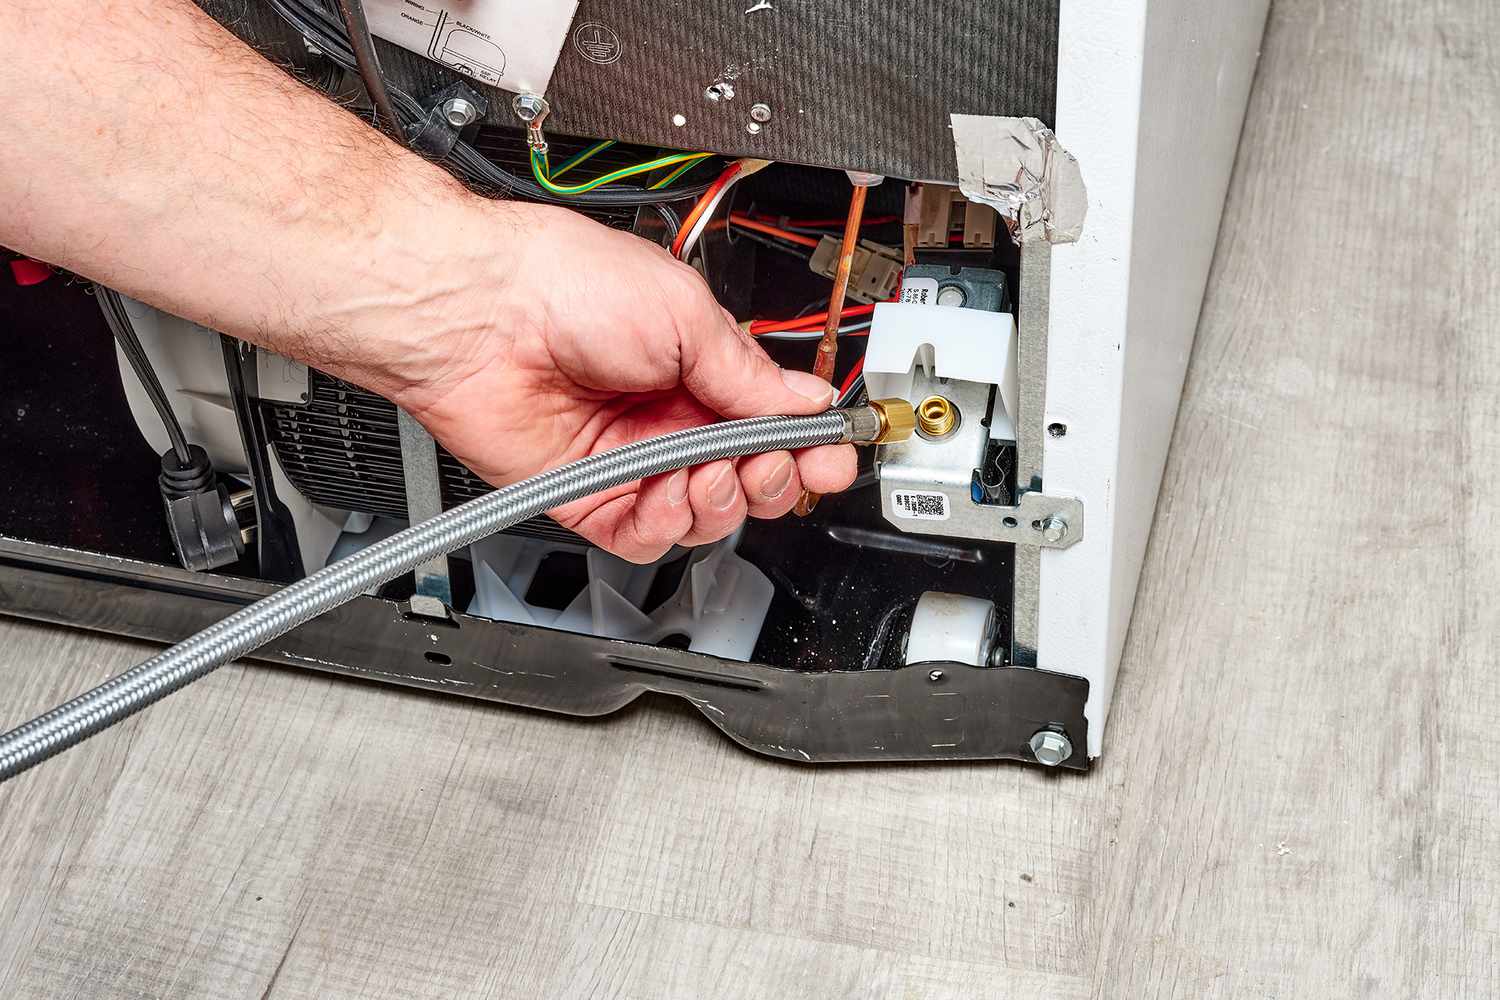
Step 1: Locate the Water Line
The first step in testing your ice maker water line is to locate it. The water line is the connection that supplies water to your ice maker, so locating it is essential for the testing process. Here’s how to do it:
- Unplug your refrigerator – Before you begin, unplug your refrigerator from the power source to ensure safety.
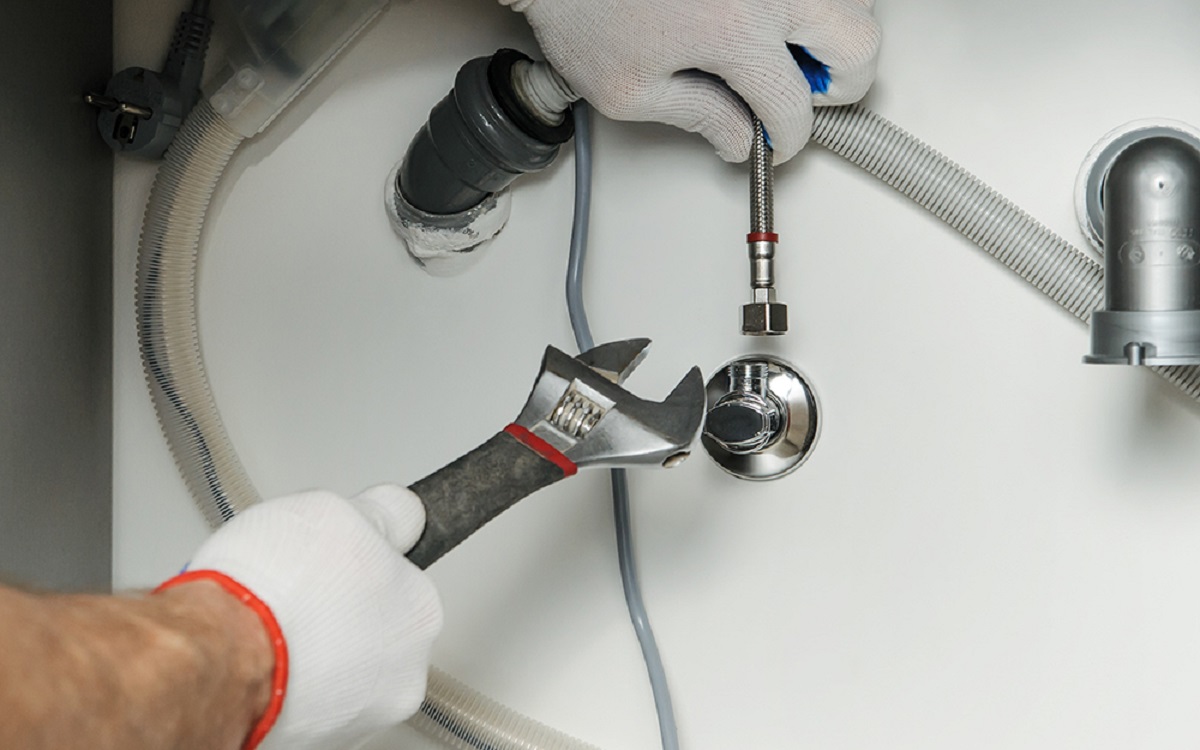
- Remove the front grille – Use a Phillips screwdriver to remove the screws holding the front grille in place. Gently pull the grille away to expose the water line.
- Inspect the water line – Once the water line is visible, carefully examine it for any visible damage or leaks. If you notice any cracks, kinks, or signs of leakage, it may indicate a problem with the water line that needs to be addressed.
By locating the water line and thoroughly inspecting it, you can get a better understanding of its condition and identify any obvious issues that may be affecting the functionality of your ice maker.
Step 2: Check for Leaks
Checking for leaks is an important step in testing your ice maker water line. Leaks can indicate a problem with the water line or a faulty connection, and they can lead to decreased ice production or even water damage. Follow these steps to check for leaks:
- Turn on the water supply – Ensure that the water supply to your refrigerator is turned on. If it isn’t, turn it on before proceeding.
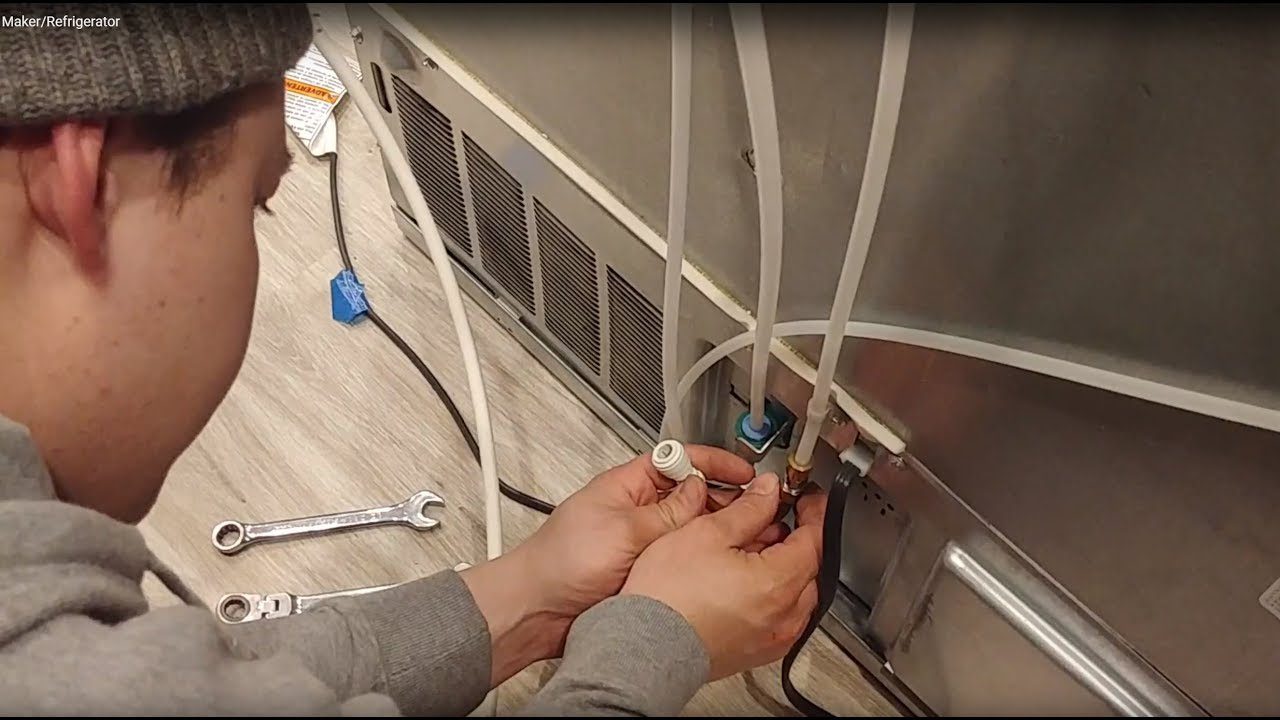
- Inspect the water line connections – Carefully examine the connections between the water line and the refrigerator, as well as any other visible connections. Look for any signs of water leakage around the fittings or connections.
- Check the water line for damage – Run your hand along the length of the water line, feeling for any wet spots or signs of moisture. This can indicate a leak in the line.
- Examine the floor or surrounding area – If there are any visible water stains or pooling water on the floor around the refrigerator, it could be a sign of a significant leak. Check the area thoroughly.
If you notice any leaks or signs of water damage during this step, it’s crucial to address the issue promptly. Depending on the severity of the leak, you may need to tighten connections, replace faulty parts, or even seek professional assistance.
Note: If you spot a significant leak or suspect a problem with the water line, it’s best to shut off the water supply to your refrigerator and contact a professional plumber or appliance repair technician for further diagnosis and repair.
Step 3: Inspect the Water Filter
Inspecting the water filter is an essential step in testing your ice maker water line. The water filter plays a crucial role in ensuring clean and properly filtered water reaches your ice maker. Here’s how to inspect the water filter:
- Locate the water filter – The water filter is typically found behind or below the refrigerator. Consult your owner’s manual or refer to the manufacturer’s guidelines to locate the exact position of the water filter in your appliance.
- Remove the water filter – Depending on the type of filter, you may need to twist it counterclockwise or push a release button to remove it. Follow the instructions provided to safely remove the filter for inspection.
- Check for debris or discoloration – Carefully examine the water filter for any signs of debris, sediments, or discoloration. These can indicate that the filter needs to be replaced or cleaned.
- Inspect the filter housing – While the filter is removed, take a look at the filter housing. Ensure that there are no visible cracks or damage that could be affecting the filtration process. If you notice any issues, consider contacting the manufacturer for further guidance.
If you find that the water filter is clogged, dirty, or shows signs of wear and tear, it’s recommended to replace it with a new one. Regularly changing the water filter is important for maintaining optimal ice maker performance and ensuring clean and fresh-tasting ice.
Consult your refrigerator’s manual or the manufacturer’s instructions for the specific type of water filter recommended for your model. Follow the instructions provided to install the new filter correctly.
Tip: To test your ice maker water line, first ensure the water supply is connected and turned on. Then, disconnect the water line and run it into a bucket to check for a steady flow of water when the ice maker is activated.
Read more: How To Replace Ice Maker Water Line
Step 4: Test the Water Flow
Testing the water flow is a critical step in determining if the water line is supplying an adequate amount of water to your ice maker. Here’s how you can test the water flow:
- Ensure that the water supply is turned on – Make sure that the water supply valve connected to your refrigerator is fully open. If it’s closed or partially closed, turn it on to allow water to flow.
- Access the water dispenser – If your refrigerator has a built-in water dispenser, activate it to see if water is flowing properly. A steady and consistent flow of water indicates that the water supply is functioning correctly.
- Check the water pressure – Evaluate the water pressure during the water dispense. If the water flow is weak, it may indicate a problem with the water line, such as a clog or low water pressure. Low water pressure can affect the ice production as well.
- Monitor the ice maker operation – While testing the water flow, keep an eye on the ice maker. Observe whether it’s receiving enough water to fill the ice tray adequately. If you notice that the ice production is low or the ice cubes are smaller than usual, it may indicate an issue with the water supply.
If you find that the water flow is significantly weak or inconsistent, it’s important to investigate the cause. Potential issues could include a clogged water line, a malfunctioning water valve, or low water pressure. Depending on the complexity of the problem, you may need to consult a professional technician for further assistance.
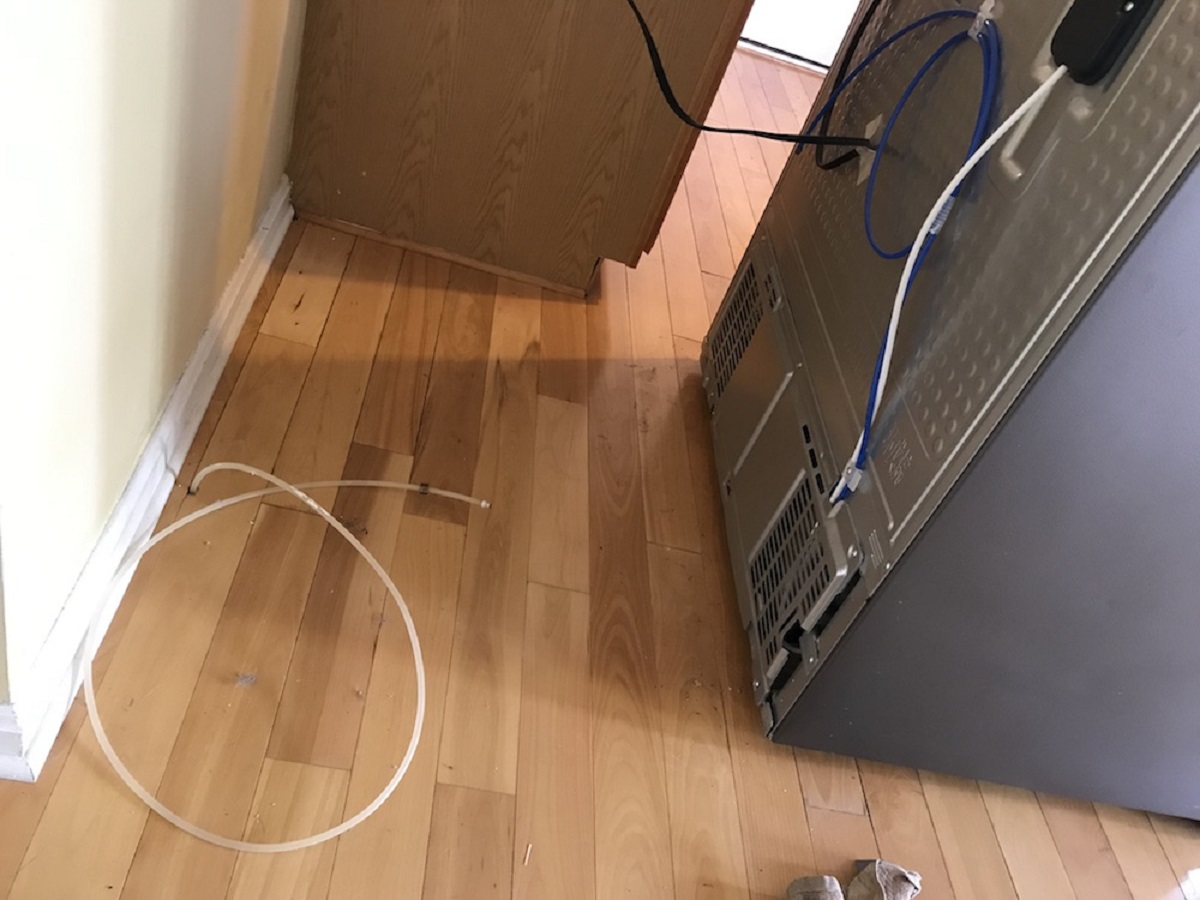
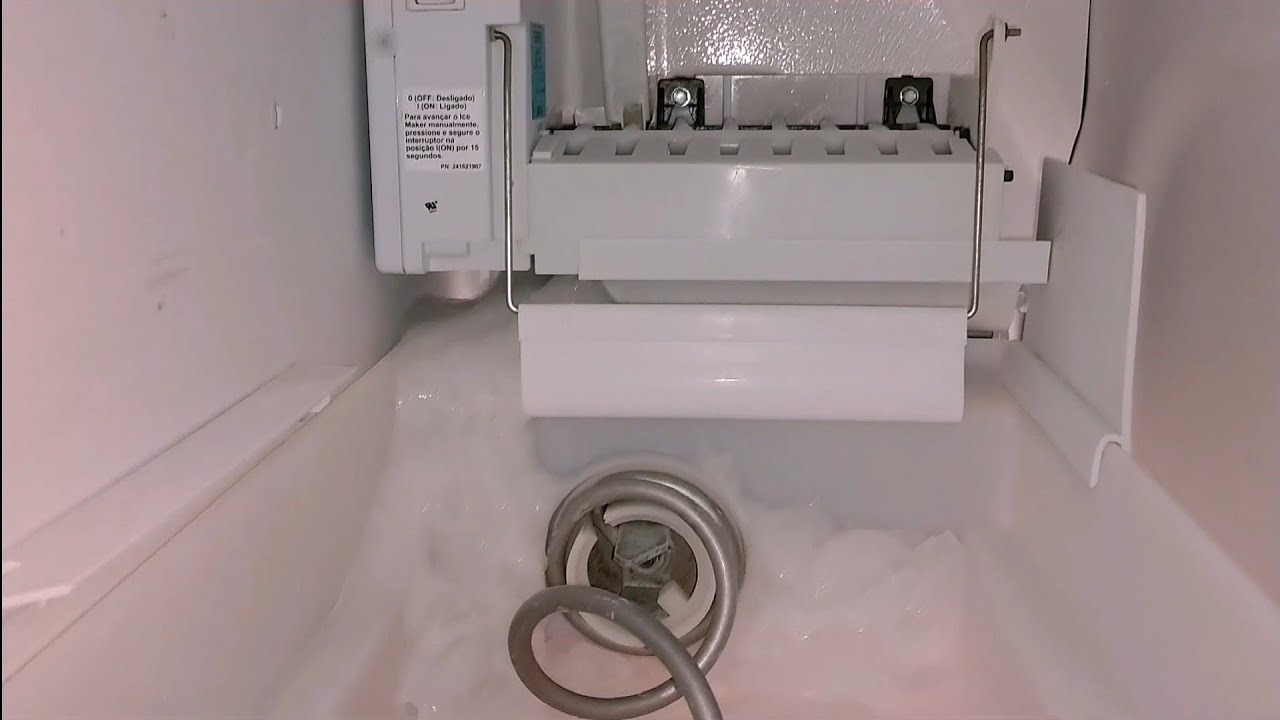
Additionally, if your refrigerator doesn’t have a water dispenser, you can still visually inspect the water flow by removing the water line from the back of the refrigerator and directing it into a bucket. Carefully turn on the water supply and observe the water flow. An adequate flow suggests that the water line is functioning properly.
Step 5: Check the Ice Production
Checking the ice production is a crucial step in testing your ice maker water line. This step will help you determine if the water reaching your ice maker is sufficient for producing ice cubes. Here’s how to check the ice production:
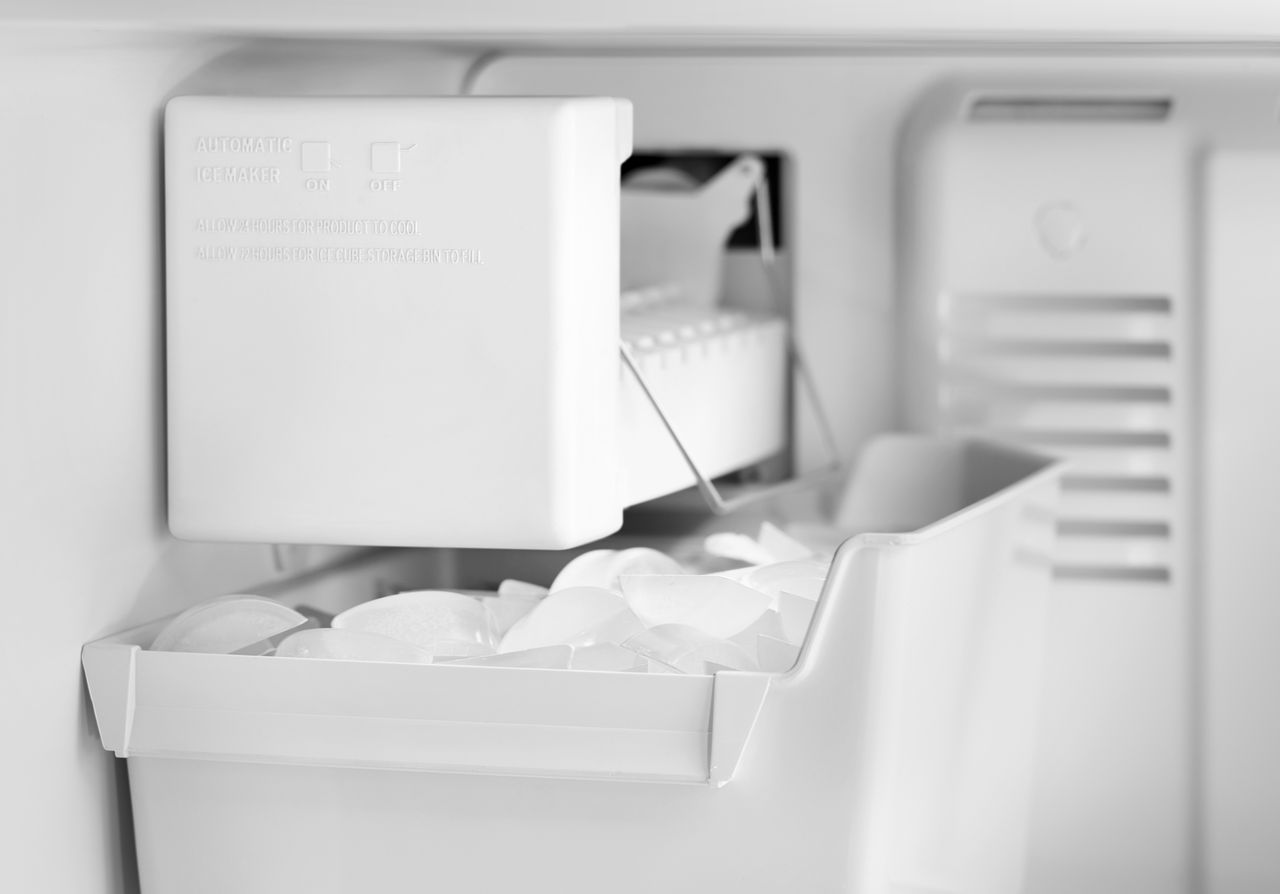
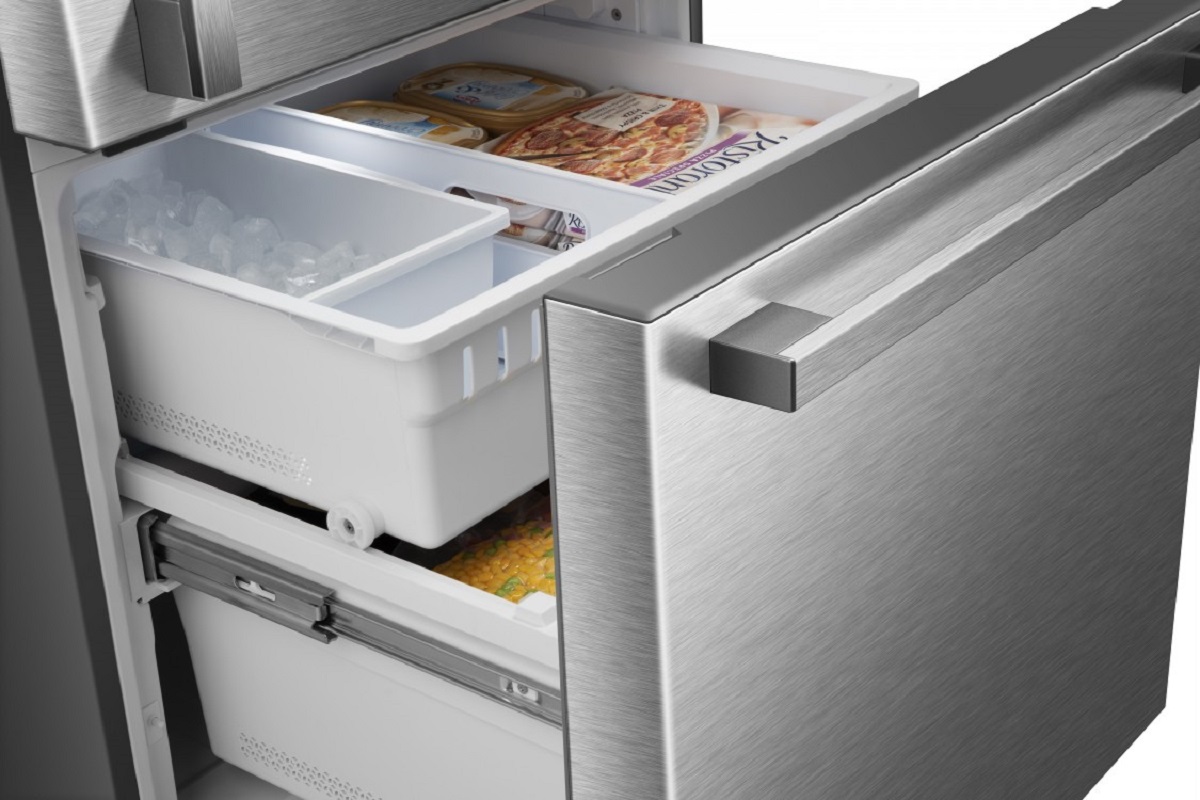
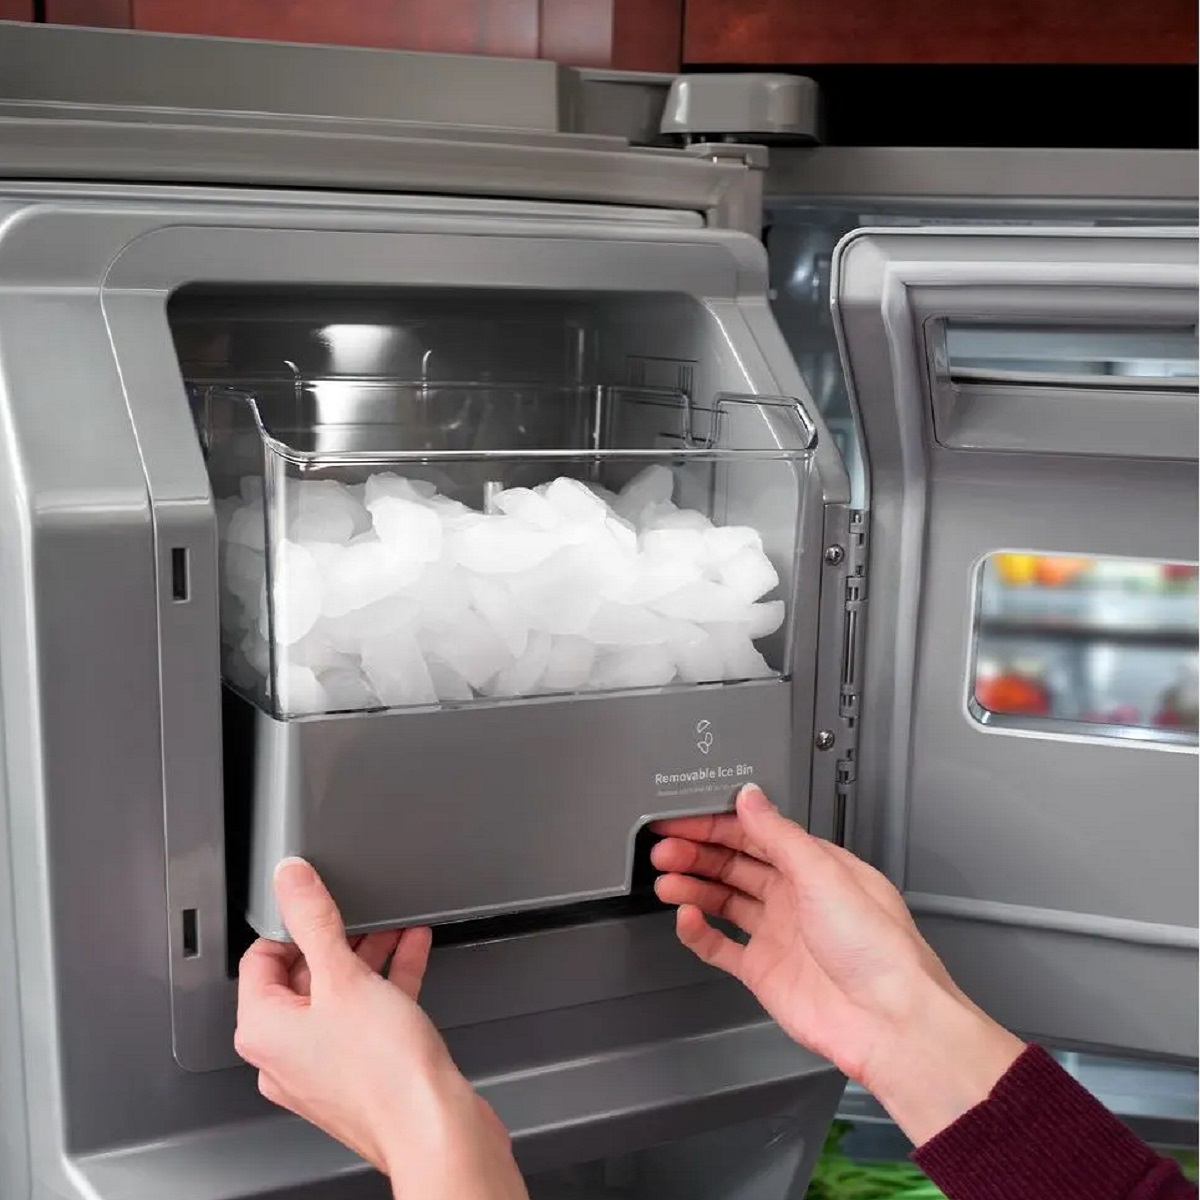
- Empty the ice bin – Start by emptying the ice bin and removing any existing ice cubes. This will provide a clear indication of the ice production during the testing process.
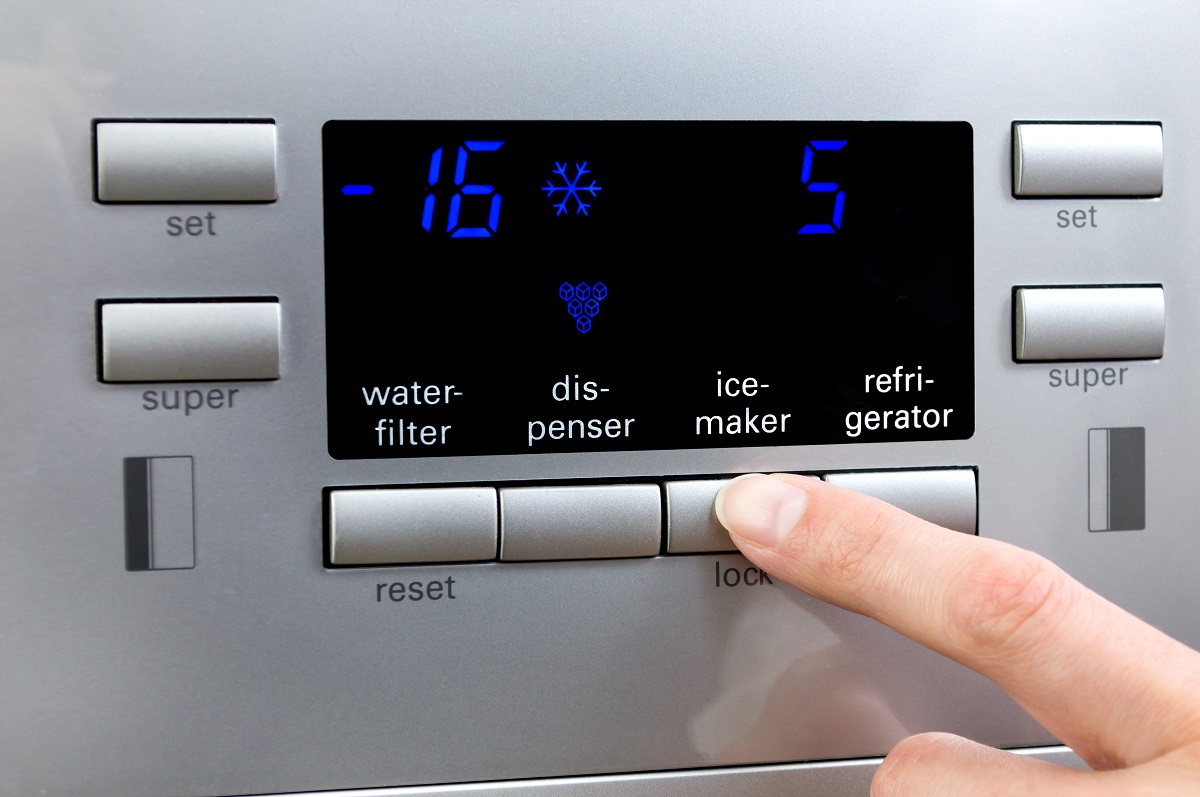
- Activate the ice maker – Depending on the model of your refrigerator, you may need to manually turn on the ice maker or set it to the ice-making mode. Refer to your refrigerator’s manual for specific instructions.
- Allow sufficient time for ice production – Give the ice maker enough time to produce a batch of ice cubes. The time required may vary depending on the refrigerator model, but typically it can take anywhere from a few hours up to 24 hours.
- Inspect the ice production – Once the designated time has passed, open the freezer and check if the ice maker has produced a sufficient amount of ice. If the ice bin is filled with properly formed ice cubes, it indicates that the water supply is adequate and the ice maker is functioning correctly.
- Note any issues or irregularities – If you notice any issues during the ice production, such as incomplete or misshapen ice cubes, it may indicate a problem with the water supply or the ice maker itself. Take note of these observations for further troubleshooting.
If you find that the ice production is low or the ice cubes have irregular shapes, it’s recommended to recheck the water line, water flow, and other components of the ice maker system. The previous steps in this guide can help you diagnose and resolve any issues that may be affecting the ice production.
Remember, the ice maker’s production can vary depending on external factors such as ambient temperature, usage patterns, and maintenance. However, consistent and satisfactory ice production is a good indicator that your ice maker water line is functioning properly.
Step 6: Verify Ice Maker Functionality
After testing the water line and checking the ice production, the final step is to verify the overall functionality of your ice maker. This step will help ensure that all components are working correctly and that you have resolved any issues that may have been affecting the ice production. Here’s how to verify the ice maker’s functionality:
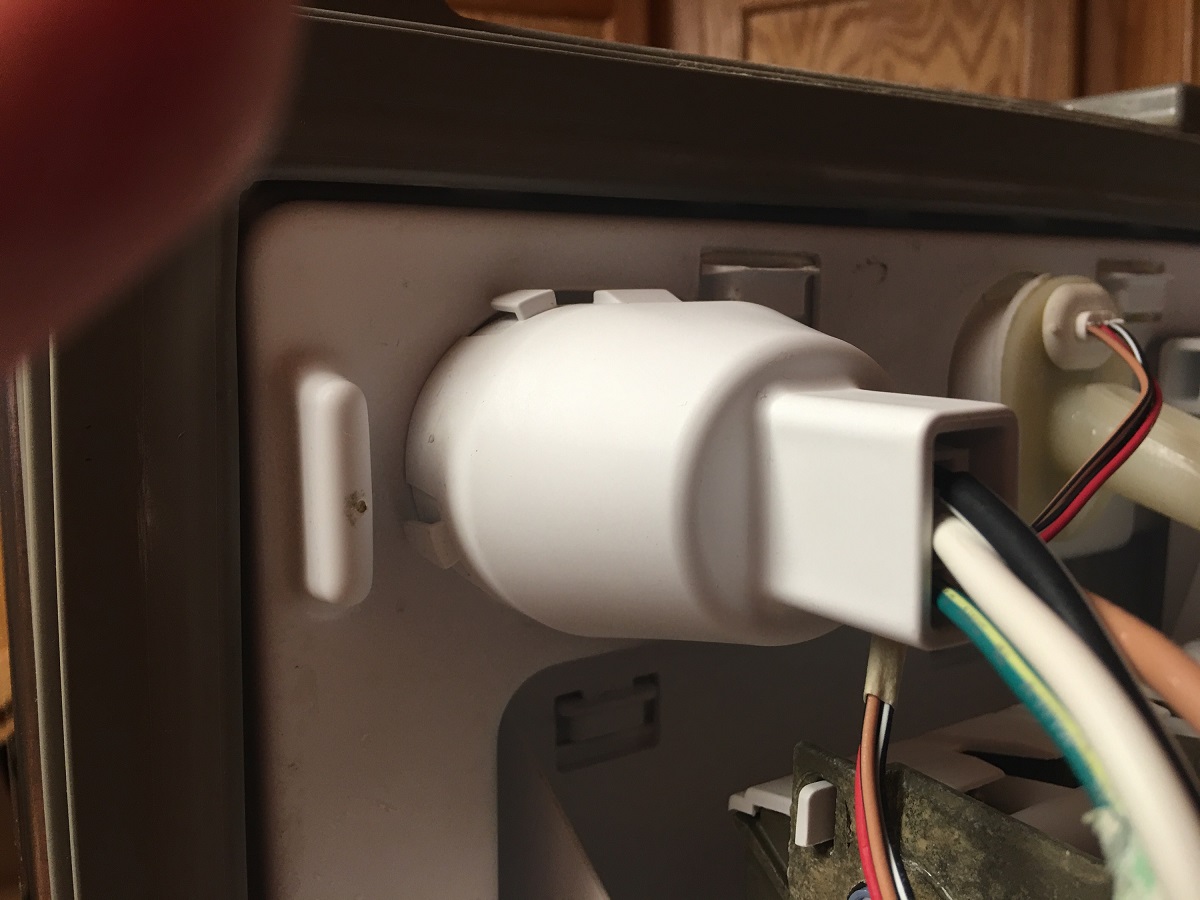
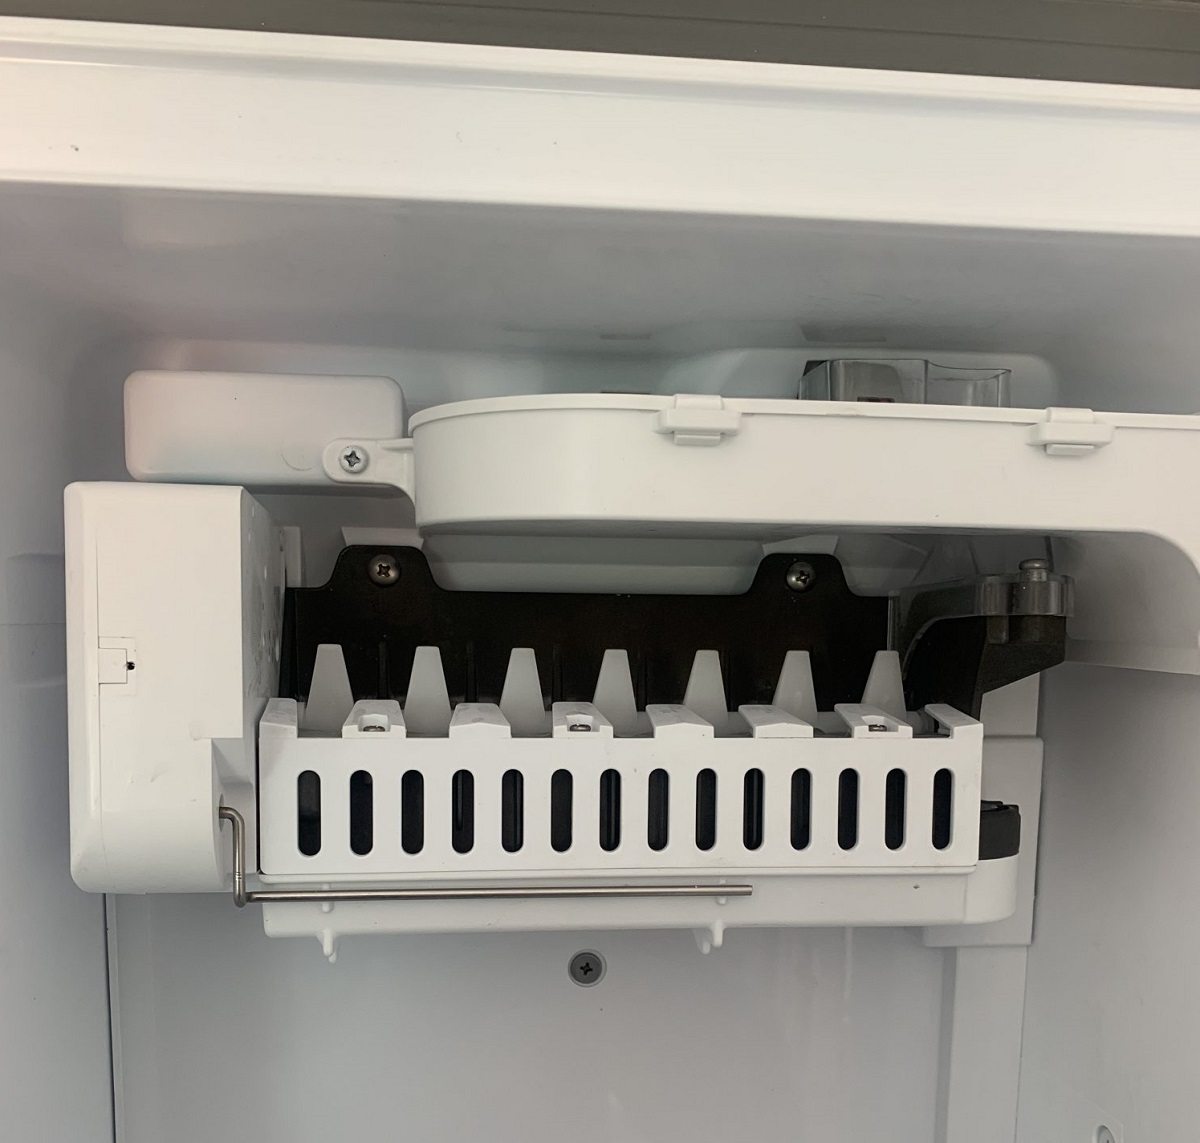
- Inspect the ice maker components – Take a thorough look at the ice maker and its components, including the ice tray, water inlet valve, and motor. Ensure that there are no visible signs of damage, blockages, or malfunctions.
- Listen for any unusual noises – While the ice maker is in operation, listen for any unusual sounds such as grinding, clicking, or buzzing. These noises may indicate a problem with the ice maker’s motor or other internal components.
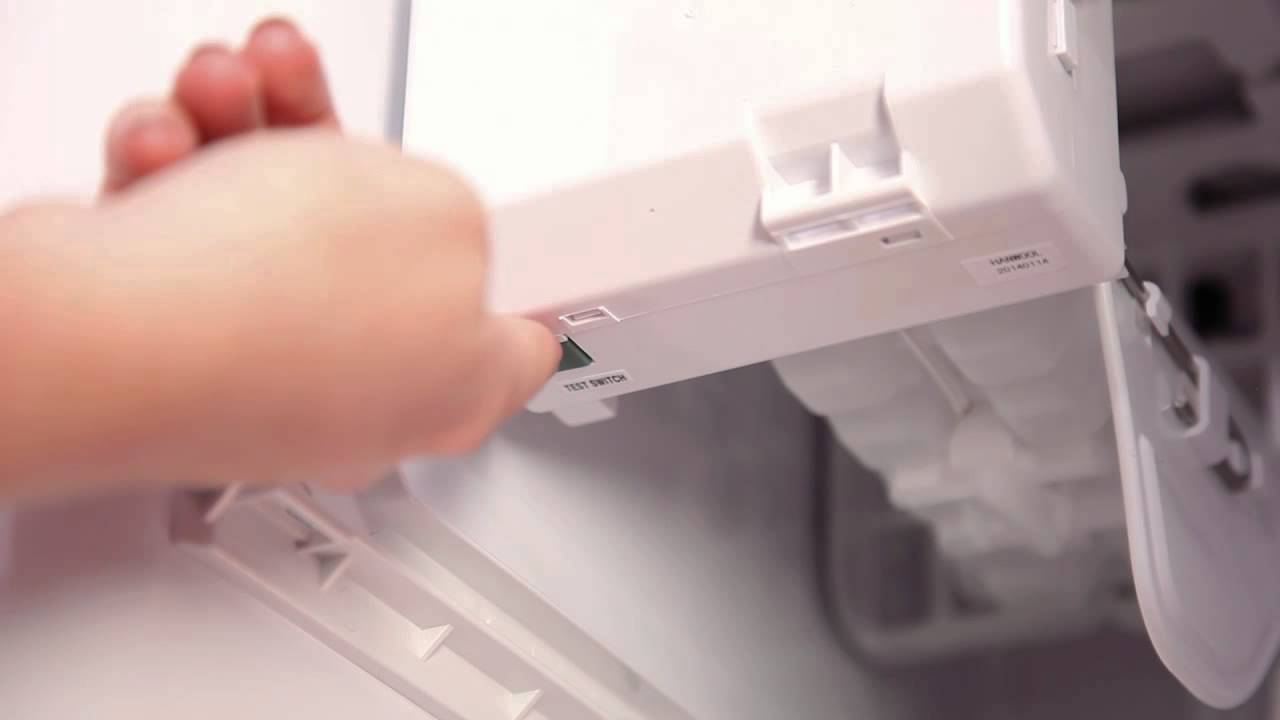
- Run a test cycle – Some refrigerators come with a test button or a diagnostic mode specifically designed for testing the ice maker’s functionality. Consult your refrigerator’s manual to determine if such a feature is available and how to activate it.
- Observe the ice production cycle – During the test cycle, closely observe the ice maker’s operation. Check if the water is being properly dispensed into the ice tray, if the ice cubes are forming correctly, and if the ice tray is being properly emptied into the ice bin.
- Ensure proper freezing and dispensing – Once the ice maker completes a full cycle, verify that the ice cubes are fully frozen and not stuck together. Additionally, check if the ice dispenser, if applicable, is functioning properly by dispensing ice cubes without any clogs or blockages.
If you encounter any issues or abnormalities during this step, it may indicate an underlying problem that requires further attention. Consider referring to your refrigerator’s manual for troubleshooting tips or contacting a professional technician for assistance.
By verifying the ice maker’s overall functionality, you can ensure that the repairs or adjustments made have effectively resolved any issues and restored the optimal performance of your ice maker.
Conclusion
Testing your ice maker water line is an essential step in troubleshooting and maintaining the functionality of your ice maker. By following the steps outlined in this guide, you can identify and resolve common issues that may be affecting the ice production. Here’s a summary of the steps:
- Locate the water line and inspect it for any visible damage or leaks.
- Check for leaks by examining the water line connections and looking for signs of moisture or water damage.
- Inspect the water filter for debris or discoloration and replace it if necessary.
- Test the water flow by activating the water dispenser and monitoring the water pressure and ice maker operation.
- Check the ice production by emptying the ice bin, activating the ice maker, and observing if it produces an adequate amount of ice.
- Verify the overall functionality of the ice maker by inspecting its components, listening for unusual noises, and running a test cycle.
Remember, if you encounter any significant leaks, suspect a problem with the water line, or are unable to resolve the issue on your own, it’s best to seek professional assistance from a plumber or appliance repair technician.
By regularly testing your ice maker’s water line and addressing any problems promptly, you can ensure a steady supply of ice for your everyday needs and enjoy the convenience it brings to your home.
Now that you've mastered testing your ice maker's water line, why stop there? Dive deeper into home appliance care with our guide on fridge upkeep. You'll find practical steps for refrigerator repair, ensuring your cooling unit runs smoothly. For those looking to enhance their kitchen functionality further, our detailed instructions on water line installation for ice makers are just what you need. Equip yourself with the knowledge to keep appliances in top condition, ensuring they serve you well for years to come.
Frequently Asked Questions about How Do I Test My Ice Maker Water Line
Was this page helpful?
At Storables.com, we guarantee accurate and reliable information. Our content, validated by Expert Board Contributors, is crafted following stringent Editorial Policies. We're committed to providing you with well-researched, expert-backed insights for all your informational needs.

0 thoughts on “How Do I Test My Ice Maker Water Line”