Articles
How Do You Change A Bathtub Faucet
Modified: January 5, 2024
Learn how to change a bathtub faucet with our informative articles. Find step-by-step guides and expert tips to make the process easy.
(Many of the links in this article redirect to a specific reviewed product. Your purchase of these products through affiliate links helps to generate commission for Storables.com, at no extra cost. Learn more)
Introduction
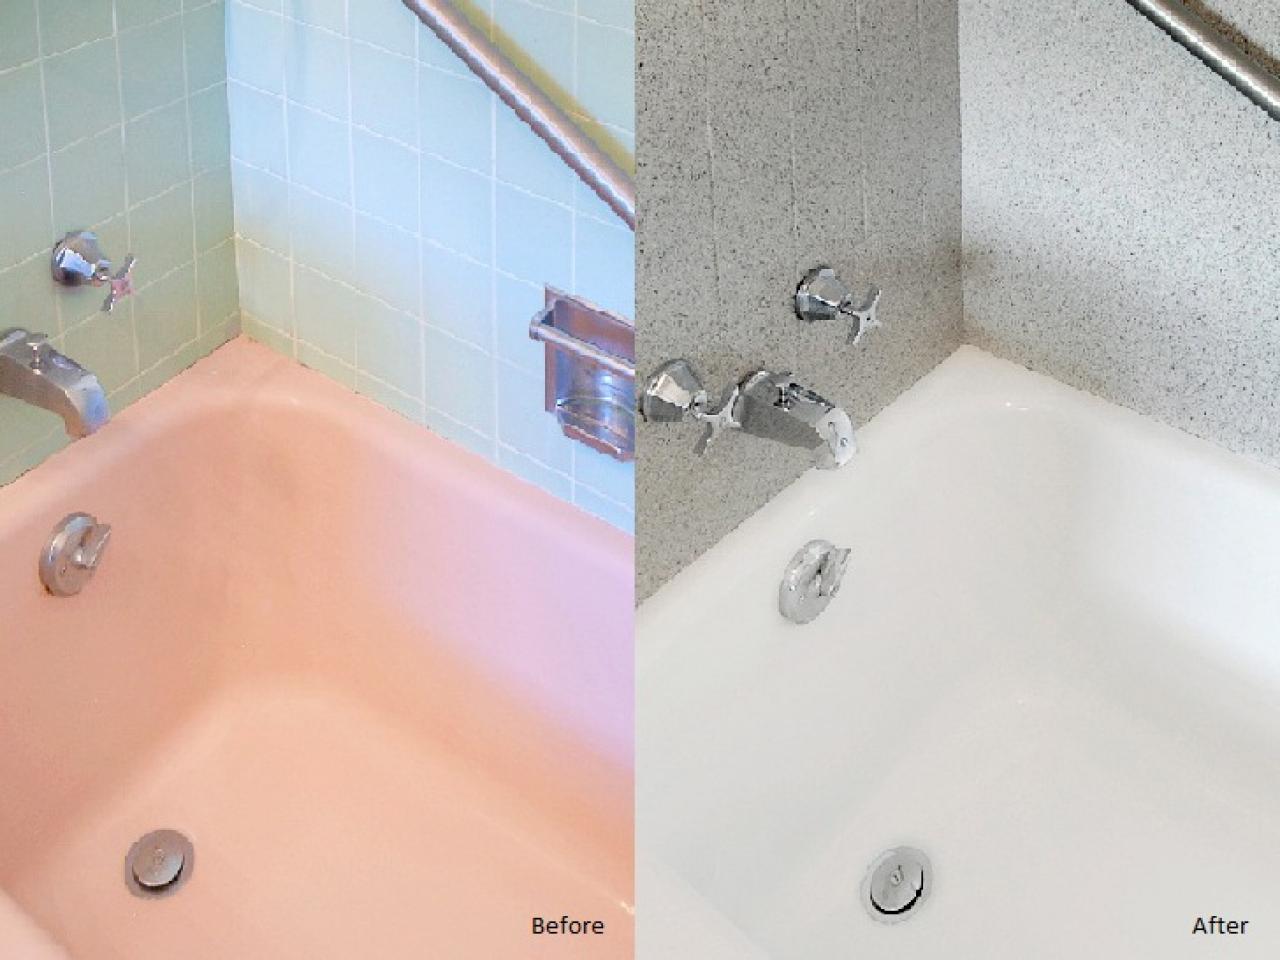
Changing a bathtub faucet is a common household task that can dramatically improve the functionality and aesthetic appeal of your bathroom. Whether you’re looking to update the style of your faucet or fix a leaking one, the process is relatively straightforward and can be accomplished with a few basic tools and materials.
In this article, we will guide you through the step-by-step process of changing a bathtub faucet. We’ll cover everything from shutting off the water supply to installing the new faucet and testing it to ensure it’s working properly. By following these instructions, you’ll be able to tackle this DIY project with confidence and enjoy the benefits of a new and functional bathtub faucet.
Key Takeaways:
- Changing a bathtub faucet is a DIY project that can be accomplished with basic tools and materials. By following the step-by-step process, you can upgrade your bathroom’s functionality and aesthetics with confidence.
- Testing the new faucet is crucial to ensure proper functionality and catch any potential issues. By taking your time and following the final steps, you can enjoy the satisfaction of a successful DIY project and an improved bathroom.
Read more: How To Change Bathtub Faucet Handle
Tools and Materials Needed
Before you begin changing a bathtub faucet, it’s important to gather all the necessary tools and materials to ensure a smooth and efficient process. Here’s a list of what you’ll need:
Tools:
- Adjustable wrench
- Phillips screwdriver
- Plumber’s tape
- Bucket
- Cloth or towel
Materials:
- New bathtub faucet
- New faucet handles
- New cartridge (if applicable)
- New gaskets or O-rings
- Teflon tape
- Plumber’s putty
- Basic cleaning supplies
Make sure you have all these tools and materials readily available before you start the project. This will save you time and frustration in the middle of the process.
Step 1: Shut Off the Water Supply
Before you begin removing the old bathtub faucet, it’s essential to shut off the water supply to prevent any accidental leaks or water damage. Here’s how you can do it:
- Locate the main water shut-off valve for your home. This valve is typically located near the water meter or where the main water supply enters your house.
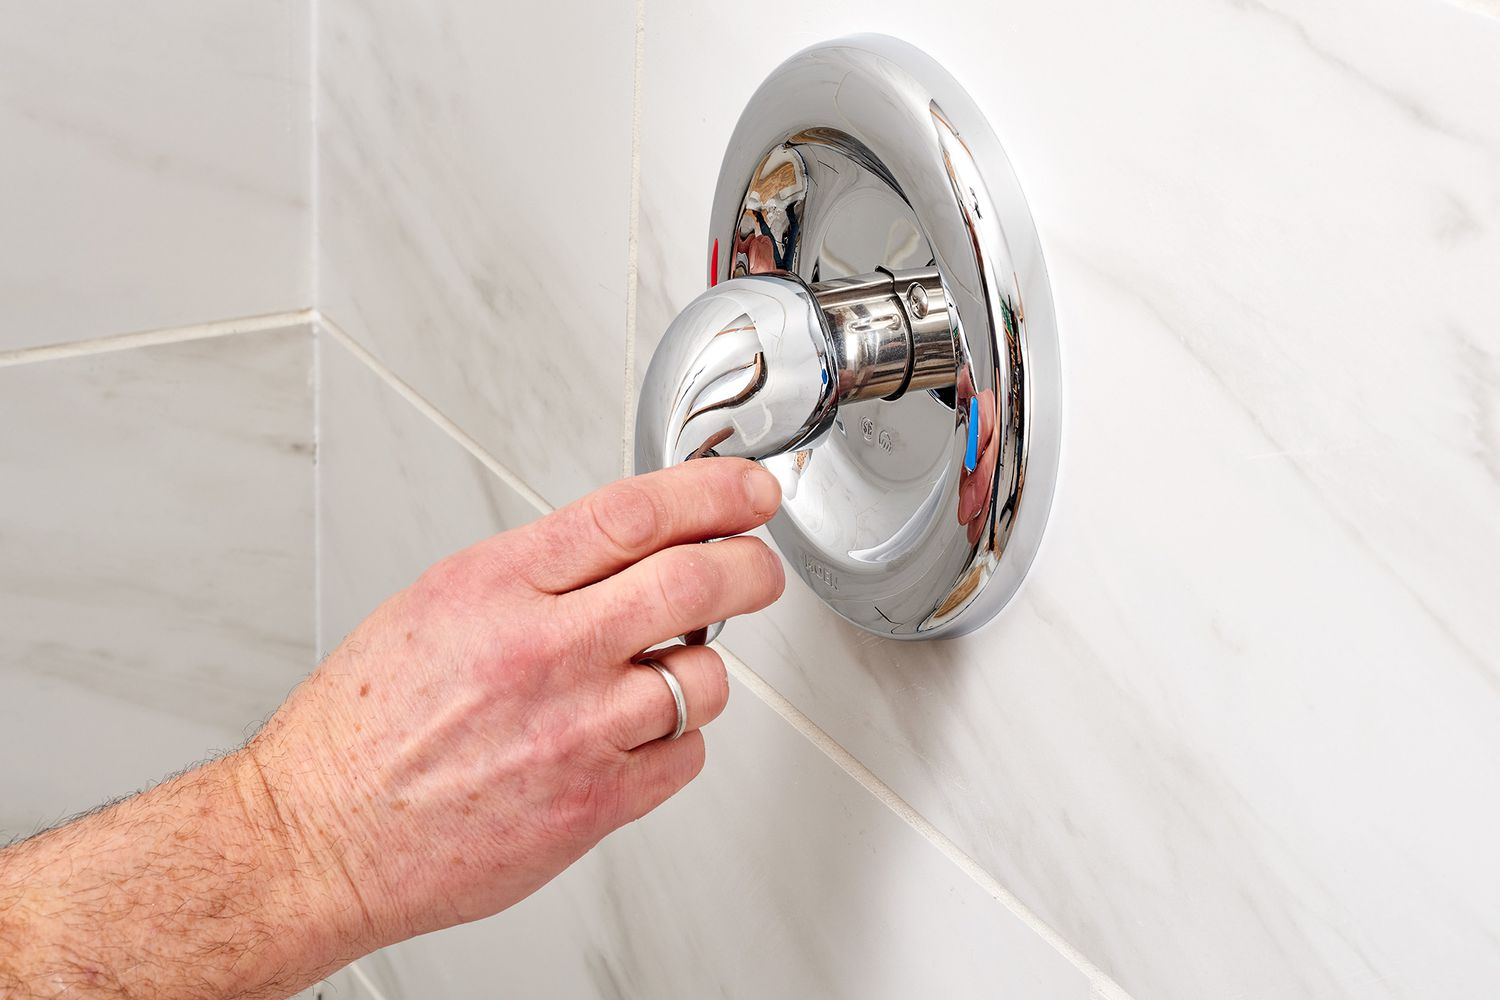
- Turn the valve clockwise to shut off the water supply. If you have a gate valve, you’ll need to turn the handle clockwise. If you have a ball valve or lever valve, you’ll need to position it perpendicular to the pipe.
- Once the water supply is shut off, open a faucet at a lower level in your home to relieve any residual pressure in the pipes.
It’s important to ensure that the water supply is completely turned off before proceeding with the next steps. This will prevent any water from spurting out when you remove the old faucet and avoid potential water damage.
Read more: How Do You Measure A Bathtub
Step 2: Remove the Old Faucet
Now that the water supply is shut off, you can proceed to remove the old bathtub faucet. Follow these steps:
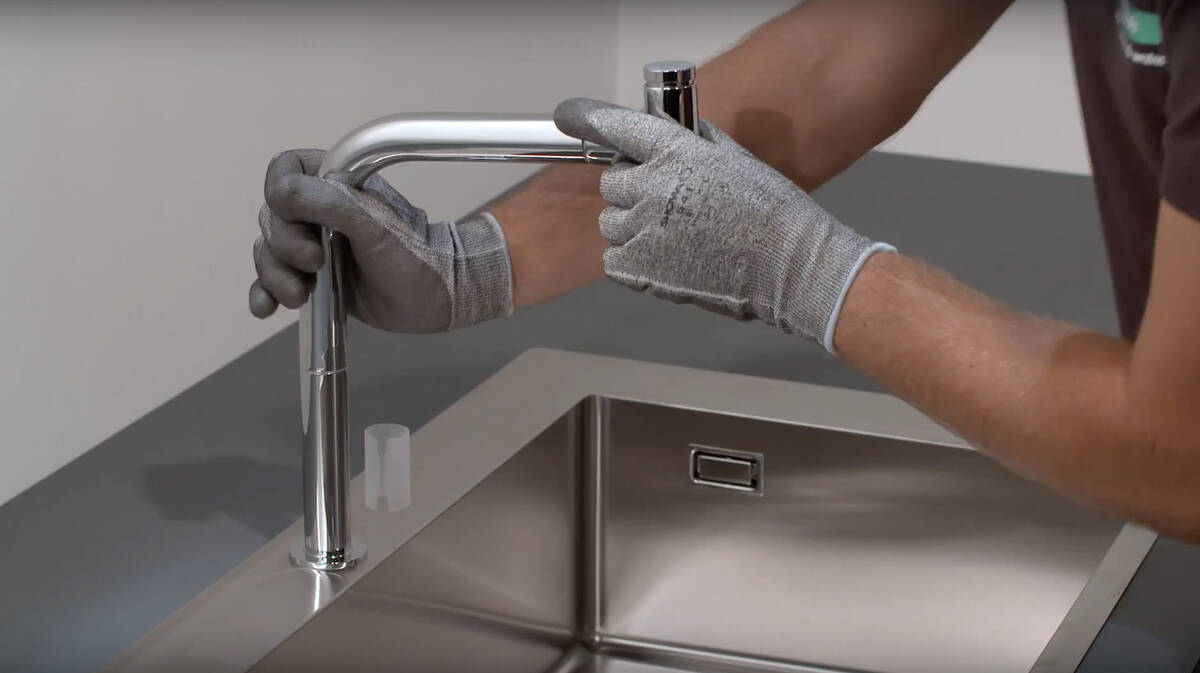
- Use an adjustable wrench to loosen and remove the nuts that secure the faucet handles. These nuts are typically located under the handles or on the sides of the faucet. Turn them counterclockwise to loosen them.
- Once the nuts are removed, gently pull the handles off the faucet stems.
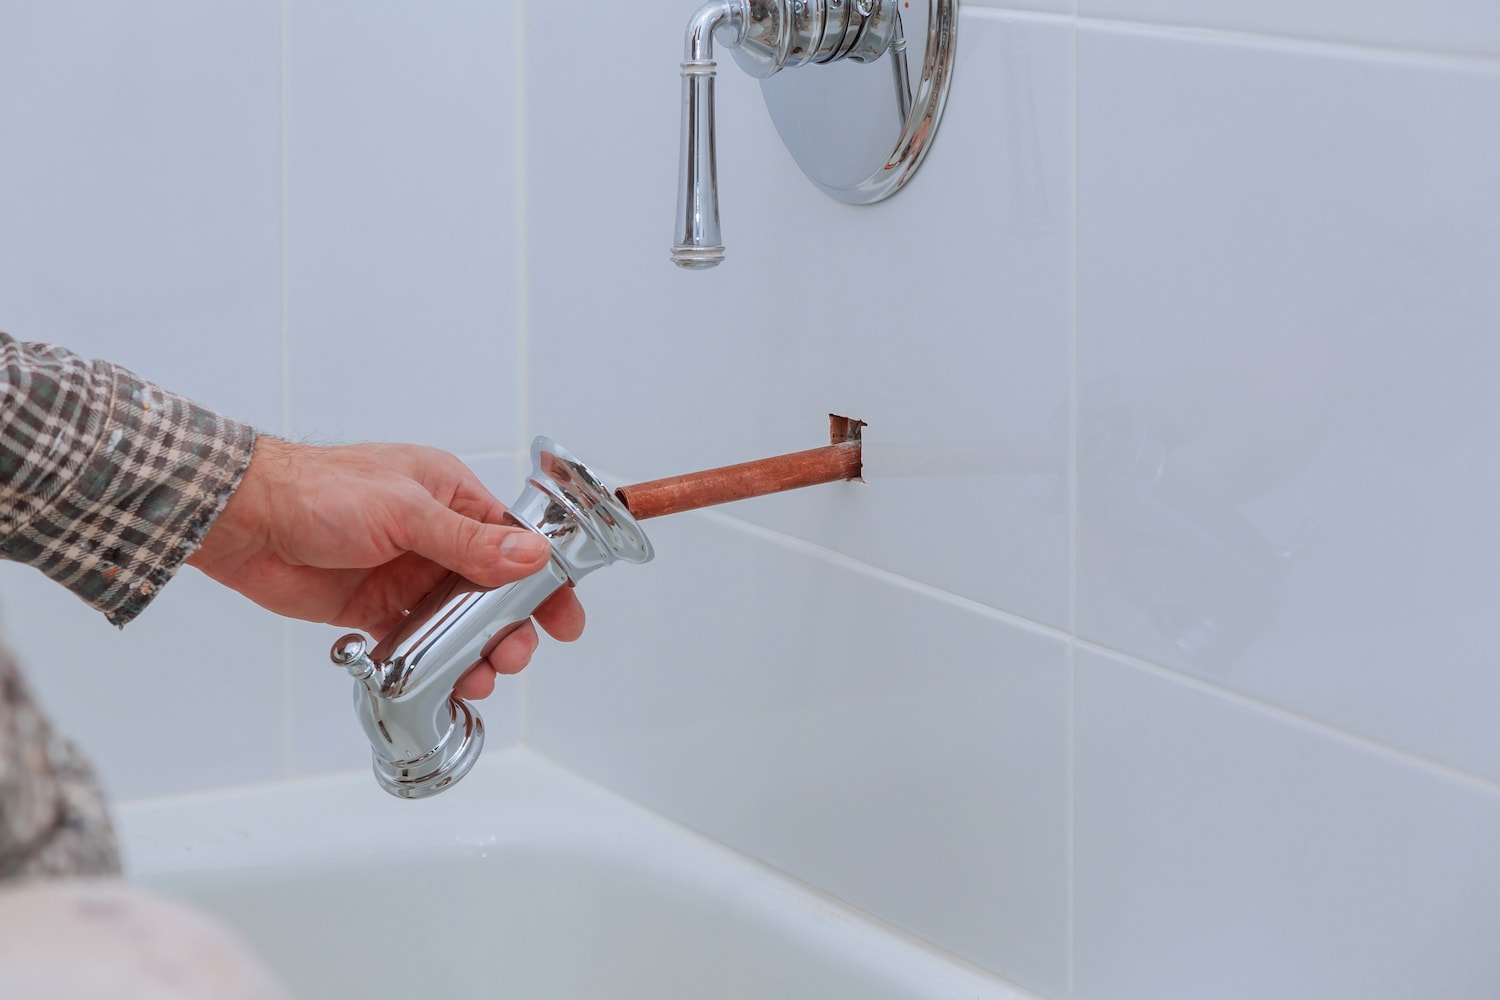
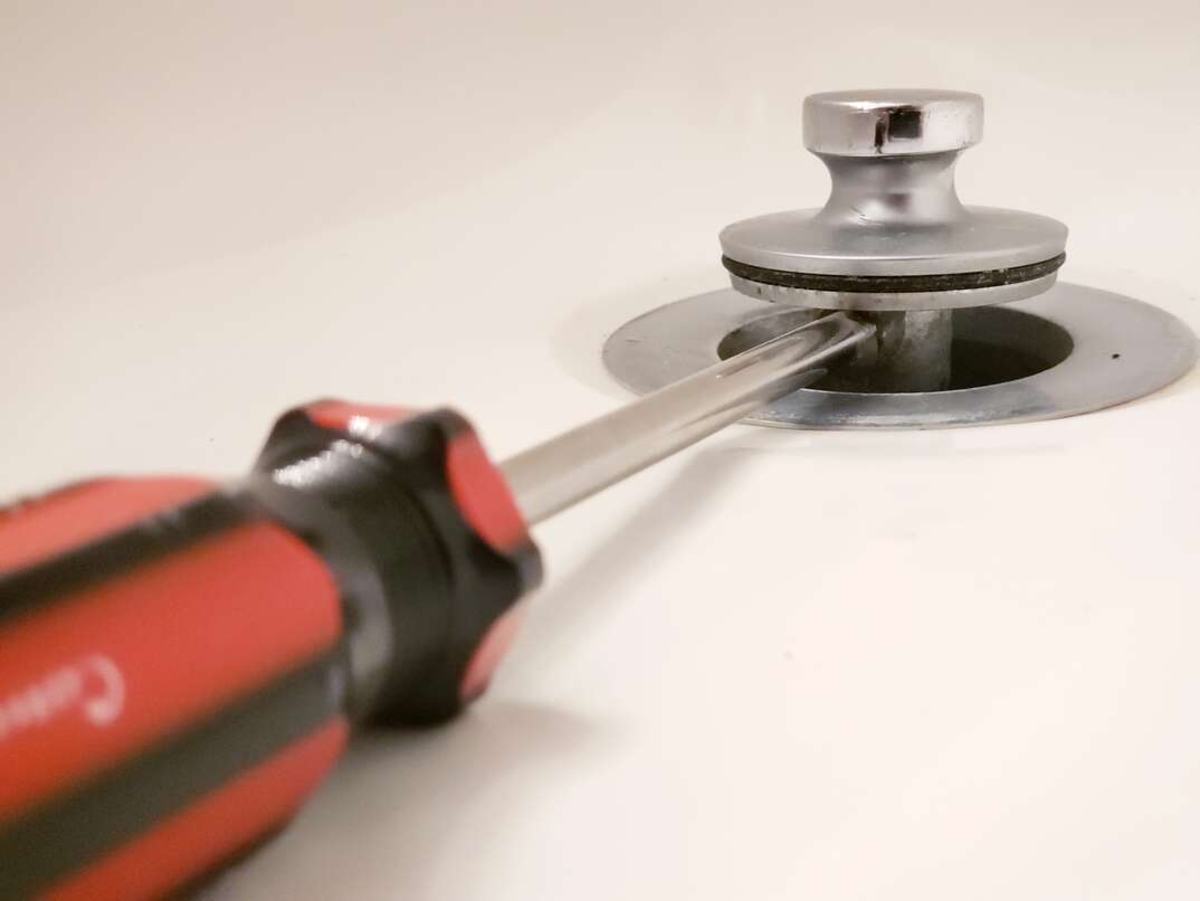
- Next, locate the retaining screw that holds the faucet spout in place. This screw is usually located on the underside of the spout. Use a Phillips screwdriver to remove it.
- After removing the retaining screw, carefully pull the old faucet spout straight out from the wall. If it’s stuck, you may need to use a little bit of force or leverage to loosen it.
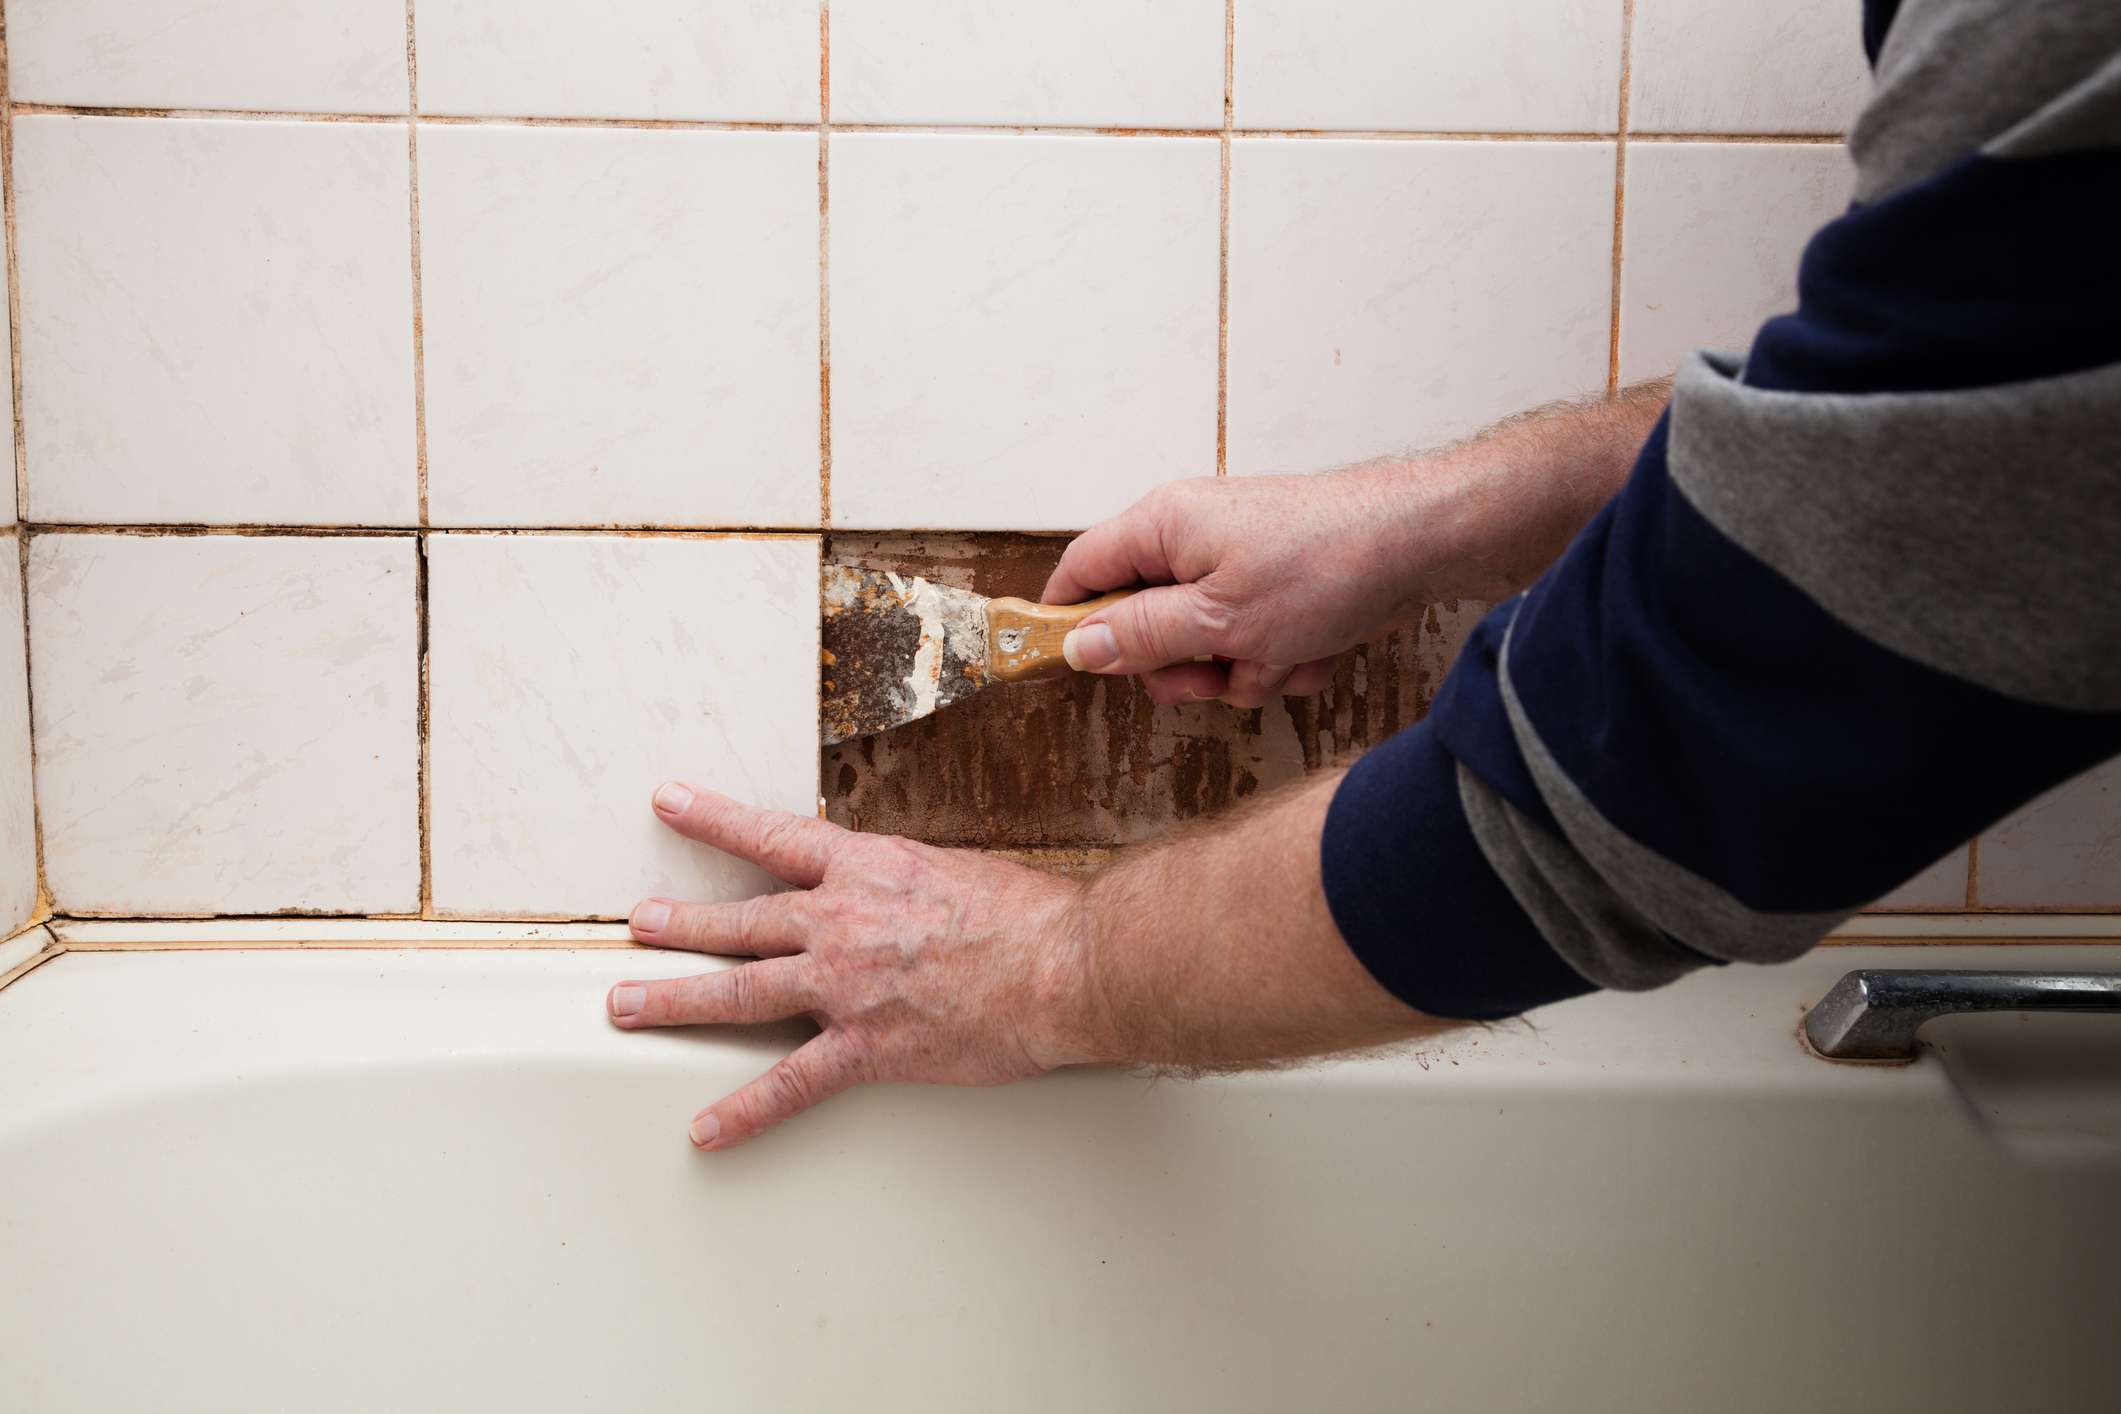
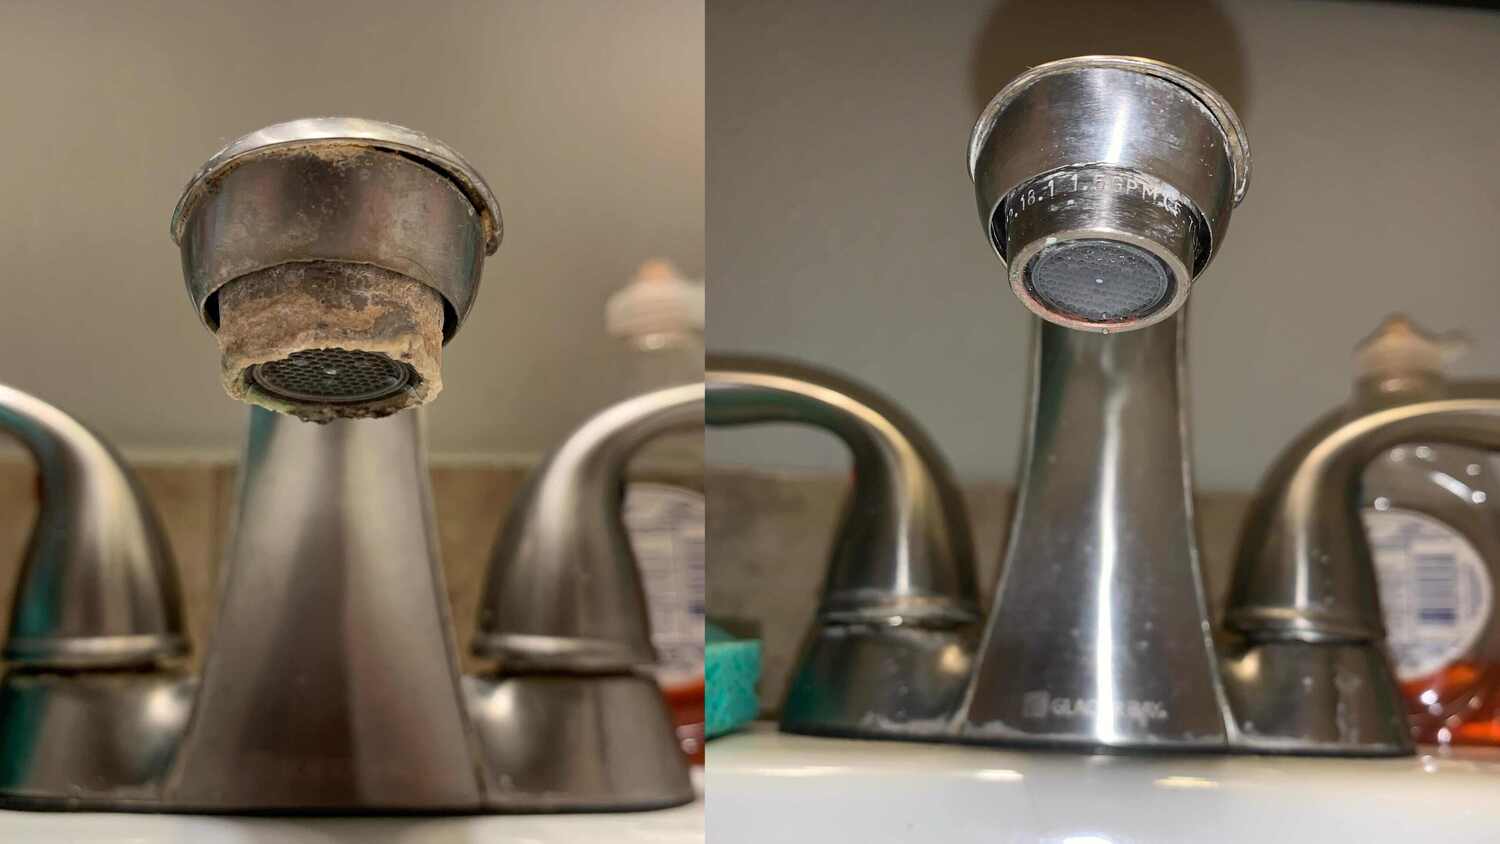
- Inspect the area behind the old faucet for any mineral deposits or buildup. Use a cloth or towel to clean it and ensure a smooth installation of the new faucet.
By following these steps, you should be able to remove the old bathtub faucet without any major difficulties. Take your time and be gentle to avoid damaging any surrounding fixtures or surfaces.
Step 3: Install the New Faucet
With the old faucet successfully removed, it’s time to install the new bathtub faucet. Follow these steps to ensure a proper installation:
- Apply plumber’s putty or a sealant to the base of the new faucet. This will create a watertight seal and prevent any leakage.
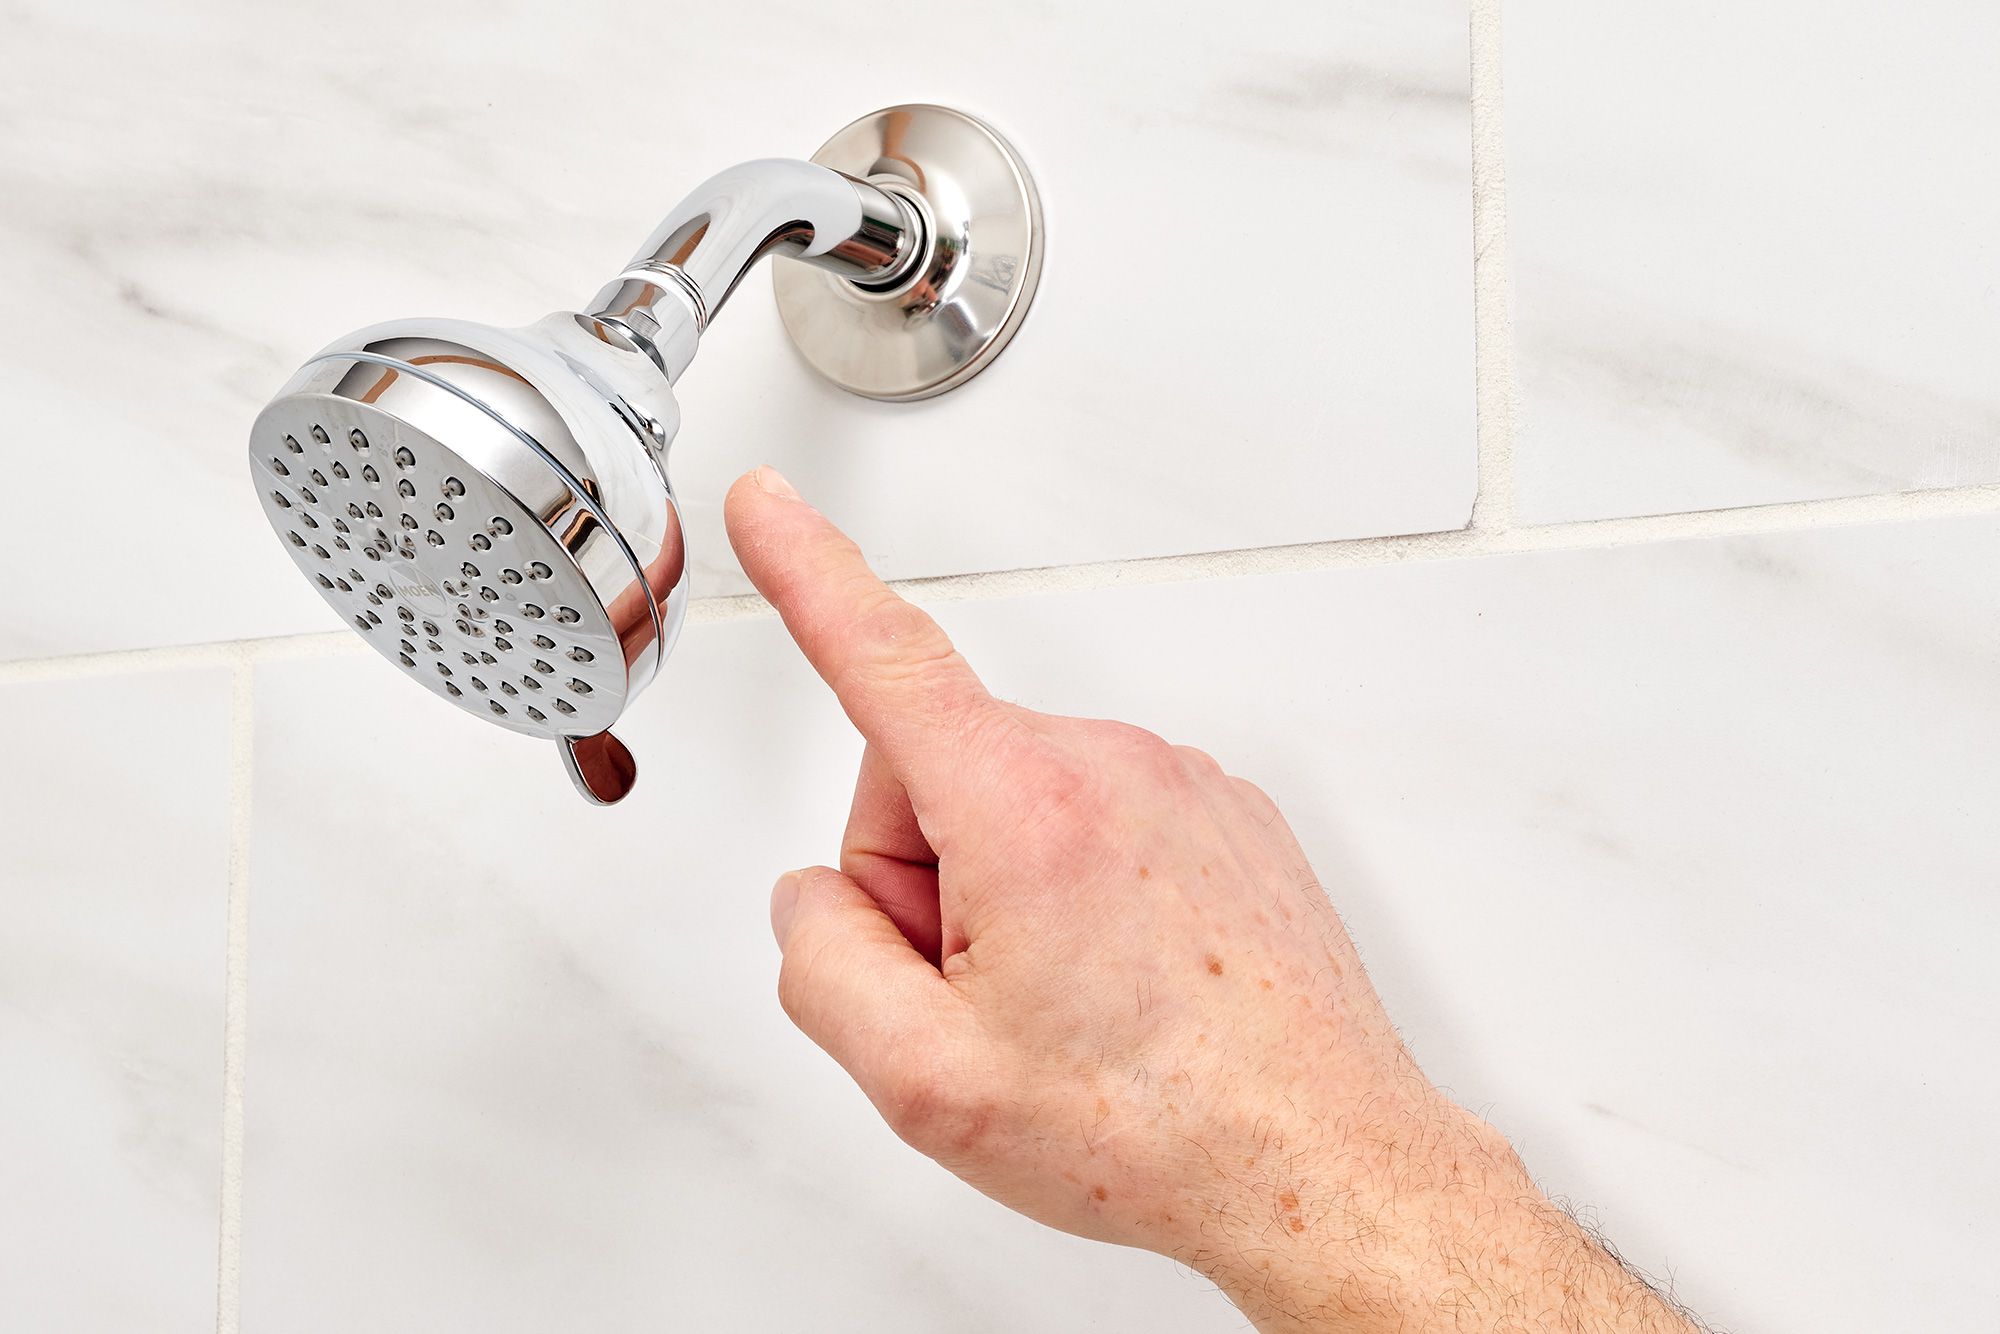
- Insert the new faucet into the mounting holes on the wall and align it properly. Push it in firmly to ensure a snug fit.
- If your new faucet requires additional handles, attach them by screwing them onto the faucet stems. Use an adjustable wrench to securely tighten the nuts.
- If your new faucet comes with a cartridge, insert it into the faucet body according to the manufacturer’s instructions. Make sure it is positioned correctly.
- Secure the faucet by tightening the mounting nuts from underneath. Use an adjustable wrench to ensure they are tightened securely but be careful not to overtighten and risk damaging the faucet or plumbing.
It’s important to ensure that the new faucet is properly installed and tightly secured to prevent any leaks or wobbling. Take your time to align everything properly and double-check that all connections are secure before moving on to the next step.
When changing a bathtub faucet, make sure to turn off the water supply before starting the process. Use a wrench to loosen and remove the old faucet, then clean the area before installing the new one. Apply plumber’s tape to the threads for a secure fit.
Step 4: Test the New Faucet
After installing the new bathtub faucet, it’s crucial to test it and ensure that everything is functioning as it should. Follow these steps to test the new faucet:
- Turn the main water supply valve back on by rotating it counterclockwise.
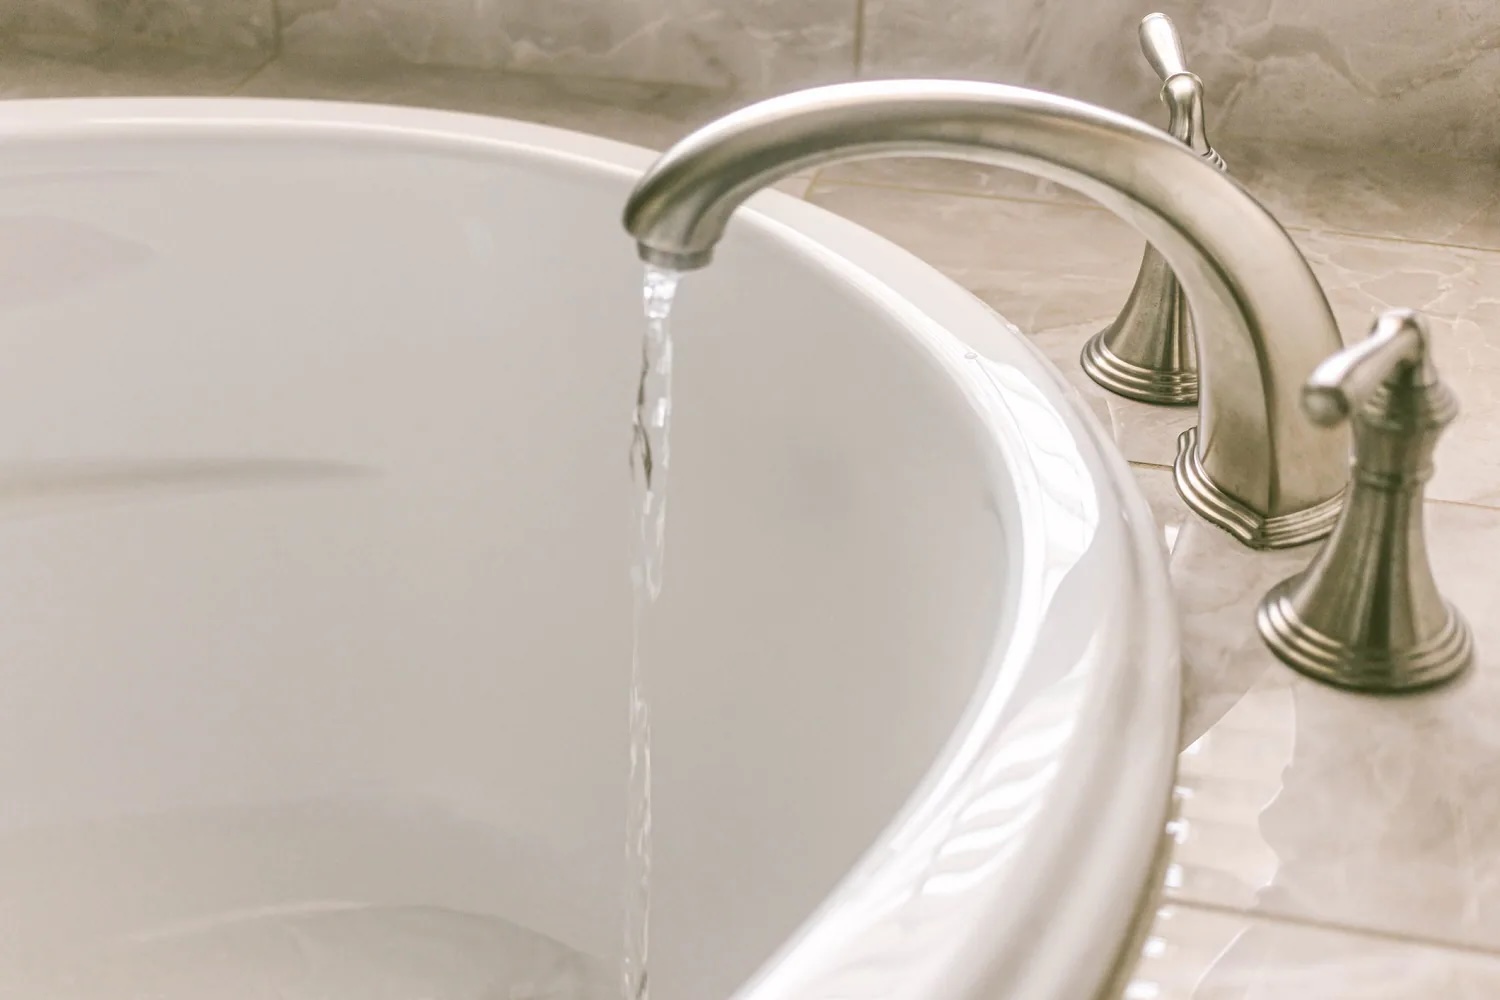
- Slowly open the newly installed faucet and allow the water to flow.
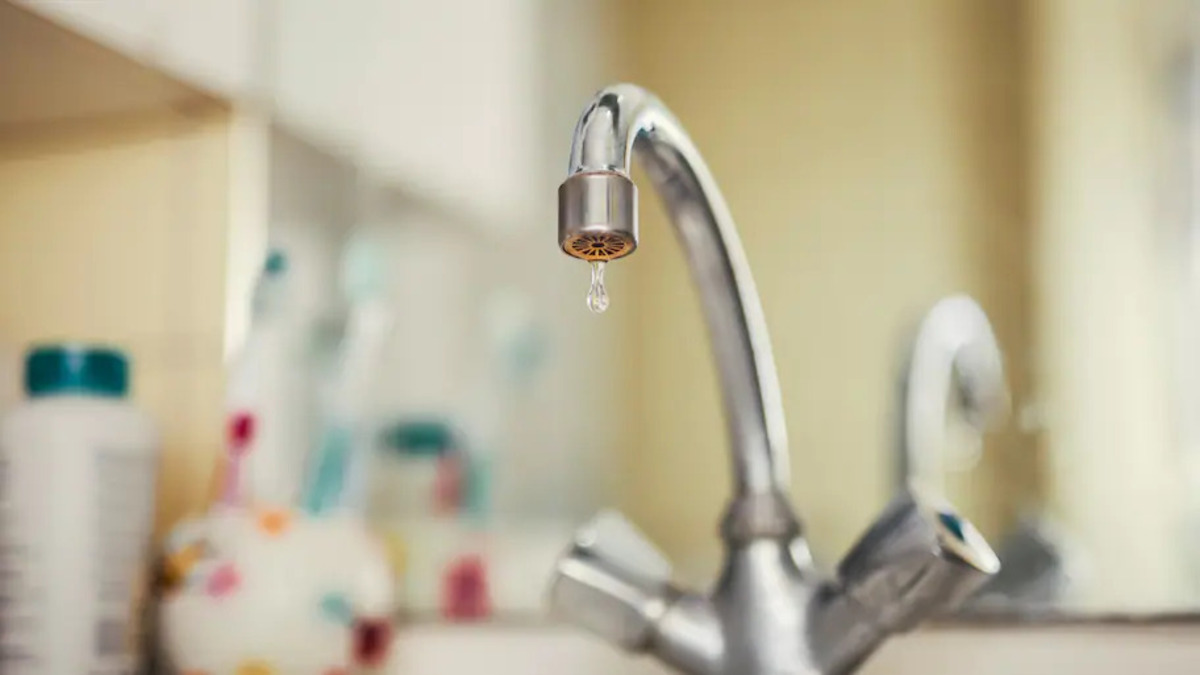
- Check for any leaks around the connections and handles of the faucet. If you notice any leaks, turn off the water supply and tighten the connections as necessary.
- Test both the hot and cold water handles to ensure they are functioning correctly and delivering the desired temperature.
- Allow the water to run for a few minutes to flush out any debris or air bubbles that may have accumulated during the installation process.
- Inspect the area around the faucet for any signs of water damage or leaks. If everything appears to be in order, you can consider the installation successful.
Testing the new faucet is vital to ensure that it’s functioning properly and to catch any potential issues before they escalate. Take your time during this step to ensure that the faucet is in good working condition.
Step 5: Clean Up and Final Thoughts
Now that the new bathtub faucet is installed and tested, it’s time to clean up the work area and reflect on the completed project. Follow these steps to wrap things up:
- Turn off the faucet and shut off the water supply by reversing the steps from earlier.
- Wipe down the new faucet and surrounding area with a clean cloth or towel to remove any water droplets or residue.
- Clean up any debris or tools that were used during the installation process. Dispose of any old faucet parts responsibly.
- Inspect the area to ensure there are no visible leaks or signs of water damage. If you notice any issues, double-check the connections and tighten them if necessary.
- Take a moment to appreciate your hard work and enjoy your newly installed bathtub faucet. Admire the improved functionality and aesthetics of your bathroom.
Changing a bathtub faucet is a rewarding DIY project that can be accomplished with a little time, effort, and attention to detail. By following these steps, you’ve successfully upgraded your bathroom and enhanced its functionality.
Remember to always refer to the manufacturer’s instructions for specific details and troubleshooting tips. If you encounter any difficulties during the process, it’s always wise to consult a professional plumber for assistance.
Congratulations on completing the task of changing your bathtub faucet! Now you can enjoy a beautifully updated bathroom and the satisfaction of a successful DIY project.
Frequently Asked Questions about How Do You Change A Bathtub Faucet
Was this page helpful?
At Storables.com, we guarantee accurate and reliable information. Our content, validated by Expert Board Contributors, is crafted following stringent Editorial Policies. We're committed to providing you with well-researched, expert-backed insights for all your informational needs.


0 thoughts on “How Do You Change A Bathtub Faucet”