Home>Articles>How To Change Settings Of A Culligan Filtered Showerhead
Articles
How To Change Settings Of A Culligan Filtered Showerhead
Modified: August 27, 2024
Discover expert articles on how to change settings on your Culligan filtered showerhead. Get step-by-step instructions and tips from the pros.
(Many of the links in this article redirect to a specific reviewed product. Your purchase of these products through affiliate links helps to generate commission for Storables.com, at no extra cost. Learn more)
Introduction
Welcome to this guide on how to change the settings on your Culligan filtered showerhead! Taking a refreshing and rejuvenating shower is one of life’s simple pleasures. With a Culligan filtered showerhead, you can enhance your shower experience by enjoying clean and filtered water. The Culligan showerhead offers various settings that allow you to customize the water flow to your liking.
In this article, we will take you through the step-by-step process of changing the settings on your Culligan filtered showerhead. Whether you’re looking to adjust the water pressure, change the spray pattern, or explore the different massaging modes, we’ve got you covered.
Before we dive into the instructions, it’s worth noting that the exact design and functionality of Culligan filtered showerheads may vary. However, the general process for changing the settings should remain similar across different models. Make sure to consult the instruction manual that came with your specific Culligan showerhead for any model-specific information.
Now, let’s get started with changing the settings on your Culligan filtered showerhead to make your shower experience even more enjoyable!
Key Takeaways:
- Customize your shower experience by changing the settings on your Culligan filtered showerhead. Experiment with spray patterns, water flow, and pressure to create a personalized and rejuvenating shower routine.
- Follow the simple steps to remove, adjust, and reattach your Culligan filtered showerhead for a luxurious and refreshing shower experience. Enjoy clean, filtered water with customized settings tailored to your preferences.
Step 1: Removing the Showerhead
The first step in changing the settings on your Culligan filtered showerhead is to remove the showerhead from its current position. Follow these simple steps to safely remove the showerhead:
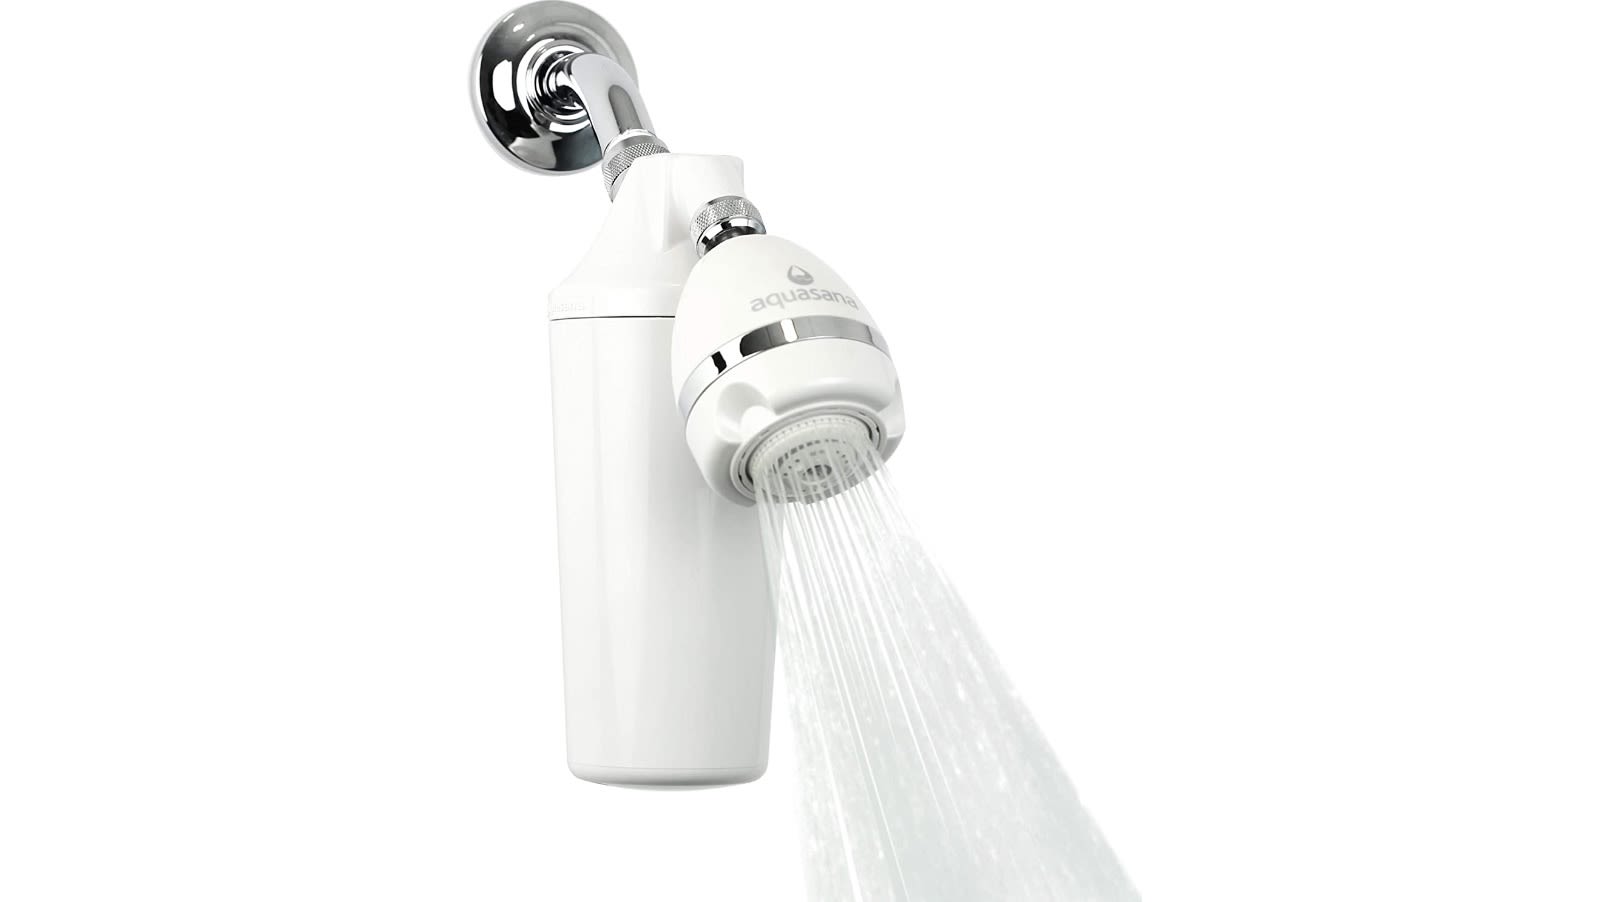
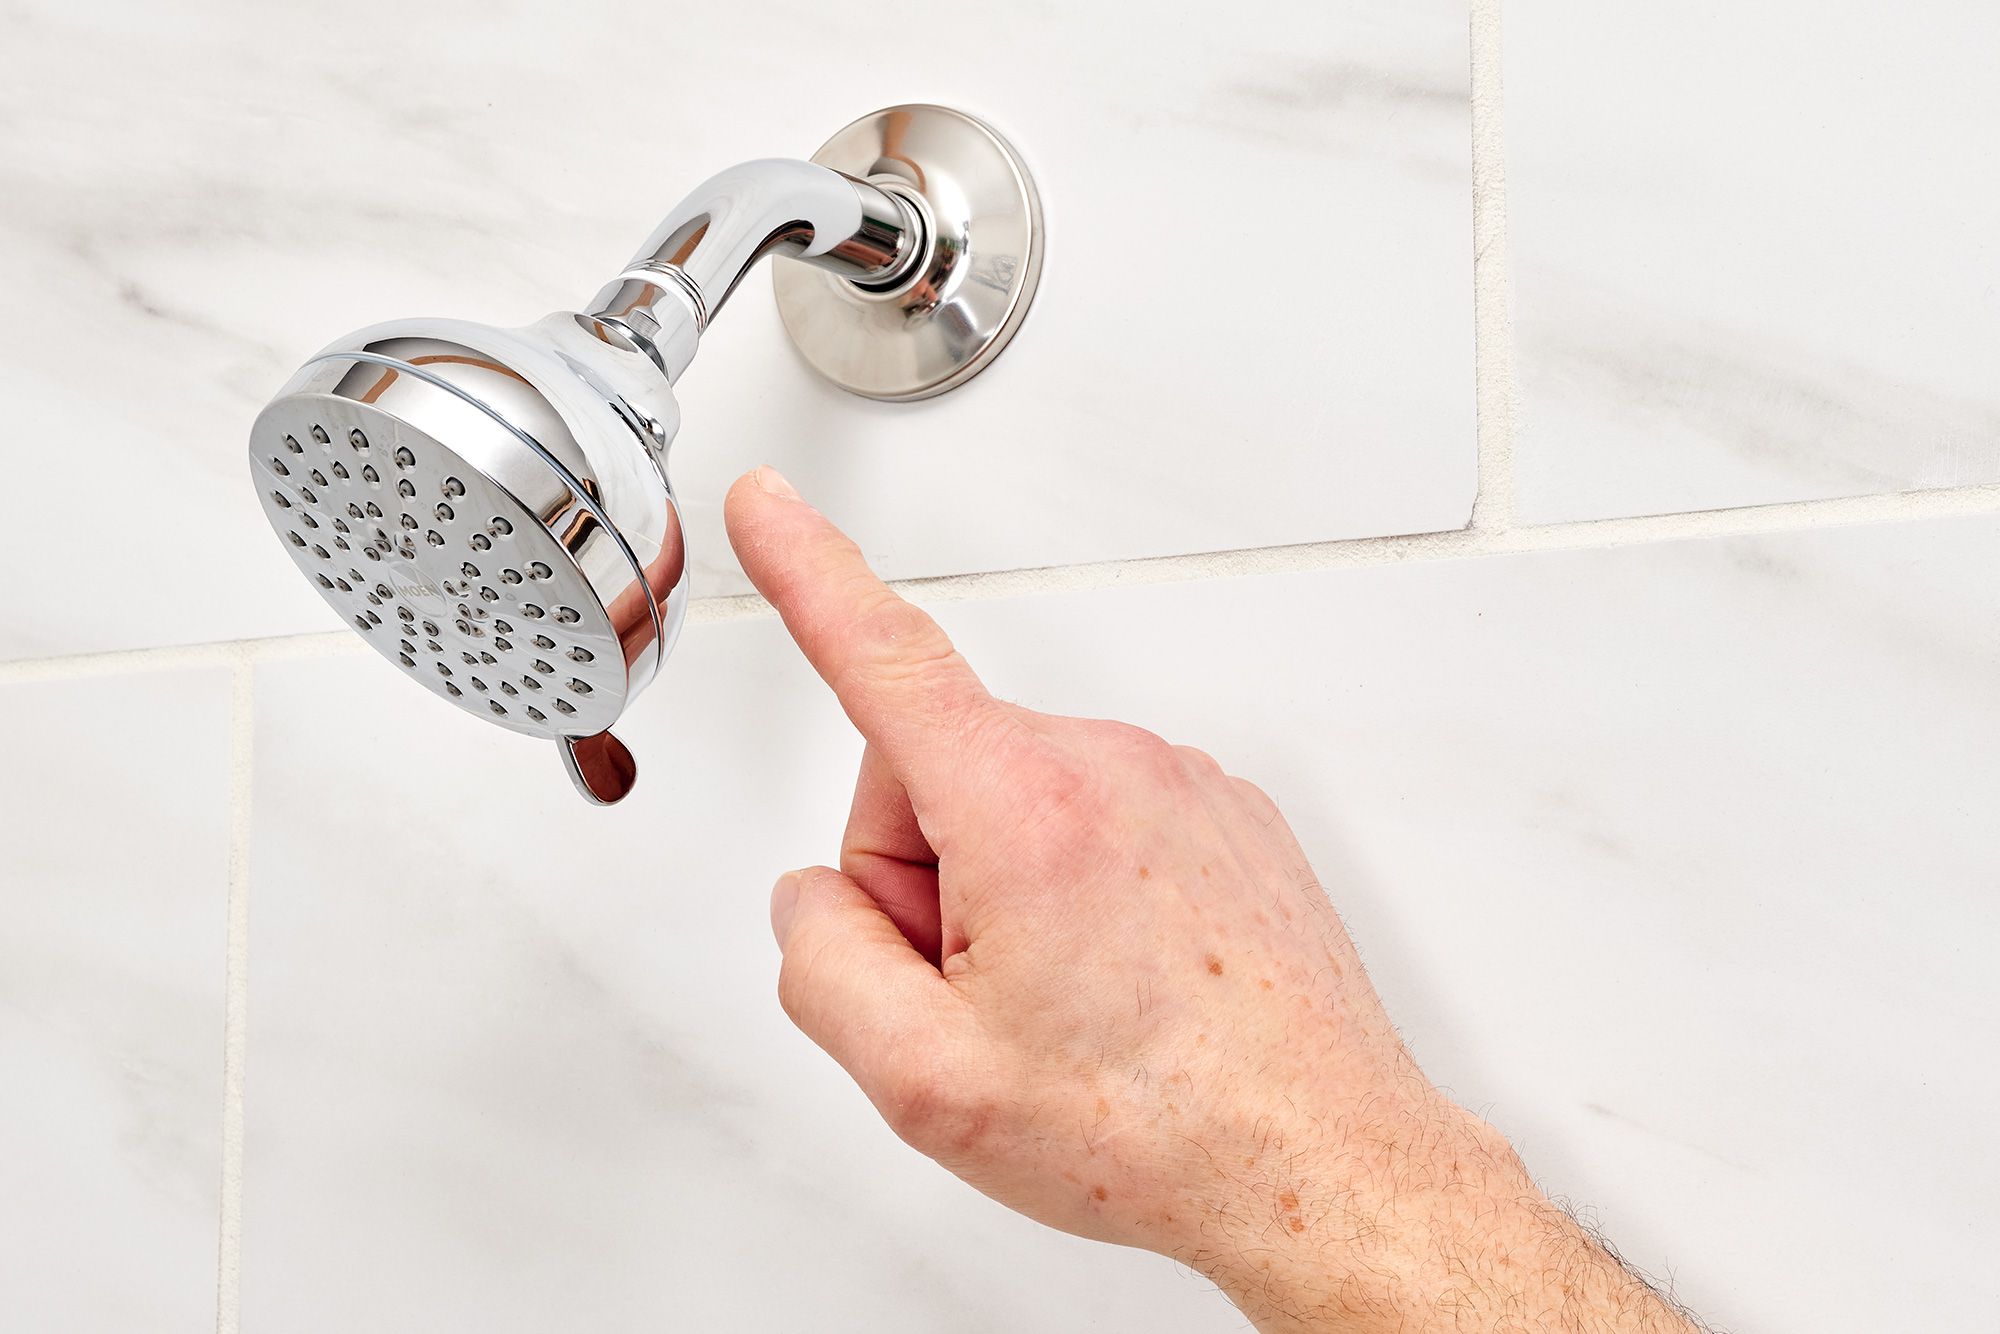
- Locate the connection point: Look for the area where the showerhead attaches to the shower arm. This is typically a threaded connection where the showerhead screws onto the arm.
- Prepare for removal: Before you start unscrewing the showerhead, it’s a good idea to protect the finish of the showerhead or shower arm by wrapping a cloth or towel around it. This will prevent any scratches or damage during the removal process.
- Unscrew the showerhead: Using your hands, carefully twist the showerhead counterclockwise to unscrew it from the shower arm. Apply gentle pressure and ensure a firm grip on both the showerhead and the shower arm to avoid any accidents.
- Continue unscrewing: Keep twisting the showerhead until it is completely detached from the shower arm. You may feel some resistance due to the tight connection, so take it slow and steady.
- Set the showerhead aside: Once the showerhead is fully unscrewed, gently set it aside on a clean and stable surface. Be cautious not to drop or damage it during this process.
By following these steps, you have successfully removed the Culligan filtered showerhead from its current position. Now, let’s move on to the next step and locate the setting adjustment ring.
Step 2: Locating the Setting Adjustment Ring
After removing the Culligan filtered showerhead, the next step is to locate the setting adjustment ring. This ring is responsible for changing the settings on the showerhead, allowing you to customize your shower experience. Follow these steps to find the setting adjustment ring:
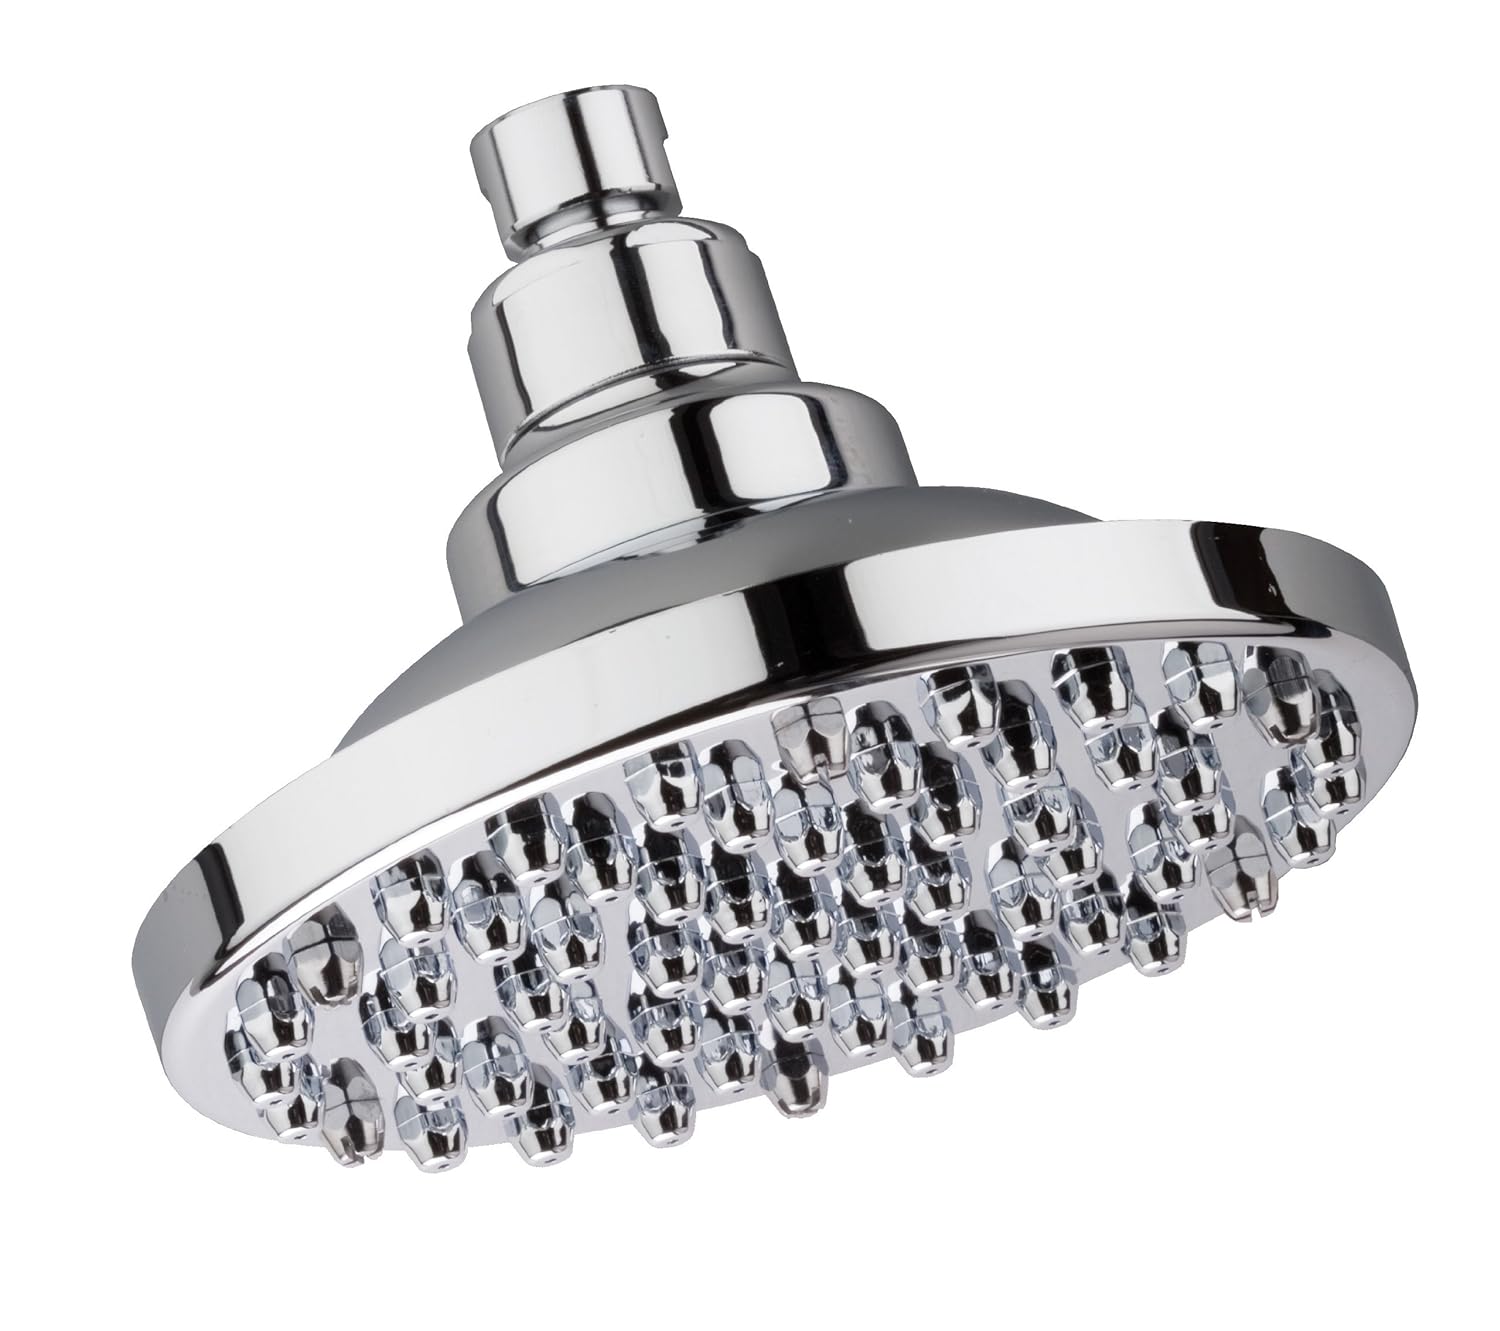
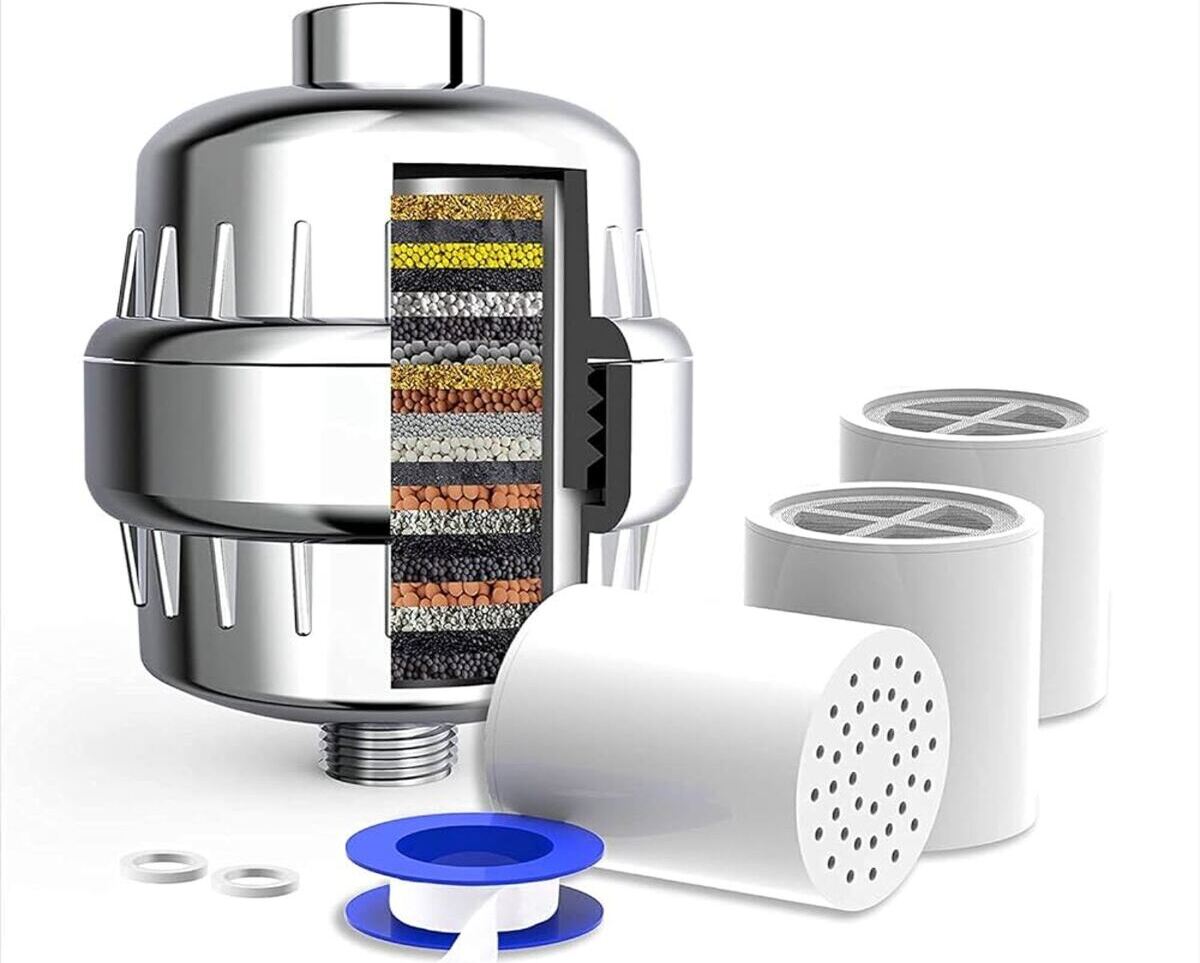
- Inspect the showerhead: Take a closer look at the Culligan filtered showerhead that you’ve just removed. Look for a ring or a dial around the outer edge of the showerhead.
- Feel for the adjustment ring: Run your fingers along the perimeter of the showerhead, paying attention to any ridges, notches, or different textures. The setting adjustment ring is usually located near the base of the showerhead.
- Check for labeling or symbols: Some Culligan showerheads have labels or symbols on the setting adjustment ring that indicate different settings or spray patterns. Look for any markings that can help you identify the various options available.
Once you have located the setting adjustment ring, you are ready to move on to the next step and explore how to change the settings on your Culligan filtered showerhead.
Remember, the exact location and appearance of the setting adjustment ring may vary slightly depending on the model of your Culligan showerhead. Consult the instruction manual or check Culligan’s website for any specific details related to your particular showerhead model.
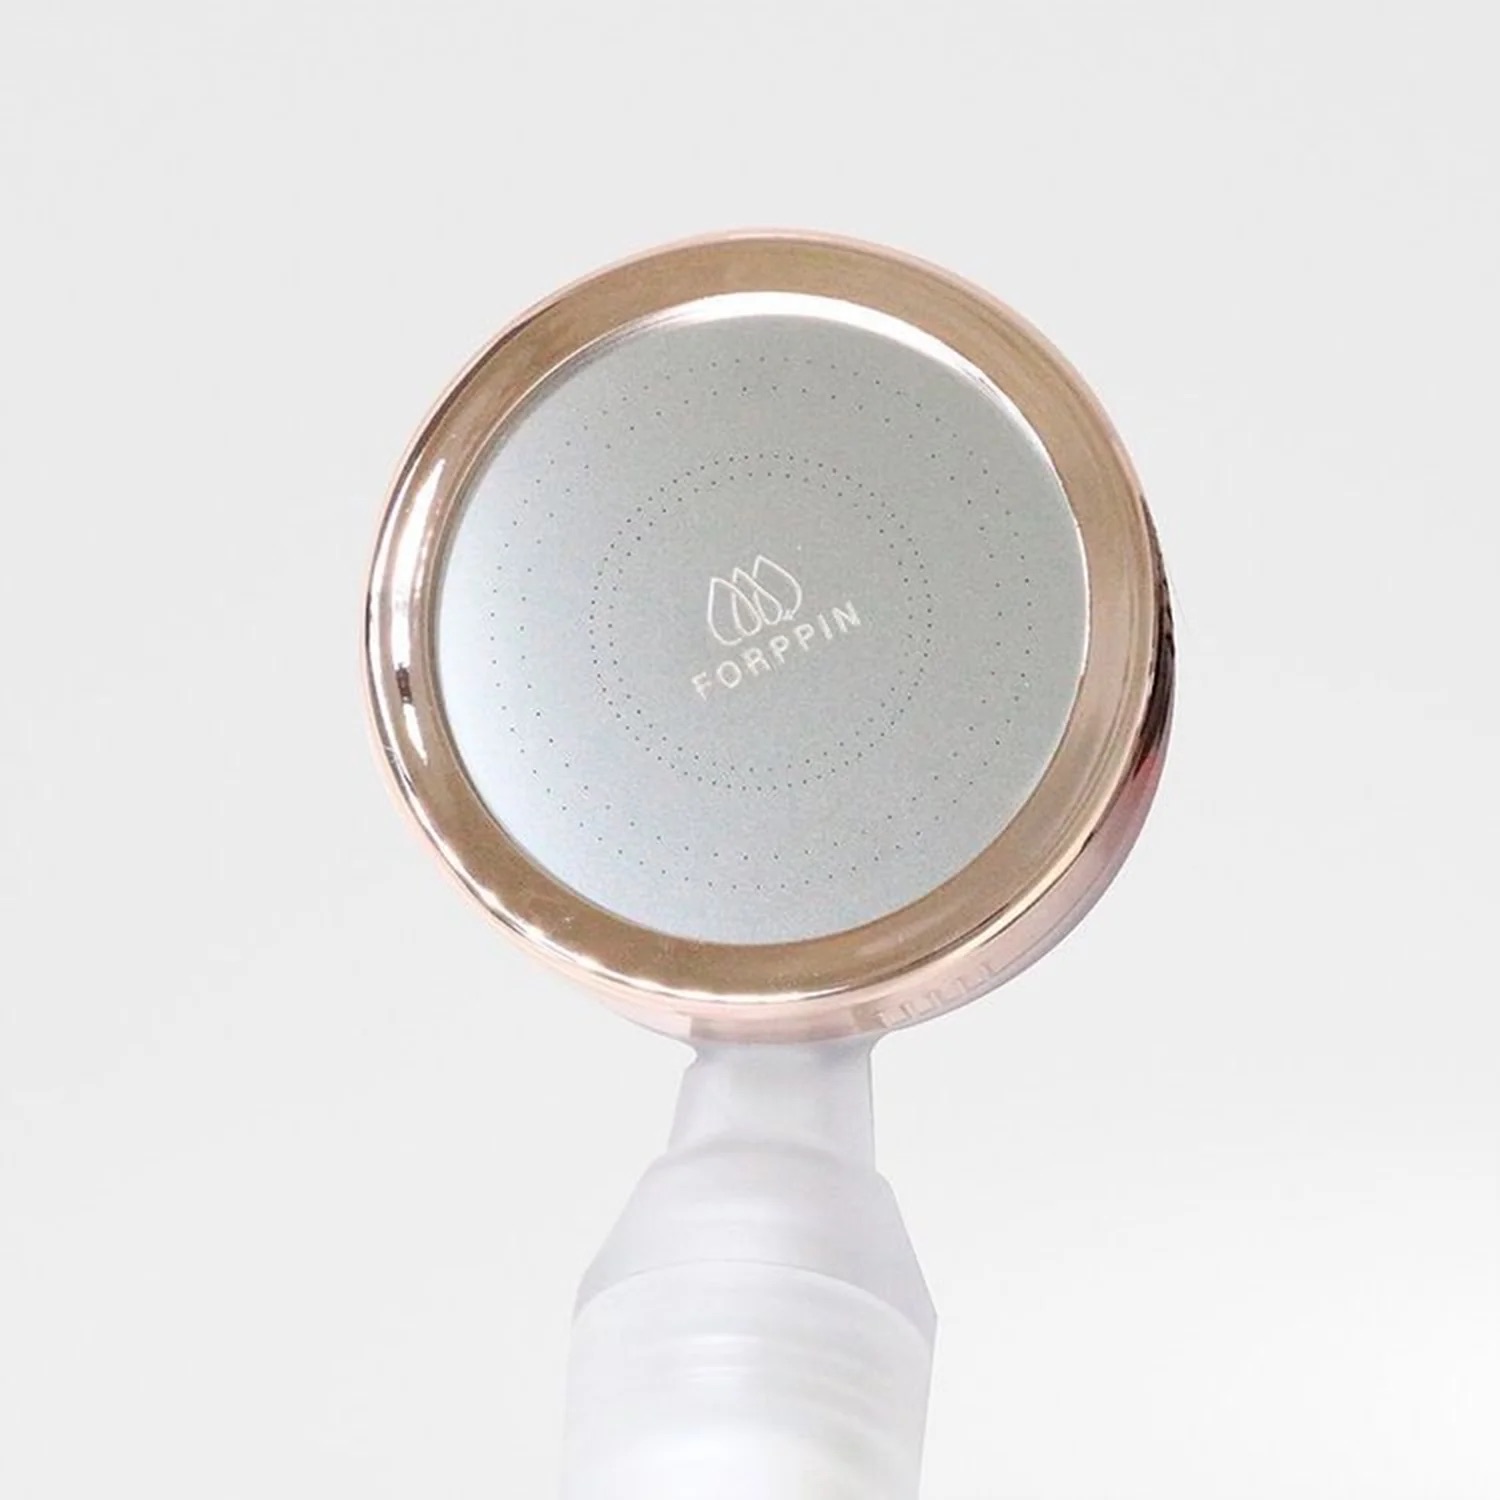
To change the settings on your Culligan Filtered Showerhead, simply twist the faceplate to switch between different spray patterns. Make sure to turn off the water before making any adjustments.
Step 3: Changing the Settings
Now that you have located the setting adjustment ring on your Culligan filtered showerhead, let’s proceed with changing the settings. The setting adjustment ring allows you to customize the water flow and spray patterns to suit your preferences. Follow these steps to change the settings on your Culligan showerhead:
- Rotate the setting adjustment ring: Hold the showerhead firmly in one hand and use your other hand to rotate the setting adjustment ring. Begin by turning it clockwise to tighten or secure it in place.
- Experiment with the settings: Once the ring is securely in place, start experimenting with the different settings available. Rotate the ring counterclockwise to loosen it and explore the various options.
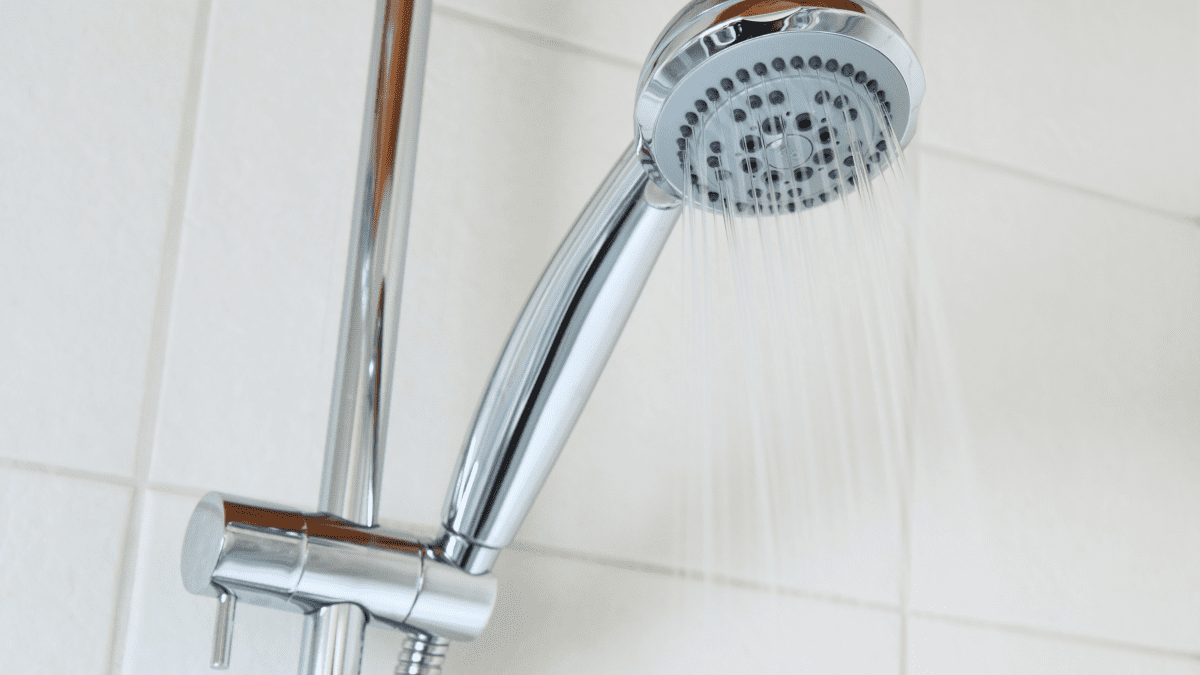
- Feel the changes in the spray patterns: As you turn the setting adjustment ring, pay attention to any changes in the spray patterns. You may notice variations in the intensity, width, or direction of the water flow.
- Adjust the water pressure: Some Culligan showerheads offer settings that allow you to adjust the water pressure. If your showerhead has this feature, try rotating the setting adjustment ring to increase or decrease the pressure according to your preference.
- Find the right setting: Continue rotating the setting adjustment ring until you find the setting that suits you best. Take your time to explore the different options and experiment with different combinations to create a personalized shower experience.
Remember, the availability and number of settings may vary depending on the specific model of your Culligan showerhead. Refer to the instruction manual or any product documentation for more information about the settings and their corresponding functions.
Now that you have successfully changed the settings on your Culligan filtered showerhead, let’s move on to the final step and reattach the showerhead.
Step 4: Reattaching the Showerhead
After you’ve changed the settings on your Culligan filtered showerhead, it’s time to reattach it to the shower arm. Follow these steps to securely reattach the showerhead:
- Inspect the shower arm: Before reattaching the showerhead, take a moment to inspect the shower arm. Make sure it is clean and free from any debris or dirt.
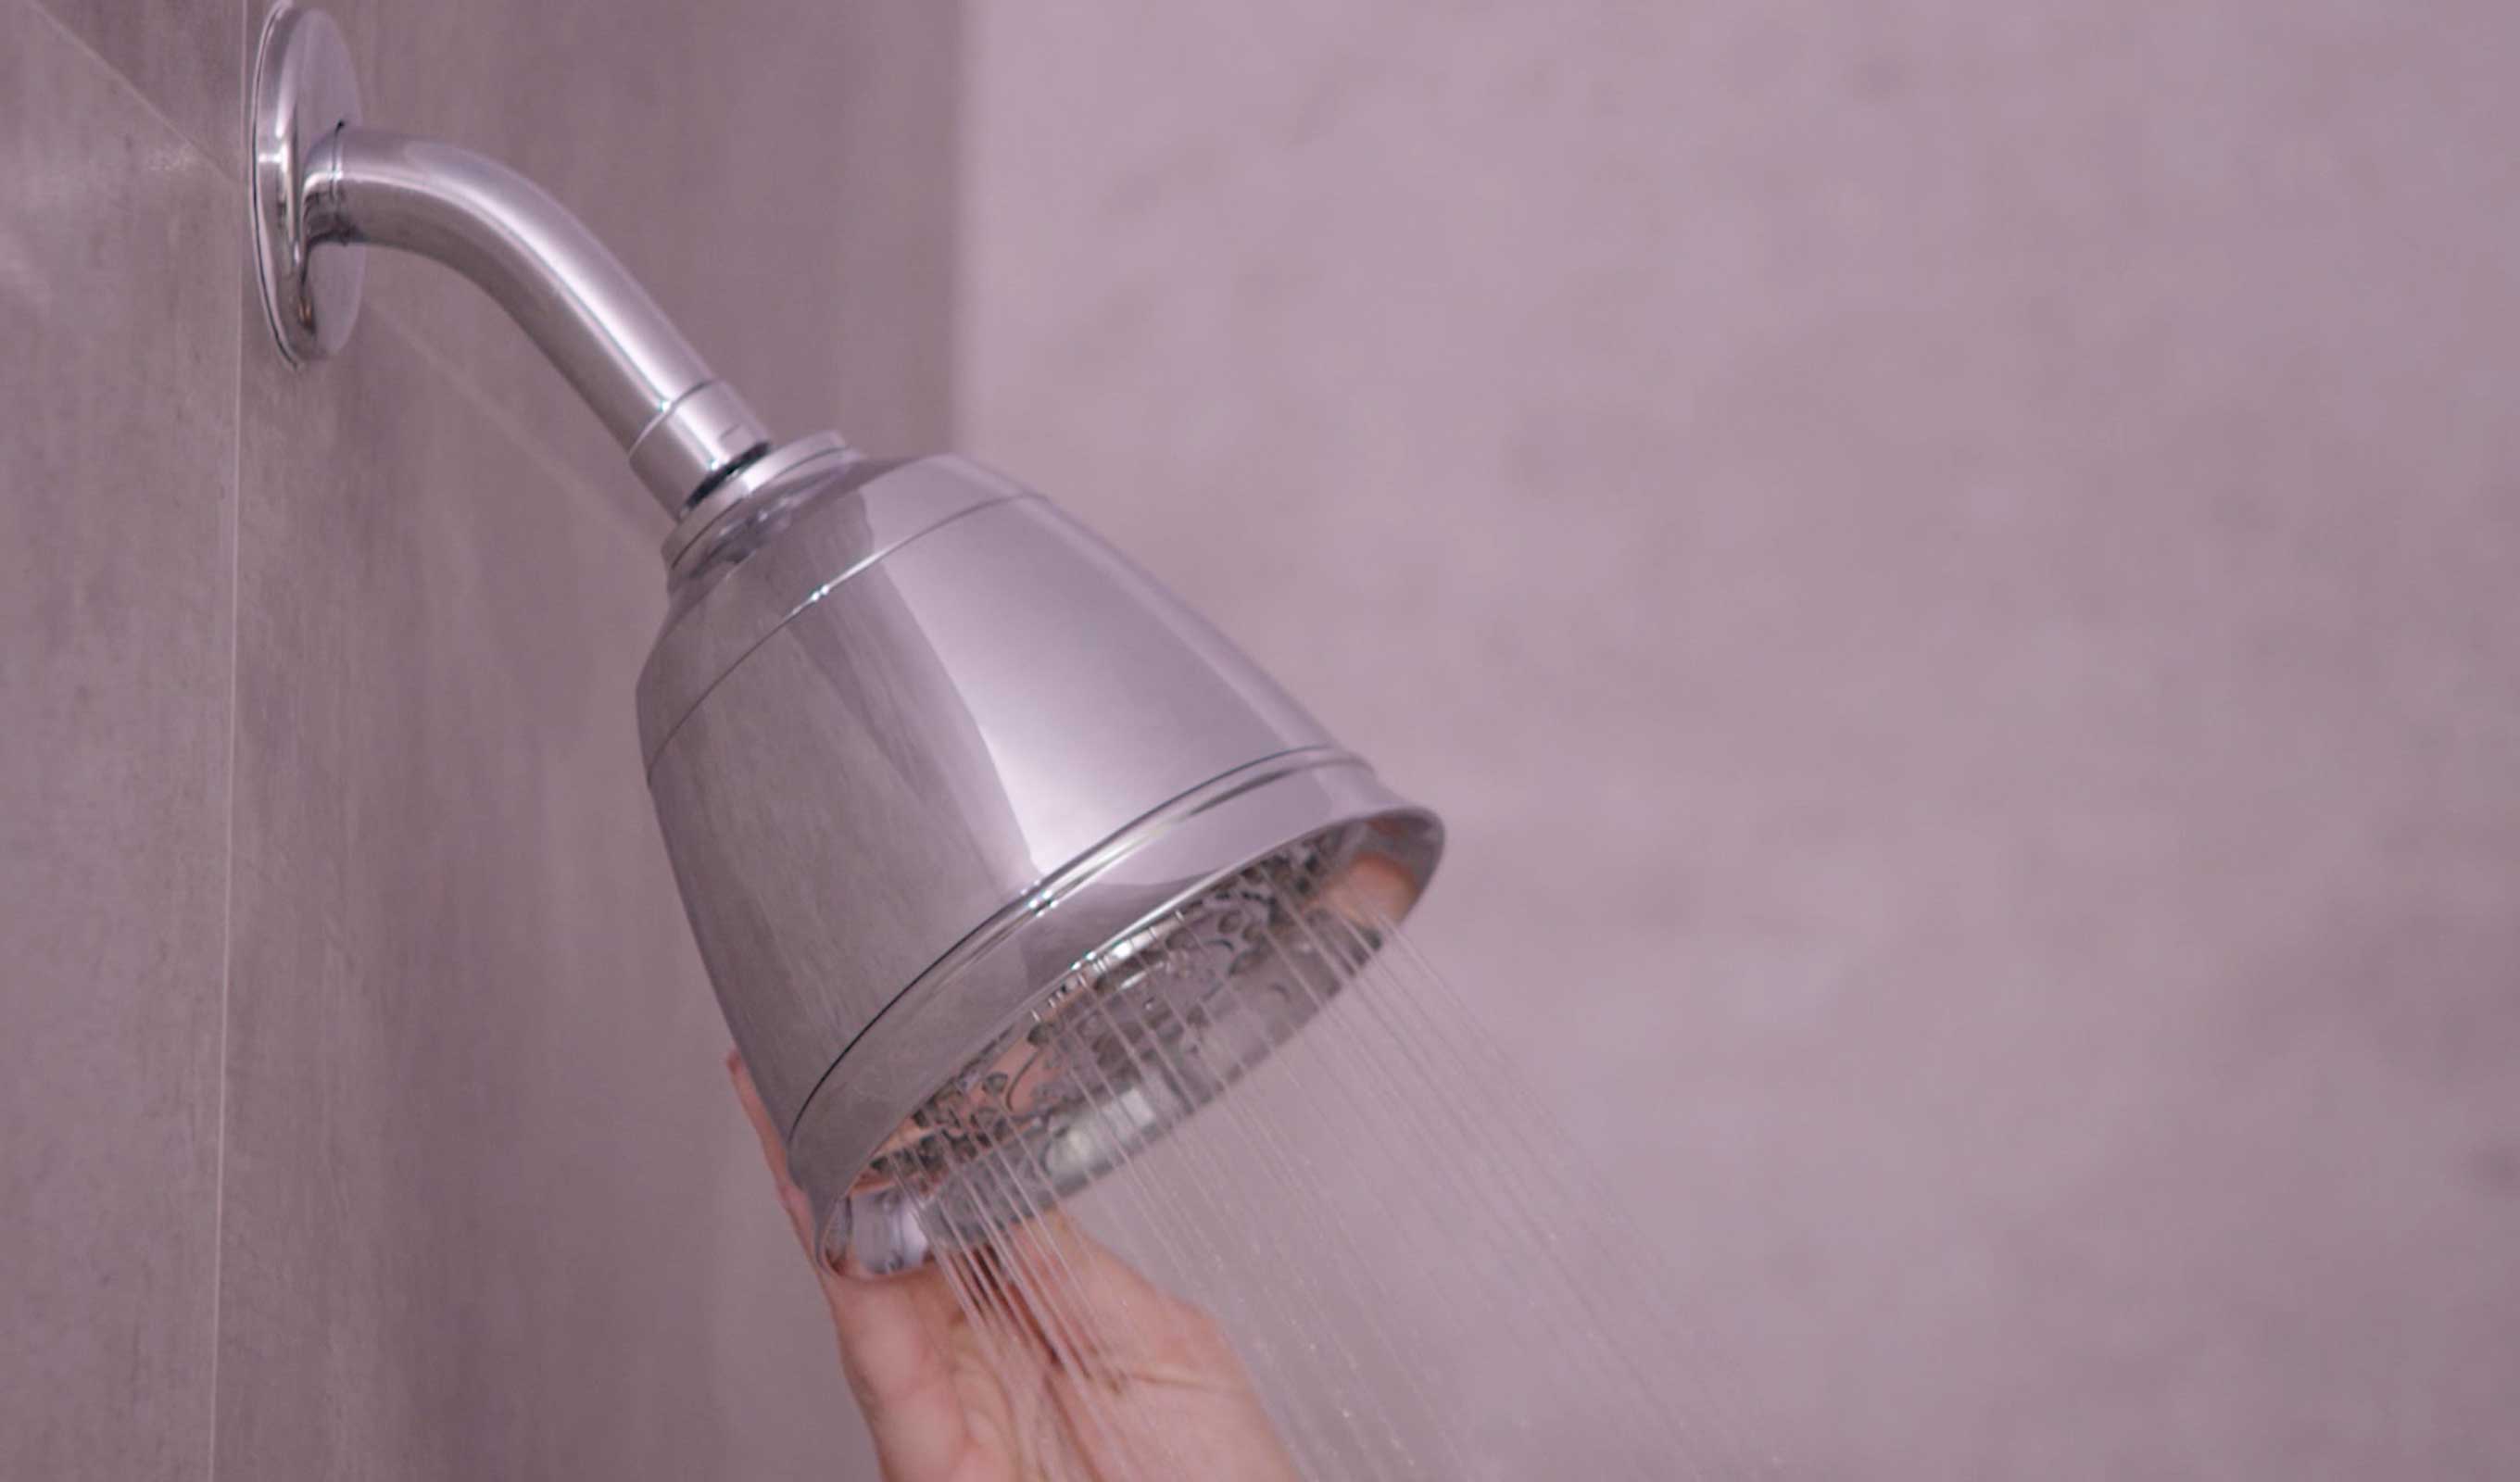
- Align the showerhead: Hold the showerhead in your hand and align it with the shower arm. The threads on the showerhead should match up with the threads on the arm.
- Begin screwing on the showerhead: Start twisting the showerhead clockwise onto the shower arm. Use your hands to tighten it, ensuring a firm but gentle grip.
- Tighten with a wrench (if necessary): If the showerhead is not tightening securely by hand, you may need to use an adjustable wrench. Place the wrench around the flat sides of the showerhead and gently tighten it until it feels secure. Be careful not to overtighten and risk damaging the showerhead.
- Test for leaks: Once the showerhead is securely attached, turn on the water and check for any leaks. If you notice any water escaping from the connection point, try tightening the showerhead a little more or use some plumber’s tape to create a tighter seal.
By following these steps, you have successfully reattached your Culligan filtered showerhead. Take a moment to ensure that the showerhead is positioned properly and aligned with your desired angle.
Now you can turn on the water and enjoy your refreshing shower with the newly adjusted settings on your Culligan filtered showerhead. Complete your shower routine and feel the benefits of clean, filtered water on your skin and hair.
Congratulations on successfully changing the settings and reattaching your Culligan filtered showerhead!
Read more: What Is A Showerhead Filter
Conclusion
Changing the settings on your Culligan filtered showerhead is a simple and effective way to enhance your shower experience. By customizing the water flow, spray patterns, and even water pressure, you can create a personalized showering experience that meets your preferences and needs.
In this guide, we have walked you through the step-by-step process of changing the settings on your Culligan showerhead. From removing the showerhead to locating the setting adjustment ring, and from changing the settings to reattaching the showerhead, we covered all the necessary steps to ensure a smooth and successful process.
Remember, while the specific steps may vary depending on your Culligan showerhead model, the general principles remain the same. Consult the instruction manual or any model-specific documentation for additional guidance tailored to your showerhead.
Now, go ahead and experiment with the different settings available on your Culligan filtered showerhead. Adjust the spray patterns, customize the water flow, and find the perfect setting that suits your preferences. Enjoy the luxurious experience of a revitalizing shower with clean and filtered water.
Thank you for choosing Culligan and for taking the time to read this guide. We hope it has been helpful in assisting you with changing the settings on your Culligan filtered showerhead. If you have any further questions or need assistance, please don’t hesitate to reach out to our customer support team.
Happy showering!
Frequently Asked Questions about How To Change Settings Of A Culligan Filtered Showerhead
Was this page helpful?
At Storables.com, we guarantee accurate and reliable information. Our content, validated by Expert Board Contributors, is crafted following stringent Editorial Policies. We're committed to providing you with well-researched, expert-backed insights for all your informational needs.
0 thoughts on “How To Change Settings Of A Culligan Filtered Showerhead”