Home>Articles>How To Change Code On Linear Garage Door Keypad
Articles
How To Change Code On Linear Garage Door Keypad
Modified: August 16, 2024
Learn how to change the code on a linear garage door keypad with our helpful articles. Discover step-by-step instructions and expert tips to easily update your garage door security.
(Many of the links in this article redirect to a specific reviewed product. Your purchase of these products through affiliate links helps to generate commission for Storables.com, at no extra cost. Learn more)
Introduction
Welcome to our comprehensive guide on how to change the code on a linear garage door keypad. A garage door keypad is a convenient and secure way to access your garage without the need for a traditional key. However, it’s important to periodically change the code to ensure the security of your home and belongings.
Changing the code on a linear garage door keypad may seem like a daunting task, but with the right guidance, it can be a simple and straightforward process. In this article, we will take you through the step-by-step instructions to effectively change the code on your linear garage door keypad.
Before we get started, it’s important to note that the specific instructions may vary depending on the model and manufacturer of your garage door opener. Therefore, we recommend consulting the user manual that came with your system or visiting the manufacturer’s website for any specific instructions related to your model. With that said, let’s dive into the process of changing the code on your linear garage door keypad!
Key Takeaways:
- Enhance Home Security
Changing the code on your linear garage door keypad is a simple process that can significantly enhance the security of your home and belongings. By periodically updating the access code, you can ensure that only authorized individuals have entry to your garage. - Peace of Mind and Convenience
With a new, unique access code set on your linear garage door keypad, enjoy the peace of mind and convenience that comes with knowing your garage is secure. Periodically changing the code and keeping it private adds an extra layer of security to your home.
Step 1: Gather Required Tools and Materials
Before you begin changing the code on your linear garage door keypad, it’s essential to gather the necessary tools and materials. By having everything prepared in advance, you can streamline the process and ensure a smooth transition.
Here are the tools and materials you will need:
- A step stool or ladder: Depending on the height of your garage door opener motor unit, you may need a step stool or ladder to access it comfortably and safely.
- A screwdriver: You may need a screwdriver to remove the keypad cover or access panel, depending on the model of your linear garage door keypad.
- A new access code: Before you begin changing the code, decide on the new access code that you want to set. Make sure it is something memorable yet unique to maintain the security of your garage.
Once you have gathered all the necessary tools and materials, you are ready to move on to the next step.
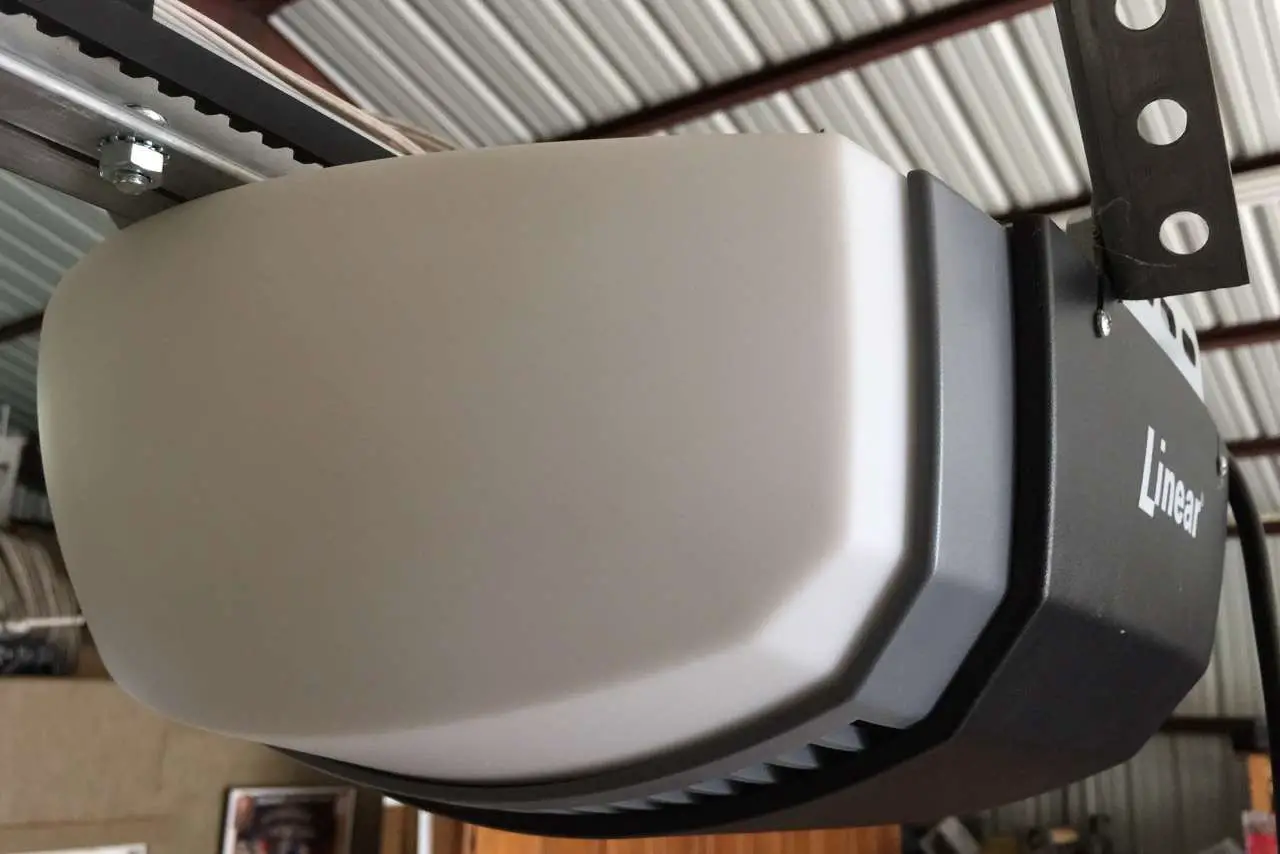
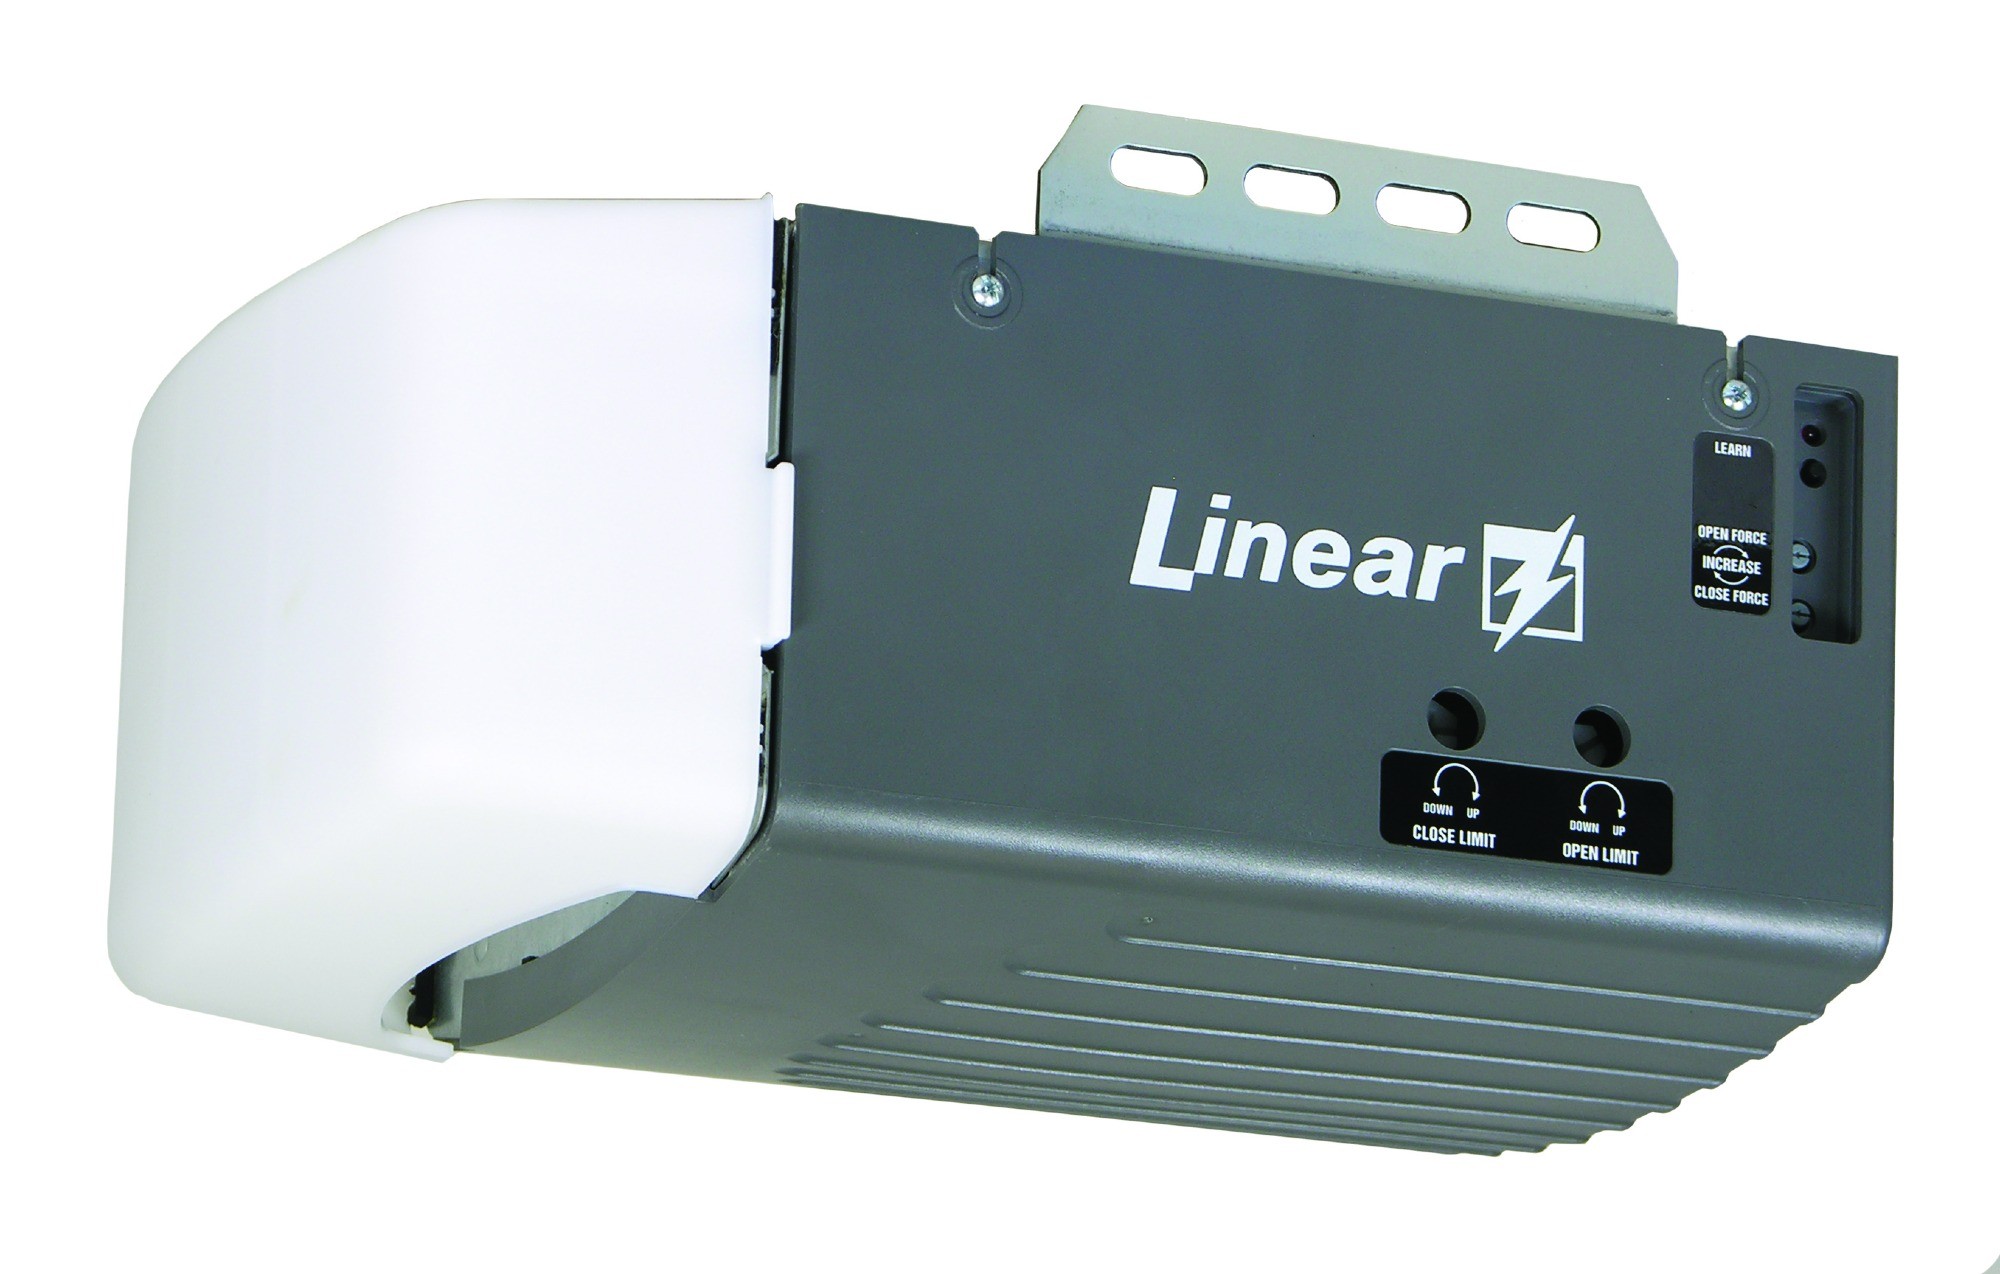
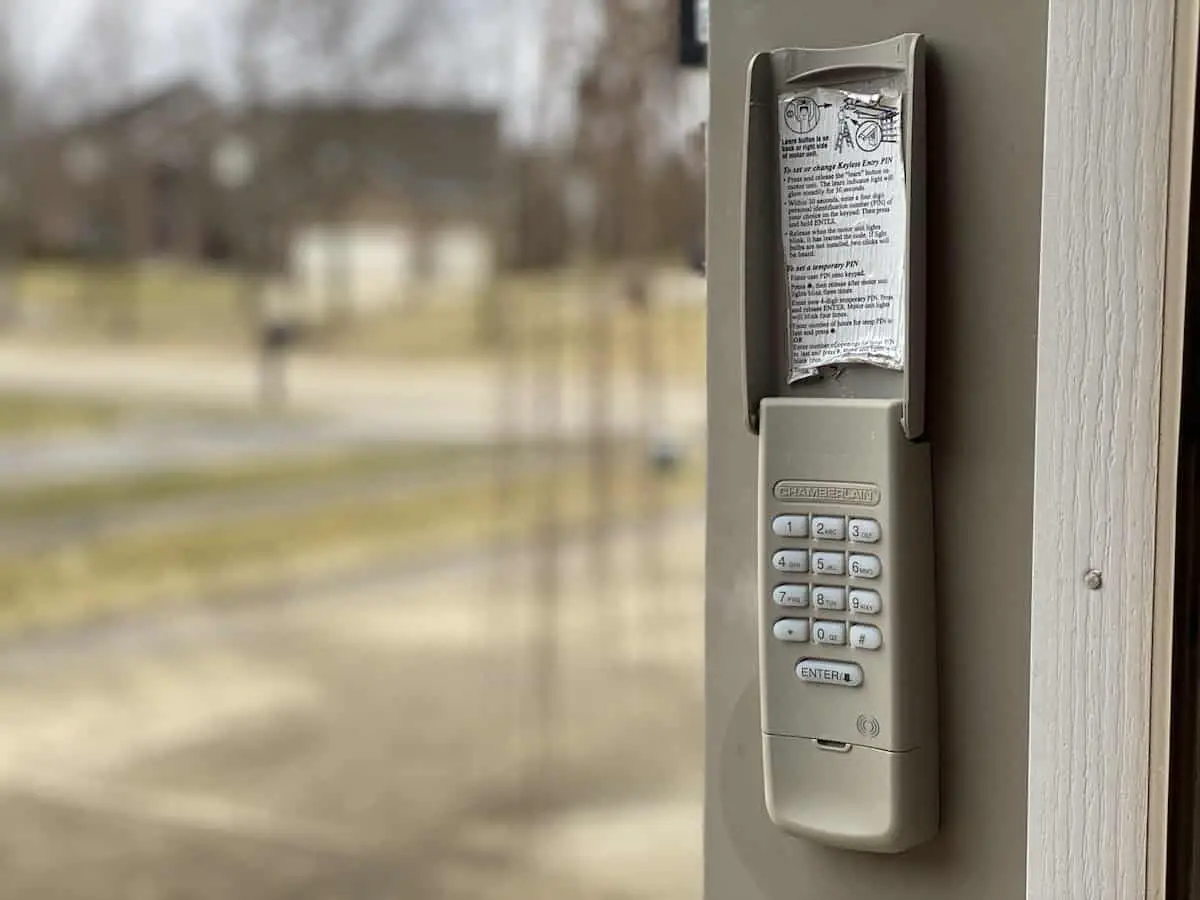
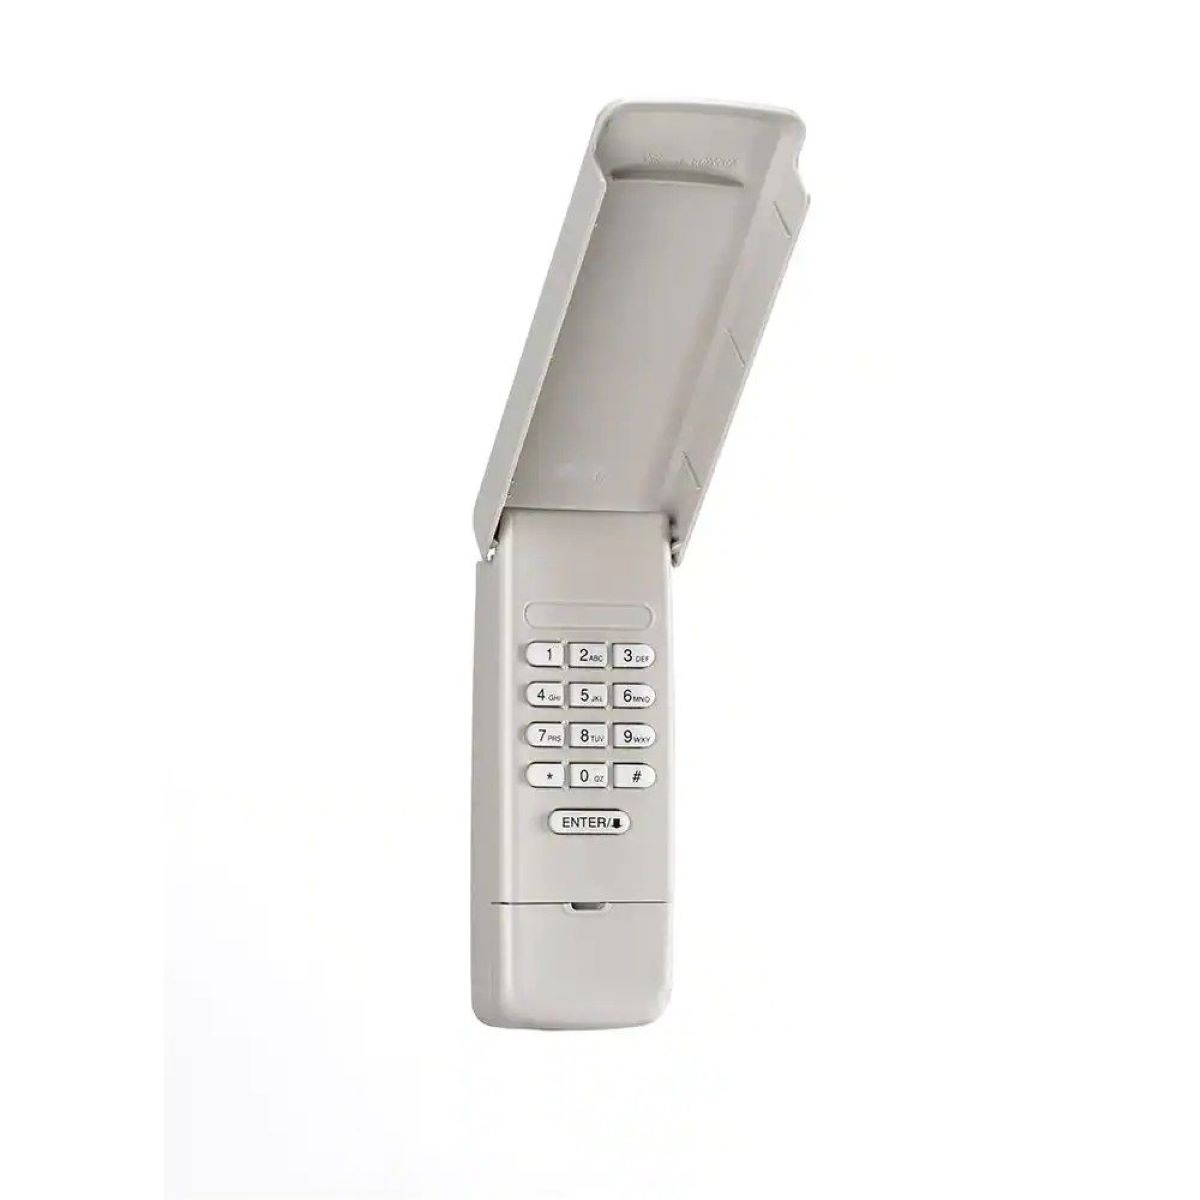
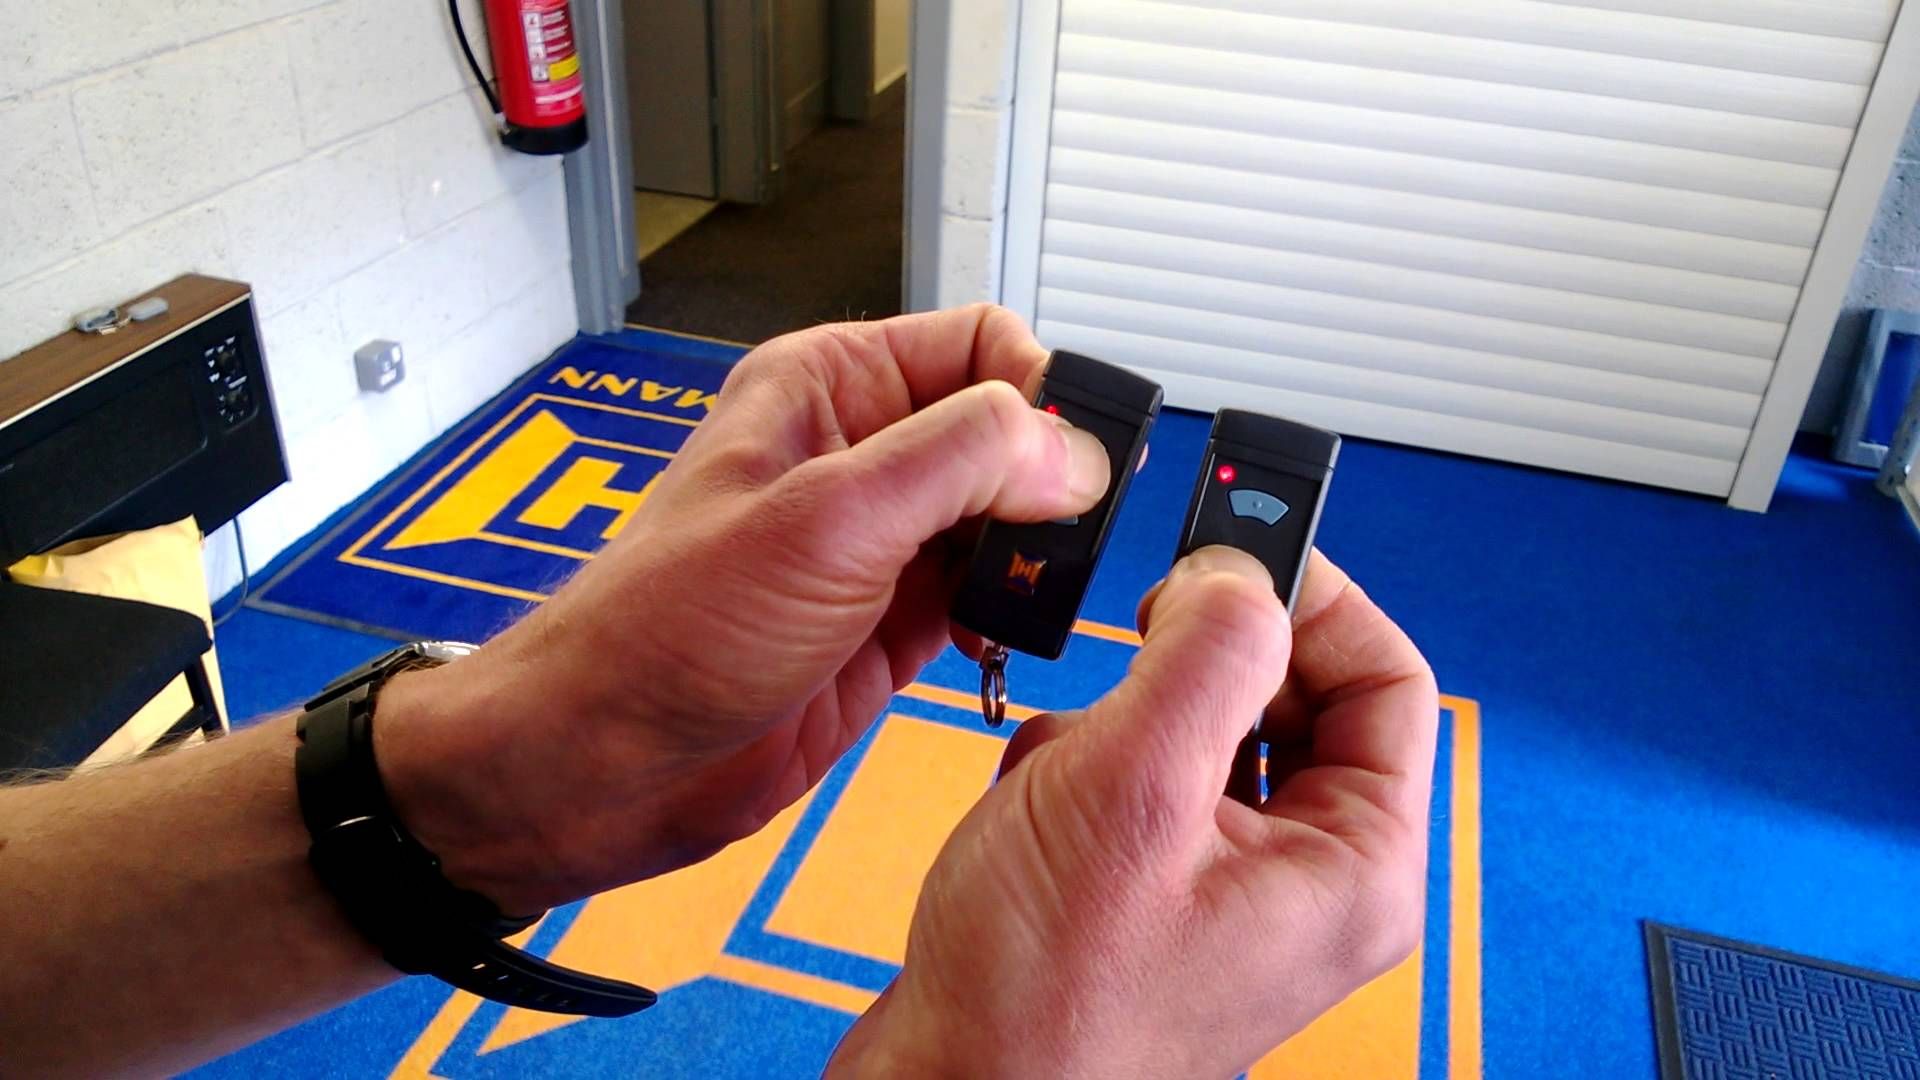
Step 2: Locate the Learn Button on the Garage Door Opener Motor Unit
Now that you have gathered all the tools and materials, it’s time to locate the Learn Button on the garage door opener motor unit. The Learn Button is a small button typically located near the antenna wire on the motor unit.
To locate the Learn Button, follow these steps:
- Find the garage door opener motor unit: The motor unit is usually located in the ceiling of your garage near the garage door.
- Look for the antenna wire: The antenna wire is a thin wire hanging down from the motor unit. The Learn Button is usually located near this wire.
- Inspect the motor unit: Carefully examine the motor unit to locate the Learn Button. It may be a small square or circular button, often colored red, green, or purple.
Keep in mind that the exact location of the Learn Button may vary depending on the model and manufacturer of your linear garage door opener. If you have trouble locating the Learn Button, consult the user manual or the manufacturer’s website for specific instructions related to your model.
Once you have successfully located the Learn Button, you are ready to proceed to the next step.
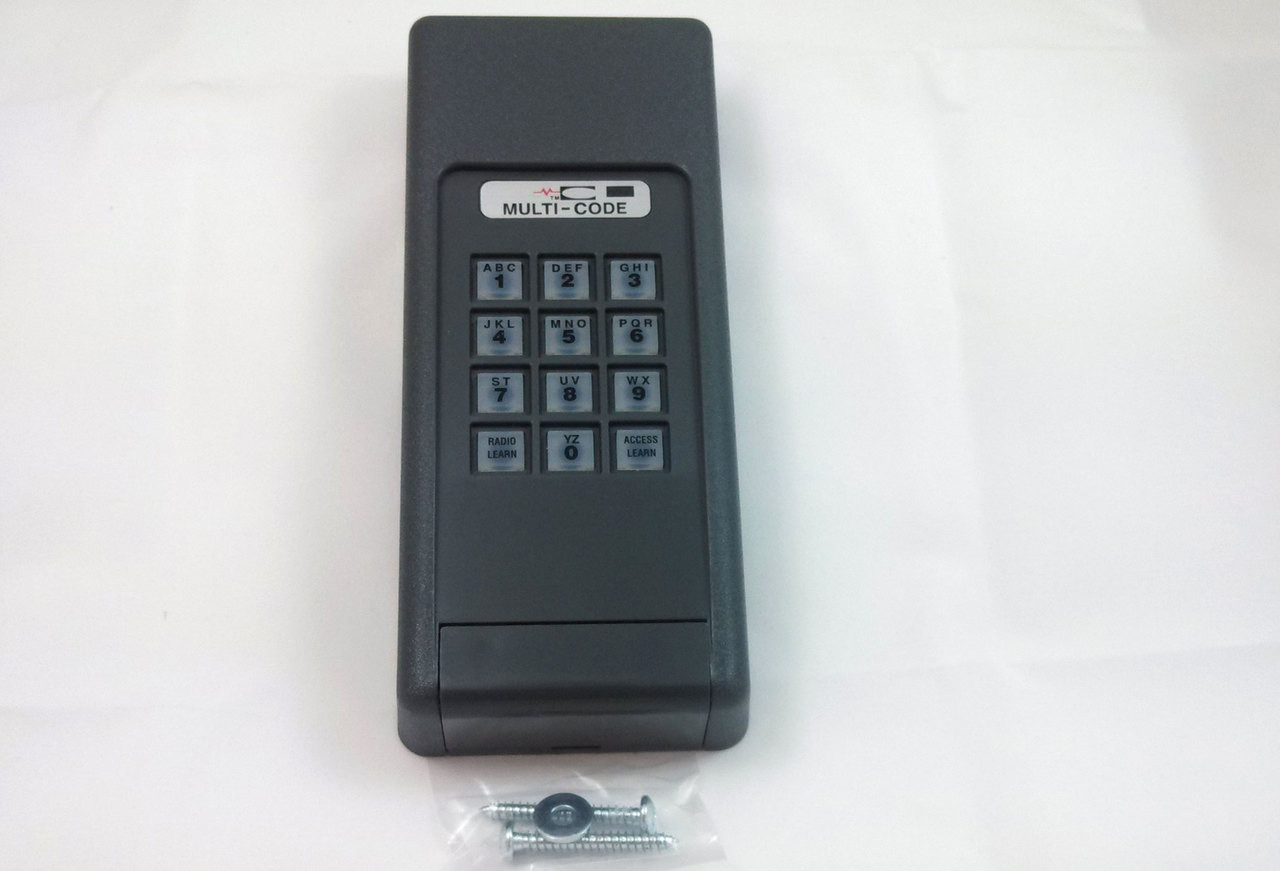
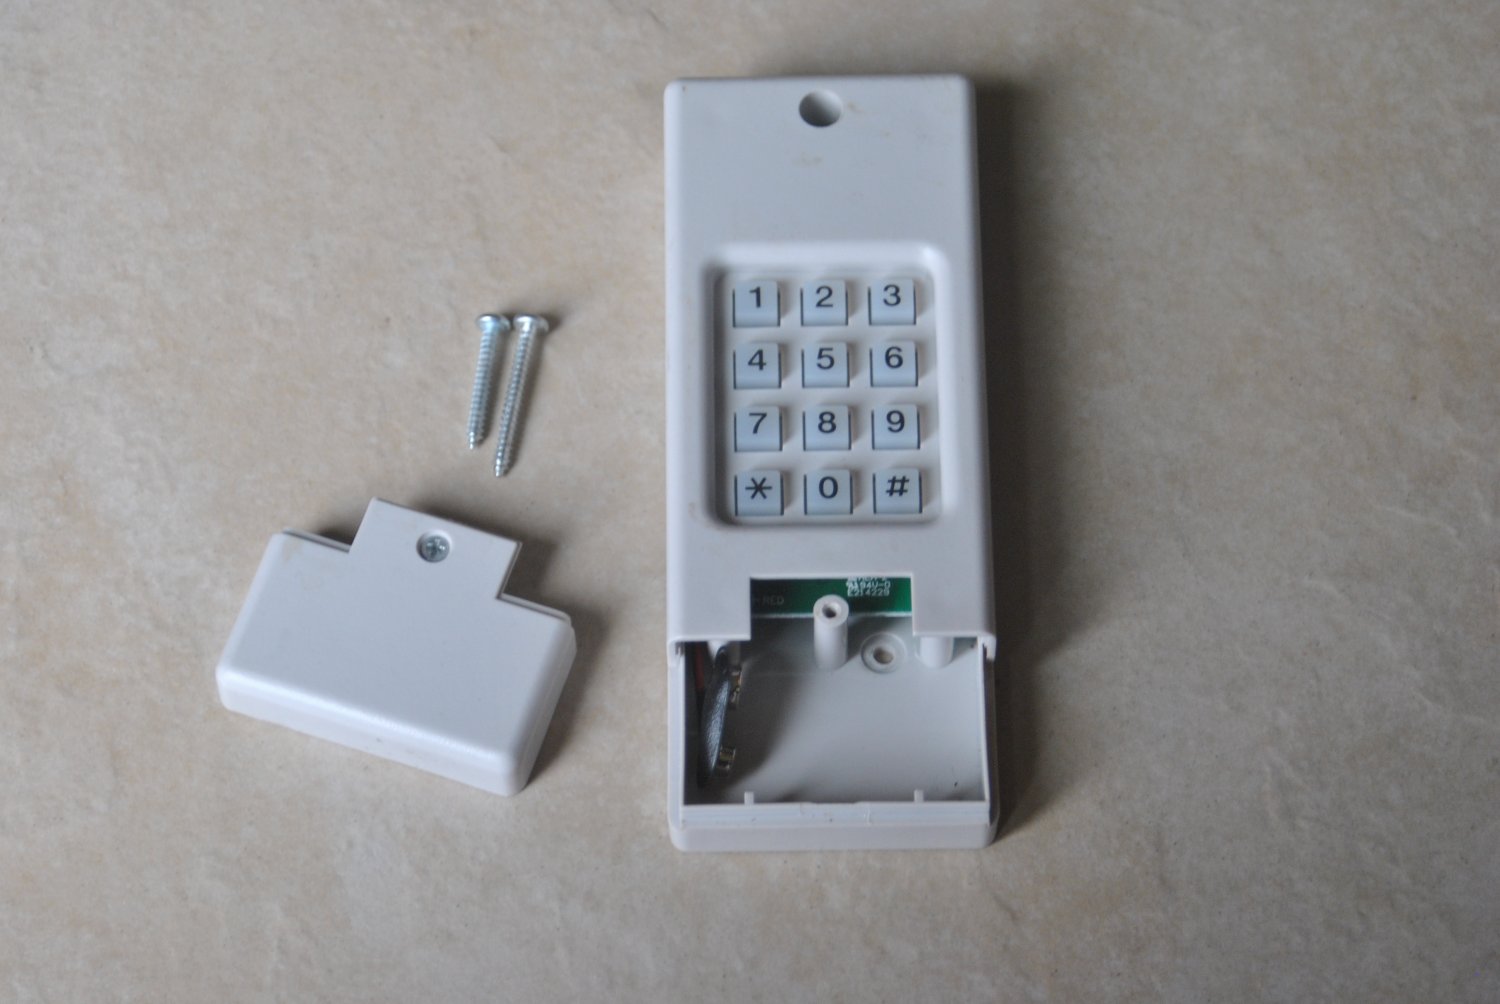
Step 3: Clear the Existing Code on the Keypad
With the Learn Button located on the garage door opener motor unit, it’s time to clear the existing code on the keypad. Clearing the existing code is an important step to ensure that the old code is no longer valid and that you can set a new, secure access code for your linear garage door keypad.
To clear the existing code on the keypad, follow these steps:
- Stand near the keypad: Position yourself within close proximity to the linear garage door keypad.
- Locate the programming button: Look for the programming button on the keypad. It is typically labeled “Program” or “Learn”, but the exact label may vary depending on the keypad model.
- Press and hold the programming button: Using your finger, press and hold the programming button for about 10 seconds. This action will clear the existing code from the keypad’s memory.
- Observe the keypad: After holding the programming button, the keypad lights or indicators may flash, indicating that the existing code has been successfully cleared.
It’s important to note that the process of clearing the existing code may slightly vary depending on the specific model and manufacturer of your linear garage door keypad. Consult the user manual or the manufacturer’s website for any specific instructions related to your keypad model.
Once you have cleared the existing code, it’s time to move on to the next step and set a new access code on your linear garage door keypad.
When changing the code on a linear garage door keypad, make sure to follow the manufacturer’s instructions carefully. Typically, you will need to enter the current code, press a button to reset, and then enter the new code. Always test the new code to ensure it works before closing the keypad.
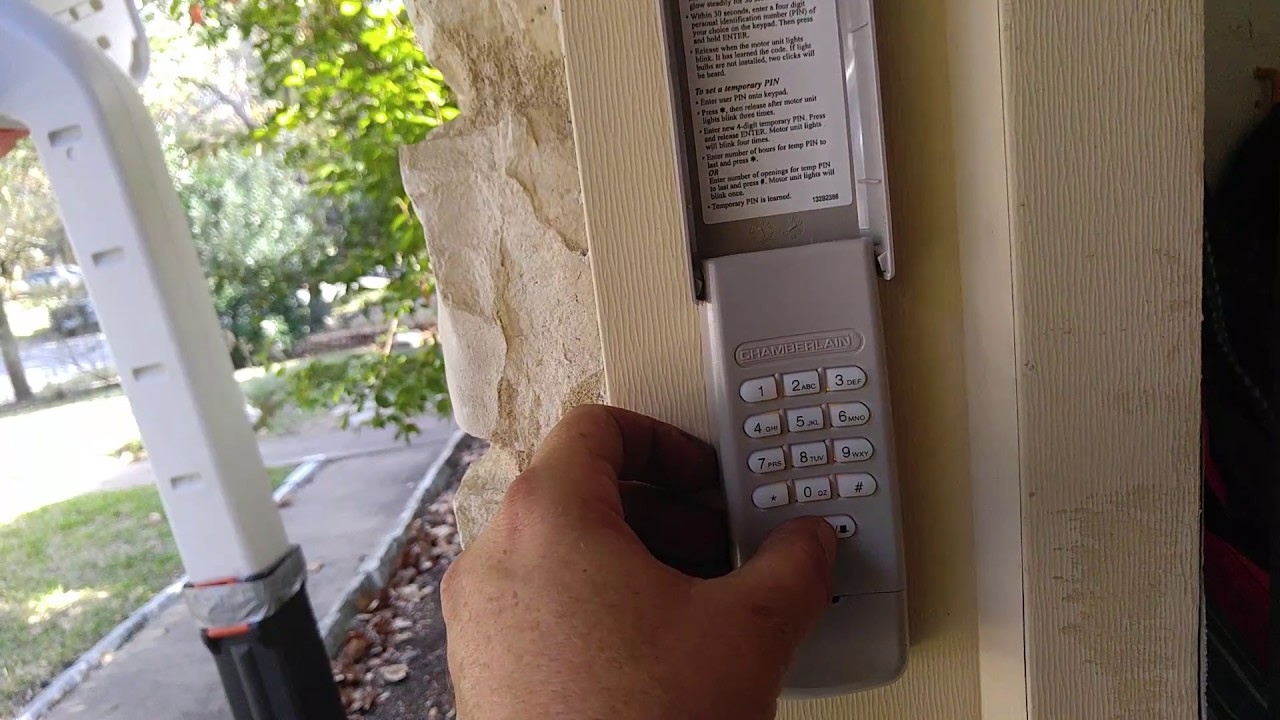
Step 4: Enter the New Code on the Keypad
With the existing code cleared from the linear garage door keypad, it’s time to set a new access code. By entering a new code, you can ensure the security of your garage and protect your belongings.
Follow these steps to enter the new code on your linear garage door keypad:
- Locate the programming button: On the keypad, find the programming button. It is typically labeled “Program” or “Learn”.
- Press the programming button: Using your finger, press and release the programming button. The keypad will enter into programming mode.
- Enter the new code: On the keypad, enter the new access code that you have chosen. Make sure to enter the code accurately and in the correct order.
- Confirm the new code: After entering the new code, press the programming button again to confirm and save the new code. The keypad lights or indicators may flash to indicate that the new code has been successfully set.
It’s worth mentioning that the specific steps to enter the new code may slightly vary depending on the model and manufacturer of your linear garage door keypad. Refer to the user manual or the manufacturer’s website for any specific instructions related to your keypad model.
By following these steps, you will successfully enter the new access code on your linear garage door keypad.
Read more: How To Reset Code On Garage Door Keypad
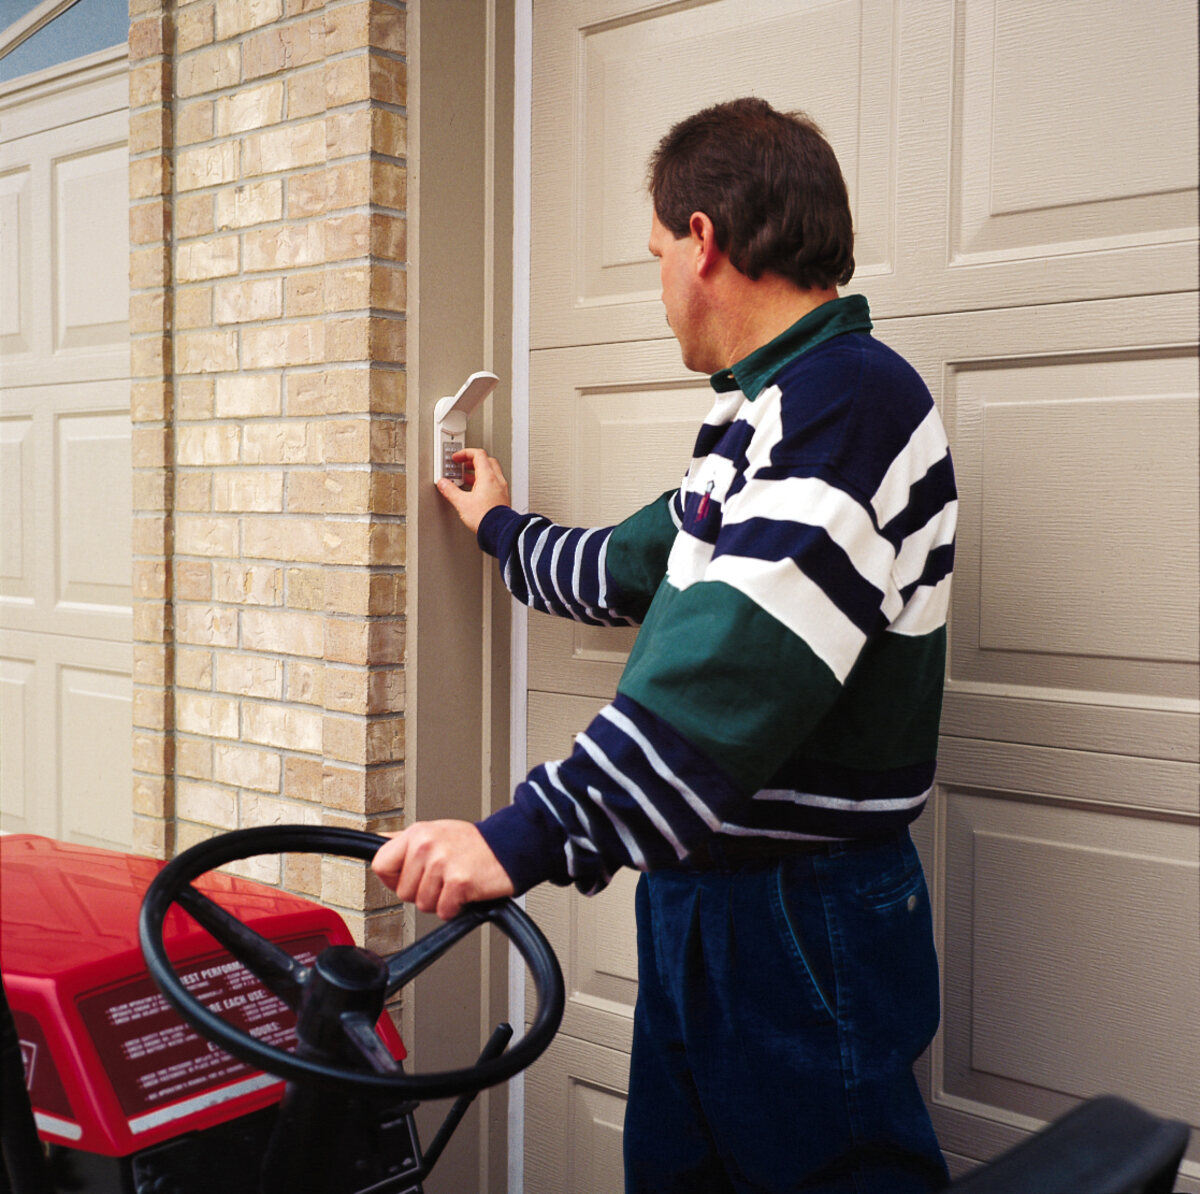
Step 5: Test the New Code on the Keypad
Now that you have successfully set the new access code on your linear garage door keypad, it’s important to test it to ensure that it is working properly. Testing the new code will help verify that you can effectively use it to access your garage.
Follow these steps to test the new code on your linear garage door keypad:
- Stand near the keypad: Position yourself within close range of the garage door keypad.
- Enter the new code: On the keypad, enter the new access code that you have set. Make sure to enter the code accurately and in the correct order.
- Observe the garage door: As you enter the new code, watch the garage door closely to ensure that it properly responds to the keypad inputs.
- Listen for any sounds: Pay attention to any sounds emitted by the garage door opener motor unit. You should hear the motor engaging and see the garage door start to open or close.
- Repeat the test: To further ensure the reliability of the new code, repeat the testing process a few more times to confirm consistent functionality.
If at any point during the testing process, the new code fails to work or the garage door does not respond as expected, it is possible that there may be an issue with the programming or installation. In such cases, refer to the user manual or contact the manufacturer for troubleshooting guidance.
Once you have confirmed that the new code is working properly and that the garage door responds accordingly, you can consider the process of changing the code on your linear garage door keypad successfully completed.
Conclusion
Congratulations! By following the step-by-step guide, you have successfully changed the code on your linear garage door keypad. The security of your garage is now enhanced, and you can have peace of mind knowing that your access code is unique and secure.
Remember, periodically changing the access code on your linear garage door keypad is essential to maintain the security of your home and belongings. It is recommended to change the code every few months or whenever you feel the need to update it.
Additionally, it is important to keep your access code private and avoid sharing it with anyone outside of your trusted circle. By keeping your access code confidential, you can ensure that only authorized individuals have access to your garage.
If you encounter any issues during the process of changing the code on your linear garage door keypad or if you have any specific questions related to your model, consult the user manual or reach out to the manufacturer for assistance. They will provide you with the necessary support and guidance to resolve any concerns you may have.
Thank you for reading our comprehensive guide on how to change the code on a linear garage door keypad. We hope this article has been informative and helpful in achieving your goal of enhancing the security of your garage. Now, enjoy the convenience and peace of mind that comes with a secure access code!
Curious about the latest trends in home upgrades? Next, check out our comprehensive guide on the best options for garage doors, which not only secure your vehicle but also add a stylish flair to your home's exterior. For tech enthusiasts, our detailed review on home automation systems will help you choose the perfect setup to streamline daily tasks and increase security at home. With these guides, you're sure to find practical solutions that fit your lifestyle and enhance your living space.
Frequently Asked Questions about How To Change Code On Linear Garage Door Keypad
Was this page helpful?
At Storables.com, we guarantee accurate and reliable information. Our content, validated by Expert Board Contributors, is crafted following stringent Editorial Policies. We're committed to providing you with well-researched, expert-backed insights for all your informational needs.


0 thoughts on “How To Change Code On Linear Garage Door Keypad”