Home>Home Appliances>Bathroom Appliances>How Do You Clean A Water Flosser

Bathroom Appliances
How Do You Clean A Water Flosser
Modified: February 18, 2024
Learn the best methods for cleaning a water flosser to maintain hygiene and efficiency. Discover expert tips for maintaining bathroom appliances.
(Many of the links in this article redirect to a specific reviewed product. Your purchase of these products through affiliate links helps to generate commission for Storables.com, at no extra cost. Learn more)
Introduction
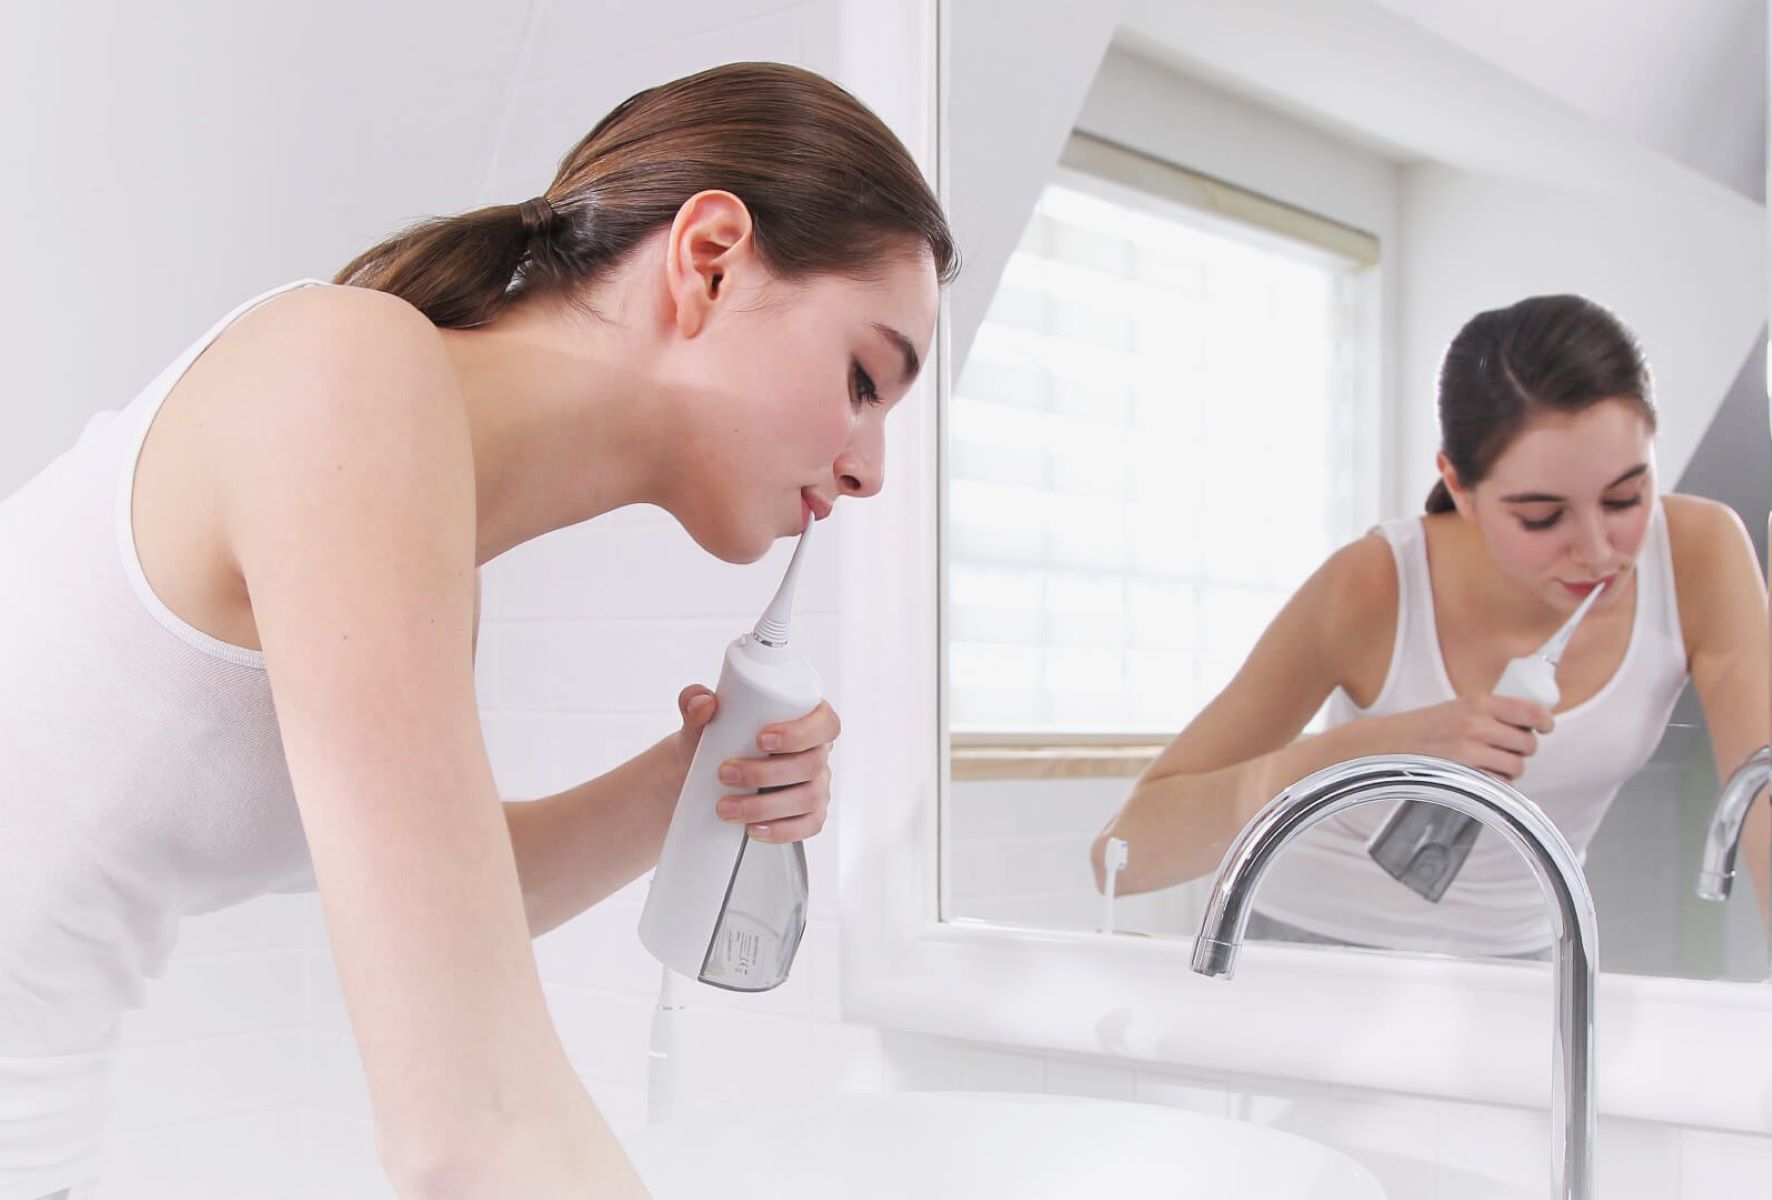
Cleaning a water flosser is an essential aspect of maintaining good oral hygiene and ensuring the optimal performance of this indispensable bathroom appliance. Over time, residue from water, toothpaste, and saliva can accumulate within the water flosser, potentially leading to bacterial growth and affecting its functionality. Therefore, regular cleaning is crucial to prevent these issues and prolong the lifespan of your water flosser.
In this comprehensive guide, we will walk you through the step-by-step process of cleaning a water flosser, providing you with valuable insights and practical tips to ensure that your device remains in top condition. By following these simple yet effective cleaning techniques, you can maintain a hygienic oral care routine and maximize the efficiency of your water flosser.
Whether you are a seasoned water flosser user or new to this innovative dental tool, understanding the proper cleaning methods is vital for preserving its effectiveness and promoting oral health. With our detailed instructions and expert recommendations, you can confidently embark on the journey of maintaining a clean and functional water flosser, ultimately contributing to your overall dental well-being.
Now, let's delve into the step-by-step process of cleaning a water flosser to uncover the secrets of keeping this essential bathroom appliance in pristine condition.
Key Takeaways:
- Regularly cleaning your water flosser is crucial for keeping your teeth and gums healthy. Follow the step-by-step guide to remove bacteria and debris, ensuring your flosser works effectively and lasts longer.
- By cleaning and reassembling your water flosser, you can enjoy a refreshing and efficient flossing experience. This proactive maintenance promotes optimal oral health and maximizes the value of your flosser.
Read more: How To Clean A Burst Water Flosser
Step 1: Disassemble the Water Flosser
To initiate the cleaning process, the first step is to disassemble the water flosser. This allows for thorough access to all components, ensuring a comprehensive cleaning routine. Here's a detailed breakdown of the disassembly process:
-
Unplug the Water Flosser: Before disassembling the device, it's crucial to unplug it from the power source. This simple yet essential step ensures safety during the cleaning process.
-
Remove the Water Reservoir: Most water flossers feature a detachable water reservoir. Carefully detach the reservoir from the main body of the flosser. Depending on the model, the reservoir may slide off or require a simple twist to detach.
-
Detach the Nozzle and Tip: Next, remove the nozzle and tip from the flosser. These components are pivotal for directing the water flow during flossing and should be detached for thorough cleaning.
-
Inspect for Debris: While disassembling the flosser, take a moment to inspect each component for any visible debris or buildup. This visual inspection can provide insights into the areas that require focused cleaning.
By meticulously disassembling the water flosser, you set the stage for a comprehensive cleaning process that targets all components. This meticulous approach ensures that no area is overlooked, promoting optimal hygiene and functionality of the device.
Step 2: Rinse the Reservoir
Rinsing the reservoir of your water flosser is a crucial step in the cleaning process, as it helps remove any residual water, debris, or bacteria that may have accumulated. This simple yet effective practice contributes to the overall hygiene and functionality of the device, ensuring that it continues to deliver optimal performance.
To begin, carefully detach the water reservoir from the main body of the flosser. Depending on the model, the reservoir may feature a convenient release button or a simple twist-and-lift mechanism for easy removal. Once detached, proceed with the following steps to thoroughly rinse the reservoir:
-
Empty the Reservoir: Prior to rinsing, empty any remaining water from the reservoir. This can be achieved by pouring out the water into a sink or basin. Ensuring that the reservoir is completely empty sets the stage for a thorough cleaning process.
-
Rinse with Warm Water: With the reservoir emptied, rinse it thoroughly with warm water. The use of warm water helps to effectively dislodge any residual debris or buildup within the reservoir. Gently swish the warm water around the interior of the reservoir to ensure comprehensive rinsing.
-
Inspect for Residue: While rinsing, take a moment to inspect the interior of the reservoir for any lingering residue. This may include mineral deposits, toothpaste remnants, or other particles. If any residue is detected, consider using a soft-bristled brush or a designated reservoir cleaning tool to gently scrub the interior surfaces.
-
Air Dry Thoroughly: Once rinsed, allow the reservoir to air dry completely before reassembling the water flosser. This step is essential to prevent the accumulation of moisture, which can potentially lead to bacterial growth. Position the reservoir upside down on a clean, dry cloth to facilitate thorough drying.
By diligently rinsing the reservoir with warm water and ensuring that it is completely dry before reassembly, you contribute to the overall cleanliness and functionality of your water flosser. This proactive cleaning practice not only promotes optimal oral hygiene but also extends the longevity of your valuable dental appliance.
Step 3: Clean the Tip and Nozzle
Cleaning the tip and nozzle of your water flosser is a pivotal step in maintaining optimal oral hygiene and ensuring the efficient operation of the device. The tip and nozzle play a crucial role in directing the water flow during flossing, making it essential to keep these components clean and free from debris or buildup. By following the detailed cleaning process outlined below, you can effectively preserve the functionality and hygiene of your water flosser's tip and nozzle.
Cleaning the Tip:
-
Remove the Tip: Begin by carefully removing the tip from the water flosser. Depending on the model, the tip may feature a simple twist-and-pull mechanism for easy detachment. Once removed, set the tip aside for cleaning.
-
Rinse the Tip: Thoroughly rinse the tip under warm running water. This helps dislodge any residual water, toothpaste, or debris that may have accumulated during use. Gently swish the water through the tip to ensure comprehensive rinsing.
-
Inspect for Residue: While rinsing, visually inspect the tip for any visible residue or buildup. If necessary, use a soft-bristled brush or designated cleaning tool to gently scrub the tip and remove any stubborn residue. Pay close attention to the interior and exterior surfaces of the tip to ensure thorough cleaning.
-
Air Dry the Tip: Once cleaned, allow the tip to air dry completely before reattaching it to the water flosser. Position the tip on a clean, dry cloth to facilitate thorough drying, ensuring that no moisture is trapped within the component.
Read more: How To Clean The Waterpik Water Flosser
Cleaning the Nozzle:
-
Detach the Nozzle: Similar to the tip, carefully detach the nozzle from the water flosser. This may involve a simple twist-and-lift mechanism or a quick-release button, depending on the model. Once detached, proceed with the cleaning process.
-
Rinse the Nozzle: Thoroughly rinse the nozzle under warm running water, ensuring that all interior and exterior surfaces are effectively cleaned. The use of warm water helps to dislodge any residual debris or buildup within the nozzle, promoting optimal hygiene.
-
Inspect for Debris: While rinsing, visually inspect the nozzle for any lingering debris or buildup. If necessary, use a soft-bristled brush or cleaning tool to gently scrub the interior and exterior surfaces of the nozzle, ensuring that it is free from any obstructions.
-
Air Dry the Nozzle: After cleaning, allow the nozzle to air dry completely before reattaching it to the water flosser. Position the nozzle on a clean, dry cloth to facilitate thorough drying, preventing the accumulation of moisture.
By diligently cleaning the tip and nozzle of your water flosser, you contribute to the overall cleanliness and functionality of these essential components. This proactive cleaning practice not only promotes optimal oral hygiene but also ensures that your water flosser continues to deliver effective flossing performance, ultimately contributing to your dental well-being.
Step 4: Clean the Water Flosser Body
Cleaning the body of your water flosser is a crucial step in maintaining its overall hygiene and functionality. The body of the flosser, which houses the motor and internal components, can accumulate residue and bacteria over time, potentially impacting its performance and hygiene. By following a systematic cleaning process, you can ensure that the body of your water flosser remains clean and free from any buildup, contributing to its longevity and optimal operation.
Here's a detailed breakdown of the process to effectively clean the water flosser body:
-
Unplug the Flosser: Before initiating the cleaning process, ensure that the water flosser is unplugged from the power source. This essential safety measure prevents any potential mishaps during the cleaning procedure.
-
Exterior Wipe Down: Using a soft, damp cloth, gently wipe down the exterior surfaces of the water flosser. This helps remove any dust, grime, or surface residue that may have accumulated. Pay particular attention to buttons, dials, and crevices where debris may collect.
-
Interior Cleaning: While the interior components of the water flosser may not be readily accessible, it's essential to maintain their cleanliness for optimal performance. If your flosser features a removable cover or access panel, carefully follow the manufacturer's instructions to access the internal components for cleaning. Use a soft brush or compressed air to remove any dust or debris from these areas.
-
Sanitizing Solution: To ensure thorough hygiene, consider using a mild sanitizing solution to clean the exterior surfaces of the water flosser. Prepare a solution of water and gentle antibacterial soap or a manufacturer-recommended cleaning solution. Dampen a clean cloth with the solution and gently wipe down the exterior surfaces of the flosser. Be sure to wring out the cloth to prevent any excess moisture from entering the device.
-
Drying Process: After cleaning the exterior surfaces, use a dry, lint-free cloth to thoroughly dry the water flosser body. Pay attention to any seams or crevices where moisture may linger. Additionally, allow the flosser to air dry for a short period before reassembling it.
By diligently cleaning the body of your water flosser, you contribute to its overall cleanliness and functionality. This proactive cleaning practice not only promotes optimal oral hygiene but also ensures that your water flosser continues to deliver effective flossing performance, ultimately contributing to your dental well-being.
To clean a water flosser, regularly remove and clean the water reservoir, flosser tip, and handle with warm soapy water. Run a mixture of water and vinegar through the flosser to remove any buildup. Be sure to follow the manufacturer’s instructions for proper maintenance.
Step 5: Reassemble the Water Flosser
After completing the meticulous cleaning process, reassembling the water flosser is the final step in restoring it to its fully functional state. Proper reassembly ensures that all components are securely in place, allowing the flosser to operate effectively during your oral care routine. Here's a detailed guide on reassembling your water flosser:
-
Attach the Nozzle and Tip: Begin by reattaching the cleaned nozzle and tip to the main body of the water flosser. Depending on the model, this may involve a simple twist-and-lock mechanism or a quick snap into place. Ensure that the nozzle and tip are securely attached to prevent any water leakage during operation.
-
Reconnect the Water Reservoir: Carefully position the cleaned water reservoir back onto the designated slot or connection point on the flosser's body. Ensure a snug fit to prevent any potential leaks or misalignment. Depending on the model, the reservoir may require a gentle push or twist to securely reattach.
-
Secure the Components: Once all components are reattached, ensure that they are securely in place. Gently wiggle the nozzle, tip, and reservoir to confirm that they are properly secured to the flosser's body. This step is crucial for preventing any issues during operation.
-
Power On and Test: After reassembling the water flosser, plug it back into the power source and power it on to ensure that all components are functioning as expected. Run a quick test cycle to confirm that the water flow and pressure are consistent, indicating successful reassembly.
By meticulously following the reassembly process, you can rest assured that your water flosser is ready to deliver optimal performance during your oral care routine. This final step completes the comprehensive cleaning and maintenance process, ensuring that your water flosser remains a reliable tool for promoting excellent oral hygiene.
Conclusion
In conclusion, maintaining a clean water flosser is essential for preserving optimal oral hygiene and ensuring the longevity of this indispensable bathroom appliance. By following the step-by-step cleaning process outlined in this guide, you can effectively remove residue, bacteria, and debris from all components of the water flosser, promoting its overall functionality and contributing to your dental well-being.
Regular cleaning of the water flosser not only prevents the accumulation of harmful bacteria and residue but also ensures that the device continues to deliver efficient flossing performance. The thorough rinsing of the reservoir, cleaning of the tip and nozzle, and meticulous attention to the flosser's body collectively contribute to maintaining a hygienic oral care routine.
Furthermore, the reassembly of the water flosser marks the successful completion of the cleaning process, allowing you to confidently utilize the device for your oral care needs. The proper reattachment of all components ensures that the flosser operates seamlessly, providing consistent water flow and pressure during use.
By incorporating these cleaning practices into your oral care routine, you not only promote optimal oral health but also extend the lifespan of your water flosser, ultimately maximizing its value and functionality. Additionally, a clean water flosser contributes to a refreshing and effective flossing experience, enhancing your overall dental care regimen.
In essence, the meticulous cleaning and maintenance of your water flosser serve as a proactive investment in your oral health, ensuring that this essential bathroom appliance remains a reliable tool for promoting clean and healthy teeth and gums. With the knowledge and insights gained from this guide, you are well-equipped to embark on the journey of maintaining a clean and functional water flosser, ultimately contributing to your overall dental well-being.
Frequently Asked Questions about How Do You Clean A Water Flosser
Was this page helpful?
At Storables.com, we guarantee accurate and reliable information. Our content, validated by Expert Board Contributors, is crafted following stringent Editorial Policies. We're committed to providing you with well-researched, expert-backed insights for all your informational needs.

0 thoughts on “How Do You Clean A Water Flosser”