Home>Storage Ideas>Kitchen Storage>How To Clean A Keurig Coffee Maker For Consistently Tasty Brews
Kitchen Storage
How To Clean A Keurig Coffee Maker For Consistently Tasty Brews
Modified: August 25, 2024
Learn how to clean your Keurig coffee maker to ensure consistently tasty brews. Discover effective kitchen storage ideas to keep your space organized and clutter-free.
(Many of the links in this article redirect to a specific reviewed product. Your purchase of these products through affiliate links helps to generate commission for Storables.com, at no extra cost. Learn more)
Introduction
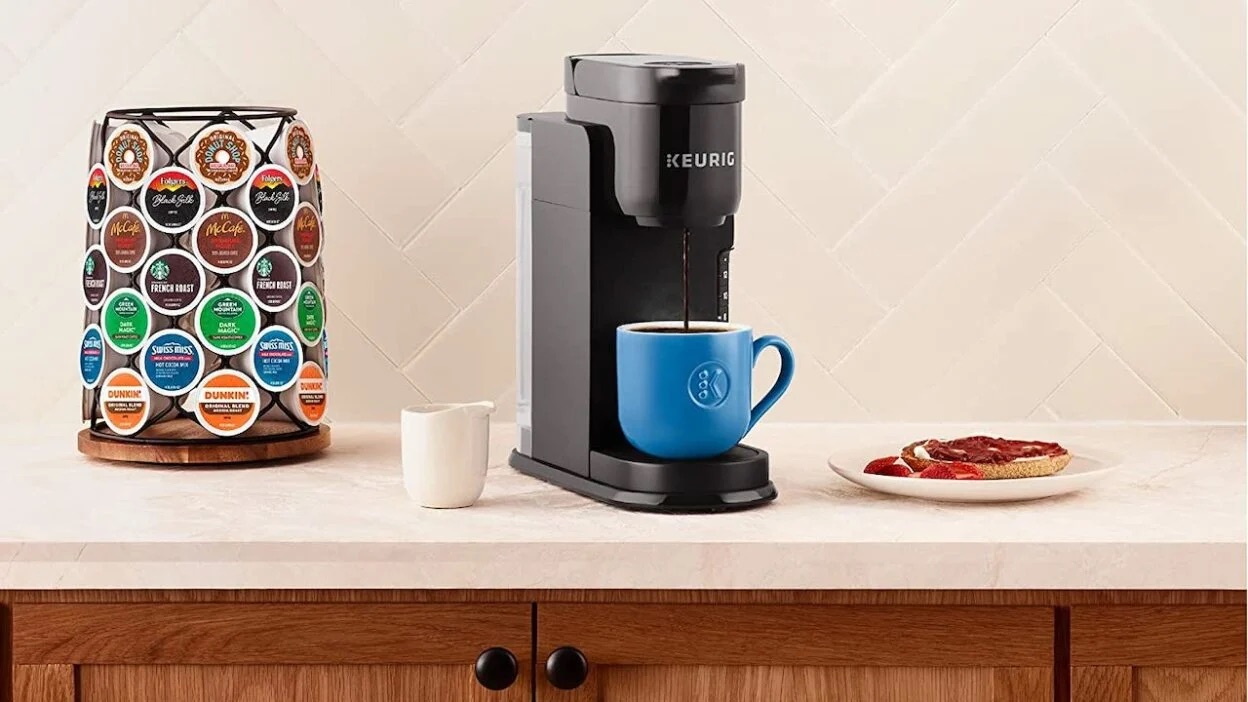
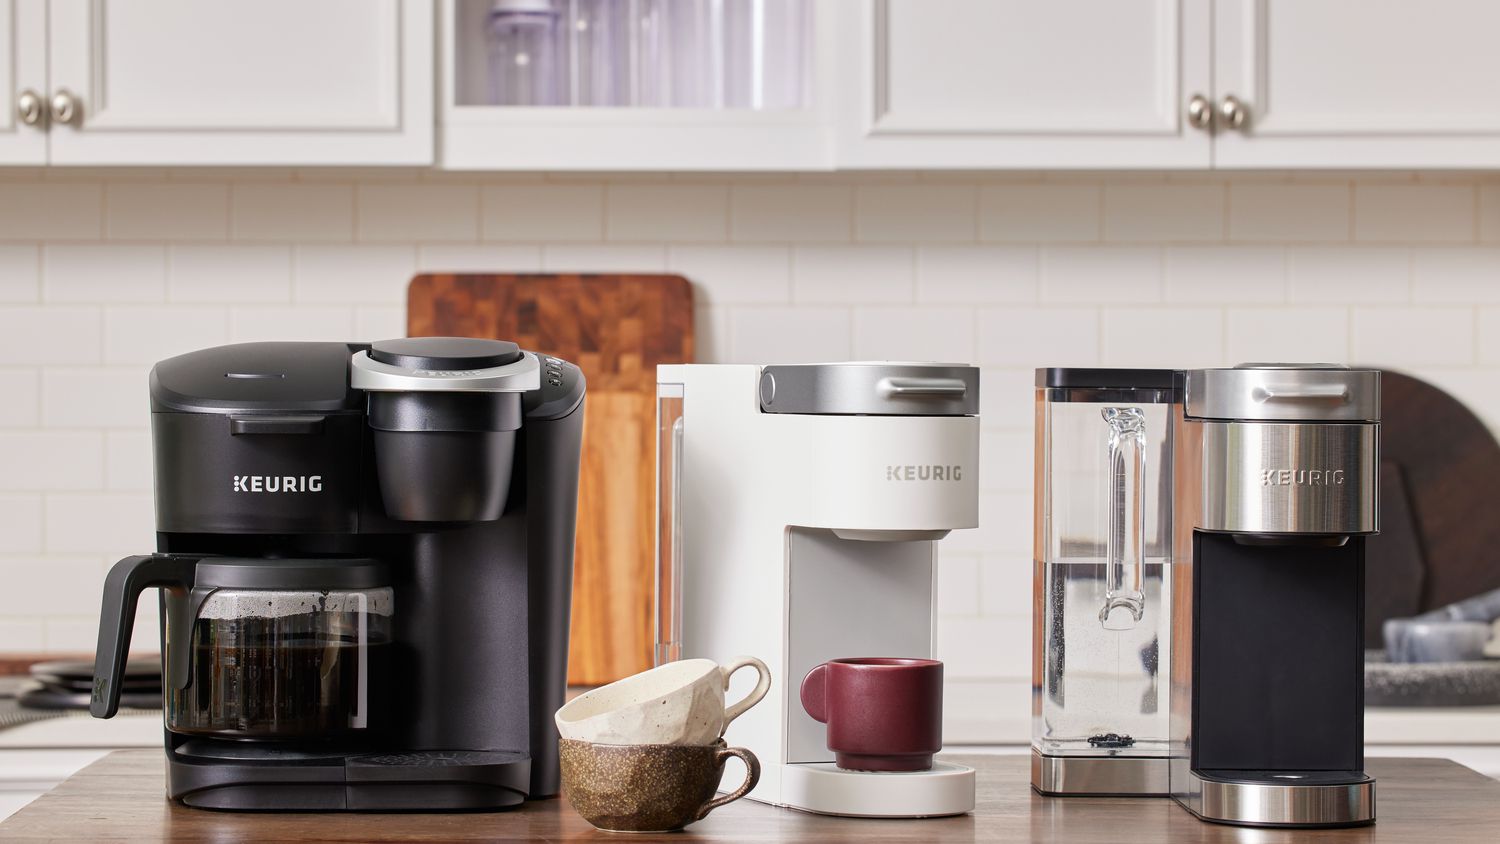
Welcome to the wonderful world of Keurig coffee makers! These convenient machines have revolutionized the way we brew our favorite morning cup of joe. However, like any appliance, a Keurig requires regular cleaning and maintenance to ensure optimal performance and prolong its lifespan.
A clean Keurig not only results in consistently tasty brews, but it also prevents the buildup of mineral deposits, bacteria, and mold that can affect the flavor of your coffee and even impact your health. In this article, we will guide you through the step-by-step process of cleaning your Keurig coffee maker to keep it running smoothly and brew the best cup of coffee every time.
Before we proceed, make sure you have a few materials on hand:
- Vinegar
- Water
- A clean cloth or sponge
- A toothbrush or a cleaning brush with soft bristles
- Mild dish soap
With these materials at the ready, let’s dive into the process of cleaning your Keurig coffee maker.
Key Takeaways:
- Regularly cleaning your Keurig coffee maker with vinegar, water, and mild dish soap ensures consistently delicious brews, prevents mineral buildup, and extends the machine’s lifespan.
- Disassembling, cleaning, and reassembling your Keurig, including the water reservoir, K-Cup holder, and needle, is essential for maintaining optimal brewing performance and a safe, enjoyable coffee experience.
Read more: How To Descale Keurig Coffee Machine
Materials Needed
Before we begin the cleaning process, let’s gather all the materials you’ll need:
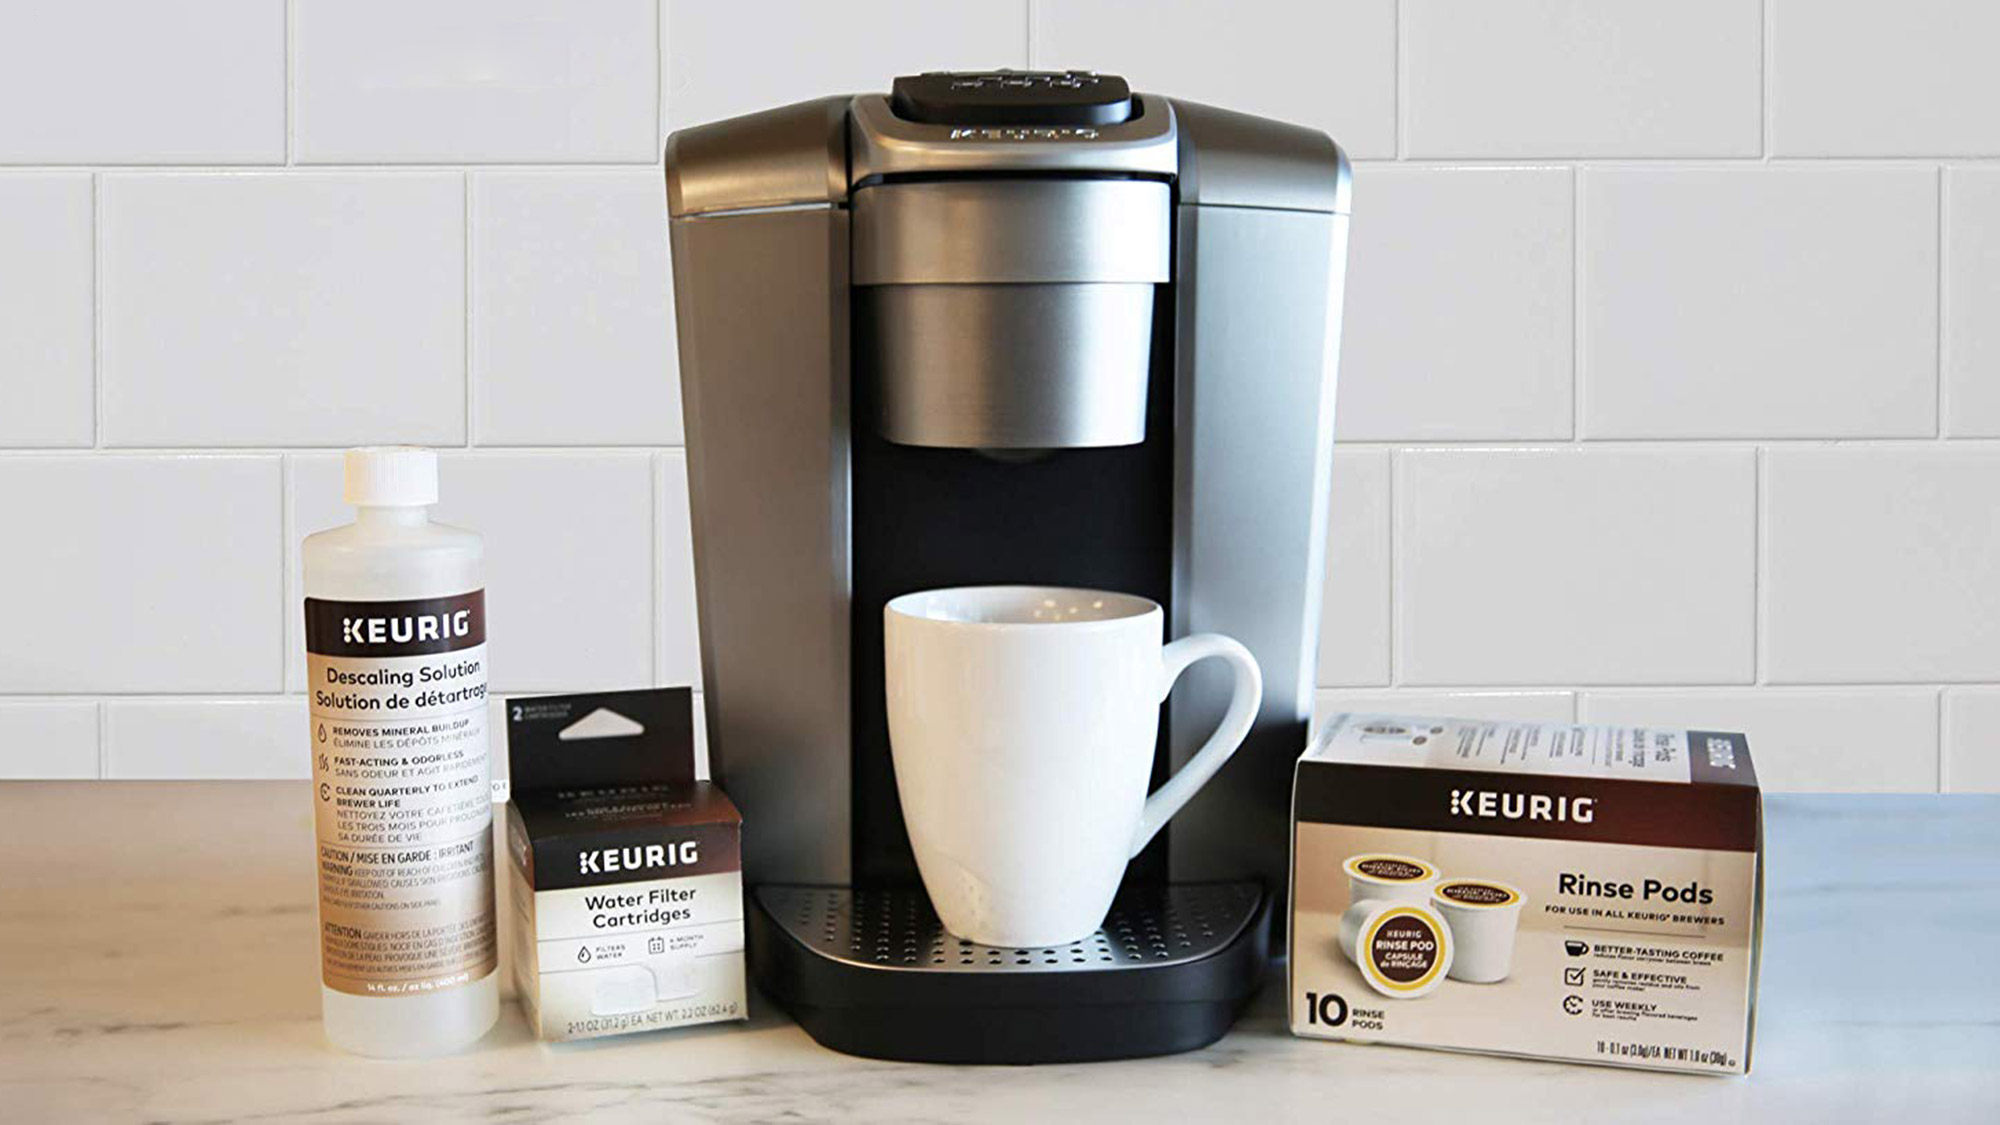
- Vinegar: White vinegar is a natural and effective cleaning agent that helps remove mineral deposits and buildup in your Keurig. You’ll need about 8 ounces of vinegar for the cleaning process.
- Water: You’ll need clean, cold water for various steps of the cleaning process, including rinsing and descaling the Keurig.
- A clean cloth or sponge: For wiping down the exterior of the Keurig and removing any dirt or grime.
- A toothbrush or a cleaning brush with soft bristles: This will be useful for cleaning hard-to-reach areas, such as the needle that punctures the K-Cup and the K-Cup holder.
- Mild dish soap: In case you need to wash any removable parts or accessories of the Keurig, using mild dish soap can help remove any stubborn residue.
Having these materials on hand will ensure that you’re fully prepared to tackle the cleaning process and give your Keurig the attention it deserves. Let’s move on to the step-by-step instructions for cleaning your Keurig coffee maker.
Step 1: Disassembling the Keurig
The first step in cleaning your Keurig coffee maker is to disassemble it to gain access to all the different parts and components. Follow these steps:
- Unplug your Keurig: Before you begin disassembling, make sure the machine is turned off and unplugged from the power source for safety reasons.
- Remove the water reservoir: Lift and remove the water reservoir from the back of the machine. This is where you pour water for brewing, and removing it allows for easier cleaning.
- Take out the drip tray and the funnel: The drip tray and funnel are located on the front of the Keurig and can be easily removed. Pull them gently to take them out of the machine.
- Detach the K-Cup holder: Open the K-Cup holder by lifting the handle. You will find the K-Cup holder inside the brew chamber, which is where you insert your coffee pods. To remove it, push up from underneath and lift it out of the chamber.
- Remove any other removable parts: Depending on your specific Keurig model, you may have other removable parts such as the water filter or the holder for the K-Cup packs. Take note of these parts and remove them if necessary.
By disassembling your Keurig, you can access all the nooks and crannies of the machine, making it easier to clean thoroughly. Now that you have taken apart the various components, you’re ready to move on to the next step: cleaning the exterior of the Keurig coffee maker.
Step 2: Cleaning the Exterior
Once you have disassembled your Keurig coffee maker, it’s time to focus on cleaning the exterior. Here’s what you need to do:
- Wipe down the exterior surfaces: Take a clean cloth or sponge and dampen it with water. Gently wipe down the outside of the Keurig, including the housing, buttons, and the top lid. Pay special attention to any areas that may have accumulated dirt or spills.
- Remove stubborn stains, if necessary: If you encounter any stubborn stains or residue on the exterior of the Keurig, apply a small amount of mild dish soap to the cloth or sponge. Carefully scrub the affected areas to remove the stains, rinsing the cloth or sponge as needed.
- Dry the exterior: After cleaning, use a dry cloth or towel to thoroughly dry the exterior surfaces of the Keurig. This will prevent any water spots or streaks from forming on the machine.
Remember, it’s important to only use mild dish soap when necessary and avoid using harsh chemicals or abrasive cleaners, as they can damage the finish of your Keurig. Once the exterior is clean and dry, you can move on to the next step: descaling the water reservoir.
Step 3: Descaling the Water Reservoir
Over time, mineral deposits can build up inside the water reservoir of your Keurig coffee maker, affecting the taste and quality of your brews. Descaling involves removing these mineral deposits and ensuring that your Keurig functions optimally. Here’s how to descale the water reservoir:
- Prepare a vinegar solution: Mix equal parts white vinegar and water in a container. The amount you’ll need will depend on the size of your water reservoir, but aim for a solution that’s large enough to fill the reservoir.
- Pour the vinegar solution into the reservoir: Carefully pour the vinegar solution into the water reservoir of your Keurig. Be sure to fill it up to the maximum fill line.
- Run a brewing cycle: Place a large cup or mug on the drip tray to catch the vinegar solution. Select the largest brew size and start a brew cycle without inserting a K-Cup. Allow the vinegar solution to run through the machine and into the cup.
- Pause halfway through the brew cycle: Once the cup is about halfway full, pause the brew cycle and let the vinegar solution sit in the water reservoir for about 30 minutes. This will ensure that the vinegar has enough time to break down the mineral deposits.
- Complete the brew cycle: After 30 minutes, resume the brew cycle and let it complete. The vinegar solution will continue to flow through the machine and into the cup.
- Empty and rinse the cup: Once the brew cycle is finished, carefully remove the cup with the vinegar solution. Empty it and rinse it thoroughly to remove any vinegar residue.
By descaling the water reservoir, you’re effectively removing any mineral deposits and buildup that could affect the flavor of your coffee. Now, you’re ready to tackle the next step: cleaning the K-Cup holder.
To clean a Keurig coffee maker for consistently tasty brews, regularly descale the machine with a vinegar solution and clean the removable parts with warm, soapy water.
Read more: How To Prime A Keurig Coffee Machine
Step 4: Cleaning the K-Cup Holder
The K-Cup holder is an integral part of your Keurig coffee maker that needs regular cleaning. This is where you insert your favorite coffee pods, so it’s important to keep it free from any residue or blockages. Follow these steps to clean the K-Cup holder:
- Remove any leftover K-Cups: Before cleaning, make sure there are no K-Cups remaining in the holder. Discard any used pods to clear the way for thorough cleaning.
- Inspect the needle: Take a close look at the needle that punctures the K-Cups. It’s important to ensure that the needle is clean and free from any debris or clogs. If you notice any blockages, use a toothbrush or a cleaning brush with soft bristles to gently remove any residue.
- Wash the K-Cup holder: Fill a sink or a basin with warm water and add a small amount of mild dish soap. Submerge the K-Cup holder in the soapy water and use a soft cloth or sponge to gently scrub away any coffee residue or buildup. Pay attention to the inside and outside of the holder, as well as the bottom where the needle is located.
- Rinse thoroughly: After washing, rinse the K-Cup holder under running water to remove any soap residue. Make sure to rinse all the crevices to ensure a thorough cleaning.
- Dry and reassemble: Use a clean towel or paper towel to dry the K-Cup holder completely. Once dry, reinsert it back into the Keurig and make sure it is secure.
Keeping the K-Cup holder clean ensures that your Keurig functions properly and delivers the best flavor from your coffee pods. With the K-Cup holder cleaned, it’s time to clean the drip tray and funnel in the next step.
Step 5: Cleaning the Drip Tray and Funnel
The drip tray and funnel of your Keurig coffee maker are essential components that catch any excess liquid and coffee drips during the brewing process. Cleaning these parts regularly will prevent the buildup of residue and keep your machine looking and functioning its best. Follow these steps to clean the drip tray and funnel:
- Remove the drip tray and funnel: If you haven’t already done so, remove the drip tray and funnel from the front of your Keurig. Take them to the sink or a basin for cleaning.
- Disassemble the parts: Separate the pieces of the drip tray and funnel if they easily come apart. This will allow for a more thorough cleaning.
- Wash with warm, soapy water: Fill the sink or basin with warm water and add a small amount of mild dish soap. Submerge the drip tray and funnel into the soapy water and use a cloth or sponge to clean them. Pay attention to any grooves or hard-to-reach areas.
- Rinse and dry: Rinse the drip tray and funnel under running water to remove any soap residue. Dry them thoroughly with a clean towel or paper towel.
- Reassemble and place back in the Keurig: Once the pieces are dry, reassemble the drip tray and funnel, making sure they fit securely. Place them back in the Keurig machine.
Regularly cleaning the drip tray and funnel prevents the accumulation of coffee residue and liquid, ensuring that your Keurig is clean and hygienic. Let’s move on to the next step, which is reassembling the Keurig machine.
Step 6: Reassembling the Keurig
Now that you’ve cleaned the various components of your Keurig coffee maker, it’s time to put everything back together. Follow these steps to reassemble your Keurig:
- Retrieve the disassembled parts: Gather the water reservoir, drip tray, funnel, K-Cup holder, and any other removable parts that you had taken out during the cleaning process.
- Place the drip tray and funnel back in place: Insert the drip tray back into its designated slot at the front of the Keurig. Ensure that it fits securely and sits level. Next, place the funnel back in position above the drip tray.
- Reinsert the K-Cup holder: Take the clean and dry K-Cup holder and align it with the brew chamber. Lower it into place and make sure it clicks or snaps securely.
- Put the water reservoir back: Position the water reservoir back into its designated spot at the back of the Keurig. Ensure that it is firmly in place and properly aligned.
Once you have reassembled all the parts, make a final check to ensure that everything is correctly in place. Now you are ready to move on to the final step: cleaning the Keurig’s needle.
Step 7: Cleaning the Keurig’s Needle
The needle of your Keurig coffee maker is responsible for piercing the K-Cup and allowing the hot water to flow through for brewing. Over time, coffee grounds and debris can accumulate on the needle, affecting the machine’s performance. Follow these steps to clean the Keurig’s needle:
- Make sure the Keurig is unplugged: As always, ensure that the Keurig machine is turned off and unplugged from the power source for safety.
- Locate the needle: The needle is usually inside the K-Cup holder, located on the bottom of the brew chamber. Take a close look at the needle to assess its condition and determine if it needs cleaning.
- Use a cleaning tool: Depending on your preference, you can use either a toothbrush with soft bristles or a specialized cleaning brush to clean the needle. Gently scrub the needle in a back-and-forth motion to remove any residue or debris.
- Run a water cycle: After cleaning the needle, run a water-only brewing cycle without a K-Cup to flush out any loosened debris. This will help ensure that the needle is clear and ready for use.
- Inspect and repeat if necessary: Take a look at the needle after the water cycle to check if it is free from any remaining residue. If needed, repeat the cleaning process until the needle is completely clean.
Regularly cleaning the Keurig’s needle helps to maintain optimal brewing performance. Once the needle is clean, you can rest assured that your Keurig coffee maker is ready to deliver consistently delicious cups of coffee. Congratulations! You have successfully cleaned your Keurig machine and it’s now ready for use.
Remember, it’s important to follow these cleaning steps on a regular basis to keep your Keurig in great condition. By investing a little time and effort into cleaning your Keurig, you’ll ensure that it continues to provide you with fantastic coffee for years to come.
Happy brewing!
Read more: How To Store A Keurig Coffee Maker
Conclusion
Cleaning your Keurig coffee maker is an essential task that should not be overlooked. By following the step-by-step process outlined in this guide, you can ensure that your Keurig consistently delivers delicious cups of coffee while maintaining optimal performance and longevity.
From disassembling the machine to cleaning the exterior, descaling the water reservoir, and cleaning the essential components like the K-Cup holder and the needle, each step plays a crucial role in maintaining a clean and efficient Keurig.
Regular cleaning of your Keurig not only removes mineral deposits and residue but also helps to prevent the growth of bacteria and mold, ensuring a safe and enjoyable coffee brewing experience.
Remember to gather the necessary materials before starting the cleaning process, including vinegar, water, a clean cloth or sponge, a toothbrush or cleaning brush, and mild dish soap. These materials will help you achieve the best results.
By dedicating some time to clean your Keurig, you’ll notice an improvement in the quality and taste of your coffee. Additionally, a well-maintained machine will prevent clogs, malfunctions, and damage, ultimately extending the lifespan of your Keurig.
So, don’t delay! Take the time to clean your Keurig coffee maker today, and enjoy consistently tasty brews with each cup of coffee you make. Your taste buds and your Keurig will thank you!
Frequently Asked Questions about How To Clean A Keurig Coffee Maker For Consistently Tasty Brews
Was this page helpful?
At Storables.com, we guarantee accurate and reliable information. Our content, validated by Expert Board Contributors, is crafted following stringent Editorial Policies. We're committed to providing you with well-researched, expert-backed insights for all your informational needs.


0 thoughts on “How To Clean A Keurig Coffee Maker For Consistently Tasty Brews”