Home>Articles>How To Flush Tankless Water Heater With Vinegar
Articles
How To Flush Tankless Water Heater With Vinegar
Modified: August 24, 2024
Learn how to properly flush your tankless water heater using vinegar with this comprehensive guide. Discover the benefits of vinegar for cleaning and maintaining your water heater.
(Many of the links in this article redirect to a specific reviewed product. Your purchase of these products through affiliate links helps to generate commission for Storables.com, at no extra cost. Learn more)
Introduction
Welcome to our comprehensive guide on how to flush a tankless water heater with vinegar. If you’re a homeowner who relies on a tankless water heater for your daily hot water needs, it’s important to understand the importance of regular maintenance to keep your system running efficiently. One crucial maintenance task is flushing the water heater to remove mineral deposits and sediment buildup.
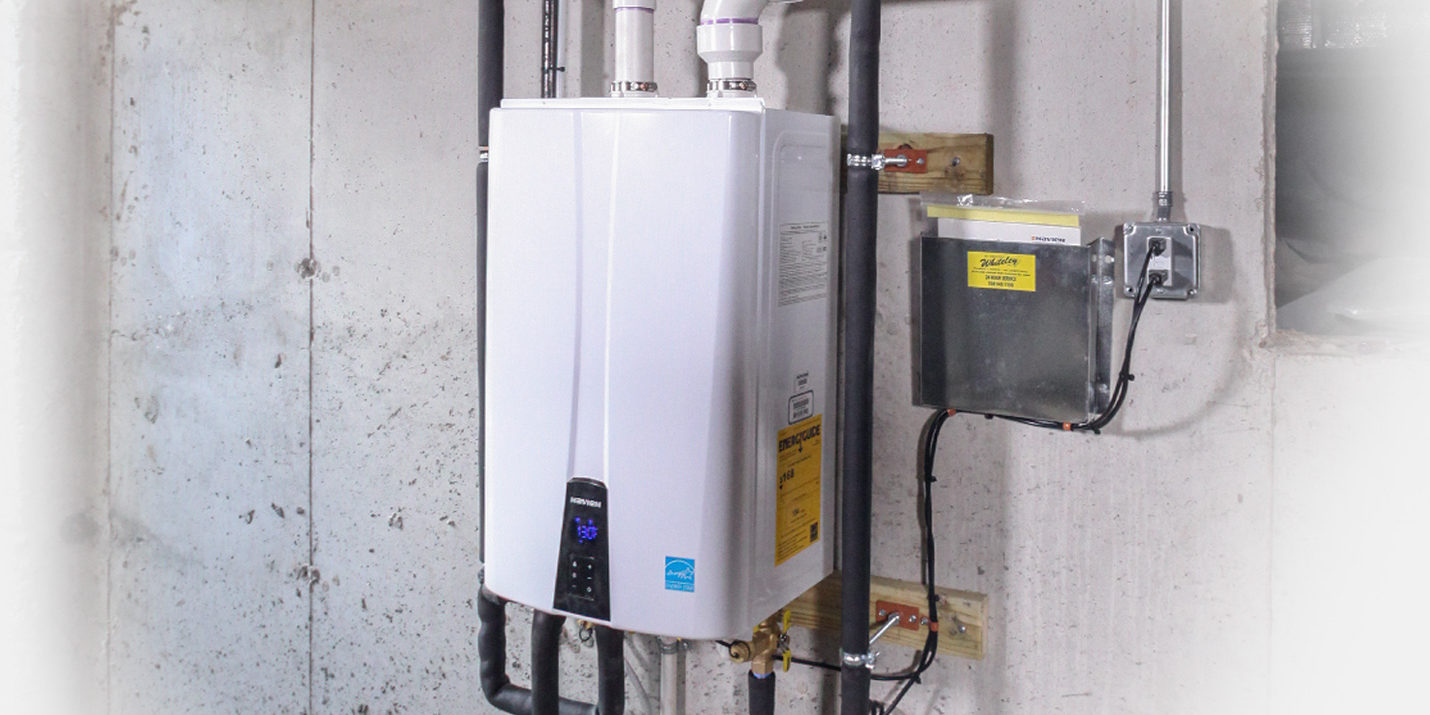
Tankless water heaters, also known as on-demand or instantaneous water heaters, have gained popularity due to their energy efficiency and endless hot water supply. Unlike traditional tank-based water heaters, tankless models heat water as it passes through a heat exchanger, eliminating the need for a storage tank. While this design offers numerous benefits, such as space-saving and continuous hot water on demand, it also presents unique maintenance requirements.
Over time, mineral deposits, such as calcium and magnesium, can accumulate inside the heat exchanger of a tankless water heater. This buildup can reduce the efficiency of the system, compromise its performance, and even lead to premature failure if left unaddressed. Regularly flushing your tankless water heater with vinegar is a simple and cost-effective way to remove these deposits and extend the lifespan of your unit.
In this guide, we will walk you through the step-by-step process of flushing your tankless water heater with vinegar. We will also provide tips on how to properly prepare your water heater, shut off power, mix the vinegar solution, and restore power once the flushing process is complete. By following these instructions, you can ensure that your tankless water heater remains in optimal condition, providing you with reliable hot water for years to come.
Key Takeaways:
- Regularly flushing your tankless water heater with vinegar is essential to remove mineral deposits, prevent scaling, and ensure optimal performance, energy efficiency, and a longer lifespan for your unit.
- Proper maintenance, including checking and cleaning filters, monitoring water pressure, and following manufacturer’s guidelines, is crucial for maximizing the benefits of your tankless water heater and avoiding costly repairs.
Read more: How To Flush Navien Tankless Water Heater
Understanding Tankless Water Heaters
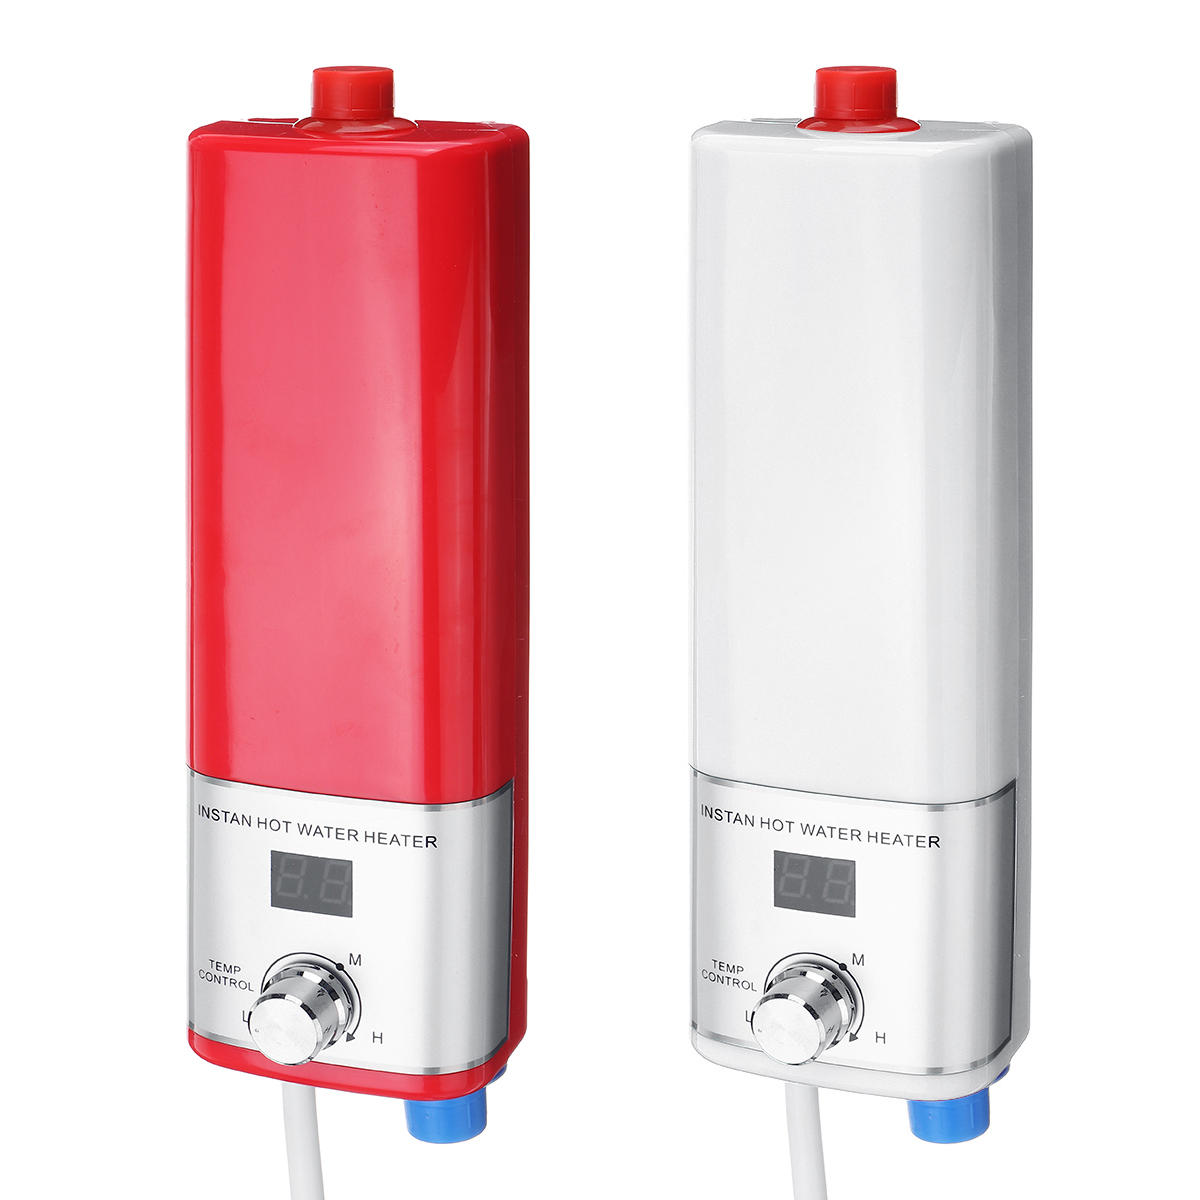
Tankless water heaters, also known as instantaneous or on-demand water heaters, have revolutionized the way we heat water in our homes. Unlike traditional tank-based water heaters that store and heat a large volume of water, tankless models provide hot water instantaneously as it is needed. This innovative technology offers several advantages over traditional water heaters.
One of the key benefits of tankless water heaters is their energy efficiency. Since they only heat water when it is required, there is no standby heat loss associated with keeping a tank of water hot. This can result in significant energy savings over time, reducing both your carbon footprint and your utility bills. Additionally, tankless water heaters have a longer lifespan compared to their tank-based counterparts, typically lasting 20 years or more with proper maintenance.
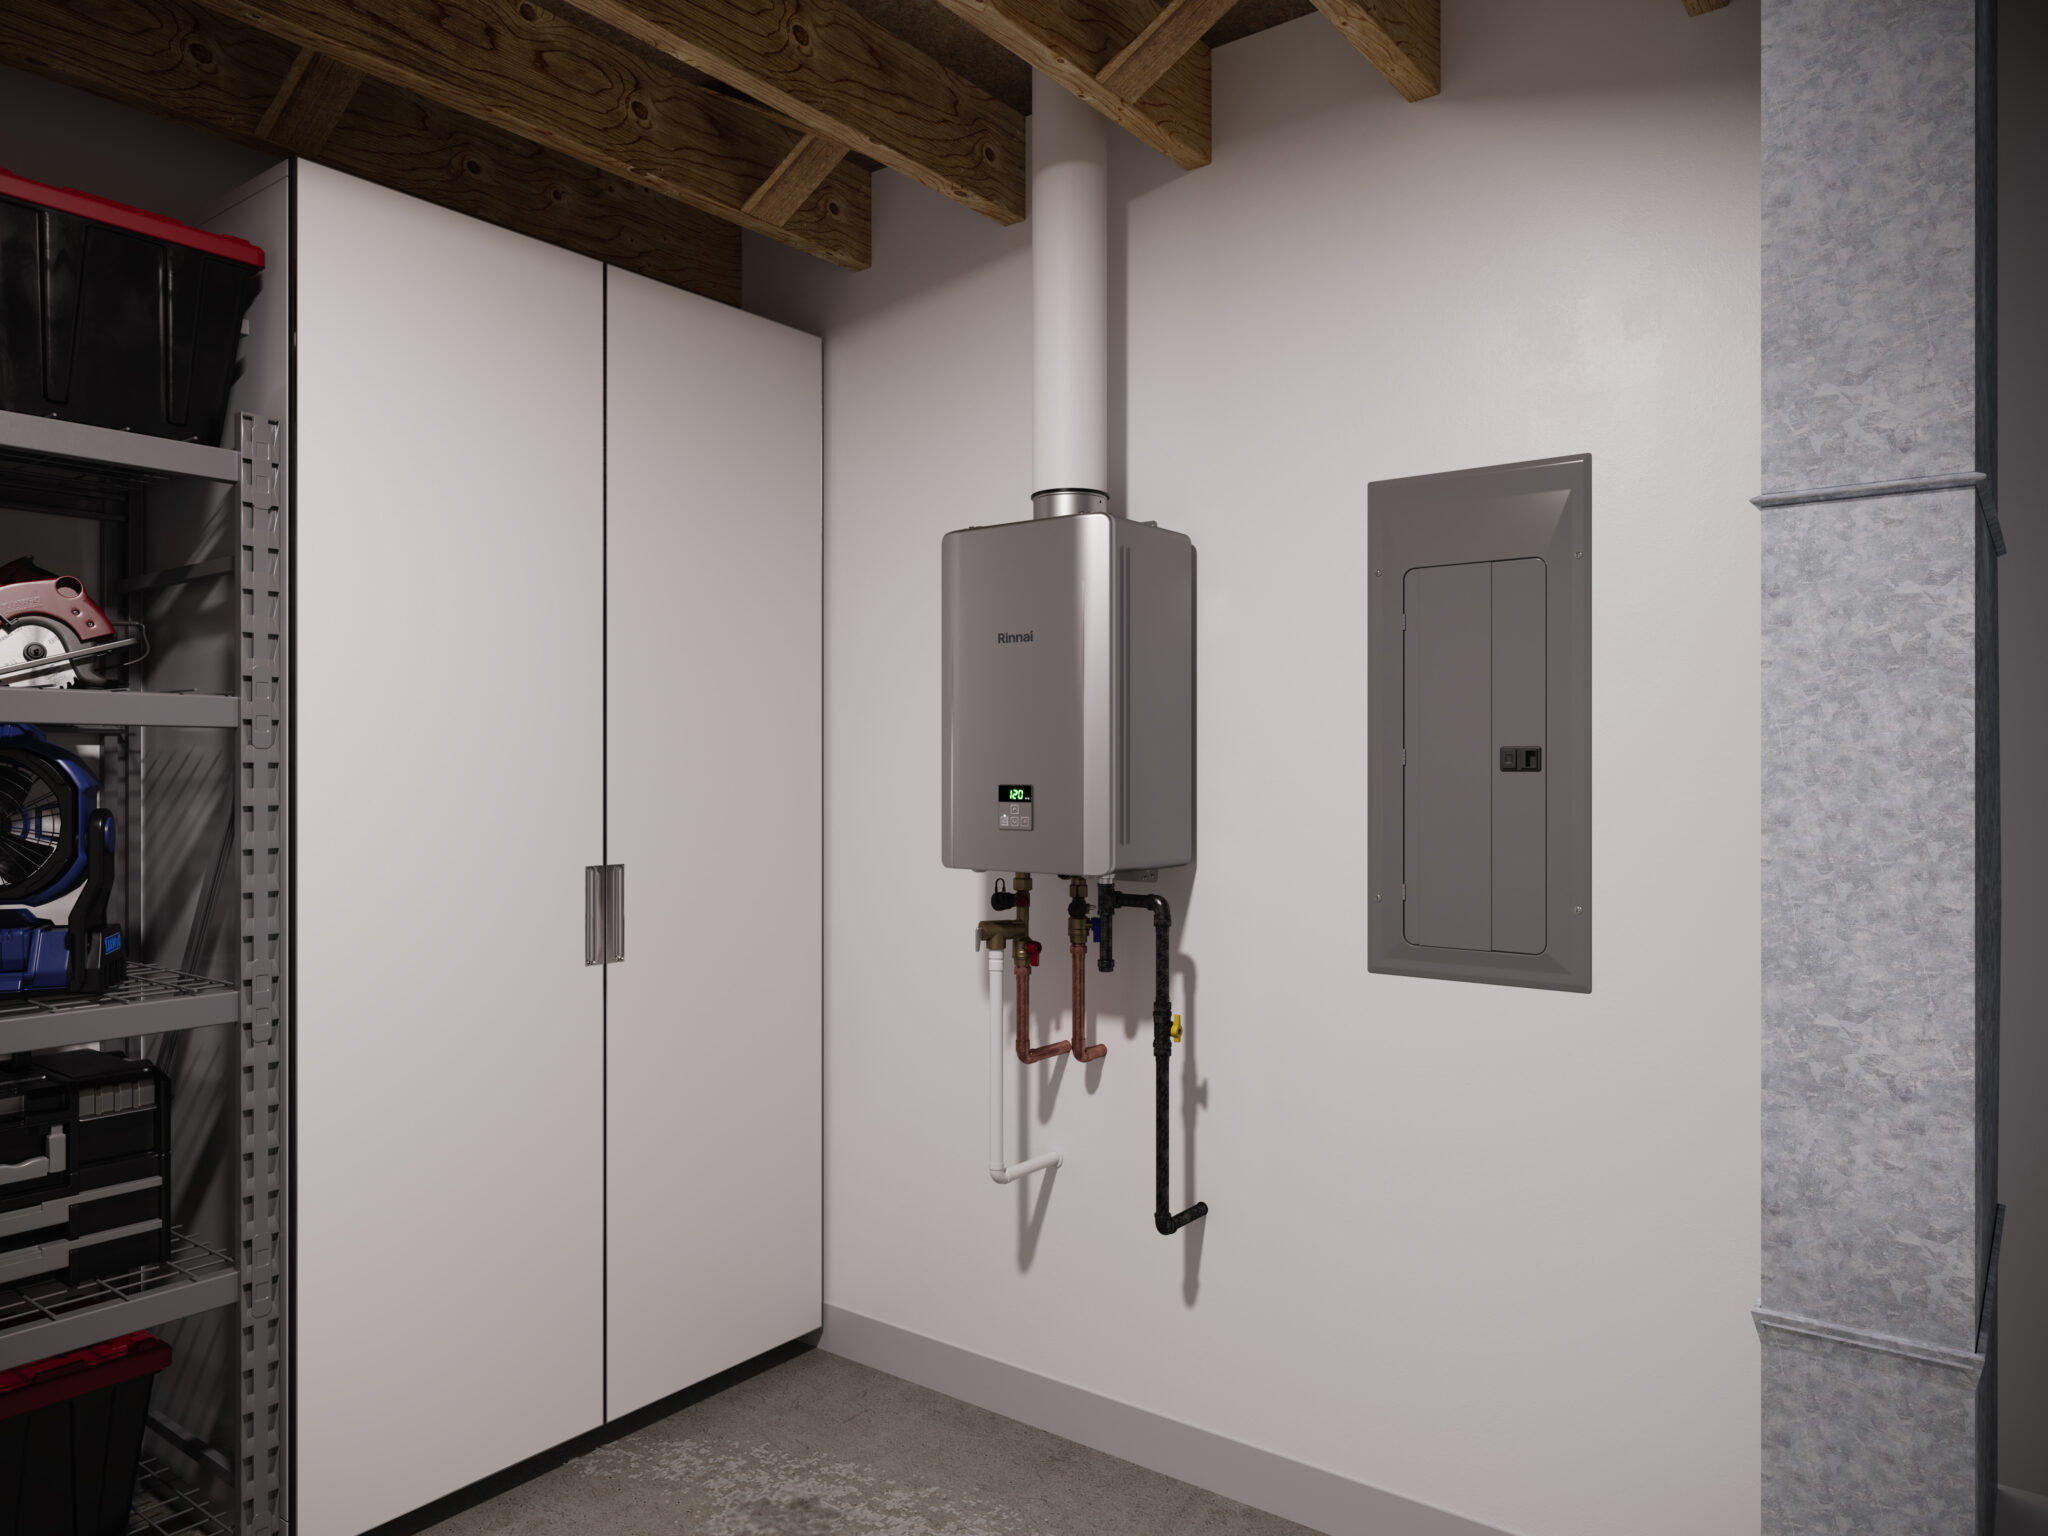
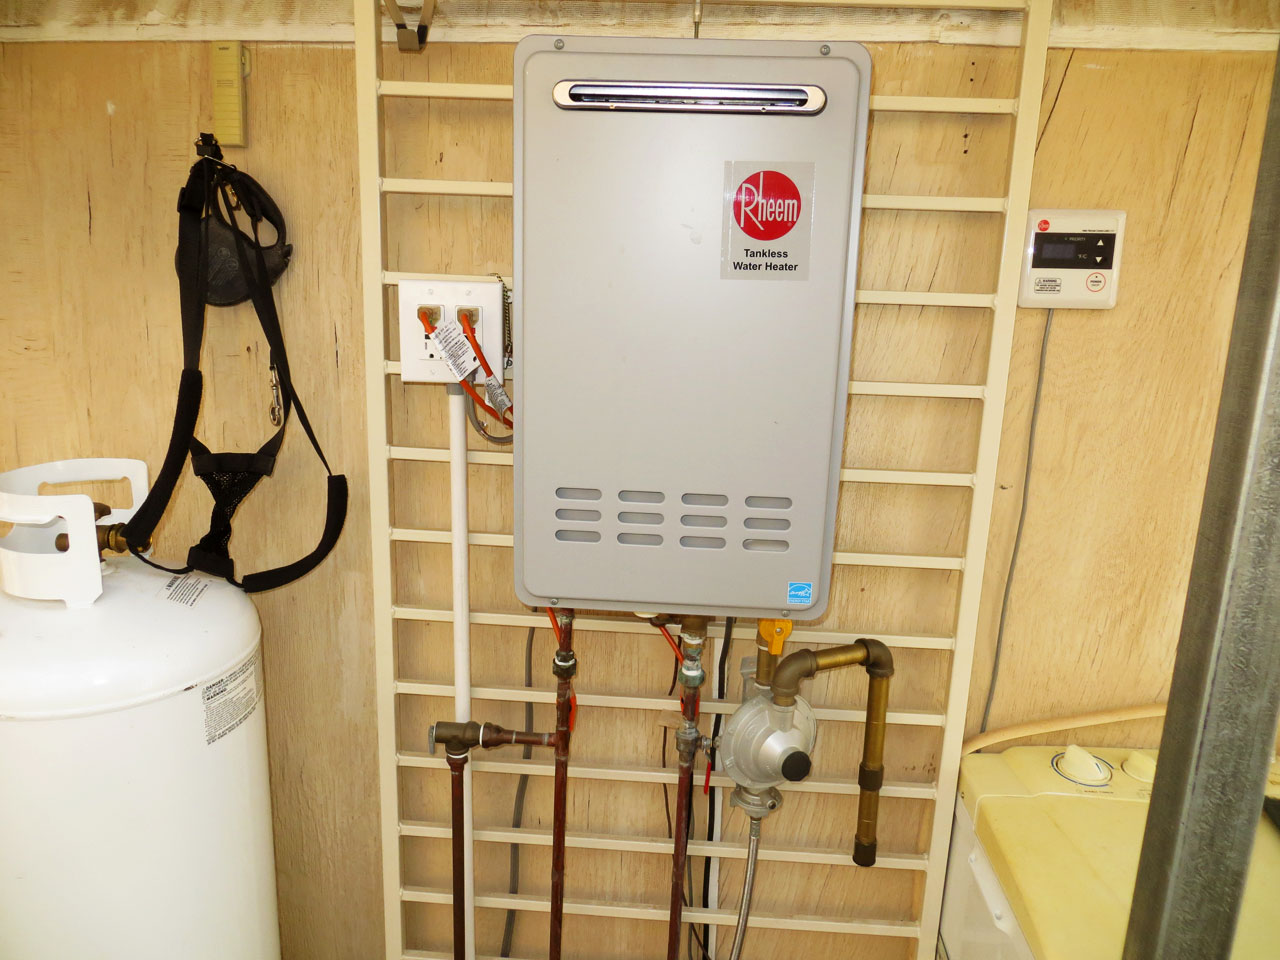
Another advantage of tankless water heaters is their compact size. Unlike bulky storage tanks, tankless models are wall-mounted, taking up minimal space in your home. This can be especially beneficial for those living in small apartments or homes with limited storage options. Additionally, the compact size allows for greater flexibility in installation, as tankless water heaters can be placed in various locations throughout the house.
Tankless water heaters are designed to provide a continuous supply of hot water on demand. This means you never have to worry about running out of hot water, even during peak usage times. Whether you have guests staying over or multiple family members needing to shower simultaneously, a tankless water heater can keep up with the demand and ensure everyone has access to hot water when they need it.
However, it’s important to note that tankless water heaters do have some limitations. They have a specific flow rate, which determines how much hot water they can produce at a given time. If the demand for hot water exceeds the flow rate, the water heater may struggle to maintain a consistent temperature. This is particularly relevant for households that frequently use large amounts of hot water simultaneously, such as running multiple showers or appliances at once.
Additionally, tankless water heaters require regular maintenance to ensure optimal performance. This includes flushing the unit to remove mineral deposits and scaling, which can affect efficiency and longevity. By understanding the intricacies of tankless water heaters and their maintenance requirements, you can make informed decisions to keep your system running smoothly and efficiently.
Why Flush a Tankless Water Heater?
Flushing your tankless water heater on a regular basis is essential for maintaining its performance and prolonging its lifespan. Here are some key reasons why it is important to flush your tankless water heater:
- Remove Mineral Deposits: Over time, mineral deposits from hard water can accumulate inside the heat exchanger of your tankless water heater. These deposits, primarily composed of calcium and magnesium, can restrict water flow, reduce heating efficiency, and lead to internal clogs. Flushing the water heater with vinegar helps dissolve and remove these mineral deposits, restoring optimal performance.
- Prevent Scaling: Scaling is the buildup of mineral deposits on the internal components of the water heater. This can happen when the water temperature is too high or when hard water is present. Scaling reduces the efficiency of the unit, increases energy consumption, and can cause damage to the heating elements and other critical components. Regular flushing with vinegar helps to prevent scaling, ensuring the unit operates efficiently.
- Eliminate Sediment: Sediment, such as sand, silt, or rust particles, can also accumulate inside a tankless water heater. This debris can enter the unit through the water supply and settle at the bottom of the heat exchanger or other components. Flushing the water heater helps to remove any sediment buildup, preventing blockages and promoting proper water flow.
- Improve Energy Efficiency: A tankless water heater that is contaminated with mineral deposits or sediment will not function as efficiently as a clean unit. The buildup can act as an insulator, preventing the heat exchanger from transferring heat effectively. By flushing the unit regularly, you can restore its energy efficiency and reduce energy consumption, ultimately saving money on your utility bills.
- Extend the Lifespan of the Water Heater: The accumulation of mineral deposits and sediment can put a strain on the internal components of the tankless water heater, leading to increased wear and tear. Regular flushing helps to reduce this strain and prolong the lifespan of the unit. By taking care of your tankless water heater through proper maintenance, you can avoid costly repairs or premature replacement.
Overall, flushing your tankless water heater with vinegar is a simple and effective maintenance task that can help to ensure optimal performance, improve energy efficiency, and extend the lifespan of your unit. By scheduling regular flushing as part of your maintenance routine, you can enjoy a continuous supply of hot water and maximize the benefits of your tankless water heater for years to come.
Materials Needed
Before you begin flushing your tankless water heater with vinegar, make sure you have the following materials on hand:
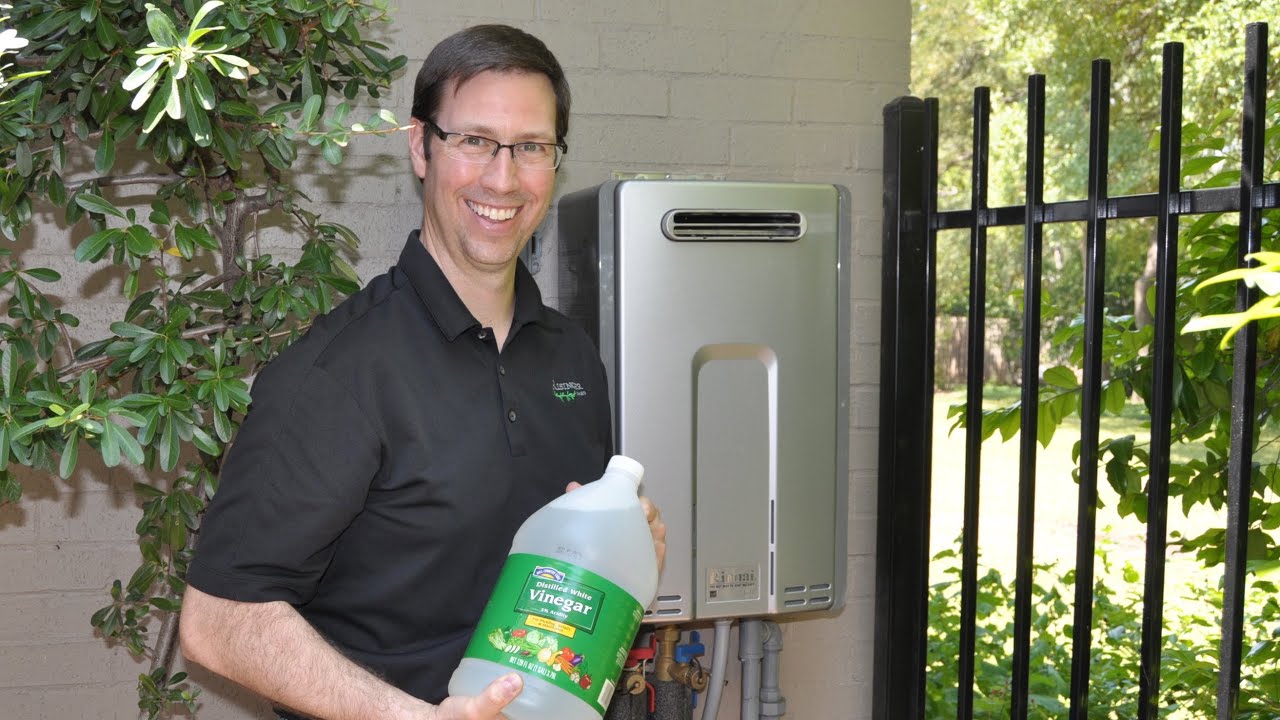
- Vinegar: The main ingredient for flushing your tankless water heater is white vinegar. You will need several gallons of vinegar, depending on the size of your unit. White vinegar is readily available at grocery stores and is an effective agent for removing mineral deposits and scaling.
- Garden Hose: A standard garden hose is necessary for connecting to the water inlet and outlet valves of the water heater. Ensure that the hose is long enough to reach a suitable drain or outdoor area where the water can be safely discharged.
- Bucket or Large Container: It is helpful to have a bucket or large container to catch the water and vinegar mixture that is flushed out of the water heater. This will prevent any spills or messes during the flushing process.
- Pliers or Wrench: You may need pliers or an adjustable wrench to loosen and tighten the connections on the water heater. This will allow you to disconnect and connect the water supply lines and drain valves as necessary.
- Protective Gloves and Eyewear: It is recommended to wear protective gloves and eyewear while working on your water heater. This will protect your hands and eyes from any potential splashes or contact with the vinegar solution or debris.
- Rags or Towels: Keep some rags or towels handy to clean up any spills or drips that may occur during the flushing process. This will help to keep your work area clean and prevent any accidents or slips.
It is important to note that the specific materials you need may vary depending on the manufacturer and model of your tankless water heater. Always refer to the manufacturer’s instructions and recommendations for flushing your particular unit to ensure you have all the necessary materials and tools.
By gathering these materials in advance, you can ensure a smooth and efficient flushing process for your tankless water heater. It’s time to gather your supplies and get ready to make your water heater perform at its best!
Step-by-Step Guide to Flushing a Tankless Water Heater with Vinegar
Flushing your tankless water heater with vinegar is a relatively straightforward process. Follow these step-by-step instructions to ensure a successful and thorough flushing:
- Turn Off the Power: Start by turning off the power supply to your tankless water heater. Locate the circuit breaker in your electrical panel that controls the water heater and switch it off to avoid any accidents or electric shock during the flushing process.
- Isolate the Water Heater: Locate the isolation valves on the water heater, typically located near the water inlet and outlet connections. Close both the hot water and cold water isolation valves by turning them clockwise. This will isolate the water heater and prevent water from flowing into or out of the unit during the flushing process.
- Drain the Water Heater: Next, connect a garden hose to the drain valve on the bottom of the water heater. Place the other end of the hose in a suitable drain or outdoor area where the water can safely be discharged. Open the drain valve and allow the water to drain from the water heater completely. This step is crucial to remove any existing water and sediment from the unit.
- Mix Vinegar Solution: While the water heater is draining, mix a solution of equal parts vinegar and water in a bucket or large container. The amount of vinegar you will need depends on the size of your tankless water heater. For large units, several gallons of vinegar may be required.
- Flushing the Water Heater: Once the water heater is drained, close the drain valve and disconnect the garden hose. Open the hot water isolation valve to allow the vinegar solution to flow into the water heater. Turn on the cold water isolation valve to supply the water heater with the vinegar solution. The vinegar solution will circulate through the heat exchanger, dissolving mineral deposits and scaling.
- Check and Clean the Filter: While the vinegar solution is circulating, check the filter on the water heater. The filter is typically located near the cold water inlet. Remove the filter and clean it using a brush or by rinsing it under running water. This will ensure that the filter is free from any debris or buildup, allowing for proper water flow.
- Continue Flushing: Let the vinegar solution circulate through the water heater for at least 45 minutes to an hour. This will give the vinegar enough time to break down any mineral deposits or scaling inside the unit.
- Rinse and Drain: Once the flushing process is complete, turn off the cold water isolation valve to stop the flow of the vinegar solution. Connect the garden hose to the cold water inlet and open the isolation valve. Allow clean water to flow through the water heater, rinsing out any remaining vinegar solution and loosened deposits. Drain the water heater again to remove the rinsing water and debris.
- Restore Power and Reconnect: Finally, close the drain valve and disconnect the garden hose. Restore power to the tankless water heater by flipping the circuit breaker to the “on” position. Reconnect the water supply lines and ensure that all connections are tight and secure.
Now that you have successfully flushed your tankless water heater with vinegar, you can enjoy improved performance and efficiency. Remember to schedule regular flushing maintenance to keep your water heater in optimal condition and prevent future mineral deposits and scaling.
Preparing the Water Heater
Before you begin the process of flushing your tankless water heater with vinegar, it’s important to properly prepare the unit. Taking the time to prepare the water heater will help to ensure a smooth and successful flushing process. Follow these steps to prepare your tankless water heater:
- Consult the Manufacturer’s Instructions: Read the manufacturer’s instructions and guidelines for your specific tankless water heater model. Different manufacturers may have specific requirements or recommendations for flushing their units, so it’s essential to understand the manufacturer’s guidelines before proceeding.
- Gather the Necessary Materials: Gather all the materials and tools you will need for the flushing process, such as vinegar, a garden hose, a bucket or large container, pliers or wrench, protective gloves, eyewear, and rags or towels. Having everything set up in advance will make the process more efficient.
- Check for Any Leaks or Damage: Inspect your tankless water heater for any signs of leaks or damage. Look for water puddles, corrosion, or unusual sounds. If you notice any issues, it’s best to address them before proceeding with the flushing process. Contact a professional if necessary for repairs.
- Turn Off the Water Supply: Locate the main water shut-off valve for your home and turn it off to interrupt the water supply to your tankless water heater. This will prevent any water from flowing into the unit during the flushing process.
- Allow the Water Heater to Cool Down: Before flushing the tankless water heater, it is crucial to allow it to cool down completely. This will prevent any accidents or injuries caused by hot water or steam during the flushing process. Give it enough time to cool down, ideally for a few hours.
- Ensure Proper Ventilation: Tankless water heaters generate heat and release exhaust gases during normal operation. To ensure proper ventilation and safety, make sure that the area around your water heater is well-ventilated. Check that the exhaust vent is clear of any obstructions and functioning properly.
- Turn Off the Power Supply: Locate the circuit breaker in your electrical panel that controls the power supply for your tankless water heater. Switch off the circuit breaker to cut off the power and prevent any electrical accidents while working on the unit.
- Label and Disconnect the Water Supply Lines: Identify the hot water and cold water supply lines connected to your tankless water heater. Label them using tape or by writing on them to avoid confusion during reconnection. Use pliers or a wrench to disconnect the water supply lines from the water heater.
- Inspect and Clean the Water Filter: Locate the water filter on your tankless water heater. The filter is typically located near the cold water inlet. Remove the filter and inspect it for any debris or buildup. Clean the filter by rinsing it under running water or using a brush to remove any accumulated sediment.
By following these preparation steps, you will ensure that your tankless water heater is ready for the flushing process. Proper preparation will not only make the flushing process smoother but also help to maintain the performance and longevity of your water heater in the long run.
Shutting Off Power and Isolating the Water Heater
Before you begin the process of flushing your tankless water heater with vinegar, it is crucial to ensure the power supply is turned off and the water heater is properly isolated. This step is essential for your safety and to prevent any damage to the unit. Follow these steps to shut off the power and isolate the water heater:
- Locate the Circuit Breaker: Identify the circuit breaker in your electrical panel that controls the power supply to your tankless water heater. Look for a label indicating the specific breaker dedicated to the water heater. If there is no specific label, you may need to consult the circuit breaker diagram or seek professional assistance.
- Turn Off the Circuit Breaker: Once you have located the correct circuit breaker, switch it off to cut off the power supply to the tankless water heater. This step will ensure your safety by preventing any accidental electric shocks while working on the unit. Double-check to ensure that the power is indeed turned off.
- Locate the Isolation Valves: Look for the isolation valves on your tankless water heater. These valves are typically located near the water inlet and outlet connections and may have a lever or handle. They are used to control the flow of water into and out of the water heater.
- Close the Isolation Valves: Turn the lever or handle on both the hot water and cold water isolation valves clockwise to close them. This action will isolate the tankless water heater from the water supply, preventing any water from flowing into or out of the unit during the flushing process.
- Verify Proper Isolation: Once the isolation valves are closed, check that the water supply has been effectively cut off by turning on a hot water tap in your house. If no water comes out, it indicates that the isolation valves are correctly shut and the water heater is properly isolated.
Remember, shutting off the power and isolating the water heater are critical steps to ensure your safety and prevent any potential damage to the unit. By following these steps, you can proceed with the flushing process confidently, knowing that the water heater is secure and ready for maintenance.
To flush a tankless water heater with vinegar, first, turn off the power and water supply. Then, connect a pump and hoses to circulate vinegar through the system for at least 60 minutes. Finally, flush with clean water to remove any remaining vinegar.
Draining the Water Heater
Before you can proceed with flushing your tankless water heater with vinegar, it is essential to drain the unit to remove any remaining water and sediment. Draining the water heater ensures a clean starting point for the flushing process. Follow these steps to drain your tankless water heater:
- Prepare a suitable drainage area: Identify a suitable drain location or designate an outdoor area where the water from the tankless water heater can safely be discharged. Ensure that the area is free from any obstructions and can handle the volume of water that will be drained from the unit.
- Connect a garden hose: Establish a connection between the drain valve on the tankless water heater and a garden hose. Ensure that the garden hose is securely attached to the drain valve and that there are no leaks or loose connections.
- Place the other end of the hose: Position the other end of the garden hose in the designated drainage area. Make sure the hose is securely placed to prevent any water from spilling or causing a mess. It’s important to check that the hose is not kinked or obstructed, which could impede the flow of water.
- Open the drain valve: Slowly open the drain valve on the tankless water heater by turning it counterclockwise. This will allow the water to start flowing out through the garden hose. Depending on the size of your tankless water heater and the amount of water in the unit, it may take some time for all the water to drain out.
- Monitor the drainage: Keep an eye on the water flowing out of the garden hose to ensure a continuous and steady flow. If the flow stops or slows down significantly, it may indicate a clog or blockage. In such cases, you may need to consult a professional for assistance.
- Wait for the tank to drain completely: Allow the tankless water heater to drain completely, ensuring that no water remains inside the unit. This step is crucial to remove any existing water and sediment, providing a clean starting point for the next phase of the flushing process.
- Close the drain valve: Once the tankless water heater has drained completely, close the drain valve by turning it clockwise. Ensure that the valve is tightly closed to prevent any leaks or dripping.
By following these steps, you can effectively drain the water from your tankless water heater. This not only prepares the unit for the flushing process but also helps to remove any built-up sediment and debris, ensuring optimal performance and longevity of the water heater.
Mixing Vinegar Solution
Once you have successfully drained your tankless water heater, the next step is to prepare the vinegar solution that will be used to flush the unit. Vinegar is an effective and eco-friendly solution for removing mineral deposits and scaling inside the water heater. Follow these steps to mix the vinegar solution:
- Determine the vinegar-to-water ratio: The ideal vinegar-to-water ratio for flushing a tankless water heater is equal parts vinegar and water. Depending on the size of your tankless water heater, you may need several gallons of vinegar to create the solution. Calculate the amount of vinegar and water needed accordingly.
- Select the type of vinegar: White vinegar, also known as distilled vinegar, is the preferred type of vinegar for flushing a tankless water heater. It is readily available in most grocery stores and is known for its effective descaling properties. Avoid using other types of vinegar, such as apple cider vinegar, as they may contain impurities that could potentially harm your water heater or leave behind residue.
- Measure the vinegar and water: Using a measuring cup or container, carefully pour equal parts vinegar and water into a bucket or large container. Ensure that you have enough vinegar and water to create a sufficient amount of solution to adequately flush the tankless water heater.
- Stir the solution: Use a stirrer or spoon to mix the vinegar and water together thoroughly. This will ensure that the vinegar is evenly distributed in the solution and ready to dissolve any mineral deposits and scaling inside the water heater.
- Confirm the solution’s readiness: After stirring, inspect the mixture to make sure the vinegar and water are well combined. The solution should have a uniform appearance and consistency. If necessary, stir the mixture a bit more to achieve an even blend.
It is important to note that the vinegar solution is highly acidic, so it’s crucial to handle it with care. Avoid direct contact with the solution and wear protective gloves and eyewear during the flushing process.
By following these steps, you can create an effective vinegar solution to flush your tankless water heater. The vinegar solution will help to dissolve mineral deposits and scaling, ensuring your water heater functions at its best. Remember to mix the solution just before you start the flushing process for maximum effectiveness.
Read more: How To Reset A Tankless Water Heater
Flushing the Water Heater with Vinegar
Now that you have prepared the vinegar solution, it’s time to flush your tankless water heater. Flushing with vinegar is a crucial step in removing mineral deposits and scaling that can affect the performance and efficiency of the unit. Follow these steps to flush your tankless water heater with vinegar:
- Close the isolation valves: Ensure that the hot water and cold water isolation valves on the tankless water heater are closed. This will prevent any water from entering or leaving the unit during the flushing process.
- Attach the garden hose: Connect one end of the garden hose to the cold water inlet of the water heater. Make sure it is securely attached to avoid leaks or disconnections during the flushing process.
- Open the hot water isolation valve: Open the hot water isolation valve to allow the vinegar solution to flow through the water heater. This will enable the vinegar solution to circulate inside the unit, dissolving mineral deposits and scaling in the heat exchanger.
- Open the cold water isolation valve: Open the cold water isolation valve to supply the water heater with the vinegar solution. This will create a proper flow of the vinegar solution through the unit.
- Start the flushing process: With the isolation valves and garden hose properly set up, turn on a hot water tap in your house. This will initiate the flow of the vinegar solution through the tankless water heater. Allow the solution to circulate through the unit for a minimum of 45 minutes to an hour.
- Monitor the flow: Throughout the flushing process, keep an eye on the flow of the vinegar solution. Watch for a steady and consistent flow of solution through the garden hose connected to the water heater. If the flow is irregular or weak, it may indicate a clog or blockage that requires further attention.
- Repeat the process if needed: If your water heater has severe mineral deposits or scaling, you may need to repeat the flushing process with a fresh batch of vinegar solution. Consult the manufacturer’s instructions or seek professional advice if you’re unsure whether additional flushing is necessary.
It’s important to note that vinegar is an acidic solution, so exercise caution during the flushing process. Avoid inhaling the vinegar fumes or allowing direct contact with the skin or eyes. If accidental contact occurs, rinse the area with clean water immediately.
By following these steps, you can effectively flush your tankless water heater with vinegar, removing mineral deposits and scaling that may hinder its performance. Flushing with vinegar helps to restore the optimal function of your water heater and maintain its efficiency over time.
Checking and Cleaning the Filter
As part of the flushing process for your tankless water heater, it is crucial to check and clean the filter. The filter plays a vital role in preventing debris and sediment from entering the water heater and affecting its performance. Here are the steps to check and clean the filter:
- Locate the filter: The filter is typically located near the cold water inlet connection of the tankless water heater. It is designed to capture any debris or sediment that may be present in the water supply, preventing it from entering the internal components of the unit.
- Shut off the water supply: Before proceeding, ensure that the water supply to the tankless water heater is shut off. Close the cold water isolation valve to prevent any water from flowing into the unit while you are checking and cleaning the filter.
- Remove the filter: Once the water supply is shut off, carefully remove the filter from its housing. Depending on the manufacturer and model, the filter may need to be unscrewed or gently pulled out. Take note of how the filter is positioned so that you can reassemble it correctly later.
- Inspect the filter: Examine the filter for any debris, sediment buildup, or damage. If you notice any significant accumulation of debris or the filter appears dirty or clogged, it’s essential to clean it thoroughly before reinstalling.
- Clean the filter: To clean the filter, rinse it under running water. Gently brush or scrub the filter with a soft brush or toothbrush to remove any stubborn debris or sediment. Continue rinsing until the filter is clean and free from debris or visible buildup.
- Reassemble and reinstall the filter: Once the filter is clean, reassemble it according to the manufacturer’s instructions. Ensure that it is securely inserted into its housing and properly positioned. Screw it back into place if necessary or gently push it into position until it fits snugly.
- Open the water supply: With the filter cleaned and reinstalled, you can now open the cold water isolation valve to restore the water supply to the tankless water heater. This will allow water to flow through the unit during normal operation.
Regularly checking and cleaning the filter helps to maintain the efficiency and performance of your tankless water heater. By removing debris and sediment, the filter ensures that the water flowing into the unit is clean and free from potential contaminants.
Remember, always consult the manufacturer’s instructions for your specific tankless water heater model and follow their recommendations for checking and cleaning the filter. Proper filter maintenance is essential for the longevity and optimal operation of your water heater.
Restoring Power and Reconnecting the Water Heater
Once you have completed the flushing and maintenance process for your tankless water heater, it’s time to restore power and reconnect the unit. Restoring power and reconnecting the water heater correctly is crucial for its proper functioning. Follow these steps to restore power and reconnect your tankless water heater:
- Close the Isolation Valves: Before restoring power, ensure that the hot water and cold water isolation valves are closed. This prevents any excess water from flowing into the unit during the reconnection process.
- Verify the Drain Valve is Closed: Double-check that the drain valve on the bottom of the water heater is tightly closed. This will prevent any water from escaping when the unit is operational.
- Restore Power: Locate the circuit breaker in your electrical panel that controls the power supply to the tankless water heater. Flip the circuit breaker to the “on” position to restore power. This will allow the water heater to receive electrical power for heating the water.
- Inspect Connections: Before reconnecting the water supply lines, visually inspect all connections. Ensure that there are no leaks or loose fittings. Tighten any loose connections using pliers or a wrench, if necessary.
- Reconnect the Water Supply Lines: Reconnect the water supply lines to the tankless water heater. Use pliers or a wrench to tighten the connections securely. Reconnect the cold water supply line to the cold water inlet and the hot water supply line to the hot water outlet.
- Open the Isolation Valves: With the water supply lines reconnected, open the hot water and cold water isolation valves by turning them counterclockwise. This will allow water to flow back into the unit.
- Check for Leaks: Once the isolation valves are open, carefully inspect all connections for any leaks. Look for any drips or visible signs of water leakage. If any leaks are detected, tighten the connections further or seek professional assistance if necessary.
- Purge Air from the System: To ensure that the system is properly pressurized, turn on a hot water tap at a fixture in your home. Allow the water to run for a few minutes to purge any air from the system. This will ensure a steady flow of water through the tankless water heater.
By following these steps, you can successfully restore power and reconnect your tankless water heater after completing the flushing process. It’s important to ensure that all connections are tight and secure to prevent any water leaks or operational issues with the unit.
Remember, if you encounter any difficulties or are unsure about any aspect of reconnecting your tankless water heater, consult the manufacturer’s instructions or seek professional assistance. Proper connection and power restoration are crucial for the safe and efficient operation of your tankless water heater.
Final Thoughts and Maintenance Tips
Congratulations! You have successfully flushed your tankless water heater with vinegar and completed the necessary maintenance steps to keep it in optimal condition. Here are some final thoughts and maintenance tips to help you maintain the efficiency and longevity of your tankless water heater:
Regular Maintenance: Flushing your tankless water heater with vinegar should be done at least once a year to remove mineral deposits and scaling. However, the frequency may vary depending on the hardness of your water and the manufacturer’s recommendations. Check the user manual or consult with a professional to determine the best maintenance schedule for your specific unit.
Water Quality: Hard water, which contains high levels of minerals such as calcium and magnesium, can contribute to more rapid mineral buildup in your tankless water heater. Consider installing a water softener or a whole-house water filtration system to reduce mineral content and improve the lifespan of your unit.
Monitor Water Pressure: Excessively high water pressure can strain your tankless water heater and increase the likelihood of damage. Make sure to monitor and regulate water pressure to maintain the manufacturer’s recommended level. If necessary, install a pressure regulator to safeguard your unit.
Inspect and Clean Filters Regularly: In addition to checking and cleaning the filter during the flushing process, it’s essential to perform regular maintenance on other components as well. This includes checking and cleaning inlet filters or screens on faucets and appliances throughout your home. Clogged filters can reduce water flow and impact the performance of your tankless water heater.
Professional Servicing: While regular maintenance can significantly extend the lifespan of your tankless water heater, it’s important to have a professional service your unit periodically. They can perform more in-depth inspections, clean internal components, and address any potential issues that may require professional attention.
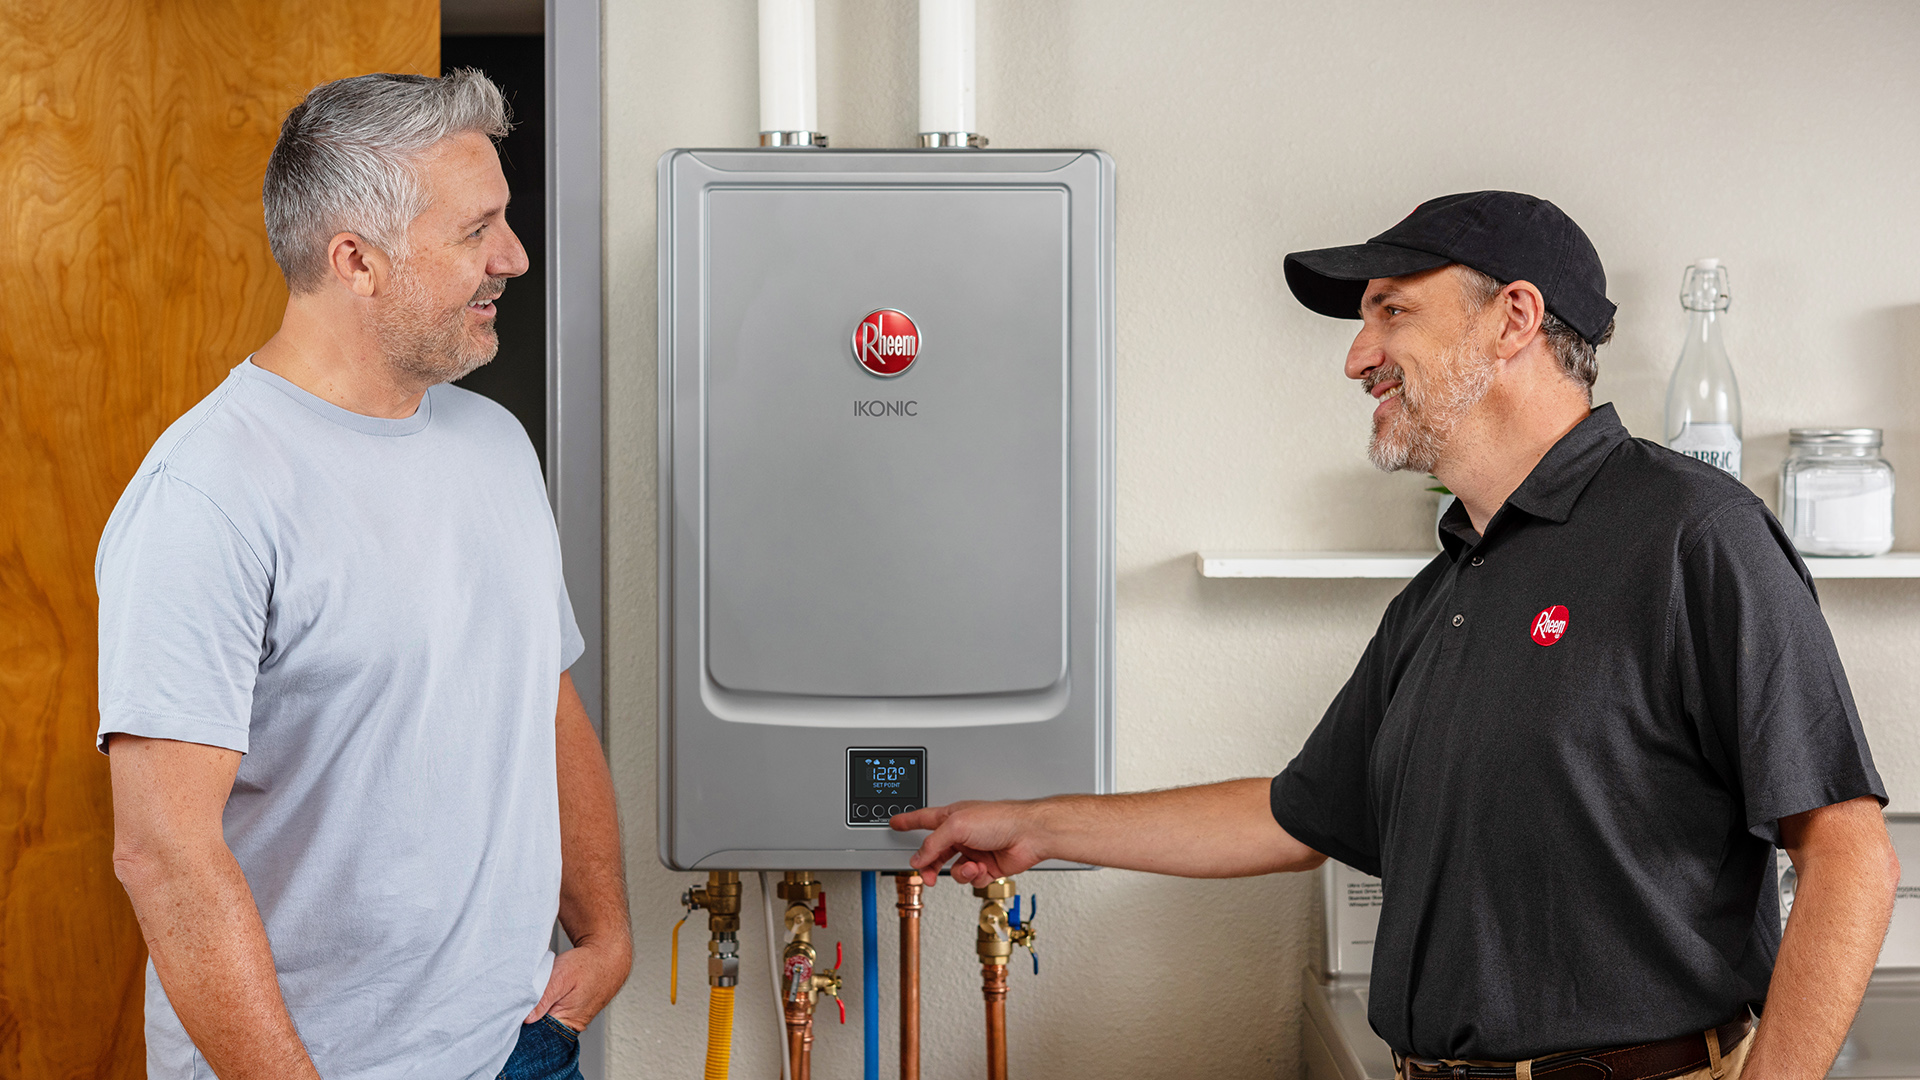
Observe Signs of Trouble: Keep an eye out for any signs of trouble with your tankless water heater. This may include a decrease in water temperature, reduced hot water flow, unusual noises, or error codes on the unit’s display. If you notice any of these signs, contact a professional plumber or the manufacturer’s service department for assistance.
Follow Manufacturer’s Guidelines: Always refer to the manufacturer’s instructions and guidelines for your specific tankless water heater model. They provide valuable information on maintenance, troubleshooting, and safety precautions. Adhering to the manufacturer’s guidelines will help ensure the proper functioning of your unit and prevent any potential damage.
By following these maintenance tips and staying proactive in the care of your tankless water heater, you can enjoy reliable hot water and extend the lifespan of your unit. Regular maintenance will not only help to prevent costly repairs but also contribute to energy efficiency and optimal performance, ensuring that your tankless water heater continues to meet your hot water needs for many years to come.
Remember, if you are unsure about any aspect of maintaining your tankless water heater, consult with a professional plumber or the manufacturer’s customer support for guidance. They can provide specific advice and recommendations based on your unique situation.
Read more: How To Choose A Tankless Water Heater
Conclusion
Congratulations on completing the comprehensive guide to flushing your tankless water heater with vinegar! By following the step-by-step instructions and engaging in regular maintenance, you have taken an important step towards ensuring the optimal performance and longevity of your tankless water heater.
Flushing your tankless water heater with vinegar is a crucial maintenance task that helps to remove mineral deposits, scaling, and sediment that can accumulate over time. These deposits can reduce the efficiency of your unit, decrease water flow, and lead to potential issues or breakdowns.
Throughout the guide, we covered various aspects of the flushing process, including shutting off power, isolating the water heater, draining the tank, preparing the vinegar solution, flushing the unit, checking and cleaning the filter, restoring power, and reconnecting the water heater. Each step is essential to ensure a successful and thorough maintenance process.
Remember to schedule regular maintenance for your tankless water heater. This includes yearly flushing with vinegar or as recommended by the manufacturer. Regular maintenance helps to maintain energy efficiency, extend the lifespan of your unit, and ensure a consistent supply of hot water for your household.
Additionally, implementing other maintenance tips such as monitoring water pressure, keeping an eye out for signs of trouble, and following the manufacturer’s guidelines will contribute to the optimal performance and longevity of your tankless water heater.
If at any point you are unsure or encounter difficulties during the maintenance process, it is always advisable to seek guidance from a professional plumber or consult the manufacturer’s customer support. They can provide specific advice tailored to your unique tankless water heater model.
By investing time and effort in regular maintenance, you can enjoy the benefits of continuous hot water and energy savings provided by your tankless water heater. A well-maintained system will not only provide reliable hot water for your household but also save you money in the long run by avoiding costly repairs or premature replacement.
Thank you for taking the time to learn about flushing your tankless water heater with vinegar and for prioritizing the care and maintenance of your system. We hope that this guide has been informative, and we encourage you to stay proactive in maintaining the efficiency and performance of your tankless water heater.
Frequently Asked Questions about How To Flush Tankless Water Heater With Vinegar
Was this page helpful?
At Storables.com, we guarantee accurate and reliable information. Our content, validated by Expert Board Contributors, is crafted following stringent Editorial Policies. We're committed to providing you with well-researched, expert-backed insights for all your informational needs.
0 thoughts on “How To Flush Tankless Water Heater With Vinegar”