Articles
How Do You Measure A Roof For Shingles
Modified: August 27, 2024
Learn how to measure a roof for shingles with our informative articles. Find step-by-step instructions and helpful tips for accurate roof measurements.
(Many of the links in this article redirect to a specific reviewed product. Your purchase of these products through affiliate links helps to generate commission for Storables.com, at no extra cost. Learn more)
Introduction:
When it comes to roofing projects, accurate measurements are crucial for ensuring a successful installation. Whether you’re installing new shingles or replacing existing ones, proper measurements will help you determine the amount of materials needed and avoid unnecessary costs and waste. In this article, we will discuss the importance of accurate roof measurements and provide you with a step-by-step guide on how to measure a roof for shingles.
Measuring a roof may seem like a daunting task, but with the right tools and techniques, you can easily get accurate measurements. Before we delve into the details, let’s understand why accurate measurements are essential.
Read more: What Is A Roof Shingle
Importance of Accurate Measurements:
Accurate measurements are the foundation of any successful roofing project. Here’s why they matter:
- Cost Efficiency: By measuring your roof accurately, you can calculate the exact amount of materials required, minimizing waste and unnecessary expenses.
- Proper Planning: Accurate measurements allow you to plan the project effectively. You can estimate the time, labor, and resources needed to complete the installation.
- Protecting Against Leaks: An improperly measured roof can result in poorly fitted shingles, leading to gaps and potential leaks. Accurate measurements help ensure a tight and secure shingle installation.
- Warranty Compliance: Some roofing material manufacturers require specific measurements for warranty coverage. Following their guidelines ensures that you meet their requirements.
Now that we understand the importance of accurate measurements, let’s take a look at the tools you’ll need for measuring a roof.
Key Takeaways:
- Accurate roof measurements are crucial for cost efficiency, leak prevention, and warranty compliance. Use the right tools, follow a step-by-step guide, and avoid common mistakes for a successful roofing project.
- Prioritize precision, safety, and thorough documentation when measuring a roof for shingles. Avoid common mistakes, consult professionals if needed, and take your time for accurate and successful results.
Importance of Accurate Measurements:
Accurate measurements are the cornerstone of any successful roofing project. Whether you’re a homeowner tackling a DIY roof installation or a professional contractor working on a client’s property, getting the measurements right is crucial. Here’s why accurate measurements matter when it comes to roofing:
Cost Efficiency: One of the primary reasons for accurate measurements is cost efficiency. By knowing the exact measurements of your roof, you can calculate the precise amount of materials needed. This prevents overbuying and wasting money on excess materials. Conversely, underestimating the measurements may result in material shortages, leading to delays and additional expenses.
Proper Planning: Accurate measurements are essential for effective project planning. With accurate measurements, you can estimate the time, labor, and resources required to complete the roof installation. This allows you to plan the project’s timeline and allocate the necessary resources efficiently.
Protecting Against Leaks: A key aspect of a well-installed roof is ensuring that the shingles fit snugly together with no gaps. Inaccurate measurements can result in improperly fitted shingles, creating openings for water to seep through and cause leaks. By measuring the roof accurately, you can ensure a tight and secure shingle installation, protecting the underlying structure from water damage.
Warranty Compliance: Many roofing material manufacturers have specific guidelines regarding the installation and measurements of their products to validate the warranty. Failure to adhere to these guidelines may result in the warranty being voided. By accurately measuring the roof, you can ensure that you meet the manufacturer’s requirements and maintain warranty coverage.
Improved Aesthetics: Accurate measurements also play a vital role in ensuring the overall aesthetics of your roof. When shingles are properly aligned and fitted, it enhances the appearance of the roof, adding to the curb appeal of your home or building.
In summary, accurate measurements are essential for cost efficiency, proper planning, leak prevention, warranty compliance, and overall aesthetics. By taking the time to measure your roof accurately, you can avoid unnecessary expenses, ensure a durable and waterproof installation, and enhance the visual appeal of your property. Now that we understand the significance of accurate measurements, let’s move on to the tools you’ll need to measure your roof for shingles.
Tools Needed for Measuring a Roof:
Before you embark on measuring a roof for shingles, it’s essential to gather the necessary tools. Having the right tools at hand will make the measuring process more efficient and accurate. Here are the tools you’ll need:
Tape Measure: A tape measure is an essential tool for measuring the dimensions of your roof accurately. Opt for a tape measure with a long length, such as 25 or 30 feet, to ensure you can reach across the roof easily.
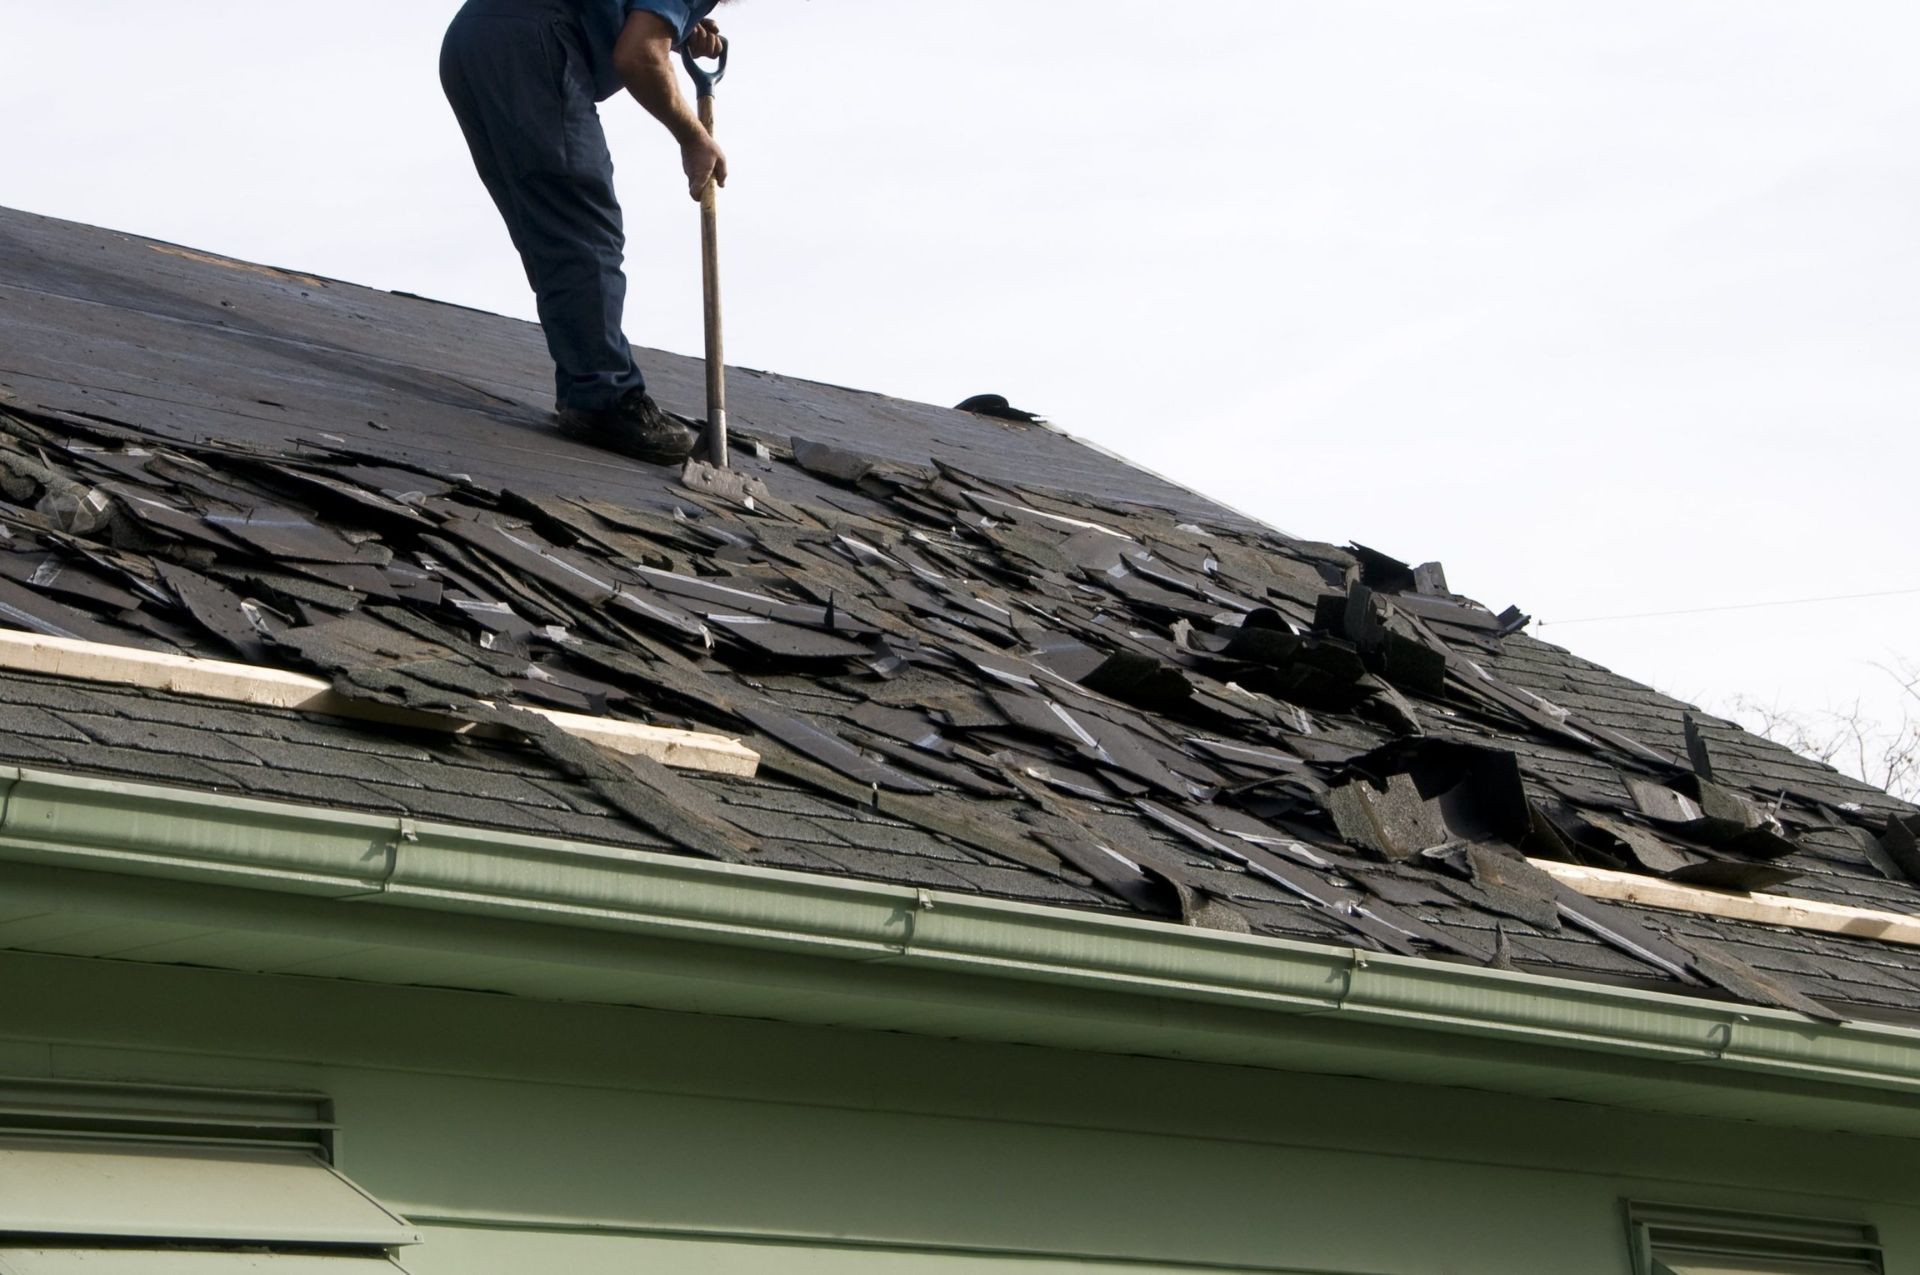
Ladder: A sturdy ladder is required to access the roof safely. Make sure to choose a ladder that is tall enough to reach the roof, and ensure it is in good condition with no signs of damage or instability.
Roofing Rake: A roofing rake is used to remove any debris, leaves, or other materials from the roof’s surface. This allows for a clear and accurate measurement.
Binoculars: Binoculars can be useful for getting a clear view of your roof, especially for larger properties or buildings where it may be challenging to see all areas from the ground.
Notebook and Pen: Keeping a notebook and pen handy will allow you to record the measurements as you go. This will help you stay organized and prevent any confusion when calculating the required materials later.
Digital Camera or Smartphone: Taking photos of your roof from different angles can be beneficial for reference purposes. Additionally, you can use the camera or smartphone to capture any specific details or areas that need attention during the measuring process.
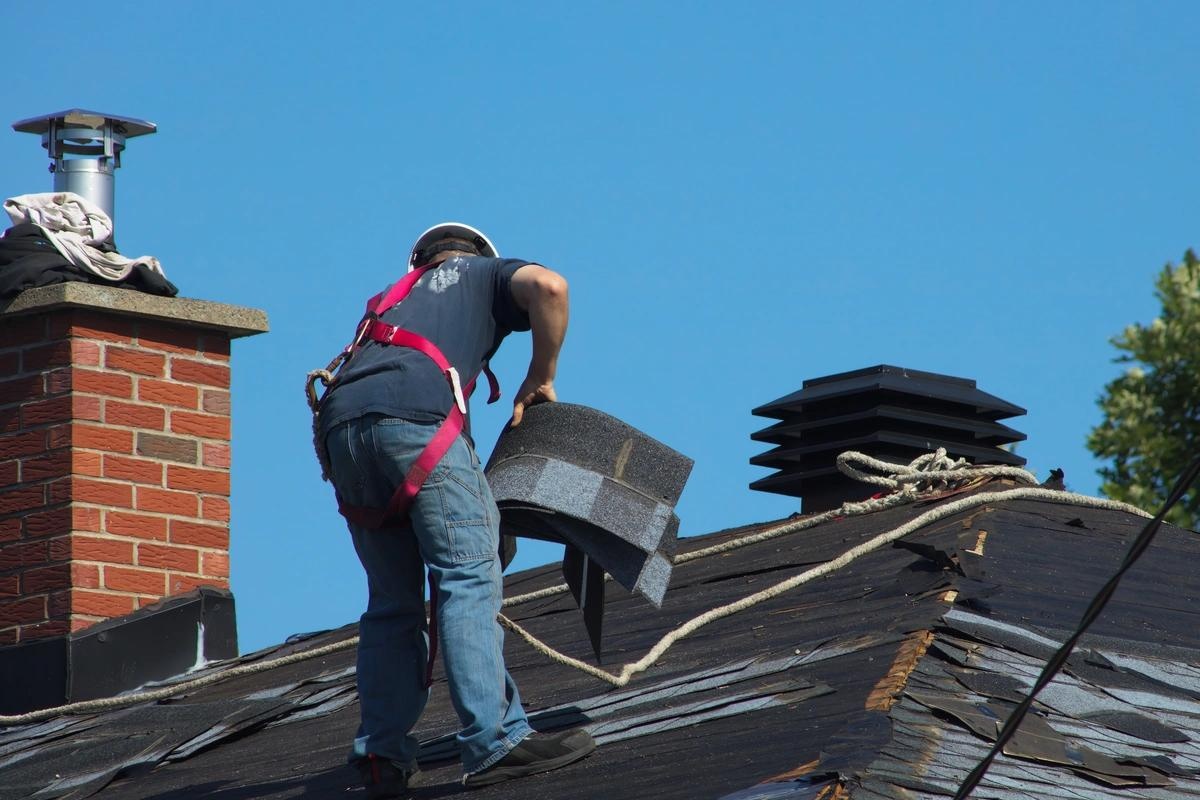
Safety Equipment: While not a measuring tool per se, it’s crucial to prioritize safety when working on a roof. Wear appropriate safety gear, including sturdy shoes with good traction, gloves, and a safety helmet.
These tools will provide you with the necessary equipment to measure your roof accurately and efficiently. Now, let’s move on to a step-by-step guide on how to measure a roof for shingles.
Step-by-Step Guide to Measuring a Roof for Shingles:
Measuring a roof for shingles may seem like a complex task, but by following a systematic approach, you can ensure accurate measurements. Here is a step-by-step guide to help you through the process:
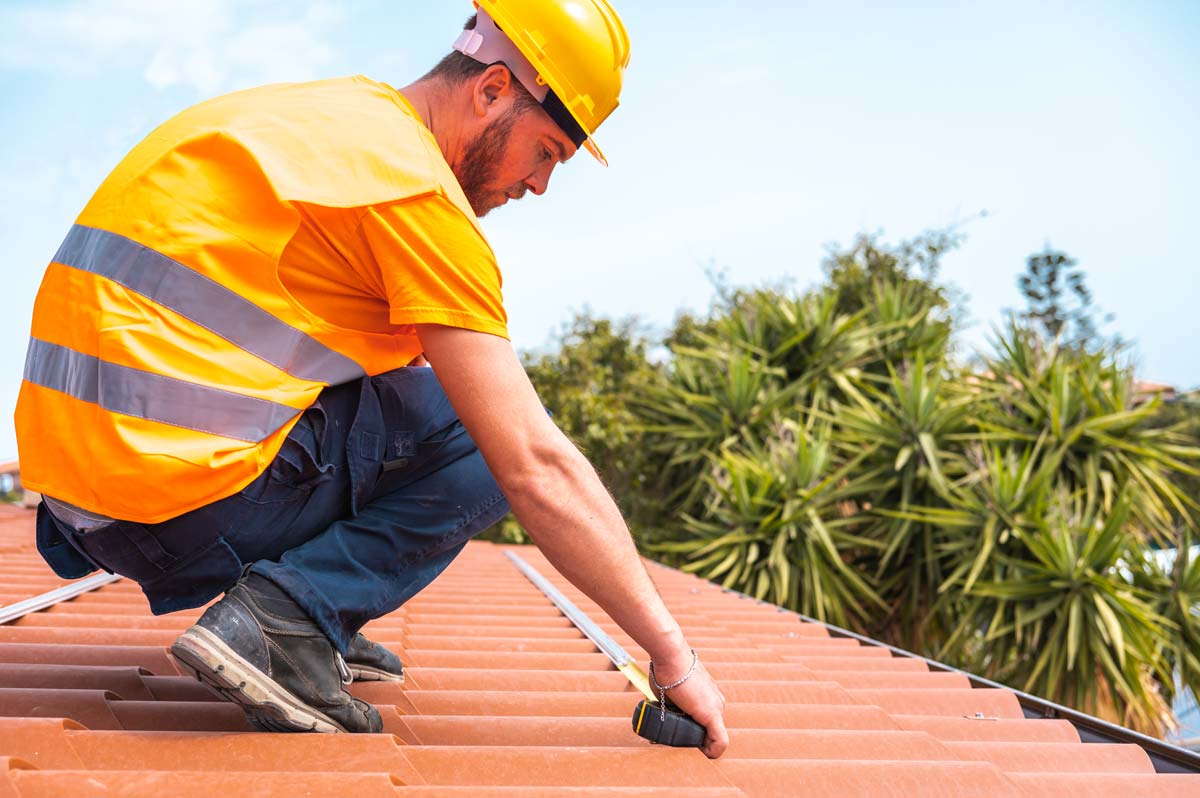
Step 1: Safety First: Before starting, ensure you have the necessary safety equipment, including a sturdy ladder, gloves, and a safety helmet. Safety should always be your top priority when working at heights.
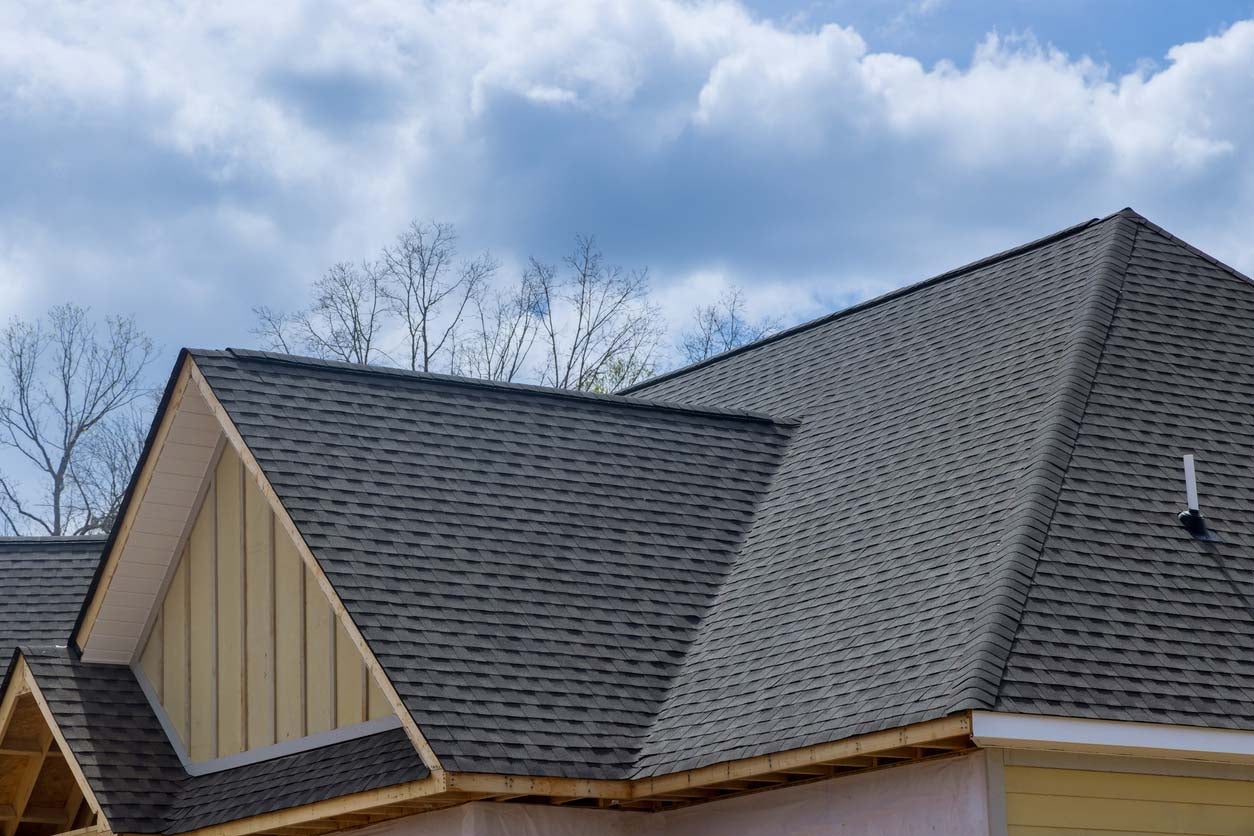
Step 2: Determine the Roof Shape: Identify the shape of your roof. Most roofs fall into either a gable (two sloping sides) or a hip (multiple sloping sides) shape. Knowing the shape will help you understand the areas and measurements you need to focus on.
Step 3: Measure the Roof Perimeter: Using a tape measure, start at one corner of the roof and measure along the eaves to the opposite corner. Repeat this process for the other eave. Add the two measurements together to get the total perimeter length.
Step 4: Measure the Roof Slope: The slope of a roof is measured in terms of rise and run. The rise refers to the vertical distance from the roof base to the highest point, while the run is the horizontal distance from the roof base to the end. Measure the rise and run of each slope using a tape measure.
Step 5: Calculate the Roof Area: To calculate the roof area, multiply the perimeter length by the average roof slope of each side. Add the results for all sides of the roof together to obtain the total roof area in square feet.
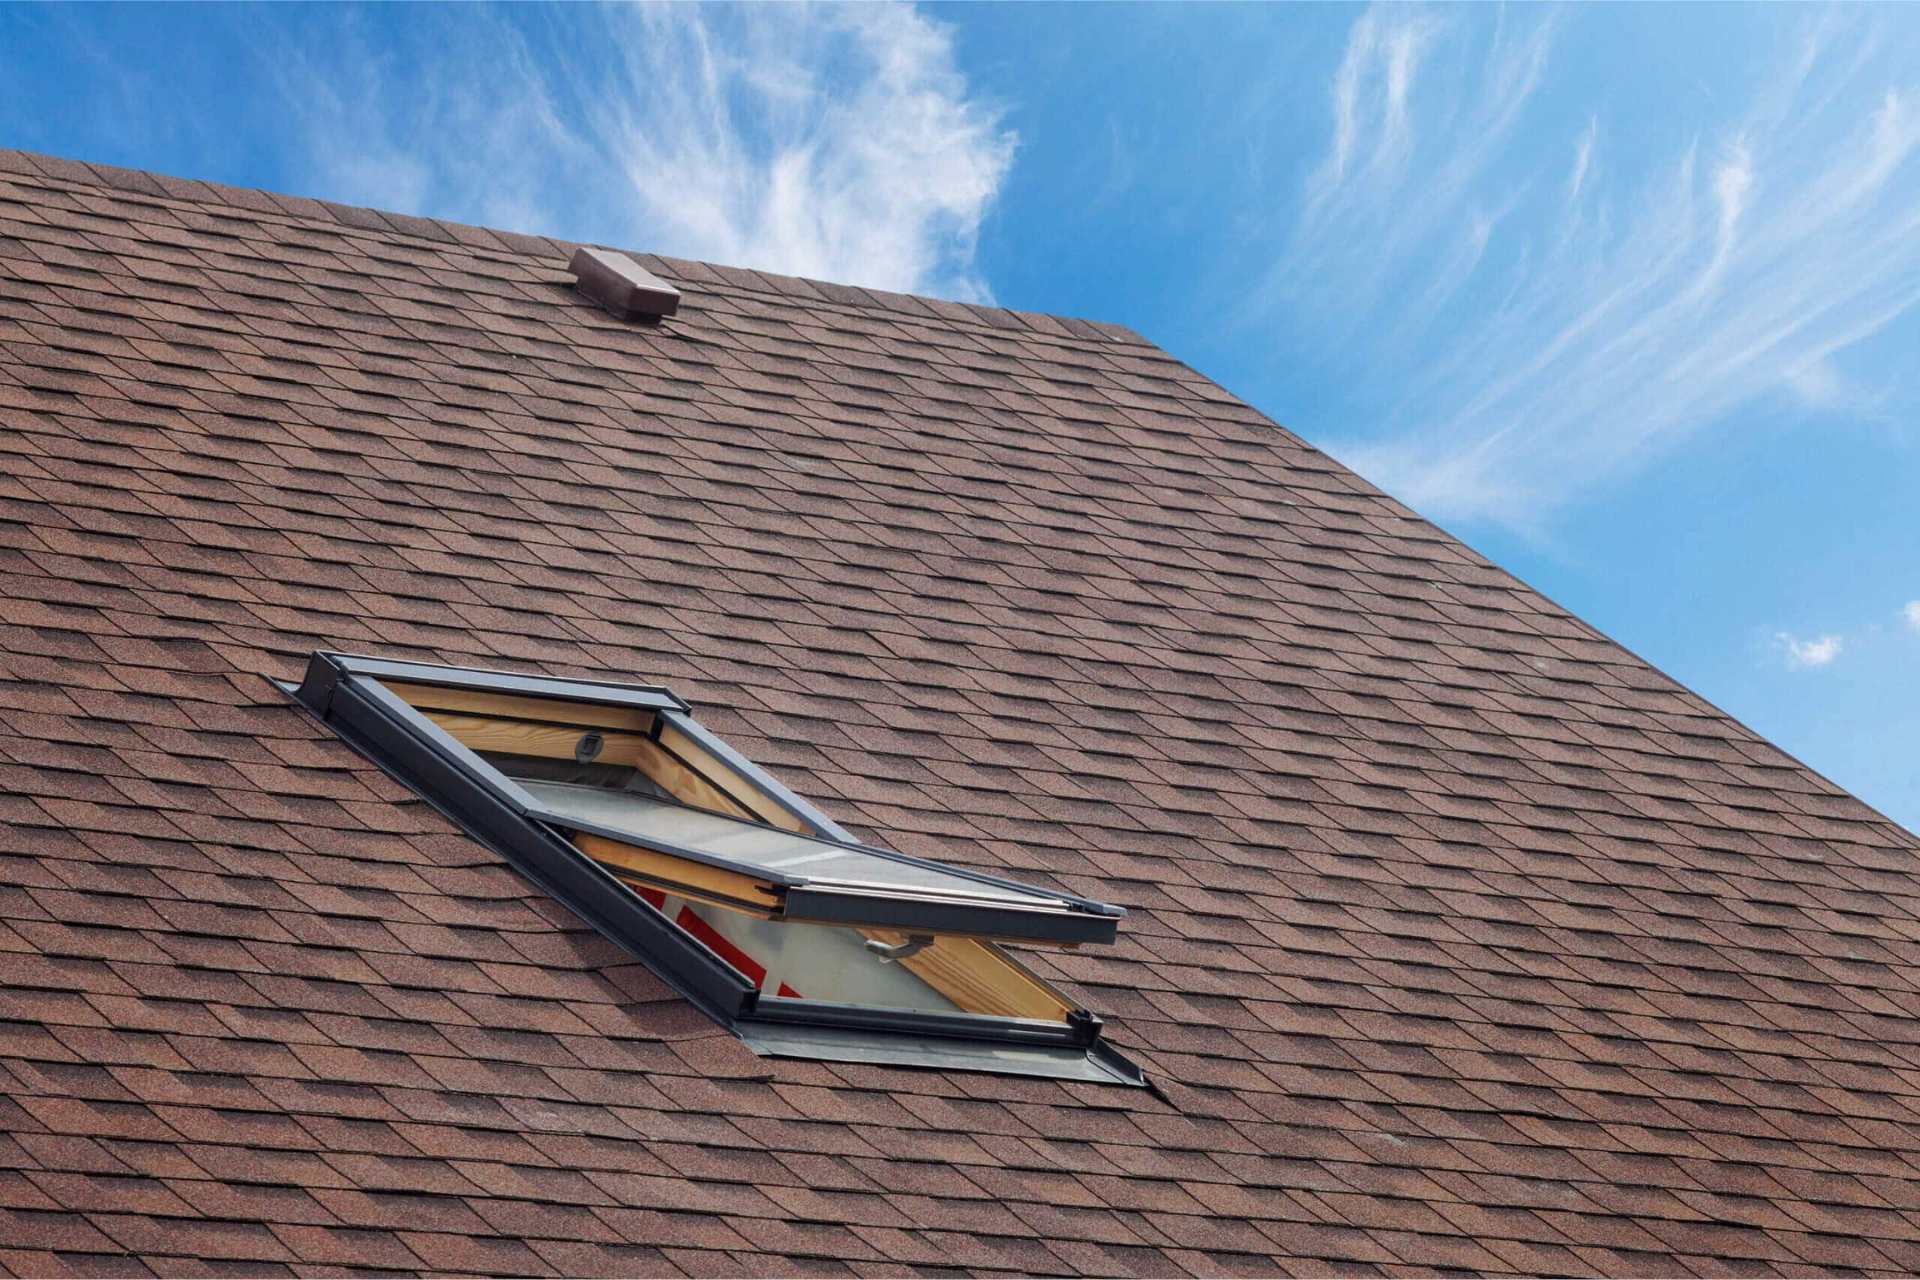
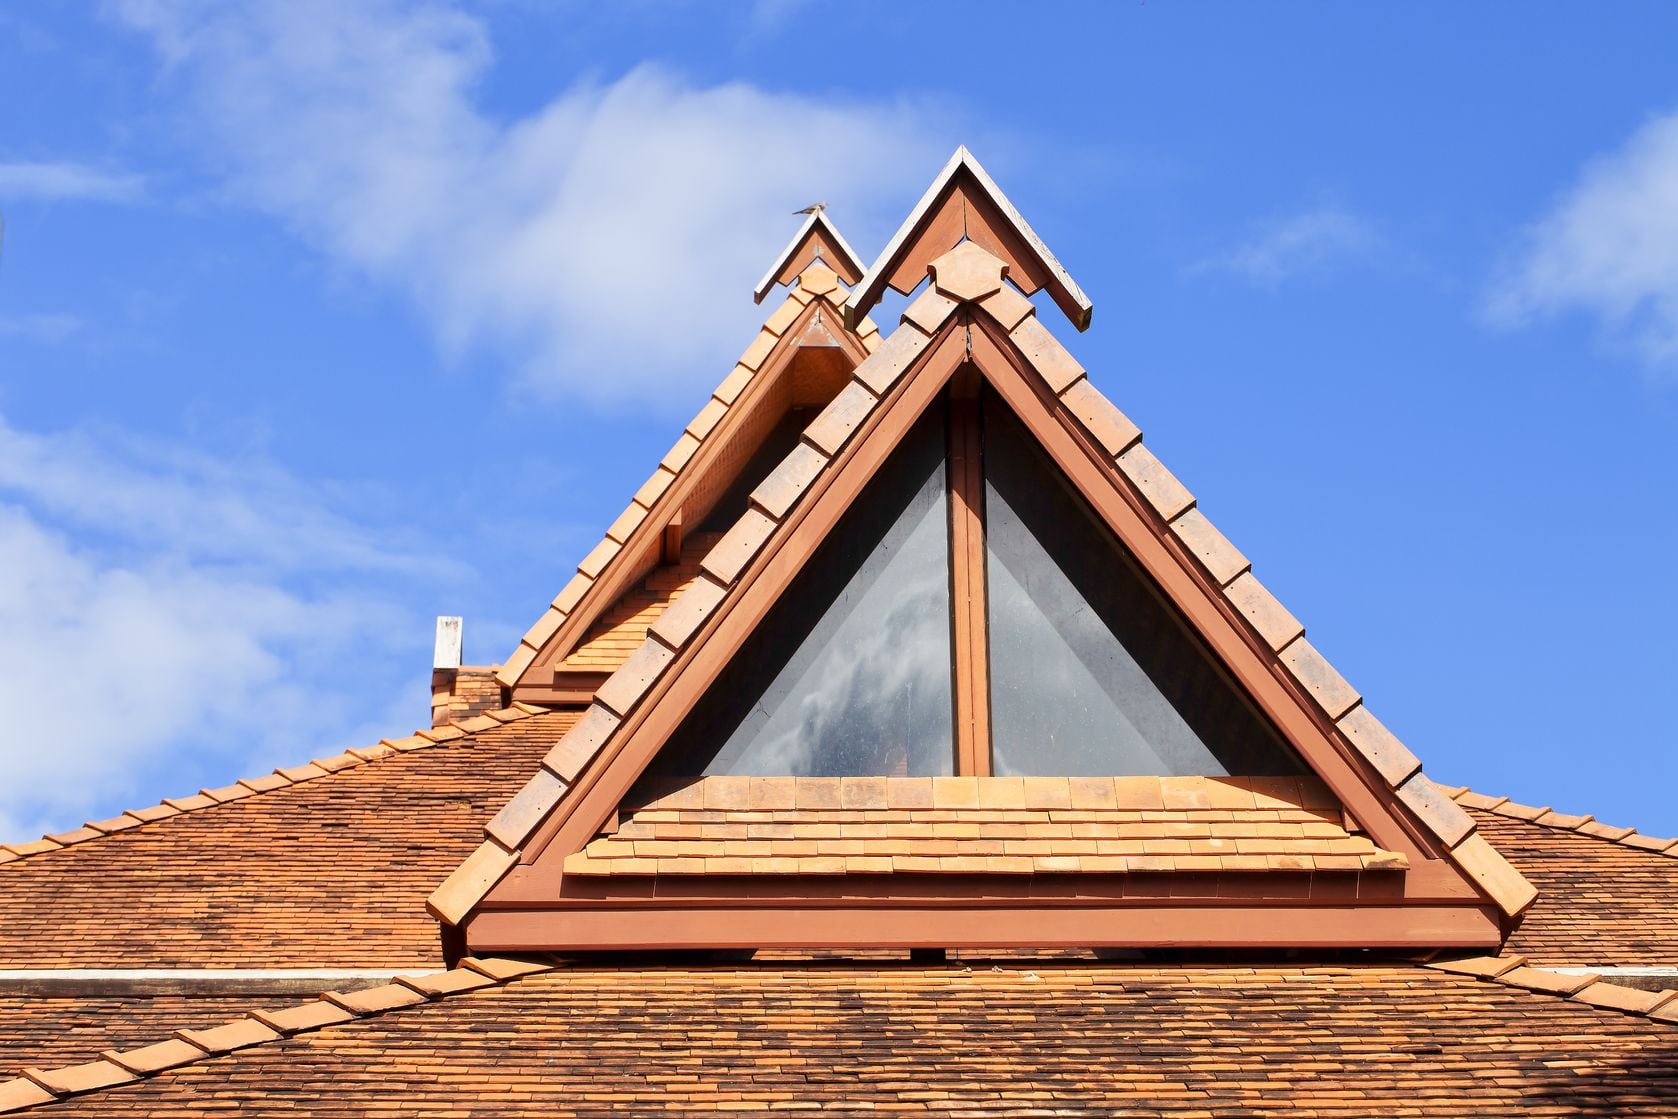
Step 6: Identify Additional Roof Features: Note down any additional features present on your roof, such as chimneys, skylights, or dormer windows. Measure each of these features separately and calculate their areas. Add these areas to the total roof area obtained in the previous step.
Step 7: Account for Overhangs: If your roof has overhangs or eaves, measure their length and subtract that measurement from the roof’s perimeter. This adjustment ensures that you only measure the actual roof area when calculating the required materials.
Step 8: Take Pictures and Notes: Use a digital camera or smartphone to capture photos of the roof from various angles. Take notes of any specific details or areas that may need attention during the installation process.
By following these steps, you can accurately measure your roof for shingles. Remember to take your time and double-check your measurements for accuracy. With the measurements in hand, you can proceed to calculate the materials needed for your roofing project.
When measuring a roof for shingles, be sure to measure the length and width of each section of the roof and then multiply these measurements together to get the total square footage. Don’t forget to account for any overhangs or pitch.
Read more: How To Shingle A Gable Roof
Tips for Accurate Roof Measurements:
Measuring a roof for shingles requires precision and attention to detail. To ensure accurate measurements, here are some helpful tips to keep in mind:
1. Use a laser measuring tool: Consider using a laser measuring tool instead of a tape measure for greater accuracy. Laser measuring tools provide precise measurements without the risk of human error.
2. Measure twice: Double-check your measurements to eliminate any errors. It’s always better to spend a few extra minutes ensuring accuracy than to face issues later in the roofing process.
3. Account for obstructions: Take into account any obstructions on the roof, such as vents, chimneys, or skylights. Measure around these obstacles and calculate their areas separately to accurately estimate the materials required.
4. Be mindful of roof features: Pay attention to any roof features that may affect measurements, such as dormers or varying roof pitches. Adjust your measurements accordingly to account for these features.
5. Measure in smaller sections: Measuring the roof in smaller sections can help reduce the margin of error. Break down the roof into manageable parts and measure each section individually for greater accuracy.
6. Consider aerial measurements: If measuring a larger or complex roof, consider using aerial measurements. Many online tools and services offer aerial imagery and measurements to ensure precise calculations.
7. Take safety precautions: Always prioritize safety when working on a roof. Ensure you have proper safety equipment and follow safety guidelines to protect yourself and others.
8. Consult with professionals: If you’re unsure about measuring your roof or want to ensure accurate measurements, consider consulting with a professional roofing contractor. They have the expertise and experience to accurately measure roofs and can provide valuable insights.
9. Keep thorough documentation: Record all measurements, calculations, and details in a notebook or on a digital device. This documentation will help you stay organized and refer back to the information when needed.
10. Stay up-to-date with technology: Take advantage of technology by using roofing measurement apps or software. These tools can streamline the measuring process and provide more accurate results.
By following these tips, you can improve the accuracy of your roof measurements and ensure a smooth roofing installation process. Remember, precision in measurements is key to avoid material shortages, delays, and costly mistakes.
Common Mistakes to Avoid:
Measuring a roof for shingles can be a precise task, and there are common mistakes that people often make. By being aware of these mistakes and taking precautions to avoid them, you can ensure accurate measurements for your roofing project. Here are some common mistakes to avoid:
1. Guessing the measurements: One of the biggest mistakes is to rely on guesswork. Guessing the measurements can lead to inaccuracies and potential problems during the installation process. Always use proper measuring tools and techniques to obtain precise measurements.
2. Neglecting to account for roof slope: Forgetting to account for the roof slope can result in inaccurate measurements. Remember to measure both the rise and run of the roof slope to calculate the correct area.
3. Overlooking additional roof features: Failing to consider additional roof features, such as chimneys, skylights, or dormer windows, can lead to inaccurate measurements. Take the time to measure and calculate the areas of these features separately to ensure accurate material estimates.
4. Ignoring roof overhangs: Overhangs or eaves can affect the overall roof area, so it’s important to measure and account for them. Failure to include the overhangs in your calculations can result in incorrect material estimations.
5. Not double-checking measurements: Double-checking measurements is crucial in avoiding errors. Neglecting to verify the accuracy of your measurements can lead to costly mistakes and delays in the roofing project.
6. Neglecting safety precautions: Safety should always be a priority when working on a roof. Failing to take proper safety precautions can lead to accidents and injuries. Always ensure you have the right safety equipment and follow safety guidelines.
7. Disregarding professional advice: If you’re uncertain about measuring your roof or encounter difficulties, it’s wise to seek professional advice. Roofing contractors have the expertise to provide guidance and accurate measurements, which can help avoid costly mistakes.
8. Skimping on documenting measurements: Accurate documentation is essential for reference and future use. Neglecting to document your measurements can lead to confusion or the need to remeasure in case of any discrepancies.
9. Rushing the measurement process: Taking your time and being thorough during the measurement process is crucial. Rushing can lead to skipped areas or inaccuracies in your measurements. Patience and attention to detail are key.
10. Not considering local building codes: Building codes may have specific requirements for roof dimensions and materials. Neglecting to consider these codes can lead to non-compliance and potential legal issues. It’s important to be aware of and adhere to the local building regulations.
By avoiding these common mistakes, you can improve the accuracy of your roof measurements and ensure a smooth roofing installation process. Remember to be meticulous, take your time, and use reliable measuring tools for precise results.
Conclusion:
Accurate measurements are vital when it comes to measuring a roof for shingles. By ensuring precise measurements, you can save on costs, plan effectively, and achieve a secure and aesthetically pleasing installation. This article has provided you with an overview of the importance of accurate measurements, the tools needed for measuring a roof, a step-by-step guide, tips for accuracy, and common mistakes to avoid.
Accurate measurements offer cost efficiency by preventing wastage of materials and unnecessary expenses. They also help with proper planning, allowing you to allocate resources and estimate project timelines effectively. Moreover, accurate measurements protect against leaks by ensuring a tight and secure shingle installation, and they are often required to comply with warranty regulations. Proper measurements enhance the overall appearance of the roof and contribute to the curb appeal of your property.
To measure a roof accurately, you need to gather the right tools, such as a tape measure, ladder, roofing rake, and a digital camera or smartphone for documentation. Following a step-by-step guide will help you measure the roof’s perimeter, slope, and area, while accounting for additional features and overhangs. Adhering to safety precautions, consulting professionals if needed, and documenting measurements are necessary for a successful roofing project.
To avoid common mistakes, ensure precision by not guessing measurements or neglecting to account for features or slope. Double-check measurements, remain cautious, and take your time to avoid rushing through the process. By avoiding errors and following best practices, you can achieve accurate measurements and a successful roof installation.
In conclusion, accurate measurements are the foundation of a successful roofing project. By implementing the tips and techniques outlined in this article, you can ensure precise measurements for your roof, leading to cost efficiency, proper planning, leak prevention, and a visually appealing result. Take the time, exercise caution, and be meticulous in measuring your roof for shingles – it will make all the difference in the quality and success of your roofing project.
Frequently Asked Questions about How Do You Measure A Roof For Shingles
Was this page helpful?
At Storables.com, we guarantee accurate and reliable information. Our content, validated by Expert Board Contributors, is crafted following stringent Editorial Policies. We're committed to providing you with well-researched, expert-backed insights for all your informational needs.

0 thoughts on “How Do You Measure A Roof For Shingles”