Articles
How To Install Shingles On A Roof
Modified: December 7, 2023
Learn how to install shingles on your roof with our informative articles. From preparation to installation, we've got you covered.
(Many of the links in this article redirect to a specific reviewed product. Your purchase of these products through affiliate links helps to generate commission for Storables.com, at no extra cost. Learn more)
Introduction
Welcome to our comprehensive guide on how to install shingles on a roof. Whether you are a seasoned DIY enthusiast or a homeowner looking to take on a new project, installing shingles is a skill that can be learned and accomplished with the right knowledge and tools.
Shingles are a popular choice for roofing due to their durability, cost-effectiveness, and aesthetic appeal. They provide a protective covering for your roof, keeping it safe from the elements and enhancing the overall look of your home. While the process of installing shingles may seem daunting at first, with proper preparation and execution, it can be a rewarding and satisfying experience.
In this guide, we will provide you with a step-by-step walkthrough of the entire shingle installation process. From preparing the roof to cleaning up and conducting a final inspection, we will cover all the necessary steps to ensure a successful installation.
Before we begin, it’s important to note that safety should always be the top priority when working on a roofing project. Make sure to wear appropriate protective gear, such as gloves and safety glasses, and use caution when climbing ladders or working on steep slopes. If you are not comfortable with heights or unsure about any aspect of the installation, it’s best to consult a professional roofing contractor.
Now, let’s dive into the first step of installing shingles on a roof – preparing the roof.
Key Takeaways:
- Proper preparation is essential for successful shingle installation. From inspecting the roof for damage to ensuring proper ventilation, attention to detail at the beginning sets the stage for a durable and visually appealing roof.
- Attention to detail is crucial throughout the shingle installation process. From aligning starter shingles to fitting custom-sized shingles, precision and patience ensure a professional finish that enhances the overall aesthetics and longevity of the roof.
Read more: How To Install A Metal Roof Over Shingles
Step 1: Preparing the Roof
Before you can begin installing shingles on your roof, it’s crucial to properly prepare the surface to ensure a solid foundation for the shingles and to minimize the risk of leaks or damage.
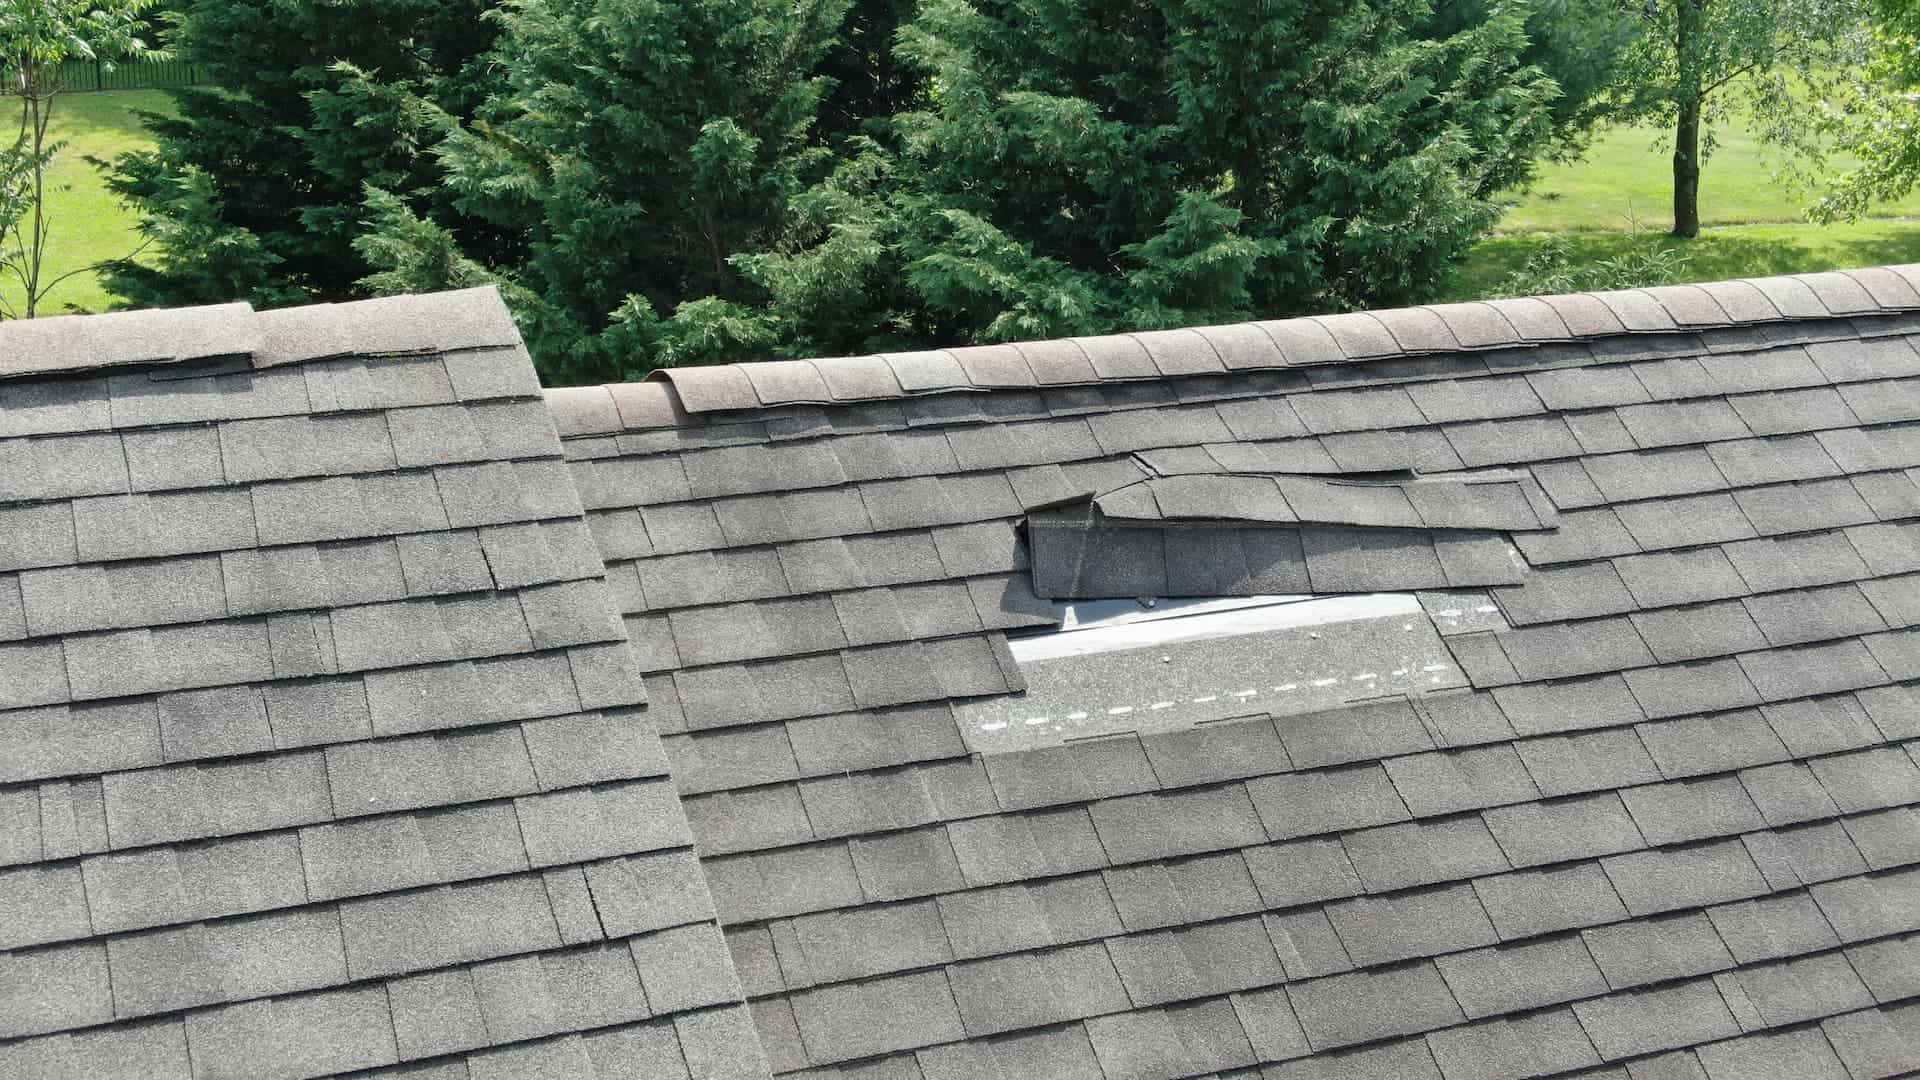
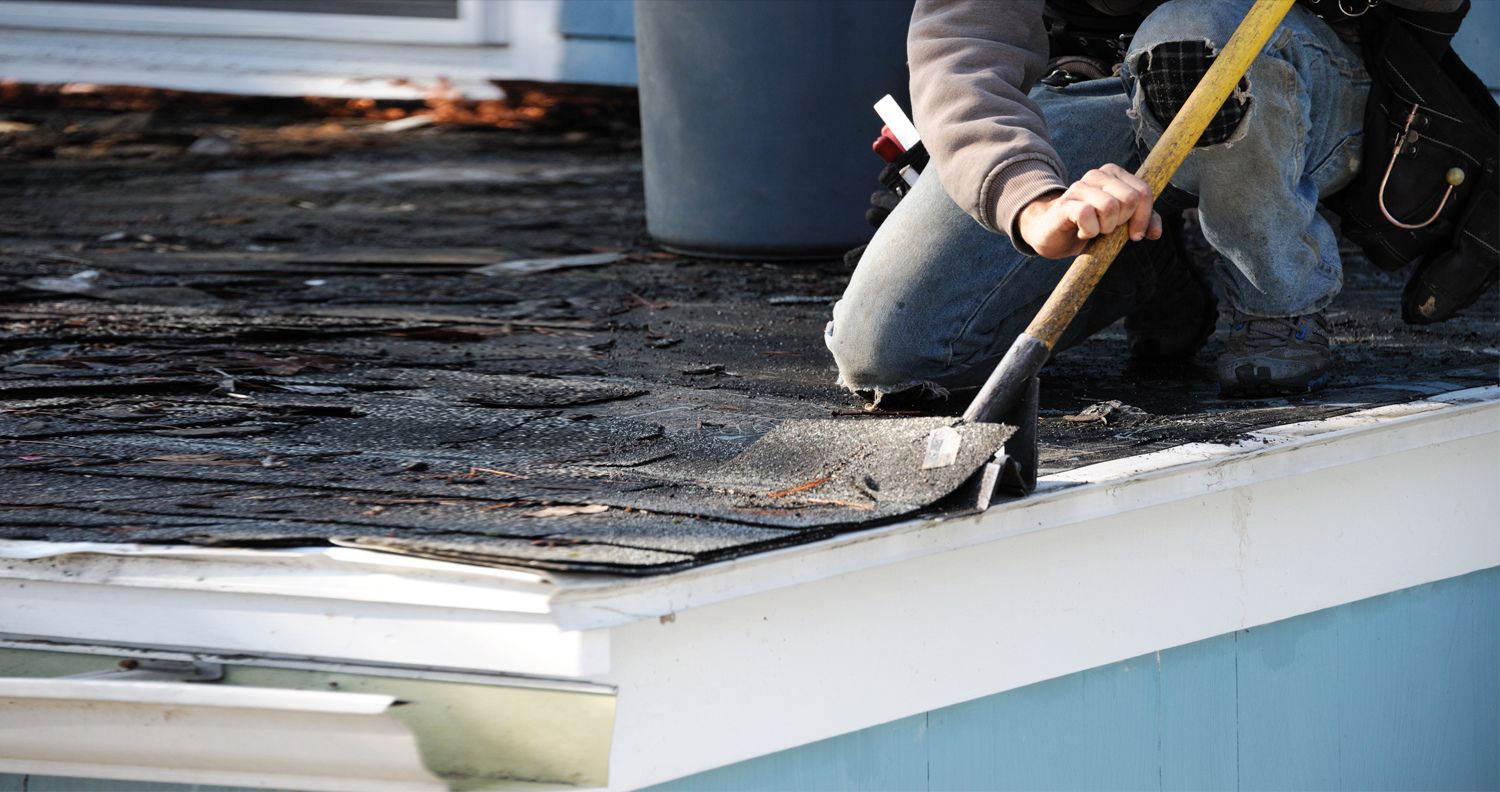
The first step in preparing the roof is to inspect it for any existing damage or issues. Look for signs of leaks, cracked or damaged shingles, and any areas that may require repair or reinforcement. If you notice any problems, address them before proceeding with the shingle installation.
Next, clean the roof surface thoroughly. Remove any debris, leaves, twigs, or loose shingle granules that may have accumulated over time. Use a broom or a leaf blower to clear the roof, being careful not to damage any surrounding structures or delicate areas.
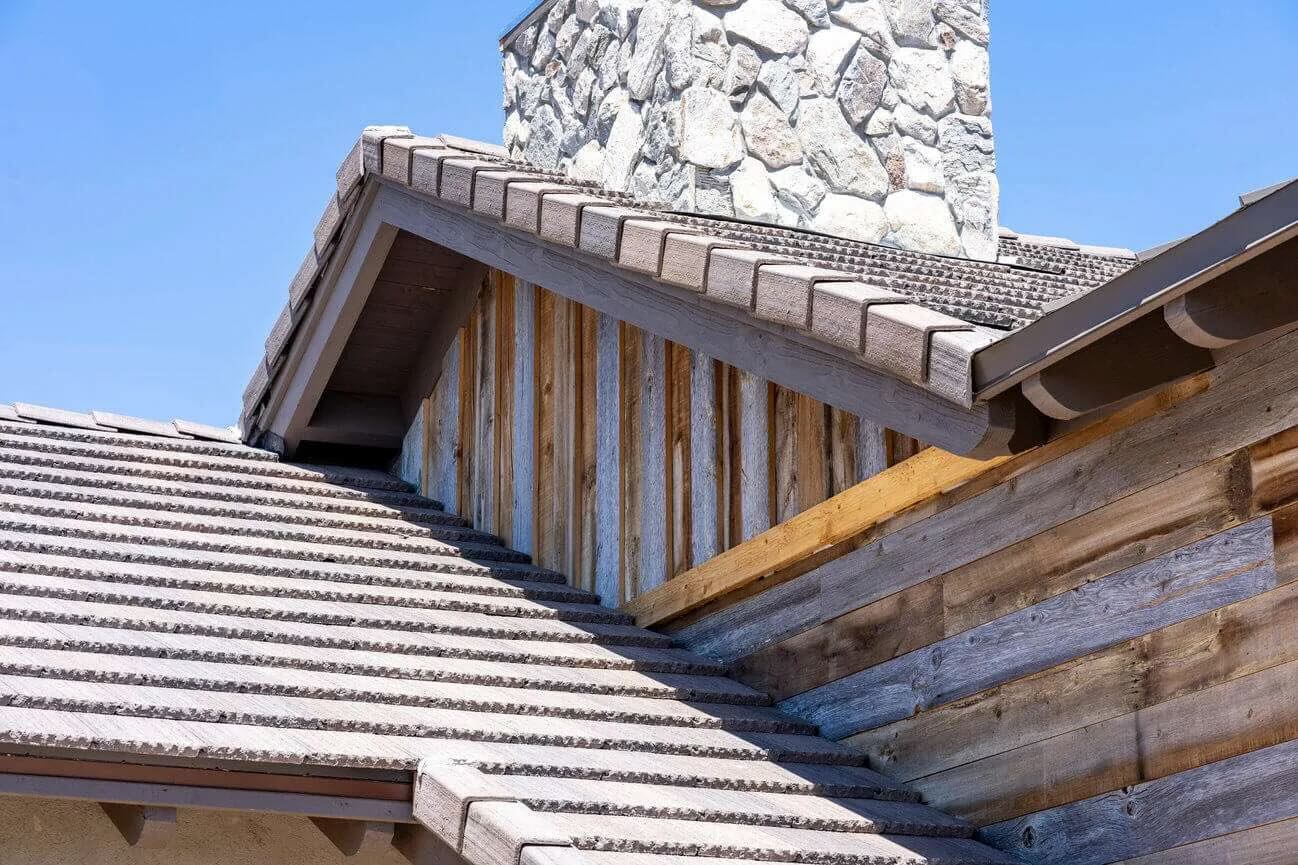
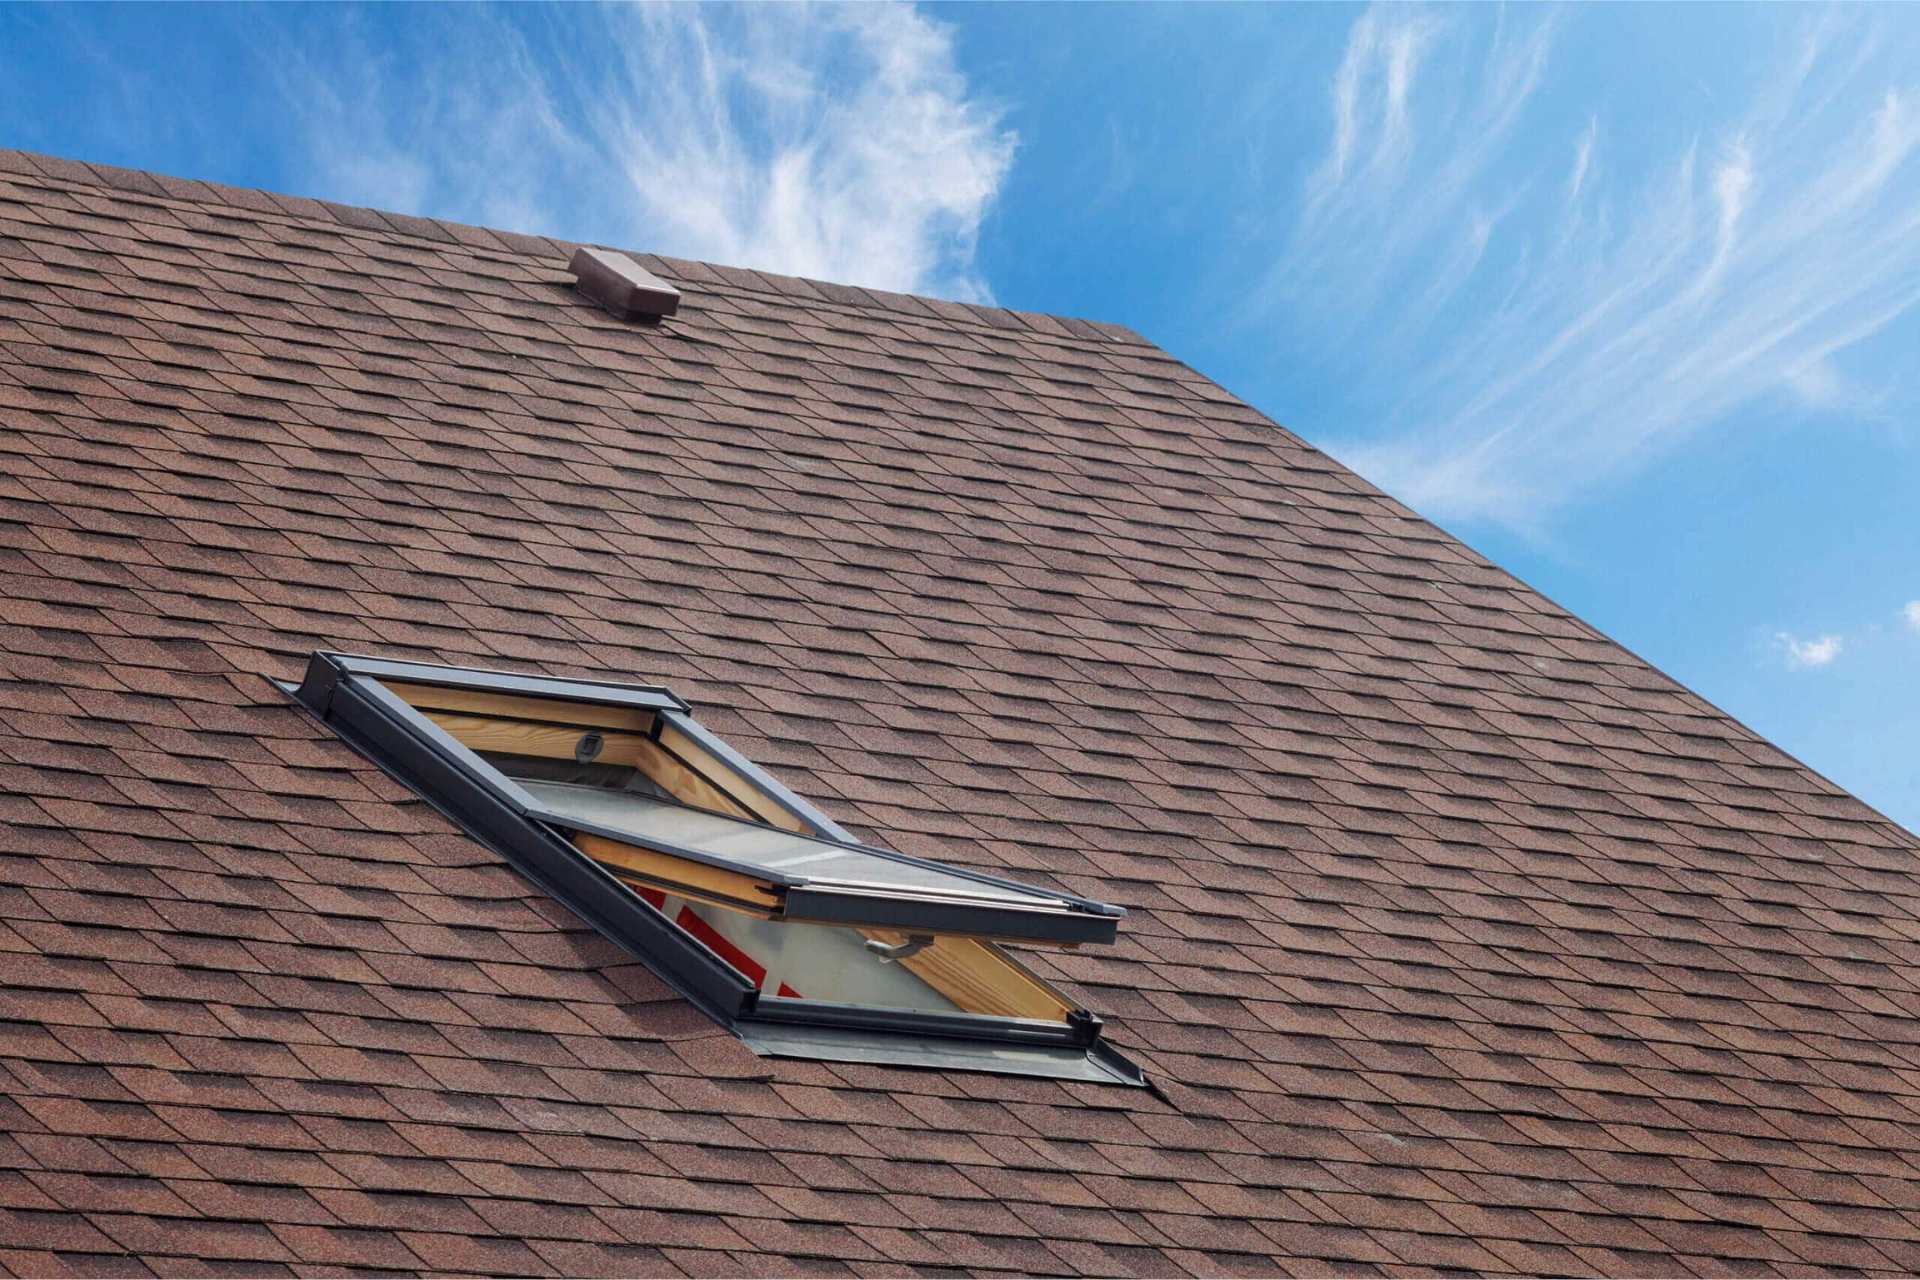
Once the roof is clean, check for any protrusions or obstructions that may interfere with the shingle installation. This includes vents, chimneys, skylights, or pipes. Make sure these areas are properly sealed and have the necessary flashing to prevent water penetration.
Proper ventilation is essential to prevent moisture buildup and ensure the longevity of your roof. Check for the presence of ridge vents or other ventilation systems and ensure they are in good working condition. If necessary, install additional ventilation to promote proper airflow.
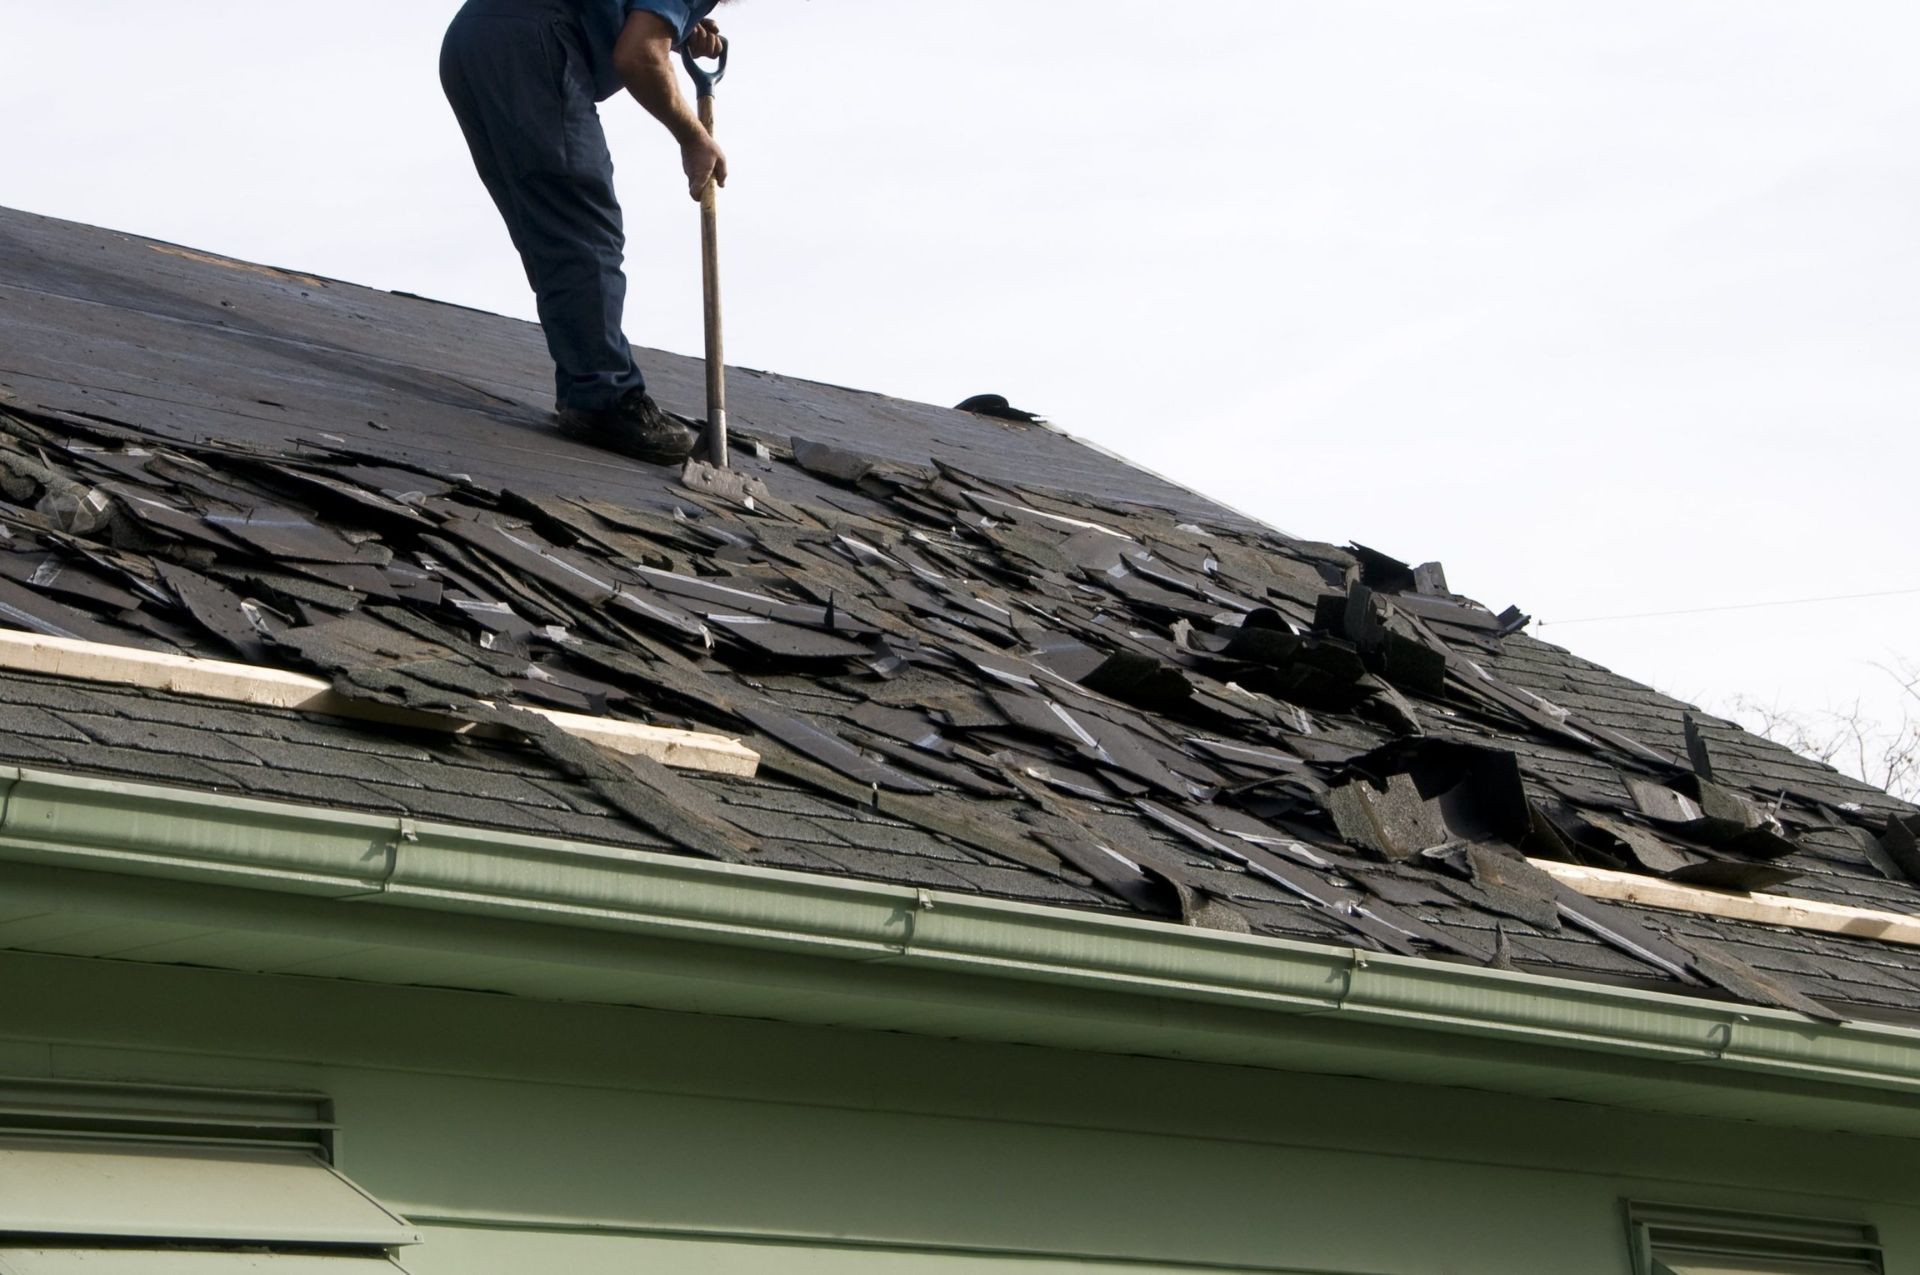
If your roof has existing layers of shingles, it is important to assess whether a complete tear-off is necessary or if you can install shingles over the existing ones. While installing new shingles over existing ones may be a cost-effective option, keep in mind that it can add extra weight and potentially affect the lifespan of the new shingles. Consult local building codes and regulations to determine the best course of action.
Lastly, ensure that the roof surface is smooth and even. Any dips, low spots, or bumps should be addressed before installing the shingles. This can typically be done by applying a layer of roofing felt or other suitable underlayment to create an even surface.
Once you have thoroughly prepared the roof, you are now ready to proceed to the next step – installing the underlayment.
Step 2: Installing the Underlayment
The underlayment is an essential component of the roof that provides an additional layer of protection against moisture and helps to create a barrier between the shingles and the roof deck. It serves as a waterproofing membrane and helps to prevent water from penetrating the roof.
To start, measure and cut the underlayment material to fit the dimensions of your roof. Typically, roofing felt or synthetic underlayment is used for this purpose. Ensure that the underlayment extends a few inches beyond the eaves and edges of the roof to provide adequate coverage.
Begin by applying the underlayment at the lower edge of the roof, starting from the eaves. Secure it in place using roofing nails or staples, making sure to leave a small gap between each fastener. This gap allows for expansion and contraction of the underlayment due to temperature changes.
As you work your way up the roof, overlap each row of underlayment by a few inches to ensure complete coverage and to prevent water from seeping through any gaps. Use a hammer or a roofing stapler to secure the underlayment in place, ensuring that it lays flat and is taut.
Pay special attention to areas where the underlayment meets vertical surfaces such as walls or chimneys. To create a watertight seal, use flashing or other appropriate materials to protect these vulnerable areas.
Continue installing the underlayment until you reach the ridge of the roof, making sure to maintain a consistent overlap and secure attachment. Trim any excess underlayment material at the ridge to ensure a neat and uniform appearance.
Once the underlayment is installed, inspect the entire roof surface to ensure that there are no gaps, tears, or areas where the underlayment is not properly adhered. Address any issues promptly to maintain the integrity of the roof system.
With the underlayment in place, you are now ready to move on to the next step – setting up starter shingles.
Step 3: Setting up Starter Shingles
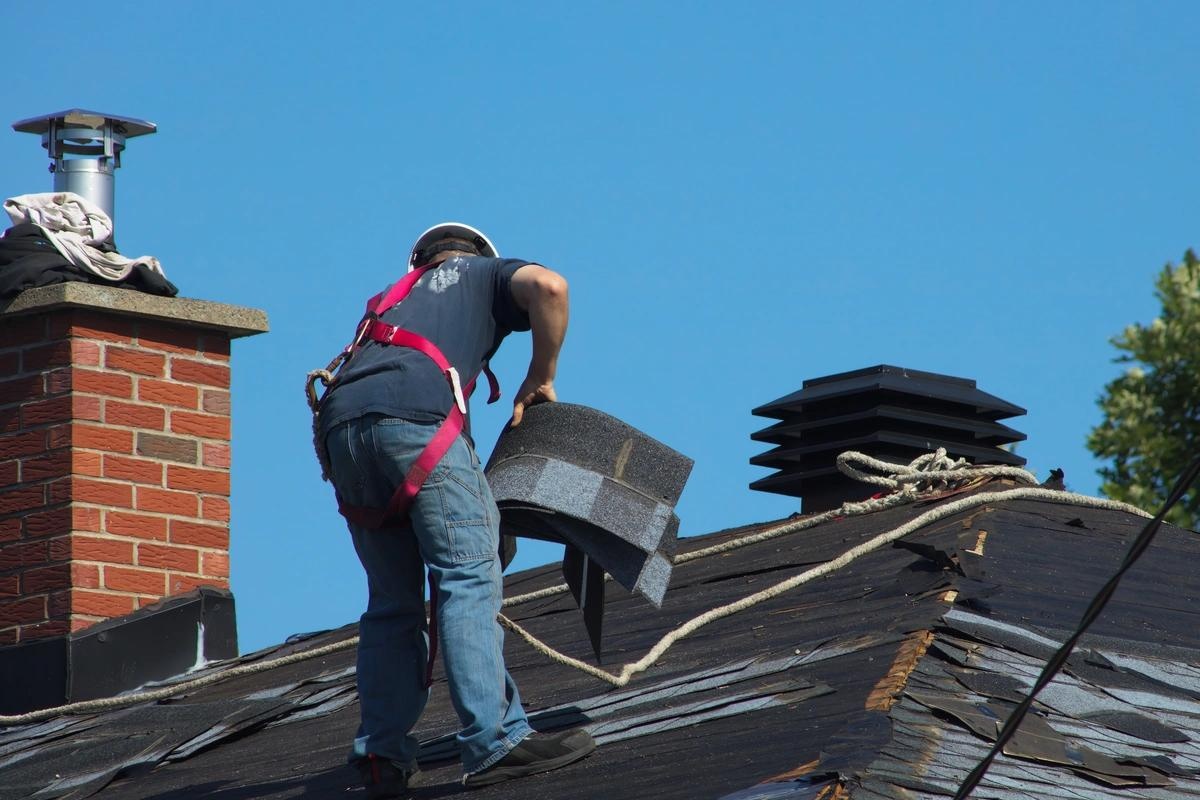
Starter shingles are the first row of shingles that are installed along the eaves of the roof. They provide a secure base for the rest of the shingles and help to protect against wind uplift.
To begin, measure and cut the starter shingles to fit the length of the eaves. Typically, starter shingles are created by cutting regular shingles in half lengthwise. Ensure that the starter shingles overhang the eaves by about 1 inch to provide adequate coverage.
Start at one corner of the roof and align the first starter shingle along the edge of the eave. Secure it in place using roofing nails or staples, placing a nail or staple near each corner and one in the center. Make sure to leave a small gap between each fastener to allow for movement.
Continue installing the starter shingles along the entire length of the eaves, ensuring that they are properly aligned and securely attached. As you move along, overlap each starter shingle by a few inches to provide a continuous barrier against wind and water.
Inspect the starter shingles to ensure that they are laid flat and have a uniform appearance. Address any issues or adjust the placement if necessary.
Once the starter shingles are installed, you are now ready to proceed to the next step – installing the first row of shingles.
Before moving on, take a moment to clean up any debris or excess material from the roof to provide a clean and organized workspace. This will help to ensure a smooth installation process and minimize the risk of tripping or accidental damage.
Now that the foundation is set with the starter shingles, we can move on to the exciting part – installing the remaining rows of shingles.
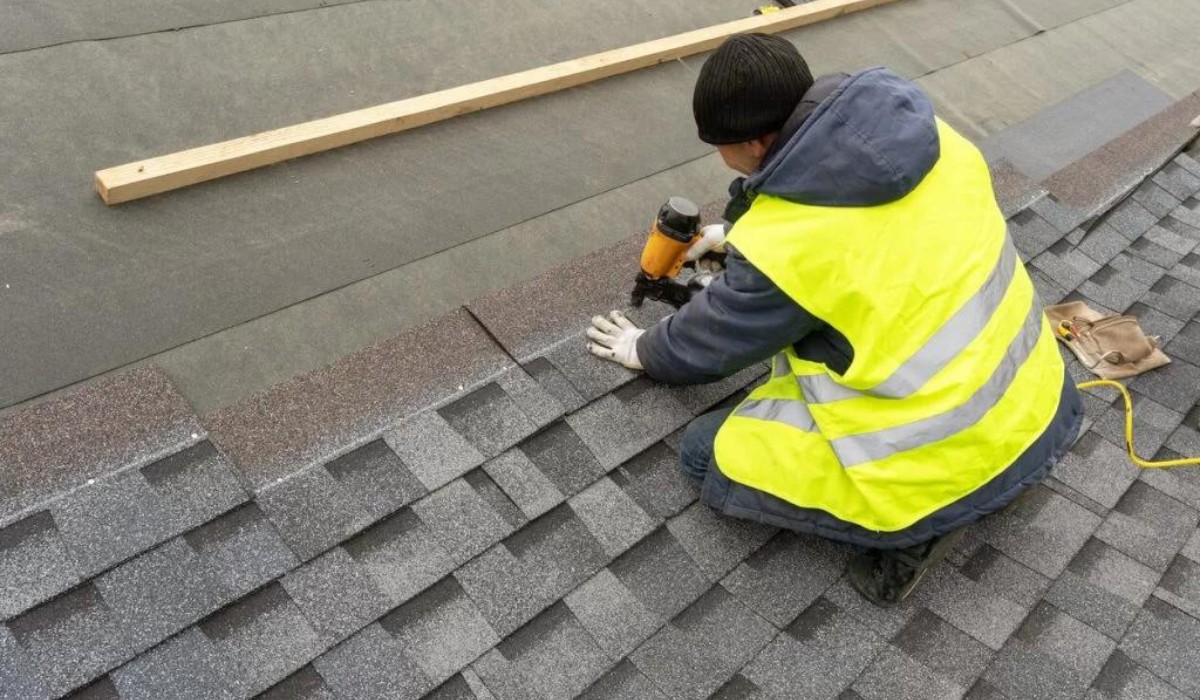
Step 4: Installing the First Row of Shingles
Installing the first row of shingles is a crucial step in the overall shingle installation process. It sets the foundation for the rest of the shingles and ensures a straight and level layout.
Start by measuring and cutting the first shingle to fit the length of the roof, accounting for any necessary overhang. It’s important to follow the manufacturer’s instructions regarding the specific size and placement of the shingles. Typically, the first shingle will be positioned with the tabs facing down the roof.
Place the first shingle along the bottom edge of the roof, aligning it with the starter shingles or the edge of the roof if starter shingles were not used. Nail down the shingle using roofing nails, placing the nails just above the overlap line and about 6 inches from each edge.
Move along the row, installing each shingle with a slight overlap and ensuring that they are properly aligned and level. Use a nail or staple for each shingle, following the manufacturer’s guidelines for the specific number of fasteners required. Be careful not to overdrive the nails, as this can damage the shingles and compromise their integrity.
As you install the first row of shingles, periodically check for alignment and adjust if needed. It’s important to maintain a straight and even line to ensure a professional-looking finish.
Once the first row is complete, inspect the shingles to ensure they are properly secured and have a uniform appearance. Make any necessary adjustments or fixes as you go along.
With the first row successfully installed, you are now ready to move on to the next step – installing the remaining rows of shingles. This is where the true transformation of your roof begins.
Congratulations on completing this important milestone! Now, let’s keep the momentum going as we move forward with the installation process.
When installing shingles on a roof, make sure to start at the bottom and work your way up, overlapping each row to ensure proper water drainage and protection against leaks.
Read more: How To Install 3-Tab Roof Shingles
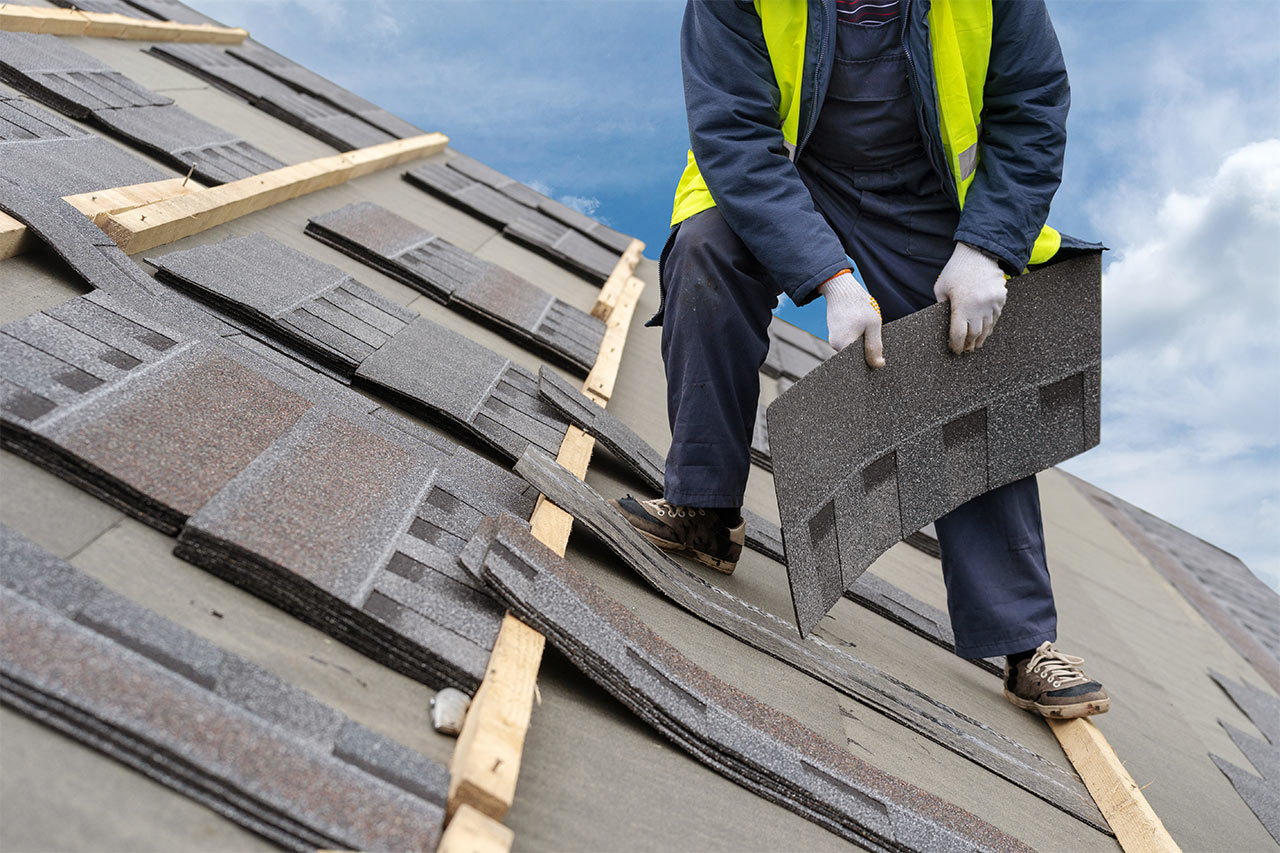
Step 5: Installing the Remaining Rows of Shingles
With the first row of shingles securely in place, it’s time to continue the installation by adding the remaining rows of shingles. This step requires precision and attention to detail to ensure a seamless and aesthetically pleasing finish.
Start by measuring and cutting additional shingles to fit the length of the roof. As you progress, you may need to trim some shingles to accommodate valleys, chimneys, or other architectural features.
Begin the next row by installing a full shingle directly above the first row, ensuring that it is properly aligned and level. The tabs should cover the gaps between the tabs of the first row. Secure the shingle in place with roofing nails, following the manufacturer’s guidelines for placement and quantity.
Continue installing additional rows of shingles, overlapping each row to create a water-resistant barrier. As you work your way up the roof, make sure the overlap is consistent and that the shingles are aligned horizontally. Carefully nail each shingle, being mindful of the correct placement and technique to prevent damage to the shingles.
Take regular breaks to step back and assess the progress of your work. Check for any irregularities, misalignments, or damaged shingles. These issues should be addressed immediately to ensure a high-quality and long-lasting result.
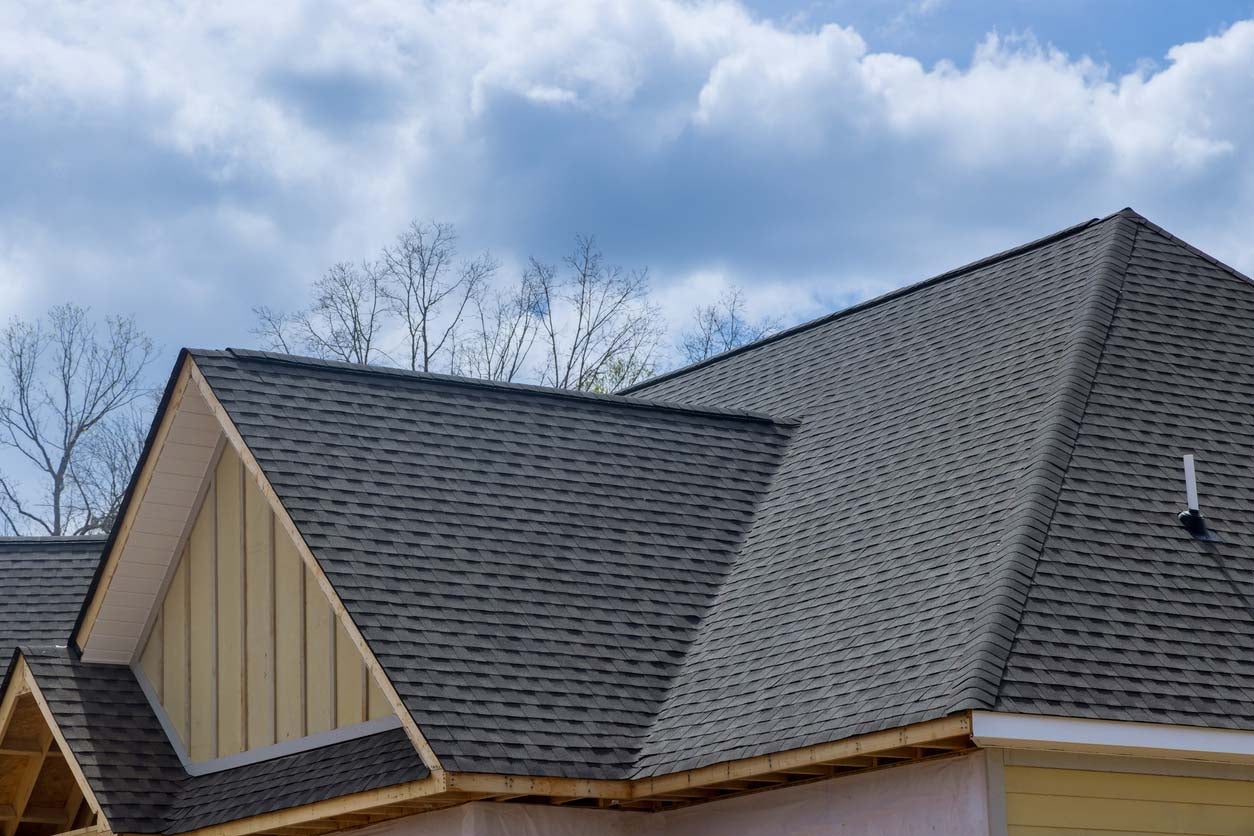
When reaching the peak or ridge of the roof, install ridge shingles or ridge caps to provide a protective and visually appealing finish. These specialized shingles are designed to cover the joints and create a smooth, finished look.
Throughout the installation of the remaining rows, periodically inspect your work to maintain the desired aesthetics and functionality. Make any necessary adjustments, repairs, or replacements as you go along. It’s essential to take the time to perfect each row before moving onto the next.
As you near the completion of the shingle installation process, take a moment to appreciate the transformation of your roof. The careful placement and attention to detail will ensure a beautiful and durable result that you can be proud of.
Congratulations on reaching this milestone! Now, let’s move on to the next step – cutting and fitting shingles.
Step 6: Cutting and Fitting Shingles
During the shingle installation process, it is inevitable that you will encounter areas where the standard-sized shingles do not fit perfectly. This is where cutting and fitting shingles becomes necessary to ensure a proper and professional-looking finish.
Start by identifying the areas on the roof where custom-sized shingles are required. This can include corners, valleys, skylights, or any other unique architectural features. Measure the space accurately and transfer those measurements onto the shingles.
Using a utility knife or roofing shears, carefully cut the shingles following the marked measurements. Take caution to make clean and precise cuts to ensure a seamless fit.
When fitting the cut shingle into place, make sure it aligns properly with the surrounding shingles and maintains the desired overlap. Secure the shingle in place using roofing nails or staples, being mindful of the recommended placement and quantity specified by the manufacturer.
When fitting shingles around corners or other irregular areas, you may need to use special techniques such as miter cuts or folding. These techniques allow the shingles to conform to the shape of the area and create a tight seal.
Remember to work methodically and take your time to ensure accuracy. Test the fit of each custom-sized shingle before securing it in place to avoid unnecessary adjustments or rework.
Throughout the cutting and fitting process, pay close attention to the overall appearance and quality of the shingle installation. Make any necessary adjustments or refinements to maintain a consistent and visually appealing roof surface.
As you near the completion of cutting and fitting shingles, take a step back and admire the meticulous craftsmanship that has gone into creating a beautiful and functional roof. This attention to detail will contribute to the overall longevity and performance of the shingle system.
Congratulations on successfully cutting and fitting the shingles! Now it’s time to move on to the final step – installing the ridge caps.
Step 7: Installing Ridge Caps
The installation of ridge caps is the final step in the shingle installation process. Ridge caps are specialized shingles that are used to cover the ridges and hips of the roof, providing a finished look and protecting against water infiltration.
Start by measuring and cutting the ridge caps to the appropriate length. Typically, ridge caps come in pre-cut sections that can be easily adjusted to fit the dimensions of your roof.
Place the first ridge cap section at one end of the ridge or hip, ensuring it overhangs evenly on both sides. Align it with the roof’s slope, allowing the adhesive strip to face down towards the roof’s surface. Secure the ridge cap in place using roofing nails or appropriate adhesive, following the manufacturer’s instructions.
Continue installing the remaining ridge cap sections, overlapping each section to create a continuous and watertight seal. Use roofing nails or adhesive to secure the ridge caps, ensuring they are properly aligned and neatly positioned.
When installing ridge caps along hips or valleys, make necessary adjustments to accommodate the angles and contours of the roof. Cut the ridge caps to fit the specific dimensions and ensure a proper fit. Take care to maintain a consistent overlap and secure attachment.
As you progress with the installation of ridge caps, periodically step back and assess the overall appearance and alignment. Make any necessary adjustments to ensure a uniform and visually pleasing finish.
Inspect each ridge cap section to ensure it is securely fastened and properly aligned. Address any loose areas or gaps promptly to maintain the integrity of the roof system.
With the installation of ridge caps complete, take a moment to appreciate the final transformation of your roof. The addition of ridge caps not only protects against water intrusion but also adds the finishing touch to the overall aesthetics.
Congratulations on successfully installing ridge caps! Now, let’s move on to the final step – cleaning up and conducting a final inspection.
Step 8: Cleaning up and Final Inspection
As you near the completion of the shingle installation process, it’s important to clean up the work area and conduct a final inspection to ensure that everything is in proper order.
Start by removing any debris or unused materials from the roof and the surrounding area. Sweep or rake away any loose shingle granules, nails, or other remnants to create a clean and safe environment. Dispose of waste materials responsibly according to local guidelines.
Inspect the entire roof surface for any loose or improperly secured shingles. Ensure that all fasteners are properly driven and that the shingles lay flat and are aligned with the rest of the roof. Use a hammer or a roofing nail to secure any loose shingles or replace damaged ones as necessary.
Check all flashing, vents, and other roof penetrations to ensure they are properly sealed and intact. Look for any signs of water infiltration or damage and address them promptly to prevent any issues in the future.
If you notice any areas that require additional sealing or caulking, take the time to apply the necessary products to ensure a watertight seal. Pay particular attention to areas around chimneys, skylights, and vent pipes.
Before considering the shingle installation process complete, step back and take a moment to admire the finished result. Assess the overall appearance of the roof, ensuring that it is visually pleasing and meets your expectations.
Once satisfied with the final inspection, it’s time to clean up the rest of the project area. Put away any tools or equipment and return the work area to its original condition.
Lastly, keep in mind the importance of regular roof maintenance to extend the lifespan of your shingles. Schedule periodic inspections and cleanings to remove debris and prevent any potential issues.
Congratulations on successfully completing the installation of shingles on your roof! By following each step carefully and conducting a thorough final inspection, you have ensured a durable, weather-resistant, and aesthetically pleasing roofing system for your home. Enjoy the peace of mind and the enhanced curb appeal that a well-installed shingle roof provides.
Frequently Asked Questions about How To Install Shingles On A Roof
Was this page helpful?
At Storables.com, we guarantee accurate and reliable information. Our content, validated by Expert Board Contributors, is crafted following stringent Editorial Policies. We're committed to providing you with well-researched, expert-backed insights for all your informational needs.


0 thoughts on “How To Install Shingles On A Roof”