Articles
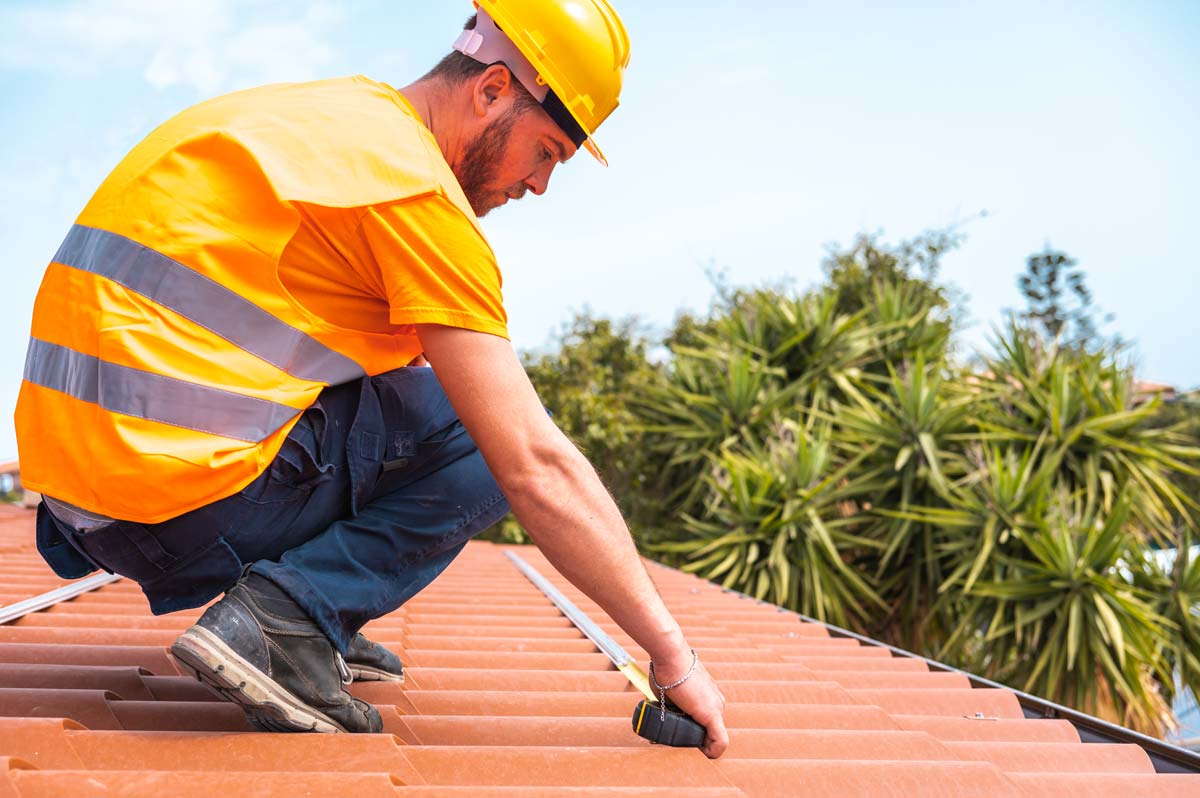
How To Repair Shingles On A Roof
Modified: January 4, 2024
Learn how to repair shingles on a roof with our comprehensive articles. Step-by-step guides and expert tips to help you fix your roof quickly and efficiently.
(Many of the links in this article redirect to a specific reviewed product. Your purchase of these products through affiliate links helps to generate commission for Storables.com, at no extra cost. Learn more)
Introduction
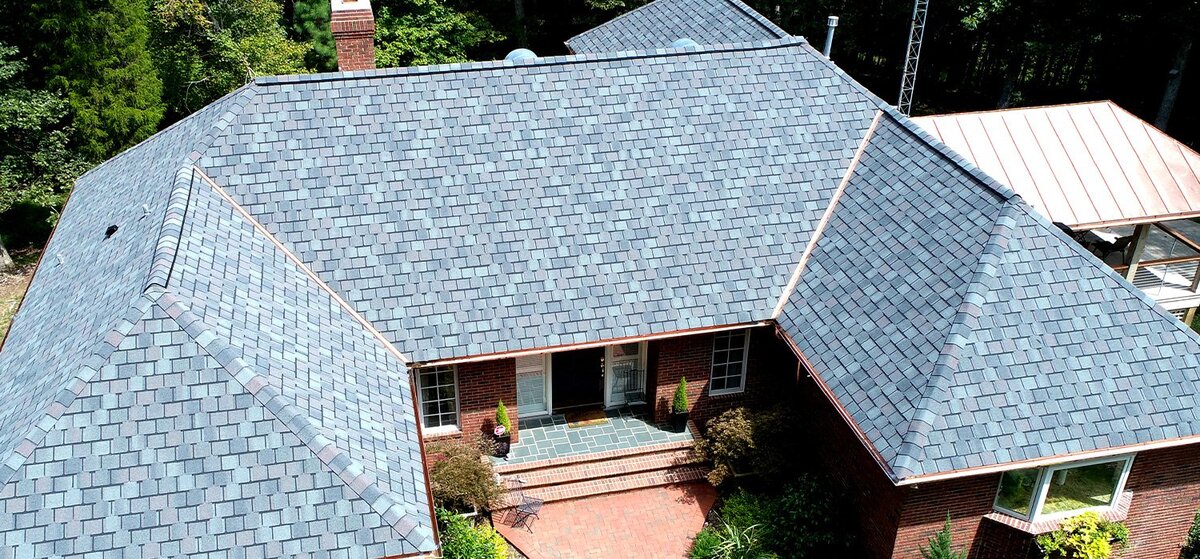
Having a damaged shingle on your roof can not only be unsightly but also compromise the integrity of your entire roofing system. Whether it’s due to harsh weather conditions, age, or accidental damage, it’s essential to address the issue promptly to prevent further problems.
In this article, we will guide you through the process of repairing shingles on your roof. By following these steps, you can save money on professional repairs and ensure that your roof remains in excellent condition.
Before we begin, it’s important to note that if you’re uncomfortable with heights or unsure about your ability to complete the repair safely, it’s always best to hire a professional roofing contractor. Safety should be the top priority when working on your roof.
Now let’s dive into the tools and materials you will need for this project.
Key Takeaways:
- Repairing shingles on your roof requires careful assessment, proper preparation, and secure installation. By following the step-by-step guide and implementing maintenance tips, you can maintain the integrity of your roof and prevent costly repairs.
- Safety should always be a priority when working on your roof. If you encounter extensive damage or feel unsure about the repair process, it’s best to consult a professional roofing contractor. Regular maintenance and proactive measures can prolong the lifespan of your roof and minimize the need for future repairs.
Read more: What Is A Roof Shingle
Tools and Materials Needed
Before you start repairing shingles on your roof, gather the following tools and materials:
- Hammer
- Roofing nails
- Utility knife
- Pry bar
- Ladder
- Safety harness
- Protective gloves
- Roofing adhesive or sealant
- Replacement shingles
These basic tools and materials will enable you to complete the repair effectively and efficiently. Make sure to choose replacement shingles that match the color and style of your existing roof to maintain a cohesive look.
Once you have all the necessary tools and materials ready, let’s move on to assessing the damage on your roof.
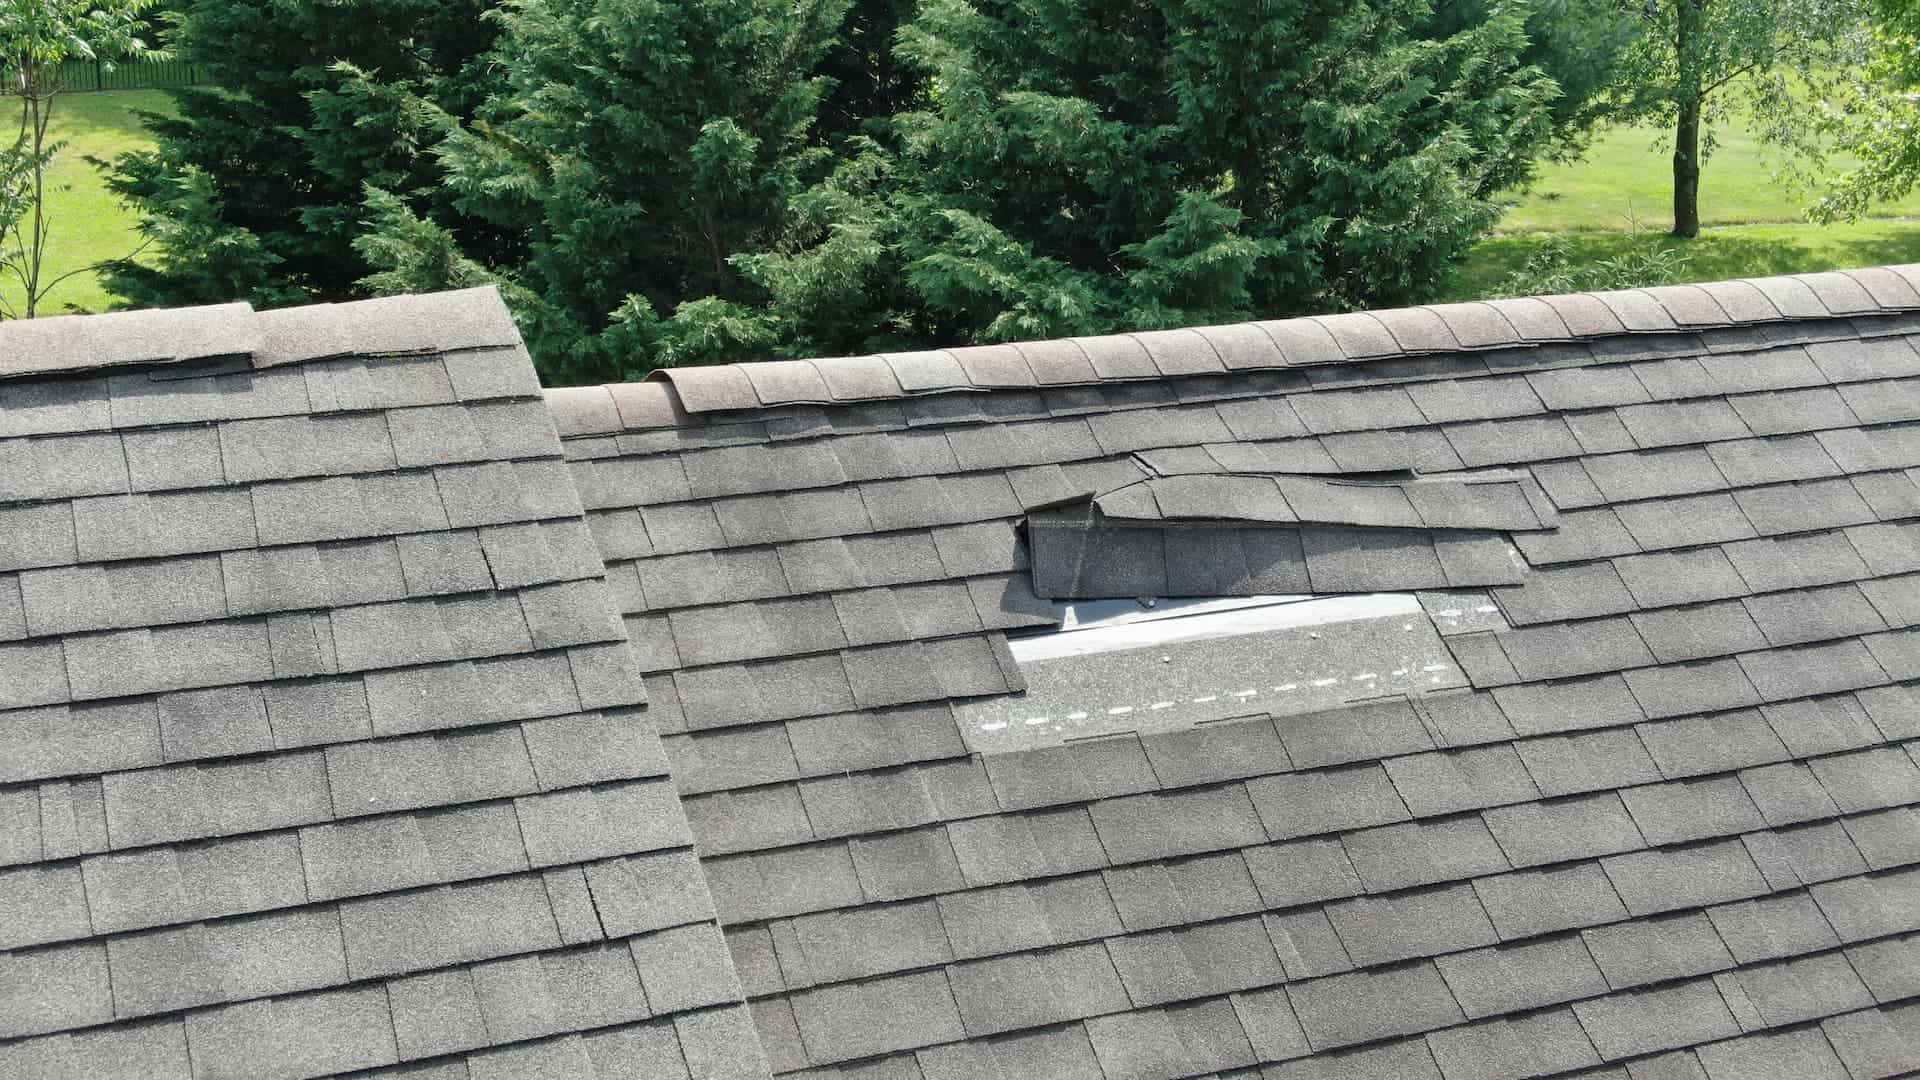
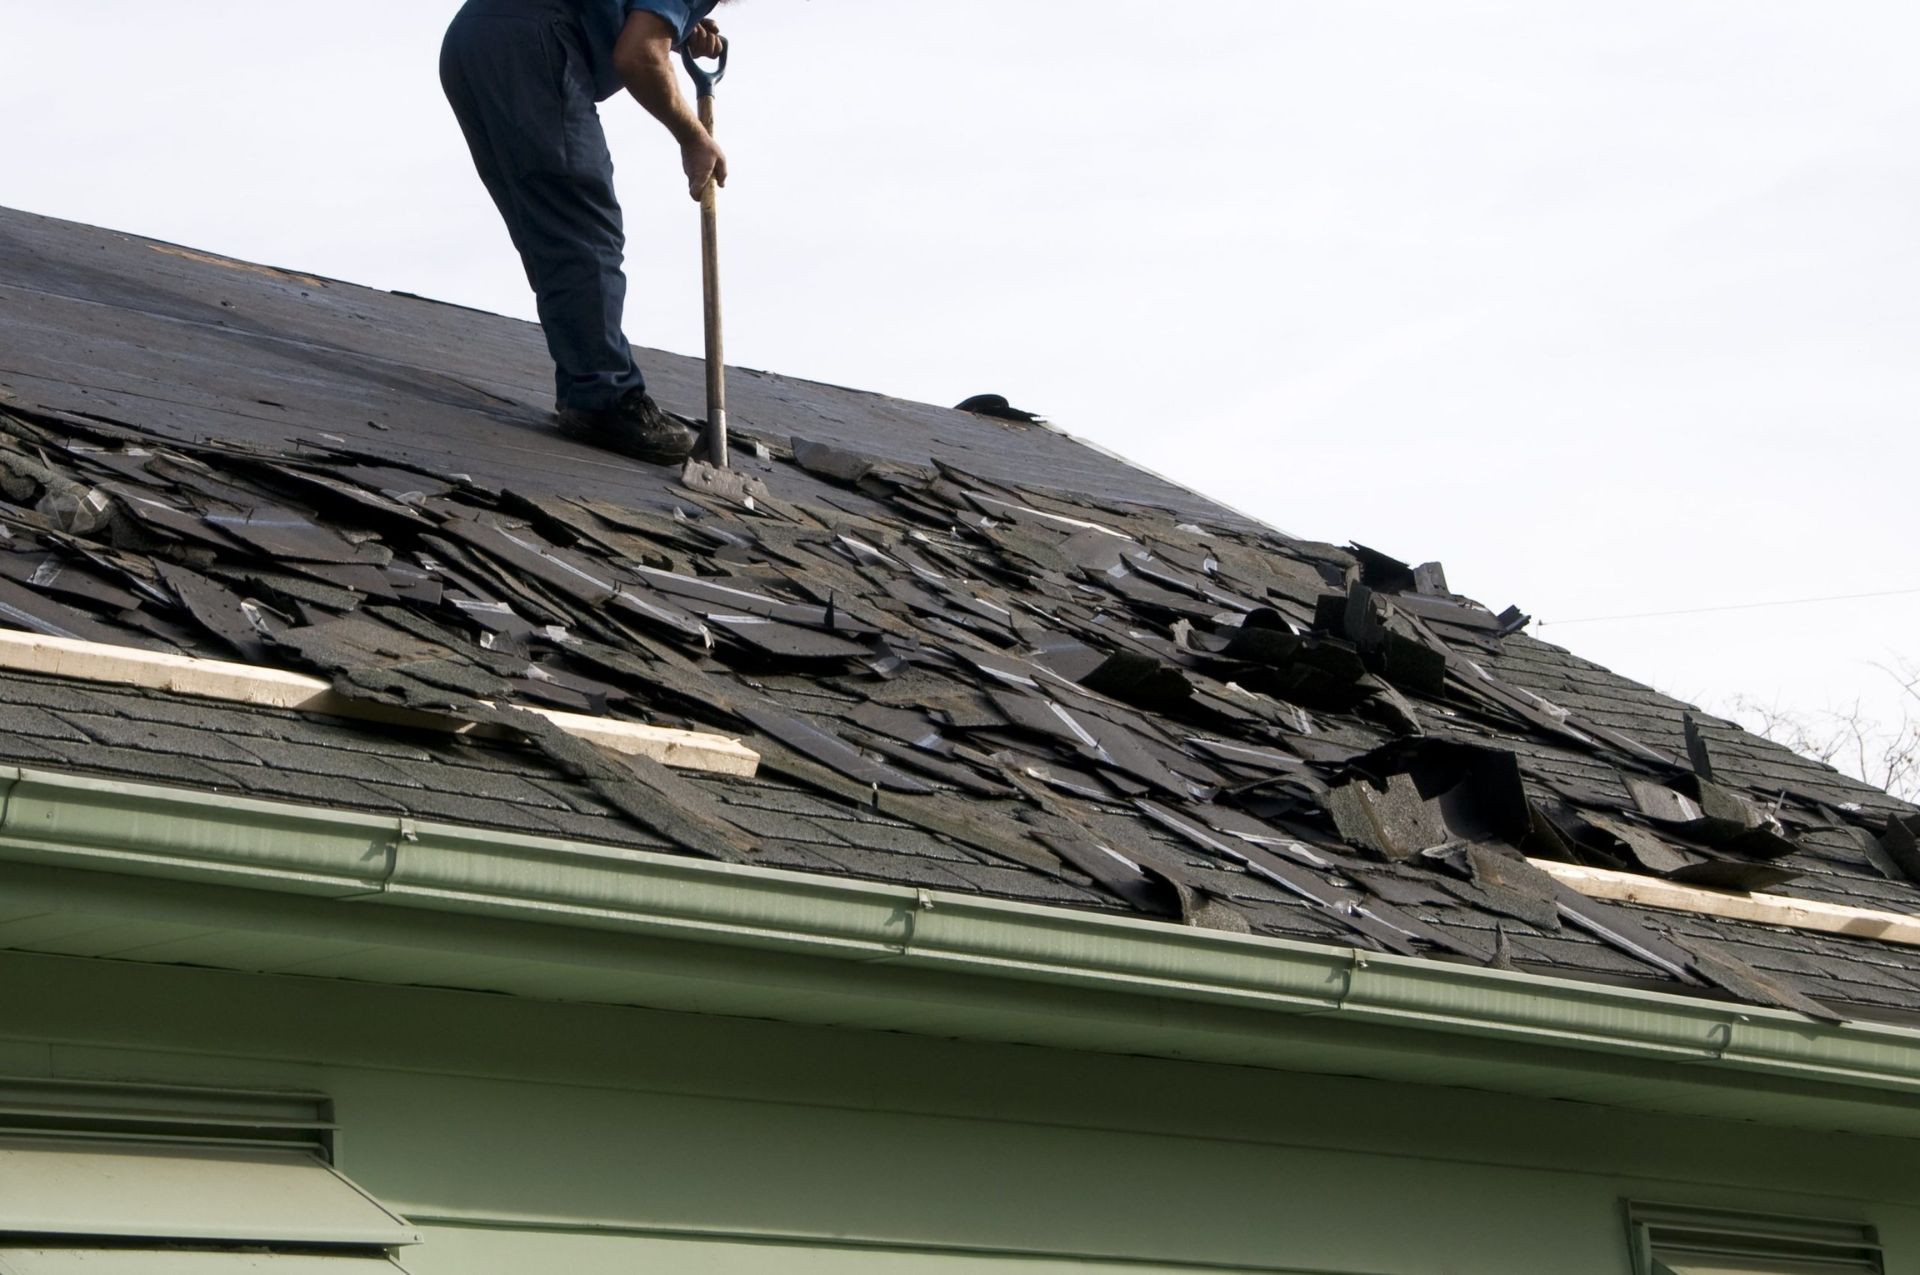
Step 1: Assessing the Damage
The first step in repairing shingles on your roof is to assess the extent of the damage. Carefully inspect the area where the damaged shingle is located and check if there are any other nearby shingles that might need attention.
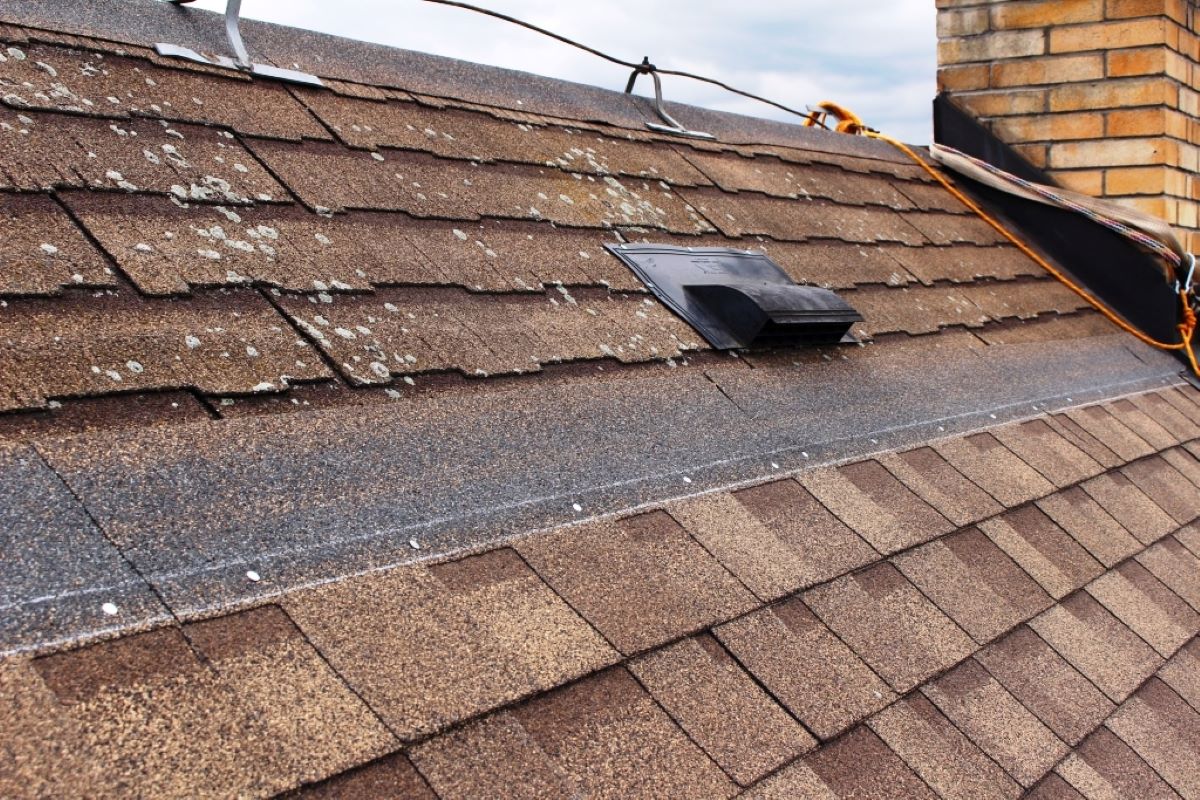
Look for signs of wear and tear, such as cracks, curling edges, or missing granules. Pay close attention to any visible signs of water damage or leaks, as these may indicate a more significant issue with your roof.
If the damage is limited to a single shingle and the surrounding area is in good condition, you can proceed with the repair. However, if you notice widespread damage or suspect a larger roofing problem, it is advisable to consult a professional.
Once you have assessed the damage and confirmed that you can proceed with the repair, it’s time to remove the damaged shingle. This brings us to step 2.
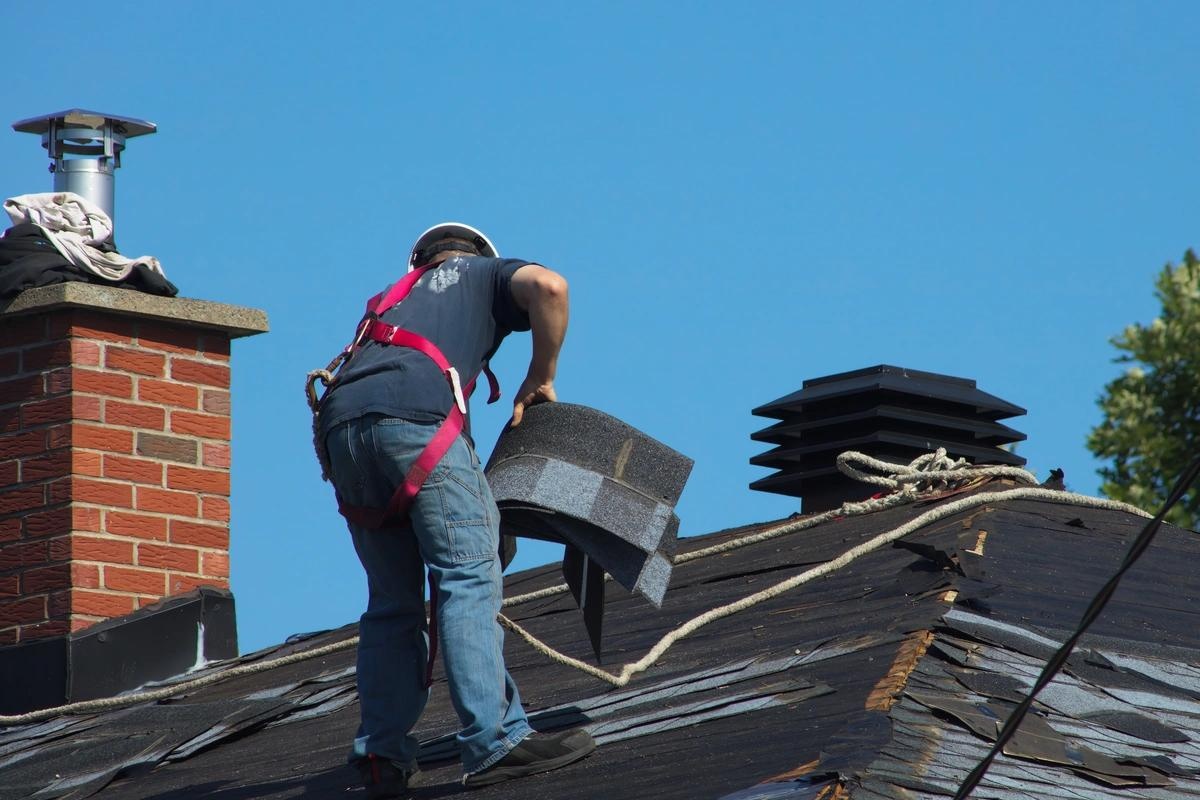
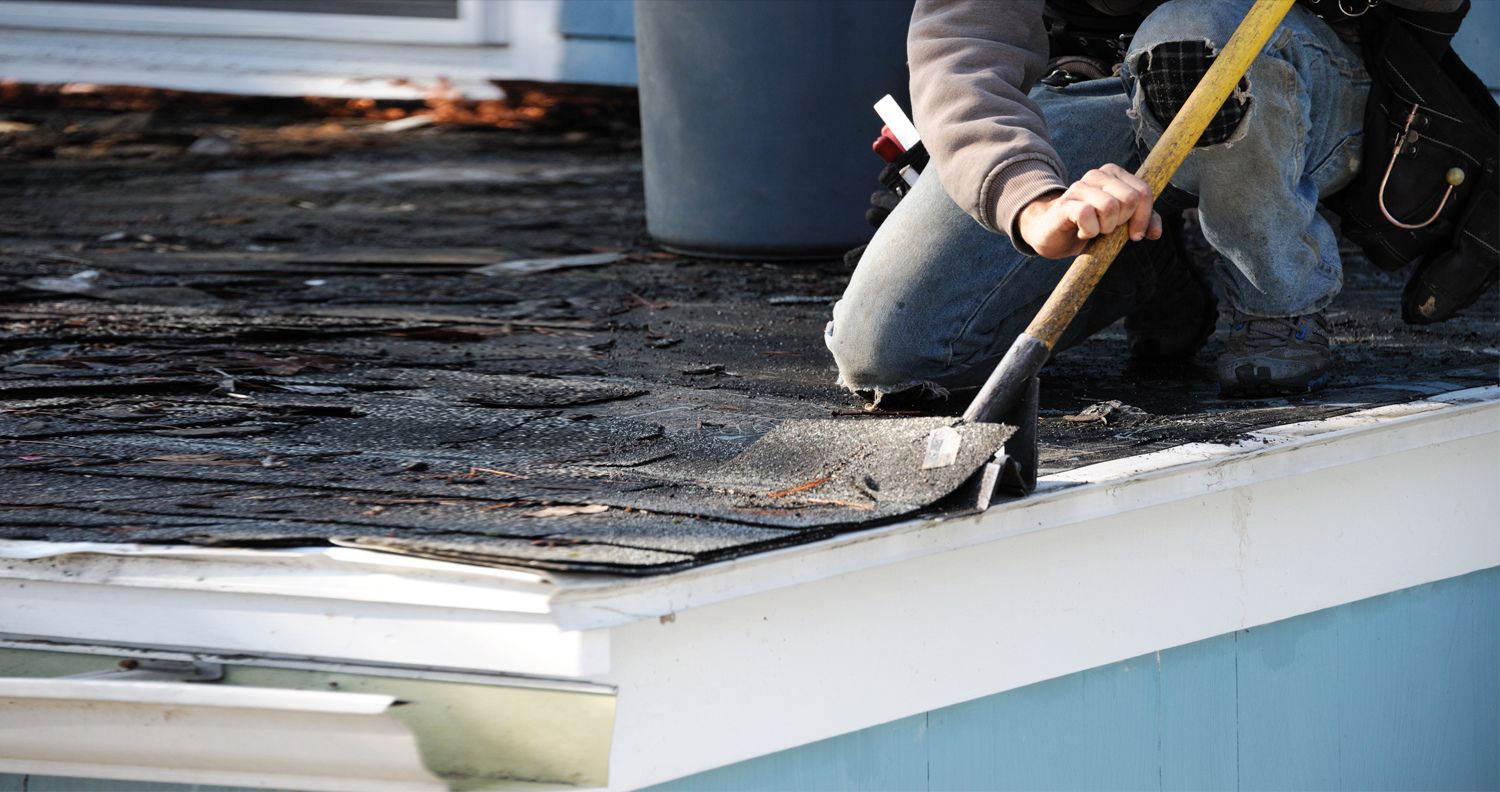
Step 2: Removing the Damaged Shingle
Now that you have assessed the damage, it’s time to remove the damaged shingle. Before you begin, ensure that you are wearing protective gloves to safeguard your hands.
Start by using a pry bar or a flat utility knife to gently lift the edges of the shingle above the damaged one. Be careful not to damage the surrounding shingles in the process.
Next, use a hammer to carefully remove the roofing nails that are holding the damaged shingle in place. Take your time and be cautious not to apply excessive force or cause any additional damage to the roof’s surface.
Once you have successfully removed the nails, slide the damaged shingle out from under the adjacent shingles. If the shingle is stuck, you may have to gently loosen it by applying a small amount of force. Exercise caution to prevent any further damage.
With the damaged shingle removed, it’s time to prepare the roof surface for the installation of the new shingle. This brings us to step 3.
Step 3: Preparing the Roof Surface
Before you can install the new shingle, it’s important to prepare the roof surface to ensure a proper fit and secure attachment. Follow these steps to prepare the roof surface:
- Inspect the area where the damaged shingle was removed. Ensure that there are no protruding nails or debris that could hinder the installation of the new shingle.
- If necessary, use a hammer to gently tap down any raised nails or remove any debris. Ensure that the surface is smooth and clean.
- Apply a thin layer of roofing adhesive or sealant to the backside of the replacement shingle. This will help to provide extra security and prevent future leaks.
Remember to read and follow the manufacturer’s instructions when applying the adhesive or sealant. You want to ensure that you are using the correct amount and applying it in the proper manner.
Once you have prepared the roof surface, you are ready to install the new shingle. This brings us to step 4.
When repairing shingles on a roof, always use the same type and color of shingle to ensure a seamless and uniform appearance.Mismatched shingles can detract from the overall look of the roof and may not provide the same level of protection.
Read more: How To Figure Shingles For A Roof
Step 4: Installing the New Shingle
With the roof surface prepared, it’s time to install the new shingle. Follow these steps to ensure a proper installation:
- Position the new shingle over the empty space, aligning it with the surrounding shingles. Make sure it fits snugly and matches the pattern of the existing shingles.
- Slide the new shingle into place under the existing shingles. Be careful not to lift or damage the adjacent shingles as you do this.
- Ensure that the new shingle is properly aligned with the neighboring shingles and that the edges are flush.
Take a step back and visually inspect the installed shingle to ensure it looks aligned and fits seamlessly with the rest of the roof. Adjust as necessary.
Now that the new shingle is in position, it’s time to secure it in place. This brings us to step 5.
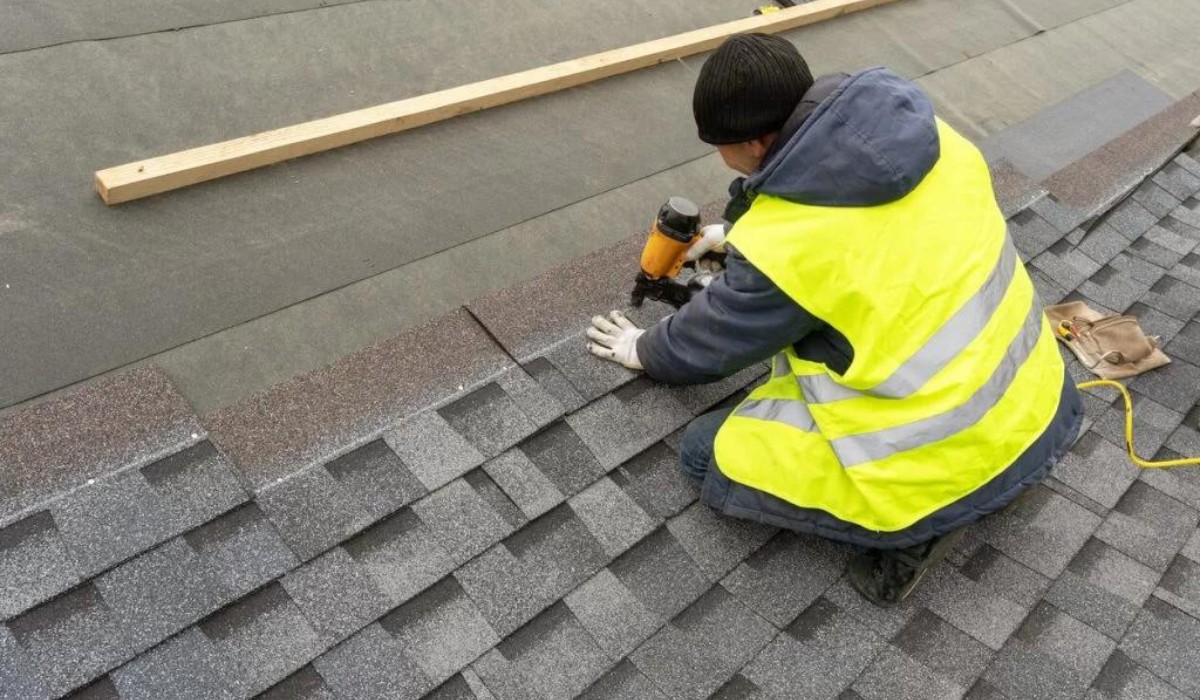
Step 5: Securing the Shingle in Place
Securing the new shingle properly is crucial to ensure its stability and longevity. Follow these steps to secure the shingle in place:
- Using roofing nails, attach the new shingle to the roof. Insert the nails into the designated nail slots provided on the shingle.
- Drive the nails through the shingle and into the roof surface, taking care not to overdrive or underdrive them. The nail heads should be flush with the surface of the shingle.
- Repeat this process for each nail slot on the shingle, ensuring that it is securely fastened to the roof.
It’s important to note that different shingle manufacturers may have specific instructions regarding the number and placement of nails. Refer to the manufacturer’s guidelines to ensure proper installation.
Once the shingle is securely fastened, double-check that it is aligned correctly with the surrounding shingles and sits flat on the roof surface.
Now that the new shingle is installed and secured, we’ll move on to the final steps of finishing touches and maintenance tips in step 6.
Step 6: Finishing Touches and Maintenance Tips
Now that you have successfully installed the new shingle, it’s time to put the finishing touches on your repair and learn some maintenance tips to keep your roof in excellent condition. Here’s what you need to do:
- Inspect the surrounding shingles to ensure they are laying flat and undamaged. Make any necessary adjustments or repairs to ensure the overall integrity of the roof.
- Apply a layer of roofing adhesive or sealant over the nail heads to provide extra protection against water penetration and secure the nails in place.
- Clean up the work area, removing any debris or leftover materials. Dispose of them properly, following local waste disposal regulations.
- Regularly inspect your roof for any signs of damage or potential problems. Address issues promptly to prevent further damage and costly repairs.
- Consider scheduling regular professional roof inspections and maintenance to ensure the long-term health of your roof.
- Maintain proper attic ventilation to prevent excessive heat buildup and moisture retention, which can affect the lifespan of your shingles.
- Keep your gutters clean and free from debris to ensure proper water drainage and prevent water damage to your roof.
By following these finishing touches and maintenance tips, you can prolong the lifespan of your roof and minimize the need for future repairs.
With the completion of step 6, you have successfully repaired the shingles on your roof and taken proactive measures to maintain its overall health. Remember, if you ever encounter more extensive damage or feel uncomfortable with the repair process, it’s best to seek professional assistance.
With proper care and maintenance, your roof will continue to protect your home for years to come.
Conclusion
Repairing shingles on your roof is a task that can be accomplished with the right tools, materials, and attention to detail. By following the step-by-step guide outlined in this article, you can address minor shingle damage and maintain the overall integrity of your roof.
Remember, safety should always be a priority when working on your roof. If you are unsure about your ability to complete the repair safely or if you encounter extensive damage, it’s best to consult a professional roofing contractor.
Regular maintenance and inspections are key to preventing further damage and ensuring the longevity of your roof. By keeping an eye out for signs of wear and tear and addressing issues promptly, you can save yourself from costly repairs down the line.
Take the time to properly prepare the roof surface, install the new shingle securely, and apply the necessary finishing touches. Additionally, implement maintenance practices such as regular inspections, proper attic ventilation, and gutter cleaning to maximize the lifespan of your roof.
Remember, a well-maintained roof is not only aesthetically pleasing but also crucial for the protection and structural integrity of your home. By investing time and effort into maintaining your roof, you can ensure that it continues to serve its purpose for many years to come.
In conclusion, with the information and guidance provided in this article, you are equipped with the knowledge to confidently repair shingles on your roof and maintain its overall health. Happy repairing!
Frequently Asked Questions about How To Repair Shingles On A Roof
Was this page helpful?
At Storables.com, we guarantee accurate and reliable information. Our content, validated by Expert Board Contributors, is crafted following stringent Editorial Policies. We're committed to providing you with well-researched, expert-backed insights for all your informational needs.
0 thoughts on “How To Repair Shingles On A Roof”