Home>Renovation & DIY>Home Renovation Guides>How To Shingle A Gable Roof
Home Renovation Guides
How To Shingle A Gable Roof
Modified: August 22, 2024
Learn how to shingle a gable roof with our comprehensive home renovation guide. Get expert tips and step-by-step instructions for a successful roofing project.
(Many of the links in this article redirect to a specific reviewed product. Your purchase of these products through affiliate links helps to generate commission for Storables.com, at no extra cost. Learn more)
Introduction
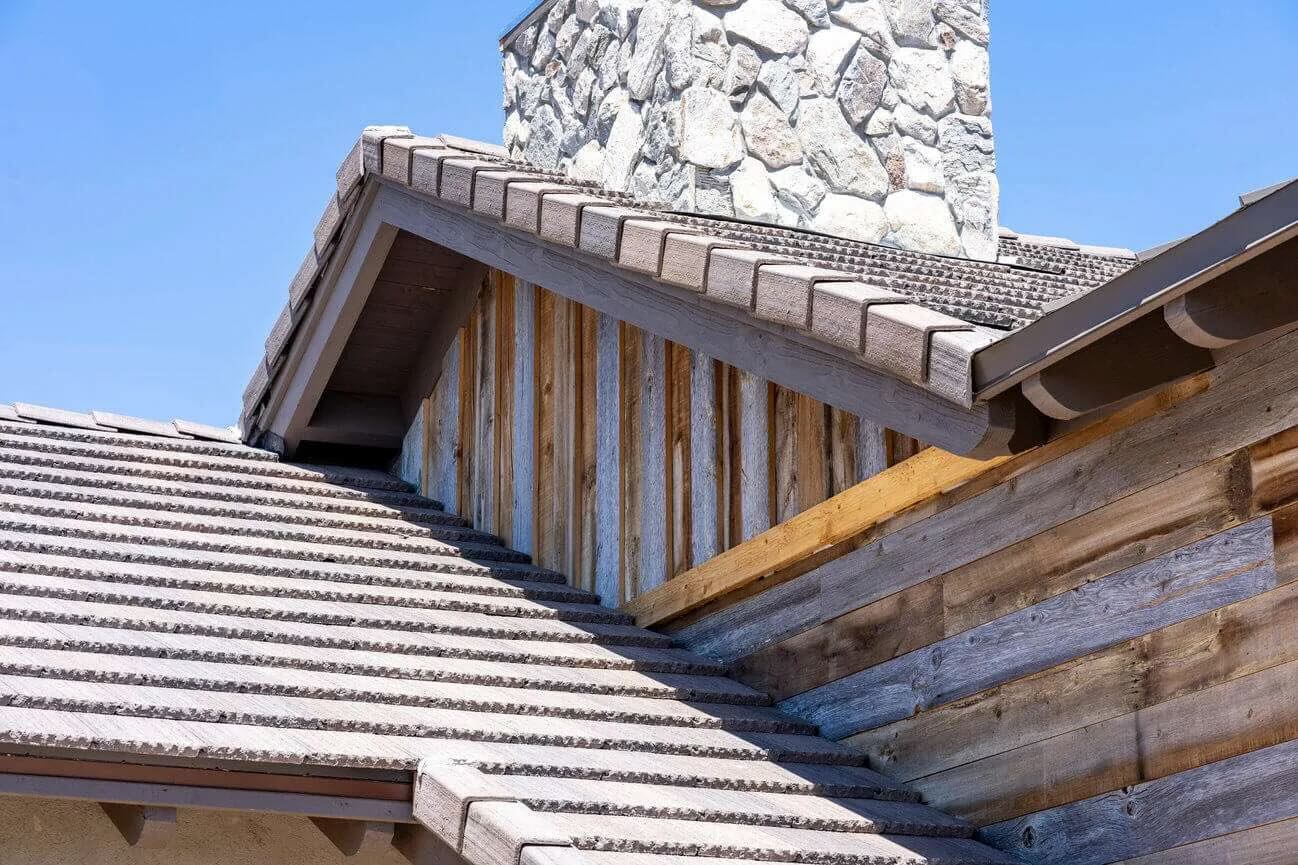
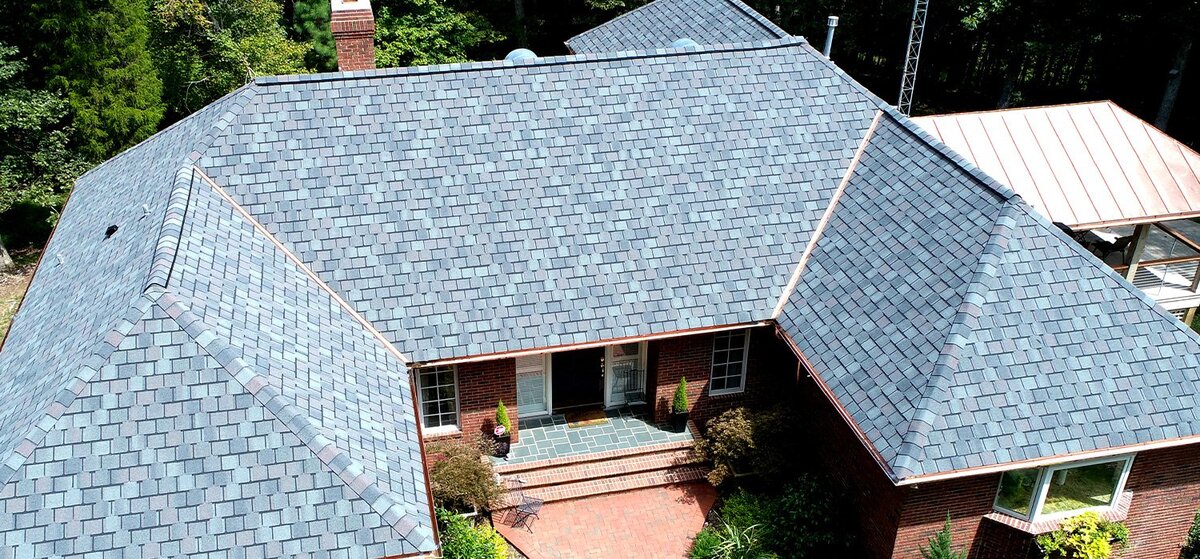
Shingling a gable roof is a crucial aspect of home renovation that not only enhances the aesthetic appeal of your property but also provides essential protection against the elements. Whether you are a seasoned DIY enthusiast or a homeowner looking to gain a deeper understanding of the shingling process, this comprehensive guide will equip you with the knowledge and confidence to tackle this project with precision and finesse.
Shingling a gable roof involves the meticulous placement of individual shingles to create a durable and weather-resistant barrier. This process demands attention to detail, a methodical approach, and the use of specialized tools and materials. By following the steps outlined in this guide, you will be able to achieve a professional-quality finish that not only elevates the visual charm of your home but also fortifies it against rain, wind, and other environmental factors.
Throughout this guide, we will delve into the essential tools and materials required for shingling a gable roof, the preparatory steps to ensure a smooth and durable surface, and the systematic process of installing the shingles. From applying the underlayment to meticulously shingling the roof and finishing the ridge and hip lines, each step is crucial in creating a robust and visually appealing roof structure.
Whether you are embarking on a full roof replacement or seeking to enhance the existing roof's longevity and performance, mastering the art of shingling a gable roof is a valuable skill. With a clear understanding of the techniques involved and a commitment to precision, you can transform your roof into a resilient shield that not only safeguards your home but also adds to its overall charm and curb appeal.
As we embark on this insightful journey, let's equip ourselves with the knowledge, tools, and determination to elevate our homes through the art of shingling a gable roof.
Key Takeaways:
- Shingling a gable roof involves meticulous preparation, precise installation of materials, and attention to detail. It not only enhances the visual appeal of your home but also provides essential protection against the elements.
- By mastering the art of shingling a gable roof, you can transform your roof into a resilient shield that safeguards your home and adds to its overall charm and curb appeal.
Read more: What Is A Gable On A Roof?
Tools and Materials Needed
Before embarking on the shingling process, it's essential to gather the necessary tools and materials to ensure a seamless and efficient workflow. Here's a comprehensive list of the items you'll need:
Tools:
- Roofing Hammer: A specialized hammer with a straight claw and a smooth, slightly rounded face, designed for roofing applications.
- Utility Knife: Essential for cutting and trimming shingles and underlayment to fit specific areas of the roof.
- Chalk Line: Used to create straight and uniform guidelines for the placement of shingles.
- Roofing Nailer: A pneumatic or cordless nail gun designed for fastening shingles and other roofing materials.
- Roofing Shovel: Also known as a shingle ripper, this tool is used to remove old shingles and nails from the roof.
- Ladder: A sturdy, well-anchored ladder is crucial for safe access to the roof during the shingling process.
- Measuring Tape: Essential for accurately measuring and cutting shingles and underlayment.
- Safety Gear: This includes gloves, safety glasses, and appropriate footwear to ensure personal safety during the project.
Materials:
- Asphalt Shingles: The primary roofing material, available in a variety of colors and styles to suit different aesthetic preferences.
- Underlayment: A water-resistant layer installed beneath the shingles to provide an additional barrier against moisture.
- Drip Edge: A metal flashing installed along the edges of the roof to direct water away from the underlying materials.
- Starter Shingles: Specifically designed shingles used to begin the first row of the shingling process.
- Roofing Nails: Galvanized or stainless steel nails designed for secure fastening of shingles and other roofing components.
- Roofing Adhesive: Used to secure certain areas of the shingles and provide additional protection against wind uplift.
- Ventilation Components: If applicable, ventilation materials such as ridge vents or soffit vents should be included in the project plan.
By ensuring that you have all the necessary tools and materials at your disposal, you can streamline the shingling process and minimize interruptions, allowing for a focused and efficient approach to achieving a durable and visually appealing gable roof.
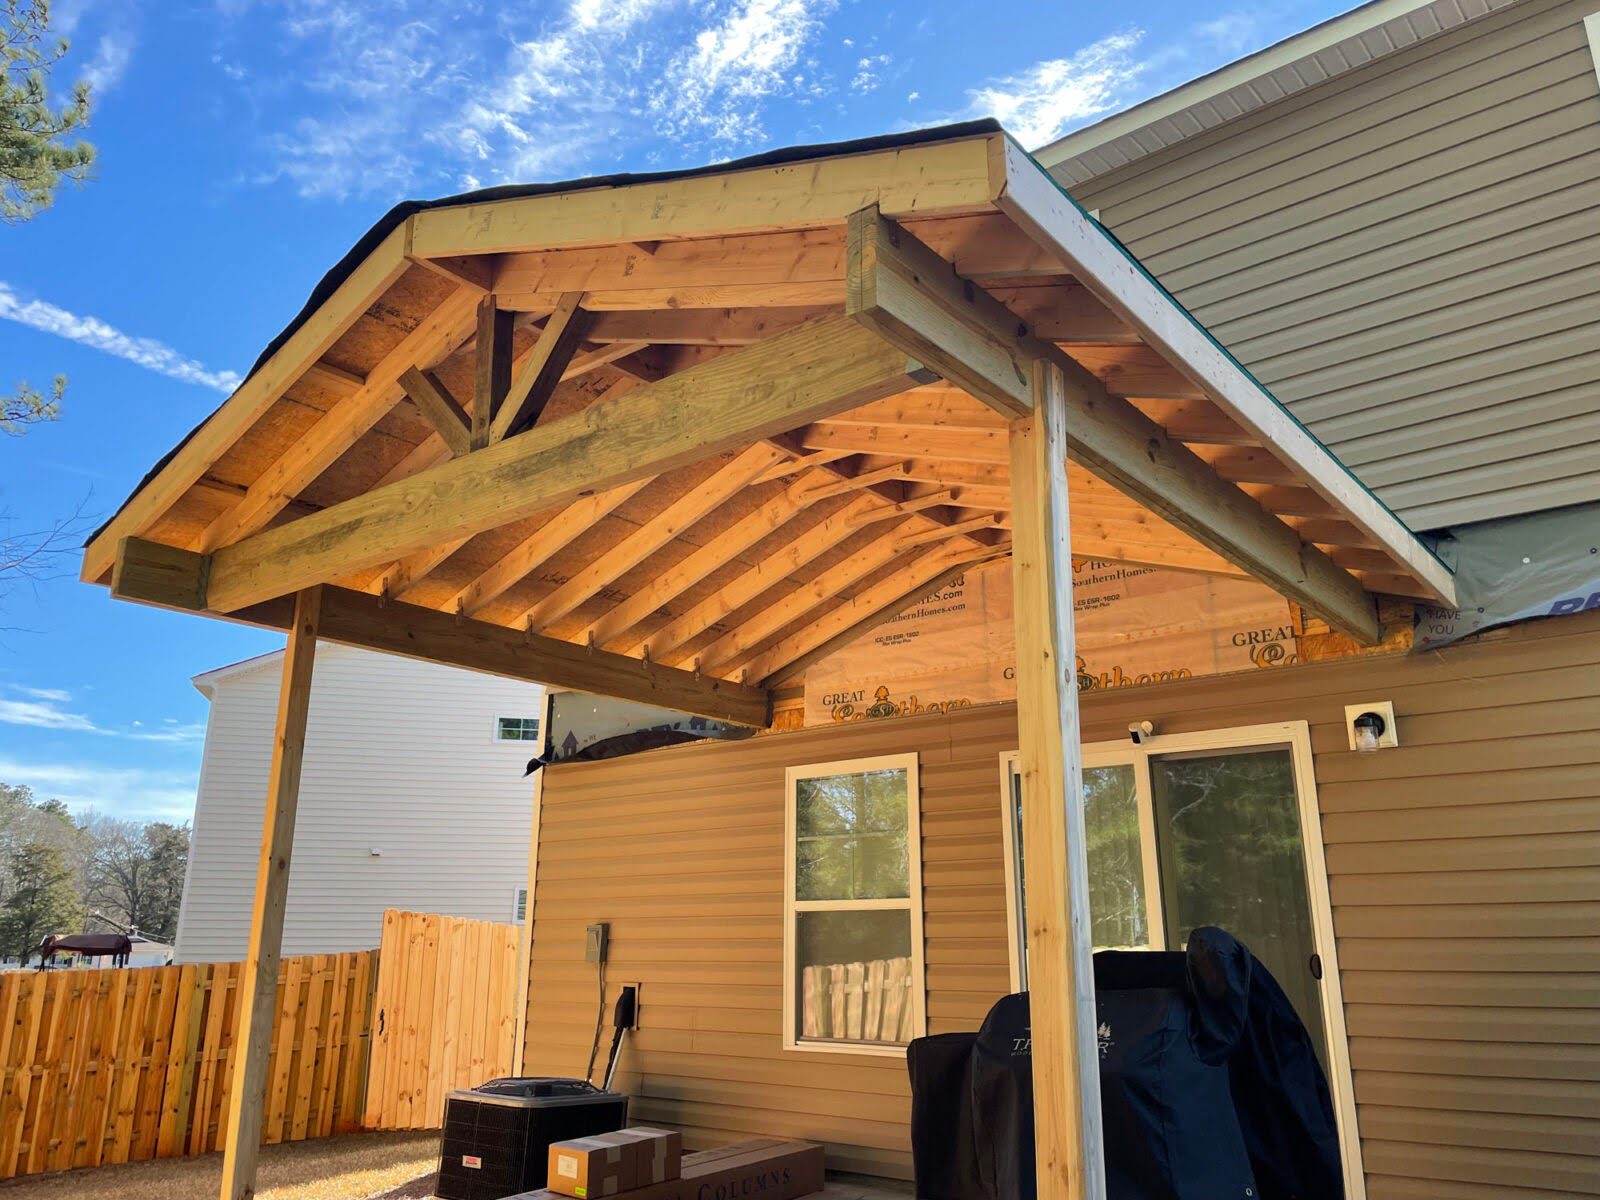
Preparing the Roof Surface
Before commencing the shingling process, it is imperative to prepare the roof surface meticulously. This preparatory phase sets the foundation for a durable and visually appealing shingle installation. Here's a detailed breakdown of the steps involved in preparing the roof surface:
Read more: What Is A Roof Shingle
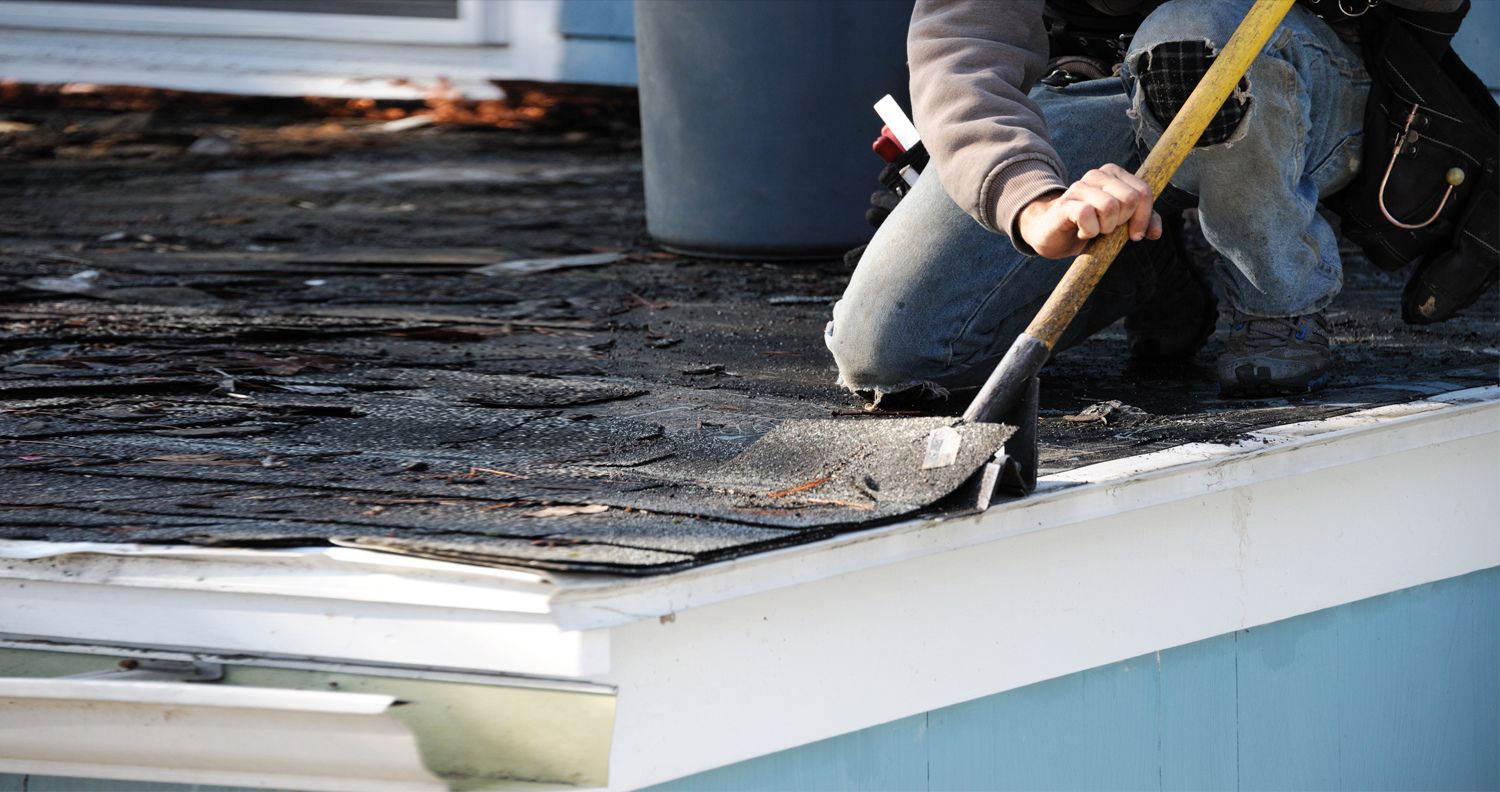
Inspection and Cleaning
Begin by conducting a thorough inspection of the roof surface to identify any existing damage, such as rot, mold, or structural issues. Address any underlying problems before proceeding with the shingling process to ensure a solid foundation for the new roof. Once the roof has been inspected and necessary repairs have been made, proceed to clean the surface. Remove any debris, dirt, or loose materials using a roofing shovel or a stiff-bristled broom. It's essential to start with a clean and debris-free surface to facilitate the smooth application of underlayment and shingles.
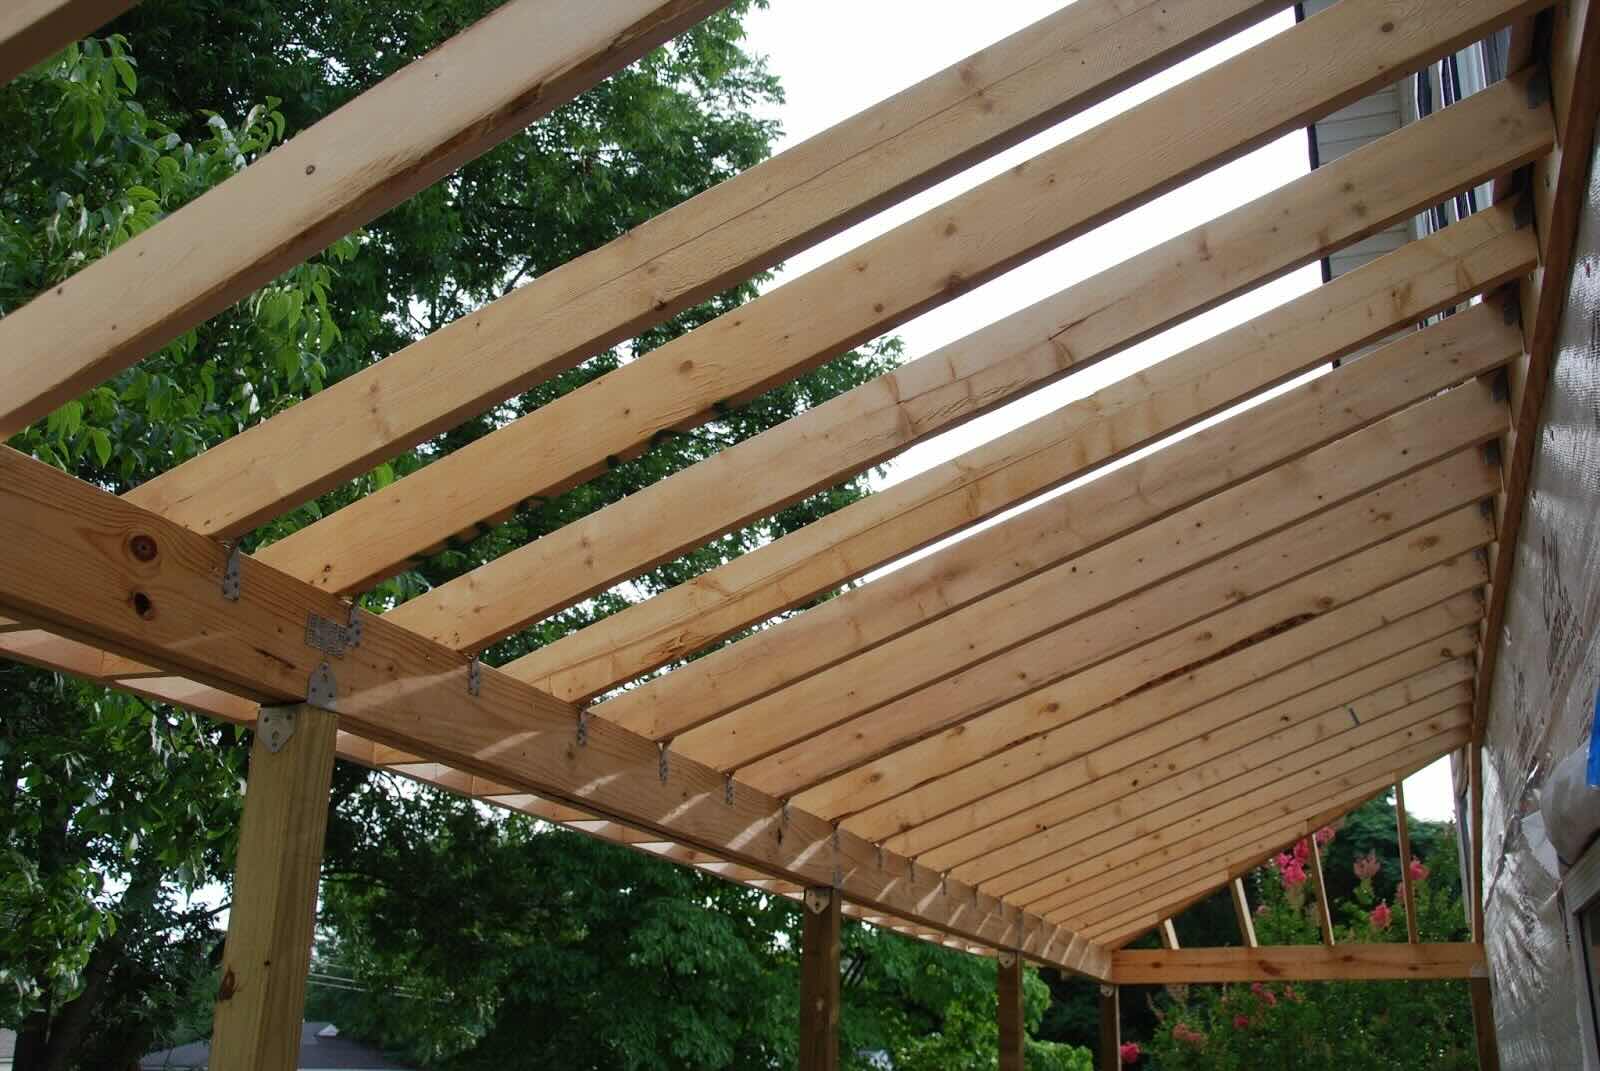
Repairing and Replacing
In the event of damaged or deteriorated sections of the roof, it is crucial to undertake timely repairs or replacements. This may involve replacing rotted or warped roof sheathing, repairing damaged flashing, or addressing any structural weaknesses. By addressing these issues proactively, you can ensure that the new shingles will be installed on a structurally sound and stable surface, enhancing their longevity and performance.
Installation of Roofing Underlayment
Once the roof surface is clean and any necessary repairs have been completed, it's time to install the roofing underlayment. This critical layer serves as an additional barrier against moisture infiltration and helps protect the roof deck from potential water damage. Begin by rolling out the underlayment material from the eaves to the ridge, ensuring that each subsequent row overlaps the previous one to prevent water seepage. Secure the underlayment in place using roofing nails, taking care to smooth out any wrinkles or air pockets to achieve a uniform and watertight underlayment installation.
Application of Roofing Adhesive
In areas prone to high winds or extreme weather conditions, it is advisable to apply roofing adhesive to certain sections of the underlayment. This extra measure helps secure the underlayment and shingles, providing added protection against wind uplift. Apply the roofing adhesive according to the manufacturer's instructions, focusing on the eaves, rake edges, and other vulnerable areas to reinforce the overall integrity of the roofing system.
By meticulously preparing the roof surface through inspection, cleaning, repairs, underlayment installation, and strategic application of roofing adhesive, you establish a solid foundation for the subsequent stages of the shingling process. This proactive approach not only enhances the structural resilience of the roof but also contributes to the overall longevity and performance of the shingle installation.
Read more: What Are The Best Roof Shingles
Installing the Drip Edge
The installation of a drip edge is a critical step in the process of shingling a gable roof. The drip edge, typically made of metal, serves as a protective barrier along the edges of the roof, effectively directing water away from the underlying materials. This essential component plays a pivotal role in safeguarding the roof structure and preventing water damage, making its proper installation paramount to the overall integrity of the roofing system.
To begin the installation of the drip edge, it is important to measure and cut the drip edge pieces to fit the dimensions of the roof. The drip edge should overhang the roof and eaves slightly, allowing water to drip away from the fascia and preventing it from seeping underneath the roofing materials. Careful attention should be given to ensure that the drip edge pieces are accurately sized and positioned for optimal functionality.
Once the drip edge pieces have been cut to size, they are secured in place along the eaves of the roof. Starting from one end, the drip edge is positioned with the flange facing outward and nailed into place using roofing nails. It is crucial to maintain a consistent overhang and alignment as each section of the drip edge is affixed, ensuring a uniform and effective water-shedding mechanism along the roof's perimeter.
In addition to the eaves, the installation of the drip edge along the gable edges is equally important. The drip edge is carefully positioned and secured along the gable edges, providing comprehensive protection and a cohesive finish to the roof structure. Attention to detail during this process is essential to ensure that the drip edge forms a seamless and watertight barrier, effectively channeling water away from vulnerable areas.
By meticulously installing the drip edge, you establish a robust defense against water infiltration and contribute to the overall resilience of the roof. This proactive measure not only enhances the functionality of the roofing system but also adds a professional touch to the visual appeal of the gable roof. The drip edge serves as a testament to the meticulous attention to detail and commitment to quality that defines a well-executed shingling project.
In summary, the installation of the drip edge is a fundamental aspect of shingling a gable roof, offering vital protection against water damage and contributing to the overall durability and performance of the roof structure. By ensuring the precise and secure installation of the drip edge, you lay the groundwork for a resilient and visually striking roof that stands the test of time.
Applying Underlayment
The application of roofing underlayment is a pivotal step in the process of shingling a gable roof, serving as a crucial layer of defense against moisture infiltration and contributing to the overall resilience of the roofing system. This essential material acts as a secondary barrier, providing protection to the roof deck and interior of the home against potential water damage.
To commence the application of underlayment, it is imperative to ensure that the roof surface is clean and free of debris. Any protrusions or irregularities should be addressed to create a smooth and uniform substrate for the underlayment. Once the surface preparation is complete, the underlayment material is rolled out from the eaves to the ridge, with each subsequent row overlapping the previous one to prevent water seepage. This overlapping technique is crucial in creating a watertight seal and safeguarding the underlying roof structure.
As the underlayment is rolled out, it is essential to secure it in place using roofing nails, ensuring that the material is taut and free of wrinkles or air pockets. Proper fastening of the underlayment is critical to its effectiveness in providing a protective barrier against moisture. Additionally, attention should be given to the perimeter and edges of the roof, where the underlayment is meticulously trimmed and secured to ensure comprehensive coverage and a seamless transition between sections.
In areas prone to high winds or extreme weather conditions, the strategic application of roofing adhesive further enhances the integrity of the underlayment. This additional measure helps secure the underlayment and provides added protection against wind uplift, reinforcing the overall durability of the roofing system.
By meticulously applying the underlayment, you establish a robust foundation for the subsequent stages of the shingling process. This proactive approach not only fortifies the roof against potential water damage but also contributes to the overall longevity and performance of the shingle installation. The underlayment serves as a critical line of defense, underscoring the meticulous attention to detail and commitment to quality that defines a well-executed shingling project.
In summary, the application of roofing underlayment is a fundamental aspect of shingling a gable roof, playing a vital role in protecting the roof structure and interior of the home from moisture infiltration. By ensuring the precise installation and comprehensive coverage of the underlayment, you lay the groundwork for a resilient and visually appealing roof that withstands the elements with confidence.
Installing the Starter Shingles
The installation of starter shingles marks a pivotal phase in the process of shingling a gable roof, setting the stage for the systematic placement of the primary shingle rows. These specialized shingles play a crucial role in establishing a secure and uniform foundation for the entire roofing system, ensuring optimal performance and visual appeal.
To initiate the installation of starter shingles, it is essential to begin at the eaves of the roof, positioning the starter shingles with the adhesive strip facing up and the overhang extending beyond the edge. This overhang is designed to facilitate water runoff and prevent moisture from infiltrating the underlying materials, contributing to the overall weather resistance of the roof.
As each starter shingle is meticulously positioned along the eaves, it is secured in place using roofing nails, ensuring a snug and secure fit. Careful attention should be given to maintain a consistent overhang and alignment, creating a uniform and visually appealing edge that sets the stage for the subsequent shingle layers.
In addition to the eaves, the installation of starter shingles along the gable edges is equally crucial. These shingles are carefully positioned and affixed, providing a seamless transition and comprehensive coverage along the roof's perimeter. The meticulous placement of starter shingles along the gable edges contributes to the overall structural integrity and visual cohesiveness of the roof, underscoring the attention to detail inherent in a well-executed shingling project.
By methodically installing the starter shingles, you establish a solid foundation for the subsequent layers of shingles, ensuring a secure and durable roofing system. This proactive approach not only enhances the overall resilience of the roof but also contributes to its visual appeal, setting the stage for a professional-quality finish that withstands the test of time.
In summary, the installation of starter shingles is a fundamental aspect of shingling a gable roof, laying the groundwork for a robust and visually striking roofing system. By ensuring the precise placement and secure fastening of the starter shingles, you set the stage for a resilient and aesthetically pleasing roof that exemplifies meticulous craftsmanship and attention to detail.
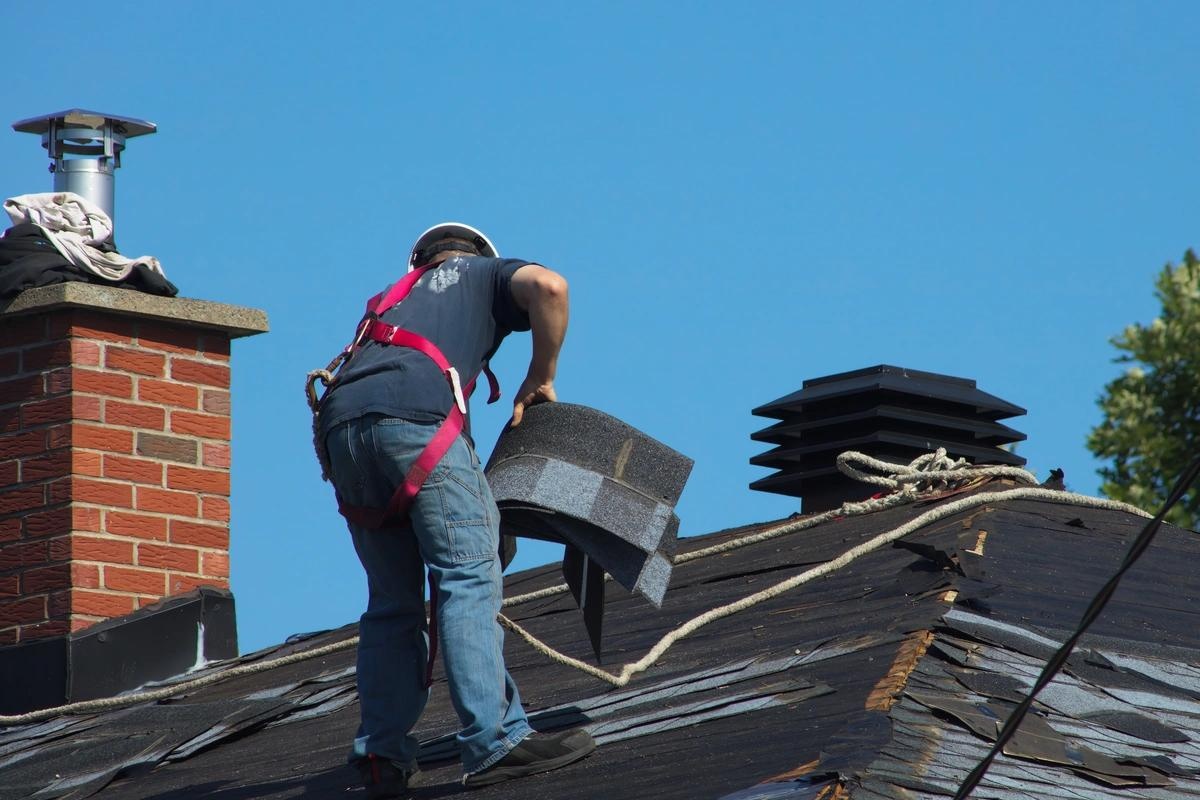
Shingling the Roof
With the preparatory stages completed, it's time to embark on the meticulous process of shingling the gable roof. This phase demands precision, attention to detail, and a methodical approach to ensure a durable and visually appealing finish. The systematic placement of individual shingles forms the protective barrier that shields the roof from the elements, making it a critical aspect of the overall shingling process.
Commencing from the bottom edge of the roof, the first row of shingles is carefully positioned, ensuring a slight overhang at the eaves to facilitate water runoff. Each shingle is secured in place using roofing nails, with consistent spacing to create a uniform and visually pleasing pattern. As the first row is completed, subsequent rows of shingles are methodically installed, with each overlapping the one below it to prevent water infiltration and create a watertight seal.
Attention to detail is paramount during the shingling process, with a focus on maintaining straight and uniform lines. The use of a chalk line can aid in creating guidelines for precise shingle placement, ensuring a professional-quality finish. Additionally, the strategic staggering of shingle joints further enhances the weather resistance of the roof, minimizing the risk of water penetration and reinforcing the overall integrity of the shingle installation.
As the shingling progresses up the roof, special care should be given to areas such as valleys, ridges, and roof penetrations. These areas require meticulous shingle placement and trimming to ensure comprehensive coverage and a seamless transition between sections. Properly addressing these critical areas contributes to the overall resilience of the roof and elevates the visual cohesiveness of the shingle installation.
Throughout the shingling process, it's essential to remain mindful of safety considerations, particularly when working at heights. Adhering to proper ladder safety practices and using appropriate personal protective equipment is crucial to ensuring a secure and incident-free work environment.
By approaching the shingling process with precision and a keen eye for detail, you can create a resilient and visually striking roof that enhances the overall appeal and protection of your home. The systematic placement of shingles forms the backbone of a well-executed shingling project, showcasing the dedication to craftsmanship and the pursuit of excellence in home renovation.
When shingling a gable roof, start at the bottom and work your way up, overlapping the shingles to prevent leaks. Use a chalk line for straight rows.
Read more: How To Install Cedar Shingles On A Gable End
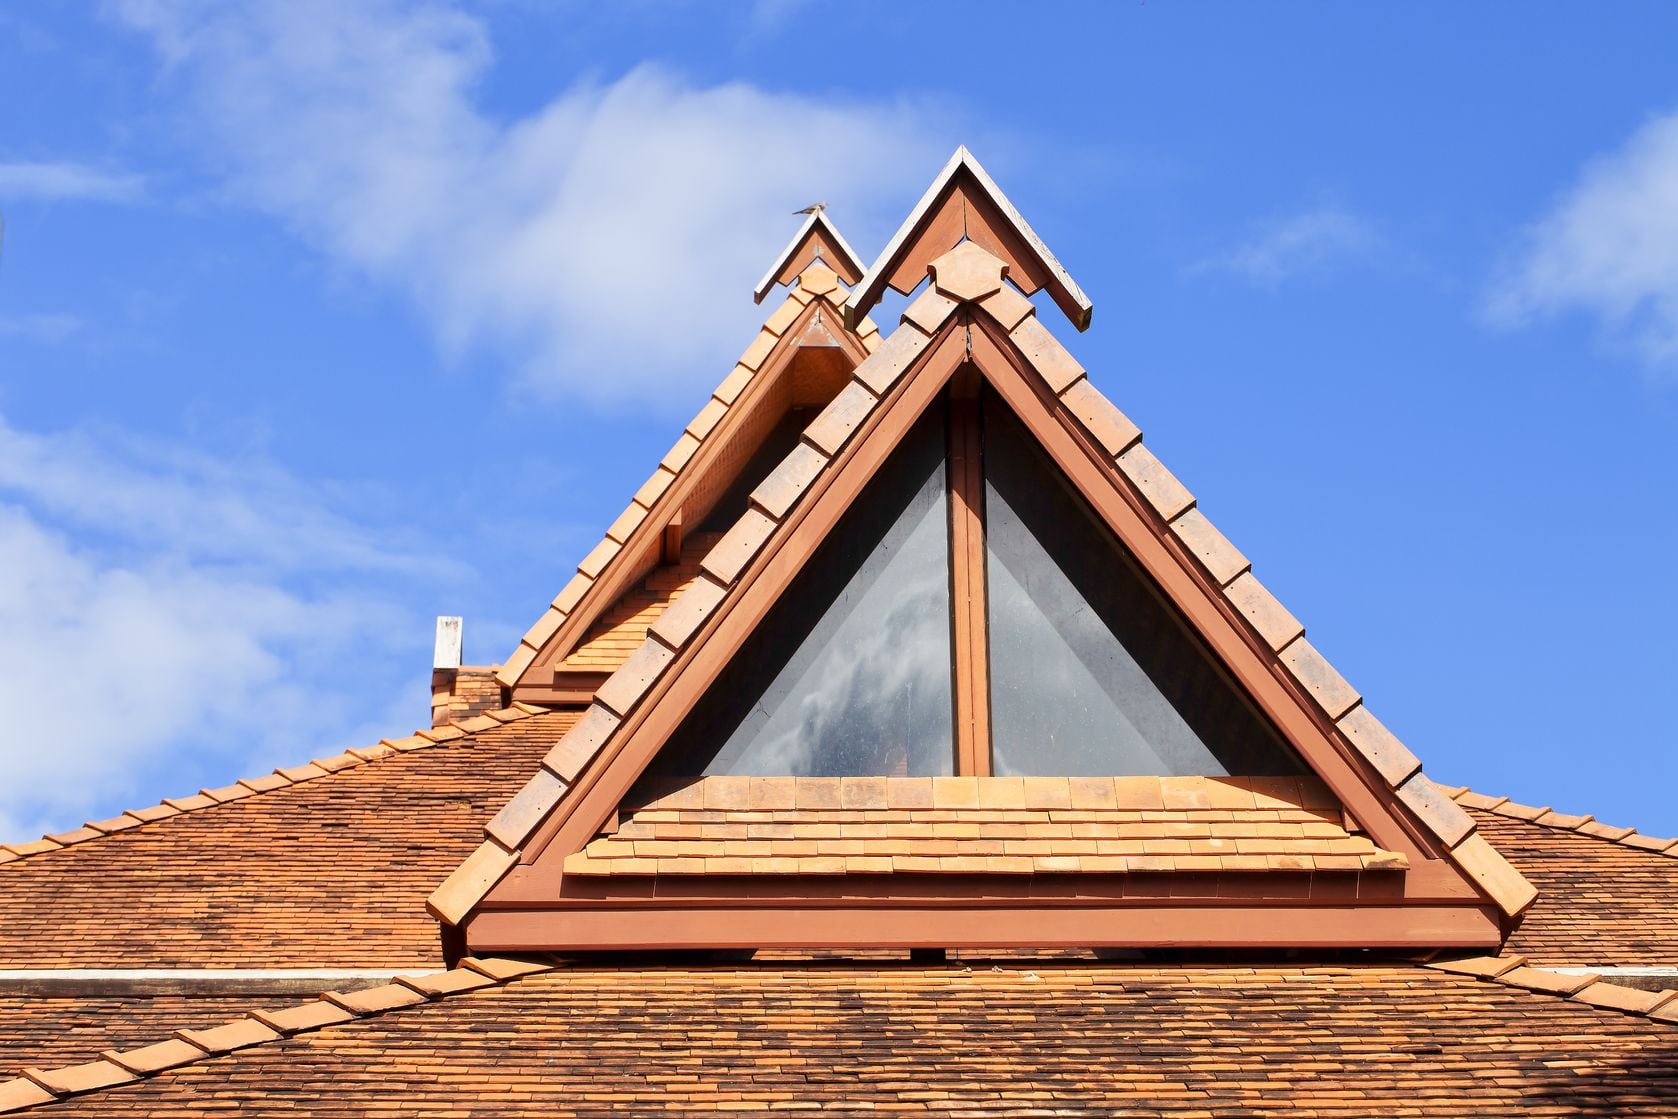
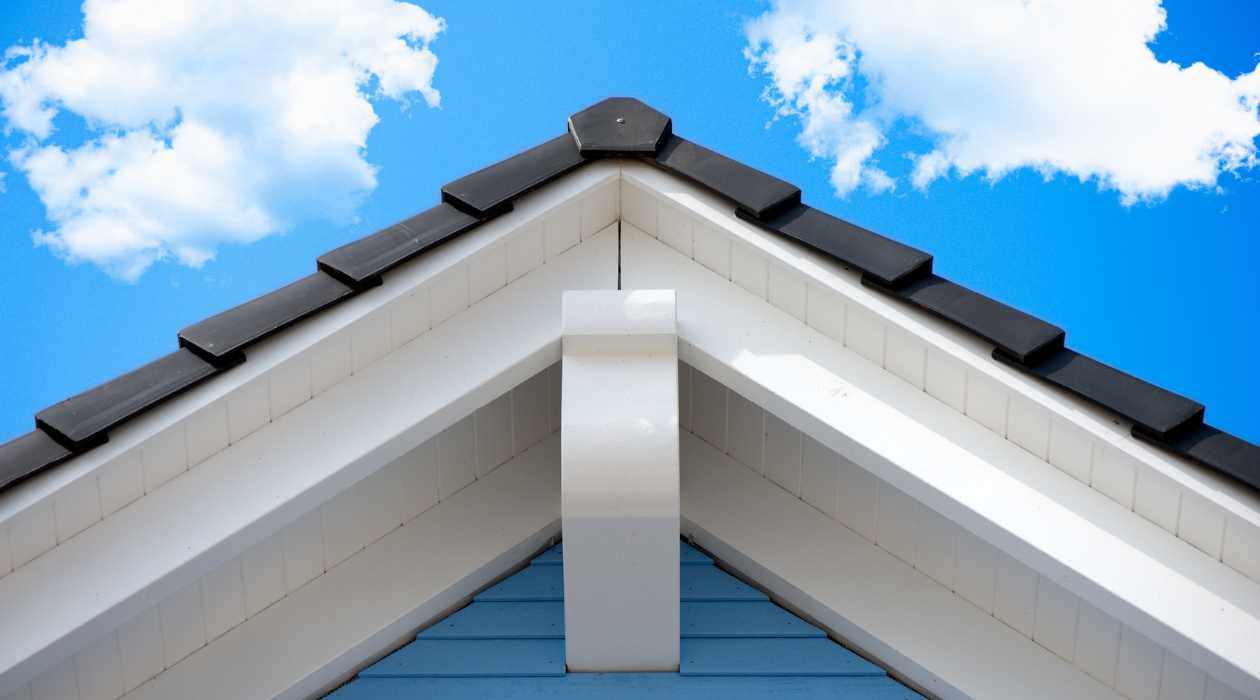
Finishing the Ridge and Hip Lines
The final phase of shingling a gable roof involves the meticulous attention to the ridge and hip lines, where the intersecting planes of the roof meet to form a cohesive and weather-resistant structure. This critical stage not only contributes to the visual cohesiveness of the roof but also plays a pivotal role in reinforcing the overall integrity of the shingle installation.
To commence the finishing of the ridge and hip lines, specialized ridge and hip shingles are employed to create a seamless transition and provide comprehensive coverage along these critical areas. These shingles are designed with a distinct profile that allows them to conform to the contours of the roof, ensuring a secure fit and a uniform appearance. The installation of ridge and hip shingles involves the careful placement and secure fastening of these specialized components, creating a durable and visually appealing finish that enhances the overall aesthetic of the roof.
In addition to the placement of ridge and hip shingles, the application of ridge caps further fortifies the ridge line, providing an additional layer of protection and a polished appearance. These caps are specifically designed to cover the ridge shingles, creating a watertight seal and safeguarding this vulnerable area from potential water infiltration. The strategic installation of ridge caps not only enhances the weather resistance of the roof but also adds a professional touch to the overall finish, elevating the visual appeal of the gable roof.
Similarly, the hip lines, where the planes of the roof intersect at an angle, require meticulous attention to detail. Specialized hip caps are utilized to cover and protect these areas, ensuring a seamless transition and comprehensive coverage. The installation of hip caps contributes to the overall resilience of the roof, reinforcing the vulnerable hip lines and enhancing the structural integrity of the shingle installation.
By dedicating careful attention to the finishing of the ridge and hip lines, you not only complete the visual cohesiveness of the roof but also fortify its resilience against the elements. This proactive approach underscores the commitment to quality and precision that defines a well-executed shingling project, culminating in a durable and visually striking gable roof that stands as a testament to meticulous craftsmanship and attention to detail.
Frequently Asked Questions about How To Shingle A Gable Roof
Was this page helpful?
At Storables.com, we guarantee accurate and reliable information. Our content, validated by Expert Board Contributors, is crafted following stringent Editorial Policies. We're committed to providing you with well-researched, expert-backed insights for all your informational needs.

0 thoughts on “How To Shingle A Gable Roof”