Articles
How To Install 3-Tab Roof Shingles
Modified: August 31, 2024
Learn step-by-step instructions and useful tips in our articles on how to install 3-tab roof shingles for a durable and cost-effective roofing solution.
(Many of the links in this article redirect to a specific reviewed product. Your purchase of these products through affiliate links helps to generate commission for Storables.com, at no extra cost. Learn more)
Introduction
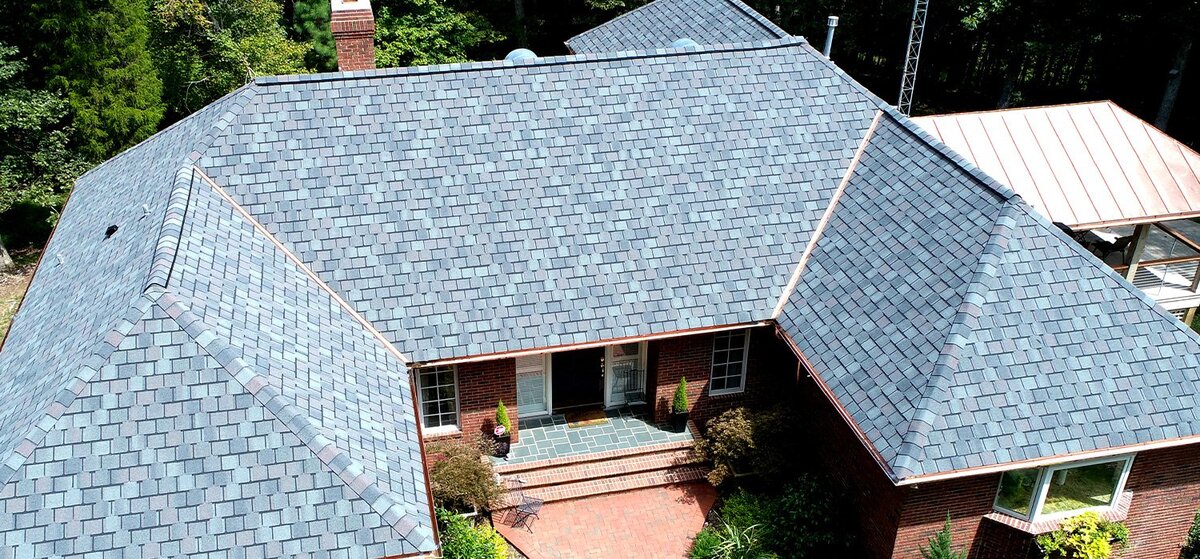
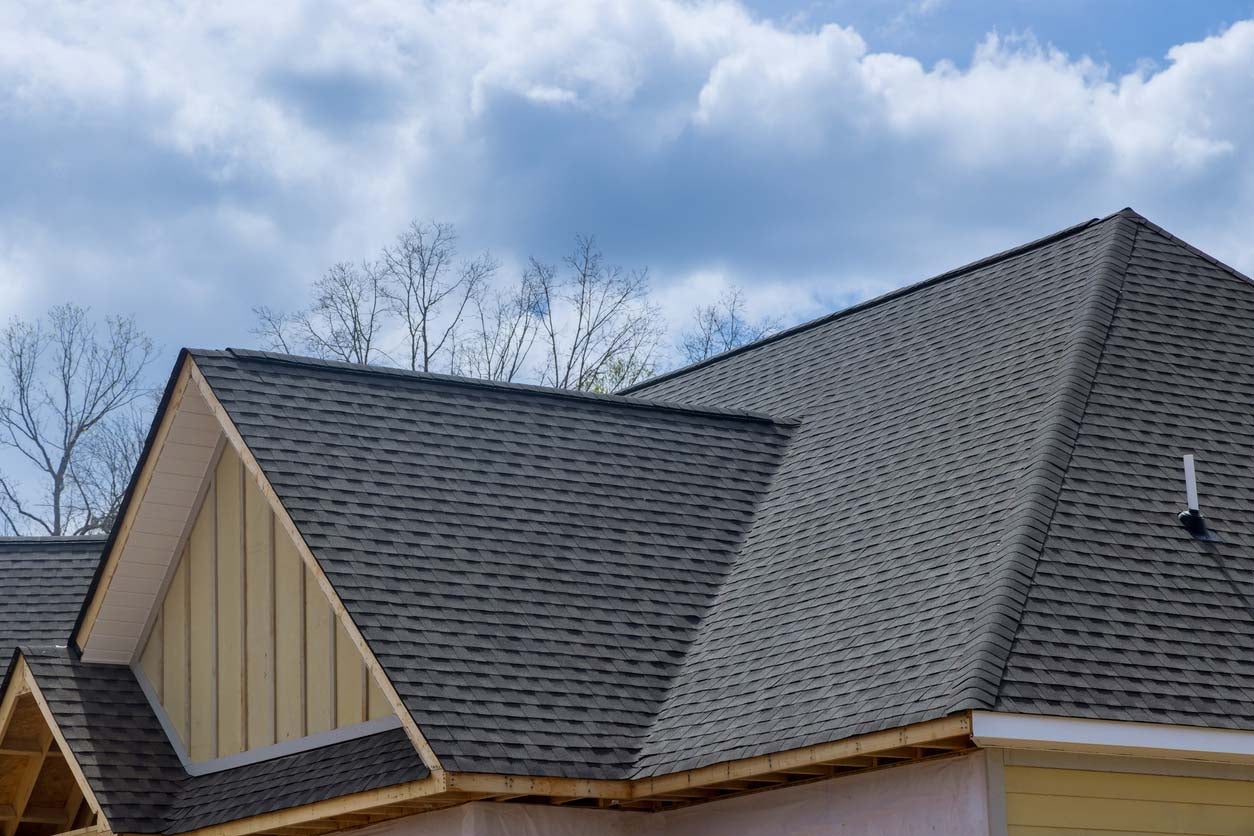
Installing 3-tab roof shingles is a great way to protect your home from the elements while also enhancing its aesthetic appeal. Whether you’re a seasoned DIY enthusiast or a homeowner tackling a roofing project for the first time, this comprehensive guide will walk you through the step-by-step process of installing 3-tab roof shingles.
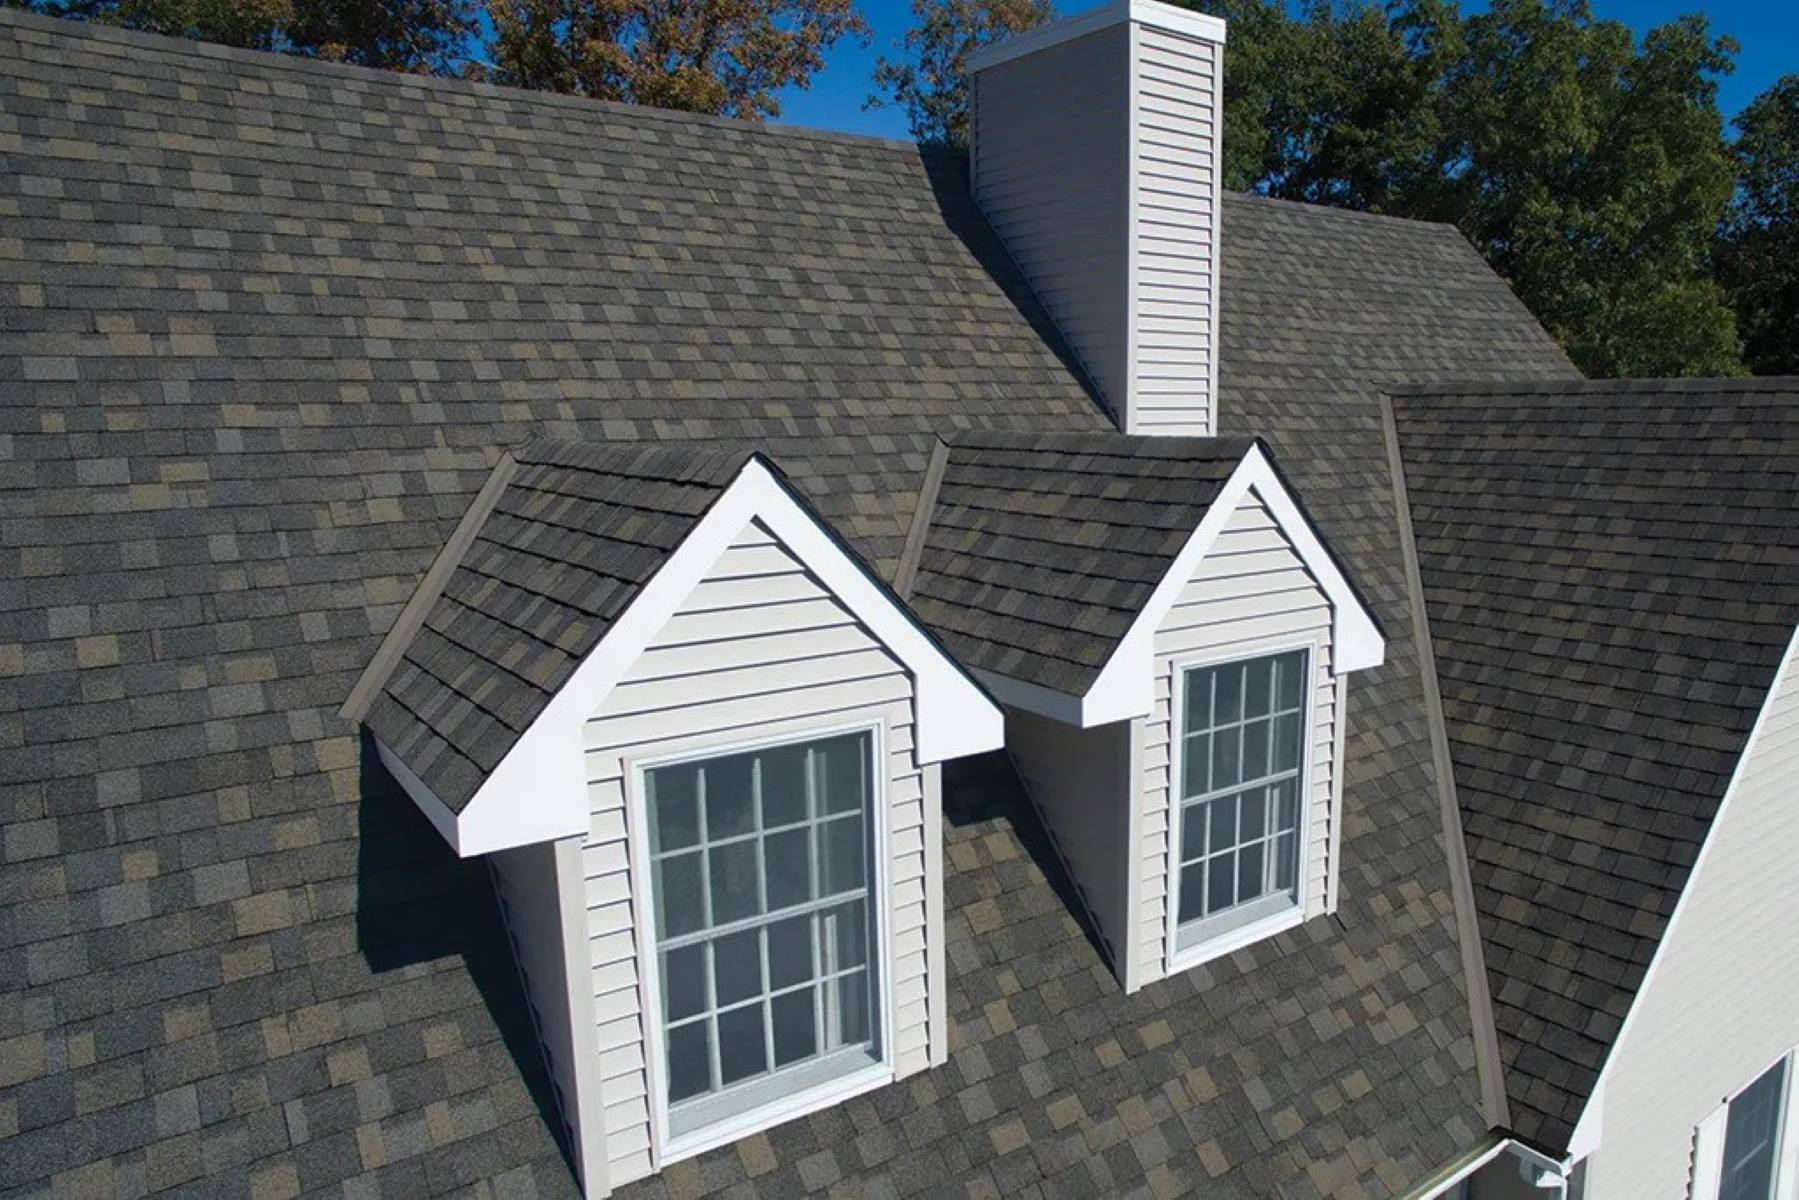
Before we dive into the installation process, let’s briefly discuss what 3-tab roof shingles are and why they’re a popular choice for residential roofs. 3-tab shingles are a type of asphalt shingle that is designed to resemble the appearance of traditional slate or wood shingles. They are known for their affordability, durability, and ease of installation, making them a popular choice among homeowners.
Now, let’s gather our tools and materials and get ready to install some 3-tab roof shingles!
Key Takeaways:
- Installing 3-tab roof shingles is a DIY-friendly project that can enhance your home’s protection and aesthetic appeal. With proper preparation, precise installation, and attention to detail, you can achieve a durable and visually appealing roof.
- Prioritize safety, precision, and clean-up when installing 3-tab roof shingles. Whether you’re a seasoned DIY enthusiast or seeking professional assistance, a well-installed roof adds value and enhances your home’s overall appearance.
Read more: How To Install A Metal Roof Over Shingles
Step 1: Gather the necessary tools and materials
Before you begin the installation process, it’s essential to gather all the tools and materials you’ll need. Here’s a list of the items you should have on hand:
- 3-tab roof shingles
- Roofing nails
- Roofing felt or synthetic underlayment
- Drip edge
- Ridge cap shingles
- Caulk or roofing adhesive
- Roofing nails
- Ladder
- Hammer
- Tape measure
- Roofing knife
- Safety glasses
- Gloves
Ensure that you have all the necessary tools and materials before starting the installation. This will make the process smoother and more efficient.
It’s also important to prioritize safety during the installation process. Make sure you have a sturdy ladder and wear safety glasses and gloves to protect yourself from any potential hazards.
Once you’ve gathered all the tools and materials and have made the necessary safety preparations, you’re ready to move on to the next step: preparing the roof.
Step 2: Prepare the roof
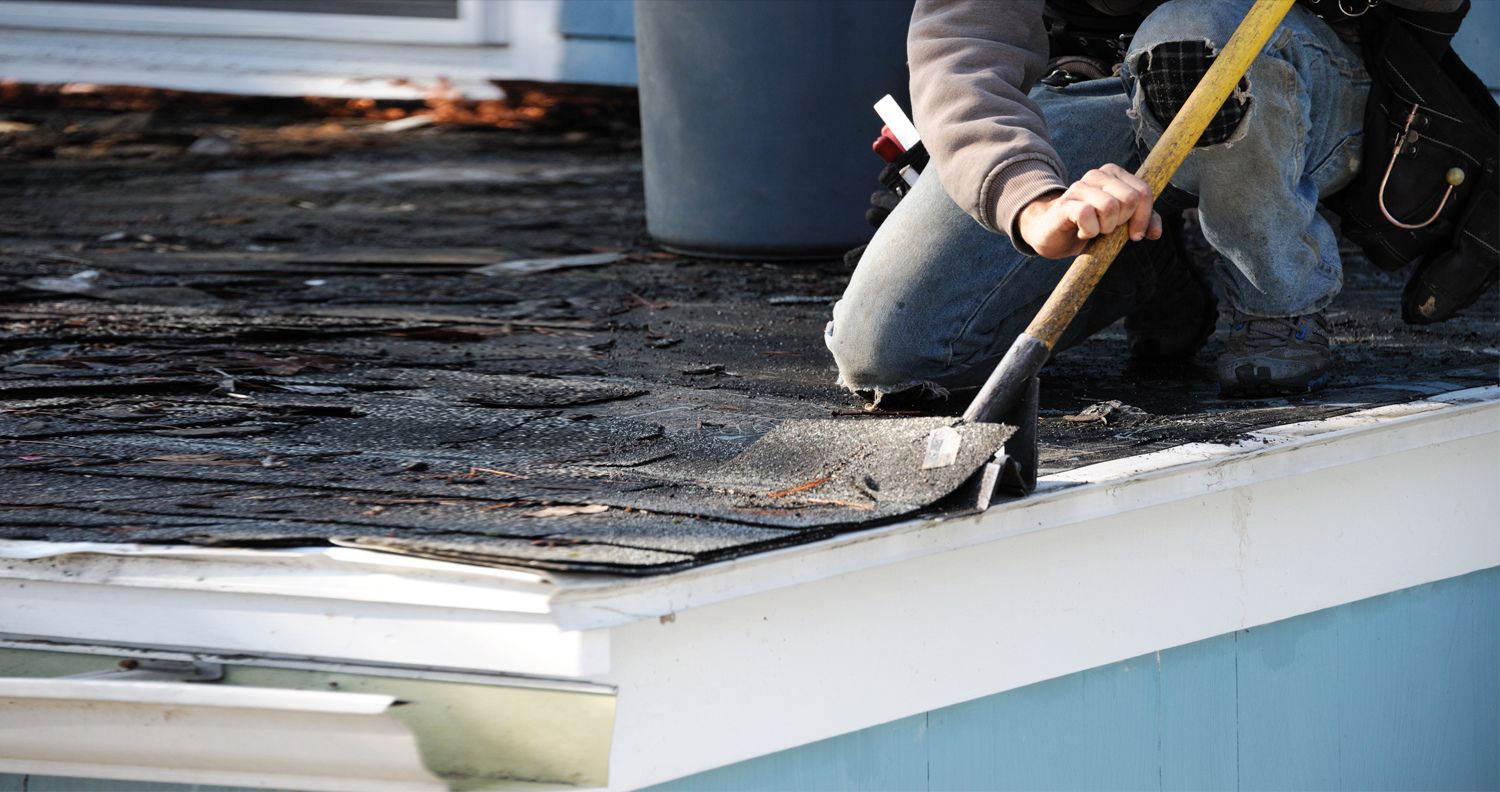
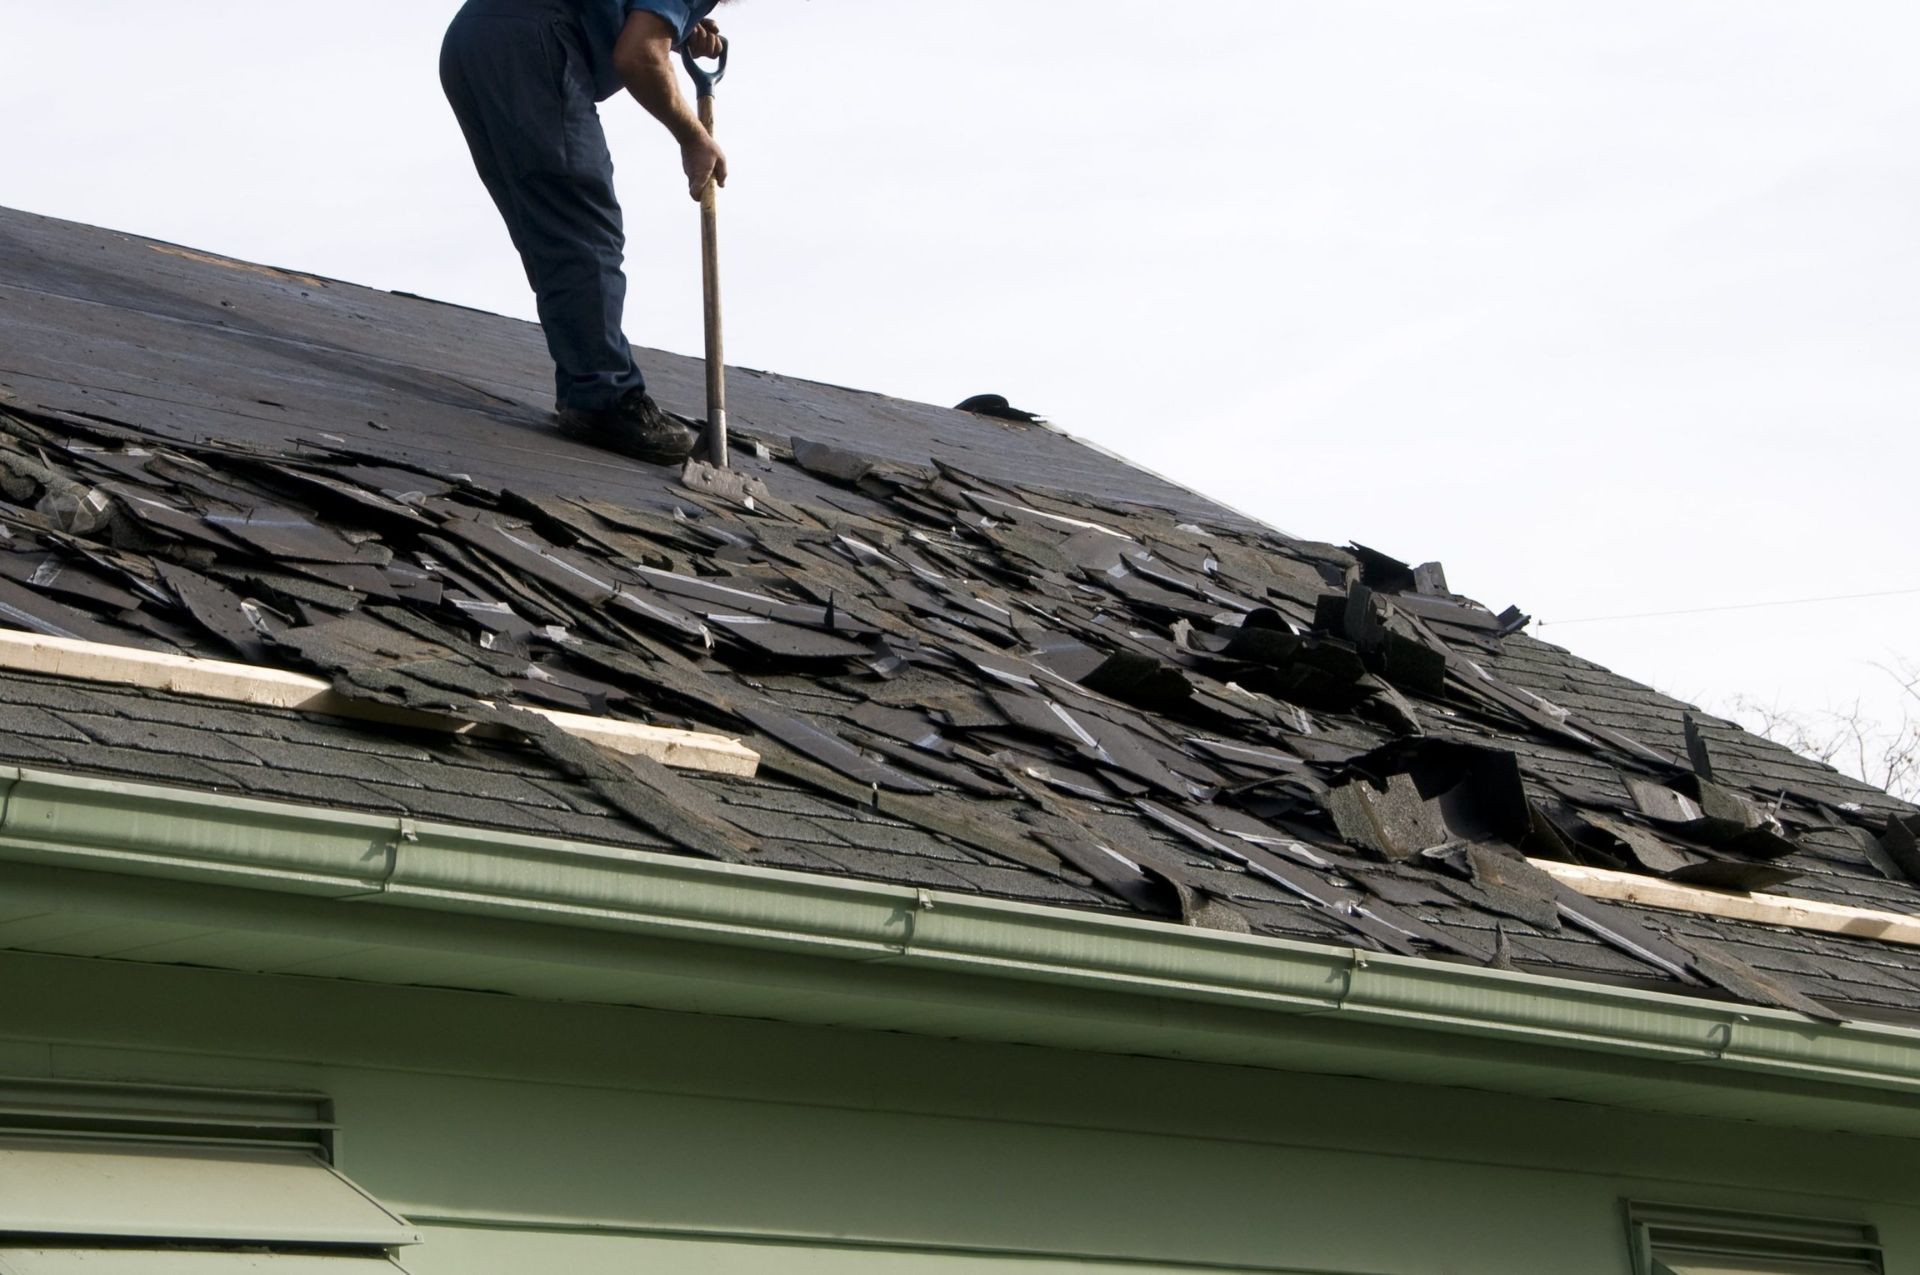
Before installing 3-tab roof shingles, it’s crucial to properly prepare the roof to ensure a smooth and successful installation.
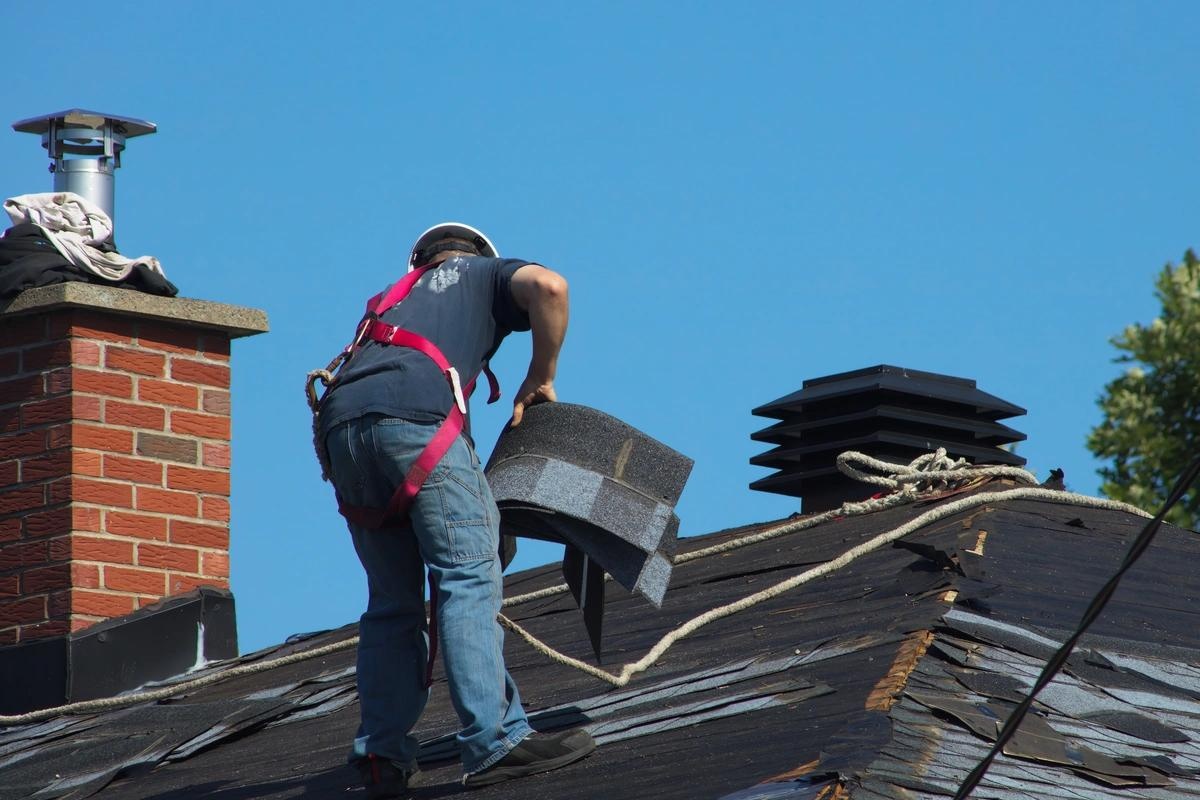
Start by removing any old or damaged shingles from the roof. Use a roofing shovel or a pry bar to carefully lift the shingles and nails, taking care not to damage the roof deck in the process.
Once the old shingles are removed, inspect the roof deck for any signs of damage or rot. Replace any damaged or rotten sections and make sure the roof deck is clean and free of debris.
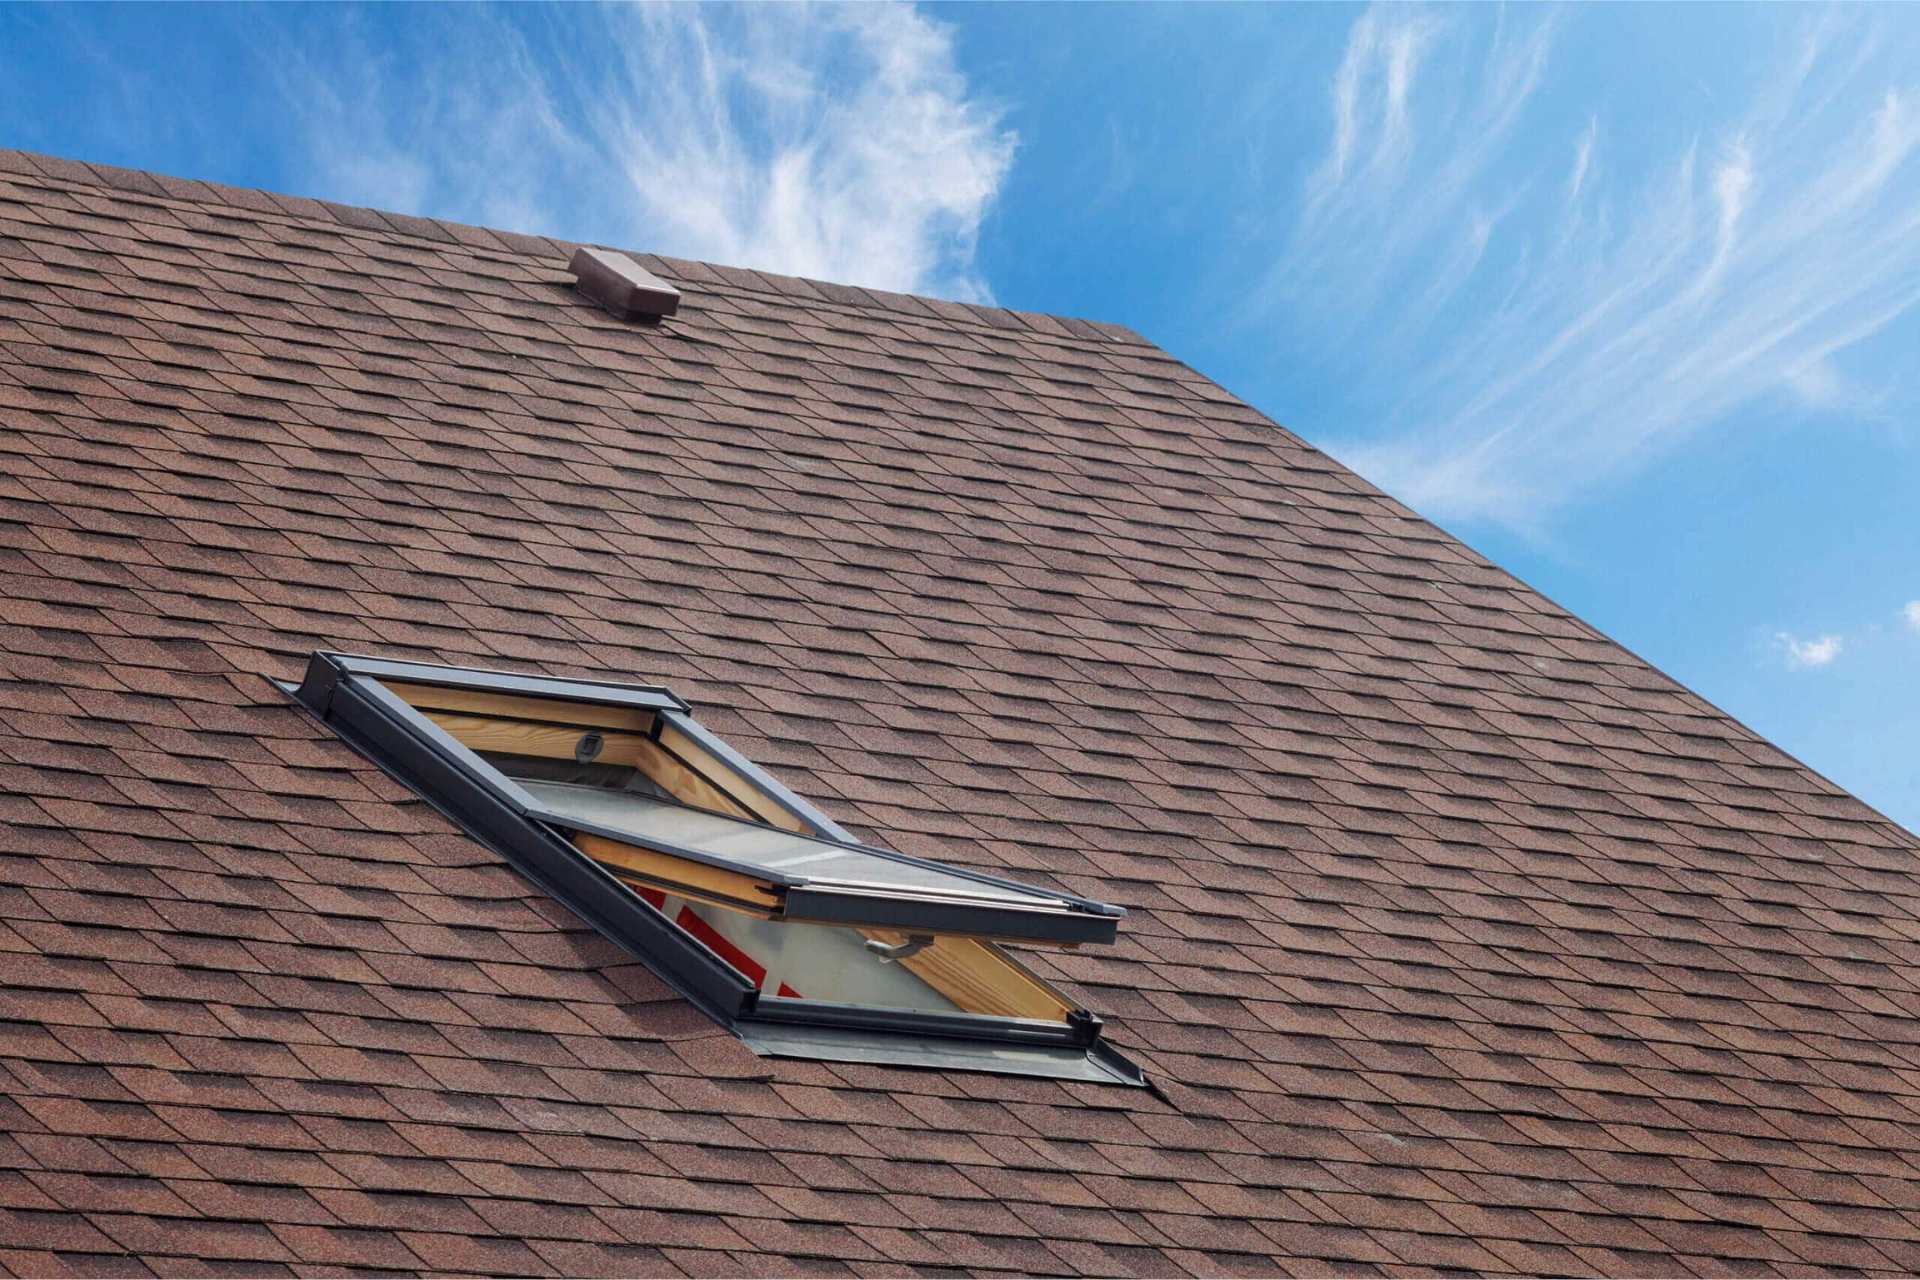
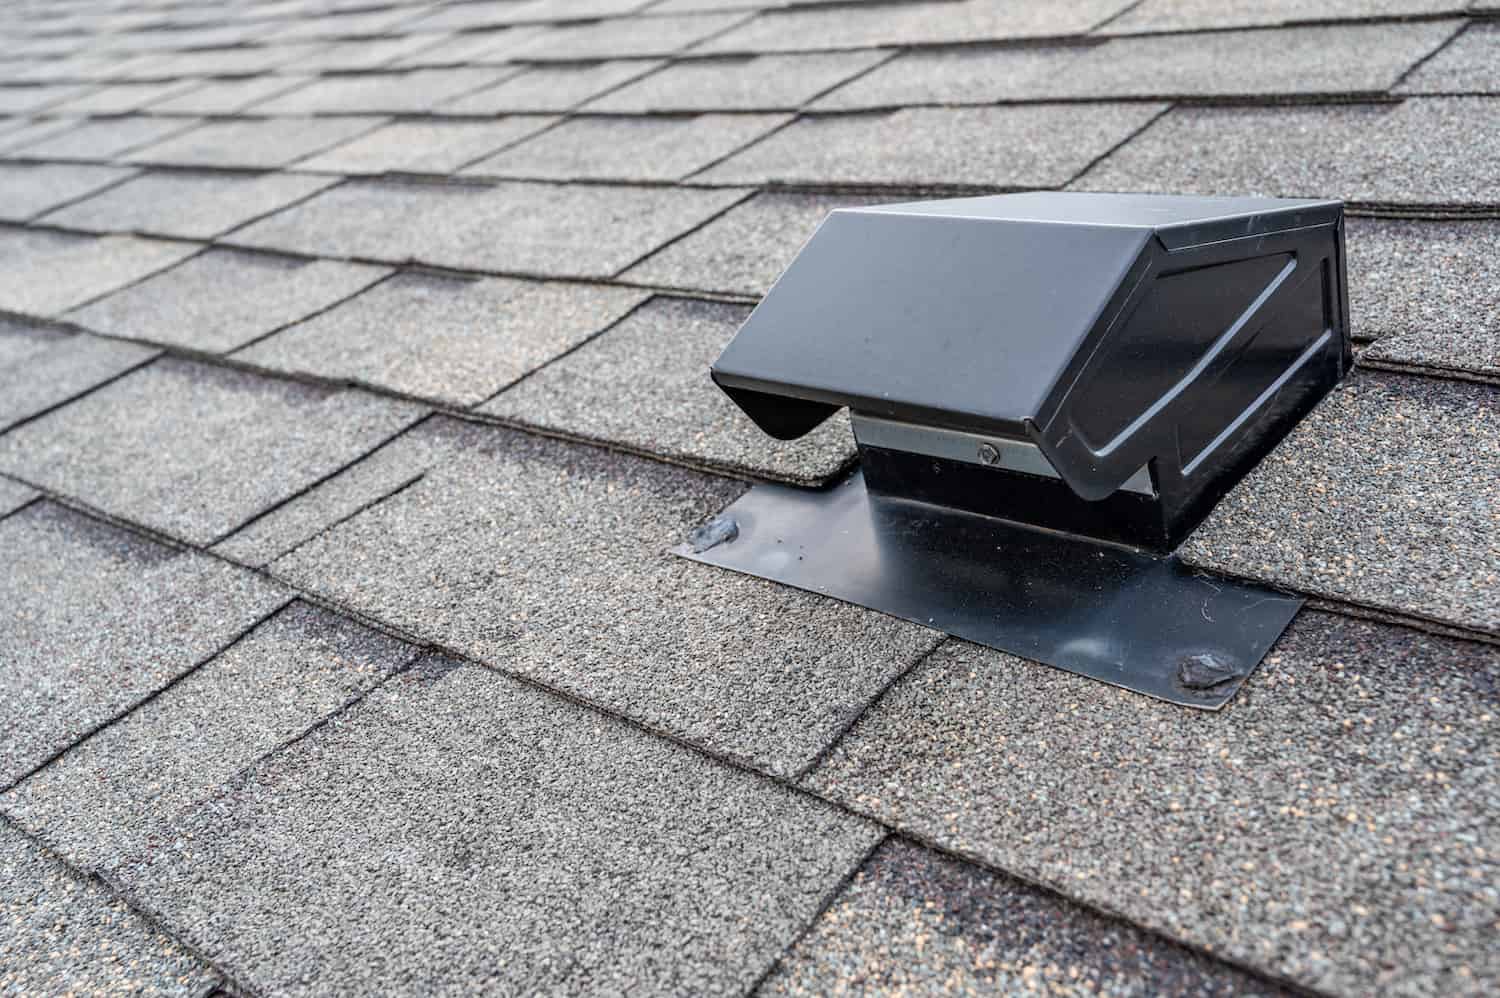
Next, inspect the roof for any protrusions such as vent pipes or chimneys. Apply a layer of roofing felt or synthetic underlayment around these areas to create a waterproof barrier.
Afterwards, install a drip edge along the eaves of the roof. The drip edge helps to prevent water from seeping into the fascia and causing damage. Secure the drip edge in place using roofing nails.
Once these preparations are complete, your roof is now ready for the installation of the 3-tab roof shingles. In the next step, we will lay the underlayment to provide an additional layer of protection.
Step 3: Install drip edge
Installing a drip edge is an important step in ensuring the longevity and effectiveness of your roof. The drip edge helps to redirect water away from the fascia and prevent water damage.
To install the drip edge, follow these steps:
- Start at a bottom corner of the roof and position the drip edge along the edge of the roof. The longer end of the drip edge should extend over the eaves, while the shorter end should run along the roof deck.
- Secure the drip edge in place by using roofing nails. Place the nails approximately every 6 inches, ensuring that they penetrate the roof deck securely.
- Continue installing the drip edge along the entire perimeter of the roof, overlapping each section by about an inch.
- If you reach a corner, cut the drip edge at a 45-degree angle to ensure a neat and secure fit.
It’s important to ensure that the drip edge is properly installed and securely fastened to the roof. This will help to prevent water infiltration and protect the underlying structure of the roof.
Once the drip edge is installed, you’re ready to move on to the next step: laying the underlayment. The underlayment provides an additional layer of protection against water and helps to prolong the lifespan of the shingles.
Step 4: Lay the underlayment
The underlayment is an essential component of the roofing system as it provides an additional layer of protection against water infiltration. It acts as a barrier between the shingles and the roof deck, preventing moisture from seeping through and causing damage.
To lay the underlayment, follow these steps:
- Start at the bottom edge of the roof and roll out the underlayment horizontally. Ensure that each subsequent row overlaps the previous one by approximately 6 inches. This overlapping helps to create a watertight seal.
- Attach the underlayment to the roof deck using roofing nails or staples. Space the fasteners approximately 12 inches apart along the edges and 18 inches apart in the center of the underlayment sheets.
- Continue laying the underlayment along the entire roof, working your way up towards the ridge.
- If you come across any protrusions such as vents or chimneys, make sure to cut the underlayment to fit around them. Use a utility knife to make precise cuts, ensuring a proper fit.
It’s important to ensure that the underlayment is installed correctly and securely fastened to the roof deck. This will provide a solid foundation for the 3-tab roof shingles and help to prevent water damage.
Once the underlayment is in place, you’re now ready to move on to the next step: cutting the shingles to size. This step is crucial for achieving a professional and polished look for your roof.
Read more: What Is A Roof Shingle
Step 5: Cut the shingles
Before you begin installing the 3-tab roof shingles, you’ll need to cut them to the appropriate size to fit the roof’s dimensions. Cutting the shingles accurately is crucial for achieving a professional and seamless appearance.
Here’s how to cut the shingles:
- Measure the length of the roof from the eave to the ridge. Use a tape measure to get an accurate measurement.
- Mark the measurement on the bottom edge of a shingle using a pencil or a marker.
- Using a roofing knife, carefully cut along the marked line. Make sure to apply steady pressure while cutting to ensure a clean and straight cut.
- Repeat this process for each shingle, ensuring that they are all cut to the same length.
- For the starter shingles, which are installed along the bottom edge of the roof, cut off the tabs to create a straight edge.
It’s important to take your time and be precise when cutting the shingles. This will ensure that they fit snugly and neatly on the roof, creating a visually appealing and durable roof surface.
Now that your shingles are cut to size, it’s time to install the starter strip, which will serve as the first row of shingles along the bottom edge of the roof. This step is essential for creating a stable and weather-resistant roof system.
When installing 3-tab roof shingles, make sure to start at the bottom edge of the roof and work your way up, overlapping each row to ensure proper water drainage. Use roofing nails to secure the shingles in place, following the manufacturer’s guidelines for spacing and placement.
Step 6: Install the starter strip
The starter strip is the first row of shingles installed along the bottom edge of the roof. It provides a solid foundation for the rest of the shingle installation and helps to ensure a secure and weather-resistant roof system.
Here’s how to install the starter strip:
- Measure the length of the roof and cut the starter strip to the appropriate size. It should be the same length as the shingles.
- Align the starter strip along the eave of the roof, ensuring that it overhangs the edge by about half an inch.
- Nail the starter strip in place using roofing nails. Place the nails approximately 6-8 inches apart and about an inch above the bottom edge of the starter strip.
- Continue installing the starter strip along the entire length of the eave.
The starter strip provides a straight edge for the first row of shingles and creates a secure base for the rest of the shingle installation. It also helps to prevent wind damage and provides a clean and professional appearance.
Now that the starter strip is in place, you’re ready to begin installing the 3-tab roof shingles. In the next step, we will cover the process of installing the shingles row by row.
Step 7: Begin installing shingles
With the starter strip in place, it’s time to start installing the 3-tab roof shingles. This step-by-step process will guide you through the proper technique for a successful installation.
- Start at the bottom edge of the roof and position the first shingle with the tabs facing up. Leave a small gap, approximately 1/8 to 1/4 inch, between each shingle to allow for expansion.
- Nail the shingle in place using roofing nails. Place the nails just below the tab cutouts, making sure to drive them through the shingle and into the roof deck.
- Continue installing the shingles in a row along the bottom edge of the roof, overlapping each shingle by about 6 inches. This overlapping pattern helps to create a waterproof barrier.
- As you move up the roof, make sure to stagger the shingles, so the cutouts of one row line up with the tabs of the next row. This will create a visually appealing and secure pattern.
- Trim the last shingle in each row to fit if necessary. Measure and mark the desired cut line and use a roofing knife to make a clean cut.
- Repeat the process for each row of shingles, ensuring that each row overlaps the previous row correctly.
It’s important to take your time and ensure that each shingle is properly aligned and securely nailed in place. This will help to create a durable and visually appealing roof.
Continue installing the shingles row by row until you reach the top of the roof. In the next step, we will discuss the importance of adhesive strips and how to apply them during the installation process.
Step 8: Apply adhesive strips
Applying adhesive strips to the back of the shingles is an important step in ensuring the longevity and stability of the roof. The adhesive strips provide an extra layer of protection against wind uplift and help to keep the shingles securely in place.
Here’s how to apply adhesive strips:
- Flip the shingle over so that the tabs are facing down.
- Peel off the backing of the adhesive strip, exposing the sticky surface.
- Press the adhesive strip firmly onto the back of the shingle, ensuring that it aligns with the edge.
- Repeat this process for each shingle, making sure to apply the adhesive strip to the correct area.
Applying adhesive strips is especially important in areas prone to high winds or severe weather. The adhesive helps to create a strong bond between the shingles, minimizing the risk of them lifting or becoming loose.
As you continue installing the shingles, make sure to follow the manufacturer’s guidelines regarding the placement of adhesive strips. This will ensure that the adhesive is applied in the correct areas for maximum effectiveness.
Now that you’ve applied the adhesive strips, you’re ready to move on to the final step: installing the ridge cap shingles to complete the roof installation.
Read more: How To Shingle A Gable Roof
Step 9: Install ridge cap shingles
The ridge cap shingles are the finishing touch to your roof installation. They are specifically designed to cover and protect the ridge, the highest point of the roof where the two slopes meet.
Here’s how to install ridge cap shingles:
- Measure the length of the ridge and cut the first ridge cap shingle to size. It should be slightly wider than the width of the ridge.
- Position the first ridge cap shingle at one end of the ridge, allowing it to overhang the edge by about an inch.
- Nail the ridge cap shingle in place, driving the nails through the overlapping section into the roof deck.
- Continue installing the ridge cap shingles in a row along the length of the ridge, overlapping each shingle by about 6 inches.
- Trim the last ridge cap shingle to fit if necessary, ensuring that it aligns with the end of the ridge.
- Apply roofing adhesive to the underside of the ridge cap shingles to provide extra security and prevent uplift in windy conditions.
Installing ridge cap shingles not only provides a finished look to your roof, but it also helps to protect the vulnerable ridge area from water intrusion and wind damage.
Ensure that the ridge cap shingles are properly aligned and securely fastened to the roof to create a tight seal. This will help to maintain the integrity of your roof for years to come.
With the ridge cap shingles installed, your roof installation is almost complete. The final step involves some finishing touches and a thorough clean-up process.
Step 10: Final touches and clean up
Congratulations! You’ve reached the final step of installing 3-tab roof shingles. Although the bulk of the work is done, it’s important to pay attention to the finishing touches and clean up to ensure a polished and professional result.
Here are a few tasks to complete:
- Inspect the entire roof to ensure that all the shingles are securely fastened and properly aligned. If any shingles appear loose or out of place, use roofing nails to secure them.
- Trim any excess overhanging shingle edges using a roofing knife or a pair of heavy-duty scissors. This will give your roof a neat and tidy appearance.
- Remove any debris or loose shingle granules from the roof surface. This can be done using a broom, leaf blower, or a roof rake. Ensure that the gutters and downspouts are clear of any debris as well.
- Inspect the surrounding areas of your property to ensure that no nails or shingle remnants have fallen to the ground. Pick up any stray nails or debris to prevent any accidents or damage.
- Take a step back and admire your newly installed 3-tab roof shingles! Bask in the satisfaction of a job well done.
By giving attention to these final touches and completing a thorough clean up, you can ensure that your roof not only functions effectively but also looks visually appealing.
Remember to adhere to proper safety precautions during the entire installation process and seek professional assistance if needed. A well-maintained and properly installed 3-tab roof will provide years of protection and peace of mind for you and your home.
With this final step, your installation of 3-tab roof shingles is complete. Enjoy the security, durability, and aesthetic appeal that your new roof brings to your home!
Conclusion
Installing 3-tab roof shingles is a rewarding and cost-effective way to protect your home and enhance its curb appeal. By following the step-by-step process outlined in this guide, you can successfully install 3-tab roof shingles and enjoy a durable, weather-resistant roof for years to come.
We began by gathering the necessary tools and materials, ensuring that we had everything we needed for a smooth installation. We then prepared the roof by removing old shingles, inspecting the roof deck, and installing a drip edge to redirect water away from the fascia.
Next, we laid the underlayment to provide an additional layer of protection, followed by cutting the shingles to size for a proper fit. Installing the starter strip provided a solid foundation for the rest of the shingle installation.
We then moved on to actually installing the shingles, row by row, applying adhesive strips to ensure a secure bond and prevent wind uplift. Finally, we installed the ridge cap shingles to complete the roof installation.
Throughout the process, we emphasized the importance of safety, precision, and attention to detail. We also highlighted the significance of clean-up and the finishing touches to achieve a polished and professional result.
By taking the time to properly install 3-tab roof shingles, you are not only protecting your home but also adding value and enhancing its overall appearance. Don’t be afraid to tackle this project yourself, armed with the knowledge gained from this guide and the right tools.
However, if you are uncomfortable with the installation process or have a complex roof structure, it’s always a good idea to consult with roofing professionals who can ensure a flawless installation.
Remember, a well-installed roof not only offers protection from the elements but also adds aesthetic appeal and value to your home. So, gather your tools and materials, follow the steps outlined in this guide, and enjoy the benefits of a sturdy and beautiful 3-tab roof!
Frequently Asked Questions about How To Install 3-Tab Roof Shingles
Was this page helpful?
At Storables.com, we guarantee accurate and reliable information. Our content, validated by Expert Board Contributors, is crafted following stringent Editorial Policies. We're committed to providing you with well-researched, expert-backed insights for all your informational needs.


0 thoughts on “How To Install 3-Tab Roof Shingles”