Articles
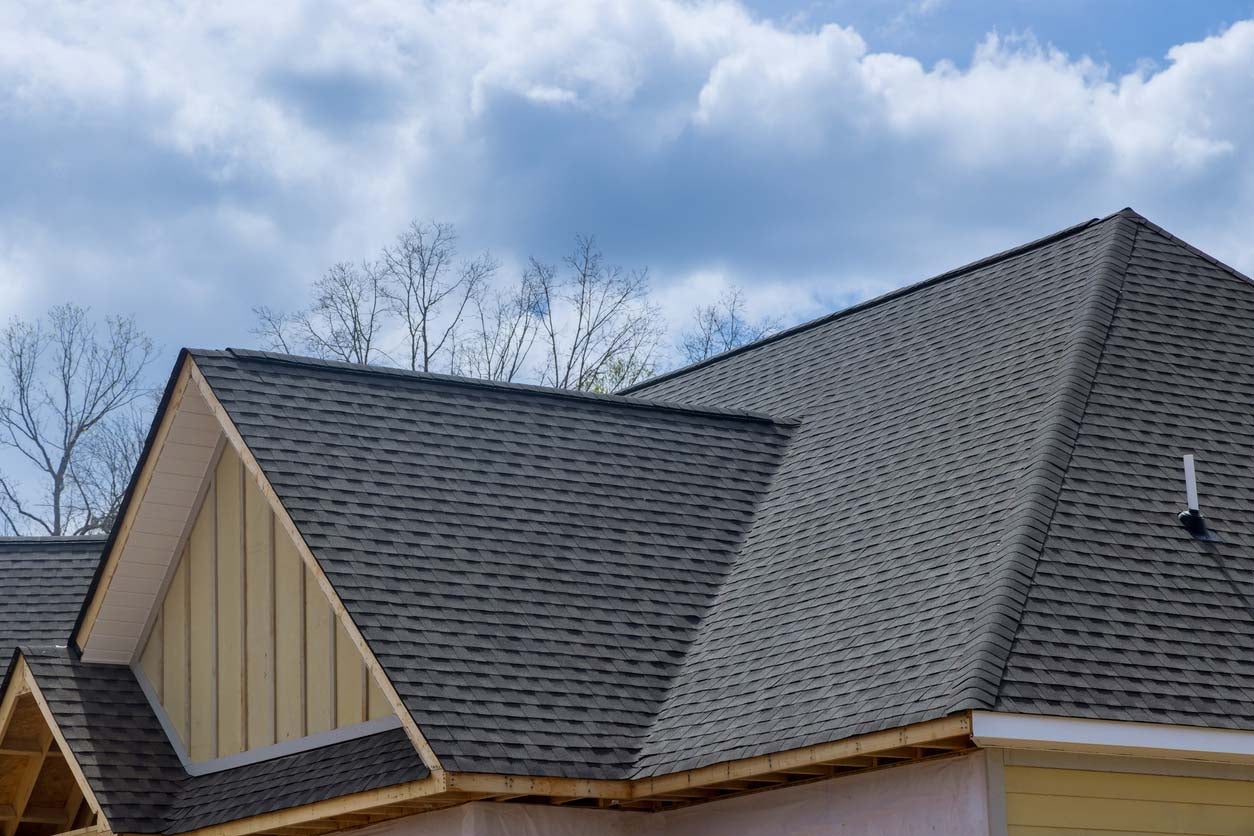
How To Figure Shingles For A Roof
Modified: December 7, 2023
Learn how to accurately calculate the number of shingles needed for your roofing project with our informative articles.
(Many of the links in this article redirect to a specific reviewed product. Your purchase of these products through affiliate links helps to generate commission for Storables.com, at no extra cost. Learn more)
Introduction
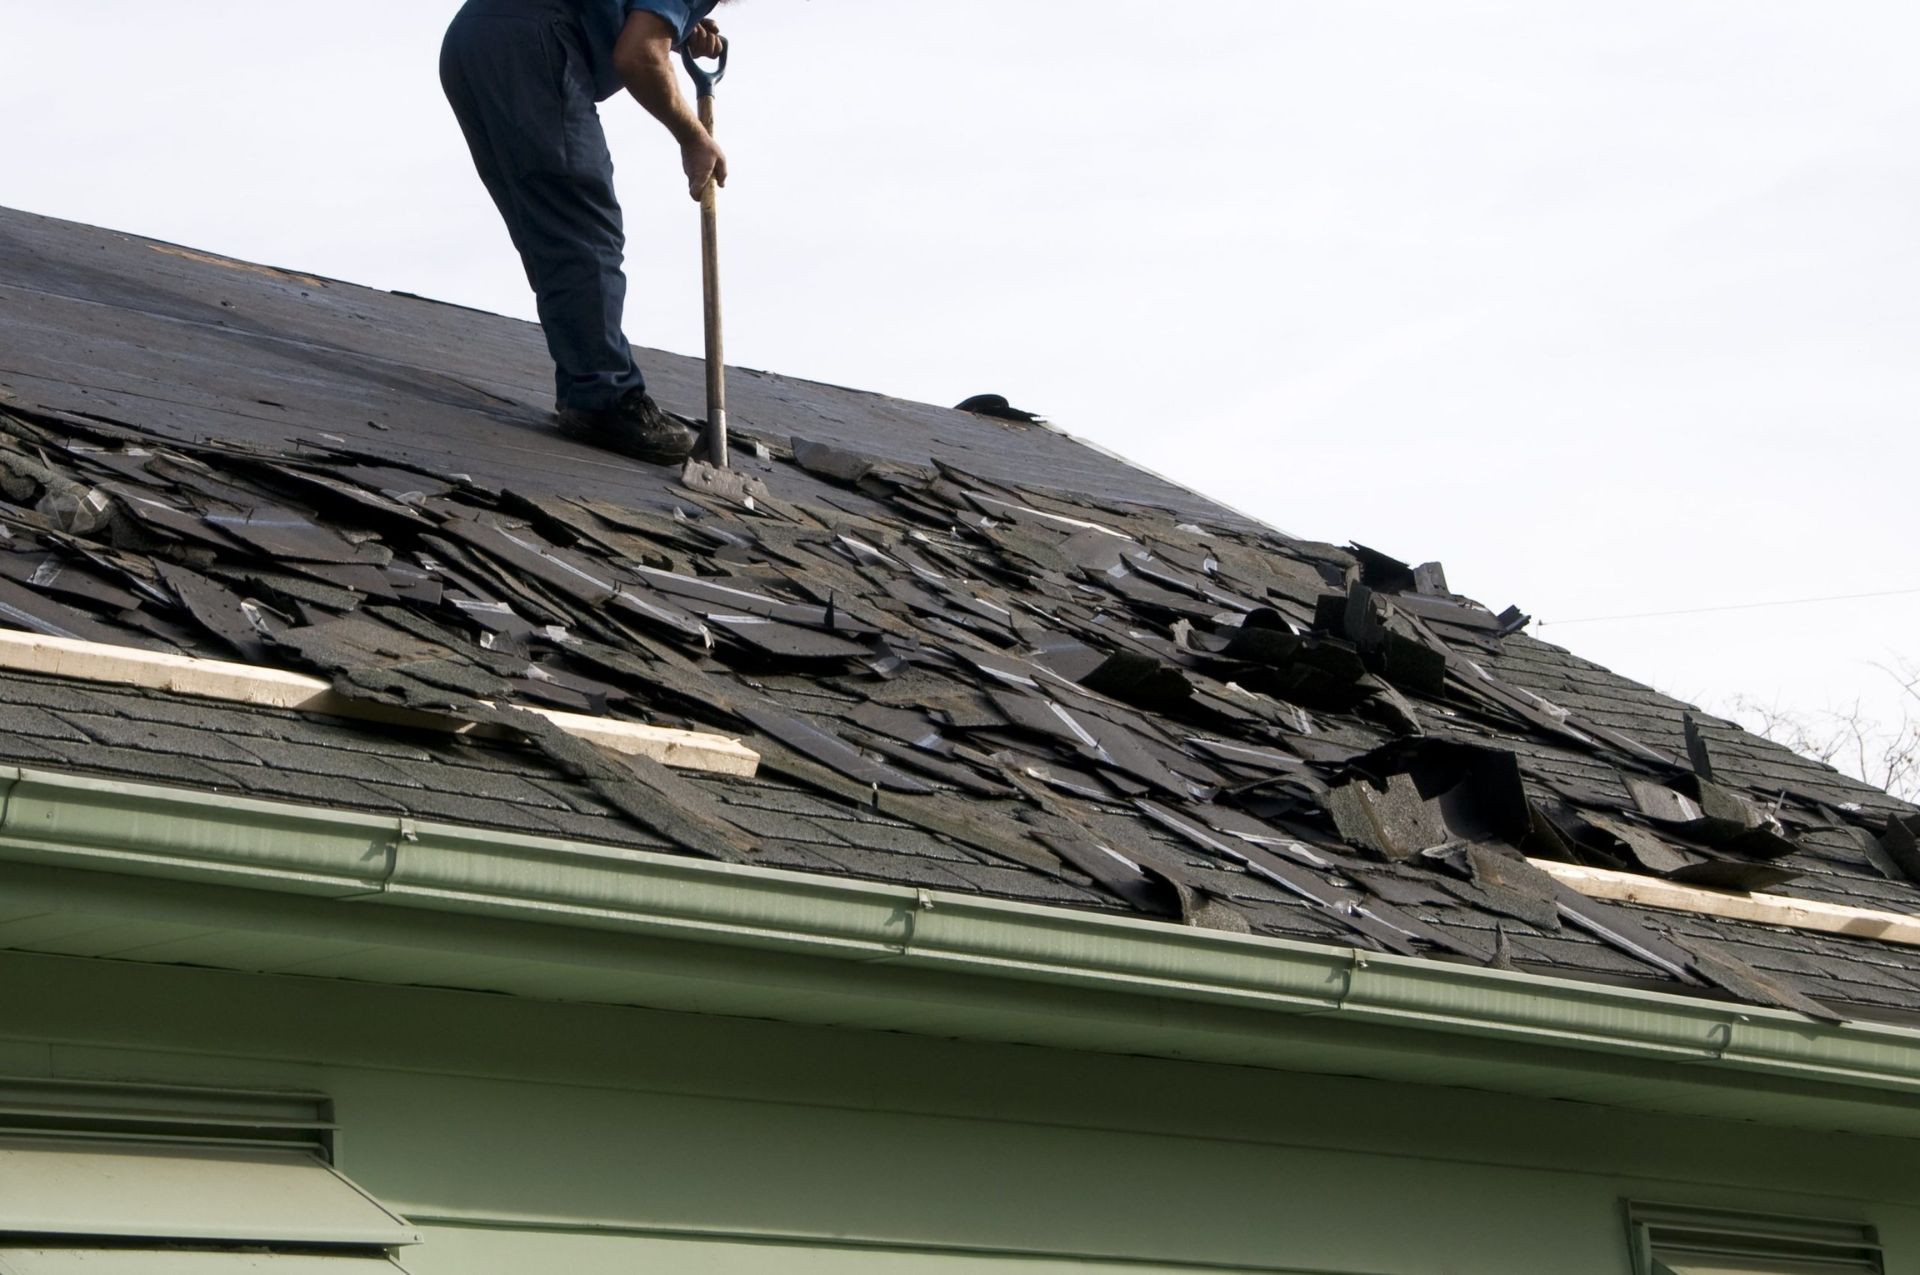
When it comes to roofing projects, accurately determining the amount of shingles needed is essential for a successful and cost-effective installation. Whether you’re a professional roofer or a do-it-yourself enthusiast, knowing how to figure shingles for a roof can save you time, money, and potential headaches down the road.
Calculating the correct number of shingles requires a meticulous approach and an understanding of the roof’s dimensions, shingle coverage, and potential waste. In this article, we will guide you through a step-by-step process to help you figure out the exact number of shingles needed for your roofing project.
Before diving into the calculation process, it’s important to note that shingle coverage may vary depending on the style and brand of shingles you choose. The instructions provided here serve as a general guideline, so be sure to check the manufacturer’s recommendations for more accurate calculations.
Now, let’s get started and learn how to figure shingles for a roof!
Key Takeaways:
- Accurate measurement and meticulous calculation of shingle coverage, waste, and bundle size are crucial for determining the exact number of shingles needed for a successful roofing project.
- Consideration of overlap, starter shingles, and potential adjustments ensures thorough preparation and minimizes the risk of running short during the installation process.
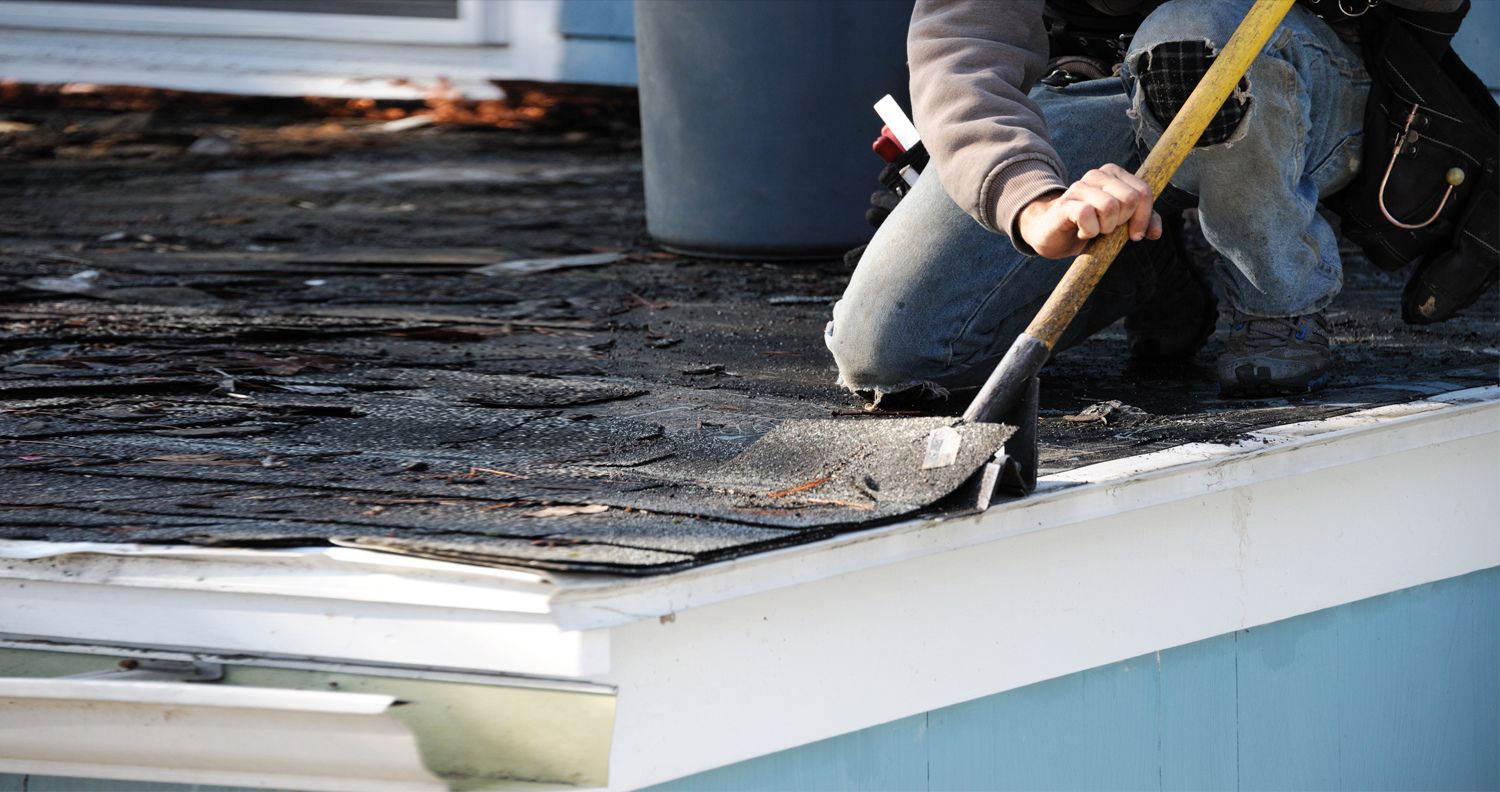
Read more: What Is A Roof Shingle
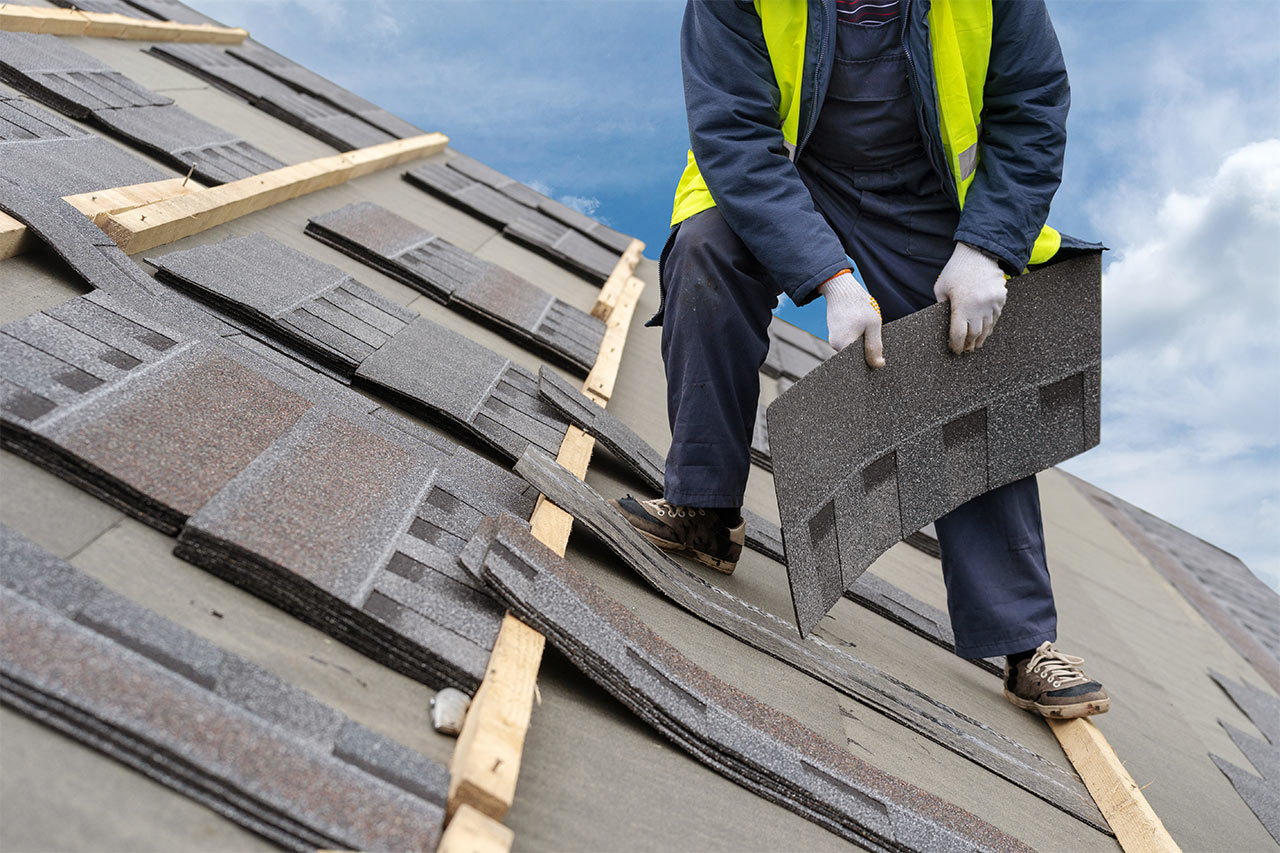
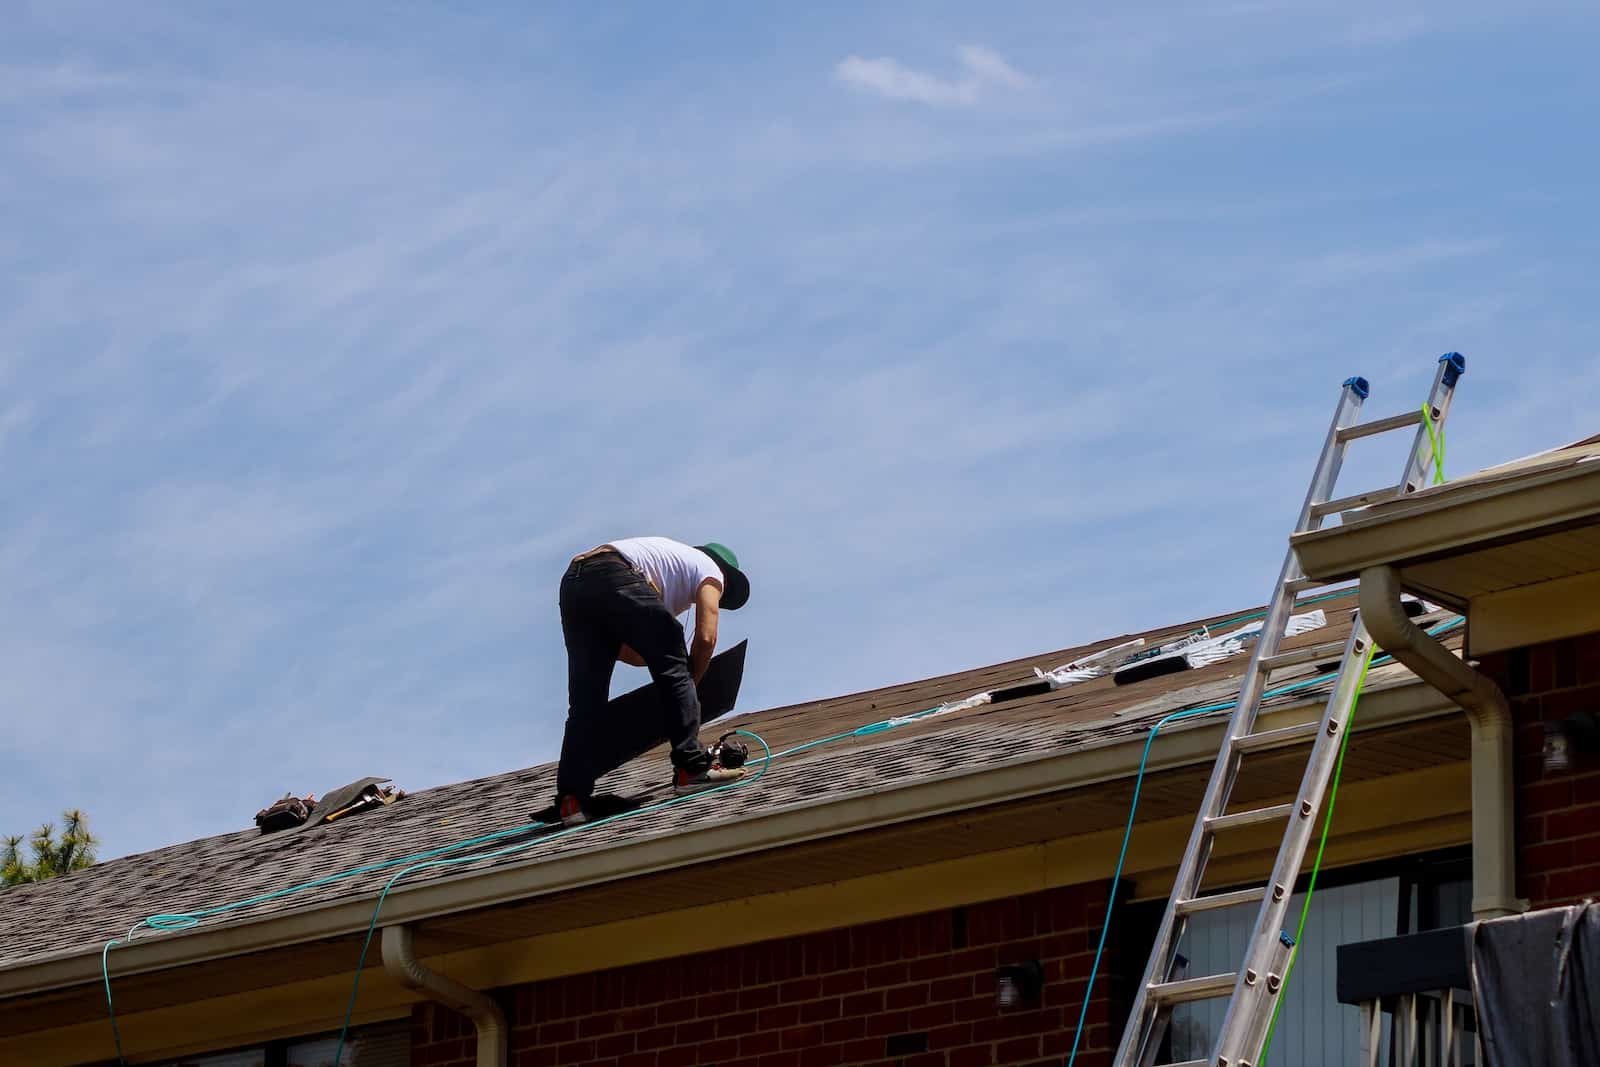
Step 1: Measure the Roof
The first step in figuring out the number of shingles you need is to measure the roof accurately. Grab a measuring tape and measure the length and width of each section of the roof.
If your roof has a simple rectangular shape, measuring the length and width of the entire roof will suffice. However, if your roof has multiple sections or features such as dormers, angles, or extensions, you will need to measure each of these areas separately.
To measure the roof, start at the eaves (the bottom edge of the roof) and work your way up to the ridge (the top edge of the roof). Take note of each section’s measurements and record them for later calculations.
It’s important to measure in feet, as roofing materials are typically sold and calculated in square feet. Make sure to double-check that your measurements are accurate to avoid miscalculations in the later steps.
Once you have measured all the sections of your roof, you are ready to move on to the next step.
Step 2: Calculate the Roof Area
Now that you have measured the roof sections, it’s time to calculate the total roof area. To do this, you will multiply the length and width of each section and add them together.
If your roof has a simple rectangular shape, calculating the total area is straightforward. Multiply the length by the width to get the square footage of each section, and then add up all the section areas to determine the total roof area.
For roofs with multiple sections or irregular shapes, break down the roof into smaller, more manageable sections. Calculate the area of each section individually using the length and width measurements obtained earlier, and then add up the areas of all the sections to find the total roof area.
It’s important to note that roof area calculations are typically done in square feet. If your measurements were taken in a different unit, such as inches or meters, convert them to square feet before proceeding with the calculations.
Once you have obtained the total roof area, you’re ready to move on to the next step.
Step 3: Determine the Shingle Coverage
Now that you have the total roof area, the next step is to determine the shingle coverage. Shingle coverage refers to the amount of square footage that a single bundle of shingles can cover.
The coverage of shingles can vary depending on the brand and style. Most shingles are typically sold in bundles and labeled with their coverage area. Common coverage options range from 20 to 30 square feet per bundle.
Refer to the packaging or manufacturer’s specifications to determine the coverage of the specific shingles you plan to use. If the coverage area is not labeled on the packaging, you can calculate it by dividing the width of a single shingle by its exposure and multiplying it by its length.
For example, if the width of a shingle is 12 inches, the exposure is 5 inches, and the length is 36 inches, the coverage area would be calculated as follows:
12 inches (width) ÷ 5 inches (exposure) = 2.4
2.4 × 36 inches (length) = 86.4 square inches
86.4 square inches ÷ 144 (convert to square feet) = 0.6 square feet
Once you have determined the shingle coverage, you can proceed to the next step to account for potential waste.
Step 4: Account for Waste
When figuring out the number of shingles needed, it’s important to account for waste. Waste can occur due to trimming, cutting, and errors during installation. It is recommended to add an extra percentage to the total number of shingles to compensate for this waste.
The amount of waste can vary based on the complexity of the roof, the skill level of the installer, and other factors. A general rule of thumb is to add 10% to 15% to the total shingle count to account for waste. This additional percentage helps ensure that you have enough shingles to complete the project without running short.
To calculate the waste amount, multiply the total roof area by the waste percentage. For example, if your total roof area is 1,000 square feet and you want to account for 10% waste:
1,000 square feet × 0.10 (10% as a decimal) = 100 square feet
This means you will need an additional 100 square feet of shingles to account for waste. Add this amount to the total roof area to get the adjusted roof area for shingle calculations.
Once you have accounted for waste, you can proceed to the next step to choose the appropriate shingle bundle size.
When figuring shingles for a roof, measure the length and width of each roof section, then use a shingle calculator to determine the total number of shingles needed. Consider adding 10% for waste.
Read more: How To Cap A Cedar Shingle Roof
Step 5: Choose the Shingle Bundle Size
Choosing the right shingle bundle size is crucial for an accurate calculation of the number of shingles needed. Shingles are typically sold in various bundle sizes, and selecting the appropriate size will depend on the shingle coverage and the adjusted roof area.
Refer to the shingle coverage information obtained in Step 3 and consider the adjusted roof area that accounts for waste. Determine how many square feet one bundle of shingles can cover based on the coverage area provided by the manufacturer.
For example, if one bundle of shingles covers 25 square feet and your adjusted roof area is 1,100 square feet, you would need:
1,100 square feet ÷ 25 square feet = 44 bundles of shingles
In this case, you would round up to the nearest whole number since you cannot purchase a fraction of a shingle bundle. Therefore, you would need 45 bundles of shingles.
Keep in mind that if the number of bundles required is close to a full bundle, it may be more cost-effective to purchase an additional bundle to avoid potential shortages.
Once you have determined the appropriate shingle bundle size, you can move on to the next step to calculate the actual number of shingle bundles needed.
Step 6: Calculate the Number of Shingle Bundles Needed
Now that you have chosen the shingle bundle size, it’s time to calculate the actual number of shingle bundles needed for your roofing project.
To calculate the number of shingle bundles, divide the adjusted roof area by the coverage area of one bundle. Using the example from Step 5, where the adjusted roof area is 1,100 square feet and one bundle covers 25 square feet:
1,100 square feet ÷ 25 square feet = 44 bundles
Remember to round up to the nearest whole number since shingles are typically sold in full bundle quantities. In this case, you would need 44 bundles of shingles.
Keep in mind that the number of shingle bundles calculated here represents the minimum required to cover the roof area. It’s always a good idea to purchase a few extra bundles to account for any potential discrepancies, replacements, or future repairs.
Now that you know the number of shingle bundles needed, you can proceed to the next step to consider overlap and starter shingles.
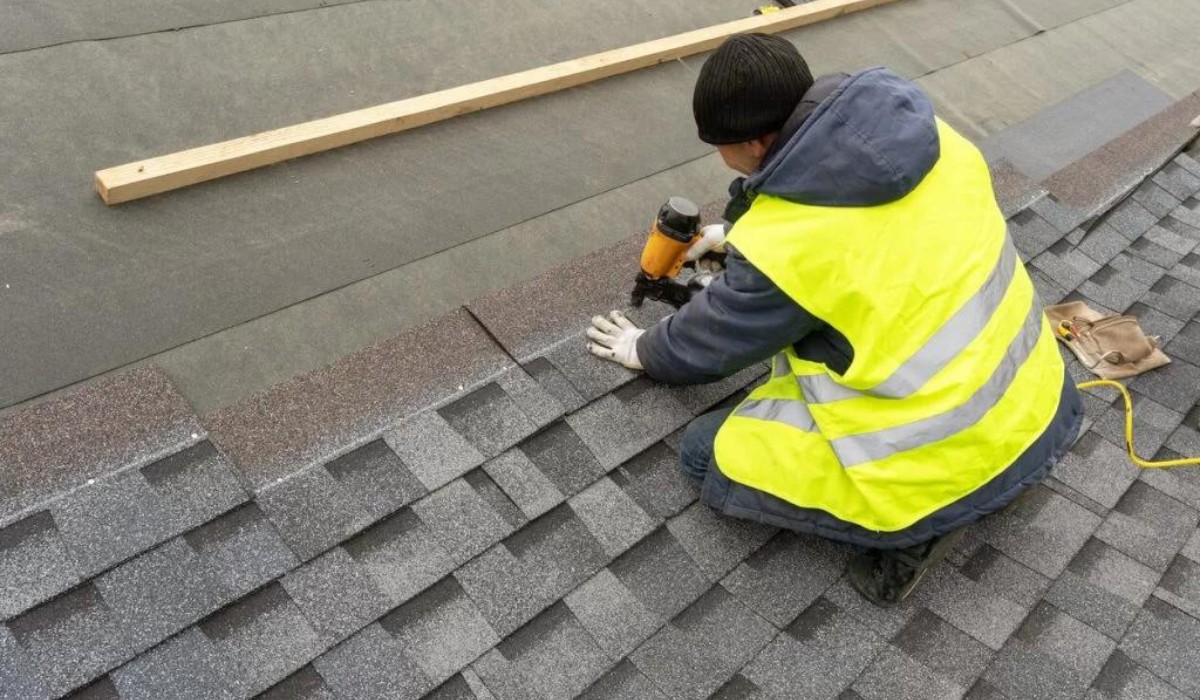
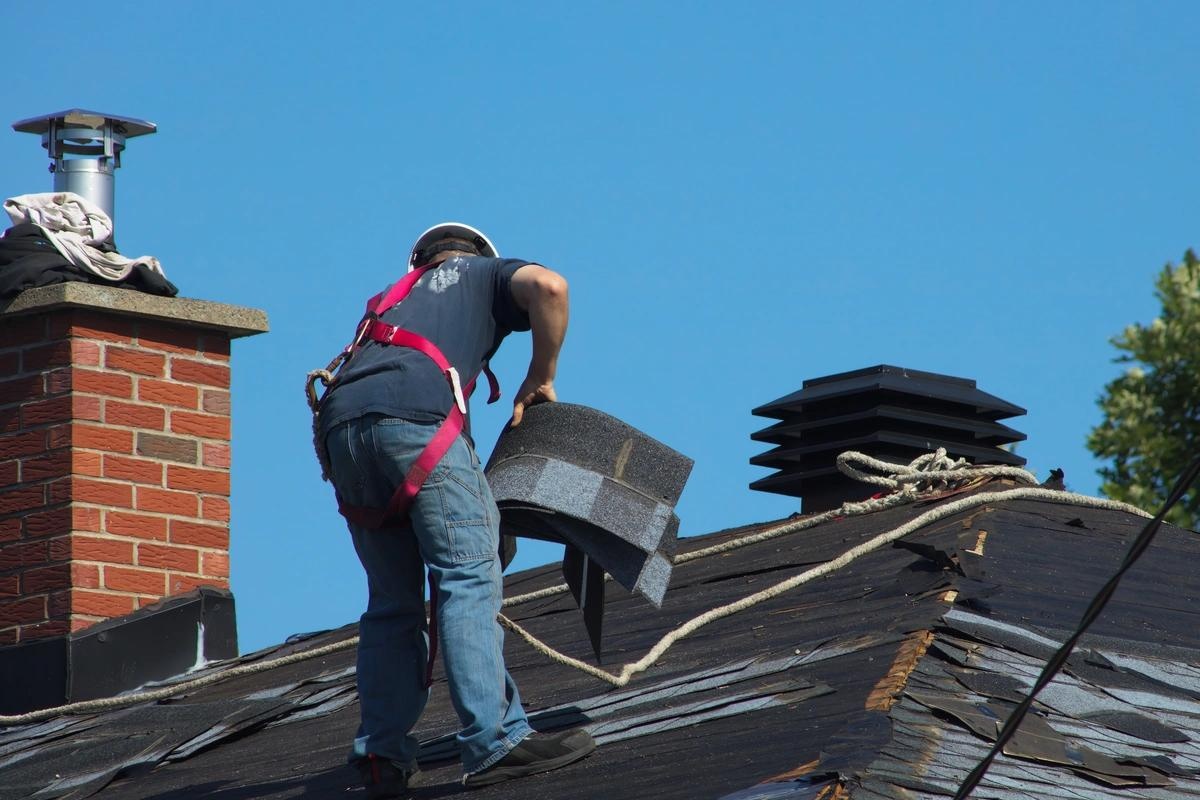
Step 7: Consider Overlap and Starter Shingles
When figuring out the number of shingles needed for your roof, it’s important to consider the overlap and starter shingles. These additional shingles ensure proper coverage and protect against potential water damage.
Overlap refers to the portion of the shingles that extends beyond the previous row. This overlap creates a watertight seal and adds an extra layer of protection. The amount of overlap can vary depending on the shingle manufacturer’s recommendations, but a common overlap range is around 6 to 8 inches.
Starter shingles, also known as starter strips or starter courses, are a vital component of proper shingle installation. These specially-designed shingles act as the first row at the bottom edge of the roof and provide a secure base for the rest of the shingles. They ensure proper alignment and prevent wind uplift and potential leaks.
When calculating the number of shingles needed, you must account for the overlap and starter shingles. The number of starter shingles needed will depend on the length of the roof edge.
For example, if the roof edge is 100 feet long and the recommended starter shingle width is 12 inches, you would need:
100 feet × 12 inches ÷ 12 inches per shingle = 100 starter shingles
Additionally, consider the overlap when calculating the total number of shingles needed. Depending on the recommended overlap, you may need to increase the number of shingles to ensure adequate coverage.
Once you have taken into account the overlap and starter shingles, you can move on to the final step to check for any adjustments.
Step 8: Final Check and Adjustments
Before making your final purchase, it’s important to do a final check and make any necessary adjustments to ensure you have the correct number of shingles for your roof. Consider the following factors:
1. Roof Pitch: If your roof has a steep pitch, it may require additional shingles to account for the increased surface area. Consult the manufacturer’s guidelines or seek professional advice to determine if any adjustments need to be made.
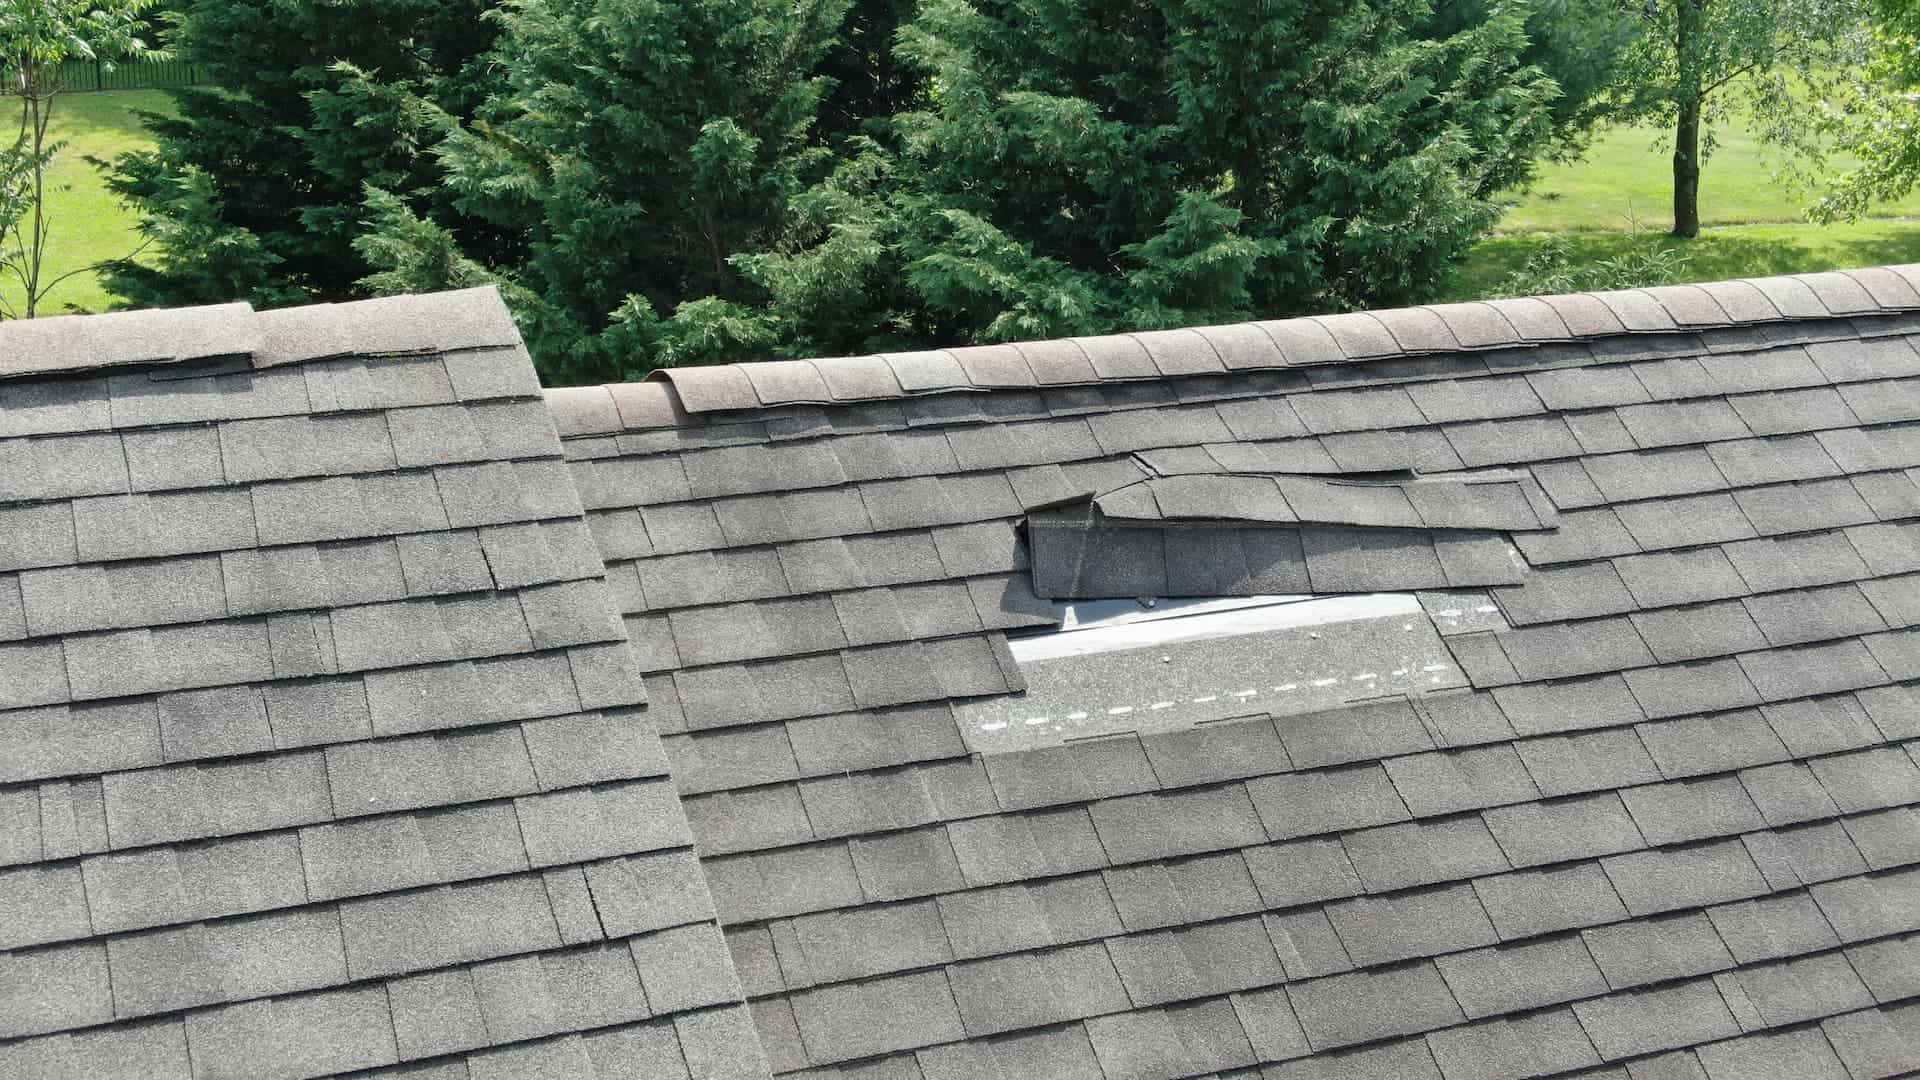
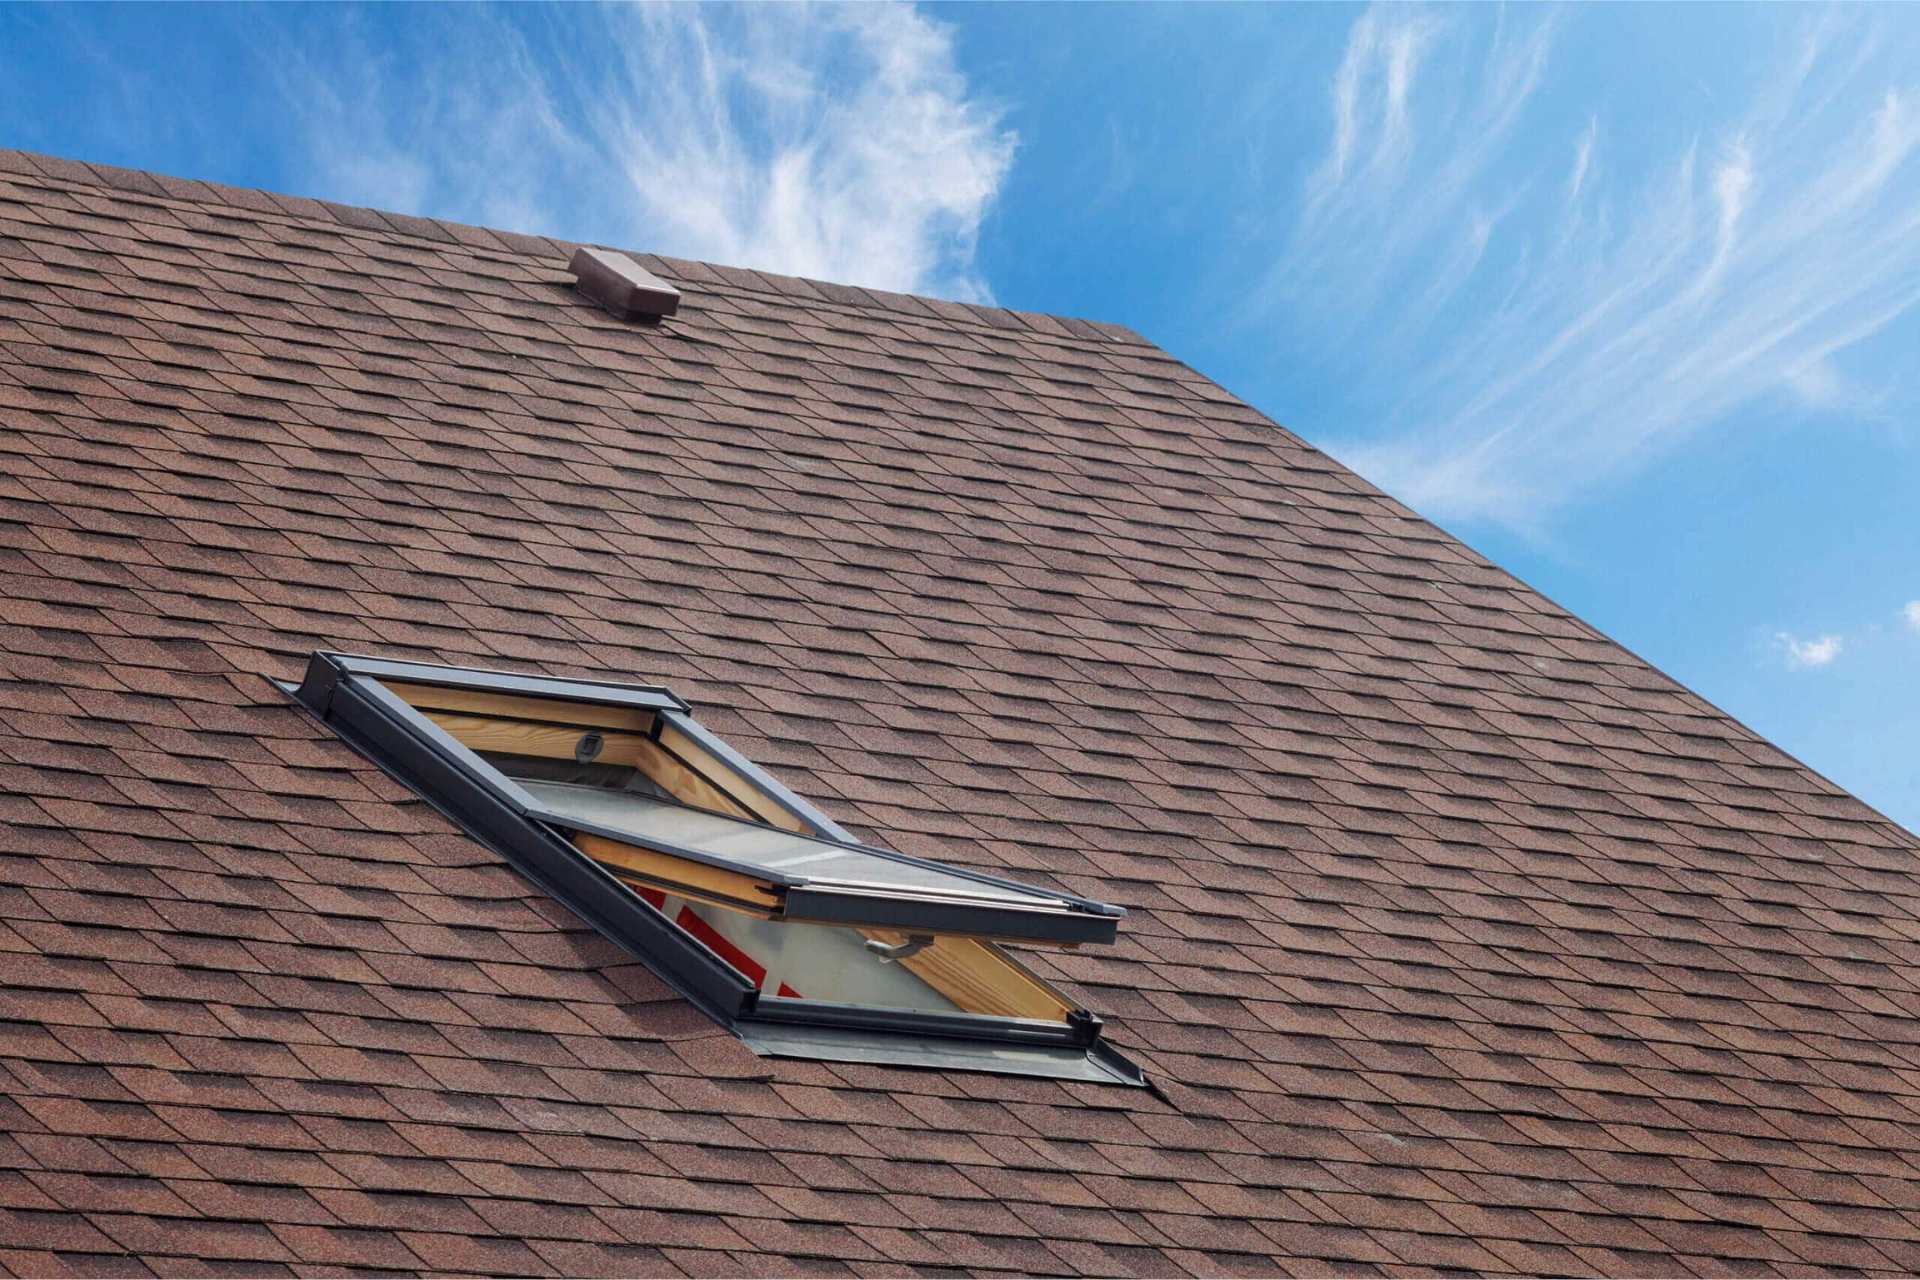
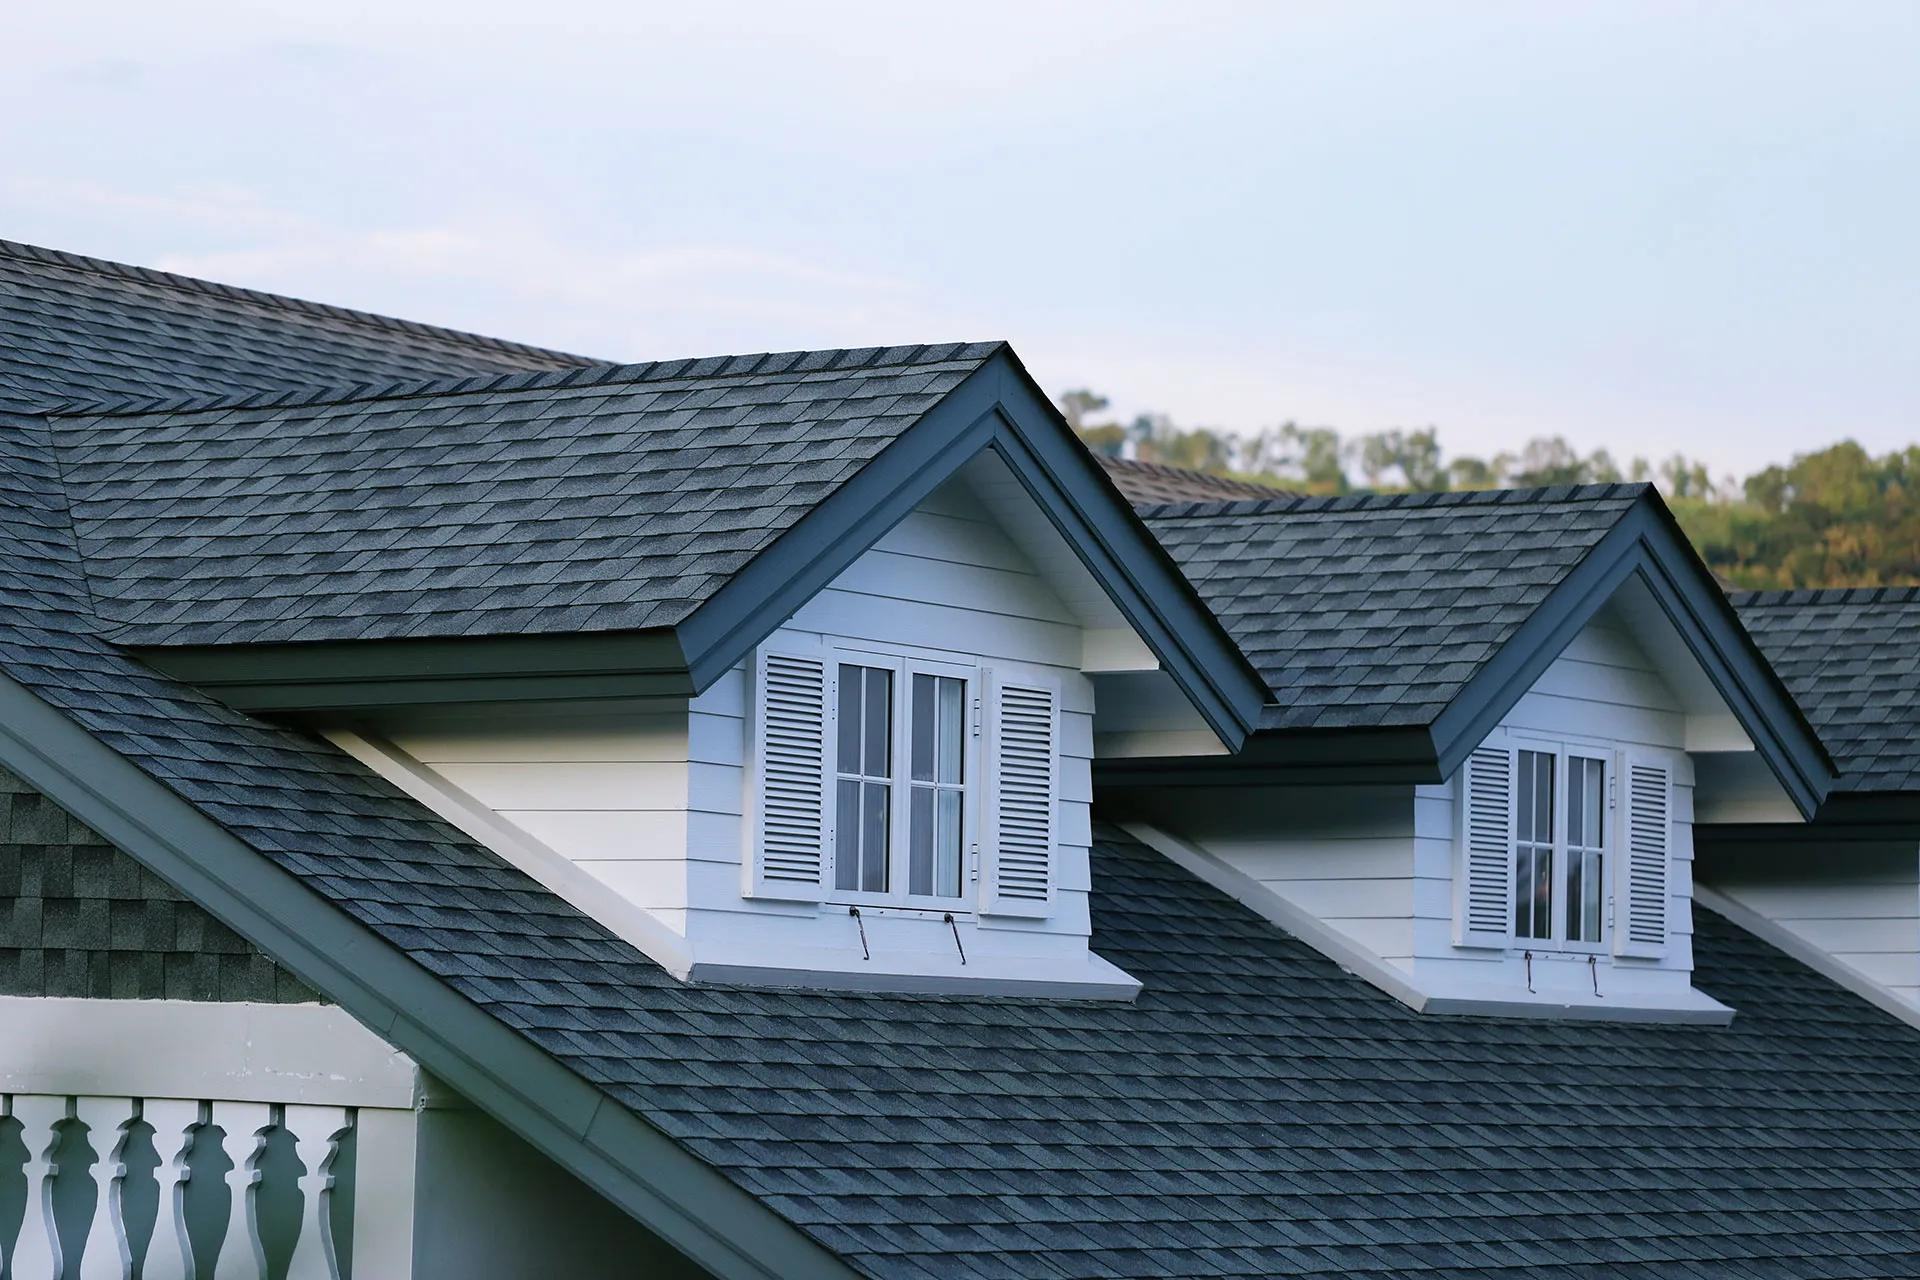
2. Additional Features: Take into account any additional features such as chimneys, skylights, or vents that may require extra shingles for proper installation. Measure these areas separately and calculate the number of shingles needed accordingly.
3. Overhangs and Eaves: The overhangs and eaves of your roof may require special attention. Measure these areas separately and consider any additional shingles needed to cover them adequately.
4. Trim Pieces: Depending on the architectural design of your roof, you may need trim pieces or specialized shingles for corners, ridges, or valleys. Measure these areas and calculate the number of trim pieces required.
By doing a careful final check and making any necessary adjustments, you can ensure that you have accounted for all aspects of your roofing project and have the correct number of shingles.
Keep in mind that it’s always better to have a few extra shingles on hand to handle any unforeseen circumstances, repairs, or replacements in the future. It’s better to be prepared and have extra materials available, rather than running short during the installation process.
Once you have done your final check and adjustments, you are ready to confidently make your shingle purchase and proceed with your roofing project.
Read more: How To Shingle A Gable Roof
Conclusion
Figuring out the number of shingles needed for a roofing project is a critical step in ensuring a successful and efficient installation. By following the step-by-step process outlined in this article, you can accurately calculate the number of shingles required based on your roof’s dimensions, shingle coverage, and waste considerations.
Remember to measure your roof sections carefully and calculate the total roof area. Determine the shingle coverage based on the manufacturer’s specifications, accounting for any waste. Choose the appropriate shingle bundle size and calculate the actual number of bundles needed for your project.
Consider the overlap and starter shingles to ensure proper coverage and protection against water damage. Do a final check and make any necessary adjustments, taking into account roof pitch, additional features, overhangs, eaves, and trim pieces.
It’s always a good idea to have a few extra shingles on hand for future repairs or replacements. It’s better to have too many shingles than to run short during the installation process.
Now that you have a comprehensive understanding of how to figure shingles for a roof, you can approach your roofing project with confidence, knowing that you have the right amount of materials to complete the job efficiently and effectively.
By carefully calculating the number of shingles required, you can save time and money, ensuring a smooth and successful roofing installation.
Frequently Asked Questions about How To Figure Shingles For A Roof
Was this page helpful?
At Storables.com, we guarantee accurate and reliable information. Our content, validated by Expert Board Contributors, is crafted following stringent Editorial Policies. We're committed to providing you with well-researched, expert-backed insights for all your informational needs.

0 thoughts on “How To Figure Shingles For A Roof”