Home>Garden Essentials>How To Add Infill To Roof Shingles

Garden Essentials
How To Add Infill To Roof Shingles
Modified: March 7, 2024
Learn how to add garden infill to your roof shingles and protect your garden space. Step-by-step instructions for a successful installation.
(Many of the links in this article redirect to a specific reviewed product. Your purchase of these products through affiliate links helps to generate commission for Storables.com, at no extra cost. Learn more)
Introduction
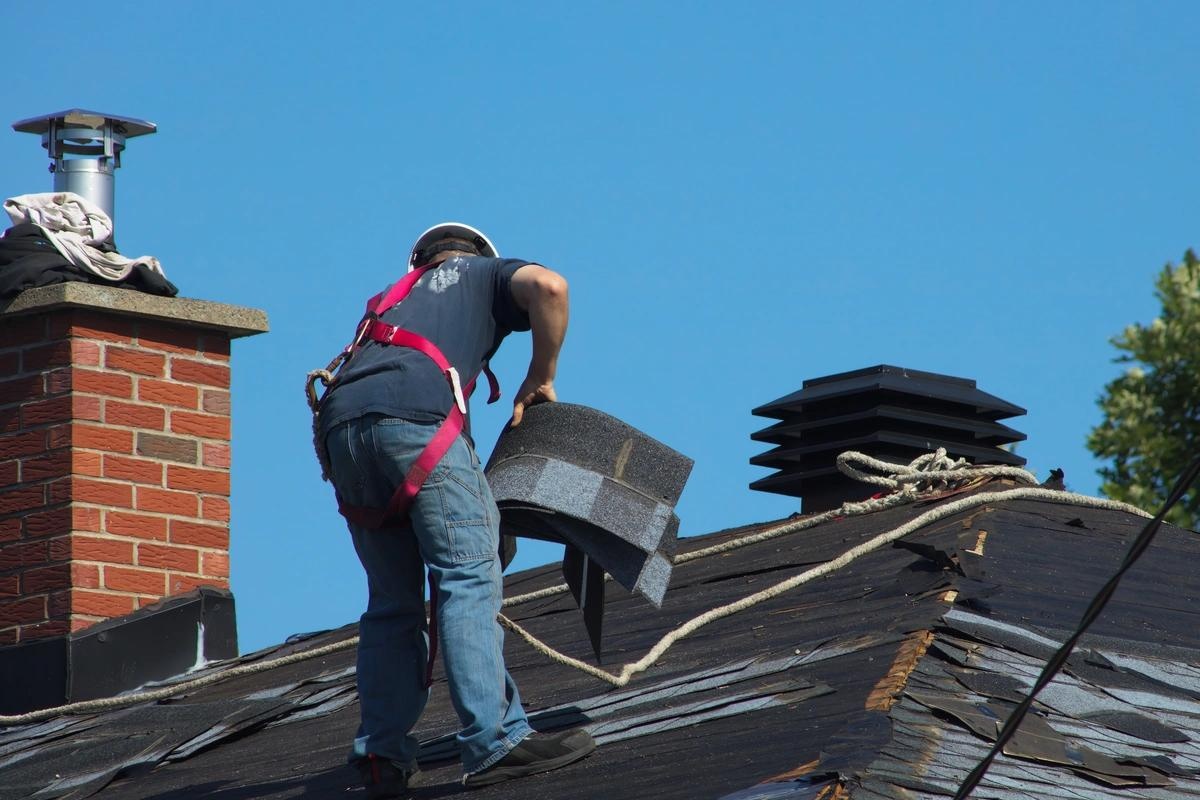
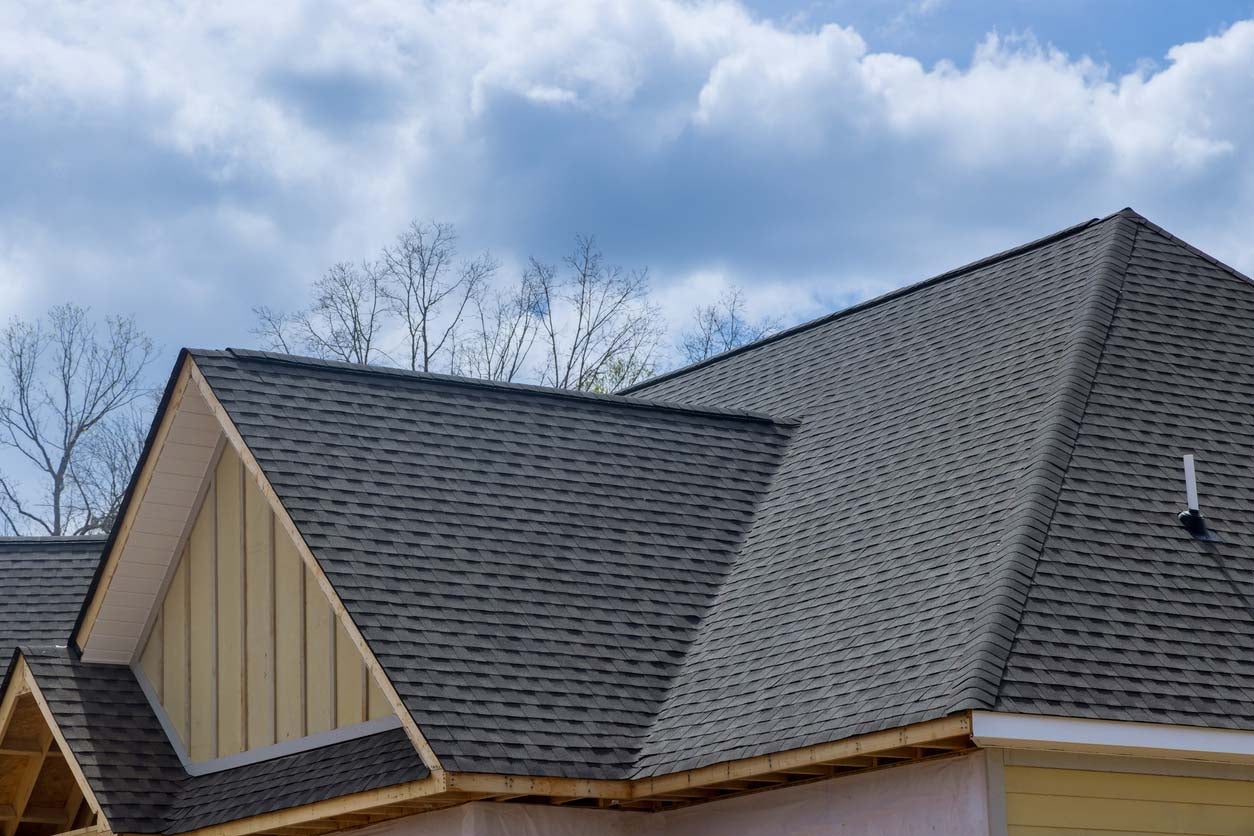
Welcome to the world of roof shingles and the importance of infill application. When it comes to maintaining and protecting your roof, ensuring that the shingles are properly installed is crucial. One aspect of this installation process is adding infill to roof shingles, which plays a vital role in enhancing their performance and longevity.
In this article, we will explore what infill is, why it is important for roof shingles, and provide a step-by-step guide on how to add infill to roof shingles effectively. So, whether you are a homeowner looking to maintain your roof or a professional roofer seeking valuable insights, this article will equip you with the necessary knowledge to tackle the infill application process.
Before we dive into the specifics of adding infill to roof shingles, let’s first understand what exactly infill is and why it is crucial for the overall performance of your roof.
Key Takeaways:
- Adding infill to roof shingles is crucial for protecting against water, wind, and pests. It also enhances the roof’s appearance and provides thermal insulation and soundproofing benefits.
- Before adding infill, assess the roof, prepare the surface, apply the infill material, and ensure proper placement and drying. Regular maintenance ensures a long-lasting, beautiful, and secure roof.
Read more: What Is A Roof Shingle
What is Infill?
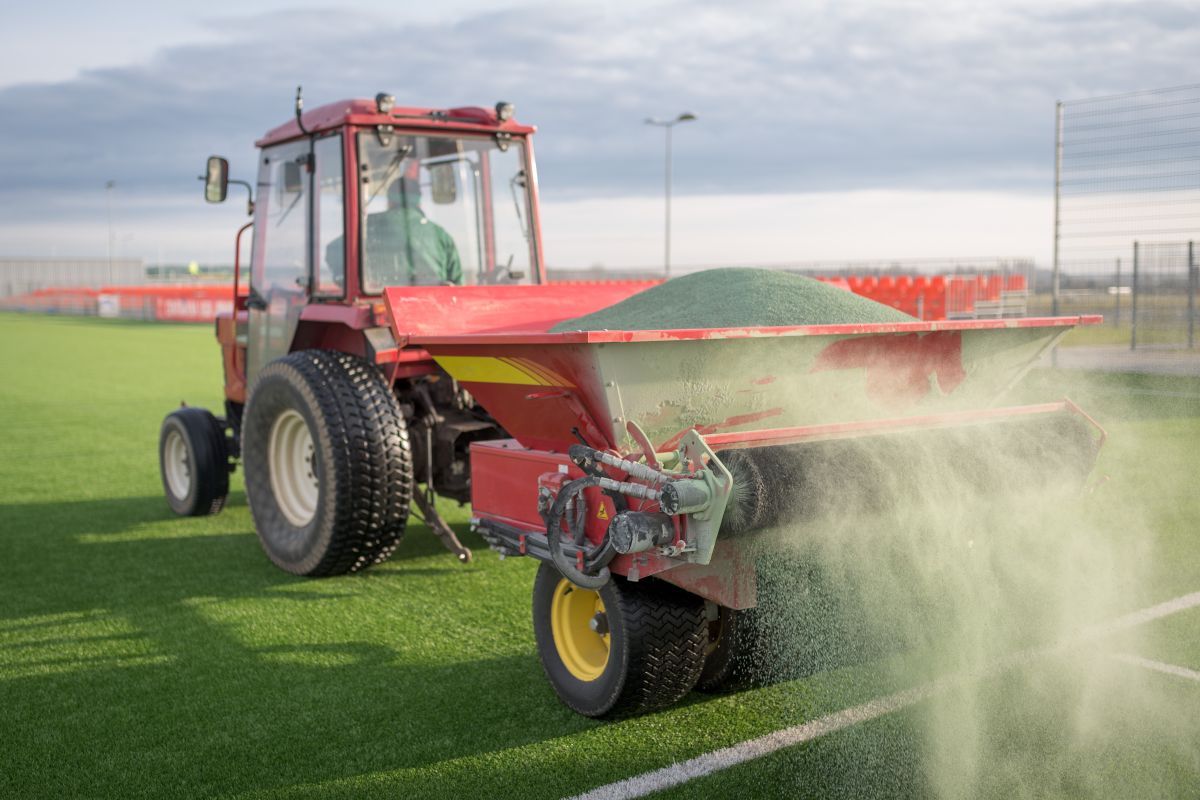
Infill refers to the material that is used to fill the gaps and spaces between roof shingles. It is typically a granular substance that is applied during the installation process to provide additional strength, stability, and weather resistance to the shingles. The infill material is typically made of crushed stone, sand, or a mixture of both.
The primary purpose of infill is to create a seamless and uniform surface on the roof. By filling in the gaps between the shingles, it helps to prevent water penetration, wind damage, and the entry of debris or pests. Infill also helps to enhance the overall appearance of the roof by providing a smooth and finished look.
In addition to its protective function, infill also provides thermal insulation and soundproofing benefits. It helps to create a barrier that minimizes heat transfer, keeping your home cooler in the summer and warmer in the winter. Infill also helps to dampen noise, reducing the impact of external sounds on the interior of your home.
Furthermore, infill plays a crucial role in preventing uplift and displacement of the shingles during strong winds or storms. By filling in the gaps, it helps to reinforce the shingles and prevent them from lifting or becoming loose. Infill also improves the overall structural integrity of the roof, reducing the risk of leaks and potential damage to the underlying structure.
Overall, infill is an essential component in the installation of roof shingles. It provides multiple benefits, including weather resistance, protection against water penetration, thermal insulation, soundproofing, and improving the overall aesthetics of the roof. Now that we understand the importance of infill, let’s explore the tools and materials you’ll need for adding infill to roof shingles.
Why is Infill Important for Roof Shingles?
Adding infill to roof shingles is a crucial step in the installation process, and its importance cannot be understated. Here are several reasons why infill is essential for roof shingles:
- Water Protection: One of the primary functions of infill is to provide a barrier against water penetration. By filling in the gaps and spaces between the shingles, infill prevents water from seeping through and causing damage to the underlying structure. This is especially important during heavy rainstorms or snow, where water can easily find its way into the gaps without proper infill.
- Wind Resistance: Infill plays a vital role in enhancing the wind resistance of roof shingles. By filling in the gaps, infill helps to reinforce the shingles and prevent them from lifting or becoming loose during strong winds. This helps to protect the roof from potential damage and ensures its longevity.
- Debris and Pest Prevention: The gaps between roof shingles can be an entry point for debris, such as leaves, twigs, and dirt. Additionally, pests, such as insects or small animals, can find their way into these gaps. By adding infill, these gaps are sealed, preventing the entry of debris and minimizing the risk of pest infestation.
- Uniformity and Aesthetics: Infill helps to create a seamless and uniform appearance on the roof. It fills in the gaps and spaces, resulting in a smooth and finished look. This enhances the overall aesthetics of the roof and adds to the curb appeal of your home.
- Thermal Insulation: Infill provides thermal insulation benefits by creating a barrier that minimizes heat transfer. This helps to regulate the temperature inside your home, making it more energy-efficient and comfortable year-round.
In summary, infill is important for roof shingles because it provides water protection, enhances wind resistance, prevents the entry of debris and pests, improves the overall appearance, and offers thermal insulation benefits. By adding infill, you are ensuring the long-term performance, durability, and aesthetics of your roof. Now that we understand the importance of infill, let’s move on to the tools and materials you’ll need for the infill application process.
Tools and Materials Needed
Before you begin the process of adding infill to roof shingles, it’s important to gather all the necessary tools and materials. Here’s a list of what you’ll need:
- Ladder: A sturdy ladder will be needed to access the roof. Make sure it is in good condition and placed on stable ground.
- Safety Equipment: It is crucial to prioritize safety when working on a roof. Wear appropriate safety gear, including a hard hat, safety glasses, gloves, and non-slip footwear.
- Infill Material: The type of infill material you choose will depend on your specific needs and preferences. Common options include crushed stone, sand, or a combination of both. Make sure to calculate the amount needed based on the size of your roof.
- Applicator: You will need an applicator to spread the infill material evenly. This can be a wide brush, a soft broom, or a specialized infill applicator tool.
- Trowel: A trowel may be necessary for leveling the infill material and ensuring a smooth surface.
- Roofing Nails: In some cases, roofing nails may be needed to secure loose or damaged shingles before applying the infill.
- Pliers: Pliers may be necessary for removing any nails or debris that may obstruct the infill application process.
- Safety Harness: If the roof has a steep pitch or if you are uncomfortable working at heights, consider using a safety harness for added security.
- Bucket or Wheelbarrow: A bucket or wheelbarrow can be useful for transporting and holding the infill material while working on the roof.
Make sure to have all these tools and materials ready before you start the infill application process. Taking the time to gather everything you’ll need will help ensure a smooth and efficient installation.
Now that you’re equipped with the necessary tools and materials, let’s move on to the step-by-step process of adding infill to roof shingles.
Step 1: Assessing the Existing Roof Shingles
Before you begin the infill application process, it’s essential to assess the condition of the existing roof shingles. This step will help you identify any areas that may require repair or replacement.
Here are the steps to assess the existing roof shingles:
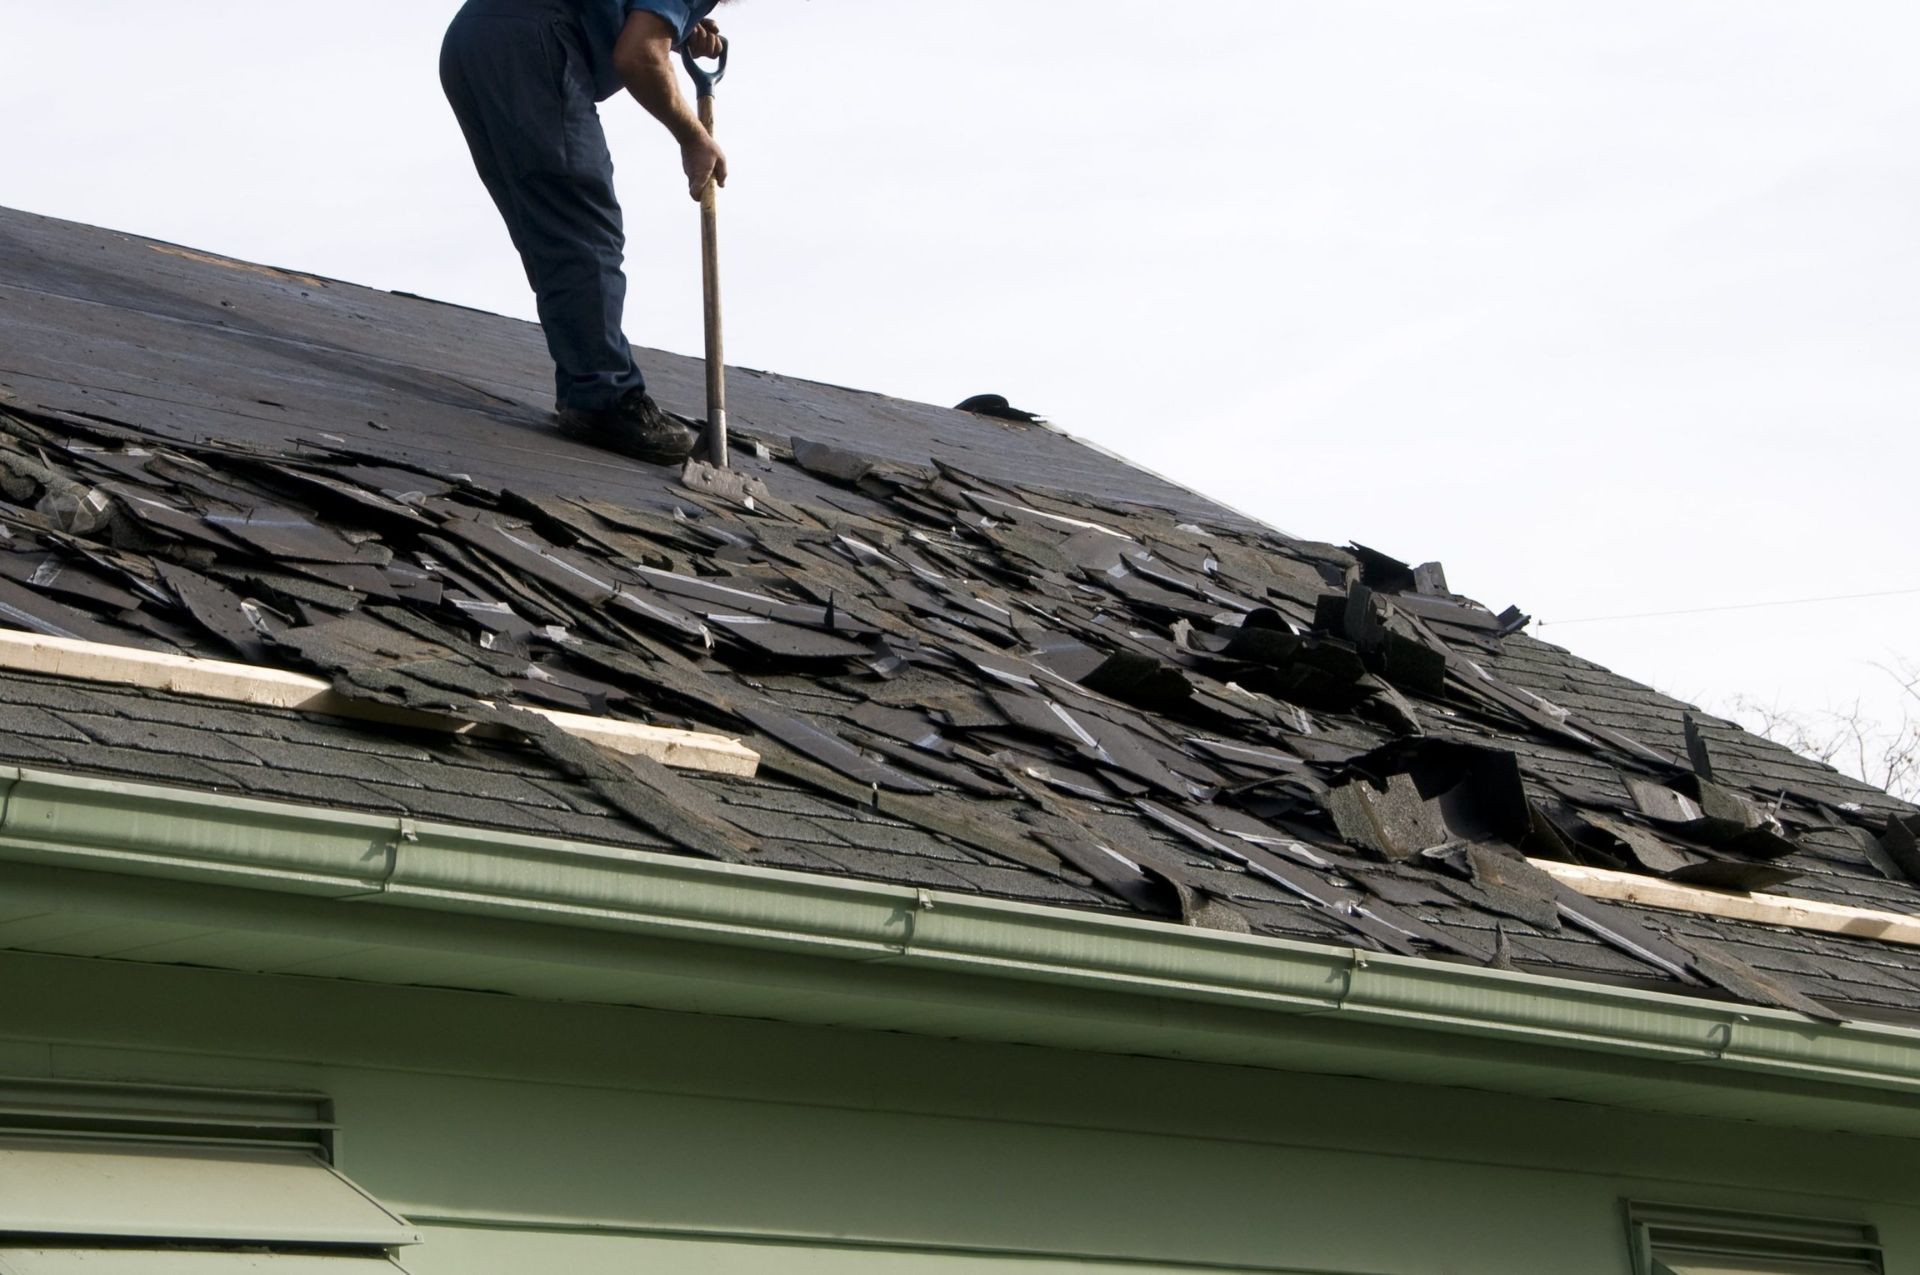
- Inspect the Roof: Carefully examine the entire roof to identify any damaged or worn-out shingles. Look for signs of cracking, curling, missing pieces, or areas where the shingles are loose.
- Note Problem Areas: Take note of any areas that require attention. Mark these spots or take photographs to reference during the repair or replacement process.
- Check for Water Damage: Look for signs of water damage, such as stains or discoloration on the ceiling or walls underneath the roof. These signs may indicate leaks or areas where the infill has deteriorated.
- Assess the Infill Material: Check the condition of the existing infill material. If it appears worn out, dislodged, or insufficient, it may be necessary to remove and replace it during the infill application process.
- Clear Debris: Remove any debris or obstructions on the roof’s surface. This will provide a clean and clear workspace for the infill application.
Assessing the existing roof shingles allows you to identify any potential issues that need to be addressed before adding the infill. It ensures that the surface is in good condition and ready for the application process. If you notice significant damage or deterioration, it may be advisable to consult a professional roofer.
Once you have assessed the existing roof shingles, you can move on to the next step: preparing the roof surface for infill application.
Read more: How To Shingle A Gable Roof
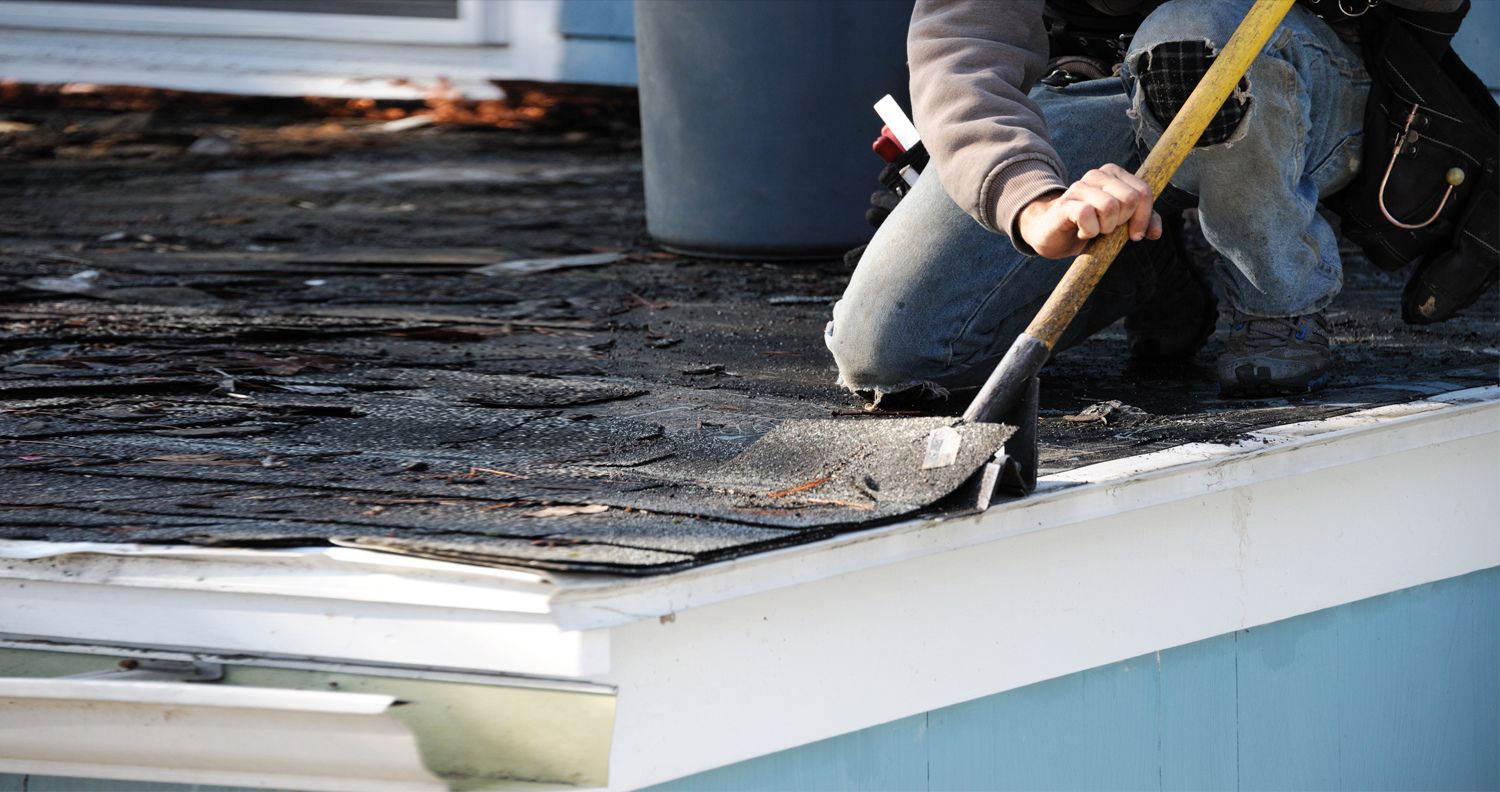
Step 2: Preparing the Roof Surface
Now that you have assessed the existing roof shingles, it’s time to prepare the roof surface for the infill application. Proper preparation ensures that the infill adheres effectively and creates a strong bond with the shingles. Here’s how to prepare the roof surface:
- Clean the Roof: Remove any debris, dirt, or leaves from the roof surface. Use a broom or a leaf blower to clear the area. A clean surface allows for better adhesion of the infill material.
- Repair Damaged Shingles: If you identified any damaged or worn-out shingles during the assessment, now is the time to repair or replace them. Secure loose shingles with roofing nails and replace any cracked or missing shingles.
- Inspect Flashing and Ventilation: Check the condition of the flashing around chimneys, vents, or other roof penetrations. Ensure that they are intact and properly sealed. Also, check for any signs of condensation or moisture buildup in your attic or ventilation system.
- Brush Away Loose Granules: If you notice loose granules on the shingles, gently brush them away using a soft-bristle brush. This ensures a clean surface for the infill application.
- Apply Primer (Optional): Depending on the specific infill material you are using, you may need to apply a primer to promote better adhesion. Follow the manufacturer’s instructions for applying the primer and allow it to dry completely before proceeding.
The key to preparing the roof surface is to create a clean, stable, and smooth surface for the infill material. This sets the foundation for a successful infill application and ensures the longevity and effectiveness of the infill.
Once you have prepared the roof surface, it’s time to move on to the exciting part—applying the infill material. This is the step where you will fill in the gaps between the shingles to enhance their performance and appearance.
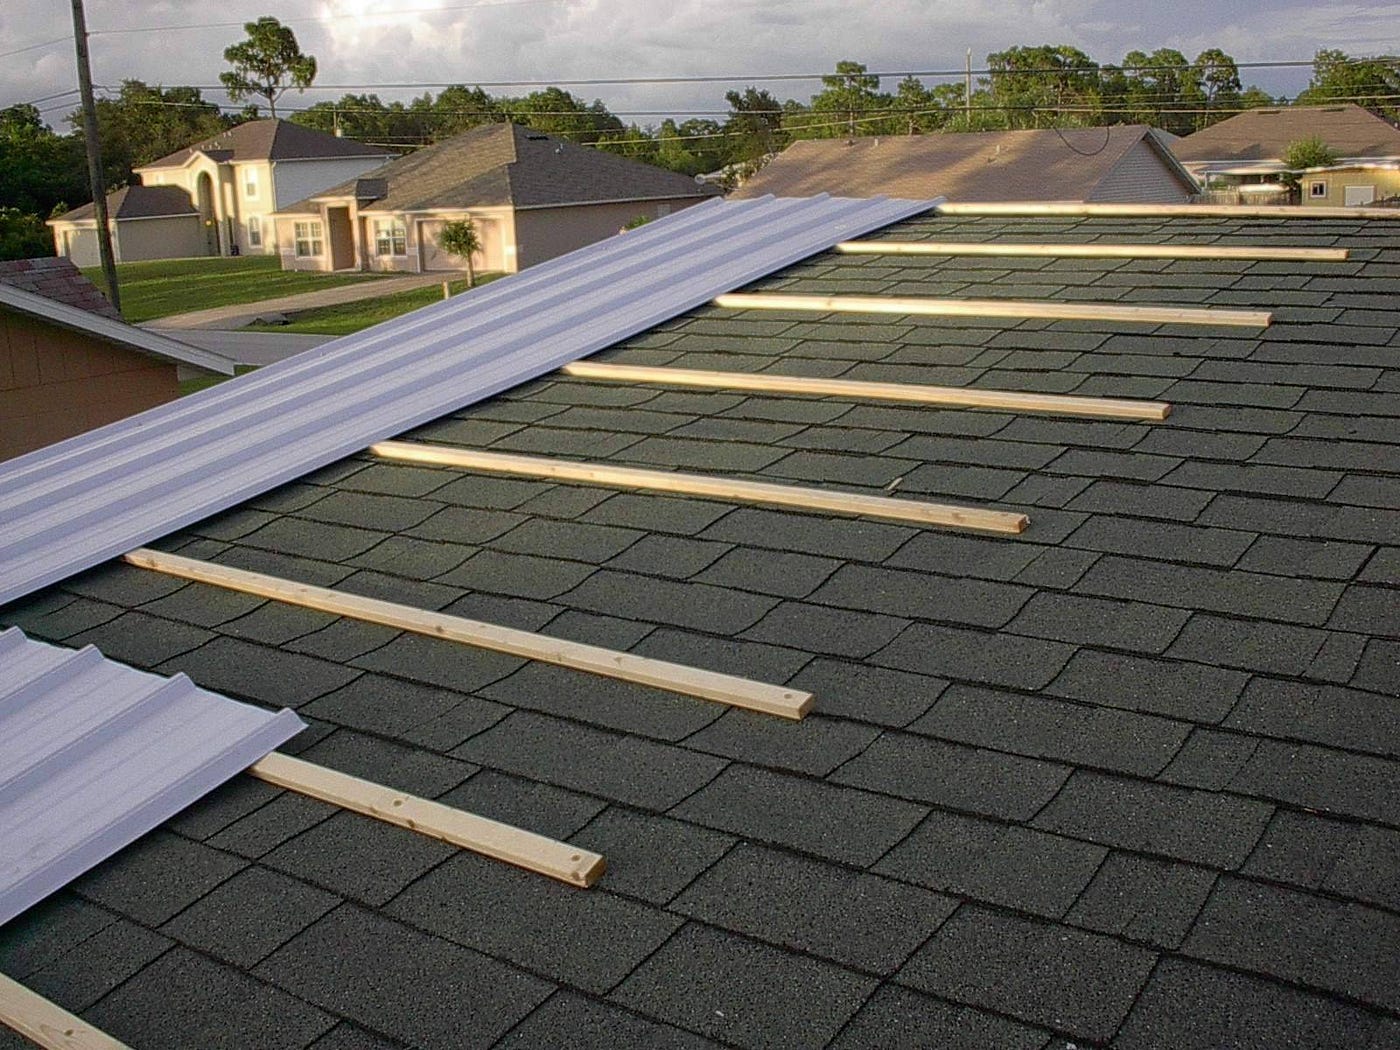
When adding infill to roof shingles, make sure to use the same type and color of shingles for a seamless look. Use a pry bar to lift the existing shingles, then slide the infill piece underneath and secure with roofing nails.
Step 3: Applying the Infill Material
Now that you have prepared the roof surface, it’s time to apply the infill material. This step involves filling in the gaps and spaces between the roof shingles to reinforce their strength and protect against water penetration. Here’s how to effectively apply the infill material:
- Start at the Bottom: Begin applying the infill material at the bottom edge of the roof and work your way up. This ensures that the infill flows downward, preventing water from seeping under the shingles.
- Use the Applicator Tool: Depending on the type of infill material you are using, use a wide brush, a soft broom, or a specialized infill applicator tool to evenly spread the material. Dip the applicator into the infill material and apply it generously into the gaps between the shingles.
- Fill Gaps Completely: Make sure to fill the gaps completely, ensuring that the infill material reaches the bottom of the gaps. This provides maximum protection against water penetration and helps to strengthen the overall structure of the shingles.
- Avoid Excessive Force: While applying the infill material, avoid applying excessive force or pressing down too hard. This can potentially damage the shingles or create an uneven surface. Instead, use gentle sweeping motions to distribute the infill material evenly.
- Work in Sections: Divide the roof into manageable sections and focus on one section at a time. This allows you to maintain a consistent application and ensures that the infill material doesn’t dry out before it can be properly smoothed and leveled.
Remember to take breaks as needed and avoid working in extreme weather conditions, such as during heavy rain or high winds. These conditions can affect the adhesion and effectiveness of the infill material.
Once you have applied the infill material between the shingles, it’s time to move on to the next step: ensuring proper infill placement. This step ensures that the infill material is properly positioned and provides optimal protection and aesthetics.
Step 4: Ensuring Proper Infill Placement
After applying the infill material between the roof shingles, it’s important to ensure that it is properly placed to maximize its effectiveness. This step involves checking the alignment and positioning of the infill material to create a seamless and uniform look. Here’s how to ensure proper infill placement:
- Inspect the Infill: Take a close look at the infill material applied between the shingles. Make sure that it is evenly distributed and fills in the gaps completely. Look out for any areas where the infill may have clumped together or areas that are inadequately filled.
- Smooth Out Any Excess: If you notice any excess infill material or clumps, use a trowel or a flat-edge tool to gently smooth them out. This will create a more uniform and visually appealing surface.
- Avoid Excessive Pressure: While smoothing out the infill, avoid applying excessive pressure or pressing down too hard. This can cause the infill to dislodge or damage the shingles. Use gentle strokes to create a smooth and level surface.
- Verify Evenness: Step back and visually assess the roof to check for any inconsistencies or unevenness. Look for areas where the infill material may appear thicker or thinner. Use the applicator tool or a trowel to adjust and distribute the infill material as needed.
- Ensure Proper Coverage: Double-check that the infill material covers all the gaps between the shingles. Pay special attention to areas where the shingles overlap or where two different roof planes meet. These areas are prone to water penetration and need extra infill coverage.
Properly placing and aligning the infill material creates a uniform and aesthetically pleasing look on the roof. It also ensures that the infill provides optimal protection against water penetration, wind damage, and debris entry.
Once you have ensured proper infill placement, it’s time to move on to the next step: smoothing and leveling the infill. This step involves refining the surface to create a seamless and durable finish.
Step 5: Smoothing and Leveling the Infill
After the infill material has been properly placed between the roof shingles, the next step is to smooth and level the infill. This process ensures a seamless and visually appealing finish while also enhancing the durability and effectiveness of the infill. Here’s how to smooth and level the infill:
- Use a Flat-Edge Tool: Take a flat-edge tool, such as a trowel or a putty knife, and gently run it over the infill material. This helps to achieve a smoother and more level surface by removing any excess material or air pockets.
- Apply Gentle Pressure: Apply gentle pressure while moving the flat-edge tool across the infill material. This helps to distribute the infill evenly and ensure that it adheres properly to the shingles.
- Smooth Out Imperfections: If you come across any areas with uneven infill or divots, use the flat-edge tool to smooth them out. Work slowly and carefully, paying attention to detail to create a consistent and level surface.
- Check for Gaps: Inspect the surface to ensure that there are no gaps or areas where the infill material is missing. Fill in any gaps with additional infill material, using the applicator tool or a trowel, as necessary.
- Blend Colors: If you are using different colors of infill material, make sure to blend them seamlessly for a cohesive look. Use the flat-edge tool to feather and blend the colors together, creating a natural transition.
By smoothing and leveling the infill, you create a uniform and professional-looking finish. This not only enhances the overall aesthetics of the roof but also improves the durability and effectiveness of the infill in protecting against water penetration and wind damage.
Once you have smoothed and leveled the infill, it is important to allow sufficient drying time before inspecting the roof shingles. This will ensure that the infill sets properly and provides long-lasting protection.
Read more: What Are The Best Roof Shingles
Step 6: Allowing Sufficient Drying Time
After applying and smoothing the infill material on the roof shingles, it is crucial to allow sufficient time for it to dry and cure properly. This step ensures that the infill adheres firmly to the shingles, providing long-lasting protection and durability. Here’s how to allow sufficient drying time:
- Check the Product Label: Refer to the manufacturer’s instructions or the product label of the infill material to determine the recommended drying time. Different infill materials may have varying drying times, so it is important to follow the specific guidelines.
- Consider Weather Conditions: Take into account the weather conditions in your area. Factors such as temperature, humidity, and air circulation can affect drying time. If the weather is cold or humid, it may take longer for the infill to dry. Ensure that the weather forecast indicates favorable conditions for drying before proceeding to the next step.
- Avoid Foot Traffic: During the drying period, it is crucial to avoid walking or applying any weight on the newly applied infill. This helps to prevent any accidental damage or displacement of the infill material.
- Monitor Drying Progress: Periodically check the infill material to assess its dryness. Gently touch a small area of the infill to see if it feels dry and no longer sticky. Additionally, visually inspect the infill for any changes in appearance that indicate dryness.
- Follow Recommended Curing Time: In addition to drying time, some infill materials may require a curing time for optimal performance. Curing is the process in which the infill fully hardens and gains its maximum strength. Follow the recommended curing time for the specific infill material you have used.
Allowing sufficient drying time ensures that the infill material sets properly, creating a strong bond with the shingles and enhancing its effectiveness in protecting against water penetration and wind damage. Rushing the drying process may compromise the integrity of the infill and lead to subpar results.
Once you are confident that the infill material has dried and cured adequately, it is time to move on to the final step: inspecting the roof shingles to ensure a successful application.
Step 7: Inspecting the Roof Shingles
The final step in the infill application process is to thoroughly inspect the roof shingles to ensure that the infill has been applied successfully and that the roof is in optimal condition. Here’s how to conduct a comprehensive inspection:
- Check for Proper Adhesion: Examine the infill material to ensure that it has adhered firmly to the shingles and filled in the gaps adequately. Pay attention to any areas where the infill may have shifted or come loose during the drying process.
- Assess the Surface: Inspect the surface of the roof to ensure that it is smooth and level. Look out for any lumps, bumps, or uneven spots that may require additional attention or refinement.
- Inspect for Water Penetration: After a rain shower or using a hose, check the roof for any signs of water penetration. Look for water stains, wet spots, or signs of moisture on the ceiling or walls inside your home. These indicators may suggest that the infill has not adequately protected against water infiltration.
- Check Shingle Stability: Verify that the shingles are secure and properly aligned. Ensure that the infill has not caused any instability or movement of the shingles. Pay special attention to areas where the shingles overlap or meet at different roof planes.
- Inspect Surfaces Near Roof Protrusions: Pay close attention to areas around chimneys, vents, skylights, or any other roof protrusions. Make sure that the infill material is properly applied and sealed around these areas to prevent water intrusion.
- Look for Cracks or Damage: Check for any new cracks, damage, or signs of deterioration on the shingles. These issues may indicate that further repairs or maintenance are needed beyond the infill application process.
If you notice any issues during the inspection, such as inadequate adhesion, water penetration, or roof damage, it is advisable to consult a professional roofer. They can provide guidance and assistance in rectifying the issues and ensuring the long-term performance and integrity of your roof.
Congratulations! By successfully completing the infill application and conducting a thorough inspection, you have taken important steps to protect and maintain your roof. Regular inspections and maintenance will help extend the lifespan of your roof and prevent costly repairs in the future.
Concluding this comprehensive guide, we hope that these step-by-step instructions have provided you with the necessary knowledge and confidence to add infill to your roof shingles effectively. Remember to prioritize safety, follow the recommended guidelines for the specific infill material you are using, and consider seeking professional assistance when needed.
Embrace the process as an opportunity to enhance the performance and aesthetics of your roof, ensuring its long-lasting protection and beauty for years to come.
Conclusion
Adding infill to roof shingles is a crucial step in the installation process that provides numerous benefits. By filling in the gaps between the shingles, infill enhances water resistance, wind resistance, and protection against debris and pests. It also improves the overall aesthetics of the roof and provides thermal insulation and soundproofing properties.
Throughout this comprehensive guide, we have covered the importance of infill, the tools and materials needed, and provided a step-by-step process to effectively add infill to roof shingles. From assessing the existing roof shingles to ensuring proper infill placement, smoothing and leveling the infill, allowing sufficient drying time, and conducting a thorough inspection, each step contributes to achieving a successful infill application.
By following these steps and paying attention to detail, you can maintain the integrity and longevity of your roof, protecting your home from the elements and adding value to your property. Remember to prioritize safety, consult manufacturer guidelines for the specific infill material you choose, and seek professional assistance when necessary.
Regular inspection, maintenance, and upkeep of your roof are essential for its long-term performance. Stay proactive in identifying signs of damage, addressing repairs promptly, and considering infill application as part of your overall roof maintenance routine.
With a properly installed and well-maintained roof, you can enjoy peace of mind knowing that your home is protected, and its curb appeal is enhanced. So, embrace the process, take pride in caring for your roof, and reap the benefits of a secure and beautiful home.
We hope this guide has equipped you with the knowledge and confidence to add infill to your roof shingles effectively. Here’s to a well-protected and stunning roof for many years to come!
Frequently Asked Questions about How To Add Infill To Roof Shingles
Was this page helpful?
At Storables.com, we guarantee accurate and reliable information. Our content, validated by Expert Board Contributors, is crafted following stringent Editorial Policies. We're committed to providing you with well-researched, expert-backed insights for all your informational needs.


0 thoughts on “How To Add Infill To Roof Shingles”