Articles
How Do You Paint Popcorn Ceiling
Modified: August 22, 2024
Learn how to paint a popcorn ceiling with our informative articles. Find step-by-step guides, tips, and expert advice for a smooth and professional finish.
(Many of the links in this article redirect to a specific reviewed product. Your purchase of these products through affiliate links helps to generate commission for Storables.com, at no extra cost. Learn more)
Introduction
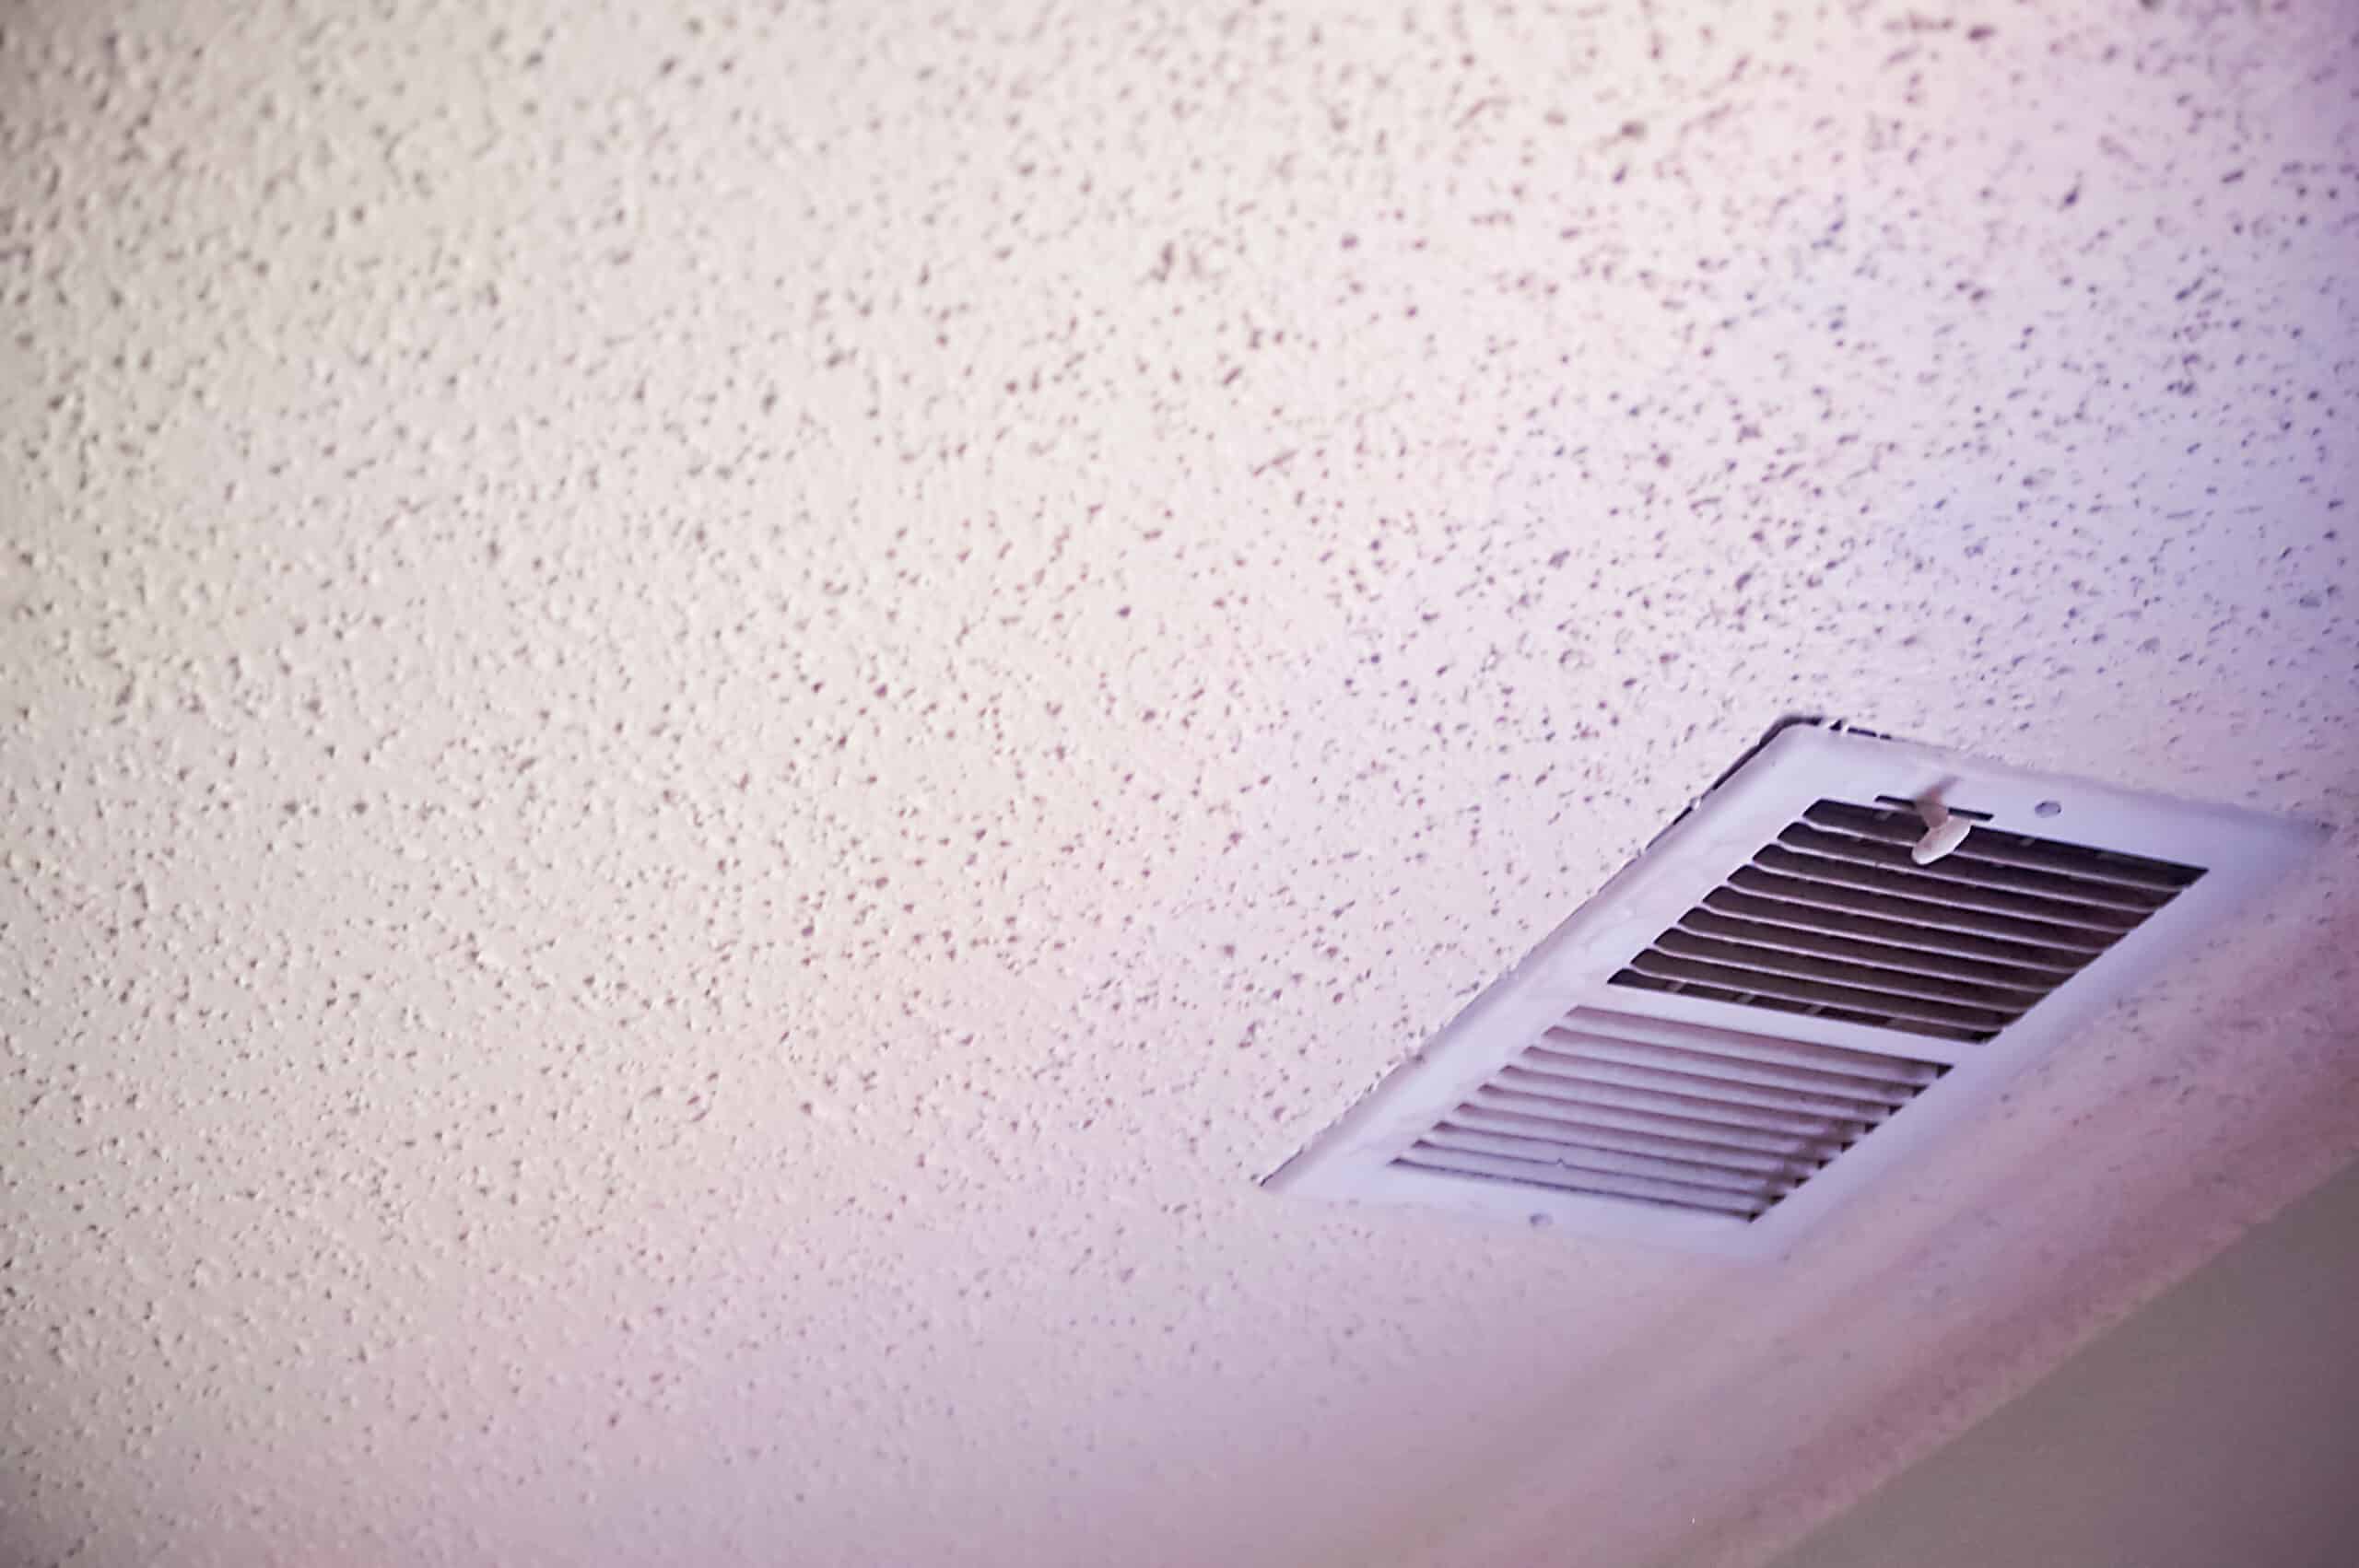
Popcorn ceilings, also known as textured ceilings or acoustic ceilings, were extremely popular in the mid-20th century. However, many homeowners today find them outdated and desire a more modern and refined look. If you’re looking to update your home’s interior, one of the first things you may consider is how to paint your popcorn ceiling.
Painting a popcorn ceiling can significantly transform the overall appearance of a room, making it look fresher and more contemporary. However, it’s important to approach the process with caution and follow the proper steps to ensure a successful and long-lasting result.
In this article, we will guide you through the process of painting a popcorn ceiling, providing you with step-by-step instructions and helpful tips along the way. From preparing the ceiling to applying the paint, we’ve got you covered.
Before we dive into the details, it’s crucial to note that working with a popcorn ceiling can pose certain challenges. These types of ceilings are notorious for their textured surface, which can make painting a bit trickier compared to painting a smooth ceiling.
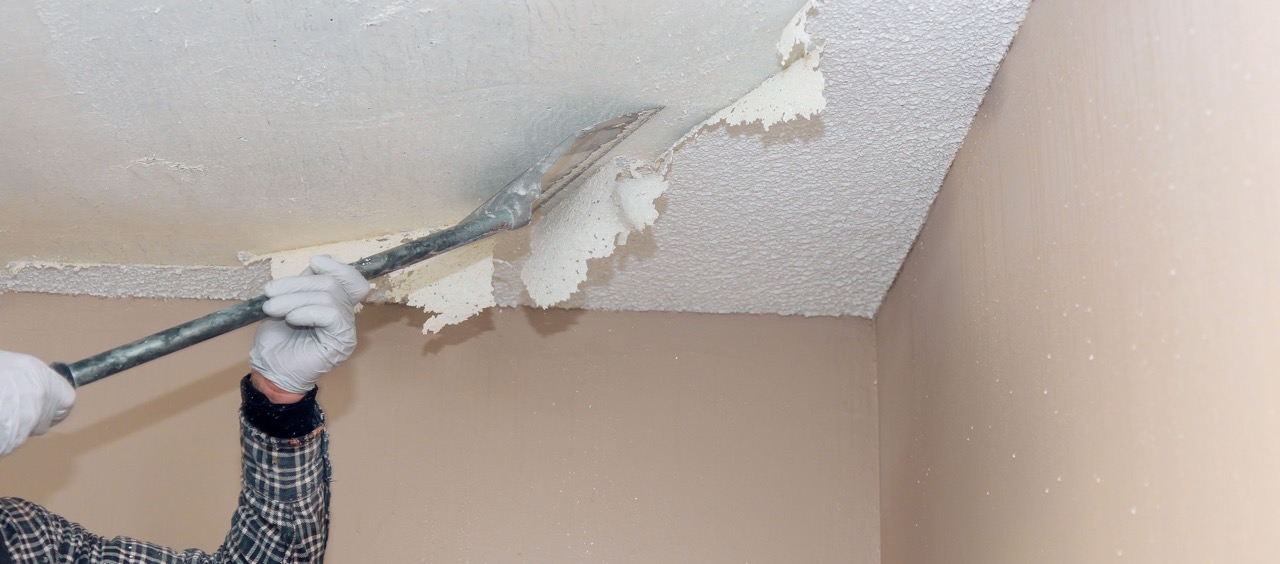
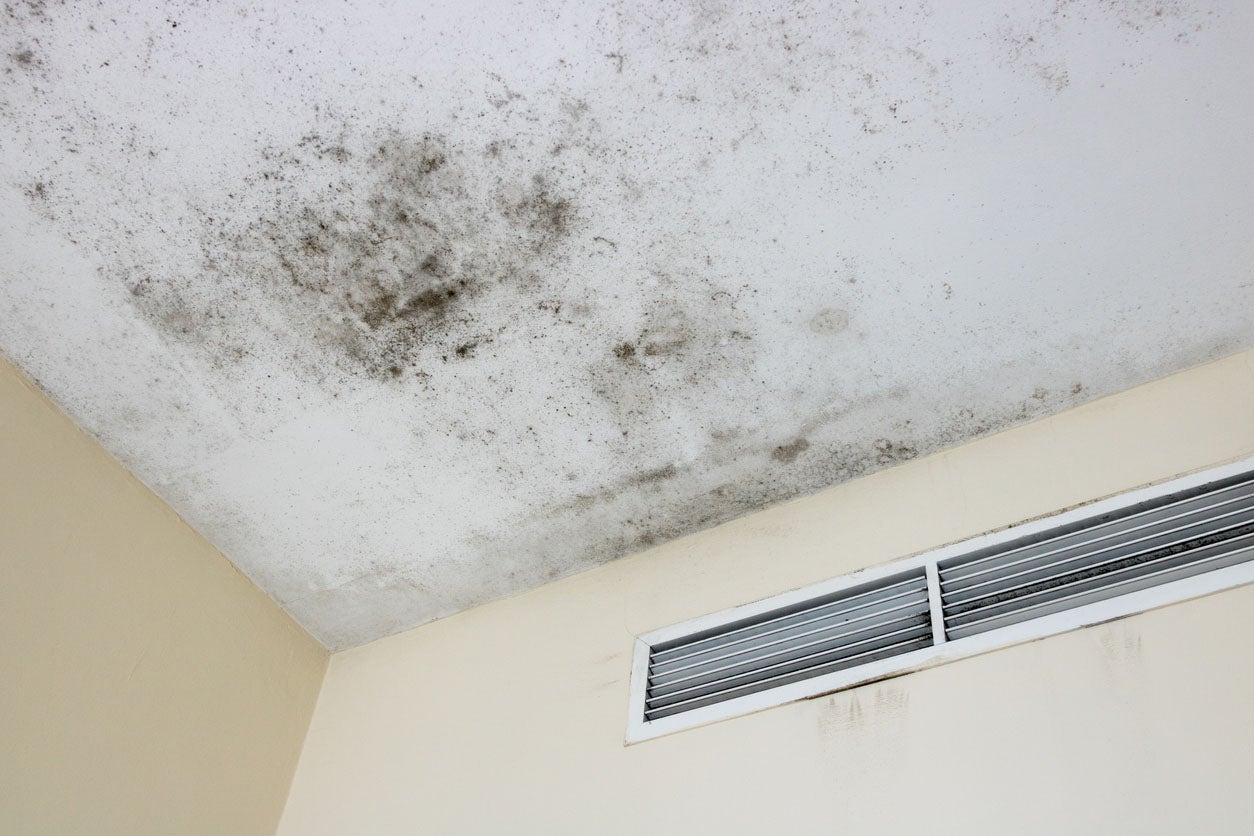
Additionally, popcorn ceilings may contain asbestos, especially if they were installed before the 1980s. Asbestos is a hazardous material that can cause serious health issues when disturbed. Therefore, it’s important to determine whether your popcorn ceiling contains asbestos before proceeding with any painting or renovation projects.
Now that we’ve touched upon the necessary precautions, let’s move on to the first step: preparing the popcorn ceiling for painting.
Key Takeaways:
- Transform your outdated popcorn ceiling into a modern focal point by following proper steps, from preparation to finishing touches. Achieve a professional-looking result and enjoy the rewarding process of revamping your living space.
- Ensure safety and proper preparation when painting a popcorn ceiling. Take the necessary precautions, such as determining asbestos presence and using protective gear, to achieve a fresh and updated look for your space.
Read more: What To Do After Scraping A Popcorn Ceiling
Preparing the Popcorn Ceiling
Before you begin painting your popcorn ceiling, it’s essential to prepare the surface properly. This step ensures that the paint will adhere well and result in a smooth and even finish. Here are the key steps to follow when preparing a popcorn ceiling for painting:
- Clean the ceiling: Start by removing any dust, dirt, or cobwebs from the ceiling. You can use a broom or a long-handled duster to reach the higher areas. Make sure to be thorough in your cleaning to achieve the best results.
- Repair any cracks or imperfections: Inspect the popcorn ceiling for any cracks, holes, or areas that are peeling. Use a putty knife to apply a patching compound, such as joint compound or spackle, to these areas. Smooth the compound over the imperfections and allow it to dry according to the manufacturer’s instructions.
- Sand the patched areas: Once the patching compound is completely dry, gently sand the patched areas with a fine-grit sandpaper. This will smooth out any rough spots and create an even surface.
- Protect surrounding areas: Cover the walls, windows, and any furniture or flooring beneath the popcorn ceiling with plastic sheeting or drop cloths. This will protect these areas from any potential paint splatters or drips.
- Apply painter’s tape: Use painter’s tape to cover the edges of any trim, light fixtures, or other areas that you want to protect from paint.
By taking the time to properly prepare the popcorn ceiling, you’ll ensure a clean and smooth surface for the paint application. This will result in a more professional-looking finish and make the painting process go much more smoothly.
Gathering the Supplies
Now that you’ve prepared the popcorn ceiling, it’s time to gather all the necessary supplies for painting. Having the right tools and materials on hand will help make the process easier and ensure a successful outcome. Here are the essential supplies you’ll need:
- Paint: Choose a high-quality interior latex paint that is specifically designed for ceilings. Opt for a color that complements the rest of your room and matches your desired aesthetic. Consider using a flat or matte finish to minimize any imperfections on the textured surface.
- Paint roller: Use a roller with a thick nap, around ½ to ¾ inch, to ensure proper coverage of the textured surface. A roller with an extension pole will come in handy for reaching high areas without the need for a ladder.
- Paint tray: A sturdy paint tray with a liner will provide a convenient space for loading your roller with paint. Look for a tray with a grid to remove excess paint and ensure an even application.
- Paintbrush: A high-quality paintbrush with synthetic bristles is essential for cutting in along the edges of the ceiling and reaching smaller or intricate areas that the roller can’t reach.
- Drop cloths or plastic sheeting: These will protect the floor and furniture from any paint splatter or spills. Ensure that the drop cloths are securely placed and cover a wide enough area to catch any potential drips.
- Painter’s tape: Use painter’s tape to protect trim, light fixtures, and other areas you want to keep paint-free. Make sure to press the tape firmly to create a clean edge and prevent bleeding.
- Sanding block: In case you need to do any additional sanding or touch-ups during the painting process, a sanding block with a fine-grit sandpaper will come in handy.
- Protective gear: Wear safety goggles, a dust mask, and disposable gloves to protect yourself from the paint and any potential dust or debris.
Gathering these supplies before you start painting will save you time and ensure a smooth workflow. It’s always better to be prepared and have everything you need within reach.
Removing Furniture and Covering Floors
Before you start painting your popcorn ceiling, it’s important to protect your furniture and floors from any potential paint drips or spills. Taking the time to properly cover and remove items will give you peace of mind and prevent any accidental damage. Here’s how to prepare the room:
- Remove furniture: Take out any furniture that can be easily moved out of the room. This includes chairs, tables, and other smaller items. Place them in a different room or cover them with plastic sheets.
- Cover larger furniture: If you have larger furniture pieces, such as couches or cabinets, that cannot be moved out of the room, cover them with drop cloths or plastic sheets. Secure the coverings in place using tape or straps to ensure they stay protected during the painting process.
- Protect the floor: Lay down drop cloths or plastic sheeting on the floor to protect it from paint splatters or drips. Ensure the drop cloths cover the entire area where you’ll be working, extending at least a foot beyond the perimeter of the ceiling. Use tape to secure the drop cloths in place to prevent them from shifting while you paint.
- Seal wall edges: To create a clean edge between the ceiling and the walls, use painter’s tape along the top edge of the walls. Press the tape firmly to ensure it adheres well. This will prevent any accidental paint splatters on the walls.
- Cover light fixtures and vents: Use plastic bags or plastic wrap to cover any light fixtures, ceiling fans, or air vents hanging from the ceiling. This will protect them from paint and make cleaning up easier afterward.
By removing furniture and properly covering your floors, you’ll create a safe and clean workspace for painting your popcorn ceiling. This step will help prevent any unwanted damage and ensure smooth progress throughout the painting process. Remember to take care when moving furniture to avoid injury or damage to the items or your surroundings.
Cleaning the Ceiling
Before you begin painting your popcorn ceiling, it’s essential to clean the surface thoroughly. Cleaning the ceiling will remove any dust, dirt, or grease that may be present, ensuring that the paint adheres properly and providing you with a smooth and even finish. Follow these steps to clean your popcorn ceiling:
- Prepare a cleaning solution: Mix a mild detergent or dish soap with warm water in a bucket. Avoid using harsh chemicals or abrasive cleaners, as they may damage the textured surface of the popcorn ceiling.
- Dampen a soft cloth or sponge: Dip a clean cloth or sponge into the cleaning solution and wring out any excess water. The cloth should be slightly damp, not dripping wet.
- Test a small area: Before you clean the entire ceiling, test a small inconspicuous area to ensure that the cleaning solution doesn’t cause any damage or discoloration. Wait for the tested area to dry and inspect it before proceeding.
- Start cleaning the ceiling: Begin at one corner of the room and work your way across the ceiling in small sections. Use a gentle circular motion to clean the textured surface. Avoid applying excessive pressure or scrubbing too vigorously, as this may loosen the popcorn texture.
- Change the cleaning solution as needed: As you clean, the water may become dirty or soapy. Change the cleaning solution as necessary to ensure that you’re working with a clean and effective mixture.
- Pay attention to stubborn stains: If you encounter any stubborn stains or marks on the ceiling, you can try using a mild stain remover specifically formulated for ceilings. Follow the manufacturer’s instructions and avoid using excessive force or aggressive scrubbing.
- Dry the ceiling: After you have finished cleaning the entire ceiling, allow it to air dry. Avoid introducing excessive moisture to the ceiling, as this can affect the paint adhesion later on.
By taking the time to clean your popcorn ceiling properly, you’ll ensure a clean and debris-free surface for painting. This step is crucial in achieving a professional and polished result. Remember to work carefully and be gentle when cleaning the textured surface to maintain its integrity.
Read more: How To Scrape Popcorn Ceiling
Patching and Repairing
Before you begin painting your popcorn ceiling, it’s important to inspect the surface for any cracks, holes, or areas that need repair. Patching and repairing these imperfections will ensure a smooth and even paint application. Follow these steps to patch and repair your popcorn ceiling:
- Inspect the ceiling: Carefully examine the ceiling to identify any cracks, holes, or areas where the popcorn texture has peeled or become damaged. Use a flashlight to help you see better, especially in dimly lit areas.
- Clean the damaged areas: Before you start patching, clean the damaged areas to remove any loose debris, dust, or loose texture. You can use a soft brush or vacuum cleaner with a brush attachment to gently clean the surface.
- Apply patching compound: Use a putty knife to apply a patching compound, such as joint compound or spackle, to the damaged areas. Smooth the compound over the imperfections, ensuring that it is evenly spread and level with the surrounding texture.
- Blend the patch: To create a seamless look, feather the edges of the patch by gently blending it into the surrounding popcorn texture. You can use the edge of the putty knife or a damp sponge to achieve a smooth transition.
- Allow the compound to dry: Follow the manufacturer’s instructions for drying time. Depending on the product used, it may take several hours or overnight to fully dry and harden.
- Sand the patched areas: Once the patching compound is completely dry, gently sand the patched areas with a fine-grit sandpaper or sanding block. This will help smooth out any rough spots and ensure a uniform texture across the ceiling.
- Inspect and touch up as needed: After sanding, inspect the patched areas to ensure they blend seamlessly with the rest of the popcorn ceiling. If necessary, apply additional patching compound and repeat the sanding process until you are satisfied with the results.
By taking the time to patch and repair the popcorn ceiling, you’ll create a smooth and even surface for applying the paint. This step is crucial in achieving a professional-looking finish and ensuring that any imperfections are adequately addressed.
When painting a popcorn ceiling, use a thick-nap roller to ensure the texture is fully covered. Work in small sections and use a primer to help the paint adhere.
Priming the Ceiling
After you have prepared and repaired the popcorn ceiling, the next step before painting is priming. Priming serves as a crucial preparatory step that enhances paint adhesion, improves coverage, and helps achieve a consistent color and finish. Follow these steps to prime your popcorn ceiling:
- Choose the right primer: Select a primer specifically formulated for ceilings. Look for a high-quality, water-based primer that is designed to adhere well to textured surfaces. Opt for a primer that dries quickly and provides good coverage.
- Prepare the room: Cover the furniture and floors with drop cloths or plastic sheeting to protect them from any primer splatters or drips. Use painter’s tape to protect the edges of the walls and any adjacent surfaces that you don’t want to prime.
- Mix and/or shake the primer: If required, thoroughly mix the primer before using it. Some primers may require shaking to ensure that the components are well-blended.
- Start priming: Begin at one corner of the room and work your way across the ceiling, using a paint roller with a thick nap. Dip the roller into the primer to load it with an even amount of paint. Remove any excess primer by rolling it onto the grid inside the paint tray.
- Apply the primer: Use a smooth and even motion to apply the primer onto the popcorn ceiling. It’s important to work in small sections to ensure that the primer doesn’t dry before you can roll over it. Apply the primer in one direction, covering the textured surface as evenly as possible.
- Overlap each section: To avoid visible lines or inconsistencies, make sure to overlap each section with the previously primed area while the primer is still wet. This will help blend the paint and create a uniform finish.
- Allow the primer to dry: Follow the manufacturer’s instructions regarding the drying time. Depending on the product, it may take several hours for the primer to dry completely.
- Inspect and touch up as needed: Once the primer is fully dry, inspect the ceiling for any areas that may need additional priming. If you notice any spots that appear uneven or insufficiently covered, touch them up with primer until you achieve a consistent and well-primed surface.
Priming the popcorn ceiling is a crucial step that ensures the paint adheres well and provides a smooth and even finish. Taking the time to prime will improve the overall quality and longevity of your painted ceiling.
Choosing the Paint
Choosing the right paint for your popcorn ceiling is essential to achieve the desired look and longevity. Here are some factors to consider when selecting the paint:
- Type of paint: Opt for a high-quality interior latex paint that is specifically formulated for ceilings. Latex paints are known for their durability, ease of application, and quick drying time.
- Finish: Consider using a flat or matte finish for your popcorn ceiling. These finishes minimize the appearance of imperfections and help create a cohesive, uniform look.
- Color: Select a color that complements the overall aesthetic of your room. Lighter colors tend to make a space feel more open and airy, while darker shades can create a cozy and intimate atmosphere.
- Sample testing: If you’re uncertain about the color, it’s a good idea to test a small section of the ceiling before committing to the entire area. Paint a small patch and observe how it looks under different lighting conditions throughout the day.
- Quantity: Calculate the amount of paint you’ll need by measuring the square footage of the ceiling. Most paint cans provide coverage information, which will help you determine how much paint to purchase. It’s advisable to buy slightly more paint than you think you’ll need to account for any touch-ups or future maintenance.
- Environmental considerations: Pay attention to the VOC (Volatile Organic Compounds) content of the paint. Opt for low VOC or zero VOC paints, which have reduced levels of harmful chemicals and are better for indoor air quality.
Consult with experts at your local paint store or seek professional advice to ensure you choose the right paint for your specific needs. They can provide valuable insights and recommendations based on your preferences and the condition of your popcorn ceiling.
Remember, selecting the right paint is crucial to ensure a beautiful, long-lasting finish on your popcorn ceiling. Take your time to make an informed decision and don’t hesitate to seek expert advice when needed.
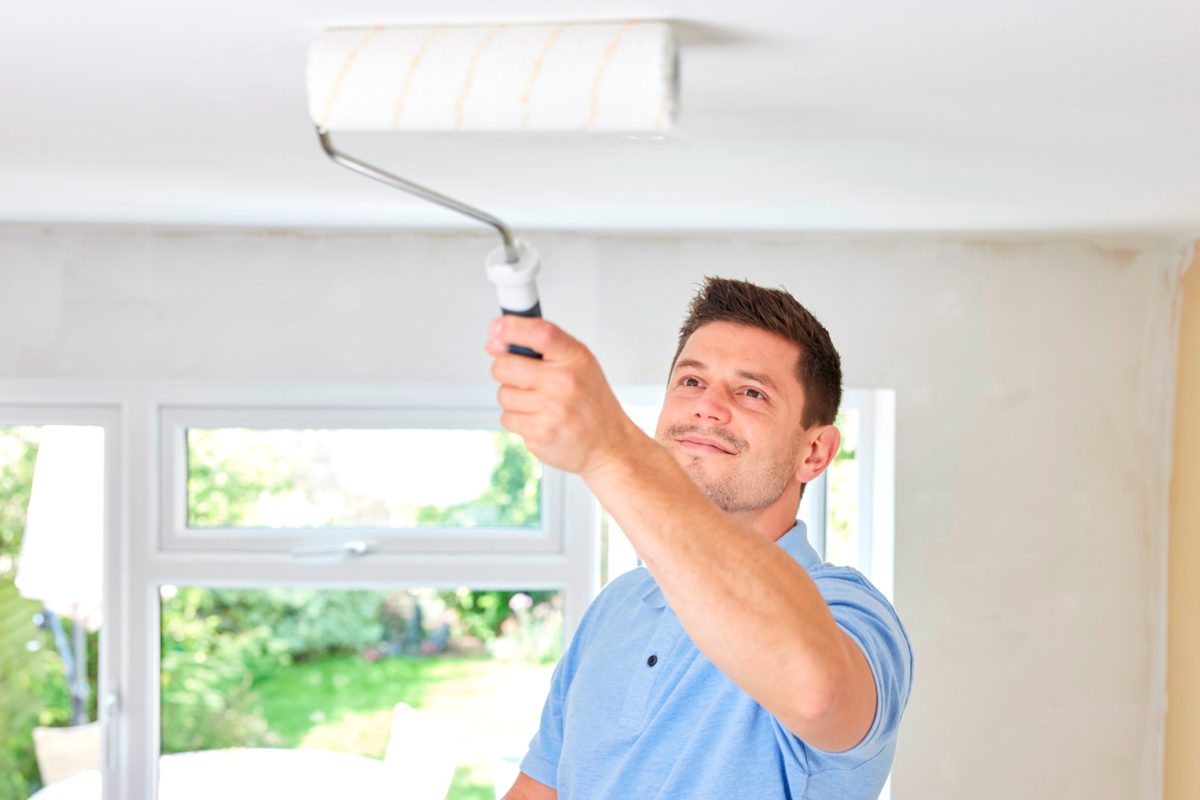
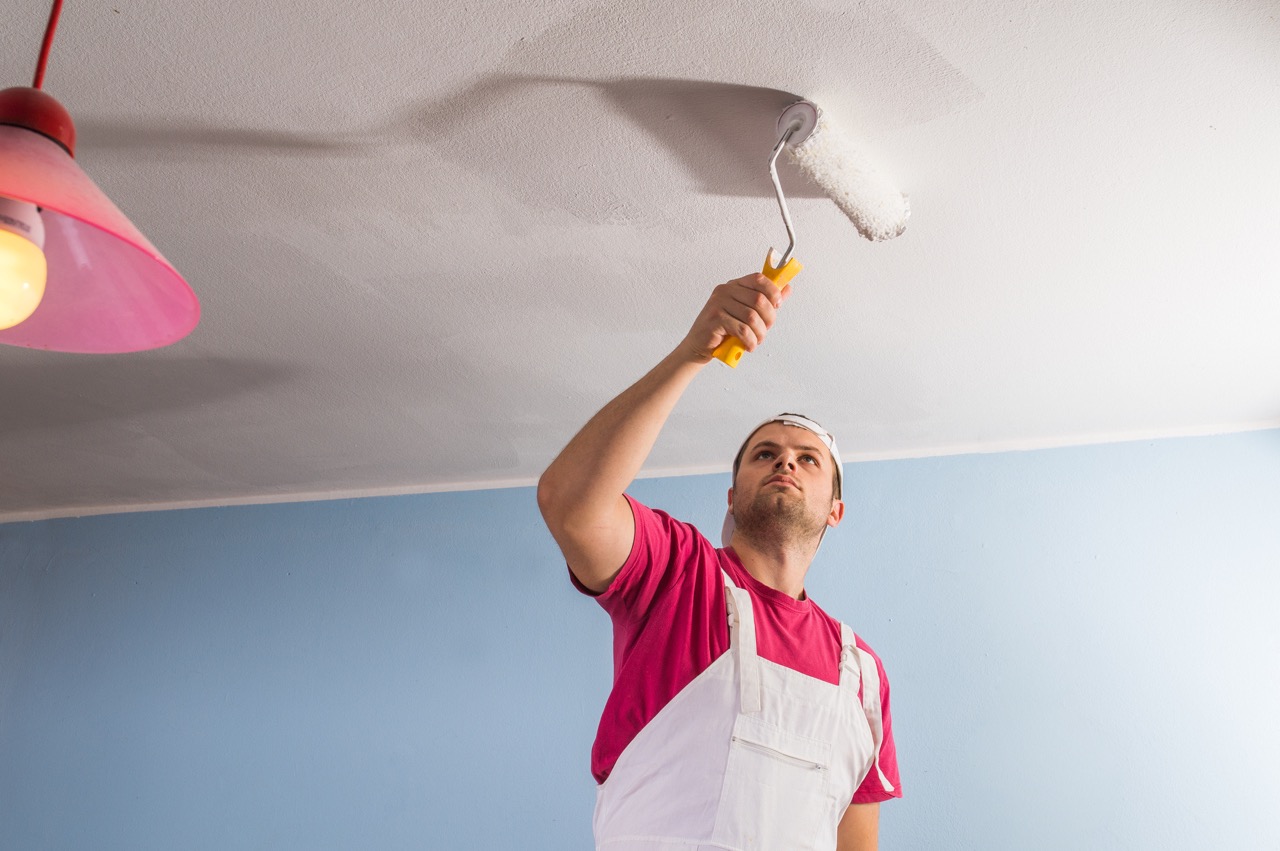
Applying the Paint
Now that you’ve prepared the popcorn ceiling and selected the right paint, it’s time to apply the paint and transform your space. Follow these steps to ensure a successful paint application:
- Stir the paint: Before you start painting, thoroughly stir the paint to ensure that the color pigments are evenly distributed. This will help achieve consistent color throughout the project.
- Start with cutting in: Begin by “cutting in” along the edges of the ceiling, using a paintbrush. Cut in a section about 2-3 inches wide around the perimeter of the ceiling, including corners and edges. This will facilitate easier rolling later on.
- Load the roller: Dip the roller into the paint tray, making sure to evenly distribute the paint on the roller. Roll it back and forth on the tray’s grid or ridges to remove any excess paint.
- Apply the paint: Start rolling the paint onto the popcorn ceiling in a smooth, even motion, applying light pressure. Work in small sections, overlapping each stroke to ensure consistent coverage. Avoid pressing too hard or rolling too quickly, as this can create spatter or uneven application.
- Work in manageable sections: It’s important to work in manageable sections to ensure that the paint doesn’t dry before you finish rolling. The size of each section will depend on your comfort level and the drying time of the paint you’re using.
- Blend the sections: As you move from one section to another, be sure to blend the paint edges to create a seamless appearance. This will help avoid visible lines or differences in color and texture.
- Allow the first coat to dry: Once you’ve completed the first coat, allow it to dry completely according to the manufacturer’s instructions. Check for any areas that might require touch-ups before applying the second coat.
- Apply a second coat: For optimal coverage and a more polished finish, apply a second coat of paint to the popcorn ceiling. Follow the same techniques as before, ensuring even and consistent coverage.
- Clean up: Once you’ve finished painting, clean your brushes, rollers, and any other tools immediately to prevent the paint from drying and becoming difficult to remove. Dispose of any used paint cans and materials responsibly.
Remember, patience and attention to detail are key when applying paint to a popcorn ceiling. Take your time, work methodically, and ensure proper coverage and blending for a professional-looking result.
Allow the paint to dry completely before moving on to any finishing touches or reassembling the room. This will help prevent any accidental damage or smudges that may occur if the paint is still wet.
Read more: What Do You Paint First: Ceiling Or Walls?
Finishing Touches
After you’ve completed the painting process for your popcorn ceiling, there are a few finishing touches you can add to enhance the overall appearance of the room. These final steps will help ensure a polished and professional result:
- Inspect for touch-ups: Once the paint has dried, carefully inspect the ceiling for any areas that may need touch-ups. Look for spots where the paint coverage may be uneven or where the popcorn texture may require additional blending.
- Touch up the paint: Use a small brush or roller to touch up any areas that need additional paint. Apply the paint with a light touch, taking care to blend it seamlessly with the surrounding texture and color.
- Remove painter’s tape: Gently remove the painter’s tape from the edges of the walls and any other protected areas. Take your time and pull the tape at a 45-degree angle to avoid peeling off any freshly painted surfaces.
- Reassemble the room: Once the paint is completely dry and any touch-ups are complete, you can start reassembling the room. Move the furniture back into place, remove the drop cloths or plastic sheeting, and clean up any remaining debris or dust.
- Enjoy your newly painted ceiling: Step back and admire your freshly painted popcorn ceiling. Notice how the new color and fresh finish transform the entire room, bringing a renewed sense of brightness and style.
As you wrap up the finishing touches, take pride in the hard work you’ve put into painting your popcorn ceiling. Cleaning, patching, priming, and carefully applying the paint have all come together to create a beautiful and updated space.
Remember to maintain your painted popcorn ceiling by periodically cleaning it to keep it looking fresh and vibrant. Regular dusting or vacuuming will help remove any debris or dirt that may accumulate over time.
Now sit back, relax, and enjoy your newly revamped space with its beautifully painted popcorn ceiling!
Conclusion
Painting a popcorn ceiling can be a transformative process that breathes new life into your home. By following the proper steps and taking the necessary precautions, you can achieve a beautiful and professional-looking result. Let’s recap the key points:
Preparing the popcorn ceiling is crucial to ensure a smooth and even paint application. Clean the ceiling, repair any imperfections, and protect surrounding areas before you begin painting.
Gathering the right supplies, such as high-quality paint, rollers, brushes, drop cloths, and painter’s tape, will make the process easier and more efficient.
Removing furniture and covering floors will protect your belongings from paint drips or spills, creating a safe and clean workspace for painting.
Cleaning the popcorn ceiling ensures proper adhesion of the paint and improves the overall finish.
Patching and repairing any cracks or holes in the ceiling creates a seamless and polished surface for painting.
Priming the popcorn ceiling enhances paint adhesion, coverage, and color consistency.
Choosing the right paint, considering factors such as type, finish, color, and environmental considerations, is essential to achieve the desired look and longevity.
Applying the paint with care, using a combination of cutting in and rolling techniques, ensures an even and professional finish.
Completing the finishing touches, such as inspecting for touch-ups and removing painter’s tape, adds the final polish to your popcorn ceiling painting project.
By following these steps and taking your time, you can successfully paint your popcorn ceiling and achieve a fresh and updated look for your space.
Remember, safety and proper preparation are key. Before beginning any painting project, ensure you have taken the necessary precautions, such as determining if your popcorn ceiling contains asbestos and using appropriate protective gear.
So, what are you waiting for? Take the plunge and transform your outdated popcorn ceiling into a modern and stylish focal point. Enjoy the process and the rewarding feeling of revamping your living space!
Frequently Asked Questions about How Do You Paint Popcorn Ceiling
Was this page helpful?
At Storables.com, we guarantee accurate and reliable information. Our content, validated by Expert Board Contributors, is crafted following stringent Editorial Policies. We're committed to providing you with well-researched, expert-backed insights for all your informational needs.


0 thoughts on “How Do You Paint Popcorn Ceiling”