
Articles
How To Redo A Popcorn Ceiling
Modified: December 7, 2023
Learn how to effectively redo a popcorn ceiling with these informative articles. Transform your space with the help of expert tips and tricks.
(Many of the links in this article redirect to a specific reviewed product. Your purchase of these products through affiliate links helps to generate commission for Storables.com, at no extra cost. Learn more)
Introduction
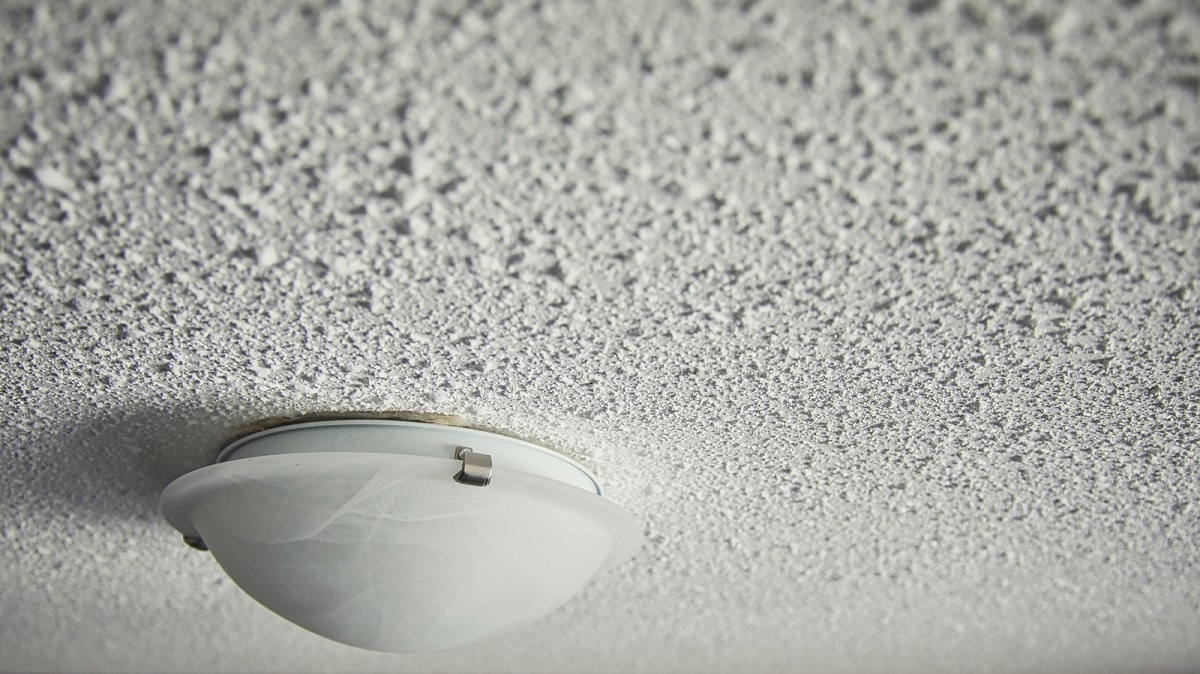
A popcorn ceiling, also known as a textured or acoustic ceiling, was a popular choice in homes during the mid-20th century. However, over time, many homeowners have opted to remove or redo this textured surface due to its outdated appearance or concerns about potential health risks associated with asbestos.
If you’ve decided it’s time to update your popcorn ceiling, this article will guide you through the process of redoing it. Whether you choose to scrape off the texture and create a smooth finish or apply a new texture, this step-by-step guide will help you achieve a fresh and modern look for your ceiling.
Before you begin, it’s important to note that redoing a popcorn ceiling can be a time-consuming and messy process. It requires careful preparation and attention to detail to ensure a successful outcome. However, with a little patience and the right tools, you can transform the look and feel of your room.
In the following steps, we’ll cover everything you need to know to redo your popcorn ceiling. From gathering the necessary materials to prepping the room and completing the finishing touches, this guide will provide you with the knowledge and confidence to tackle this project.
Key Takeaways:
- Redoing a popcorn ceiling involves careful preparation, including gathering the necessary materials, testing for asbestos, and protecting the room. Patience and attention to detail are essential for achieving a modern and updated ceiling.
- The process of redoing a popcorn ceiling requires step-by-step execution, from scraping off the texture to applying a skim coat, priming, and painting. Proper cleanup and admiration of the finished result contribute to the overall success of the project.
Read more: How To Scrape Popcorn Ceiling
Step 1: Gather the necessary materials
Before you begin the process of redoing your popcorn ceiling, it’s important to gather all the necessary materials. Having everything on hand will save you time and ensure a smooth workflow. Here are the materials you’ll need:
- Protective gear: Popcorn ceiling removal can be a messy process. You’ll need safety goggles, a dust mask, and disposable coveralls to protect yourself from dust and debris.
- Drop cloths and plastic sheets: Covering the floor and any furniture in the room is crucial to prevent damage from falling debris or paint splatters.
- Scraping tools: To remove the popcorn texture, you’ll need a wide putty knife, a scraper, or a specialized popcorn ceiling scraper tool. These tools will help you loosen and scrape off the texture effectively.
- Patching materials: It’s common to encounter small damages or imperfections on the ceiling during the removal process. Be prepared with some joint compound, putty, or spackling paste to patch any holes or cracks that may appear.
- Sanding equipment: Sanding the ceiling after scraping off the popcorn texture will create a smooth surface for painting or applying a new texture. Have sandpaper or a sanding pole ready for this step.
- Skim coat compound: If you opt for a smooth finish on your ceiling, you’ll need a skim coat compound. This compound fills in any remaining texture imperfections, creating a flat surface.
- Primer and paint: Once the ceiling is prepared, you’ll need a high-quality primer to ensure proper adhesion of the paint. Choose a paint that suits your preference and complements your room’s decor.
- Paint roller and brush: To apply the primer and paint, have a paint roller and brush on hand. These tools will ensure even coverage and a professional-looking finish.
- Cleaning supplies: Lastly, don’t forget to have cleaning supplies ready to tidy up the room after the project is complete. This includes a broom, vacuum cleaner, and damp cloths for wiping down surfaces.
By gathering all of these materials ahead of time, you’ll be well-prepared and organized for your popcorn ceiling redo project. This will help you achieve the best results and make the process more efficient.
Step 2: Prepare the room for the project
Before you start removing or redoing your popcorn ceiling, it’s essential to prepare the room properly. Taking the time to prep the space will minimize mess and potential damage to your furniture and fixtures. Here’s how to get your room ready:
- Clear the room: Remove all furniture, decorations, and other items from the room. It’s easier to work in an empty space and reduces the risk of accidentally damaging your belongings.
- Cover the floor: Use drop cloths or plastic sheets to cover the entire floor area. Secure the edges with painter’s tape to ensure they stay in place during the project. This will protect your flooring from falling debris and any spills.
- Turn off electricity: For safety reasons, turn off the electricity to the room at the breaker panel. This will prevent accidental electrical shocks while working on the ceiling.
- Remove light fixtures and ceiling fans: If possible, take down any light fixtures, ceiling fans, or other hanging objects from the ceiling. This makes it easier to work on the popcorn texture and avoids potential damage to these fixtures.
- Cover fixtures that can’t be removed: If you can’t remove certain fixtures, such as vents or smoke detectors, cover them with plastic sheets and secure them in place with painter’s tape. This will safeguard them from dust, debris, and paint.
- Close off the room: Seal the room off from the rest of your home to prevent dust and debris from spreading. Hang plastic sheets over doorways or use plastic barriers to create a temporary partition.
By taking the time to prepare your room properly, you’ll create a clean and organized work environment. This will make the popcorn ceiling redo process smoother and more efficient, allowing you to achieve the best possible results.
Step 3: Test for asbestos (if applicable)
Before proceeding with the redecoration of your popcorn ceiling, it’s important to determine whether asbestos is present in the texture. Asbestos was commonly used in popcorn ceilings until the 1980s, posing a potential health risk if disturbed or damaged.
If your home was built before the 1980s, it’s advisable to have a sample of your popcorn ceiling tested for asbestos. Here’s how to test for asbestos in your popcorn ceiling:
- Consult a professional: Asbestos testing is best performed by a licensed asbestos professional. They have the expertise and necessary equipment to safely collect samples and analyze them for asbestos content.
- Take a sample: If you’re comfortable with DIY testing, you can collect a small sample of the popcorn texture yourself. Follow the recommended safety guidelines and take the sample from an inconspicuous area of the ceiling, preferably near the edge.
- Package and label the sample: Once you have a small piece of the popcorn texture, carefully package it in a sealable plastic bag. Label the bag with details such as the location of the sample and the date it was collected.
- Send the sample for testing: Contact a certified asbestos testing laboratory and inquire about their testing services. Follow their instructions for sending the sample and arrange for analysis.
- Wait for results: The laboratory will analyze the sample and provide you with a report detailing whether asbestos is present in the popcorn texture. This information is crucial for determining the next steps in your ceiling redo project.
If asbestos is detected in your popcorn ceiling, it’s essential to consult with a professional asbestos abatement company. Disturbing asbestos-containing materials can release harmful fibers into the air, posing serious health risks. Professional removal and disposal are necessary to ensure the safety of yourself and your household.
If your popcorn ceiling does not contain asbestos, you can proceed with the project confidently, following the remaining steps to achieve a beautifully redone ceiling.
Step 4: Remove furniture and cover the floor
Before you begin the process of removing or redoing your popcorn ceiling, it’s important to protect your furniture and floor from dust, debris, and potential damage. Here’s how to properly remove furniture and cover your floor:
- Clear the room: Remove all furniture, decorations, and any other items from the room. This will give you ample space to work and prevent any accidental damage or obstructions during the project.
- Wrap furniture in plastic: If you have larger pieces of furniture that are difficult to move, such as heavy cabinets or wardrobes, cover them with plastic sheets or drop cloths. Secure the coverings with tape or plastic wrap to protect the surfaces from dust and debris.
- Disassemble furniture if possible: Whenever feasible, take apart furniture items that can be disassembled. This makes it easier to move and reduces the risk of damage during the removal process.
- Cover the floor: Use drop cloths, plastic sheets, or canvas tarps to cover the entire floor area. Ensure that the coverings extend several feet beyond the edges of the room to catch any falling debris or paint splatters.
- Tape down the coverings: Secure the edges of the drop cloths or plastic sheets to the baseboards or walls using painter’s tape. This will prevent them from moving or shifting while you work on the ceiling.
By removing furniture and covering the floor, you create a clear and protected workspace. This not only prevents potential damage to your belongings but also makes the cleanup process much easier when the project is complete.
Remember to handle furniture with care to avoid any injuries. Enlist the help of a friend or family member if you have large or heavy items that require assistance. Taking these precautions ensures a smoother and safer popcorn ceiling redoing process.
Read more: How To Do Popcorn Ceiling
Step 5: Protect walls and fixtures
When redoing your popcorn ceiling, it’s important to take measures to protect your walls and fixtures from damage, dust, and paint splatters. Properly safeguarding these areas will prevent unnecessary repairs or touch-ups after the project. Here’s how to protect your walls and fixtures:
- Cover walls with plastic or drop cloths: Use plastic sheets or drop cloths to cover the walls from floor to ceiling. Secure the coverings with painter’s tape, making sure they are tightly sealed against the walls to prevent dust or paint from seeping through.
- Protect trim and molding: If you have delicate trim or molding along the ceiling or walls, use painter’s tape to cover them. This will create a clean line and protect these areas from accidental paint splatters or damage during the popcorn texture removal process.
- Remove outlet covers and switch plates: Take off all outlet covers and switch plates in the room. Set them aside in a safe place to avoid losing them or getting them dirty during the project.
- Cover fixtures and vents: Use plastic sheets or painter’s tape to cover light fixtures, vents, and other fixtures attached to the ceiling or walls. This will protect them from falling debris or accidental paint splatters.
These steps will effectively safeguard your walls and fixtures, minimizing the risk of damage during the popcorn ceiling redoing process. By taking the time to properly protect these areas, you can focus on the task at hand without worrying about any potential mishaps.
Remember to be careful and gentle when working around fragile fixtures, as accidental damage may require replacement or repair. It’s better to err on the side of caution and take the necessary precautions to ensure the safety and integrity of your walls and fixtures.
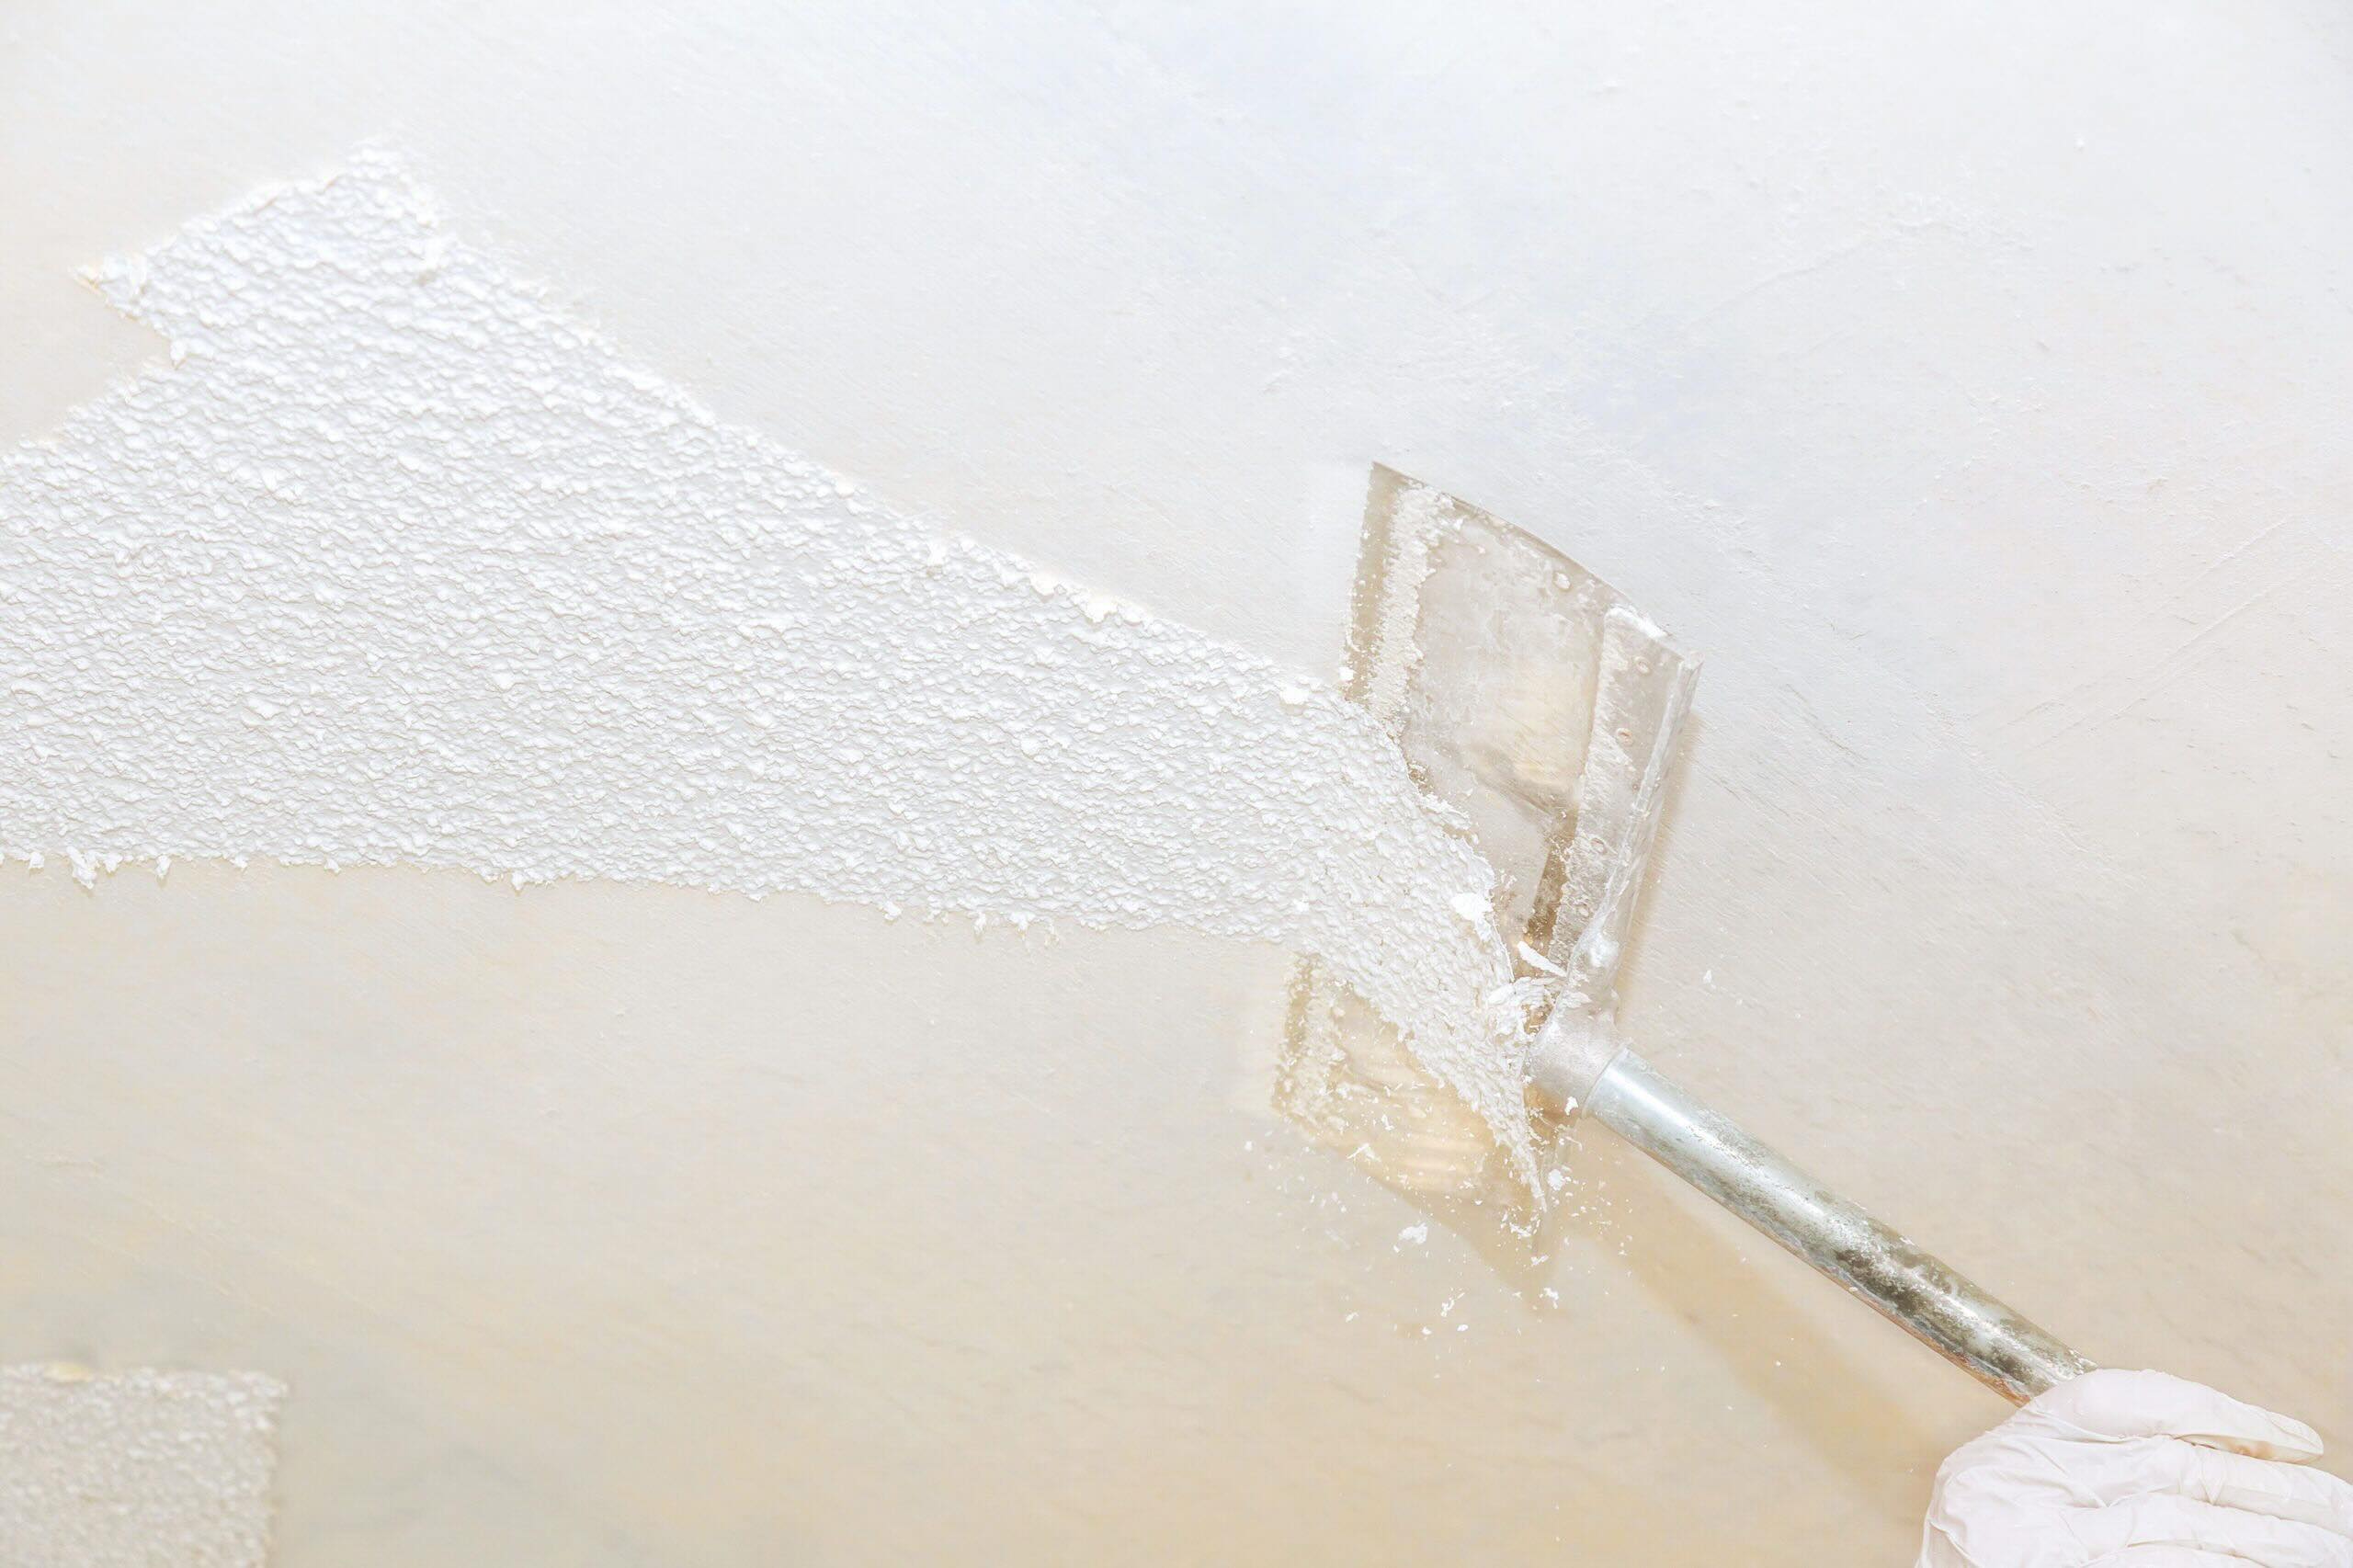
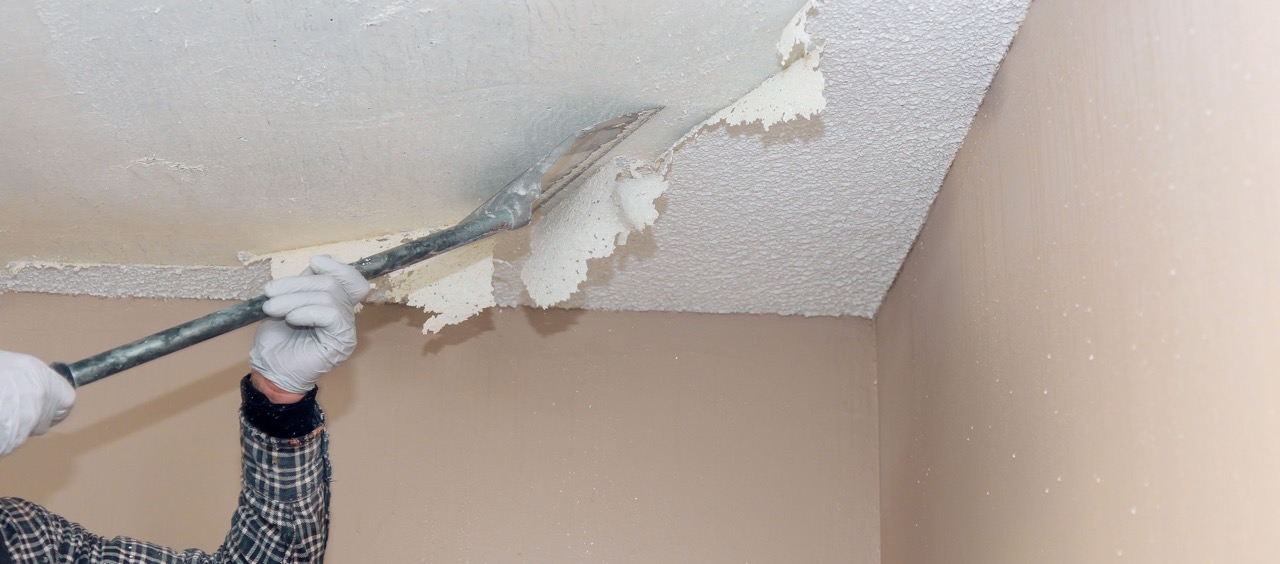
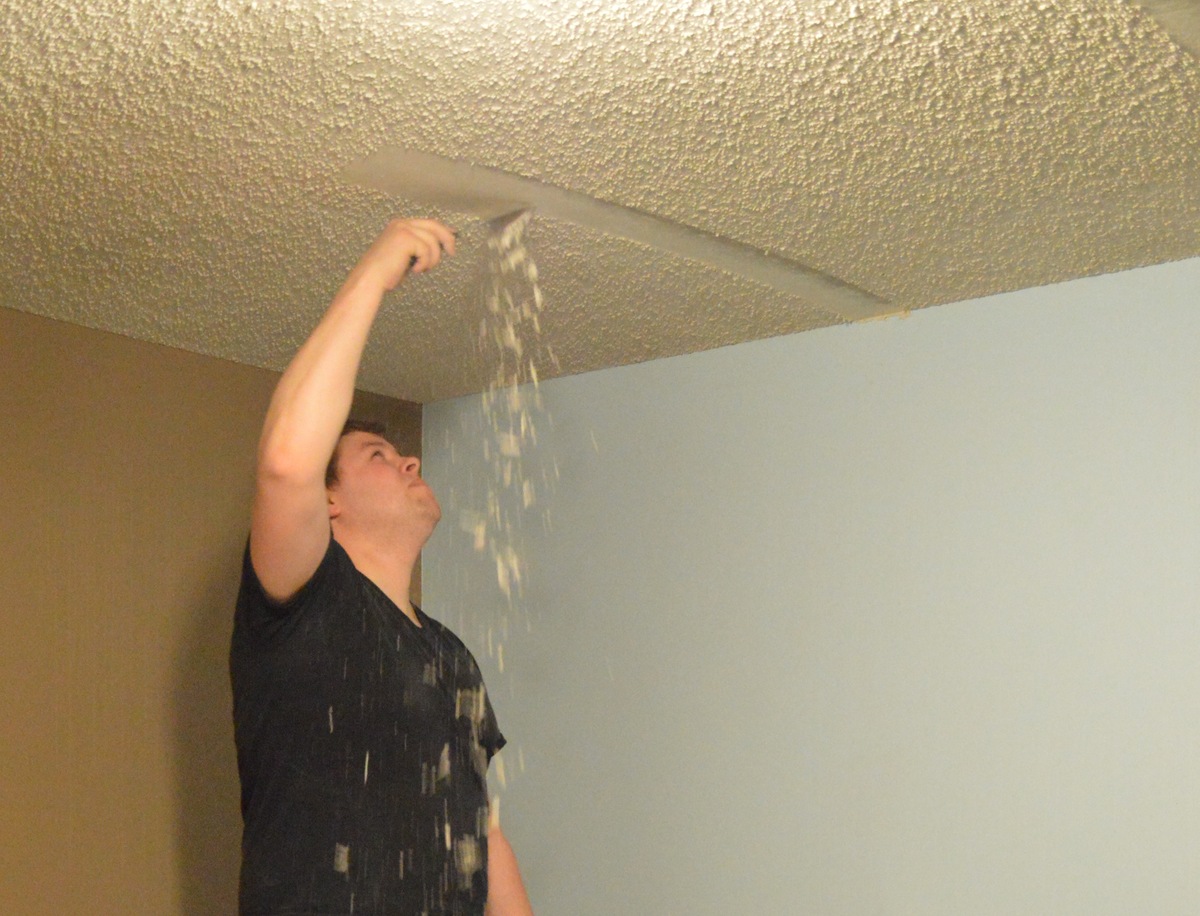
Step 6: Scrape off the popcorn texture
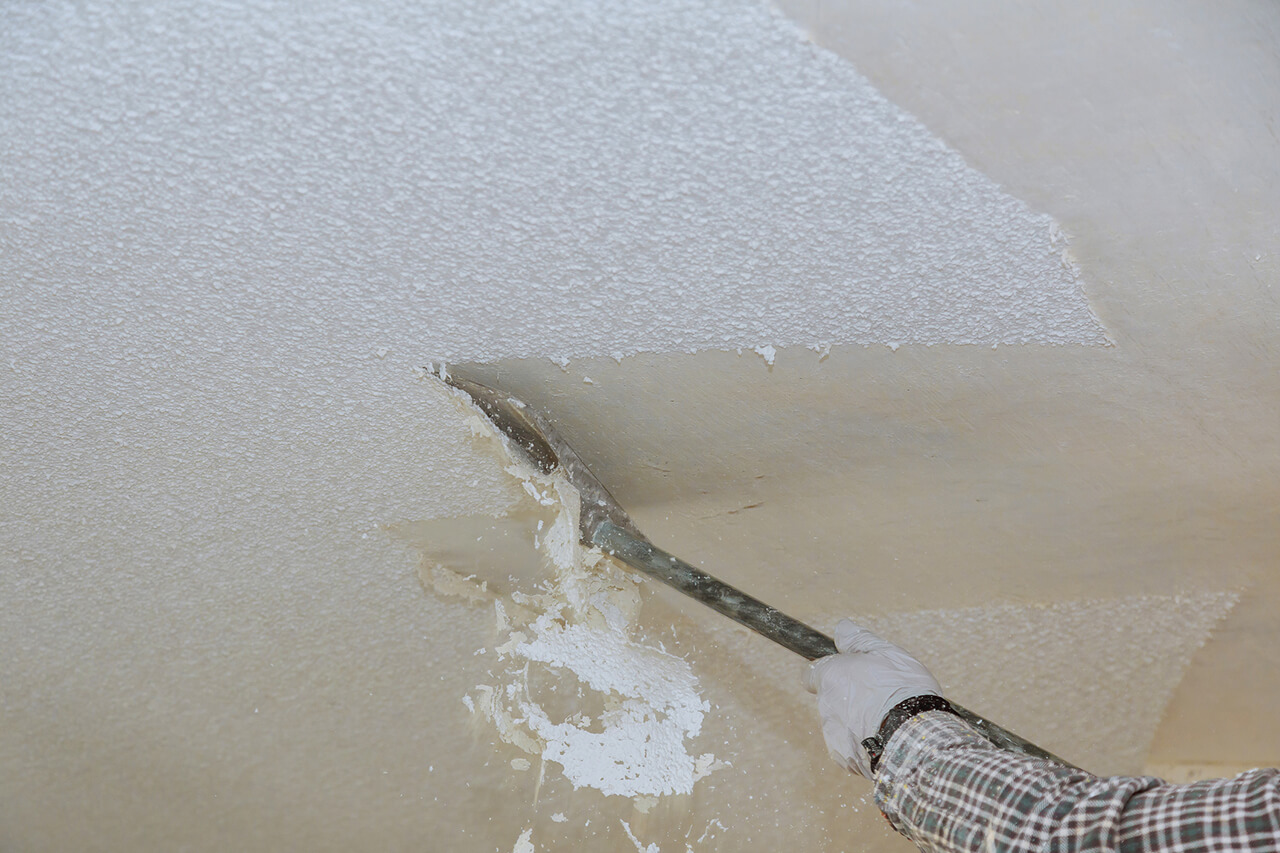
Once you have prepared the room and protected the surrounding areas, it’s time to start removing the popcorn texture from your ceiling. This step requires patience and careful precision to ensure successful removal. Here’s how to scrape off the popcorn texture:
- Moisten the popcorn texture: Before you start scraping, lightly mist the textured surface with water. This will help to soften and loosen the texture, making it easier to remove.
- Work in small sections: Start in one corner of the room, and work in small sections of about 2-3 square feet at a time. This allows you to focus on one area without becoming overwhelmed.
- Use a scraping tool: Use a wide putty knife, a scraper, or a specialized popcorn ceiling scraper tool. Hold the tool at a slight angle and gently scrape the texture off the ceiling, moving it in a forward and backward motion.
- Be gentle: Apply minimal pressure while scraping to avoid damaging the underlying drywall or plaster. Gradually remove the texture, taking care not to gouge or scrape too deeply.
- Dispose of the scraped texture: As you scrape off the textured material, have a garbage bag or container nearby to collect the debris. Periodically empty the bag or container to keep your work area clean.
- Continue section by section: Repeat the scraping process in small sections until the entire ceiling is free of the popcorn texture. Take breaks as needed to rest and maintain your focus.
Removing the popcorn texture can be a messy and time-consuming process. It’s essential to work diligently and exercise patience, ensuring that you remove the texture evenly across the entire ceiling. Once you have completed this step, you will have a smooth canvas to work with for the rest of the popcorn ceiling redo project.
Remember to take breaks as needed and pace yourself throughout the scraping process. This will help maintain your concentration and prevent fatigue. Stay focused on achieving a clean and even surface as you proceed with the popcorn texture removal.
When redoing a popcorn ceiling, be sure to properly prepare the surface by scraping off the existing texture, repairing any imperfections, and applying a new texture or smooth finish for a modern look.
Step 7: Patch any damaged areas
After scraping off the popcorn texture, it’s common to discover small imperfections, cracks, or holes on the ceiling. It’s crucial to address these damaged areas before moving forward with the popcorn ceiling redo project. Here’s how to patch and repair any such issues:
- Inspect the ceiling: Carefully examine the ceiling surface for any visible damages or areas that require repair. Look for cracks, holes, or uneven sections that need attention.
- Prepare the damaged areas: Use a putty knife or scraper to carefully remove any loose debris or flakes around the damaged areas. Clean the surface to ensure proper adhesion of the patching material.
- Select your patching material: Depending on the size of the damage, choose an appropriate patching material such as joint compound, putty, or spackling paste. Follow the manufacturer’s instructions for mixing or preparing the material.
- Apply the patching material: Using a putty knife or a trowel, apply the patching material to fill in the cracks, holes, or uneven sections. Smooth it out evenly, ensuring that it is flush with the surrounding ceiling surface.
- Allow the patching material to dry: Follow the recommended drying time for the patching material. It’s essential to give it enough time to fully dry and harden before moving on to the next steps.
- Sand the patched areas: Once the patching material is dry, use sandpaper or a sanding pole to gently sand the patched areas. This will create a smooth and seamless transition between the patched areas and the rest of the ceiling.
- Remove dust and debris: After sanding, use a brush or a vacuum cleaner to remove any dust or debris from the patched areas. This will ensure a clean surface for the next steps of the popcorn ceiling redo project.
Patching and repairing any damaged areas is crucial to achieving a seamless and professional-looking result. Taking the time to address these issues will ensure that the final outcome of your popcorn ceiling redo project is flawless and visually appealing.
Remember to work carefully and patiently while patching the damaged areas. Take your time to achieve a smooth and even finish, as this will contribute to the overall aesthetic appeal of your newly redone popcorn ceiling.
Step 8: Sand the ceiling
After patching any damaged areas on your popcorn ceiling, the next step in the redoing process is to sand the entire surface. Sanding helps to create a smooth and uniform texture, preparing the ceiling for the application of a new texture or for painting. Here’s how to properly sand your ceiling:
- Equip yourself with safety gear: Before you begin sanding, ensure that you are wearing safety goggles, a dust mask, and protective clothing to shield yourself from dust and debris.
- Choose the right sanding equipment: Use a sanding pole or a hand sanding block with fine-grit sandpaper. This will allow you to easily reach and smooth out the entire ceiling surface.
- Start with a light touch: Begin sanding the ceiling with light, gentle strokes. Apply even pressure across the surface, moving the sanding equipment in a back-and-forth or circular motion.
- Work methodically: Divide the ceiling into small sections and work on one section at a time. This will help you maintain control and ensure that you sand the entire surface evenly.
- Smooth out any rough patches: Pay close attention to areas where the patched material was applied. Sand these areas carefully to achieve a seamless transition with the rest of the ceiling.
- Keep the area clean: As you sand, periodically clean the sanding dust from the surface and surrounding areas. This will allow you to assess the progress and prevent the dust from interfering with the texture or painting process.
- Continue until the desired smoothness is achieved: Sand the ceiling until you have achieved the desired level of smoothness. This will create a clean and even surface for the next steps of your popcorn ceiling redo project.
- Clean up the dust: After sanding, use a brush or a vacuum cleaner to remove any sanding dust from the ceiling and the surrounding areas. This will ensure a clean surface for the subsequent steps.
Sanding the ceiling is an important step in creating a flawless finish for your popcorn ceiling redo. Take your time and work patiently to achieve a smooth and uniform surface. Proper sanding will contribute to the overall appearance and quality of your finished ceiling.
Remember to take breaks as needed and avoid oversanding to prevent damage to the underlying structure. With a diligent approach, you’ll be well on your way to a beautifully redone popcorn ceiling.
Read more: How To Clean A Popcorn Ceiling
Step 9: Apply a skim coat
After sanding your popcorn ceiling, the next step in the redoing process is to apply a skim coat. A skim coat is a thin layer of joint compound or a specialized skim coat compound that is applied to the entire ceiling surface. It helps to create a smooth and even texture, hiding any imperfections and providing a fresh canvas for painting or applying a new texture. Here’s how to apply a skim coat to your ceiling:
- Prepare the skim coat compound: If using a powdered joint compound, mix it with water according to the manufacturer’s instructions. If using a specialized skim coat compound, ensure it is properly mixed and ready for application.
- Start with the edges: Begin by applying the skim coat to the edges of the ceiling using a putty knife or a trowel. Work in small sections, gradually moving towards the center of the ceiling.
- Apply the skim coat: Using a trowel or a wide putty knife, apply a thin layer of the skim coat compound to the ceiling. Smooth it out evenly, working in one direction to create a uniform texture.
- Work in small sections: Divide the ceiling into manageable sections, applying the skim coat to one section at a time. This will help you maintain control and ensure that the coat is evenly applied.
- Feather the edges: To create a seamless transition between the skim coat and the rest of the ceiling, feather the edges by blending them into the surrounding area. This will help achieve a natural and cohesive look.
- Allow the skim coat to dry: Follow the manufacturer’s instructions for drying time. It’s important to give the skim coat sufficient time to dry and harden before moving on to the next steps of your popcorn ceiling redo project.
- Sand the skim coat if necessary: If you notice any rough or uneven areas on the skim coat, lightly sand them using fine-grit sandpaper. This will create a smoother surface.
- Remove dust and debris: After sanding or if no sanding is required, use a brush or a vacuum cleaner to remove any dust or debris from the skim coat. This will ensure a clean surface for the next steps.
Applying a skim coat to your popcorn ceiling will result in a refined and refreshed appearance. Take your time and work patiently to ensure a smooth and seamless finish. A well-executed skim coat will provide the foundation for a professionally redone popcorn ceiling.
Remember to follow the manufacturer’s instructions for the skim coat compound and drying time. With careful attention to detail, you’ll be one step closer to achieving a beautiful and updated popcorn ceiling.
Step 10: Prime the ceiling
After applying the skim coat to your popcorn ceiling, the next step in the redoing process is to prime the surface. Priming the ceiling before painting or applying a new texture ensures better adhesion, even color, and a professional finish. Here’s how to prime your popcorn ceiling:
- Choose the right primer: Select a primer specifically designed for ceilings. Look for a high-quality, stain-blocking primer that will provide excellent coverage and help to hide any remaining imperfections.
- Prepare the room: Make sure the room is well-ventilated by opening windows or using fans. It’s also a good idea to cover furniture and floors with drop cloths or plastic sheets to protect them from any potential primer splatters.
- Mix the primer (if necessary): If your primer requires mixing, follow the manufacturer’s instructions to prepare it. Ensure it is well-mixed with a consistent texture before using.
- Apply the primer: Using a roller with a long nap, start priming the ceiling. Work in small sections, applying the primer in even, overlapping strokes. Use a brush to cut in along the edges and corners of the ceiling.
- Work systematically: Divide the ceiling into manageable sections and work methodically. This will ensure that you apply the primer evenly and thoroughly across the entire surface.
- Apply multiple coats if necessary: Depending on the condition and color of your popcorn ceiling, you may need to apply more than one coat of primer to achieve the desired coverage and uniformity. Allow each coat to dry completely before applying the next.
- Check for missed spots: After applying the primer, inspect the ceiling for any missed spots or areas that require touch-ups. Use a brush or a small roller to address these areas and ensure even coverage.
- Allow the primer to dry: Follow the manufacturer’s instructions for drying time. It’s important to give the primer sufficient time to dry before proceeding with the next steps of your popcorn ceiling redo project.
Priming the ceiling provides a smooth and consistent base for the final finish, whether it’s paint or a new texture. It helps to improve the durability and longevity of the new coating, resulting in a professional and long-lasting finish.
Remember to maintain good ventilation during the priming process and follow the manufacturer’s instructions regarding drying time. By priming your popcorn ceiling, you’re one step closer to achieving a beautifully redone and refreshed ceiling space.
Step 11: Paint the ceiling
After priming your popcorn ceiling, it’s time to apply the final coat of paint. Painting your ceiling will give it a fresh and updated look, enhancing the overall aesthetic of your space. Here’s how to paint your popcorn ceiling:
- Choose the right paint: Select a high-quality ceiling paint that is specifically formulated for this purpose. Consider factors such as the color, finish, and coverage to ensure the best results.
- Prepare the room: Clear the room of any furniture or cover it with drop cloths or plastic sheets to protect it from paint splatters. Ensure good ventilation by opening windows or using fans.
- Mix the paint (if necessary): If your paint requires mixing, follow the manufacturer’s instructions to prepare it. Thoroughly blend the paint to ensure a consistent color and texture throughout.
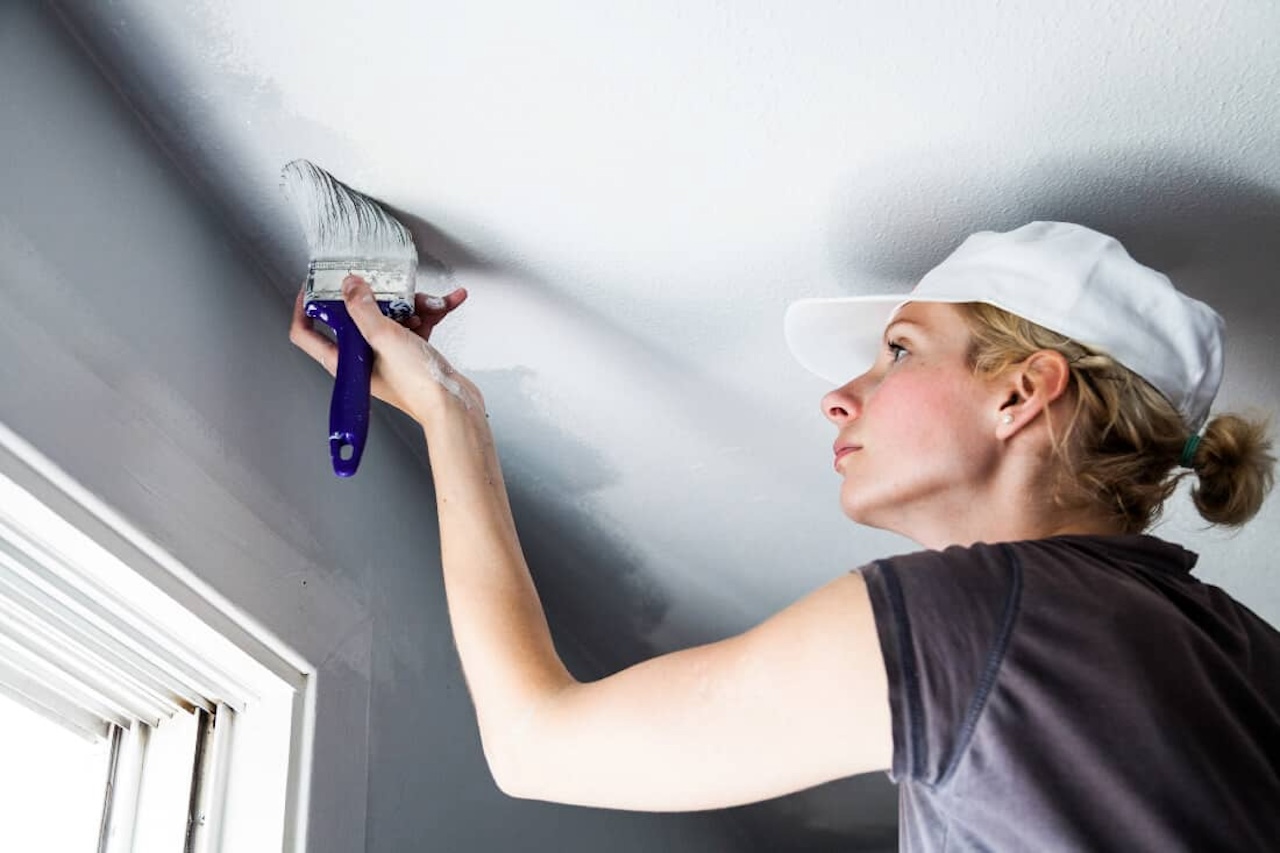
- Start with cut-in work: Use a brush to cut in along the edges and corners of the ceiling. This will create a clean and defined line between the ceiling and the walls.
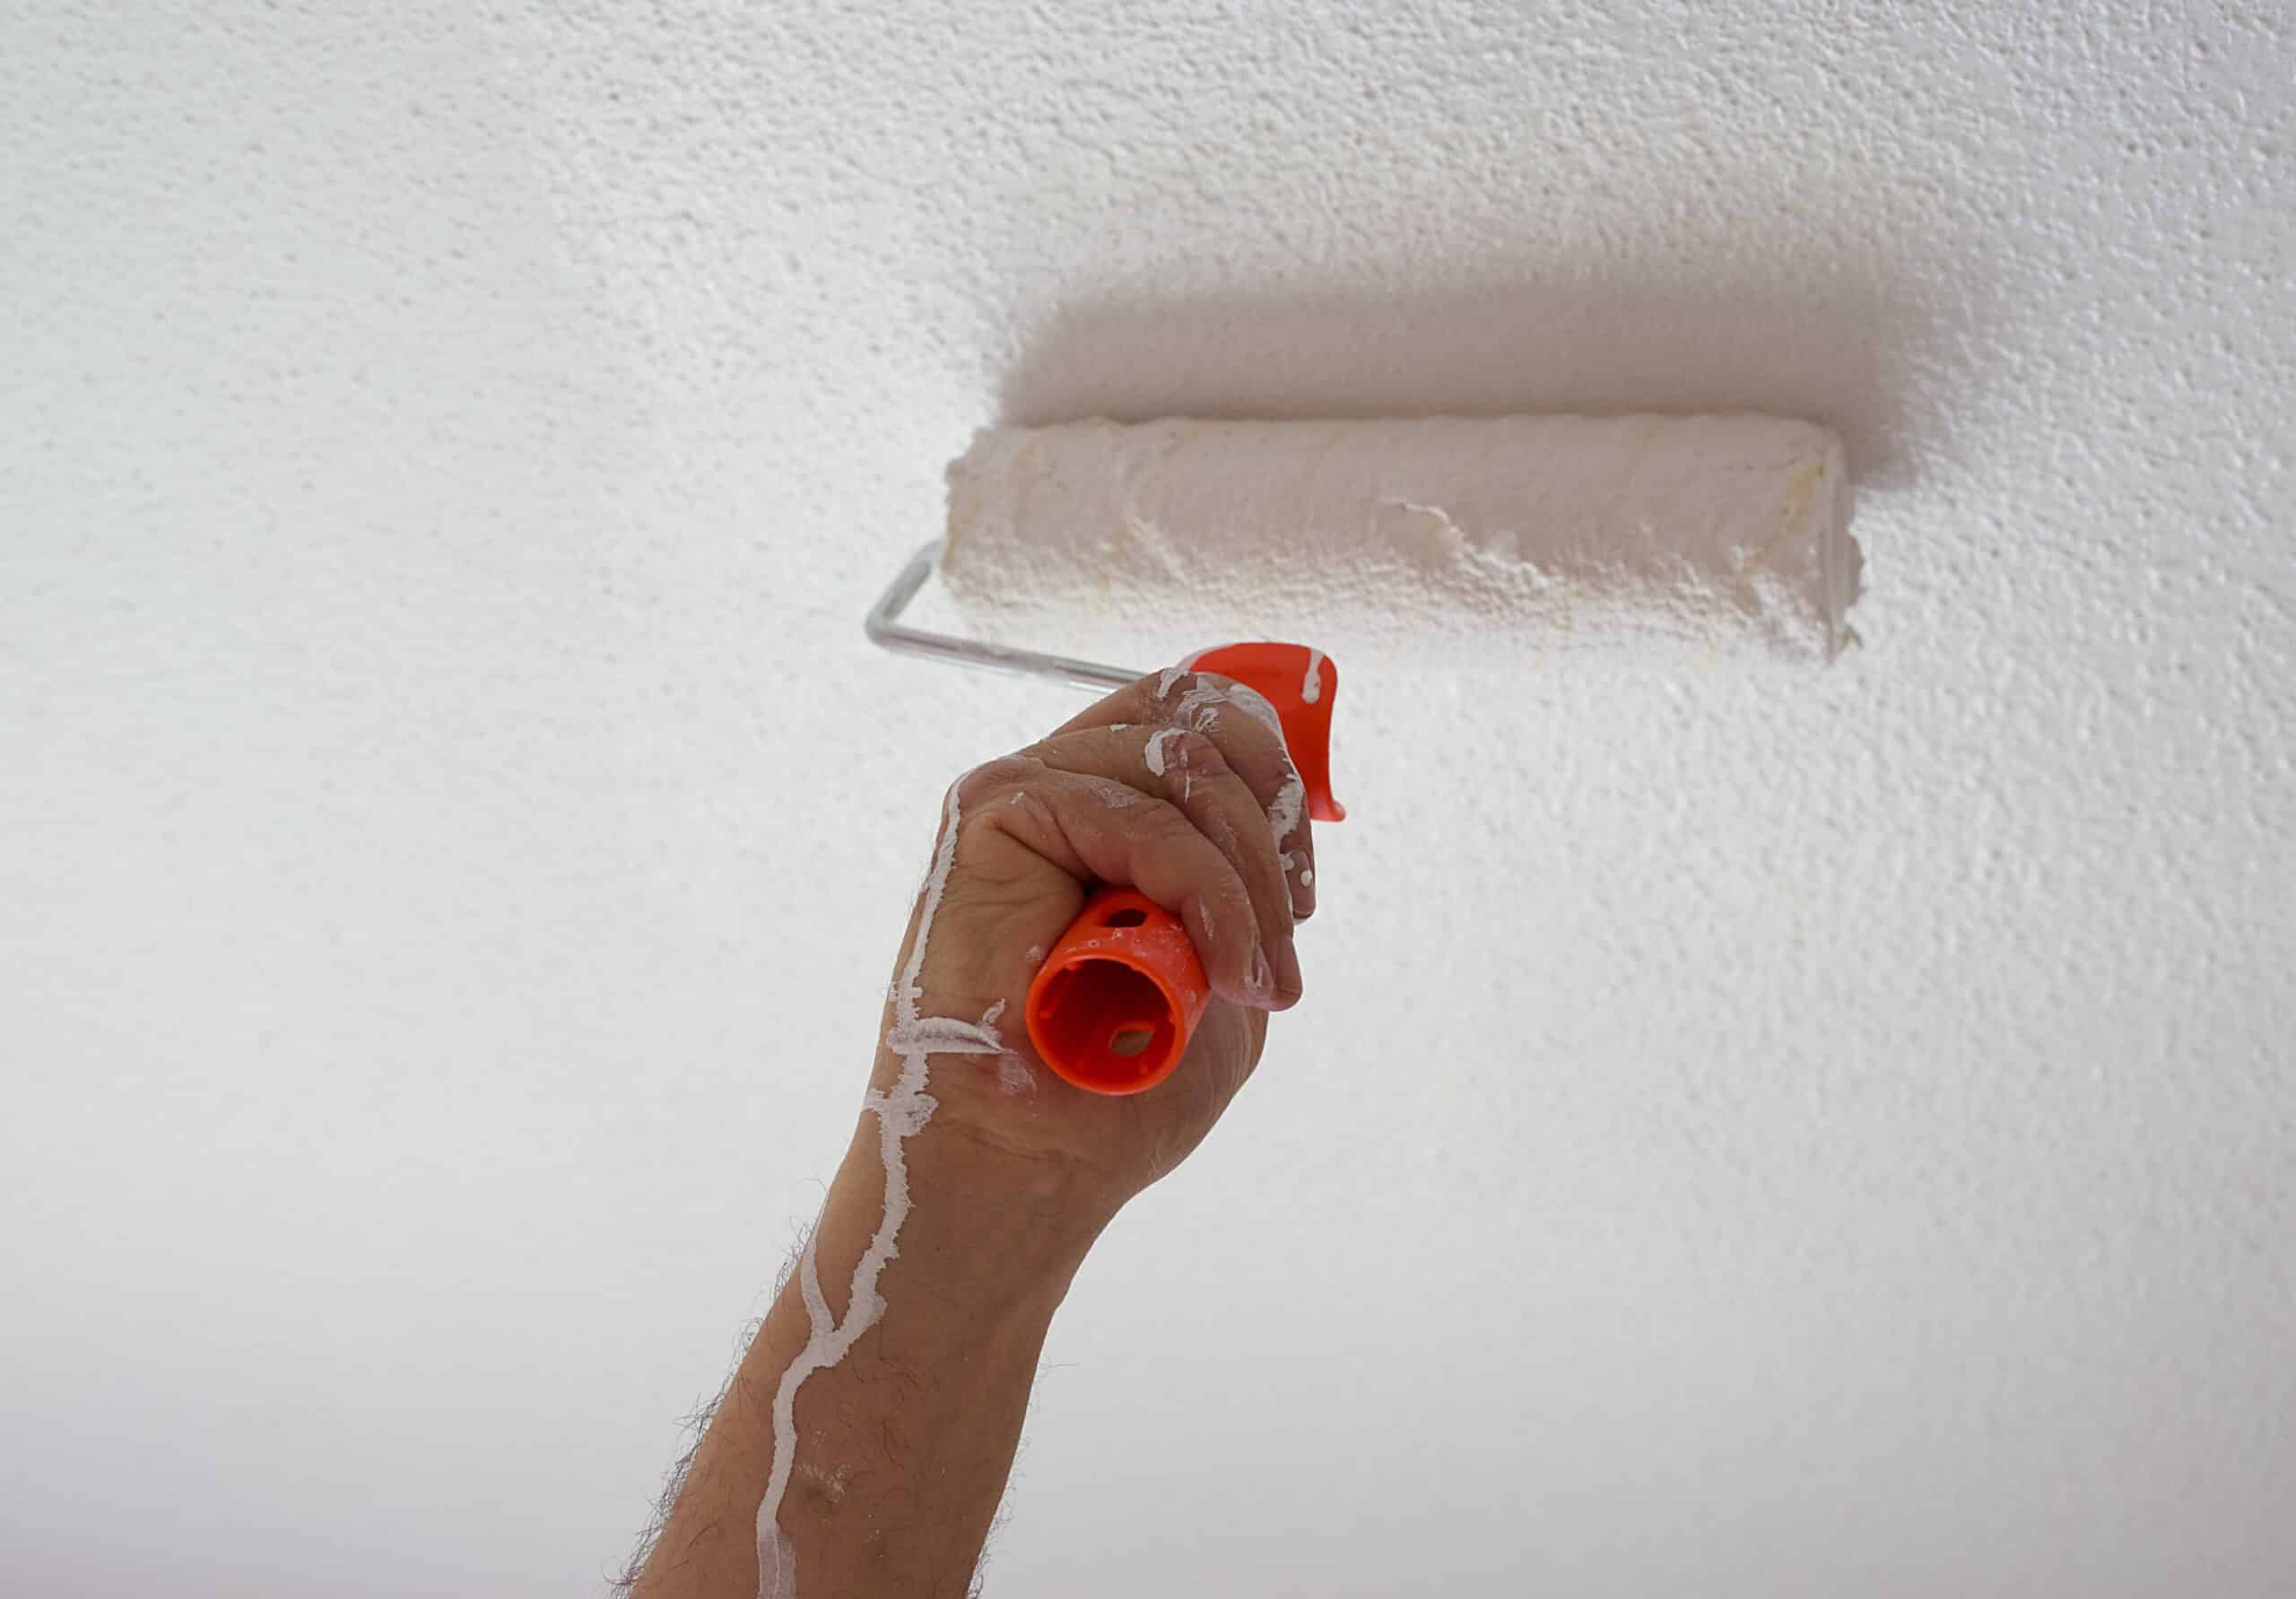
- Apply paint with a roller: Using a roller with a long nap, apply the paint to the ceiling in even, overlapping strokes. Work in small sections, starting from one corner and moving across the ceiling.
- Work systematically: Divide the ceiling into manageable sections and work methodically. This will ensure that you apply the paint evenly and consistently across the entire surface.
- Apply multiple coats if necessary: Depending on the color, finish, and coverage of the paint, you may need to apply more than one coat. Allow each coat to dry completely before applying the next.
- Inspect for missed spots: After applying the paint, carefully inspect the ceiling for any missed spots or areas that require touch-ups. Use a brush or a small roller to address these areas and ensure full coverage.
- Allow the paint to dry: Follow the manufacturer’s instructions for drying time. It’s important to give the paint sufficient time to dry and cure before moving any furniture back into the room or touching the ceiling surface.
Painting the popcorn ceiling provides the final touch to your redoing project, transforming the appearance of the entire room. It’s a rewarding step that brings your vision to life and updates the space with a fresh and modern look.
Remember to work carefully and systematically, ensuring even coverage and addressing any missed spots. Allow the paint to dry completely before considering the project complete. With a freshly painted ceiling, you can enjoy a beautiful and revitalized space.
Step 12: Clean up and admire the finished ceiling
Congratulations! You’ve successfully completed the process of redoing your popcorn ceiling. Now it’s time to clean up the workspace and take a moment to admire your beautifully finished ceiling. Here’s what you need to do in this final step:
- Clean up the room: Begin by removing any drop cloths, plastic sheets, or protective coverings from the floor, furniture, and fixtures. Dispose of any debris, garbage bags, or unused materials according to your local waste disposal guidelines.
- Wipe down surfaces: Use a damp cloth or sponge to wipe down any surfaces that may have accumulated dust during the project. Pay attention to walls, furniture, and fixtures, ensuring a clean and dust-free environment.
- Replace outlet covers and switch plates: Reinstall the outlet covers and switch plates that were removed earlier. Make sure they are securely in place and aligned properly.
- Inspect the ceiling: Take a moment to carefully inspect your newly redone popcorn ceiling. Admire the smooth texture, even color, and overall transformation. Look for any areas that may require additional touch-ups or minor adjustments.
- Arrange and return furniture: Carefully move your furniture back into the room and arrange it to your liking. Take your time to ensure everything is positioned correctly and that the room feels welcoming and comfortable.
- Enjoy your newly redone ceiling: Step back and revel in the accomplishment of your hard work. Admire the fresh and updated look of your popcorn ceiling, and appreciate the positive impact it has on the overall ambiance of the room.
Cleaning up and appreciating the final result is a satisfying way to conclude your popcorn ceiling redo project. By taking the time to tidy up and admire your work, you can fully enjoy the transformed space and the sense of accomplishment that comes with completing a successful home improvement project.
Remember to take care of any necessary touch-ups or adjustments to ensure a flawless and polished outcome. With your newly redone popcorn ceiling, you can now enjoy a refreshed and modern living space.
Read more: How To Cover A Popcorn Ceiling
Conclusion
Redoing a popcorn ceiling can be a challenging but rewarding project that can dramatically transform the appearance of a room. With the right materials, tools, and knowledge, you can achieve a smooth and updated ceiling that adds a fresh and modern touch to your living space.
Throughout the process, it’s crucial to prioritize safety by wearing appropriate protective gear and taking necessary precautions to minimize dust and debris. Proper preparation of the room, including removing furniture and covering the floor, walls, and fixtures, will help prevent damage and make cleanup easier.
Testing for asbestos, if applicable, is an essential step before beginning any removal project. If asbestos is present, it’s crucial to consult with professionals to ensure its safe removal. Always follow local regulations and guidelines when dealing with hazardous materials.
The steps involved in redoing a popcorn ceiling, such as scraping off the texture, patching any damaged areas, and applying a skim coat, require patience and attention to detail. Sanding the ceiling and priming it before painting or applying a new texture will create a smooth and professional finish.
Finally, cleaning up the room and admiring your beautifully finished ceiling is a rewarding final step. Take pride in your accomplishment and enjoy the updated and refreshed atmosphere of your space.
Remember, each step in the process contributes to the overall outcome, so take your time and pay attention to detail. Whether you’re updating an outdated popcorn ceiling or simply looking to refresh the look of your space, redoing a popcorn ceiling is a worthwhile project that can enhance the beauty and value of your home.
Frequently Asked Questions about How To Redo A Popcorn Ceiling
Was this page helpful?
At Storables.com, we guarantee accurate and reliable information. Our content, validated by Expert Board Contributors, is crafted following stringent Editorial Policies. We're committed to providing you with well-researched, expert-backed insights for all your informational needs.





0 thoughts on “How To Redo A Popcorn Ceiling”