Articles
How To Cover A Popcorn Ceiling
Modified: October 20, 2024
Learn how to cover a popcorn ceiling with our helpful articles. Discover step-by-step instructions and expert tips to achieve a smooth and modern finish.
(Many of the links in this article redirect to a specific reviewed product. Your purchase of these products through affiliate links helps to generate commission for Storables.com, at no extra cost. Learn more)
Introduction
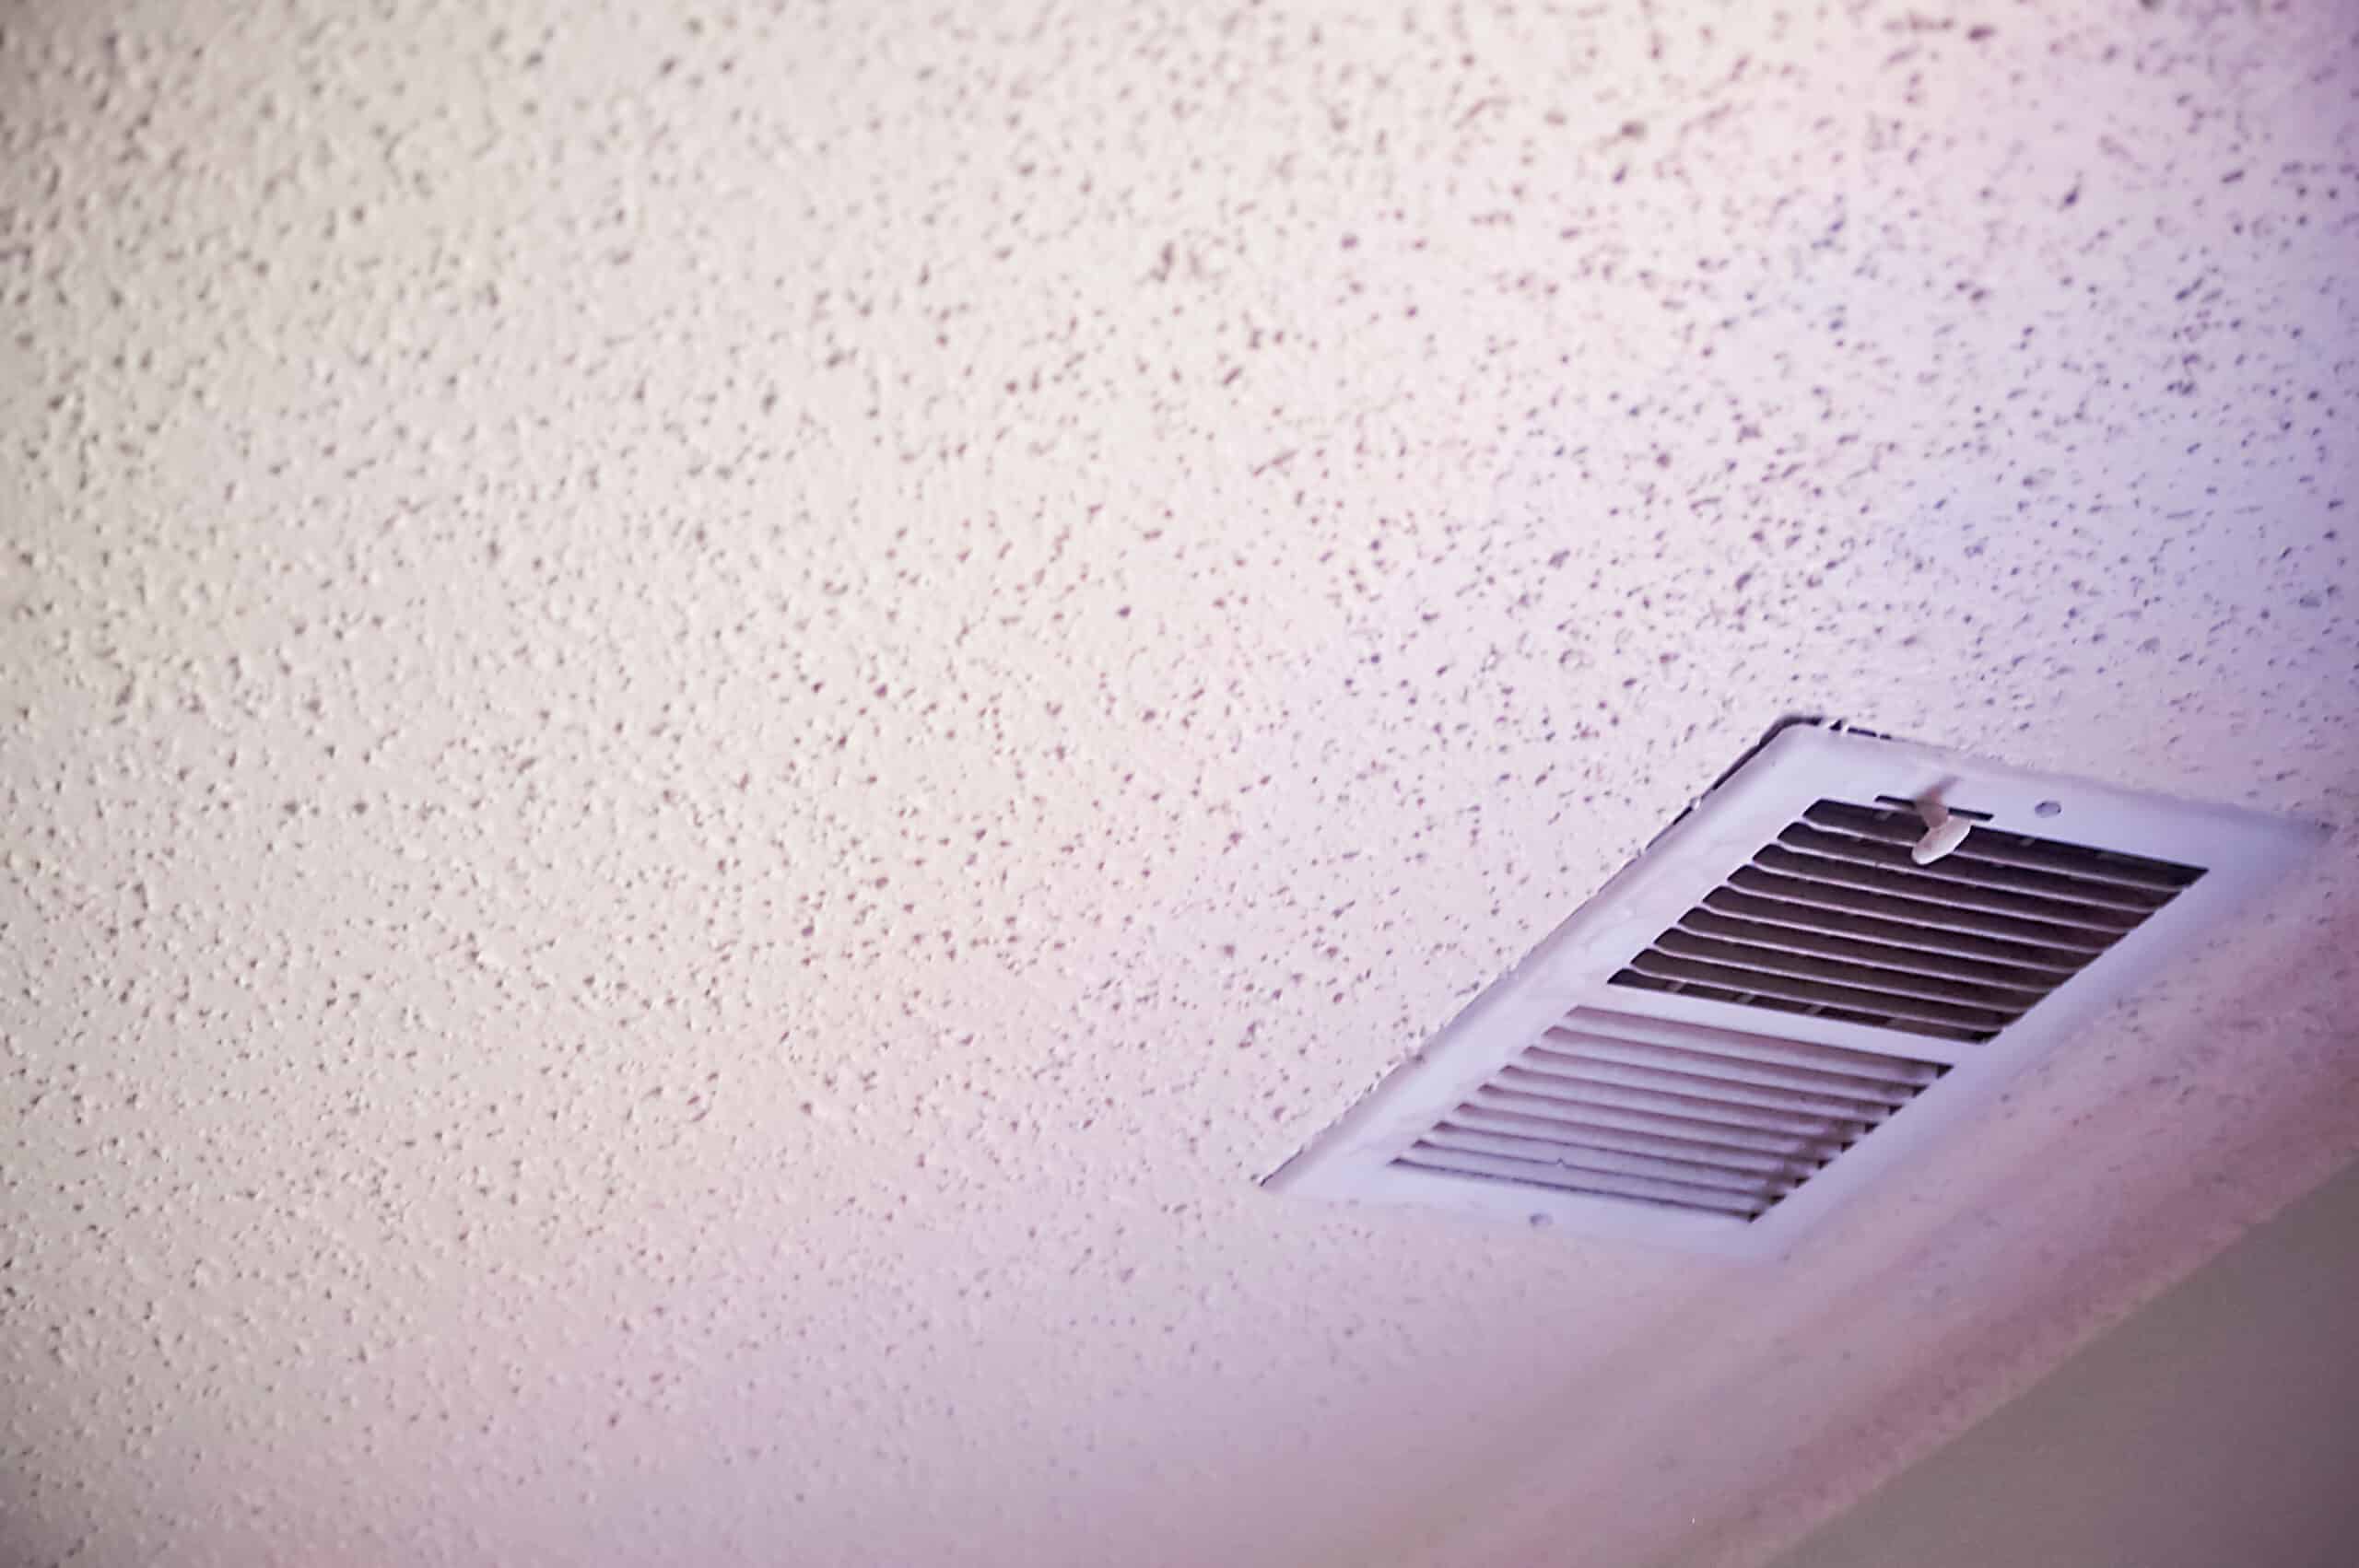
Having a popcorn ceiling in your home can be a real eyesore. Whether it’s due to outdated design trends or simply the desire for a more modern and clean look, many homeowners choose to cover up their popcorn ceilings. This not only gives the room a fresh and updated appearance but can also improve the overall value of the home.
In this article, we will guide you through the step-by-step process of covering a popcorn ceiling. From preparing the room to applying the final touches, we will provide you with all the necessary information to successfully complete this home improvement project.
Before we delve into the details, let’s quickly go over the materials you will need for the job.
Key Takeaways:
- Transform your outdated popcorn ceiling into a modern masterpiece by following a step-by-step process. From preparation to final touches, achieve a visually appealing and rewarding home improvement project.
- Elevate your space with a fresh and updated look by covering your popcorn ceiling. Clean, repair, prime, paint, and add texture for a transformative and rewarding home improvement experience.
Read more: How To Scrape Popcorn Ceiling
Materials Needed
Before you begin covering your popcorn ceiling, make sure you have the following materials:
- Drop cloths or plastic sheets
- Ladder or step stool
- Painter’s tape
- Sandpaper or sanding block
- Primer
- Ceiling paint
- Roller brush and paint tray
- Paint roller cover
- Paintbrush
- Texture spray (optional)
- Protective eyewear and clothing
- Dust mask
- Drywall patching compound (if needed)
- Putty knife
- Damp cloth or sponge
- Vacuum or broom
- Bucket
- Clean water
With these materials on hand, you will be well-prepared to cover your popcorn ceiling and achieve a smooth and visually appealing finish.
Step 1: Prepare the Room
Before you start covering your popcorn ceiling, it’s important to prepare the room to minimize mess and ensure a smooth process. Here’s what you need to do:
- Clear the room: Remove all furniture, decorations, and other items from the room. This will make it easier to work and prevent any accidental damage or paint splatters.
- Protect the floor: Lay down drop cloths or plastic sheets to protect your flooring from dust, debris, and paint spills.
- Cover up fixtures: Use painter’s tape and plastic sheets to cover light fixtures, ceiling fans, and any other fixtures that you want to protect from paint.
- Secure a stable platform: Use a ladder or step stool to access the ceiling safely. Ensure that it is set up on a stable surface and is secure before climbing.
- Open windows and doors: Proper ventilation is important during the process to help dissipate fumes and odors. Open windows and doors to allow fresh air to circulate.
- Wear protective gear: Put on protective eyewear and clothing to shield yourself from debris and protect your skin and eyes from potential irritants.
By following these preparations, you will create a clean and organized work environment, making the ceiling covering process much smoother.
Step 2: Clean the Ceiling
Before you can start covering your popcorn ceiling, it’s crucial to thoroughly clean it. Over time, dirt, dust, and grease can accumulate on the textured surface, which can interfere with the adhesion of the primer and paint. Here’s how to clean your ceiling properly:
- Ensure safety: Put on a dust mask to protect yourself from inhaling dust particles.
- Prepare a cleaning solution: Mix warm water and mild dish soap in a bucket. Avoid using abrasive or harsh chemicals as they can damage the ceiling.
- Start from the top: Begin cleaning the ceiling from the top and work your way down. This will prevent the dirty water from dripping onto already cleaned areas.
- Dampen a sponge or cloth: Dip a clean sponge or cloth into the cleaning solution and wring out any excess water. You want the sponge or cloth to be damp, not soaking wet.
- Gently wipe the surface: Lightly wipe the surface of the popcorn ceiling with the damp sponge or cloth. Avoid applying too much pressure or scrubbing vigorously as it may dislodge the texture.
- Change the water: As the water in the bucket becomes dirty, replace it with clean water and continue cleaning. This will ensure that you’re not spreading dirt around.
- Allow the ceiling to dry: Once you’ve finished cleaning, give the ceiling ample time to dry completely. This will ensure that the primer and paint adhere properly to the surface.
Cleaning the ceiling is an important step to achieve a smooth and flawless finish. By removing any dirt or grease, you will create a clean canvas for the primer and paint.
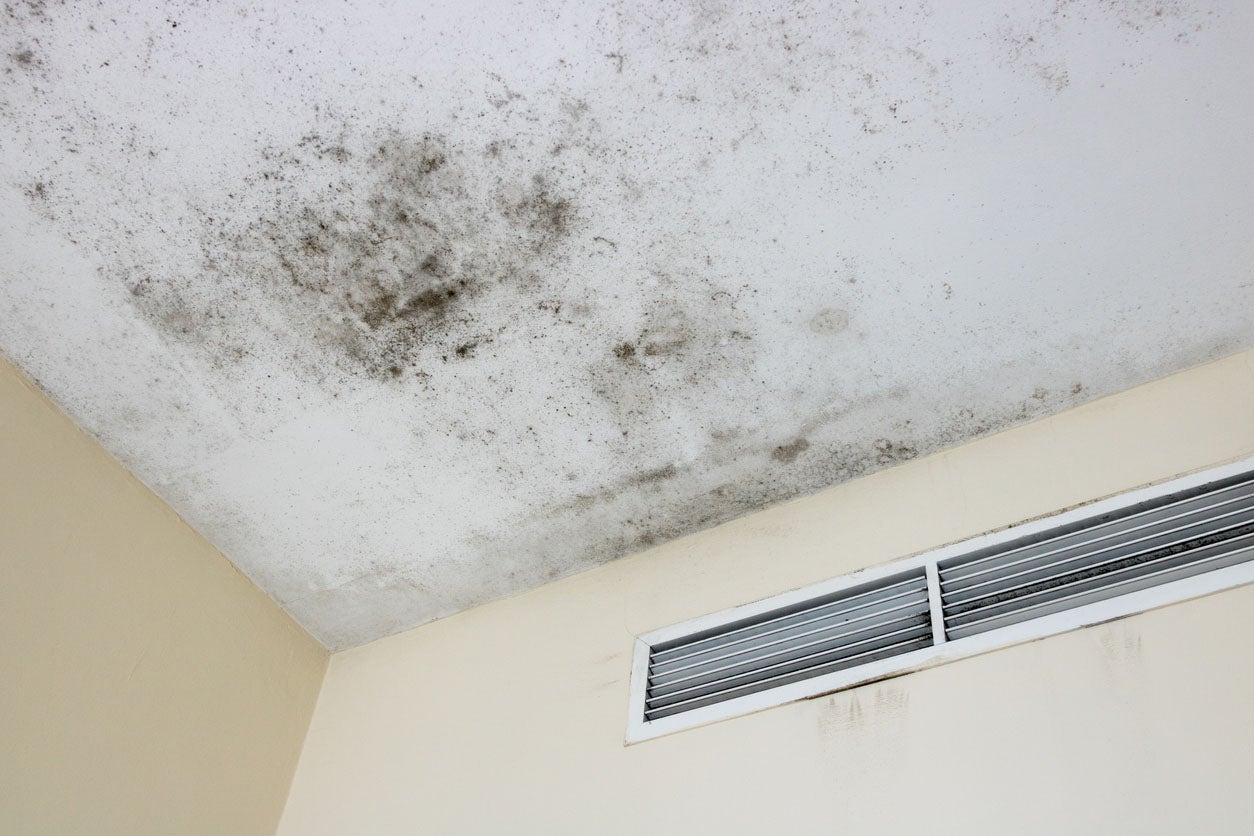
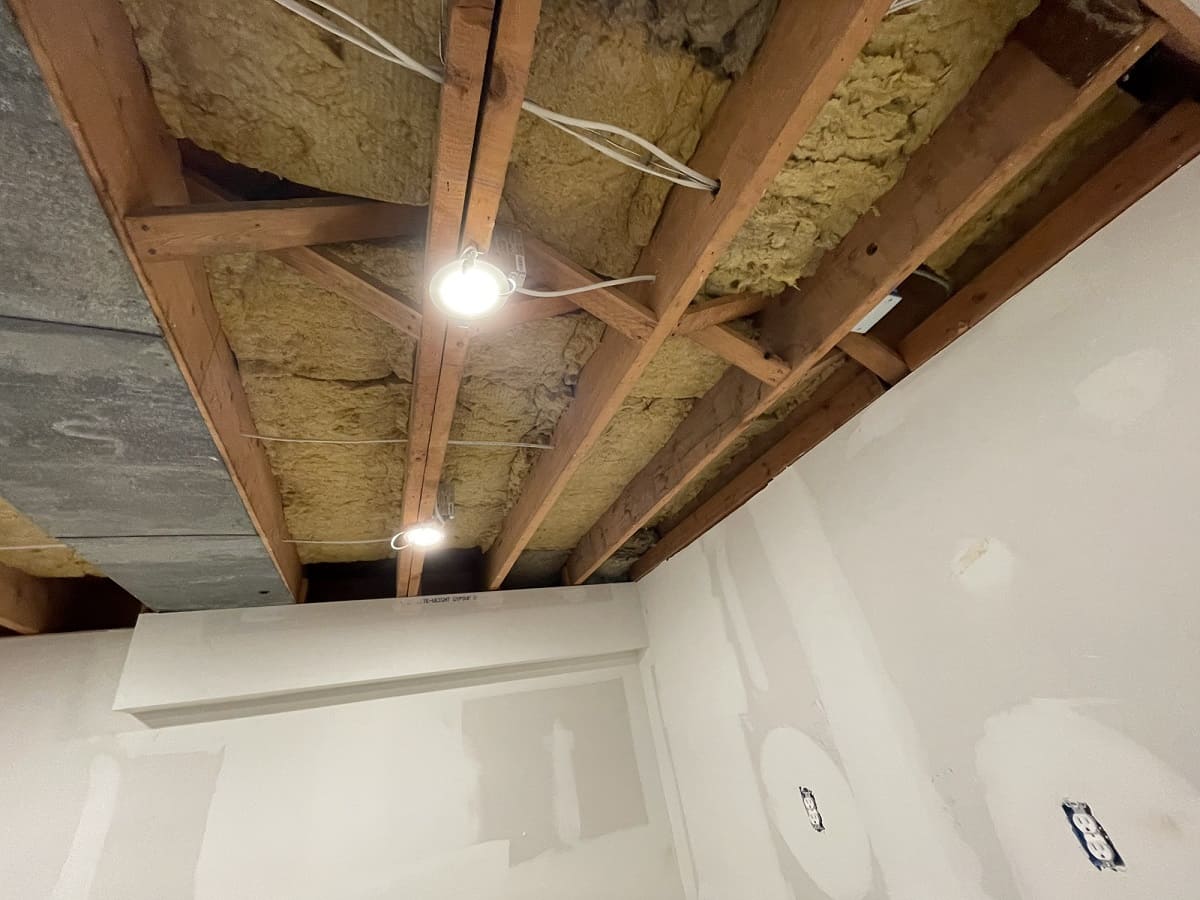
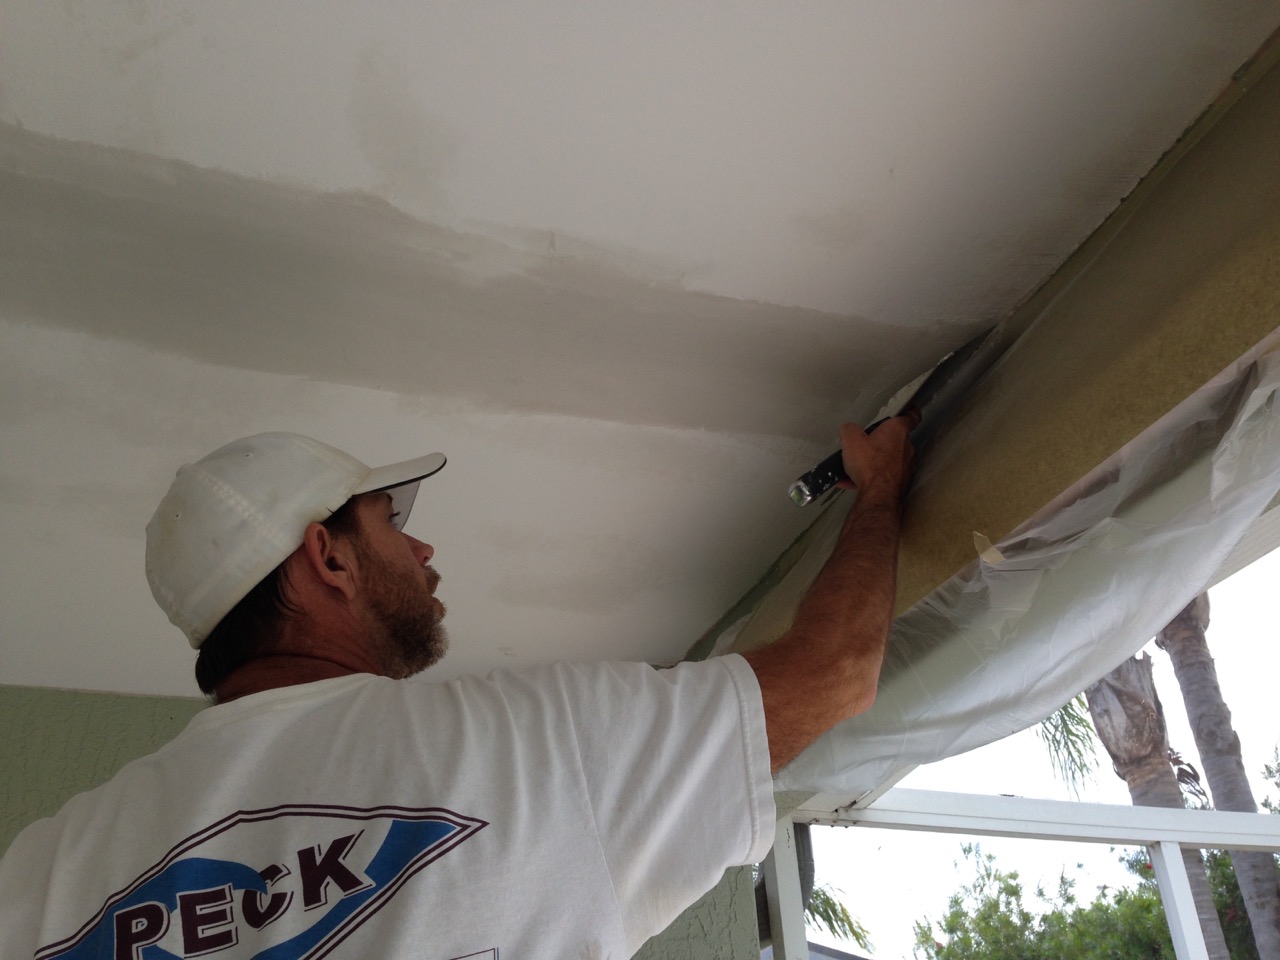
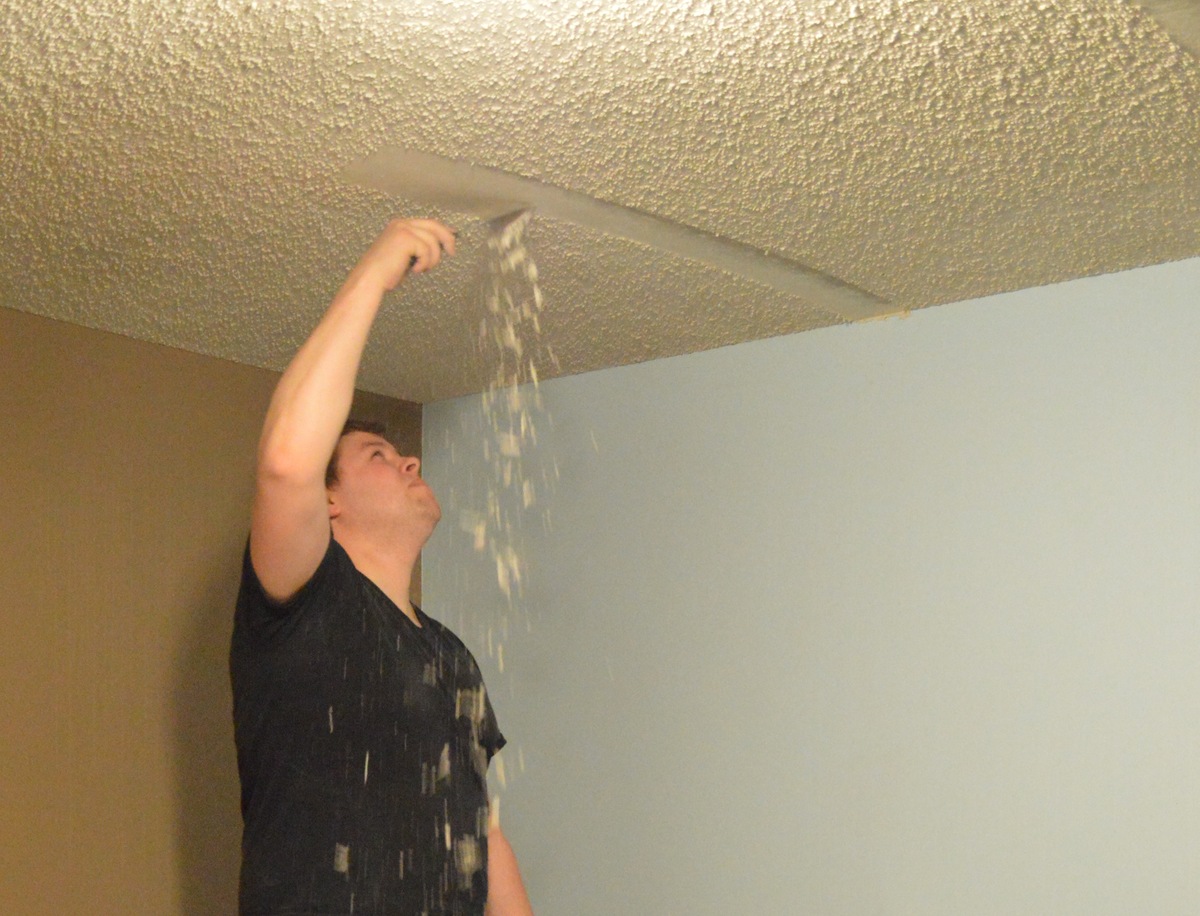
Step 3: Repair Any Damaged Areas
Before moving forward with covering your popcorn ceiling, it’s important to assess the condition of the ceiling and repair any damaged areas. Over time, popcorn ceilings can develop cracks, holes, or water stains, which can affect the overall appearance of the finished project. Here’s how to repair any damaged areas:
- Inspect the ceiling: Carefully examine the popcorn ceiling for any cracks, holes, or stains. Mark these areas with painter’s tape for easy identification.
- Fill cracks and holes: If you come across any cracks or holes, use a putty knife to apply a thin layer of drywall patching compound. Smooth out the compound and let it dry according to the manufacturer’s instructions.
- Blend the repaired areas: Once the patching compound has dried, use sandpaper or a sanding block to gently smooth the repaired areas. This will help create a seamless transition with the rest of the ceiling.
- Address water stains: If you notice water stains on your popcorn ceiling, it’s important to treat them before covering the ceiling. Use a stain-blocking primer to cover the stained areas and prevent them from bleeding through the paint.
By repairing any damaged areas, you ensure that your finished ceiling covers an even and uniform surface. This will help achieve a professional-looking result.
Consider using a thick-nap roller to apply a coat of paint to your popcorn ceiling. This can help to cover the texture and create a more modern look.
Read more: How Do You Paint Popcorn Ceiling
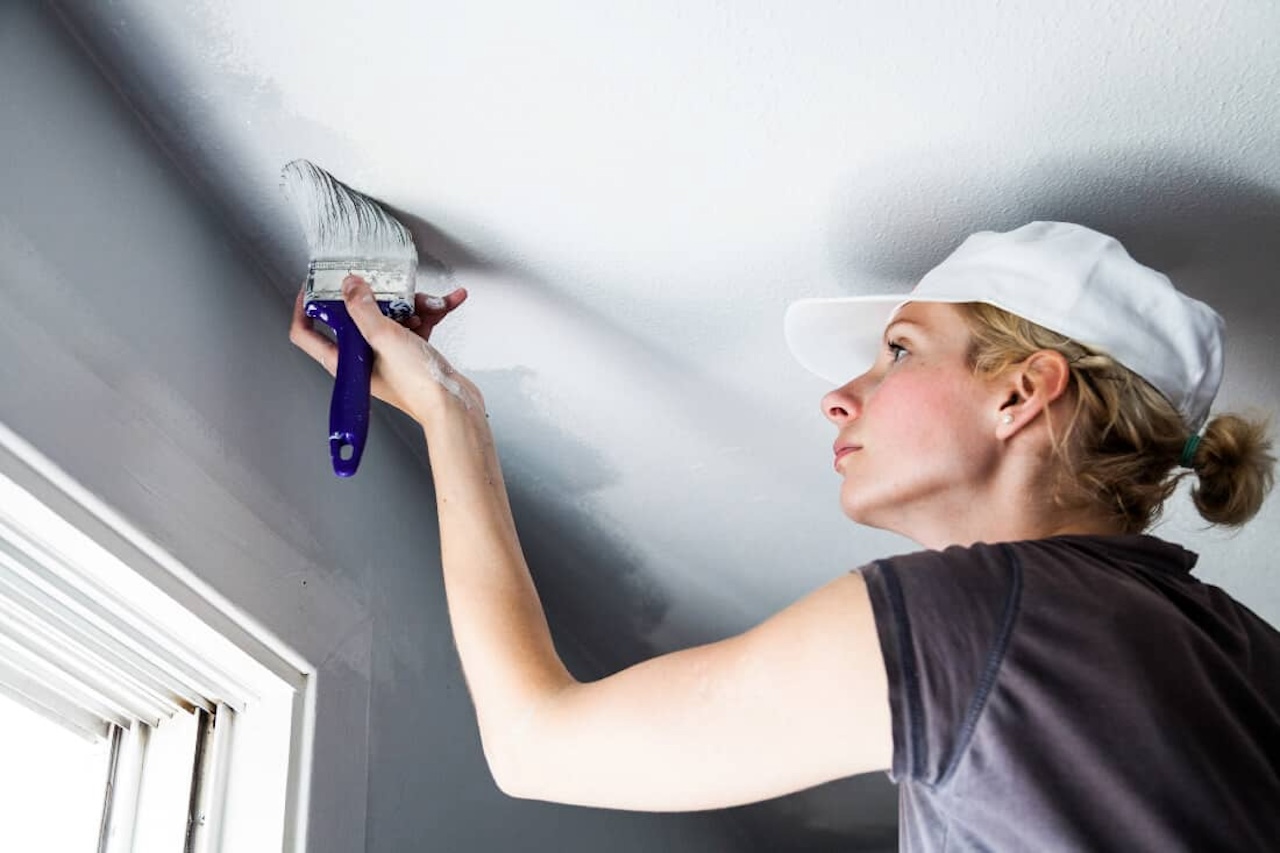
Step 4: Apply Primer
Applying primer to your popcorn ceiling is an essential step before painting. Primer creates a smooth and uniform surface, helps the paint adhere better, and prevents any stains or discoloration from bleeding through. Here’s how to apply primer to your ceiling:
- Choose a primer: Select a primer specifically formulated for ceilings. Look for a product that is stain-blocking and has excellent adhesion.
- Prepare the primer: Follow the manufacturer’s instructions to prepare the primer for application. This may involve stirring or diluting the primer if necessary.
- Protect the walls: Use painter’s tape and plastic sheets to cover the walls and ensure that only the ceiling is primed.
- Apply the primer: Pour the primer into a paint tray and load a roller brush with primer. Start at one corner of the ceiling and work your way across in manageable sections, using smooth and even strokes. Overlap each section slightly to ensure thorough coverage.
- Fill any missed areas: After you’ve covered the entire ceiling, inspect the surface for any areas that may have been missed. Use a paintbrush to fill in these spots with primer.
- Allow the primer to dry: Follow the manufacturer’s instructions for the drying time of the primer. Ensure that the ceiling is completely dry before moving on to the next step.
Priming the popcorn ceiling is crucial for achieving a professional and long-lasting finish. It creates a solid foundation for the paint and ensures that the final color appears true and vibrant.
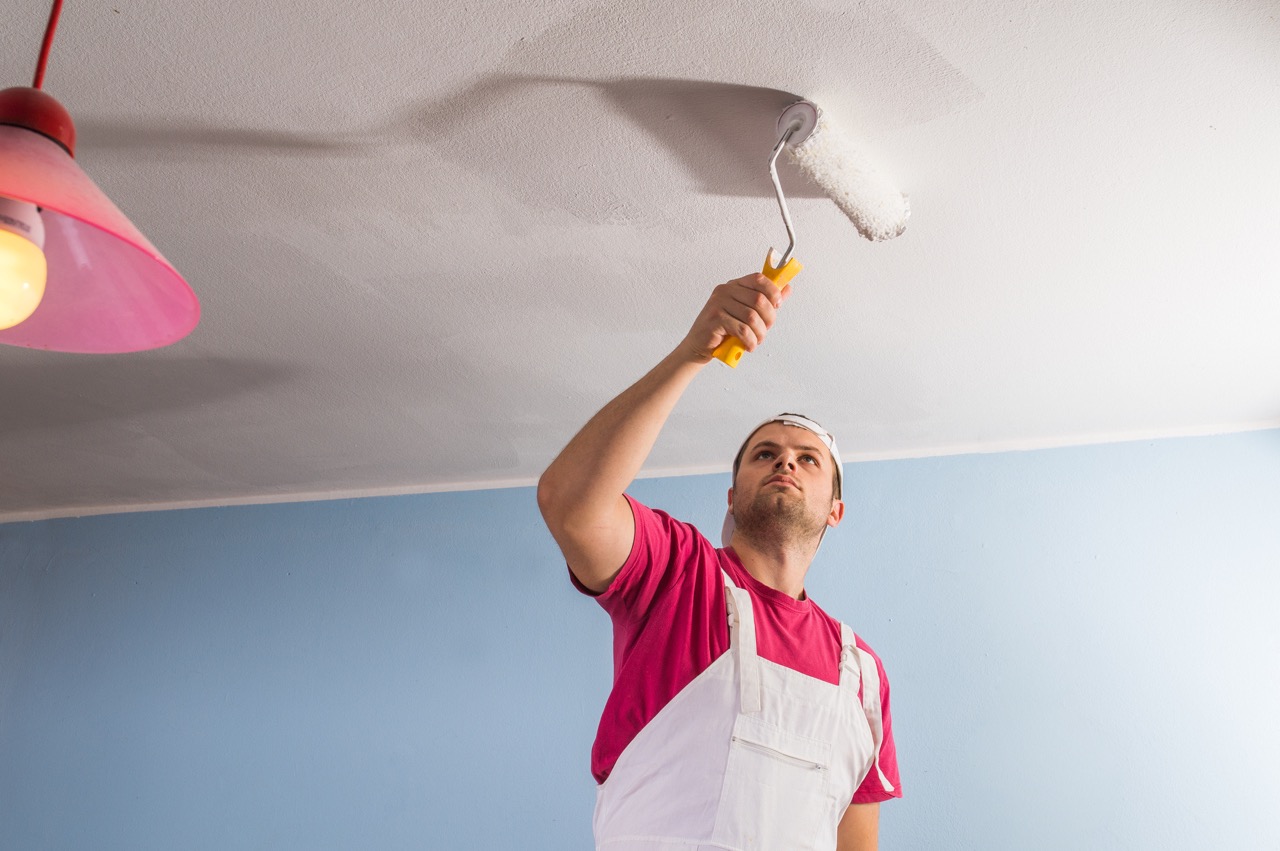
Step 5: Apply Ceiling Paint
Now that you have primed your popcorn ceiling, it’s time to apply the ceiling paint. Choose a high-quality ceiling paint that is specifically formulated for this purpose. Follow these steps to achieve a smooth and flawless finish:
- Choose the right paint: Select a ceiling paint that matches your desired color and finish. Consider factors such as lighting and room decor when making your selection.
- Prepare the paint: Follow the manufacturer’s instructions to prepare the paint for application. This may involve stirring the paint or adding a specific amount of water if necessary.
- Protect the walls: Use painter’s tape and plastic sheets to cover the walls and ensure that only the ceiling is painted.
- Load the roller: Pour the paint into a paint tray and load a roller brush with paint. Start at one corner of the ceiling and work your way across, applying even and consistent pressure.
- Paint in sections: Divide the ceiling into manageable sections and paint one section at a time. Blend each section into the next to achieve a seamless finish.
- Work in a consistent pattern: Whether you choose to paint in straight lines or a “W” pattern, make sure to maintain a consistent method throughout the entire ceiling.
- Apply multiple coats if needed: Depending on the desired opacity and color intensity, you may need to apply multiple coats of paint. Allow each coat to dry thoroughly before applying the next one.
- Inspect for missed spots: After you have finished painting the entire ceiling, carefully inspect the surface for any missed spots or uneven coverage. Touch up these areas with a paintbrush, if necessary.
- Allow the paint to dry completely: Follow the manufacturer’s instructions for the drying time of the paint. Ensure that the ceiling is completely dry before moving on to any additional steps.
Applying the ceiling paint is the final step in achieving a beautiful and polished look for your popcorn ceiling. Take your time and ensure that the paint is applied evenly for a professional finish.
Step 6: Optional: Add Texture
If you want to add more visual interest to your popcorn ceiling, you have the option to add texture. This step is completely optional, but it can give your ceiling a unique and textured look. Here’s how to add texture to your popcorn ceiling:
- Choose your texture: There are various texture options available, such as splatter, stomp, or swirl patterns. Consider the style of your room and personal preference when selecting a texture.
- Prepare the texture mixture: Follow the manufacturer’s instructions to prepare the texture mixture. This may involve adding water and stirring until you achieve the desired consistency.
- Protect the walls and floor: Use painter’s tape and plastic sheets to cover the walls and floor to protect them from texture splatters.
- Test the texture: Before applying the texture to the entire ceiling, it’s a good idea to test it on a small, inconspicuous area to ensure you are satisfied with the results.
- Apply the texture: Using a texture spray gun or a roller brush, apply the texture mixture evenly across the ceiling. Start at one corner and work your way across, maintaining a consistent pattern.
- Blend the texture: To achieve a seamless look, blend each section of the textured ceiling into the next. This will create a cohesive and uniform appearance.
- Allow the texture to dry: Follow the manufacturer’s instructions for the drying time of the texture. Ensure that the ceiling is completely dry before moving on to any further steps.
Adding texture to your popcorn ceiling can be a fun and creative way to customize the look of your space. However, keep in mind that this step is not necessary and alters the original popcorn texture.
Step 7: Clean up and Final Touches
After you have completed the main steps of covering your popcorn ceiling, it’s time to clean up and add the final touches to ensure a polished and finished look. Here’s what you need to do:
- Remove the protective coverings: Carefully remove the drop cloths, plastic sheets, and painter’s tape from the walls, fixtures, and floors. Dispose of any debris or waste properly.
- Clean the room: Give the room a thorough cleaning to remove any dust, paint splatters, or other remnants from the ceiling covering process. Vacuum or sweep the floors, wipe down surfaces, and return furniture to its place.
- Inspect the ceiling: Take a close look at your newly covered popcorn ceiling. Make sure there are no visible imperfections, missed spots, or rough edges. Touch up any areas that may require additional attention.
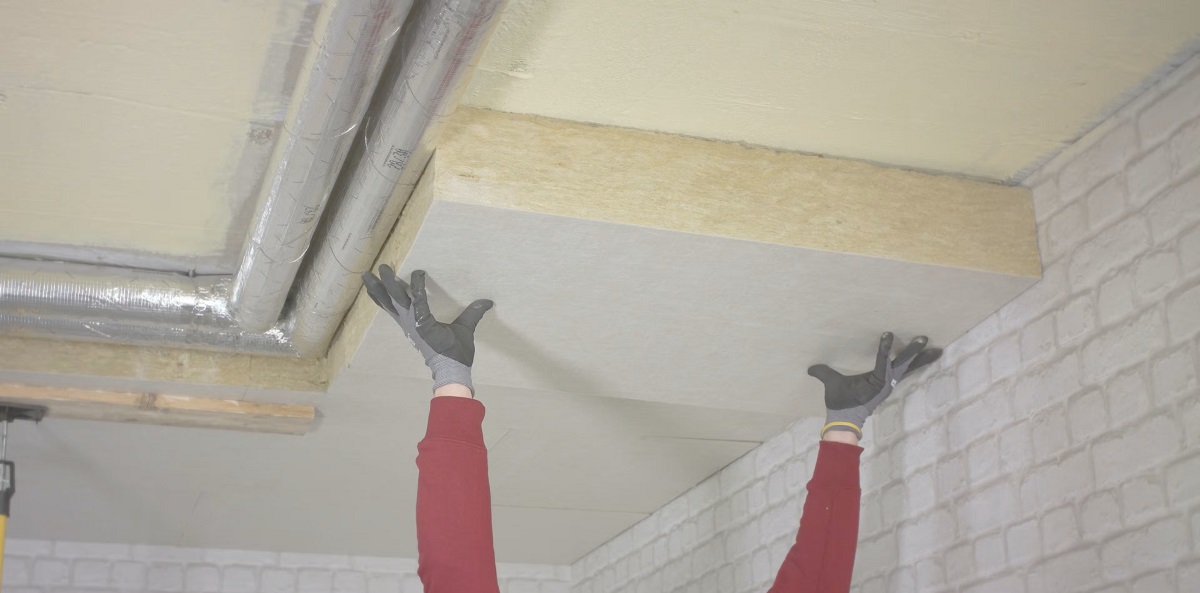
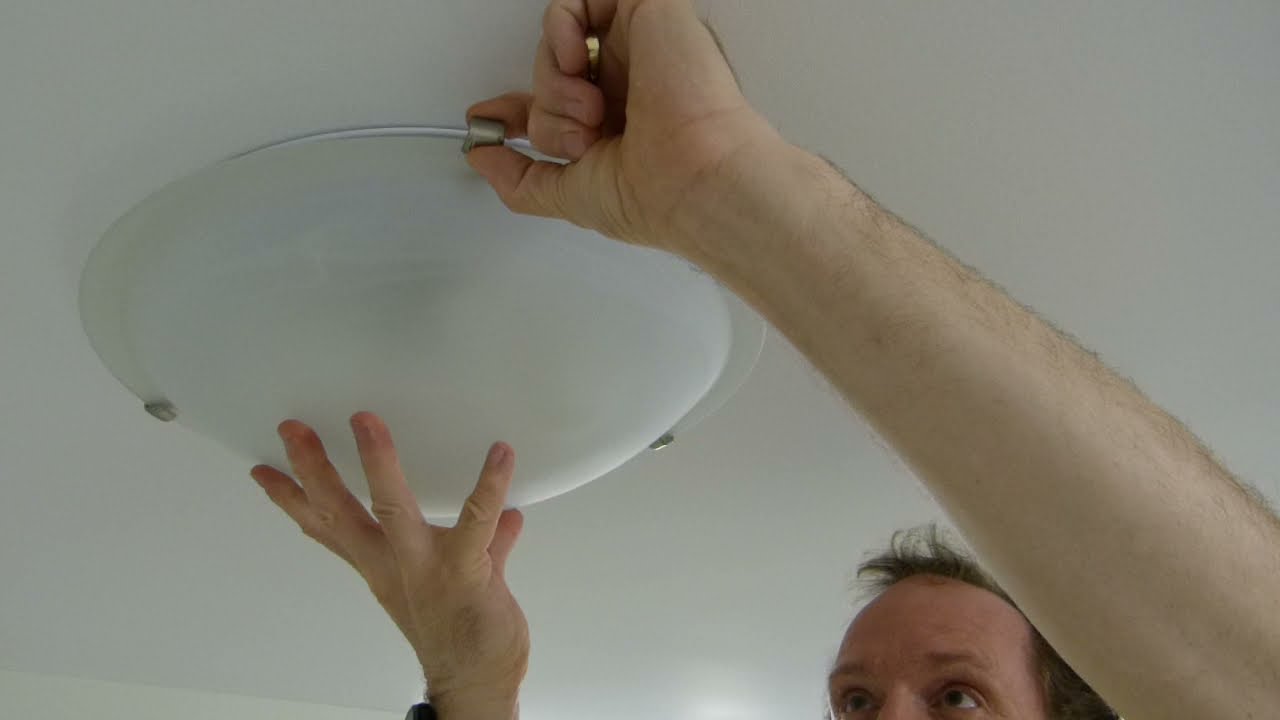
- Enhance the aesthetics: Consider adding crown molding or new light fixtures to further enhance the appearance of the room. These finishing touches can add a touch of sophistication and complement the newly covered ceiling.
By taking the time to clean up after the project and paying attention to the small details, you will achieve a beautiful and professionally finished result.
Read more: How To Know If Popcorn Ceiling Has Asbestos
Conclusion
Covering a popcorn ceiling can be a transformative and rewarding home improvement project. By following the step-by-step process outlined in this article, you can achieve a modern and visually appealing ceiling that enhances the overall look of your space.
Remember to prepare the room properly by clearing furniture and protecting surfaces. Clean the ceiling to ensure a smooth and properly primed surface. Repair any damaged areas and apply primer to create a solid foundation for the paint. Then, carefully apply the ceiling paint, ensuring even coverage and multiple coats if necessary.
If you want to add an extra touch of texture, you have the option to apply a textured mixture to the ceiling. This step is optional but can enhance the overall visual appeal of the space.
After completing the main steps, it’s important to clean up the room and inspect the ceiling for any imperfections. Don’t forget the final touches, such as adding crown molding or new light fixtures, to further enhance the aesthetics of the room.
By following these guidelines and incorporating your own personal style, you can successfully cover your popcorn ceiling and create a fresh and updated look for your home.
So, roll up your sleeves, gather the necessary materials, and embark on this exciting project to transform your popcorn ceiling into a beautiful feature that adds charm and value to your space. Happy renovating!
Frequently Asked Questions about How To Cover A Popcorn Ceiling
Was this page helpful?
At Storables.com, we guarantee accurate and reliable information. Our content, validated by Expert Board Contributors, is crafted following stringent Editorial Policies. We're committed to providing you with well-researched, expert-backed insights for all your informational needs.
0 thoughts on “How To Cover A Popcorn Ceiling”