Home>Articles>How Long Does It Take To Remove Popcorn Ceiling
Articles
How Long Does It Take To Remove Popcorn Ceiling
Modified: October 20, 2024
Find out the average time it takes to remove popcorn ceiling in this informative article. Discover tips and techniques for a smooth and efficient process.
(Many of the links in this article redirect to a specific reviewed product. Your purchase of these products through affiliate links helps to generate commission for Storables.com, at no extra cost. Learn more)
Introduction
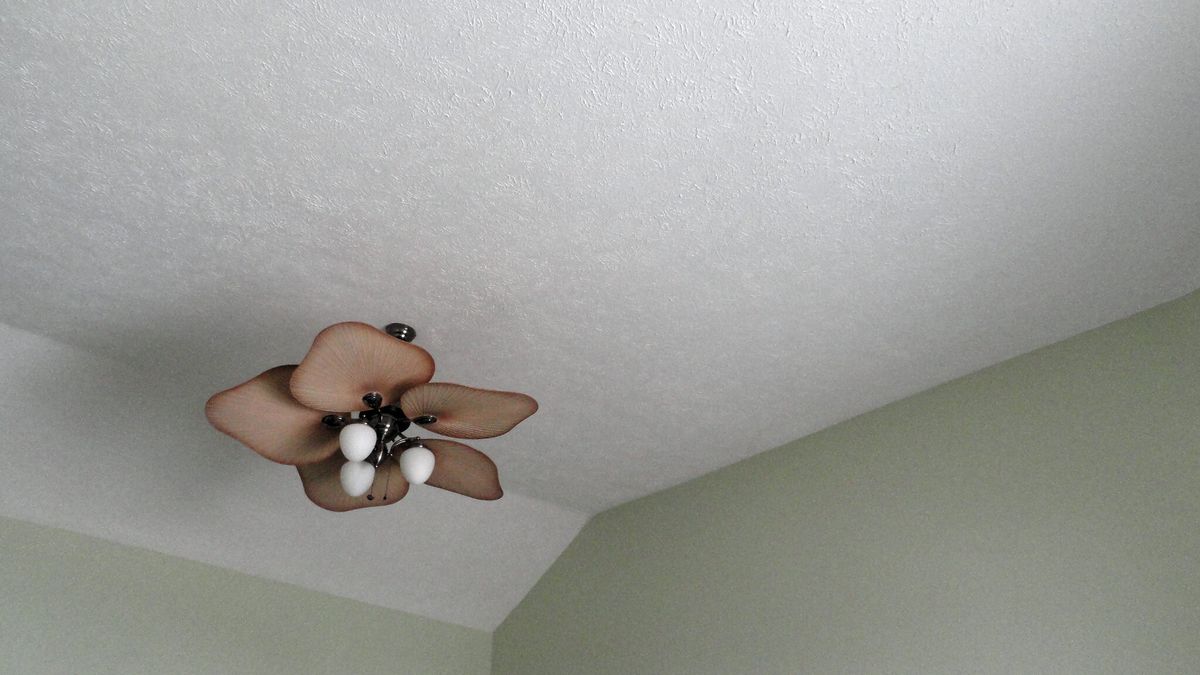
Popcorn ceilings, also known as stipple or acoustic ceilings, were popular in the mid-20th century due to their affordability and ability to hide imperfections. However, as time has passed, homeowners have started to prefer more modern and sleek ceiling finishes. Consequently, many are now opting to remove popcorn ceilings to give their homes an updated and stylish look.
While the idea of removing popcorn ceilings may seem overwhelming for some, it is a feasible DIY project that can be accomplished with the right tools, materials, and guidance. In this article, we will delve into the process of removing popcorn ceilings and provide helpful tips to make the task easier and more efficient.
Before we jump into the details of removing popcorn ceilings, let’s take a moment to understand what exactly a popcorn ceiling is. A popcorn ceiling is a textured finish applied to the surface of the ceiling, resembling the texture of cottage cheese or popcorn. This texture was achieved by mixing a combination of materials, including asbestos in earlier years.
Removing popcorn ceilings not only improves the aesthetic appeal of a room but also eliminates the risk of potential asbestos exposure. Asbestos, once a popular ingredient in popcorn ceiling mixtures, is now known to be a health hazard and its removal is highly recommended.
Now that we understand the motivation behind removing popcorn ceilings, let’s explore the factors that affect the time it takes to complete this project.
Key Takeaways:
- Removing popcorn ceilings is a feasible DIY project that can modernize your home, increase property value, and improve indoor air quality. Proper preparation, tools, and safety precautions are essential for a successful removal process.
- Factors such as room size, ceiling texture, age, and personal experience can affect the time taken to remove popcorn ceilings. Thorough preparation, careful execution, and post-removal cleanup are crucial for a smooth and efficient transformation.
Read more: How Long Does Popcorn Take To Germinate
Understanding Popcorn Ceilings
Popcorn ceilings, also known as acoustic or textured ceilings, gained popularity in the mid-20th century. They were commonly used in residential and commercial buildings due to their affordability and ability to hide imperfections on the ceiling surface.
The unique texture of popcorn ceilings is created by applying a special mixture of materials to the ceiling surface. This mixture typically consists of a combination of water, paint, and a granular substance such as Styrofoam or vermiculite. The textured finish resembles small bumps or nodules, hence the name “popcorn” ceiling.
Popcorn ceilings were favored for their ability to absorb sound and reduce echoes in rooms. Additionally, their irregular texture helped to conceal cracks, uneven surfaces, and other imperfections, reducing the need for extensive surface preparation before painting.
However, popcorn ceilings have fallen out of favor in recent years, as homeowners and designers have shifted towards more modern and smooth ceiling finishes. The bumpy texture of popcorn ceilings can create a dated and visually distracting appearance, making a room feel smaller and outdated.
Furthermore, many popcorn ceilings installed before the 1980s may contain asbestos, a hazardous material that was commonly used in construction. Asbestos is now known to pose serious health risks when disturbed, which is a significant concern for homeowners contemplating popcorn ceiling removal.
Understanding the composition and characteristics of popcorn ceilings is crucial for safely and effectively removing them. It is important to take necessary precautions, particularly when dealing with older popcorn ceilings that may contain asbestos.
Now that we have a better understanding of what popcorn ceilings are, let’s explore the reasons why homeowners choose to remove them.
Reasons for Removing Popcorn Ceilings
There are several reasons why homeowners choose to remove popcorn ceilings from their homes. Let’s explore some of the most common motivations behind this decision:
- Modernization: One of the primary reasons for removing popcorn ceilings is to modernize the look and feel of a space. Popcorn ceilings, with their textured finish, can make a room feel outdated and give it a visually distracting appearance. By removing the popcorn texture, homeowners can achieve a more contemporary and sleek look that aligns with current design trends.
- Increase Property Value: Removing popcorn ceilings can significantly increase the value of a home. Potential buyers often view popcorn ceilings as a negative feature, and the presence of such ceilings can deter them from making an offer or drive down the sale price. By investing in removing popcorn ceilings, homeowners can enhance the overall appeal of their property and attract potential buyers.
- Allergies and Maintenance: Popcorn ceilings have a rough texture that easily traps dust, cobwebs, and other allergens. For individuals with allergies or respiratory conditions, these ceilings can exacerbate symptoms and create an unhealthy living environment. Removing the textured surface makes it easier to clean and maintain a home, promoting better indoor air quality.
- Renovation or Remodeling: When undergoing a renovation or remodeling project, homeowners often remove popcorn ceilings as part of the overall makeover. Eliminating the textured ceiling allows for a fresh start and gives more design flexibility, enabling homeowners to choose their desired ceiling finish, such as a smooth surface or a different texture.
- Exposure to Asbestos: If a home was built before the 1980s, there is a possibility that the popcorn ceiling contains asbestos. Asbestos is a hazardous material that can cause serious health risks if it becomes airborne and is inhaled. Removing the popcorn ceiling eliminates the potential for asbestos exposure, ensuring a safer living environment.
These are just a few of the reasons why homeowners opt to remove popcorn ceilings. Each individual may have their own unique motivations, but ultimately, the goal is to improve the appearance, value, and overall livability of the space. Now that we understand why people choose to remove popcorn ceilings, let’s move on to the important factors that can affect the time taken for this project.
Important Factors That Affect the Time Taken
Several factors can influence the time it takes to remove popcorn ceilings. Understanding these factors can help homeowners plan and manage their popcorn ceiling removal project more effectively. Let’s explore some of the key factors:
- Size of the Room: The size of the room is an essential factor that affects the time taken to remove popcorn ceilings. Larger rooms will naturally require more time and effort to complete the removal process compared to smaller rooms. It’s important to assess the size of the room beforehand to estimate the amount of time needed for the project.
- Popcorn Ceiling Texture: The texture of the popcorn ceiling itself can impact the time taken for removal. Some popcorn ceilings have a thicker and more stubborn texture, while others are less dense and easier to scrape off. The type of texture will determine the level of effort and time required to remove it completely.
- Age of the Popcorn Ceiling: The age of the popcorn ceiling can also influence the time taken for removal. Older popcorn ceilings, especially those installed before the 1980s, may contain asbestos, which requires careful handling and special precautions. Dealing with asbestos-containing materials can significantly extend the time taken for removal due to the need for professional asbestos abatement services.
- Presence of Paint: If the popcorn ceiling has been previously painted, it can make the removal process more challenging and time-consuming. Painted popcorn textures typically need to be softened with water or a removal solution before scraping, which adds an extra step to the process.
- Personal Experience and Skill Level: The experience and skill level of the individual or team performing the popcorn ceiling removal can greatly impact the time taken. Experienced individuals who have previously completed popcorn ceiling removal projects will likely be more efficient and confident in their approach, reducing the overall time requirement.
- Access to Proper Tools and Equipment: Having the right tools and equipment is crucial for a smooth and timely popcorn ceiling removal process. Tools such as a sturdy ladder, scraper, spray bottle, plastic sheets, and safety gear are essential. Having these items readily available will help streamline the project and minimize delays.
- Working Conditions: The overall working conditions, including the availability of natural light, ventilation, and temperature, can also impact the time taken. Adequate lighting is essential for safely and accurately performing the removal, while proper ventilation and a comfortable temperature can enhance productivity and overall work efficiency.
Considering these factors before starting a popcorn ceiling removal project can help homeowners set realistic expectations and allocate the necessary resources. Preparation and planning are key to a successful and efficient popcorn ceiling removal process. Now that we have covered the important factors, let’s move on to preparing the room for popcorn ceiling removal.
Preparing the Room for Popcorn Ceiling Removal
Before starting the popcorn ceiling removal process, it’s essential to properly prepare the room to minimize mess and ensure a smooth and efficient workflow. Taking the time to do thorough preparation will make the removal process easier and help protect your furniture and other belongings. Here are the key steps to prepare the room:
- Clear the Room: Remove all furniture, decorations, and other items from the room. Cover any large furniture pieces that cannot be moved with plastic sheets to protect them from dust and debris.
- Protect Flooring: Cover the entire floor with drop cloths or plastic sheets to protect it from falling debris and to make cleanup easier. Secure the sheets with tape to prevent them from moving around during the removal process.
- Cover Walls and Electrical Outlets: Protect the walls by covering them with plastic sheets or painter’s tape. Be sure to cover electrical outlets and switches to prevent any damage or exposure to moisture during the removal process.
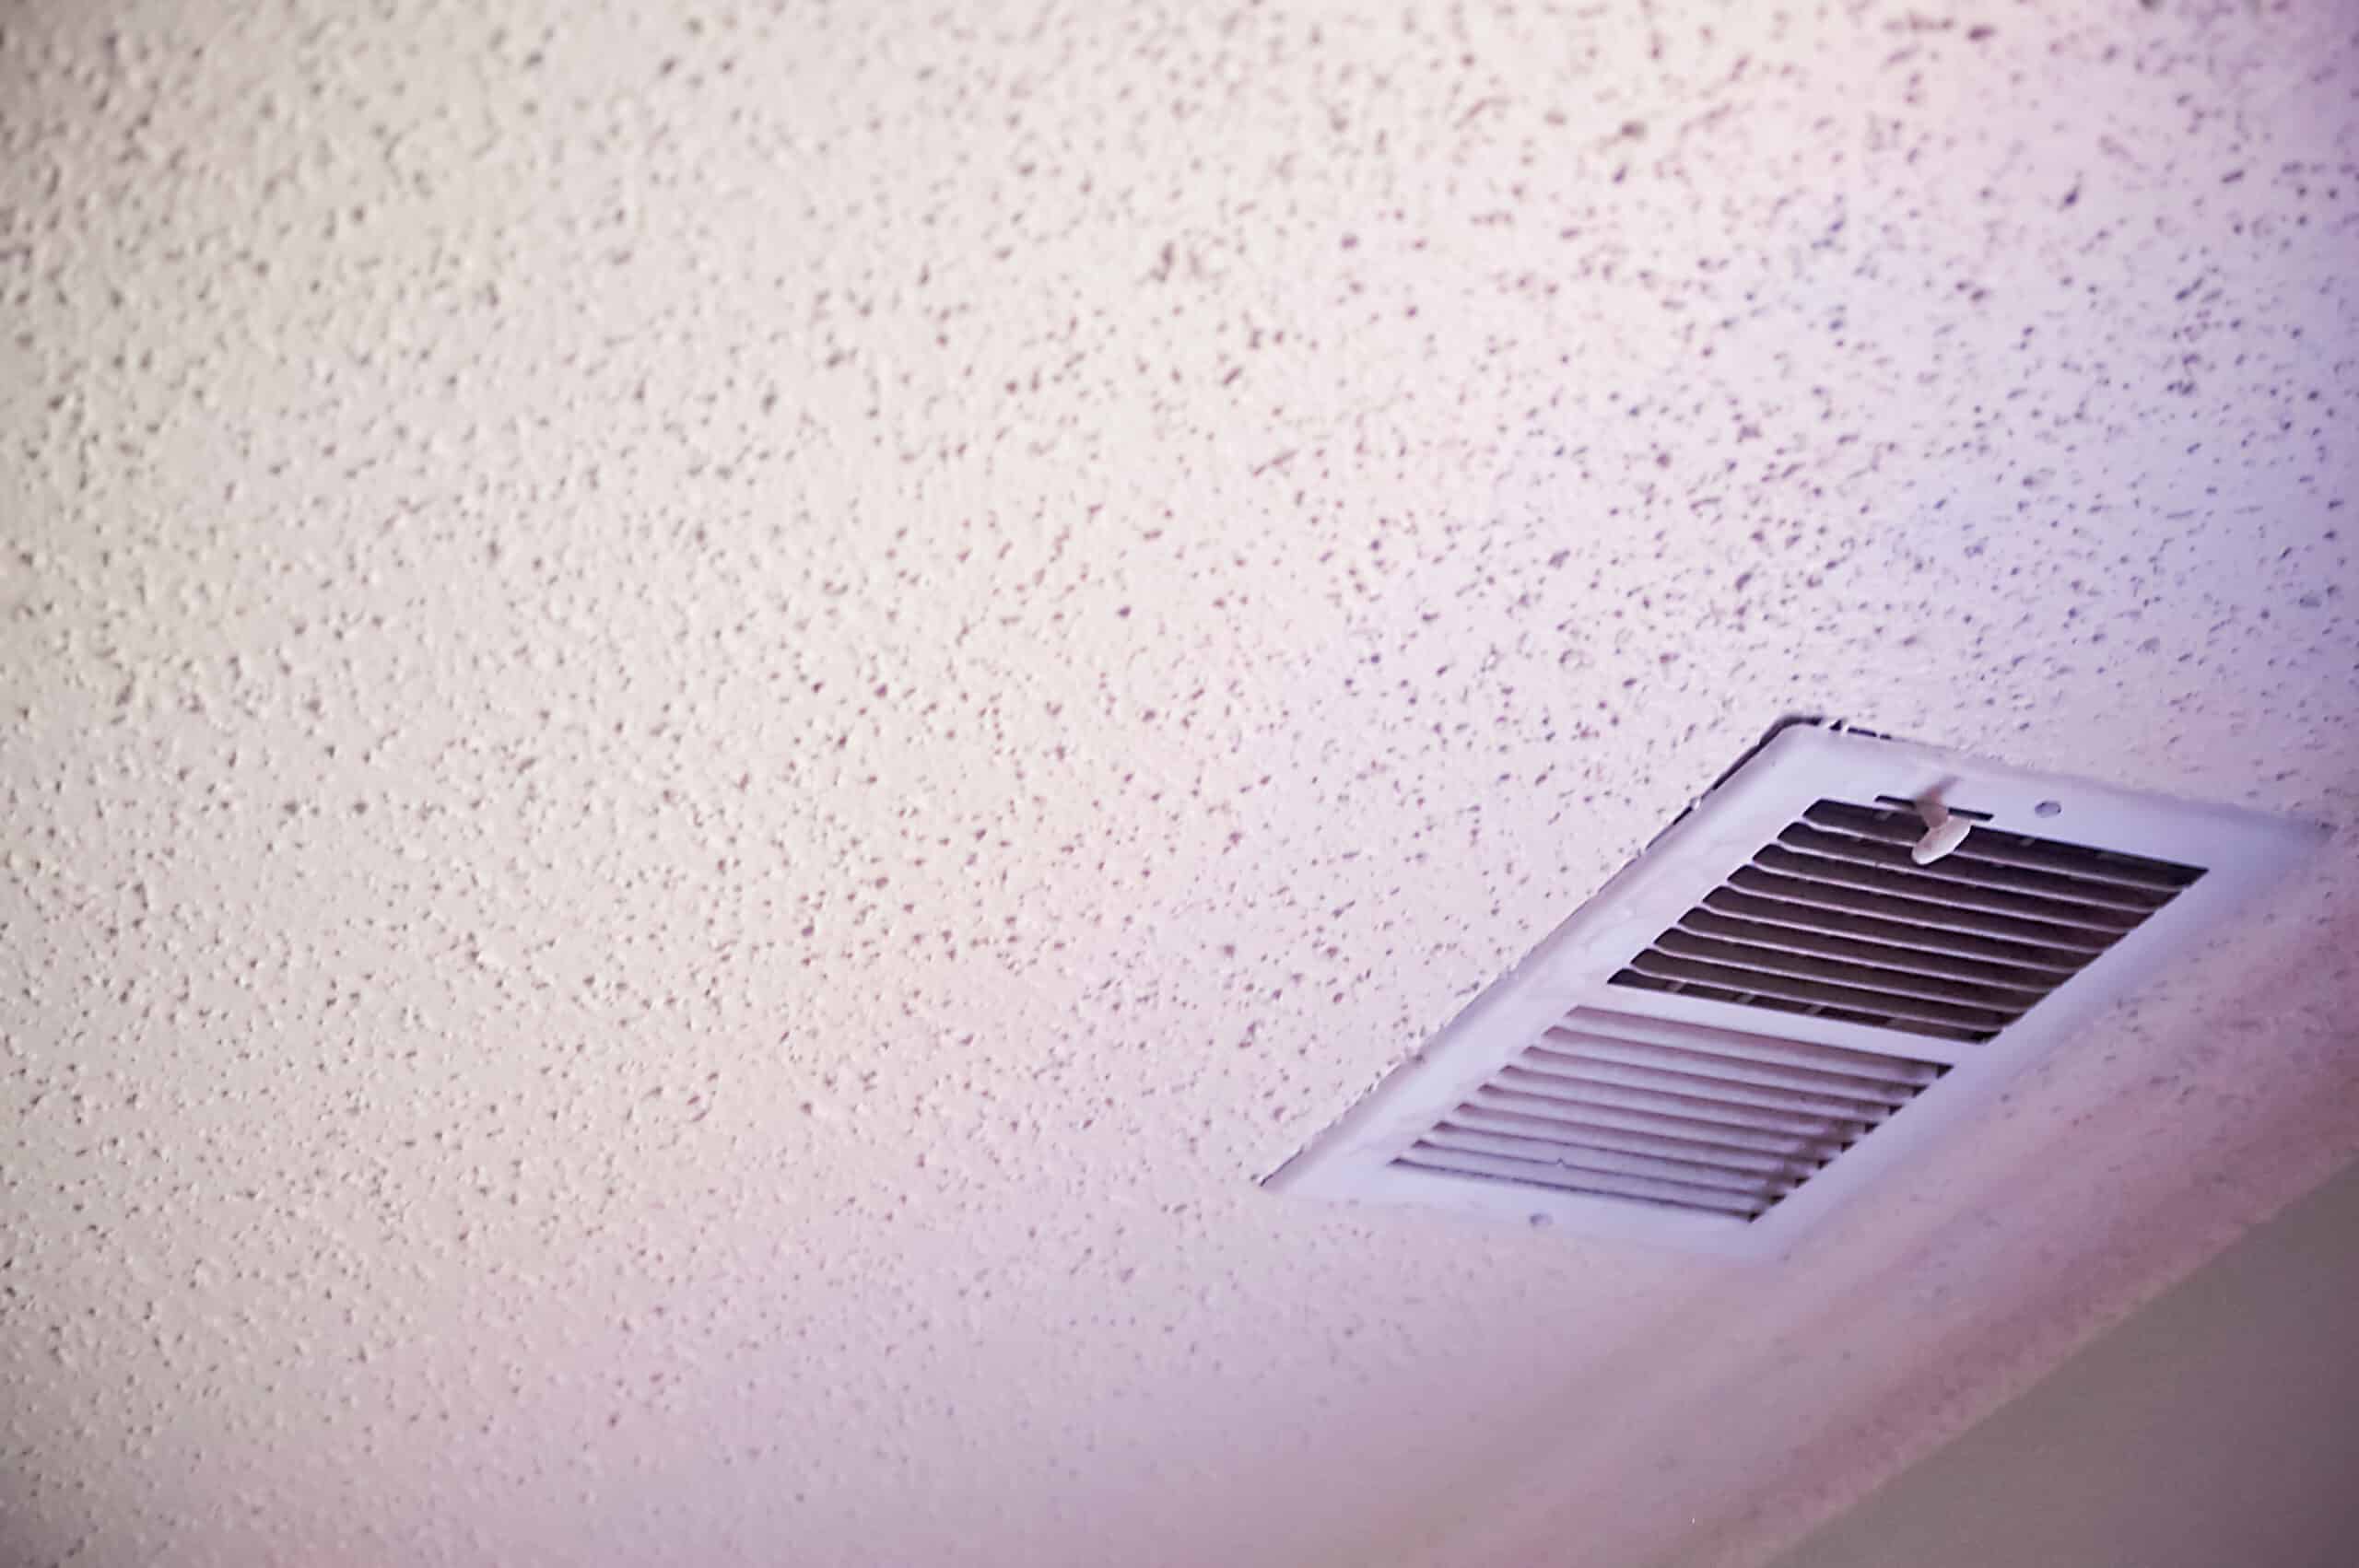
- Seal Air Vents and Light Fixtures: Use plastic sheets or painter’s tape to seal off air vents and light fixtures to prevent dust and debris from entering them.
- Turn Off Power: Before starting any work, turn off the power supply to the room by switching off the circuit breaker that controls the lighting and electrical outlets.
- Use Protective Gear: Popcorn ceiling removal can generate dust and debris, so it’s crucial to protect yourself. Wear a dust mask, safety goggles, and gloves to prevent inhalation of particles and to protect your eyes and skin.
- Set Up Proper Lighting: Ensure you have adequate lighting in the room to clearly see the popcorn ceiling and any imperfections as you work. Additional lighting, such as work lamps or portable spotlights, can be helpful in providing focused illumination.
- Test for Asbestos: If your home was built before the 1980s, it’s advisable to test the popcorn ceiling for asbestos before starting the removal process. You can send a sample to a certified laboratory or hire a professional asbestos testing service to determine if asbestos is present.
Following these preparation steps will create a clean and controlled environment for easier popcorn ceiling removal. Once the room is properly prepared, you can proceed to gather the necessary tools and materials for the project. Let’s explore the tools and materials required for removing popcorn ceilings.
Read more: How To Remove Mold From Popcorn Ceiling
Tools and Materials Required for Removing Popcorn Ceiling
Removing popcorn ceilings requires specific tools and materials to ensure a smooth and efficient process. Having the right equipment will enable you to tackle the project with confidence and achieve better results. Here are the essential tools and materials you’ll need:
Tools:
- Ladder: A sturdy ladder or step stool is necessary to reach the ceiling safely. Make sure the ladder is stable and secure before climbing.
- Drop Cloths or Plastic Sheets: To protect the floor and furniture from dust and debris during the removal process.
- Spray Bottle: Fill a spray bottle with water to dampen the popcorn ceiling, making it easier to scrape off.
- Scraper: A wide putty knife or scraper tool is used to scrape off the popcorn texture from the ceiling. Choose a scraper with a comfortable grip and a sharp, sturdy blade.
- Sanding Pole: If a smooth finish is desired after popcorn ceiling removal, a sanding pole with sandpaper can be used to sand down any remaining texture or imperfections.
- Plastic Sheeting or Painter’s Tape: Use plastic sheeting or painter’s tape to protect walls, electrical outlets, light fixtures, and other surfaces from dust and moisture during the removal process.
- Dust Mask: A properly fitting dust mask is essential to protect your lungs from airborne dust particles generated during the popcorn ceiling removal.
- Safety Goggles: Safety goggles or protective glasses will shield your eyes from debris and prevent any particles from getting in your eyes.
- Gloves: Work gloves protect your hands from any rough surfaces and provide a better grip on the scraper tool.
- Work Light: A bright work light or additional lighting sources will help you see the popcorn texture more clearly while working.
Materials:
- Water: Use water in the spray bottle to dampen the popcorn ceiling, making it easier to scrape off.
- Plastic Bags: Have a few large plastic bags on hand to collect and dispose of the scraped-off popcorn texture.
- Paint and Primer: If you plan to repaint the ceiling after popcorn removal, have the necessary paint and primer ready for the project.
- Paint Roller and Brushes: For applying the new paint and primer, have paint rollers and brushes available to achieve a smooth and even finish.
- Filling Compound: If there are any holes or imperfections left after scraping the popcorn texture, a filling compound can be used to fill them in before painting.
Gathering these tools and materials before starting the popcorn ceiling removal project will ensure that you have everything you need for a successful and efficient process. With the room prepared and the necessary equipment at hand, you are now ready to learn the step-by-step guide for removing popcorn ceilings.
Consider hiring a professional to remove popcorn ceiling, as it can be a time-consuming and messy process. The time it takes can vary depending on the size of the area and the condition of the ceiling.
Step-by-Step Guide for Removing Popcorn Ceiling
Removing popcorn ceilings is a task that can be accomplished with patience, the right tools, and careful execution. Follow this step-by-step guide to successfully remove popcorn ceilings:
- Prepare the room: Clear the room of furniture and cover the floor with drop cloths or plastic sheets to protect it from falling debris. Cover walls, electrical outlets, and light fixtures with plastic sheets or painter’s tape to prevent damage or exposure to moisture.
- Test for asbestos (if applicable): If your home was built before the 1980s, it’s recommended to test the popcorn ceiling for asbestos. Contact a certified laboratory or hire a professional asbestos testing service to collect and analyze a sample before proceeding.
- Dampen the ceiling: Fill a spray bottle with water and lightly mist the popcorn ceiling. Allow the water to penetrate the texture for a few minutes, which will help loosen it and make it easier to scrape off.
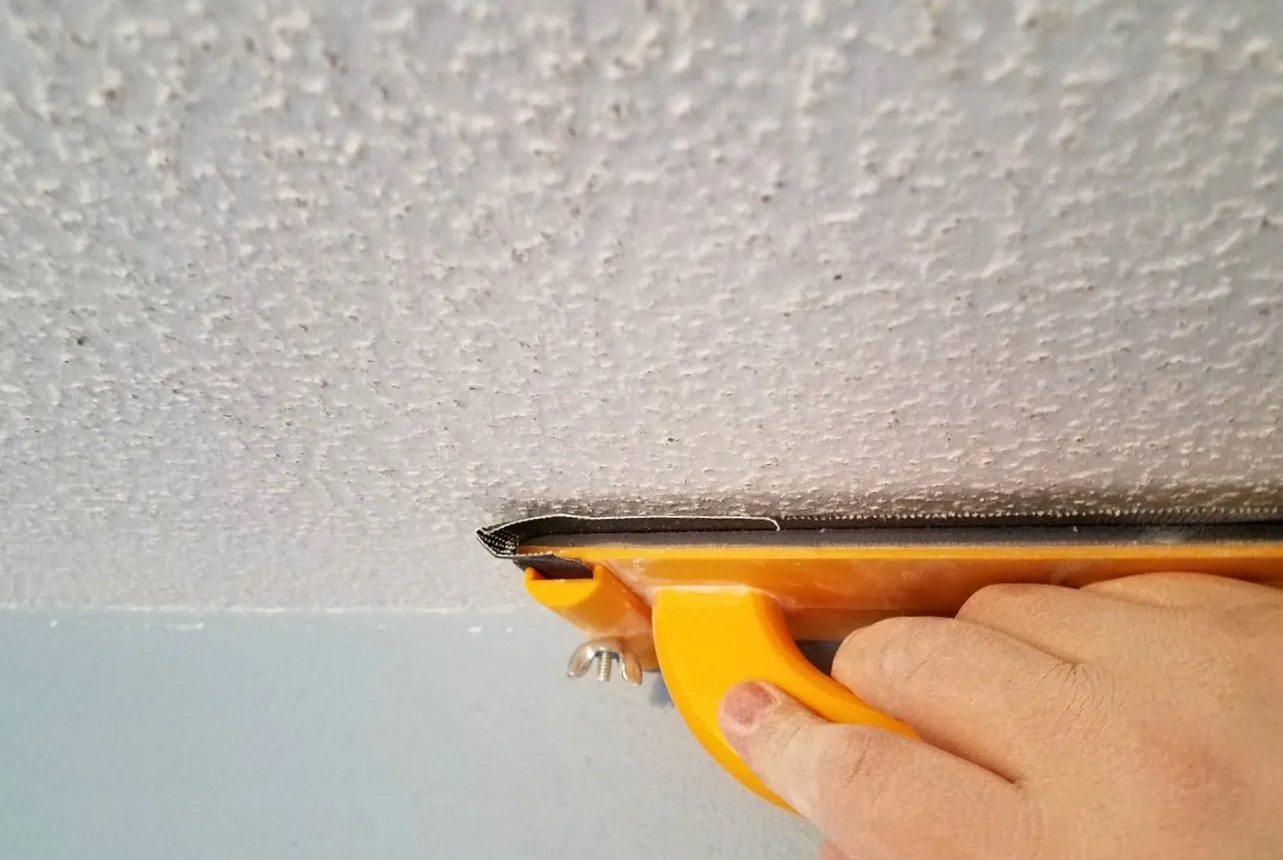
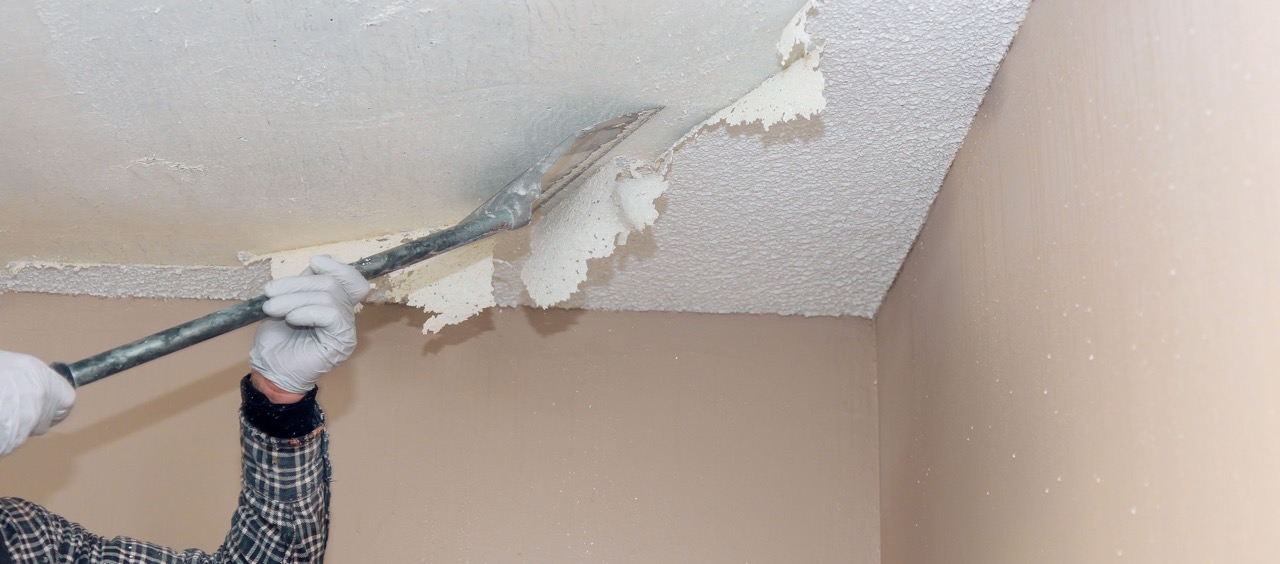
- Scrape the popcorn texture: Using a wide putty knife or scraper tool, gently scrape the textured surface from the ceiling. Work in small sections, taking care not to damage the underlying drywall or plaster. Collect the scraped-off texture in plastic bags for easy disposal.
- Continue scraping and re-dampening: Repeat the process of dampening the ceiling and scraping off the texture until the entire popcorn ceiling is removed. It may take multiple passes to remove all the bumps and achieve a smooth surface.
- Inspect and repair: Once the popcorn texture is removed, inspect the ceiling for any remaining imperfections, such as cracks or gouges. Use a filling compound to fill in these areas and allow it to dry according to the manufacturer’s instructions.
- Sand the ceiling (optional): If you desire a completely smooth finish, lightly sand the ceiling using a sanding pole and sandpaper. Be gentle to avoid damaging the underlying surface and create a uniform texture.
- Clean up: Remove the drop cloths or plastic sheets from the floor and discard the bags containing the scraped-off popcorn texture. Dispose of them according to local regulations. Vacuum the room to remove any remaining dust and debris.
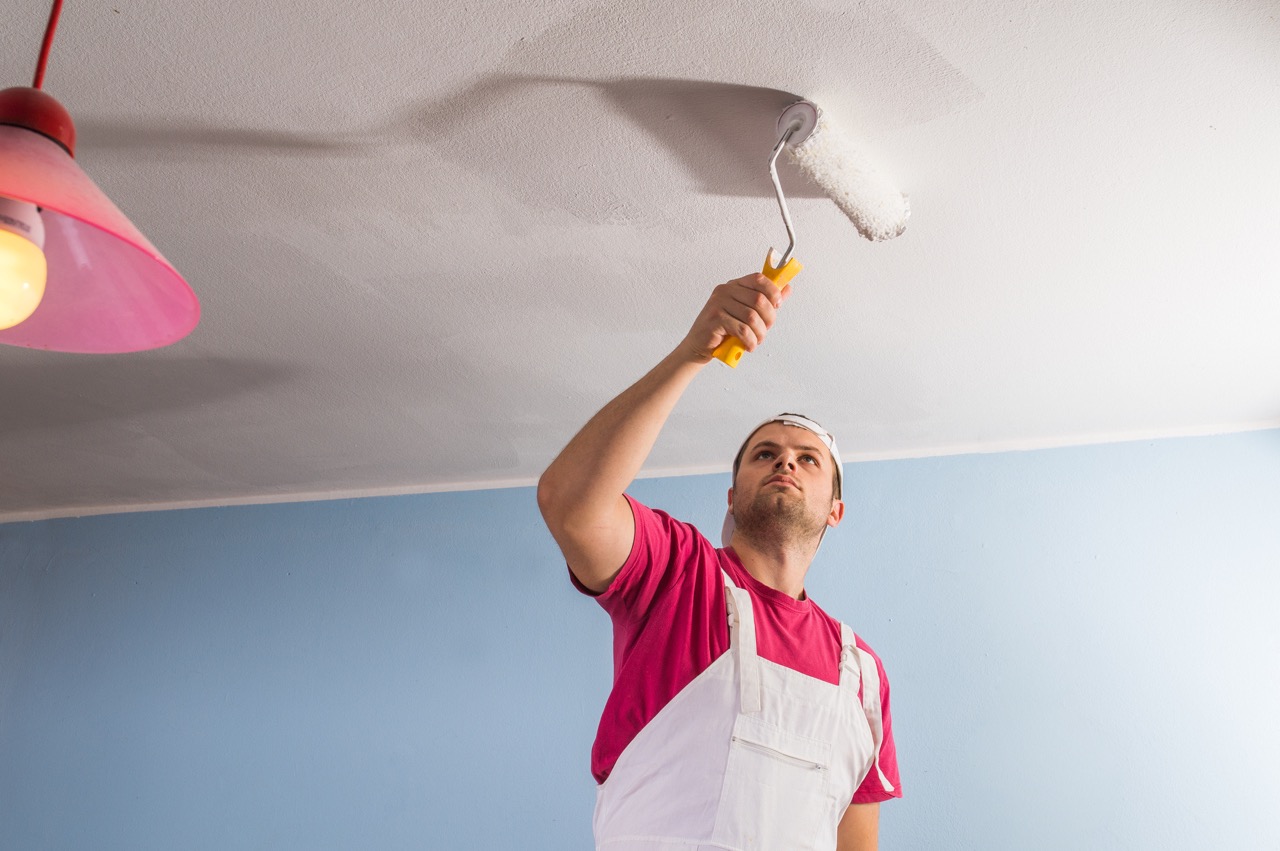
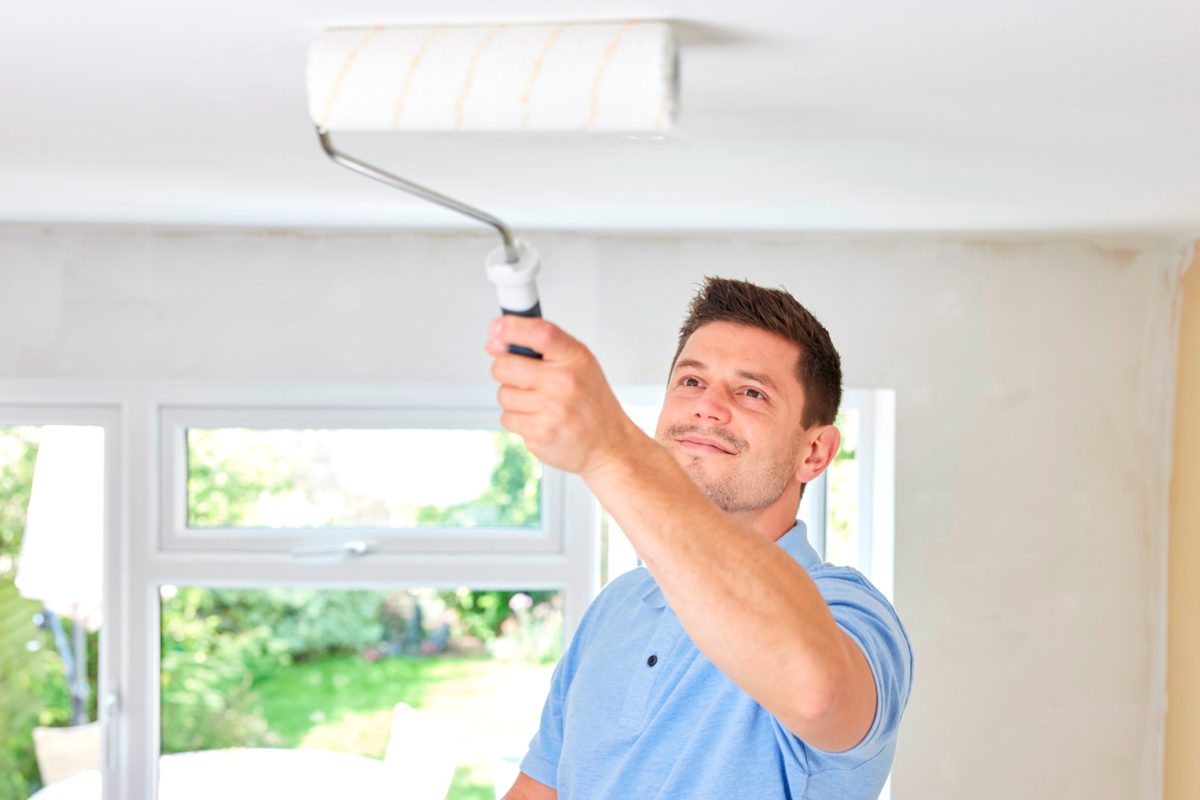
- Prime and paint (if desired): If you plan to repaint the ceiling, apply a coat of primer to ensure proper adhesion and coverage. Once the primer is dry, proceed to paint the ceiling with your chosen paint color using a roller or brushes. Follow the paint manufacturer’s instructions for drying time and additional coats, if necessary.
Remember, safety is paramount throughout the popcorn ceiling removal process. Wear the appropriate protective gear, including a dust mask, safety goggles, and gloves. Work in a well-ventilated area and take breaks as needed to avoid overexertion.
By following these step-by-step instructions, you can successfully remove popcorn ceilings and transform the look of your space. After completing the project, you can move on to the cleaning up stage.
Cleaning Up After Popcorn Ceiling Removal
Once you have successfully removed the popcorn ceiling, it’s time to clean up the room to get rid of any remaining dust and debris. Follow these steps to ensure a thorough and efficient cleanup:
- Remove drop cloths and plastic sheets: Carefully remove the drop cloths or plastic sheets used to protect the floor and furniture during the popcorn ceiling removal process. Gather them up and dispose of any debris collected in them.
- Vacuum the entire room: Use a vacuum cleaner with a HEPA filter to thoroughly clean the room. Pay special attention to the walls, baseboards, and corners to remove any residual dust and loose particles.
- Wipe down surfaces: Dampen a microfiber cloth or sponge with water and wipe down surfaces such as walls, windowsills, and furniture to capture any remaining dust.
- Clean light fixtures and air vents: Remove the plastic sheets or tape covering light fixtures and air vents. Use a soft brush or a cloth to clean them, ensuring they are free of dust and debris.
- Dispose of waste properly: Seal the plastic bags containing the scraped-off popcorn texture and any other debris, and dispose of them according to local regulations. Check with your local waste management facility for specific guidelines on disposing of construction debris.
- Inspect for remaining popcorn texture: Check the ceiling for any spots where the popcorn texture may have been missed. If there are any areas with texture still remaining, dampen them with water and scrape them off carefully.
- Check for touch-up paint and repairs: After cleaning up, inspect the ceiling for any areas that may require touch-up paint or additional repairs. If there are any visible imperfections, address them accordingly before proceeding with any further renovations or painting.
It’s important to take the time to clean up thoroughly after popcorn ceiling removal to ensure a clean and dust-free environment. This will not only help restore the room to its original condition but also create a fresh canvas for any further decorating or renovations.
Now that the cleanup is complete, you can move on to the finishing touches and decide on the next steps to complete the overall transformation of your space.
Finishing Touches and Next Steps
With the popcorn ceiling removed and the room cleaned up, it’s time to add the finishing touches and consider the next steps to complete the transformation of your space. Here are some important points to consider:
- Inspect the ceiling: Take a final look at the ceiling to ensure it is smooth and free of any imperfections. If necessary, touch up any areas that may require additional filling, sanding, or patching. This will help achieve a seamless finish.
- Choose a new ceiling finish: Now that you have a clean canvas, decide on the new finish you want for your ceiling. You may opt for a smooth finish, apply a different texture, or even consider adding architectural details such as crown molding or decorative beams.
- Prepare for painting: If you plan to paint the ceiling, make sure it is properly primed before applying paint. Fill any remaining small holes or imperfections with a suitable filler and sand them down for a smooth surface. Protect walls and trim with painter’s tape, and cover furniture and flooring to prevent any accidental paint drips or spills.
- Paint the ceiling: Carefully apply the chosen paint color to the ceiling using a roller or brushes. Follow the manufacturer’s instructions for paint application and drying times. Apply multiple coats if necessary for the desired coverage and finish.
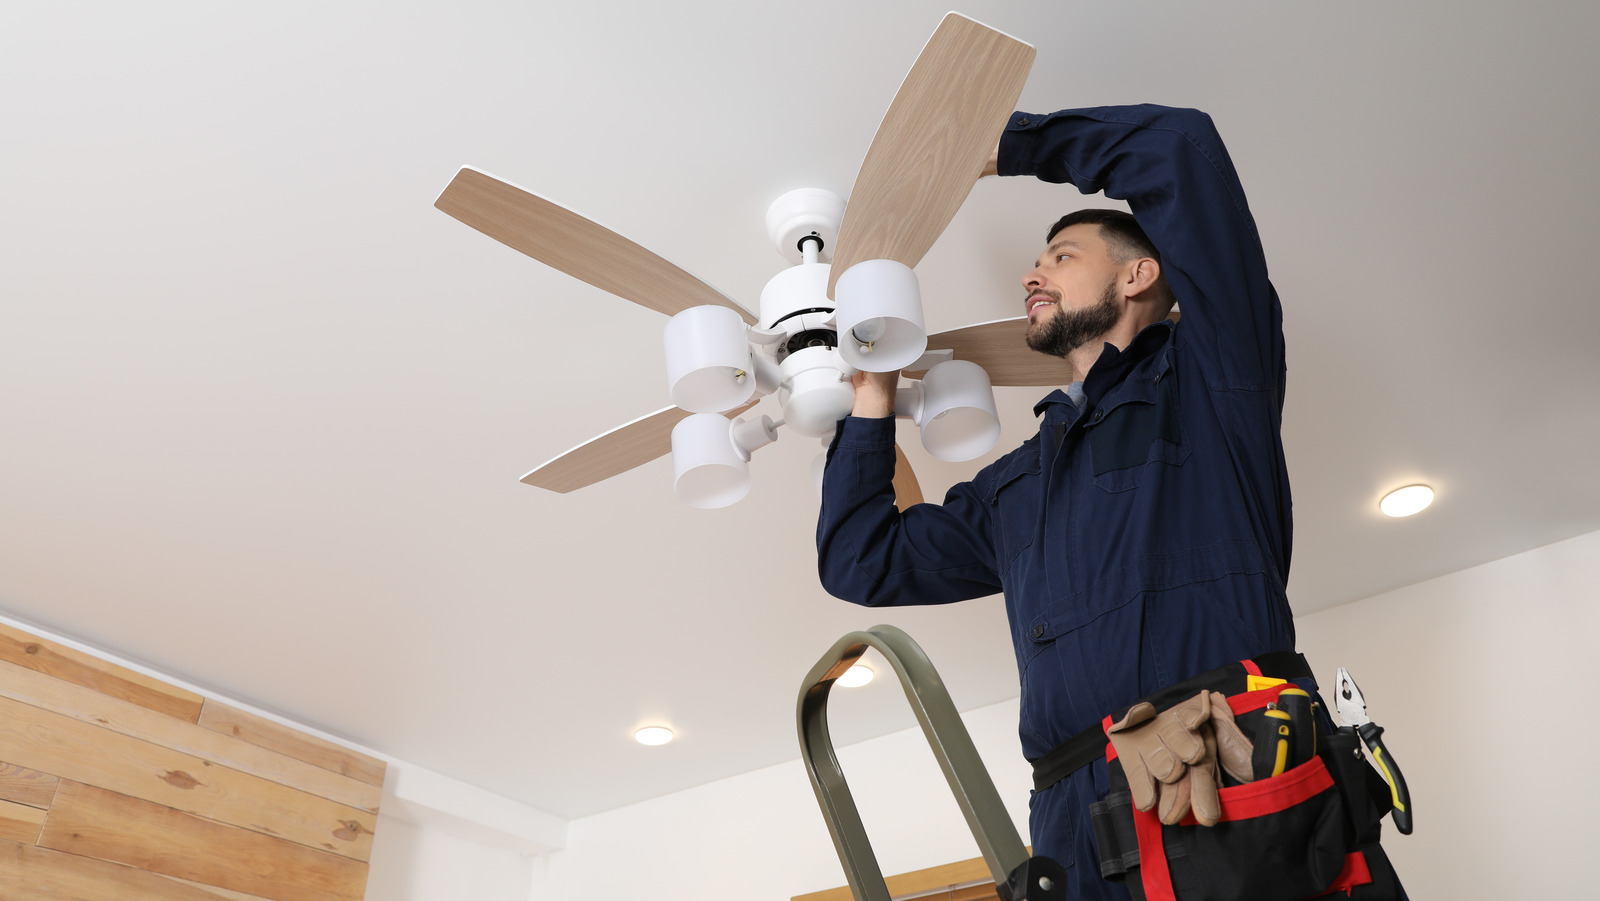
- Consider additional renovations: Removing the popcorn ceiling may have sparked other ideas for renovating your space. Now is a great time to consider additional improvements such as updating lighting fixtures, rearranging furniture, or refreshing the overall decor to complement the new look of the ceiling.
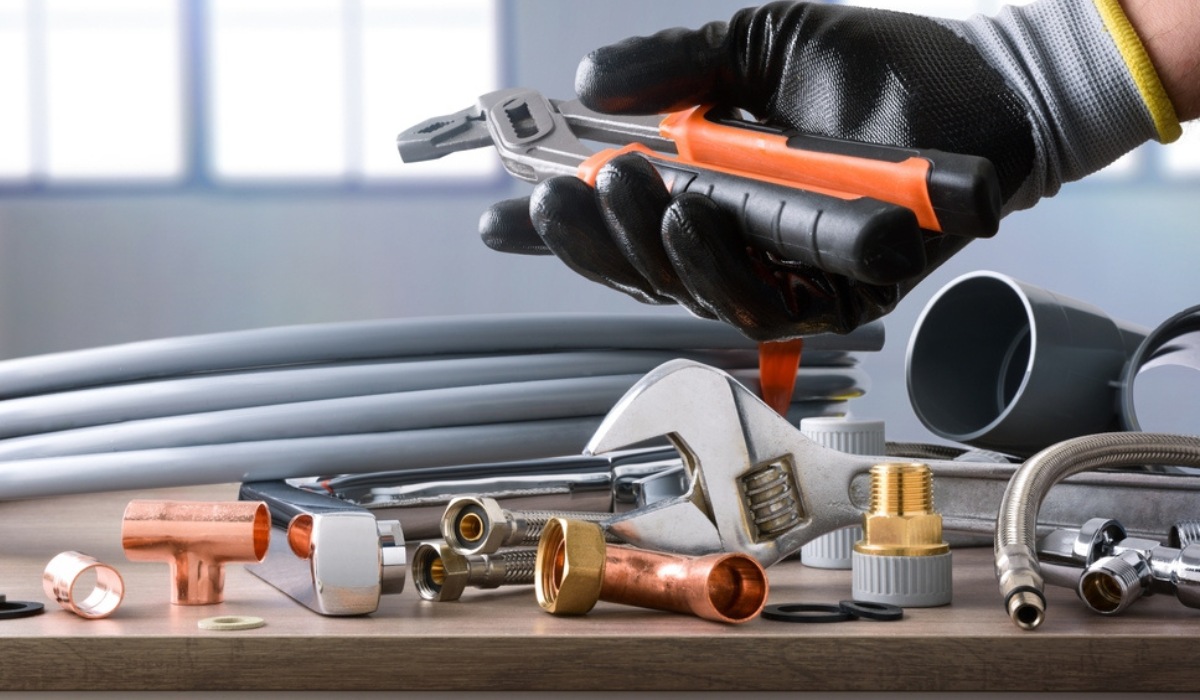
- Consult professionals if needed: If you encountered any challenges during the popcorn ceiling removal process or if you have additional renovations planned, consider consulting professionals. Experts can provide advice, guidance, and assistance in achieving your desired results efficiently and effectively.
- Enjoy your refreshed space: Once the finishing touches are complete, take a moment to appreciate the transformed space. The removal of the popcorn ceiling has likely brought new life and a modern aesthetic to the room. Embrace and enjoy the refreshed atmosphere and the enhanced value of your home.
Remember to maintain your newly renovated space by performing regular cleaning and upkeep. This will help preserve the beauty of the ceiling and ensure a pleasant living environment.
Congratulations on successfully removing the popcorn ceiling and completing the necessary steps to transform your space. With careful planning and execution, you have achieved a modern and updated look that will bring joy and satisfaction for years to come.
Disclaimer: This article is meant to serve as a general guide. It’s important to consider the specific circumstances of your project, consult professionals when needed, and adhere to local regulations and safety guidelines.
Conclusion
Removing popcorn ceilings can be a rewarding and transformative DIY project that adds value and modernizes your home. By understanding the process, preparing the room, and having the right tools and materials, you can successfully remove the textured popcorn ceiling and create a fresh, updated look.
Throughout this article, we have explored the reasons for removing popcorn ceilings, the factors that affect the time taken for the task, the importance of proper preparation, and the necessary tools and materials. We have also provided a detailed step-by-step guide, emphasized the importance of cleaning up after removal, and discussed the finishing touches and next steps.
Remember, safety is paramount throughout the entire process. Use protective gear, follow safety guidelines, and consider consulting professionals for complex or challenging situations. Also, be mindful of potential asbestos exposure and take appropriate precautions, especially in older homes.
By taking the time and effort to remove popcorn ceilings, you can create a more modern and inviting space for yourself and future occupants. Whether you choose to paint the ceiling or explore other decorative options, the outcome will undoubtedly enhance the aesthetic appeal and value of your home.
We hope that this comprehensive guide has provided you with the knowledge and confidence you need to successfully remove popcorn ceilings. Enjoy the process, embrace the transformation, and revel in your newly refreshed space!
Frequently Asked Questions about How Long Does It Take To Remove Popcorn Ceiling
Was this page helpful?
At Storables.com, we guarantee accurate and reliable information. Our content, validated by Expert Board Contributors, is crafted following stringent Editorial Policies. We're committed to providing you with well-researched, expert-backed insights for all your informational needs.


0 thoughts on “How Long Does It Take To Remove Popcorn Ceiling”