Articles
How Do You Remove Stuff From Tool Belt
Modified: August 31, 2024
Learn how to remove items from your tool belt efficiently with our informative articles.
(Many of the links in this article redirect to a specific reviewed product. Your purchase of these products through affiliate links helps to generate commission for Storables.com, at no extra cost. Learn more)
Introduction
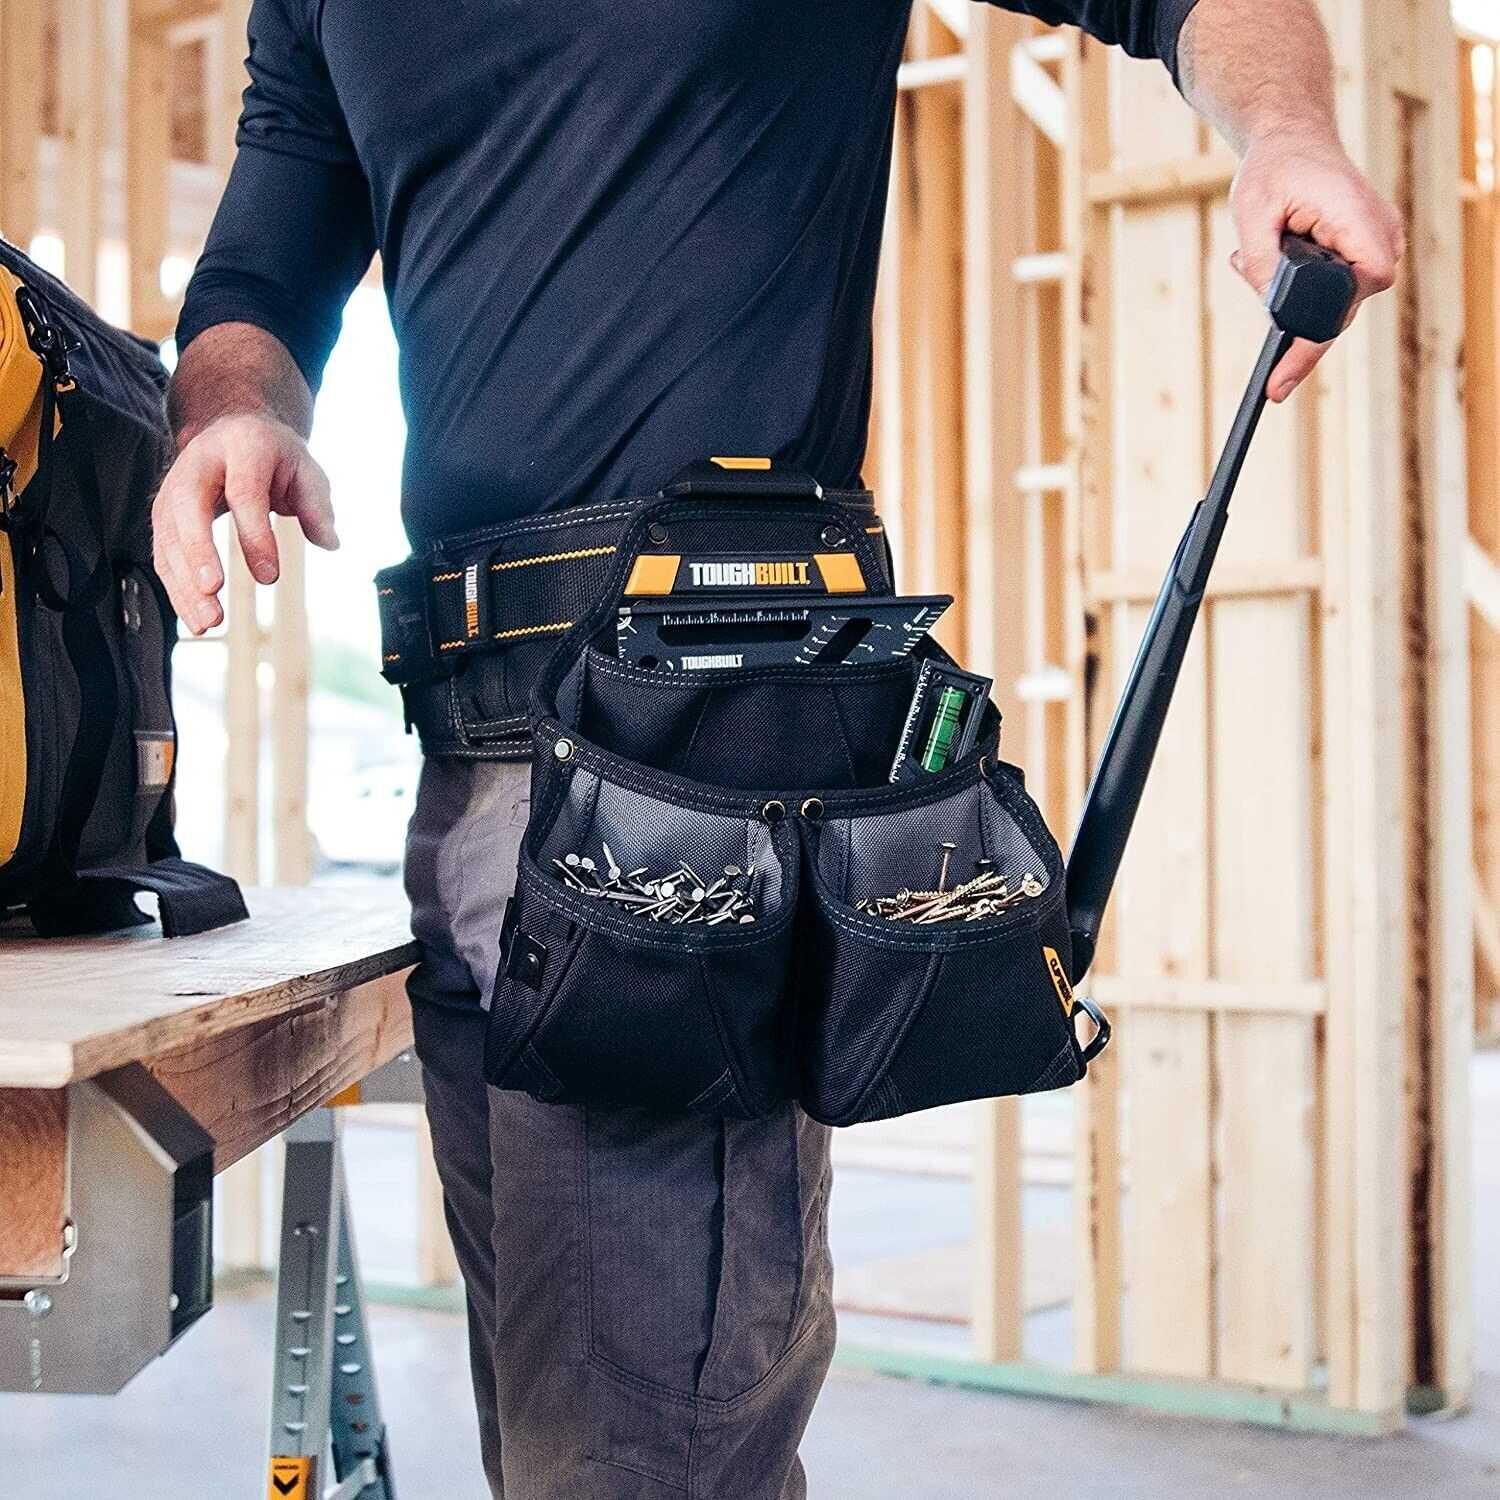
When it comes to working on various projects, a tool belt is an essential accessory for any professional or DIY enthusiast. It conveniently holds all the necessary tools at arm’s reach, making tasks more efficient and productive. However, over time, it’s not uncommon for a tool belt to become cluttered with excess items that hinder its functionality. Whether it’s loose screws, unused tools, or miscellaneous debris, it’s important to know how to effectively remove these items to maintain an organized and efficient workspace.
In this article, we will explore three methods for removing unwanted stuff from a tool belt. The first method involves manual removal, where we’ll use our hands and basic tools to clean out the belt. The second method will involve using specific tools or equipment to assist in the removal process. Lastly, we’ll discuss implementing preventative measures to avoid the accumulation of unnecessary items in the future.
By following these methods, you’ll be able to restore your tool belt’s functionality, increase productivity, and have a clutter-free workspace, enabling you to focus on the task at hand.
Key Takeaways:
- Keep your tool belt clutter-free by regularly assessing and organizing its contents. Utilize manual removal, tools, and preventative measures to maintain efficiency and a clean workspace.
- Implementing preventative measures such as minimizing excess items and regular cleaning can help maximize the lifespan and functionality of your tool belt.
Method 1: Manual Removal
Manual removal is the simplest and most straightforward method for cleaning out a tool belt. It requires minimal tools and relies on your hands and dexterity. Here’s a step-by-step guide to help you remove unwanted items manually:
- Empty the contents of your tool belt: Start by removing all tools, screws, nails, and any other items from your tool belt. Lay them out on a clean and organized surface to easily assess what needs to be removed.
- Inspect each item: Take the time to evaluate each item and determine its usefulness. Look for any damaged or broken tools that need to be replaced or repaired. Sort out items that are no longer needed or have become redundant.
- Organize and categorize: Group similar items together. Create separate piles or containers for tools, screws, nails, and other miscellaneous items. This will help you identify what needs to be returned to the tool belt and what can be stored elsewhere.
- Clean the tool belt: Using a soft brush or cloth, remove any dirt, debris, or dust from the tool belt. Pay attention to crevices and pockets where items might have been lodged. Wipe down the belt with a mild soap solution if necessary.
- Inspect the belt for wear and tear: While cleaning, keep an eye out for any signs of damage or wear on the tool belt. Check for loose stitching, tears, or worn-out pockets. If any issues are found, it may be time to repair or replace the belt.
- Organize and return items: Once the tool belt is clean and in good condition, carefully place the essential tools back into designated pockets. Make sure each item is secured and easily accessible. Consider using pouches or dividers to keep items separated and organized.
- Dispose of unwanted items responsibly: Properly dispose of any broken or damaged tools and recycle or responsibly discard screws, nails, or other small items. Consider donating usable tools to local charities or trade schools.
By following these steps, you’ll be able to manually remove unwanted items from your tool belt, restoring its functionality and making it ready for your next project.
Method 2: Using Tools or Equipment
If manual removal doesn’t completely solve the issue, or if you’re dealing with stubborn or hard-to-reach items in your tool belt, utilizing specific tools or equipment can be a game-changer. Here are some methods to help you effectively remove unwanted stuff from your tool belt:
1. Magnetic Pickup Tools: Magnetic pickup tools are extremely useful for retrieving metallic items, such as screws, nails, or small metal tools, from your tool belt. These tools have a magnetic tip that attracts and lifts metal objects, allowing you to easily retrieve them. Simply run the magnetic tool over the belt, and it will attract the metal items, making their removal a breeze.
2. Air Compressor or Vacuum Cleaner: If your tool belt has accumulated dust, debris, or small particles, using an air compressor or a vacuum cleaner with a narrow nozzle attachment can help remove these unwanted elements. Carefully blow air or suction the debris out of the belt’s pockets and crevices, leaving your tool belt clean and ready for use.
3. Screwdriver or Pliers: For loose screws or nails that have become embedded in the tool belt, using a screwdriver or pliers can be handy. Gently pry or twist the screws or nails out of the belt, taking care not to damage the belt material in the process. Once removed, inspect the belt for any potential damage and address it accordingly.
4. Rubber Mallet or Hammer: If you’re dealing with a tool belt with hard-to-remove items, such as rusted or stuck tools, a rubber mallet or hammer can be useful. Place the tool belt on a solid surface and gently tap or strike the stuck item to loosen it. Exercise caution to avoid damaging the belt or other tools nearby, and ensure that you’re using proper safety precautions.
5. Tool Belt Cleaning Kit: Companies have introduced specialized tool belt cleaning kits that include various tools, brushes, and cleaning solutions designed specifically for cleaning and maintaining tool belts. These kits often include a belt brush, pocket brush, and a belt cleaner solution. Following the instructions provided with the kit, you can effectively clean and restore your tool belt back to its optimal condition.
By utilizing these tools and equipment, you’ll be able to tackle even the most stubborn items in your tool belt, ensuring that it remains organized and efficient for your future projects.
To remove items from your tool belt, simply unclip or unbuckle the pouch or holder containing the item and slide it out. Make sure to secure the tool belt properly before removing any items to prevent accidents.
Method 3: Implementing Preventative Measures
Prevention is always better than cure, and when it comes to keeping your tool belt clean and clutter-free, implementing preventative measures can save you time and effort in the long run. Here are some tips to help you maintain an organized tool belt:
1. Minimize Excess Items: Evaluate the tools and accessories you carry in your tool belt regularly. Remove any items that you rarely use or have become redundant. Keeping only the essential tools will reduce the chances of your tool belt becoming overcrowded with unnecessary items.
2. Use Tool Pouches or Organizers: Utilize tool pouches, organizers, or dividers within your tool belt to keep items separated and organized. By having designated spaces for each tool, you can quickly identify and access what you need, preventing a jumble of items from accumulating within the belt.
3. Clean Your Tools: Before returning tools to your belt, take the time to clean them off. Wipe away dirt, debris, or any other residue that may have collected on them. This will prevent any particles from transferring to the tool belt and causing unnecessary clutter.
4. Regular Inspection: Regularly inspect your tool belt for any loose screws, damaged pockets, or signs of wear and tear. Address these issues promptly to prevent further damage and maintain the integrity of your tool belt.
5. Store Properly: When you’re not using your tool belt, store it in a clean and dry area. Avoid leaving it exposed to extreme temperatures or damp environments, as this can lead to deterioration or mold growth. Proper storage will help preserve the longevity and functionality of your tool belt.
6. Clean and Maintain: Regularly clean your tool belt using a soft brush or cloth to remove any dirt or debris. If necessary, you can use mild soap and water or specialized belt cleaner solutions. Additionally, periodically inspect and tighten any loose stitching or fasteners to ensure the belt remains in good condition.
By implementing these preventative measures, you can keep your tool belt well-organized, minimize clutter, and maximize its efficiency and lifespan.
Conclusion
A cluttered and disorganized tool belt can hinder your efficiency and productivity, making it essential to remove unwanted stuff and maintain a clean workspace. In this article, we explored three methods for effectively removing items from a tool belt.
First, we learned about the manual removal method, which involves emptying the belt, inspecting and categorizing the items, cleaning the belt, and returning the essential tools while disposing of unwanted items responsibly.
Next, we discussed using tools and equipment to assist in the removal process. Magnetic pickup tools, air compressors or vacuum cleaners, screwdrivers or pliers, rubber mallets or hammers, and specialized tool belt cleaning kits can greatly help in removing stubborn or hard-to-reach items from the tool belt.
Lastly, we explored the importance of implementing preventative measures to keep the tool belt organized and clutter-free. By minimizing excess items, using tool pouches or organizers, regularly inspecting and cleaning tools, storing the tool belt properly, and maintaining its cleanliness and condition, you can prevent the accumulation of unwanted stuff in the future.
By following these methods and incorporating preventative measures, you can maintain a well-organized tool belt, increase your efficiency, and have a clutter-free workspace. Remember to regularly assess and clean your tool belt to ensure it remains in optimal condition for your next project.
Now it’s time to take action and apply these methods to remove unwanted stuff from your tool belt. Enjoy the benefits of a clean and organized tool belt, and let it be a reflection of your professionalism and attention to detail in your work.
Frequently Asked Questions about How Do You Remove Stuff From Tool Belt
Was this page helpful?
At Storables.com, we guarantee accurate and reliable information. Our content, validated by Expert Board Contributors, is crafted following stringent Editorial Policies. We're committed to providing you with well-researched, expert-backed insights for all your informational needs.


0 thoughts on “How Do You Remove Stuff From Tool Belt”