Articles
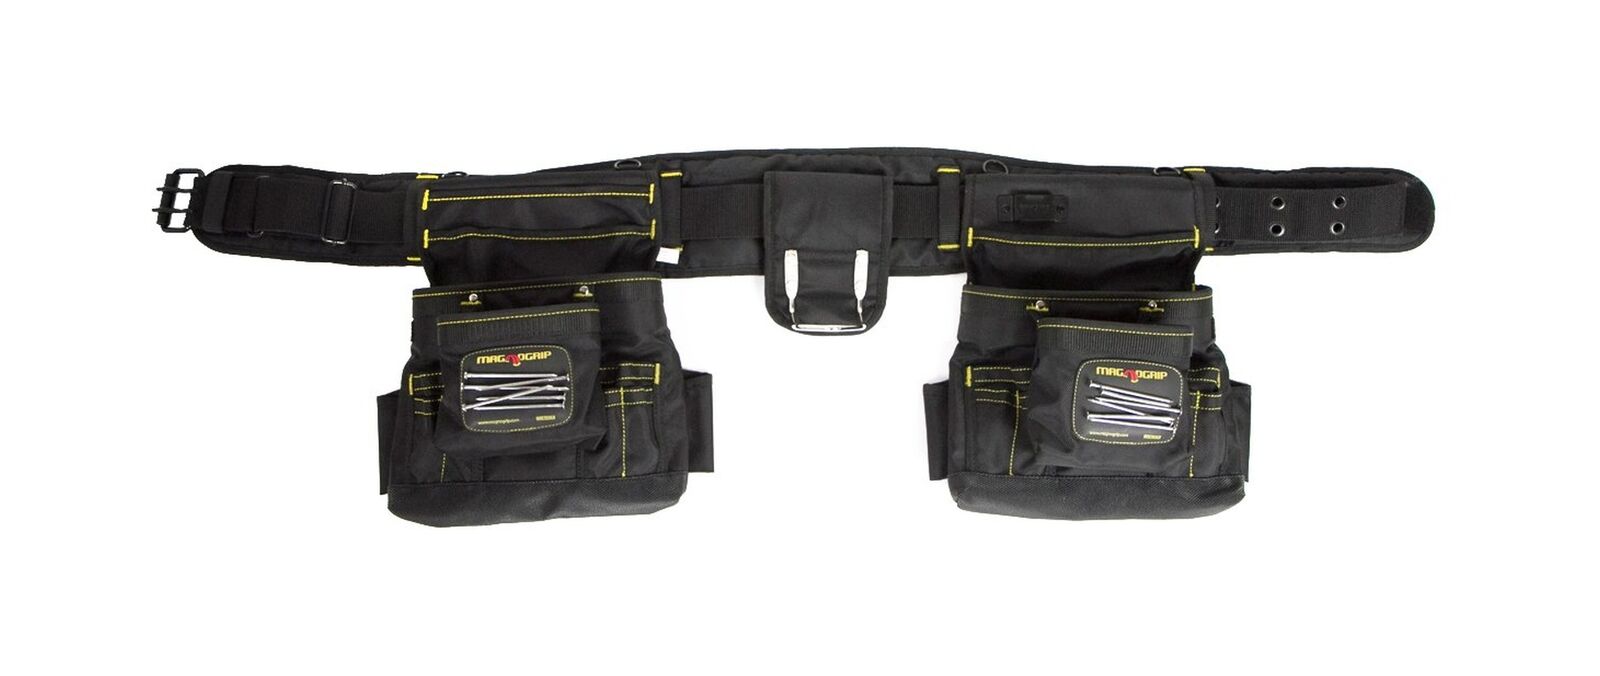
How To Remove A Hatchet From A Tool Belt
Modified: December 7, 2023
Learn effective techniques for removing a hatchet from a tool belt in our informative articles. Improve your tool handling skills and avoid accidents with our expert tips.
(Many of the links in this article redirect to a specific reviewed product. Your purchase of these products through affiliate links helps to generate commission for Storables.com, at no extra cost. Learn more)
Introduction
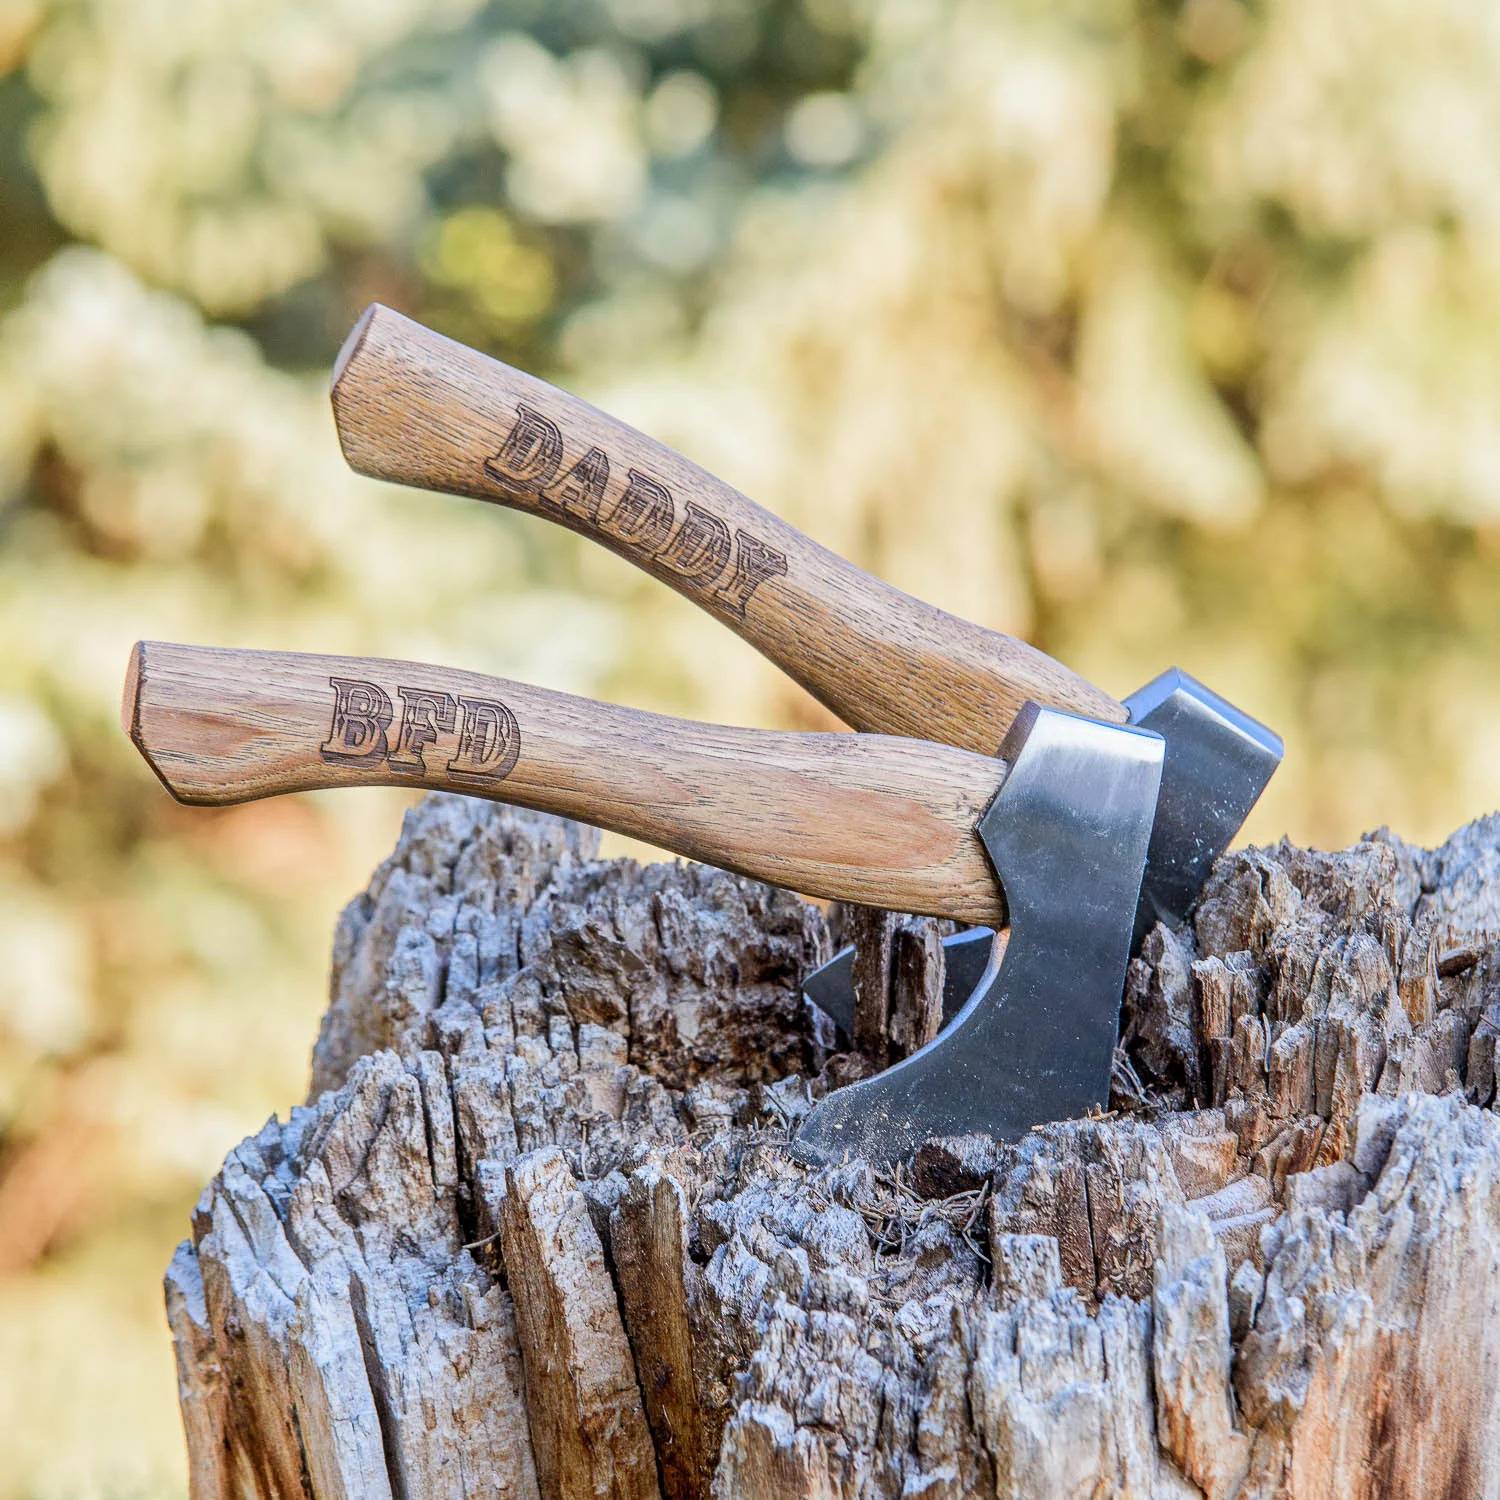
Having a tool belt is a convenient way to keep your essential tools within reach while working on projects. However, sometimes accidents happen, and a hatchet can become lodged in the tool belt. Removing a hatchet from a tool belt requires careful handling to avoid injury and prevent damage to both the hatchet and the tool belt.
In this article, we will guide you through the step-by-step process of removing a hatchet from a tool belt safely and efficiently. By following these instructions, you’ll be able to free your hatchet and continue your work without any hassle.
Before we begin, it’s important to note that safety should be your top priority. Always take precautions, ensure a secure work area, and wear the necessary protective gear. Let’s dive into the steps for removing a hatchet from a tool belt.
Key Takeaways:
- Safely remove a hatchet from a tool belt by assessing, securing, loosening, rotating, and gently pulling. Inspect for damage and maintain tools for optimal performance and safety.
- Prioritize safety and patience when removing a hatchet from a tool belt. Carefully follow each step to avoid damage and ensure tools are ready for future use.
Read more: How Do You Remove Stuff From Tool Belt
Step 1: Assess the Situation
The first step in removing a hatchet from a tool belt is to assess the situation. Take a moment to carefully examine the hatchet and the tool belt to determine the best approach for removal.
Look for any obstructions or obstacles that may be hindering the removal process. Check if the hatchet is stuck in a specific loop or if the belt itself is tightly wrapped around the handle of the hatchet.
Additionally, consider the weight and size of the hatchet. If it’s a heavy hatchet, it may require additional support and caution during the removal process.
By assessing the situation, you’ll be better equipped to plan the next steps and avoid any unnecessary damage to the hatchet or tool belt.
Step 2: Secure the Hatchet and Tool Belt
Once you have assessed the situation, the next step is to securely stabilize both the hatchet and the tool belt to prevent any unexpected movement during the removal process.
Start by finding a sturdy surface or workbench where you can place the tool belt. Lay the tool belt flat on the surface to give yourself better access and control over the hatchet.
Next, hold the hatchet firmly with one hand while using the other hand to support the tool belt. Make sure to keep your fingers away from the edge and the sharp parts of the hatchet to avoid any accidental cuts or injuries.
If possible, you can use clamps or vice grips to hold the tool belt in place, especially if it’s difficult to manage both the hatchet and the tool belt simultaneously. This will provide extra stability and keep the tool belt from moving while you work on removing the hatchet.
By securely stabilizing the hatchet and tool belt, you’ll have more control and minimize the risk of any accidents or damage during the removal process.
Step 3: Loosen the Tool Belt Strap
With the hatchet and tool belt securely stabilized, it’s time to start loosening the strap that is holding the hatchet in place. This step is crucial to create enough space and flexibility for the next steps of the removal process.
Begin by identifying the strap that is tightly wrapped around the handle of the hatchet. This strap is usually made of durable material, such as leather or nylon, to provide a secure hold.
Depending on the design of the tool belt, the strap may be fixed with a buckle or a fastening mechanism. Locate the fastening point and find the best method to loosen it. This may involve disengaging a buckle, unfastening Velcro straps, or releasing a clip.
Carefully and gradually loosen the strap without applying too much force or sudden movements. It’s important to take your time and ensure that the strap is fully loosened before moving on to the next step.
If you encounter any difficulties in loosening the strap, you can use tools like pliers or a screwdriver to assist you in releasing the fastening mechanism. However, be cautious not to damage the strap or any other components of the tool belt.
By loosening the tool belt strap, you’ll create the necessary flexibility to proceed with the next steps of removing the hatchet from the tool belt.
To remove a hatchet from a tool belt, carefully unhook the belt from around your waist and slide the hatchet out of the loop or holder. Be sure to keep a firm grip on the hatchet to prevent any accidents.
Step 4: Rotate the Hatchet
Once you have loosened the tool belt strap, the next step is to rotate the hatchet within the tool belt. This maneuver is crucial to release the hatchet from any tightly-wrapped loops or bindings.
Hold the hatchet firmly by the handle, keeping your fingers away from the blade. Slowly and carefully rotate the hatchet in a clockwise or counterclockwise direction, depending on the position of the strap and loops.
As you rotate the hatchet, pay close attention to any resistance or obstacles that may hinder its movement. If you encounter any difficulty, pause and reassess the situation. You may need to adjust the position of the tool belt or loosen additional loops and straps.
Continue rotating the hatchet until it no longer feels stuck or restricted within the tool belt. The goal is to create enough clearance for the hatchet to be removed without any forceful pulling or tugging.
Be patient and take your time during this step to ensure a smooth rotation without causing any damage to the hatchet or tool belt.
Once you have successfully rotated the hatchet, you are ready to move on to the next step of gently pulling the hatchet out of the tool belt.
Step 5: Gently Pull the Hatchet Out
Now that you have rotated the hatchet within the tool belt, it’s time to gently pull it out. This step requires patience and careful handling to avoid any accidental damage to the hatchet or the tool belt.
With one hand holding the tool belt securely, use your other hand to grasp the hatchet handle near the base. Slowly and steadily pull the hatchet away from the tool belt, using a gentle and controlled motion.
Be mindful of any resistance or tightness that you may encounter during the pulling process. If you feel any discomfort or resistance, stop pulling and assess the situation. You may need to readjust the position of the tool belt or rotate the hatchet slightly to create more space for removal.
Continue to apply gentle pressure while pulling the hatchet out, being careful not to rush or use excessive force. If it feels too tight or stuck, take a step back and reassess the previous steps to ensure everything is properly loosened and rotated.
If the hatchet is still not coming out smoothly, you can try wiggling it slightly or gently rocking it back and forth. This can help loosen any stubborn bindings or loops and facilitate the removal process.
Remember, it’s important to remain patient and avoid any sudden or forceful movements that could cause damage. Take your time and continue to pull gently until the hatchet is completely free from the tool belt.
Once you have successfully removed the hatchet, proceed to the next step to inspect for any potential damage or issues.
Step 6: Inspect for Damage
After successfully removing the hatchet from the tool belt, it’s crucial to inspect both the hatchet and the tool belt for any signs of damage or wear. This step will help ensure the continued functionality and longevity of both tools.
Start by examining the hatchet for any scratches, dents, or deformities. Check the blade, handle, and any other components for any visible damage. If you notice any issues, take note of them for further assessment or potential repairs.
Next, inspect the tool belt for any signs of wear and tear. Look for frayed straps, loose stitching, or any other structural damage that may affect its durability. If you notice any problems, consider repairing or replacing the affected parts to maintain the tool belt’s functionality.
It’s also important to take a moment to ensure that the hatchet is securely fastened within the tool belt before continuing your work. Double-check the strap or fastening mechanism to confirm that it is properly tightened to prevent any future accidents or mishaps.
Finally, take this opportunity to clean both the hatchet and the tool belt. Remove any dirt, debris, or residue that may have accumulated during the removal process. This will help maintain their overall condition and functionality.
Inspecting for damage and performing necessary maintenance ensures that both the hatchet and the tool belt are ready for future use, providing you with optimal performance and safety.
With the hatchet successfully removed and the inspection completed, you can now resume your work or safely store your tools until they are needed again.
Conclusion
Removing a hatchet from a tool belt can be a challenging task, but by following the step-by-step process outlined in this article, you can safely and efficiently free your hatchet. Remember to prioritize safety throughout the process and take your time to ensure that you don’t cause any damage to the hatchet or the tool belt.
Begin by assessing the situation and securing both the hatchet and the tool belt. Then, loosen the tool belt strap to create flexibility. Rotate the hatchet within the tool belt to release any tight bindings. Gently pull the hatchet out, being cautious of any resistance. Finally, inspect both the hatchet and the tool belt for any damage and perform necessary maintenance.
By following these steps and taking proper care of your tools, you can continue your projects with confidence, knowing that your hatchet and tool belt are in optimal condition for future use.
Remember, accidents happen, but with the right approach and careful handling, you can overcome any obstacles and get back to work in no time.
Happy DIYing!
Frequently Asked Questions about How To Remove A Hatchet From A Tool Belt
Was this page helpful?
At Storables.com, we guarantee accurate and reliable information. Our content, validated by Expert Board Contributors, is crafted following stringent Editorial Policies. We're committed to providing you with well-researched, expert-backed insights for all your informational needs.


0 thoughts on “How To Remove A Hatchet From A Tool Belt”