Home>Articles>How To Patch Wall From A Recessed Toilet Paper Holder
Articles
How To Patch Wall From A Recessed Toilet Paper Holder
Modified: October 19, 2024
Learn how to efficiently patch a wall from a recessed toilet paper holder with our informative articles. Transform your space with our expert guidance.
(Many of the links in this article redirect to a specific reviewed product. Your purchase of these products through affiliate links helps to generate commission for Storables.com, at no extra cost. Learn more)
Introduction
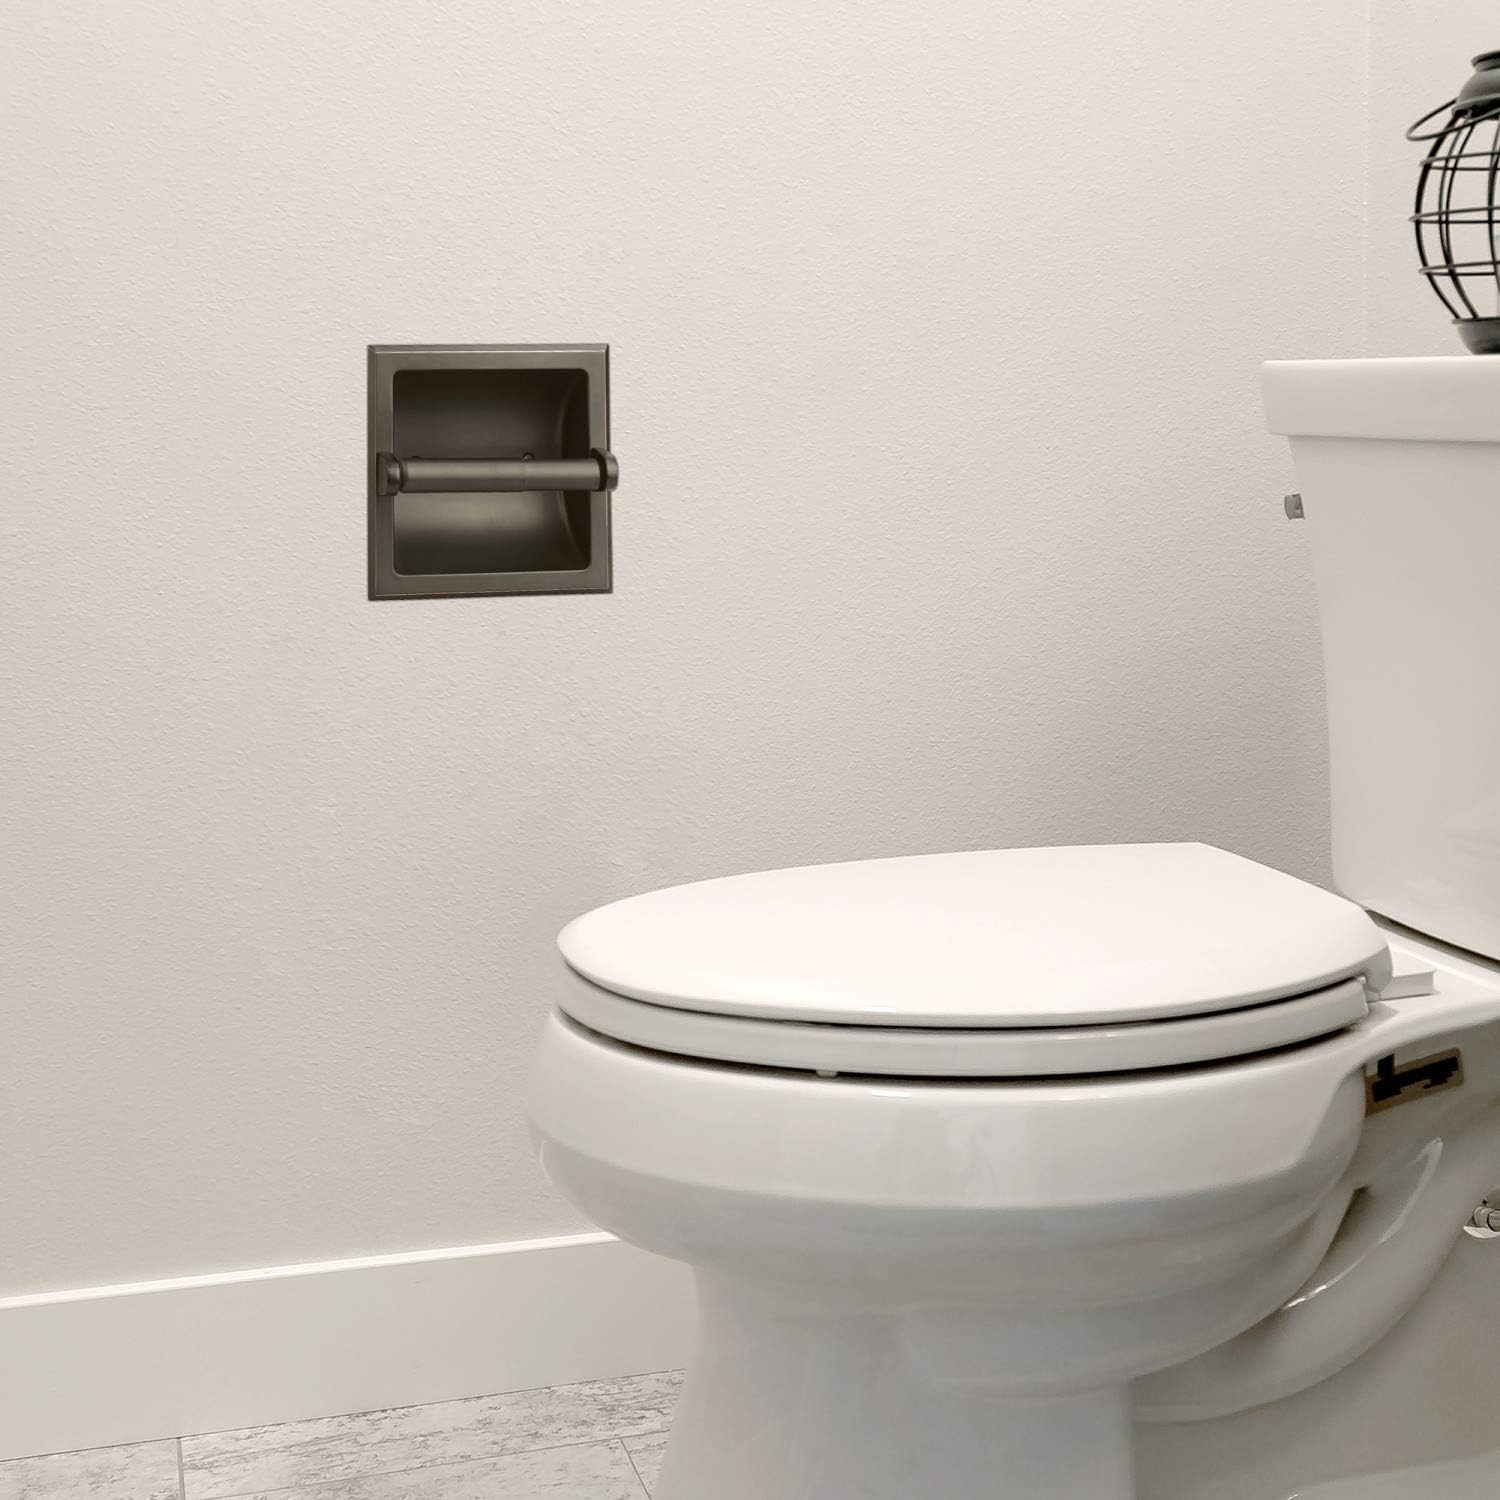
Having a recessed toilet paper holder can add a touch of elegance and convenience to your bathroom. However, there may come a time when you need to remove the holder for various reasons, such as replacing it with a new one or repairing the wall behind it. But fear not, patching the wall from a recessed toilet paper holder is easier than you might think.
In this comprehensive guide, we will walk you through the step-by-step process of patching the wall from a recessed toilet paper holder. We will cover everything from removing the holder to painting the patched area, ensuring that your bathroom wall looks seamless and flawless once again.
Key Takeaways:
- Easily patch a recessed toilet paper holder hole by following simple steps: remove the holder, prepare the wall, patch the hole, smooth and sand, paint, and reinstall the holder. Enjoy a seamless and professional-looking result!
- Gather necessary materials and follow step-by-step instructions to patch a wall from a recessed toilet paper holder. Achieve a flawless result by carefully preparing the wall, patching the hole, and seamlessly blending the patched area with the rest of the wall.
Read more: How To Remove Recessed Toilet Paper Holder
Necessary Materials
Before you begin patching the wall from a recessed toilet paper holder, it is essential to gather the necessary materials to ensure a smooth and successful process. Here are the materials you will need:
- Putty knife or scraper
- Spackle or joint compound
- Sanding block or sandpaper (fine grit)
- Paint scraper
- Primer
- Paint that matches the existing wall color
- Paintbrush or roller
- Painter’s tape
- Damp cloth or sponge
- Drywall repair patch (if needed)
These materials can be easily found at your local hardware or home improvement store. Make sure to choose the appropriate size of drywall repair patch if you need to repair a larger hole in the wall.
Step 1: Remove the Toilet Paper Holder
The first step in patching the wall from a recessed toilet paper holder is to remove the holder itself. Follow these steps to safely remove the toilet paper holder:
- Start by examining the holder to determine how it is attached to the wall. Most recessed toilet paper holders are held in place by screws or clips.
- Using a screwdriver or appropriate tool, unscrew the screws or gently release the clips to detach the holder from the wall.
- Once the holder is detached, set it aside in a safe place, ensuring that it does not get damaged.
If the toilet paper holder is attached using adhesive, you may need to apply gentle pressure or use a putty knife to loosen it from the wall. Be careful not to use excessive force to avoid damaging the wall surface.
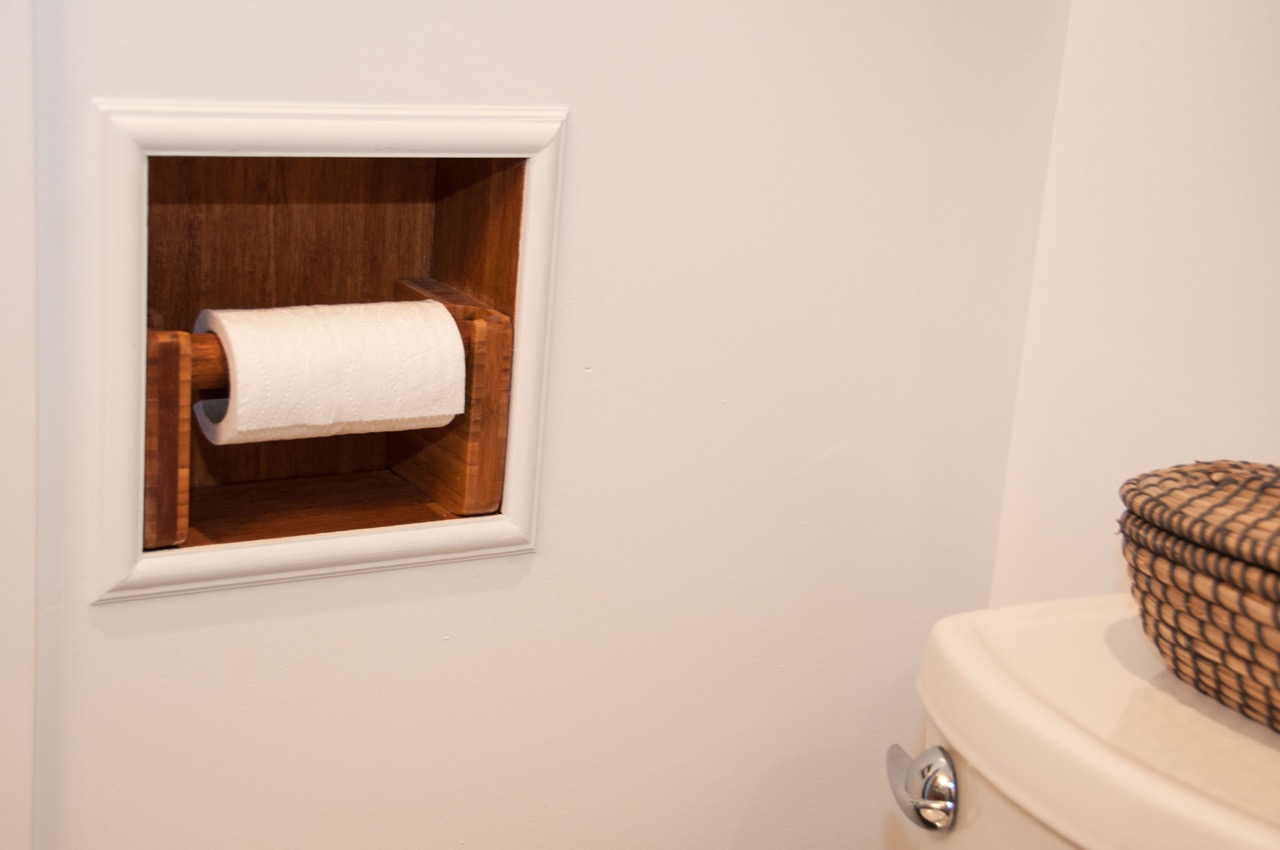
After removing the toilet paper holder, you will be left with a hole or recessed area in the wall. This is where we will focus our attention in the following steps.
Step 2: Prepare the Wall Surface
Once you have removed the toilet paper holder, it’s time to prepare the wall surface for patching. Follow these steps to ensure a clean and smooth surface:
- Using a putty knife or scraper, scrape away any loose paint, debris, or adhesive residue around the hole or recessed area.
- If there are any rough or uneven edges around the hole, use sandpaper or a sanding block with a fine grit to gently smooth them out. This will ensure a seamless patching process.
- Wipe the surface with a damp cloth or sponge to remove any remaining dust or particles. This will help the patching material adhere better to the wall.
If the hole left by the toilet paper holder is larger or has damaged drywall, you may need to use a drywall repair patch. Follow the manufacturer’s instructions to apply the patch and ensure a sturdy foundation for the patching material.
Preparing the wall surface is a crucial step in achieving a professional-looking patch. Taking the time to remove debris, smooth rough edges, and clean the surface will contribute to a seamless and long-lasting result.
Step 3: Patch the Hole
Now that the wall surface is prepared, it’s time to patch the hole left by the toilet paper holder. Follow these steps to patch the hole:
- If the hole is small, you can use spackle or joint compound to fill it. Use a putty knife to apply the compound evenly over the hole, smoothing it out to create a flush surface with the surrounding wall. Allow the compound to dry according to the manufacturer’s instructions.
- For larger holes or areas of damaged drywall, use a drywall repair patch. Place the patch over the hole and secure it by applying a layer of joint compound around the edges of the patch. Smooth out the compound with a putty knife and let it dry.
- Once the patching material is dry, use a sanding block or sandpaper with a fine grit to gently smooth the patched area. This will ensure a seamless transition between the patch and the surrounding wall.
Take your time during this step to ensure that the patch is smooth and level with the rest of the wall. It’s important to achieve a seamless finish for the best results.
When patching a wall from a recessed toilet paper holder, use a putty knife to apply spackling compound to fill in the hole. Smooth it out and let it dry before sanding and painting.
Step 4: Smooth and Sand the Patched Area
After patching the hole, it’s essential to smooth and sand the patched area to ensure a seamless blend with the rest of the wall. Follow these steps to achieve a smooth finish:
- Inspect the patched area and use a putty knife or scraper to remove any excess patching material or ridges. Make sure the surface is even and level with the surrounding wall.
- Next, take a sanding block or fine-grit sandpaper and gently sand the patched area. Use light, circular motions to blend the patch with the surrounding wall, ensuring a smooth transition.
- Continue sanding until the patched area feels smooth to the touch and is visually seamless with the rest of the wall. Be careful not to oversand, as it can create unevenness or damage the surrounding paint.
- Once you have achieved a satisfactory smoothness, use a damp cloth or sponge to remove any dust or residue from sanding. This will help prepare the surface for painting.
Take your time during this step to ensure a flawless finish. The smoother and more seamless the patch, the better the final result will be.
Step 5: Paint the Patched Wall
Now that the patched area is smooth and ready, it’s time to paint it to match the rest of the wall. Follow these steps to paint the patched wall:
- First, gather your paintbrush or roller, primer, and paint that matches the existing wall color. It’s important to choose a paint that closely matches the surrounding wall to achieve a seamless look.
- If necessary, apply a coat of primer to the patched area. This will help the paint adhere better and ensure an even finish. Follow the manufacturer’s instructions for drying times.
- Once the primer is dry, use your paintbrush or roller to apply the paint to the patched area. Use light, even strokes, blending the paint with the surrounding wall to achieve a seamless result.
- If needed, apply a second coat of paint to ensure full coverage and a uniform finish. Allow the paint to dry completely between coats, following the manufacturer’s instructions.
While painting, be sure to use painter’s tape to protect the adjacent areas from accidental paint splatters or smudges. This will help maintain a clean and professional-looking result.
Once you have finished painting, step back and inspect the patch to ensure it blends seamlessly with the rest of the wall. Allow the paint to dry completely before moving on to the next step.
Step 6: Reinstall the Toilet Paper Holder
With the patched wall looking seamless and the paint dry, it’s time to reattach the toilet paper holder. Follow these steps to reinstall the holder:
- Position the toilet paper holder back onto the wall in the desired location. Ensure that it aligns correctly with any pre-existing holes or mounting points.
- If the holder is attached with screws, insert the screws through the mounting holes and into the wall. Use a screwdriver to tighten the screws securely, but be careful not to overtighten and damage the wall surface.
- If the holder is attached with clips, insert the clips into their respective slots on the holder and press firmly against the wall to secure them in place.
- Once the holder is securely attached, give it a gentle tug to ensure it is properly aligned and won’t come loose.
Now that the toilet paper holder is reinstalled, take a moment to admire your handiwork. The patched wall should blend seamlessly with the rest of the bathroom, and the toilet paper holder should be securely in place.
Congratulations! You have successfully patched the wall from a recessed toilet paper holder and restored the beauty of your bathroom wall.
Conclusion
Patching a wall from a recessed toilet paper holder may seem like a daunting task, but with the right materials and step-by-step process, it can be a manageable DIY project. By following the steps outlined in this guide, you can achieve a seamless and professional-looking result, restoring the beauty of your bathroom wall.
Remember to gather the necessary materials before you begin, including a putty knife or scraper, spackle or joint compound, sanding block, paint, and other supplies. Take the time to remove the toilet paper holder carefully, prepare the wall surface, and patch the hole using appropriate materials. Smooth and sand the patched area to ensure a seamless blend with the rest of the wall.
Once the patch is complete, it’s time to paint the patched area to match the rest of the wall. Choose a paint color that closely matches the existing wall color and apply it with precision. Lastly, reinstall the toilet paper holder, ensuring it is securely fastened and aligned correctly.
With a little patience and attention to detail, you can successfully patch a wall from a recessed toilet paper holder and revitalize the look of your bathroom. Whether you are replacing the holder or repairing the wall, these steps will guide you through the process and leave you with a flawless result.
Remember to take your time, follow the steps carefully, and enjoy the satisfaction of a job well done. Now sit back, relax, and appreciate your beautifully patched and refreshed bathroom wall!
Frequently Asked Questions about How To Patch Wall From A Recessed Toilet Paper Holder
Was this page helpful?
At Storables.com, we guarantee accurate and reliable information. Our content, validated by Expert Board Contributors, is crafted following stringent Editorial Policies. We're committed to providing you with well-researched, expert-backed insights for all your informational needs.


0 thoughts on “How To Patch Wall From A Recessed Toilet Paper Holder”