Articles
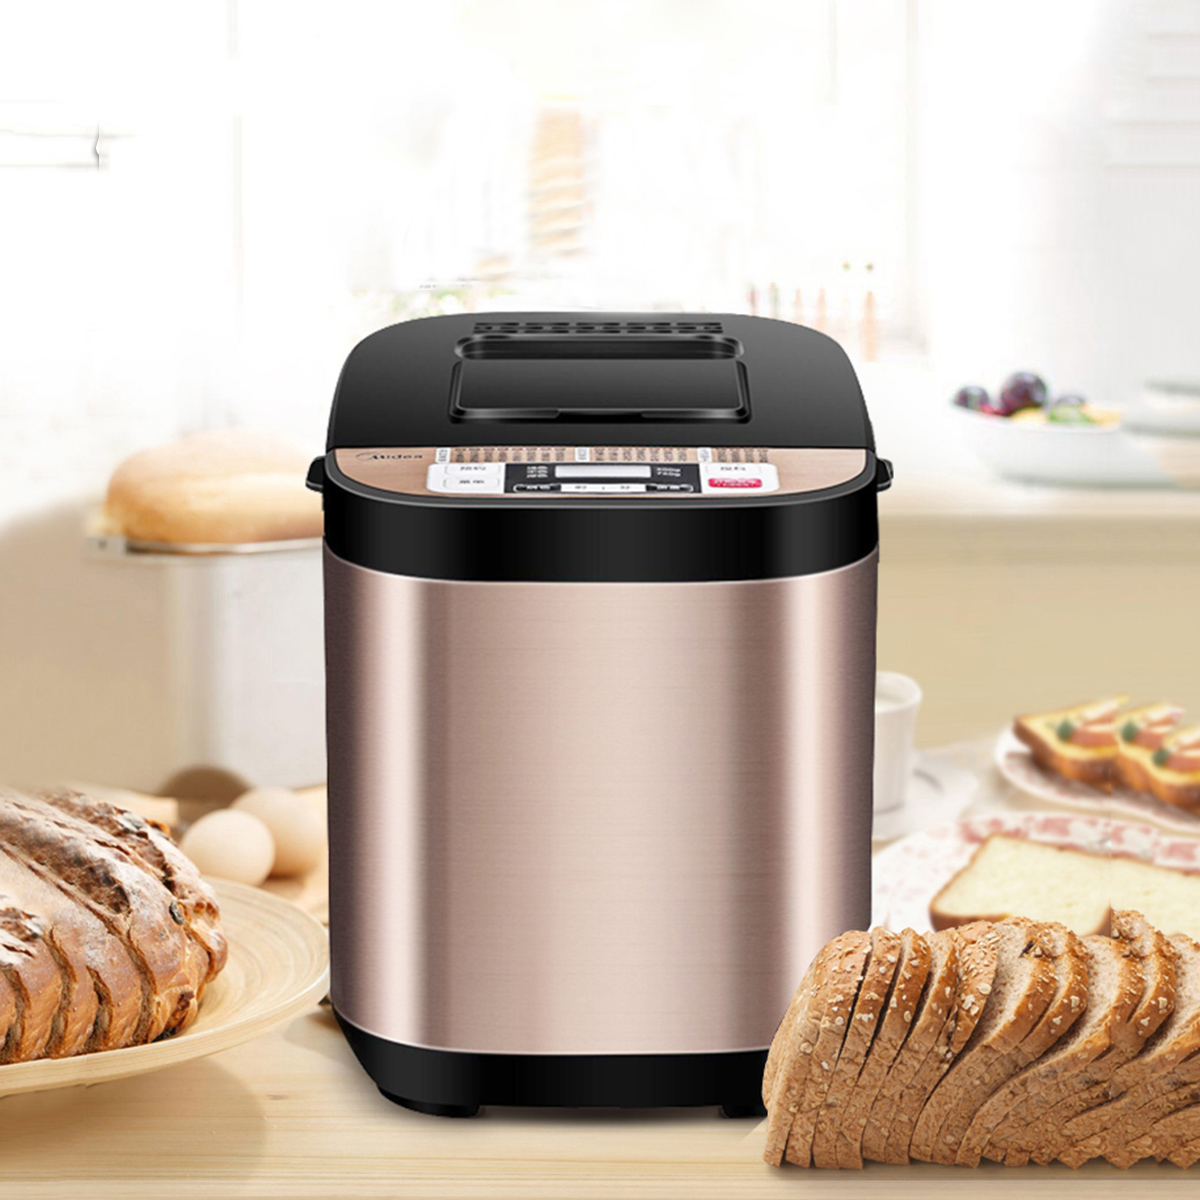
How Does A Bread Machine Work
Modified: August 27, 2024
Discover how bread machines work with this informative article. Learn all about the process and benefits of using a bread machine to bake delicious homemade bread.
(Many of the links in this article redirect to a specific reviewed product. Your purchase of these products through affiliate links helps to generate commission for Storables.com, at no extra cost. Learn more)
Introduction
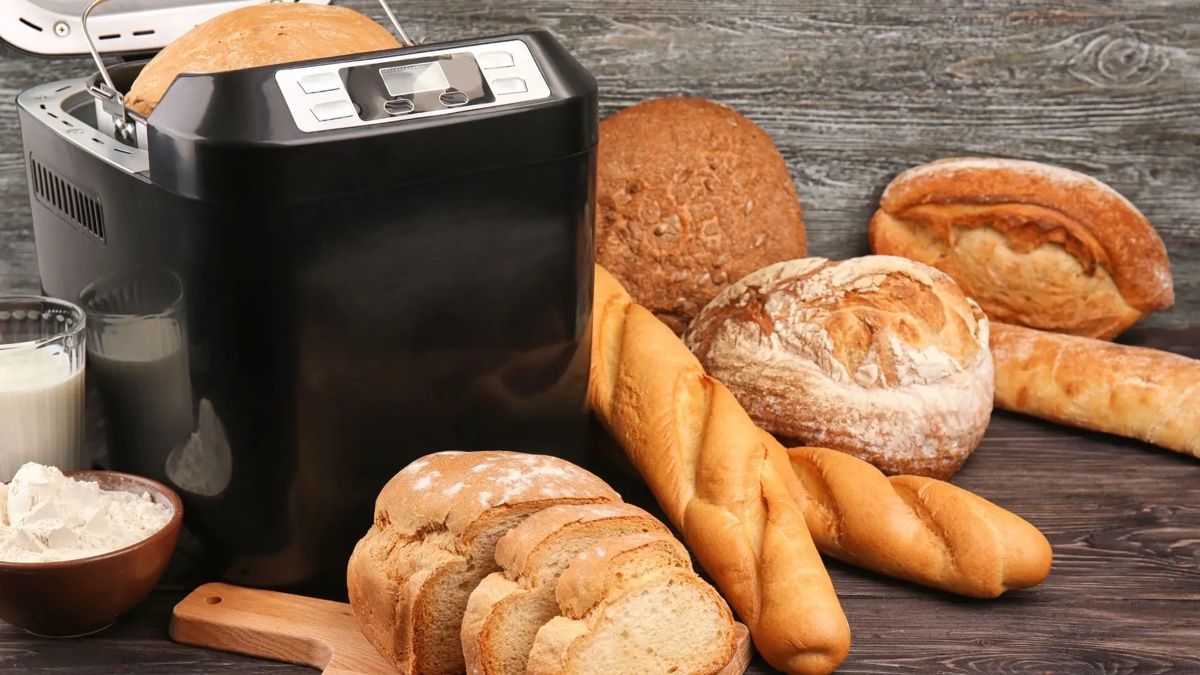
Bread is a staple food enjoyed by people all around the world. The process of making bread at home can be time-consuming and labor-intensive. However, thanks to the invention of the bread machine, baking fresh bread has become much more accessible and convenient for home cooks.
A bread machine, also known as a bread maker, is a kitchen appliance that automates the process of making bread. It takes the hassle out of kneading and proofing dough, allowing users to enjoy fresh, homemade bread with minimal effort.
In this article, we will take a closer look at how a bread machine works and explore the various steps involved in the bread-making process. Whether you’re a newbie baker or a seasoned pro, understanding how a bread machine functions will enable you to fully utilize this kitchen gadget and produce delicious bread at home.
So let’s dive in and discover the inner workings of a bread machine!
Key Takeaways:
- Embrace the convenience and versatility of bread machines to effortlessly create delicious homemade bread. Experiment with different settings, ingredients, and add-ins to customize your loaves and enjoy the satisfaction of freshly baked bread.
- Proper maintenance and cleaning of your bread machine are essential for its longevity and optimal performance. Follow the manufacturer’s guidelines, use fresh ingredients, and savor the joy of creating unique and flavorful bread with your trusted kitchen companion.
What is a bread machine?
A bread machine is a countertop kitchen appliance designed to automate the process of making bread. It essentially takes over the labor-intensive tasks involved in bread-making, such as kneading and proofing the dough, allowing users to enjoy homemade bread with ease.
These machines typically consist of a bread pan, a kneading paddle or dough hook, and a control panel with various settings and options. The bread pan is where the ingredients are mixed, kneaded, and baked, while the kneading paddle or dough hook ensures proper dough development.
One of the primary benefits of using a bread machine is convenience. With a bread machine, you can have freshly baked bread without the need for manual kneading or monitoring the dough’s rising process. Simply add the ingredients, select the desired settings, and let the machine do the work for you.
Bread machines come in different sizes, ranging from compact models suitable for small households to larger ones for baking larger loaves. They also offer a variety of settings and options that allow you to customize the bread according to your preferences. From basic white bread to whole wheat, gluten-free, or even dough for pizza and pastries, a bread machine can handle a wide range of recipes.
Additionally, bread machines often include features like delay timers, which allow you to set the machine to start baking at a specific time. This means you can wake up to the aroma of freshly baked bread in the morning or have a loaf ready when you come home from work.
Overall, bread machines are a convenient and user-friendly way to bake bread at home. They eliminate the need for manual labor and guesswork, making it accessible for both novice and experienced bakers to achieve consistent and delicious results.
Components of a bread machine
A bread machine consists of several key components that work together to automate the bread-making process. Understanding these components will give you a better grasp of how the machine operates and how to utilize its features effectively.
1. Bread Pan: The bread pan is the container where the ingredients are mixed and kneaded. It is usually removable for easy cleaning and typically made of non-stick material to prevent the dough from sticking.
2. Kneading Paddle or Dough Hook: The kneading paddle or dough hook is a removable attachment that fits into the bread pan. Its purpose is to mix and knead the dough thoroughly, ensuring proper gluten development. Depending on the model, the machine may come with one or two paddles.
3. Control Panel: The control panel is where you select the settings and options for the bread machine. It typically includes buttons or a digital display to adjust the loaf size, crust color, and different baking cycles. Some advanced models might have additional features like a delay timer or a preheat function.
4. Heating Element: The heating element is responsible for generating the heat necessary for baking the bread. It is located at the bottom or on the sides of the bread pan, allowing for even distribution of heat during the baking process.
5. Lid: The lid covers the bread pan and helps to trap heat and moisture during the baking process. It also prevents any debris or unwanted ingredients from falling into the dough.
6. Fan: Some bread machines are equipped with a built-in fan that circulates hot air during the baking process. This helps to ensure even baking and a consistent temperature throughout the loaf.
7. Power Cord: The power cord connects the bread machine to an electrical outlet, providing the necessary power to operate the machine.
It’s important to familiarize yourself with the different components of your bread machine to use it effectively and ensure the best results. Read the user manual that comes with your machine to understand how each component functions and how to properly care for them.
The mixing process
The mixing process is the first step in creating bread using a bread machine. It involves combining the ingredients to form a dough that will eventually rise and bake into a delicious loaf of bread. Let’s take a closer look at how this process works:
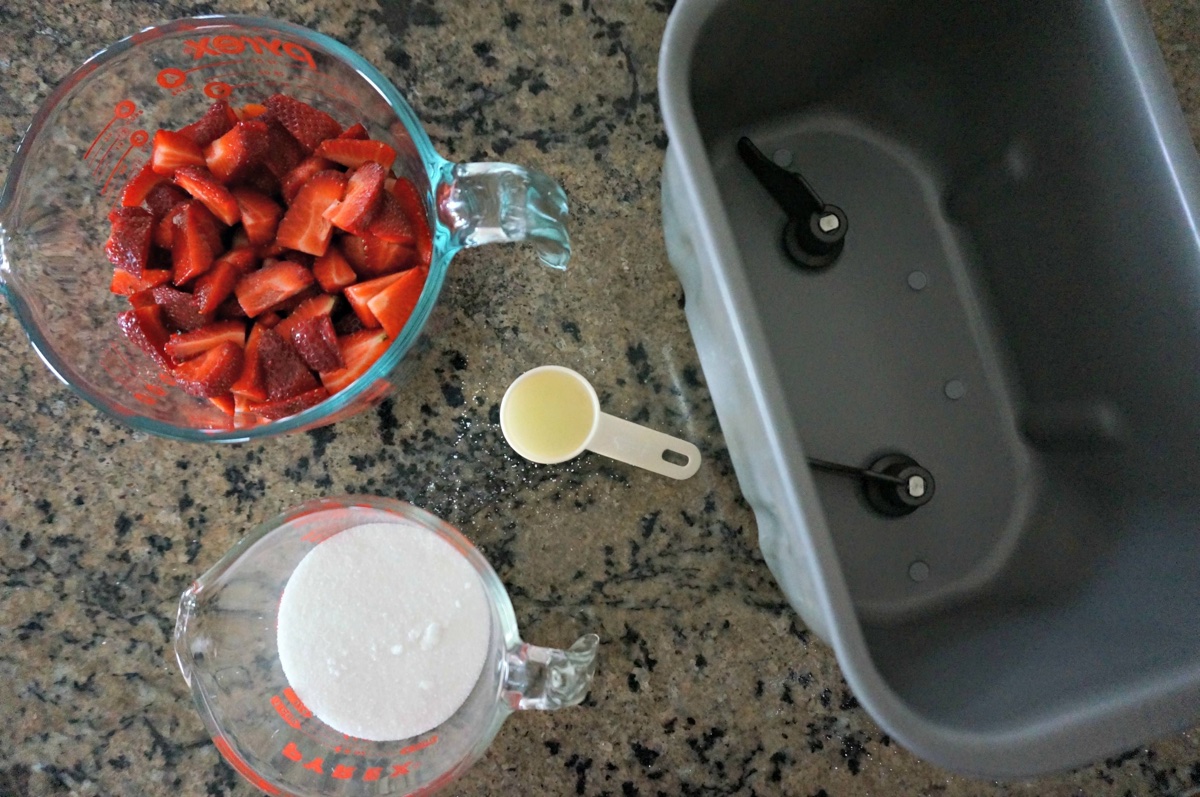
1. Ingredient Selection: Start by selecting the ingredients for your bread recipe. This typically includes flour, yeast, sugar, salt, and liquid (such as water or milk). You can also add other ingredients like butter, eggs, herbs, or seeds for additional flavor and texture.
2. Measuring: Accurate measurements are crucial for successful bread-making. Use measuring cups or a kitchen scale to measure the ingredients precisely, following the recipe guidelines. Improper measurements can affect the texture and rise of the bread.
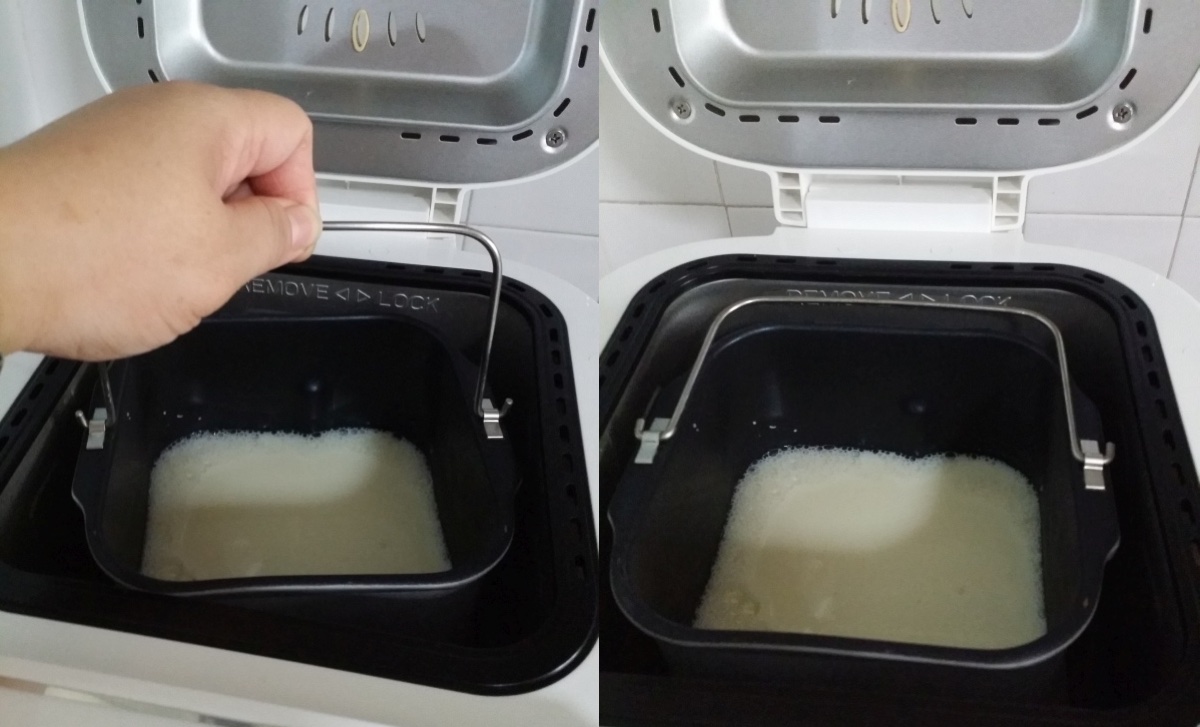
3. Adding Ingredients to the Bread Pan: Once the ingredients are measured, add them to the bread pan in the order specified by the recipe. Typically, the liquid is added first, followed by the dry ingredients, with the yeast placed on top. This order ensures that the yeast doesn’t come into direct contact with the salt, which could hinder its effectiveness.
4. Inserting the Bread Pan: After adding the ingredients, securely place the bread pan into the bread machine. Ensure that it is properly locked into position to prevent any spills or accidents during the mixing process.
5. Selecting the Mixing Cycle: Use the control panel to select the appropriate mixing cycle for your recipe. The machine typically offers different options, such as basic, wheat, dough, or gluten-free. Each cycle is tailored to specific bread types and has different mixing and kneading times.
6. Initiating the Mixing Process: Once you’ve selected the mixing cycle, press the start button to initiate the mixing process. The machine will start to mix the ingredients, combining them into a smooth dough. The kneading paddle or dough hook will rotate and fold the dough, aiding in gluten development.
7. Monitoring the Mixing Process: Depending on the machine, the mixing process can take anywhere from a few minutes to an hour or more. Keep an eye on the dough as it mixes, ensuring it forms a smooth and elastic consistency. If the dough appears too dry or too sticky, you can adjust it by adding a small amount of flour or liquid, respectively.
8. Completion of the Mixing Cycle: Once the mixing cycle is complete, the machine may beep or display a notification. At this point, the dough is ready for the next step, whether it’s proofing or directly proceeding to the baking process.
The mixing process is a crucial step in bread-making as it ensures that the ingredients are thoroughly combined and the gluten is developed. By following the appropriate mixing cycle and monitoring the dough’s consistency, you can achieve a well-mixed dough that is ready for the next stage, be it rising or baking.
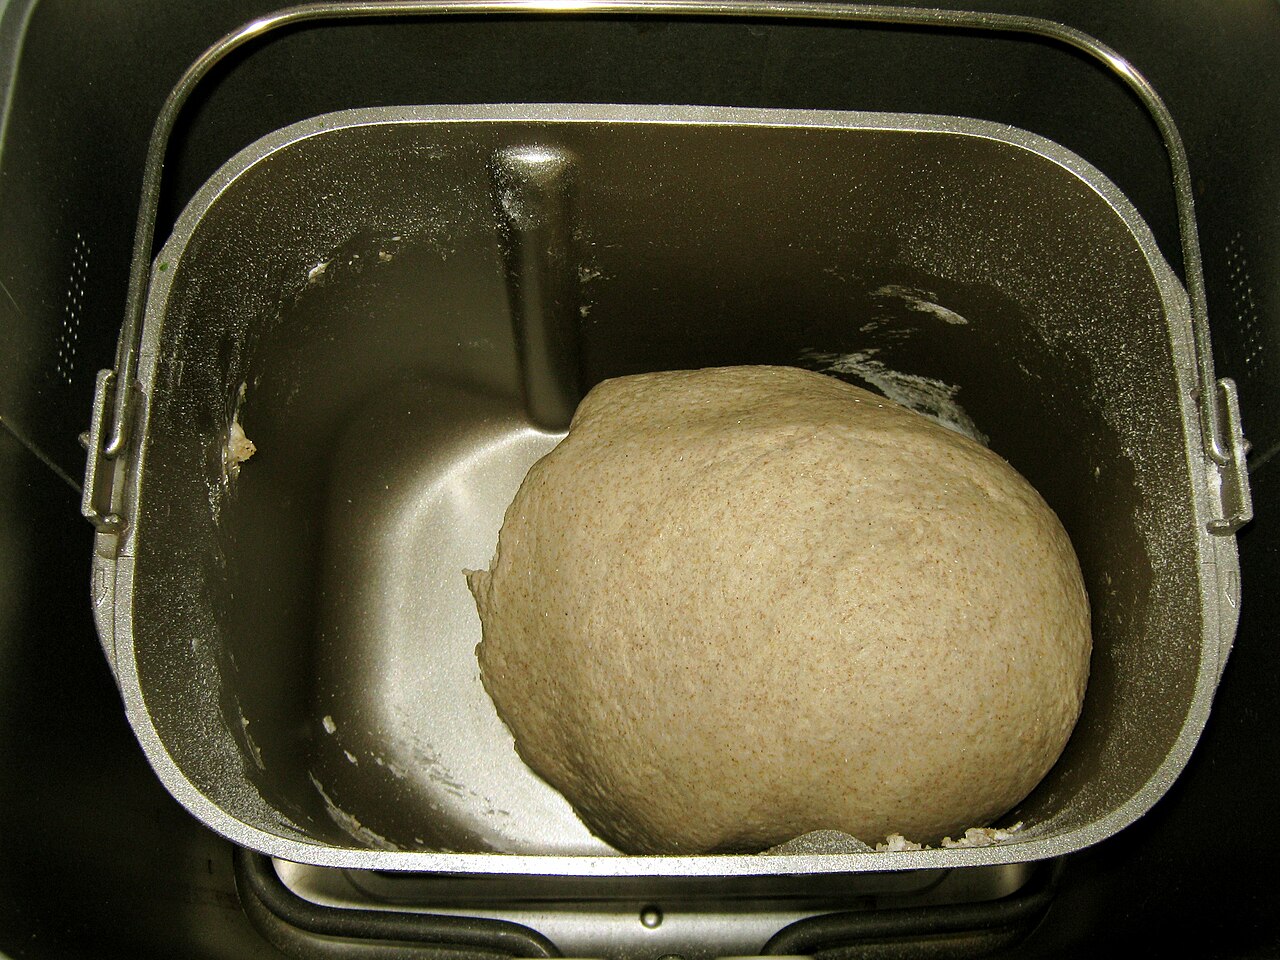
Kneading the dough
After the mixing process, the next step in bread-making using a bread machine is kneading the dough. Kneading is a crucial step that helps develop gluten, a protein that gives bread its structure and elasticity. Let’s explore the process of kneading the dough in a bread machine:
1. Mixing to Kneading Transition: Once the mixing cycle is complete, the bread machine will automatically transition from mixing to kneading the dough. The kneading paddle or dough hook will continue to rotate, working the dough to develop the gluten strands.
2. Gluten Development: As the dough is kneaded, the gluten in the flour starts to form a network of elastic strands. This gives the bread its structure and allows it to rise properly. Proper gluten development results in a light and airy texture in the final loaf.
3. Monitoring the Kneading Process: It’s important to monitor the kneading process to ensure the dough is kneaded for the appropriate amount of time. Most bread machines have a designated kneading time, which can range from 10-30 minutes. Check the machine’s manual or the recipe instructions to determine the recommended kneading time for your specific bread recipe.
4. Dough Consistency: As the machine kneads the dough, observe its consistency. The dough should be tacky to the touch but not sticky. If the dough is too dry, add a small amount of liquid (water or milk) gradually. Conversely, if the dough is too sticky, add a little flour at a time until the desired consistency is achieved. Adjustments to the dough should be made sparingly to maintain the correct moisture level.
5. Important Considerations: While the bread machine kneads the dough automatically, there are a few things to keep in mind. Firstly, avoid opening the lid during the kneading process, as this can interfere with the machine’s operation and affect the dough’s consistency. Secondly, if the dough seems to be clumping or not coming together after a few minutes of kneading, you can use a spatula or a clean finger to push down any flour sticking to the sides of the bread pan and incorporate it into the dough.
6. Kneading Completion: Once the designated kneading time is complete, the machine may beep or display a notification. At this point, the dough has been adequately kneaded and is ready for the next step in the bread-making process, such as rising or shaping.
Kneading the dough is a crucial step in bread-making, as it develops the gluten and ensures proper texture and structure in the final loaf. With a bread machine, the kneading process is automated, saving you time and effort. Properly monitored kneading will result in a well-developed dough that is ready to move on to the next stage of bread-making.
Read more: Why Does Bread Collapse In Bread Machine
Rising the dough
After the dough has been mixed and kneaded in a bread machine, the next step in the bread-making process is allowing the dough to rise. Rising is a crucial stage that allows the yeast to ferment and produce carbon dioxide, resulting in a light and fluffy bread. Let’s explore the process of rising the dough in a bread machine:
1. Transition to the Rising Cycle: Once the kneading process is complete, the bread machine will transition into the rising cycle. The machine will stop kneading and create an ideal environment for the dough to rise.
2. Temperature Control: The bread machine maintains a consistent temperature to create an optimal setting for the dough to rise. Typically, this temperature is around 80-85°F (27-29°C) – warm enough to activate the yeast but not too hot to kill it.
3. Proofing Time: The dough will undergo a specific amount of time for proofing, which allows the yeast to ferment and produce carbon dioxide gas. The proofing time may vary depending on the specific bread recipe and machine settings, typically ranging from 30 minutes to a few hours.
4. Monitoring the Rising Process: It’s important to monitor the dough during the rising process. While the bread machine will automatically handle the timing and temperature, it’s helpful to keep an eye on the dough to ensure it rises adequately. The dough should double in size and feel soft and airy to the touch.
5. Avoid Disturbing the Dough: During the rising process, it’s important to avoid opening the lid or disturbing the dough. Doing so may cause the dough to collapse, leading to a denser final loaf. Trust the bread machine to create the optimal environment for the dough to rise effectively.
6. Completion of the Rising Cycle: Once the proofing time is complete, the bread machine may beep or display a notification to indicate that the rising cycle has finished. At this point, the dough has sufficiently risen and is ready for the next step, which is often the baking process.
Rising the dough is a crucial step in bread-making, as it allows the yeast to ferment and produce carbon dioxide, resulting in light and fluffy bread. With a bread machine, you can trust that the rising process will be adequately controlled and timed. By closely monitoring the dough’s size and texture, you can ensure a successful rise, setting the stage for a delicious loaf of homemade bread.
When using a bread machine, always make sure to accurately measure your ingredients and follow the recommended order for adding them into the machine to ensure the best results.
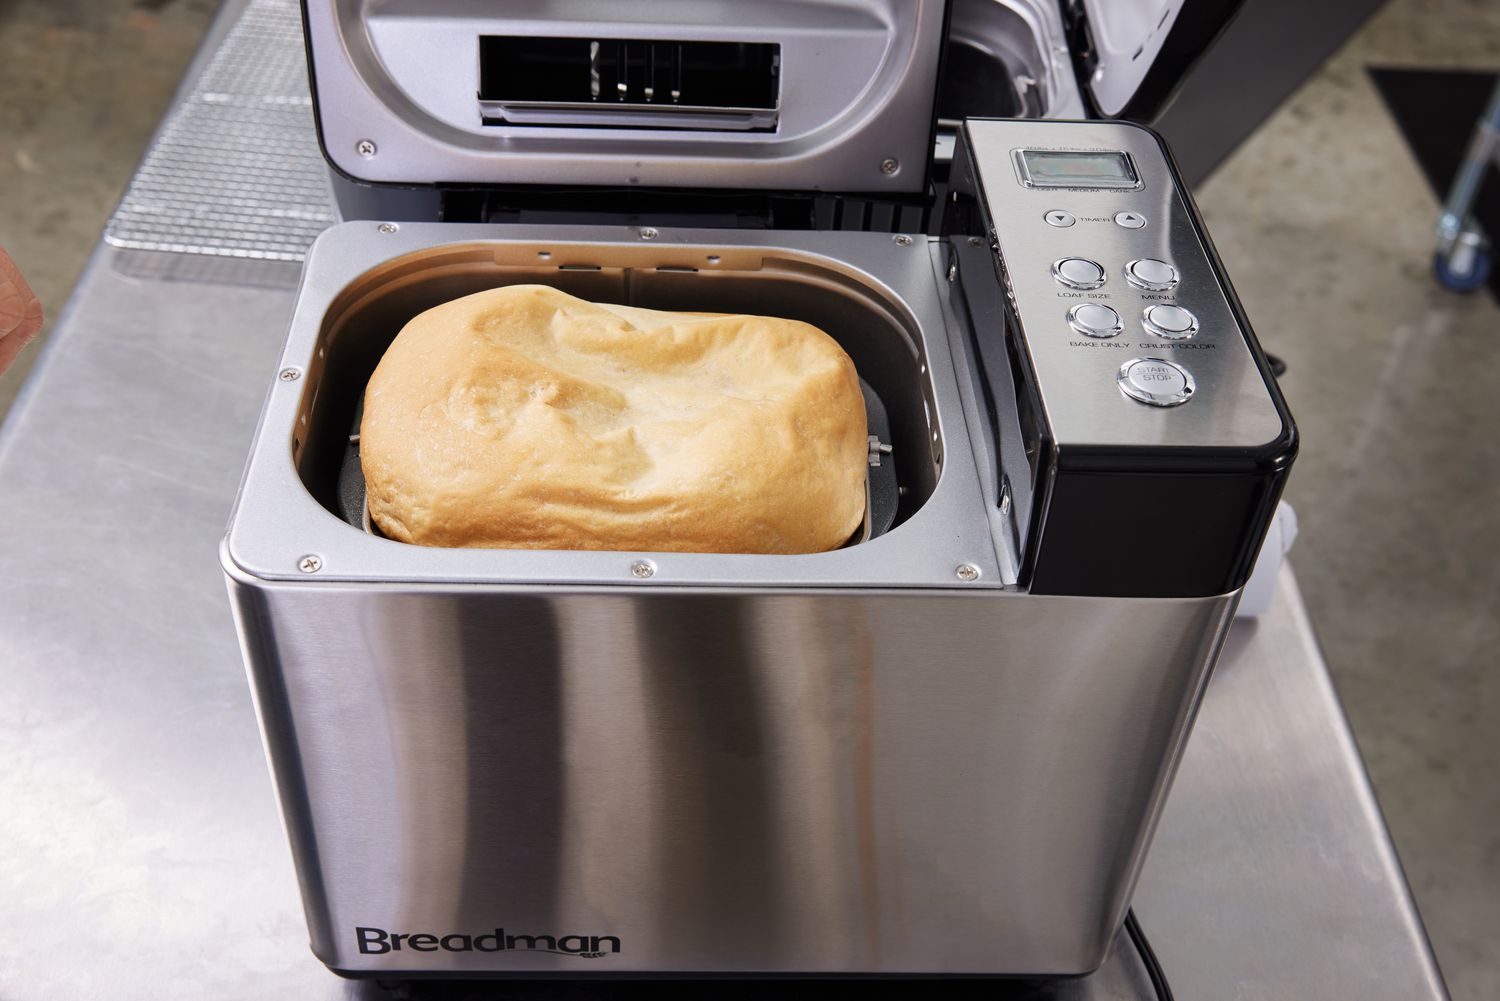
Baking the bread
After the dough has gone through the mixing, kneading, and rising stages in a bread machine, it’s time for the final step in the bread-making process: baking. Baking transforms the risen dough into a golden, delicious loaf of bread. Let’s explore the process of baking the bread in a bread machine:
1. Transition to the Baking Cycle: Once the dough has completed the rising process, the bread machine will transition to the baking cycle. The machine will preheat and create the optimal temperature for baking the bread.
2. Set the Desired Settings: Use the control panel of the bread machine to select the appropriate settings for your bread. This typically includes selecting the desired crust color (light, medium, or dark) and the appropriate baking cycle (basic, whole wheat, French, etc.). Refer to the recipe or the machine’s manual for guidance on the recommended settings.
3. Baking Time: The baking cycle duration may vary depending on the size of the loaf and the selected settings. Typically, it ranges from 1 to 3 hours. The machine will automatically adjust the baking time based on the settings you’ve selected.
4. Monitoring the Baking Process: While the bread machine handles the baking process, it’s essential to monitor the bread’s progress. Keep an eye on the machine’s display or listen for any beeps or audible indications signaling that the bread is finished. Some machines even have a viewing window, allowing you to observe the browning of the crust.
5. Avoid Opening the Lid: It’s crucial to resist the temptation to open the bread machine’s lid during the baking process. Opening the lid can disrupt the heat and affect the bread’s rising and overall texture. Trust the machine to create the perfect baking environment and resist the urge to peek inside.
6. Completion of the Baking Cycle: Once the baking cycle is complete, the bread machine will typically beep to indicate that the bread is done. Some machines may enter a keep-warm mode for a certain period to maintain the bread’s temperature and freshness until you are ready to remove it.
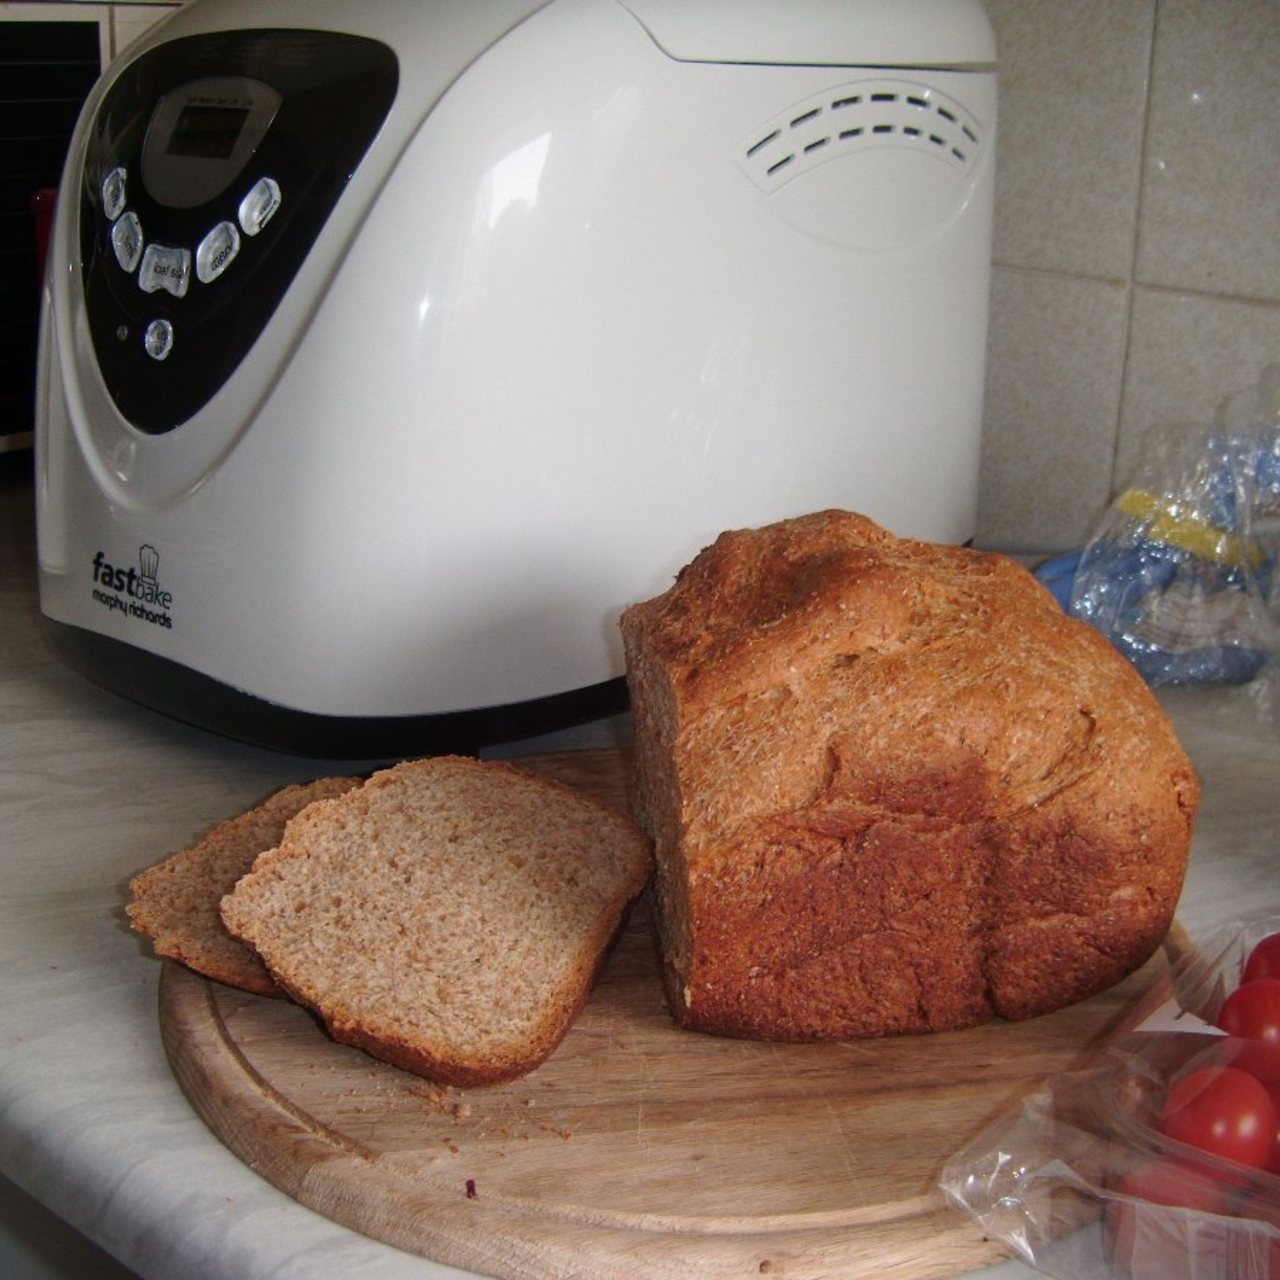
7. Removing the Bread: Use oven mitts or tongs to carefully remove the bread pan from the machine. Take caution as the pan and bread will be hot. Gently tilt the pan on its side and gently tap the bottom to release the loaf. Transfer the bread to a cooling rack to cool completely before slicing.
Baking the bread in a bread machine allows for consistent results and convenience. With the appropriate settings and monitoring, you can achieve a beautifully baked loaf of bread without the need for manual intervention. Enjoy the aroma of freshly baked bread as it fills your kitchen, and anticipate the delicious reward of your bread-making efforts.
Different settings and options
When using a bread machine, you have access to a variety of settings and options that allow you to customize your bread-making experience. These settings offer versatility and flexibility to meet your specific preferences and dietary needs. Let’s explore some of the common settings and options found in bread machines:
1. Loaf Size: Many bread machines allow you to choose the desired loaf size. This can range from small (typically 1 pound) to medium (1.5 to 2 pounds) or large (2 to 2.5 pounds). Selecting the appropriate loaf size ensures that you’re baking the right amount of bread for your needs.
2. Crust Color: Bread machines often provide options for selecting the desired crust color of your bread. This can include light, medium, or dark crust. Choose the crust color that suits your preference and complements the type of bread you’re making.
3. Baking Cycles: Bread machines offer different baking cycles or programs that are tailored to specific types of bread. Common cycles include basic, whole wheat, French, gluten-free, sweet, or rapid. Each cycle has specific settings and kneading times that are optimized for the corresponding bread type.
4. Dough-only Cycle: Some machines have a dough-only cycle, which is useful if you prefer to shape and bake the dough separately. The dough-only cycle stops after the mixing and kneading stages, allowing you to shape the dough into rolls, baguettes, or other desired bread shapes before proceeding with the baking process outside of the machine’s pan.
5. Delay Timer: The delay timer feature allows you to set a specific time for the bread machine to begin the bread-making process. This is especially useful if you want to wake up to freshly baked bread in the morning or have bread ready for when you come home from work. Just set the timer to delay the start of the baking cycle, and the bread machine will take care of the rest.
6. Add-ins and Alerts: Some advanced bread machines provide alerts or signals that indicate when it’s time to add certain ingredients like nuts, seeds, or dried fruits. This feature ensures that these ingredients are incorporated into the dough at the optimal time, ensuring even distribution and enhancing the overall flavor and texture of the bread.
7. Preheat Function: Certain models come with a preheat function, which brings the bread machine and the ingredients to an ideal temperature before starting the mixing and kneading process. This preheating helps achieve better rise and texture in the resulting loaf.
8. Memory Function: A memory function allows you to save your preferred settings for future use. This way, you don’t have to manually adjust the settings each time you bake bread. Simply select the saved memory program, and the bread machine will reproduce the desired settings.
By utilizing the various settings and options in a bread machine, you can cater to your specific tastes, dietary needs, and desired results. Experiment with different combinations of settings to discover your favorite bread recipes and enjoy the convenience and versatility of your bread machine.
Cleaning and maintenance
Proper cleaning and maintenance of your bread machine are essential to ensure its longevity and to keep it functioning optimally. Here are some guidelines to follow for cleaning and maintaining your bread machine:
1. Unplug and Cool Down: Before cleaning your bread machine, always unplug it from the power outlet and allow it to cool down completely. This will prevent any risk of electrical shock or burns during the cleaning process.
2. Remove and Clean Bread Pan: Start by removing the bread pan from the machine. Most bread pans are dishwasher-safe, but it’s recommended to check the manufacturer’s instructions to ensure proper cleaning. Wash the bread pan with warm soapy water, and use a non-abrasive sponge or cloth to remove any residue or stuck-on dough. Rinse thoroughly and dry before reinserting it into the machine.
3. Clean Kneading Paddle/Dough Hook: The kneading paddle or dough hook should also be cleaned after each use, as they can accumulate residue and become difficult to clean over time. Remove the paddle or hook from the bread pan and wash it with warm soapy water. If there is stubborn residue, use a soft brush or toothbrush to gently scrub it away. Rinse thoroughly and dry before reattaching it to the bread pan.
4. Wipe Exterior and Control Panel: Use a damp cloth to wipe the exterior surfaces of the bread machine, including the lid and control panel. Avoid using abrasive cleaners or scrub brushes that may damage the surface. For the control panel, gently wipe with a cloth dampened with water or a mild cleaner, following the manufacturer’s instructions.
5. Clean Crumbs and Debris: Over time, crumbs and debris may accumulate in the bread machine’s interior. To clean this, use a soft brush or a dry cloth to remove any loose crumbs or residue. To avoid damaging sensitive components, never use water or any liquid to clean the interior of the machine.
6. Regular Descaling: If your bread machine has a removable water reservoir, it’s important to regularly descale it to remove mineral deposits that can affect the machine’s performance. Consult the manufacturer’s instructions on the appropriate descaling method and frequency for your specific model.
7. Store Properly: When not in use, store your bread machine in a clean and dry area, away from extreme heat or humidity. Keep the cord neatly coiled and free from any tangles or damage. This will help prolong the lifespan of your machine and ensure it’s ready for the next baking session.
8. Follow Manufacturer’s Instructions: It’s crucial to follow the manufacturer’s instructions regarding cleaning and maintenance of your specific bread machine model. Different machines may have varying requirements, so refer to the user manual for any specific guidelines or recommendations.
By following these cleaning and maintenance practices, you can ensure the longevity and optimal performance of your bread machine. A well-maintained machine will continue to provide you with delicious homemade bread for years to come.
Read more: How Does A Power Washer Work
Tips for using a bread machine
Using a bread machine can simplify the bread-making process and provide you with delicious homemade bread. Here are some helpful tips to make the most out of your bread machine experience:
1. Read the User Manual: Familiarize yourself with the user manual that comes with your bread machine. It will provide specific instructions, guidelines, and safety precautions unique to your machine model. Understanding its features and functions will help you utilize it effectively.
2. Use Fresh Ingredients: For the best results, always use fresh and high-quality ingredients, including flour, yeast, and other additives. This will ensure the flavors and textures of your bread are top-notch. Stale or expired ingredients can affect the overall quality of the loaf.
3. Follow the Recipe: When using a bread machine, it’s crucial to follow the recipe guidelines precisely. Bread machines have specific requirements for ingredient measurements, order of addition, and recommended settings. Deviating from the recipe may result in a loaf that doesn’t rise properly or has an unfavorable texture.
4. Measure Accurately: Use proper measuring techniques to ensure accurate ingredient proportions. Use measuring cups or a kitchen scale to measure the ingredients precisely. Avoid guessing or estimating, as slight variations in ingredient amounts can affect the outcome of the bread.
5. Experiment with Flours: Bread machines can handle a variety of flours, including all-purpose, whole wheat, and specialty flours. Experiment with different flours to create unique and flavorful bread. Just keep in mind that different types of flour may require adjustments in liquid quantities or rising times.
6. Customize with Add-Ins: Enhance the flavors of your bread by adding extras like nuts, seeds, dried fruits, herbs, or cheese. Most bread machines have an alert or signal that indicates when to add these ingredients. Experiment with various combinations to create your favorite customized loaves.
7. Check the Dough Consistency: During the kneading process, monitor the dough’s consistency. If it appears too dry or too wet, make adjustments by adding small amounts of flour or liquid until the desired consistency is achieved. Consistency is key to achieving a well-risen and fluffy loaf.
8. Preheat Ingredients (Optional): Some bread machines have a preheat function, which can help create an optimal environment for rising and baking. If your machine has this feature, consider preheating the ingredients before starting the bread-making process for better results.
9. Use the Delay Timer Wisely: The delay timer is a convenient feature that allows you to set a specific time for the bread machine to start baking. However, it’s important to use this feature with caution, especially when using perishable ingredients like dairy or eggs. Check the recommended safe time frames for delayed baking to ensure food safety.
10. Enjoy Freshly Baked Bread: Bread is best enjoyed fresh out of the machine or within a few hours of baking. Storing bread in airtight containers can help prolong its freshness, but keep in mind that homemade bread lacks preservatives and may stale faster than store-bought alternatives.
By following these tips, you can make the most of your bread machine and produce wonderful homemade bread tailored to your preferences. Don’t be afraid to experiment, adjust recipes, and try new flavors to create a variety of delicious loaves.
Conclusion
Using a bread machine brings the joy of homemade bread to your kitchen with convenience and simplicity. With the ability to automate the mixing, kneading, rising, and baking process, bread machines have revolutionized home baking. They offer various settings and options to cater to different preferences and dietary needs.
Understanding how a bread machine works and following proper techniques can help you achieve consistently delicious results. From selecting the right ingredients to accurately measuring and following recipe instructions, each step contributes to the success of your homemade bread.
Remember to maintain and clean your bread machine regularly to ensure its longevity and optimal performance. Following the manufacturer’s instructions for cleaning, storing, and any maintenance requirements will keep your machine in top shape.
Experimentation is part of the joy of using a bread machine. Customize your bread by trying different flours, add-ins, and crust colors to suit your taste preferences. With time and practice, you’ll develop a repertoire of delicious bread recipes that make your homemade loaves truly special.
Finally, savor the satisfaction of biting into a slice of freshly baked bread. The aroma, the texture, and the flavor of homemade bread are unparalleled. Whether it’s a simple white loaf, a hearty whole wheat bread, or a special recipe you’ve perfected, each slice is a testament to your baking prowess and the joy of creating something from scratch.
So, embrace the wonders of bread machines and enjoy the endless possibilities they offer. Experience the comfort and satisfaction of warm, homemade bread filling your home, and delight in sharing your delicious creations with family and friends. May your bread machine become a cherished kitchen companion, providing you with countless loaves of joy and culinary creativity.
Frequently Asked Questions about How Does A Bread Machine Work
Was this page helpful?
At Storables.com, we guarantee accurate and reliable information. Our content, validated by Expert Board Contributors, is crafted following stringent Editorial Policies. We're committed to providing you with well-researched, expert-backed insights for all your informational needs.
0 thoughts on “How Does A Bread Machine Work”