Home>Furniture>Kitchen Furniture>How To Clean A Bread Machine
Kitchen Furniture
How To Clean A Bread Machine
Modified: August 17, 2024
Learn how to clean your bread machine with our informative articles. Discover easy and effective cleaning tips to ensure your machine stays in great condition.
(Many of the links in this article redirect to a specific reviewed product. Your purchase of these products through affiliate links helps to generate commission for Storables.com, at no extra cost. Learn more)
Introduction
Welcome to this comprehensive guide on how to clean your bread machine. Bread machines are a wonderful addition to any kitchen, allowing you to easily bake fresh, homemade bread with minimal effort. However, like any kitchen appliance, they require regular cleaning to maintain optimal performance and ensure the longevity of the machine.
Regular cleaning of your bread machine not only prolongs its lifespan but also helps to prevent the buildup of residue, crumbs, and potentially harmful bacteria. By following the steps outlined in this article, you can keep your bread machine in pristine condition and continue enjoying delicious homemade bread for years to come.
Before we dive into the cleaning process, please note that the specific cleaning instructions may vary slightly depending on the make and model of your bread machine. We recommend consulting your machine’s user manual for any unique instructions or precautions specific to your appliance.
In this guide, we will walk you through a step-by-step process to clean your bread machine thoroughly. We will cover everything from gathering supplies to cleaning the various components of the machine. So, let’s get started and ensure your bread machine stays clean and functioning at its best!
Key Takeaways:
- Regular cleaning of your bread machine is essential to maintain its performance, hygiene, and longevity, ensuring you can continue enjoying delightful homemade bread for years to come.
- Gather supplies, disassemble, clean thoroughly, reassemble, and establish a regular cleaning routine to keep your bread machine in top-notch condition for delicious homemade bread every time.
Read more: How To Make Dough In Bread Machine
Step 1: Gather Supplies
Before you begin the cleaning process, it’s important to gather all the necessary supplies. Having all the required items on hand will make the cleaning process more efficient and prevent any unnecessary interruptions. Here’s a list of supplies you’ll need:
- Mild dish soap or bread machine cleaner
- Warm water
- Soft sponge or cloth
- Cotton swabs
- Toothpicks
- Lint-free towel
Ensure that the dish soap or bread machine cleaner you use is mild and gentle. Harsh chemicals can damage the surface of the machine and leave behind unwanted residues.
Once you have gathered all the supplies, move on to the next step and start the cleaning process.
Step 2: Unplug and Disassemble the Bread Machine
The next step in cleaning your bread machine is to unplug it from the power source. This is crucial for your safety and to avoid any electrical accidents while cleaning.
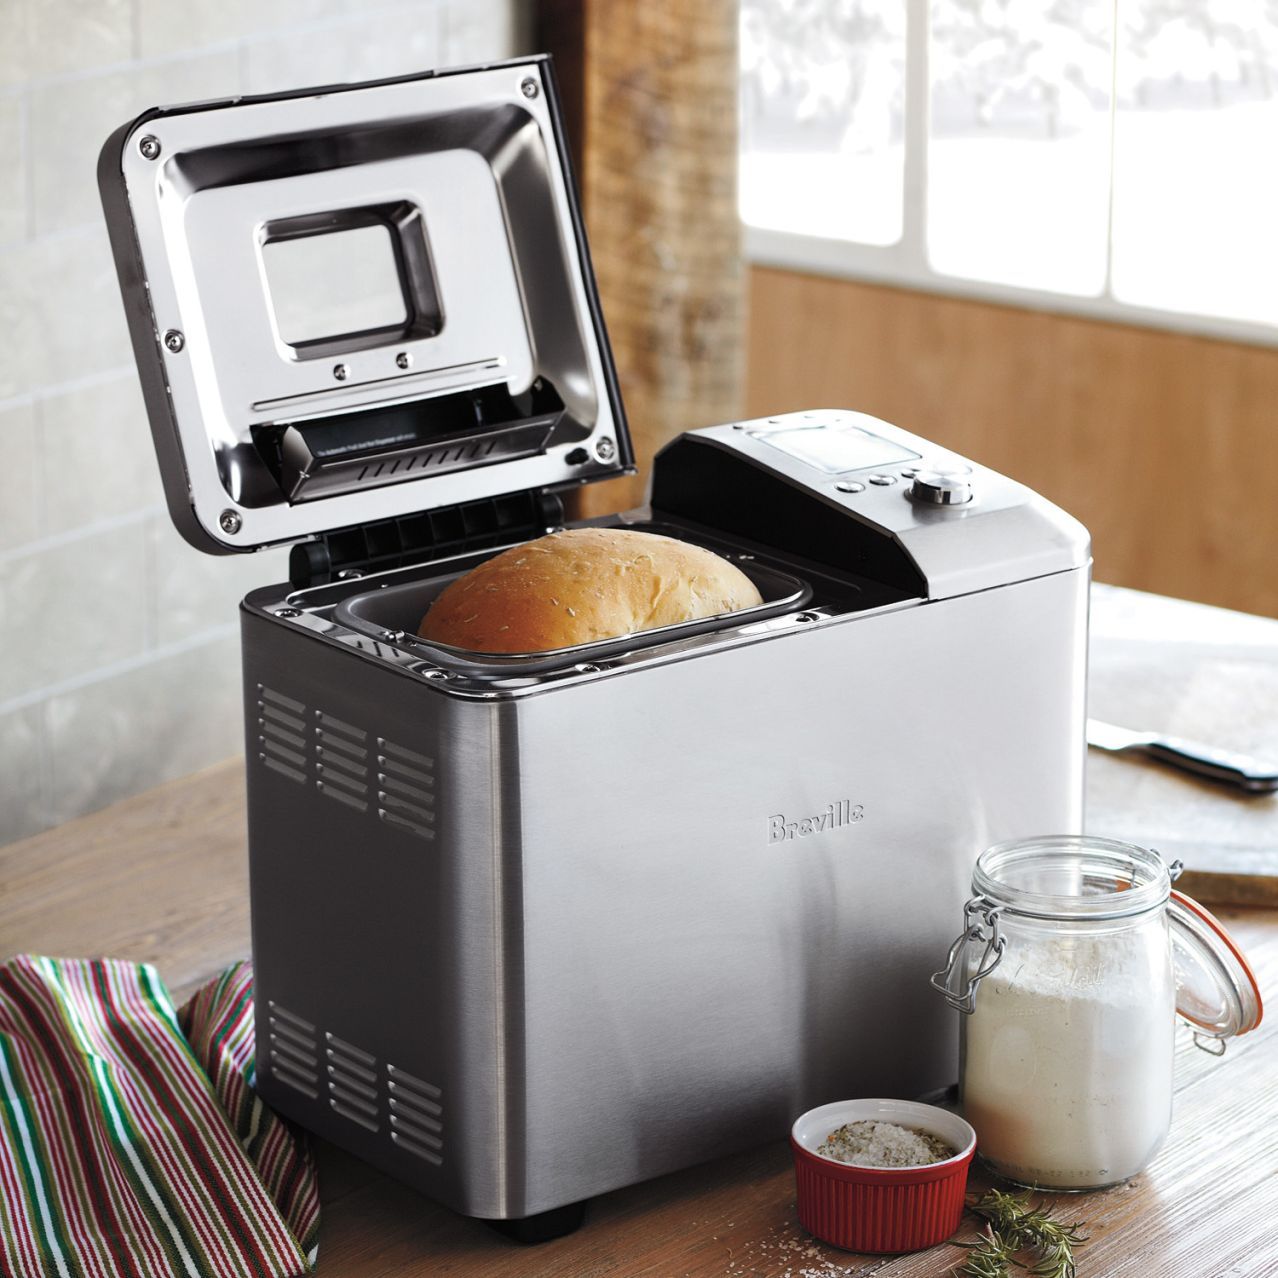
Once your bread machine is unplugged, carefully disassemble it by removing the bread pan, paddle, lid, and any other removable components. Different bread machine models may have different methods for disassembly, so refer to your machine’s user manual for specific instructions.
As you remove each component, take a moment to inspect them for any visible residue, crumbs, or baked-on food particles. These can accumulate over time and impact the performance of your machine.
Place the removable components on a clean and dry surface, ready for the next step.
It’s important to note that some bread machines have non-removable pans and paddles. In such cases, follow the cleaning instructions provided by the manufacturer. This may include wiping the components with a soft cloth or sponge.
Now that your bread machine is unplugged and disassembled, let’s move on to the next step: cleaning the bread pan and paddle.
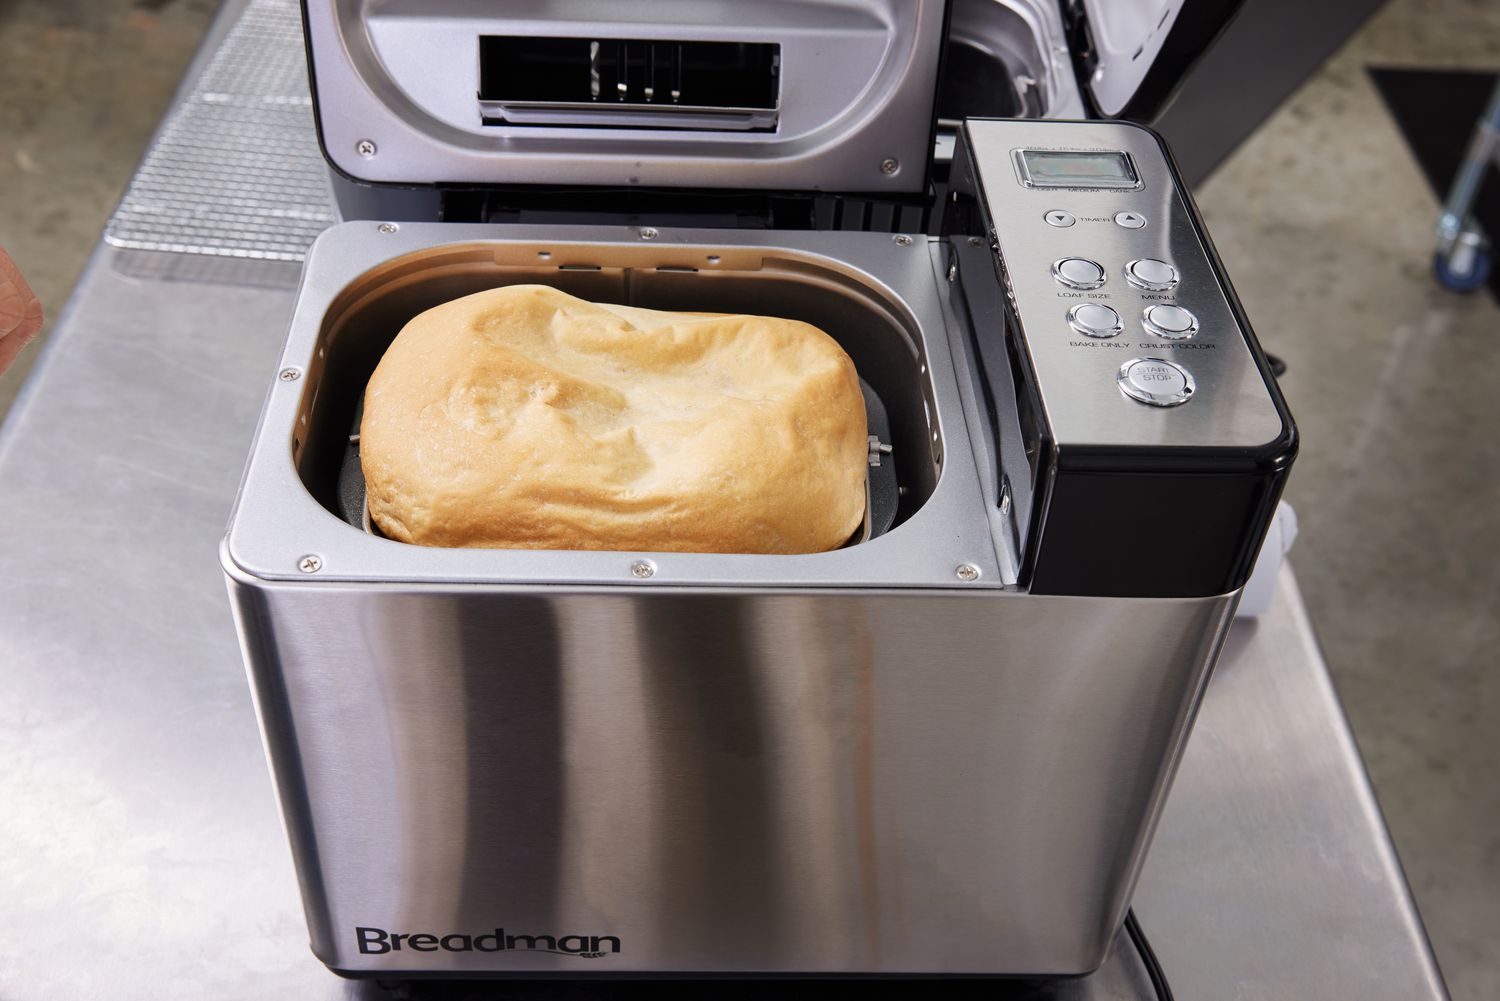
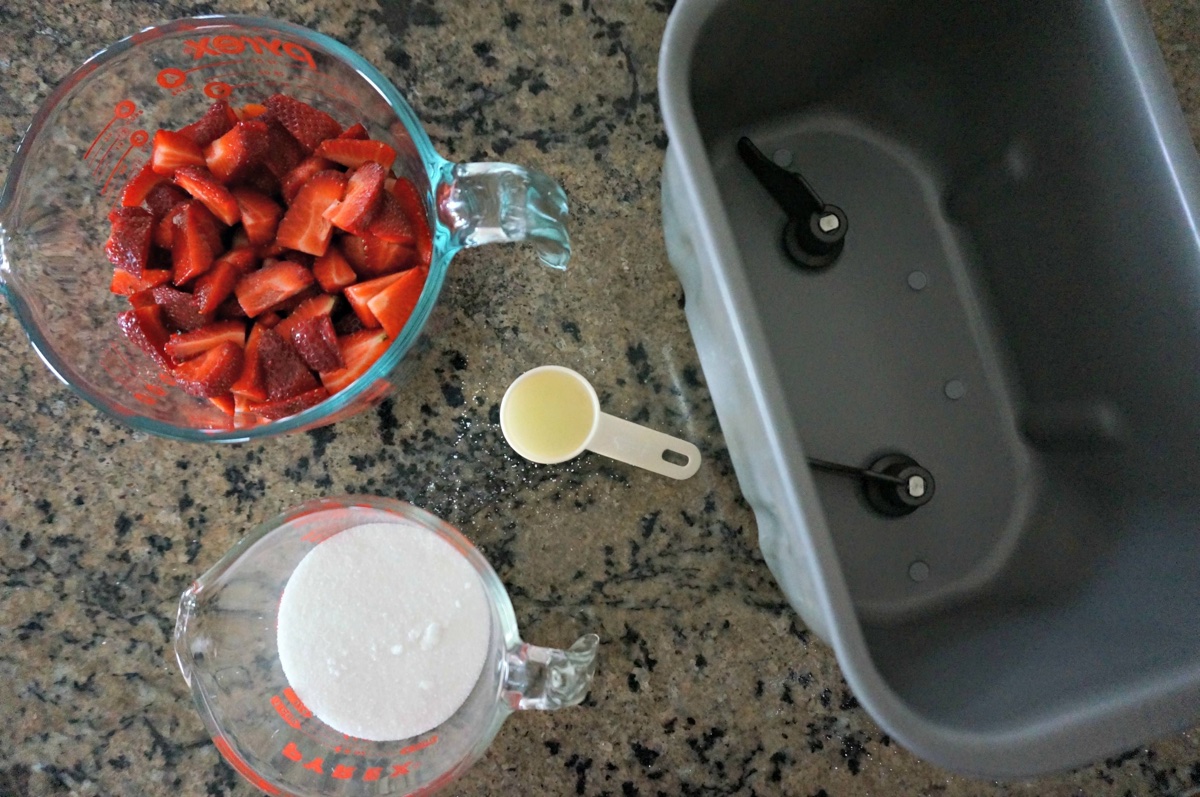
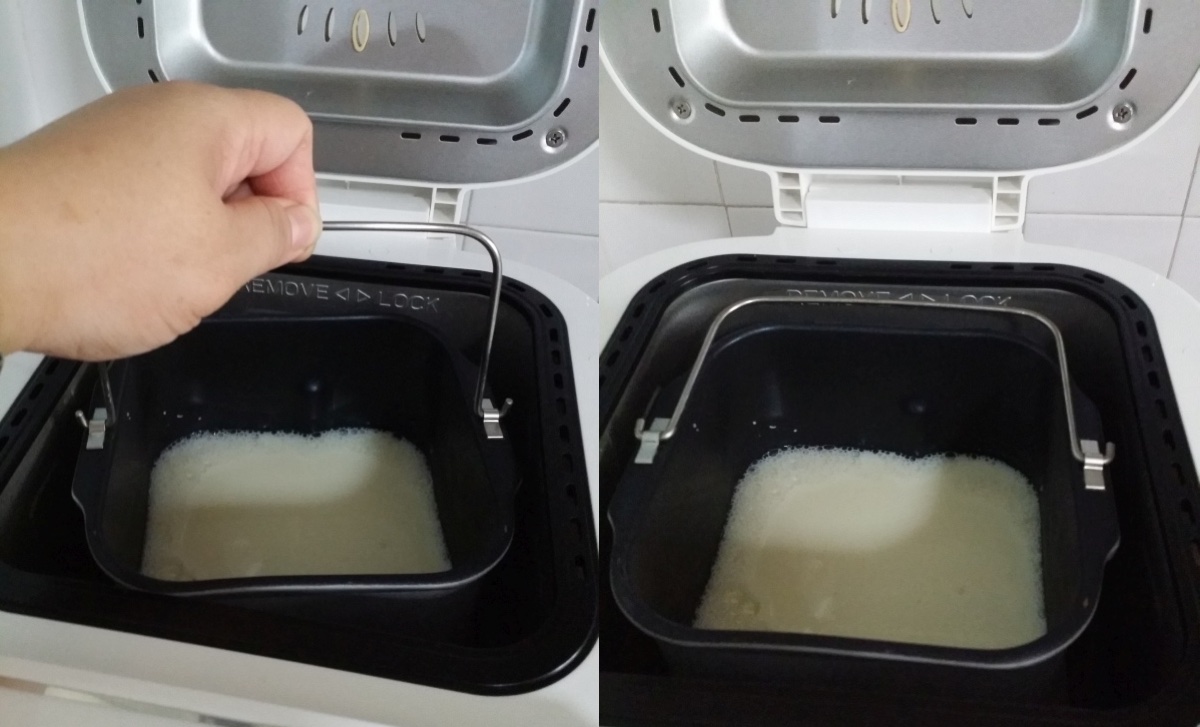
Step 3: Clean the Bread Pan and Paddle
The bread pan and paddle are the primary components that come into contact with the bread dough during the baking process. Therefore, it’s important to clean them thoroughly to remove any residue and ensure the best possible results for your next bake.
Start by filling your kitchen sink or a basin with warm water and a small amount of mild dish soap. Place the bread pan and paddle into the soapy water and let them soak for a few minutes. This will help to loosen any stuck-on dough or residue.
After soaking, use a soft sponge or cloth to gently scrub the surfaces of the bread pan and paddle. Pay extra attention to any areas with visible residue, making sure to remove all remnants of bread dough.
If there are stubborn stains or residue that are difficult to remove, you can use a toothpick or cotton swab to carefully scrape or reach into tight corners. Be gentle to avoid scratching the surfaces.
After thorough cleaning, rinse the bread pan and paddle with warm water to remove any remaining soap residue. Make sure to remove all traces of soap, as it can affect the taste and quality of your bread.
Once rinsed, dry the bread pan and paddle with a lint-free towel or allow them to air dry completely before reassembling the machine.
With the bread pan and paddle clean and dry, it’s time to move on to the next step: cleaning the lid and viewing window of the bread machine.
Step 4: Clean the Lid and Viewing Window
The lid and viewing window of your bread machine are essential for monitoring the progress of your bread as it bakes. Keeping these components clean ensures clear visibility and prevents any residue from obstructing your view.
To clean the lid and viewing window, start by dampening a soft sponge or cloth with warm soapy water. Gently wipe the exterior and interior surfaces of the lid, paying attention to any areas with visible residue or fingerprints.
If there are stubborn stains or dried-on residue, you can use a cotton swab or toothpick to reach into small crevices and remove the debris. Make sure to be gentle to avoid scratching the surfaces.
For the viewing window, it’s important to be cautious and use a non-abrasive cleaning method. Avoid using harsh chemicals or abrasive materials that may damage or scratch the window. Instead, opt for a damp cloth or sponge to wipe away any smudges or residue.
Once you have cleaned the lid and viewing window, rinse the cloth or sponge with clean water and wipe away any soapy residue. Make sure to dry the surfaces thoroughly with a lint-free towel to prevent any water spots or streaks.
With the lid and viewing window clean and dry, it’s time to move on to the next step: wiping down the exterior of the bread machine.
To clean a bread machine, unplug it and remove the bread pan and kneading paddle. Wash these parts with warm, soapy water and a non-abrasive sponge. Wipe down the interior and exterior of the machine with a damp cloth. Allow all parts to dry completely before reassembling.
Read more: How To Make Sourdough In Bread Machine
Step 5: Wipe Down the Exterior of the Bread Machine
Now that you have cleaned the internal components of your bread machine, it’s time to turn your attention to the exterior surfaces. Wiping down the exterior will remove any dust, fingerprints, or spills that may have accumulated over time.
Start by taking a soft, damp cloth or sponge and gently wipe the outer surfaces of the bread machine. Begin from the top and work your way down, ensuring you cover all sides, including the control panel, buttons, and any other areas that may require cleaning.
For stubborn stains or spills, you can use a mild dish soap solution on the cloth to help dissolve and remove the residue. However, be cautious not to let any moisture seep into the electrical components or control panel of the machine.
During the cleaning process, pay special attention to any grooves or crevices where dust or debris may accumulate. Use a cotton swab or toothpick to reach into these areas and remove any trapped dirt.
Once you have wiped down all the exterior surfaces, use a clean, dry cloth to remove any excess moisture and ensure a streak-free finish. This will keep your bread machine looking clean and presentable.
Now that the exterior of your bread machine is clean, it’s time to move on to the next step: reassembling the machine.
Step 6: Reassemble the Bread Machine
With the cleaning process almost complete, it’s time to reassemble your bread machine. Properly reassembling the machine ensures that all components are securely in place and ready for the next baking session.
Start by taking the cleaned and dry bread pan and paddle. Insert the paddle into the designated slot at the bottom of the bread pan, making sure it fits snugly. Then, carefully place the bread pan back into the machine, aligning it properly with the designated slots or guides.
Next, take the lid and position it on top of the machine, ensuring it aligns correctly with the bread pan and control panel. Gently press it into place until it is securely attached.
Double-check that all components are firmly in place and properly aligned. This will prevent any potential accidents or malfunction during the next use of your bread machine.
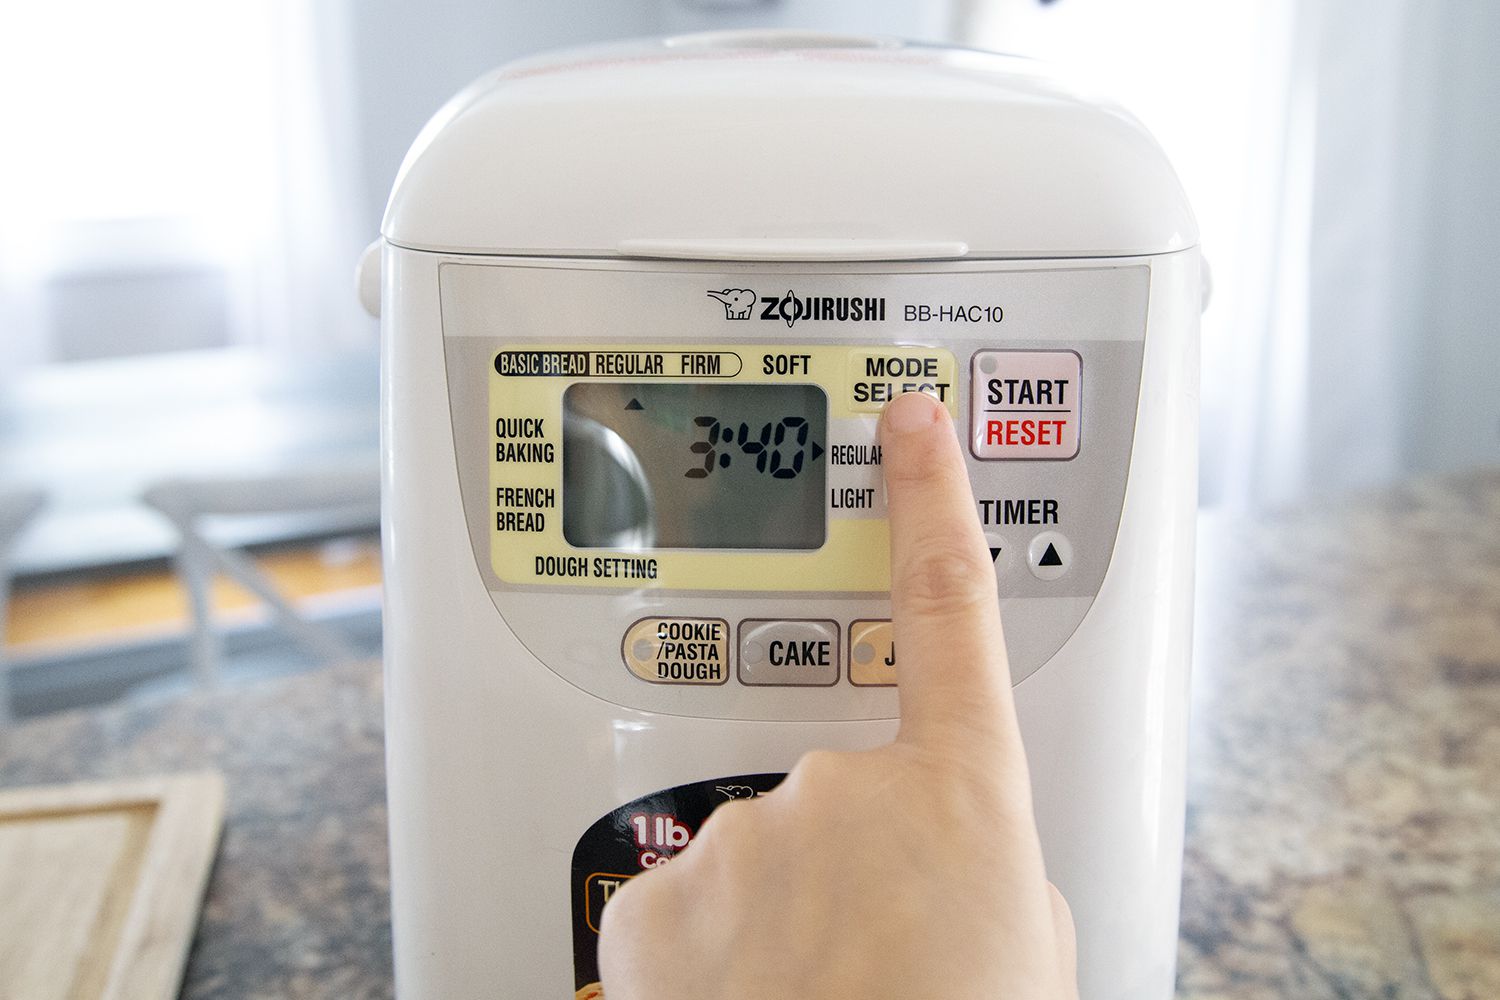
Once the bread machine is reassembled, plug it back into the power source and make sure it is functioning correctly. Test the buttons and settings to ensure they are all working properly.
Congratulations! You have successfully reassembled your bread machine after cleaning it. Now, let’s move on to the final step: applying some finishing touches and taking necessary precautions.
Step 7: Final Touches and Precautions
As you near the end of the cleaning process, there are a few final touches and precautions to consider to ensure that your bread machine remains clean and well-maintained.
First, take a moment to wipe down the exterior of the machine once more, ensuring that there are no leftover cleaning agents or residue. This final wipe will give your bread machine a polished and clean appearance.
Next, take a dry cloth or paper towel and gently dry the control panel and buttons. This will prevent any moisture from seeping into the electrical components and potentially causing damage.
It’s also essential to maintain a regular cleaning schedule for your bread machine. Depending on how often you use it, aim to clean it every few weeks or whenever there is noticeable residue or buildup. Regular cleaning will prevent the accumulation of stubborn stains and ensure optimal performance.
Additionally, be cautious when using the bread machine around food allergens. If you or someone in your household has a severe food allergy, make sure to thoroughly clean the machine and all components to avoid cross-contamination between different recipes.
Lastly, always consult your bread machine’s user manual for specific cleaning instructions and any unique precautions recommended by the manufacturer. Different models may have specific requirements or guidelines that should be followed.
Congratulations! You have successfully cleaned and reassembled your bread machine, ensuring that it is in top-notch condition for your next baking adventure.
By following these steps and maintaining a regular cleaning routine, you can enjoy delicious homemade bread while prolonging the lifespan of your bread machine. Happy baking!
Conclusion
Cleaning your bread machine is an essential task to maintain its performance, hygiene, and longevity. By following the steps outlined in this guide, you can ensure that your machine remains in pristine condition, allowing you to continue enjoying delightful homemade bread for years to come.
Remember to gather all the necessary supplies before starting the cleaning process. Mild dish soap or bread machine cleaner, warm water, a soft sponge or cloth, cotton swabs, toothpicks, and a lint-free towel are the key items you’ll need.
Unplug and disassemble the bread machine, paying attention to remove any visible residue from the bread pan, paddle, lid, and other removable components. Clean the bread pan and paddle by soaking them in warm, soapy water and gently scrubbing away any stuck-on dough or residue. Rinse and dry them thoroughly before reassembling the machine.
Next, clean the lid and viewing window using a soft cloth or sponge. Be cautious and avoid using abrasive materials that can scratch the surfaces. Wipe down the exterior of the bread machine, removing dust, fingerprints, and spills with a damp cloth. Dry the surfaces to prevent water spots or streaks.
Reassemble the bread machine carefully, ensuring all components are securely in place and properly aligned. Double-check that everything is in order before plugging the machine back in and testing its functionality.
Finally, apply some finishing touches and take necessary precautions. Give the bread machine one final wipe to remove any leftover residue. Dry the control panel and buttons to prevent moisture damage. Establish a regular cleaning routine and consult your machine’s manual for specific instructions and precautions.
By following these steps, you can ensure that your bread machine remains clean, functional, and ready to bake delicious homemade bread whenever you desire.
So, keep your bread machine well-maintained, enjoy the delightful aroma of freshly baked bread, and savor every slice with the satisfaction of a clean and well-cared-for appliance.
Frequently Asked Questions about How To Clean A Bread Machine
Was this page helpful?
At Storables.com, we guarantee accurate and reliable information. Our content, validated by Expert Board Contributors, is crafted following stringent Editorial Policies. We're committed to providing you with well-researched, expert-backed insights for all your informational needs.

0 thoughts on “How To Clean A Bread Machine”