Articles
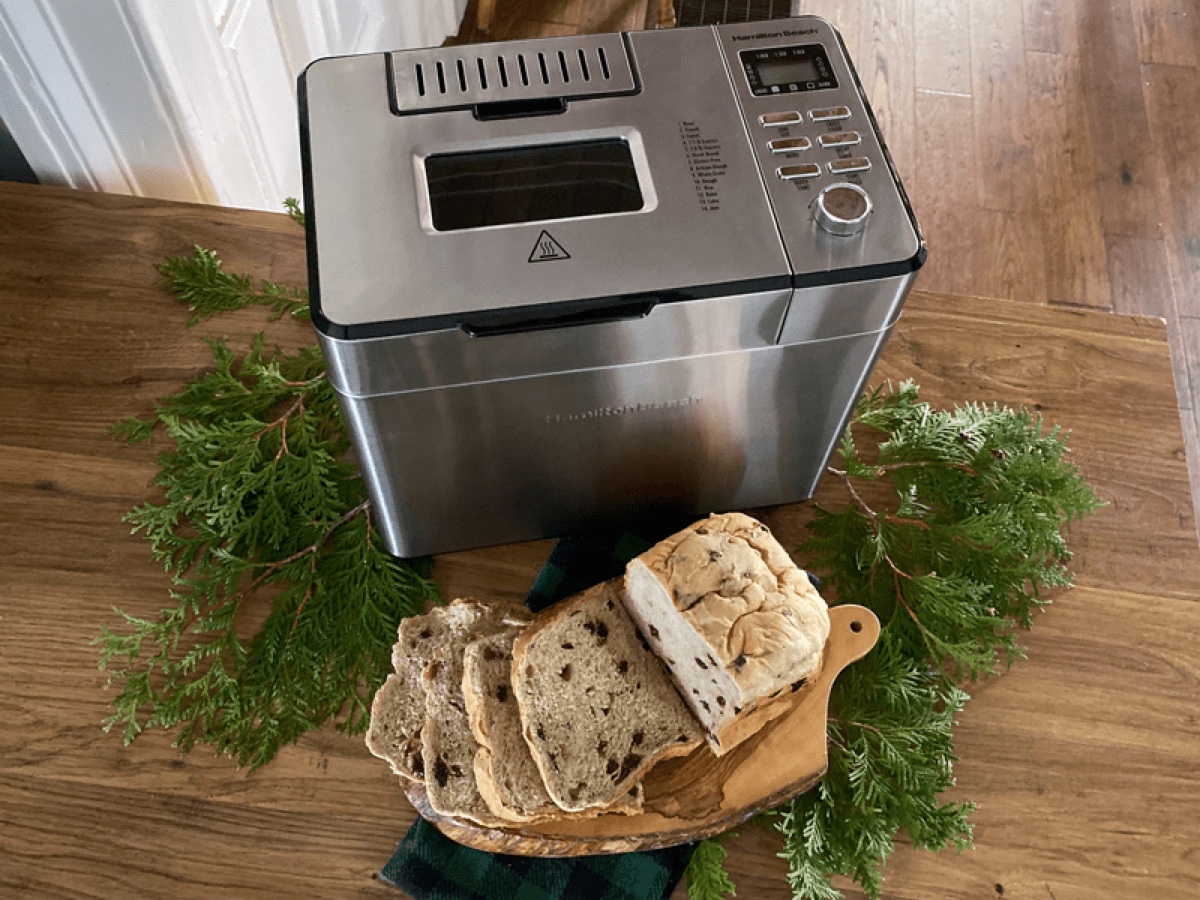
How To Make Brioche In A Bread Machine
Modified: February 28, 2024
Learn how to make delicious brioche in a bread machine with our comprehensive articles on this classic French pastry. Master the art of homemade brioche today!
(Many of the links in this article redirect to a specific reviewed product. Your purchase of these products through affiliate links helps to generate commission for Storables.com, at no extra cost. Learn more)
Introduction
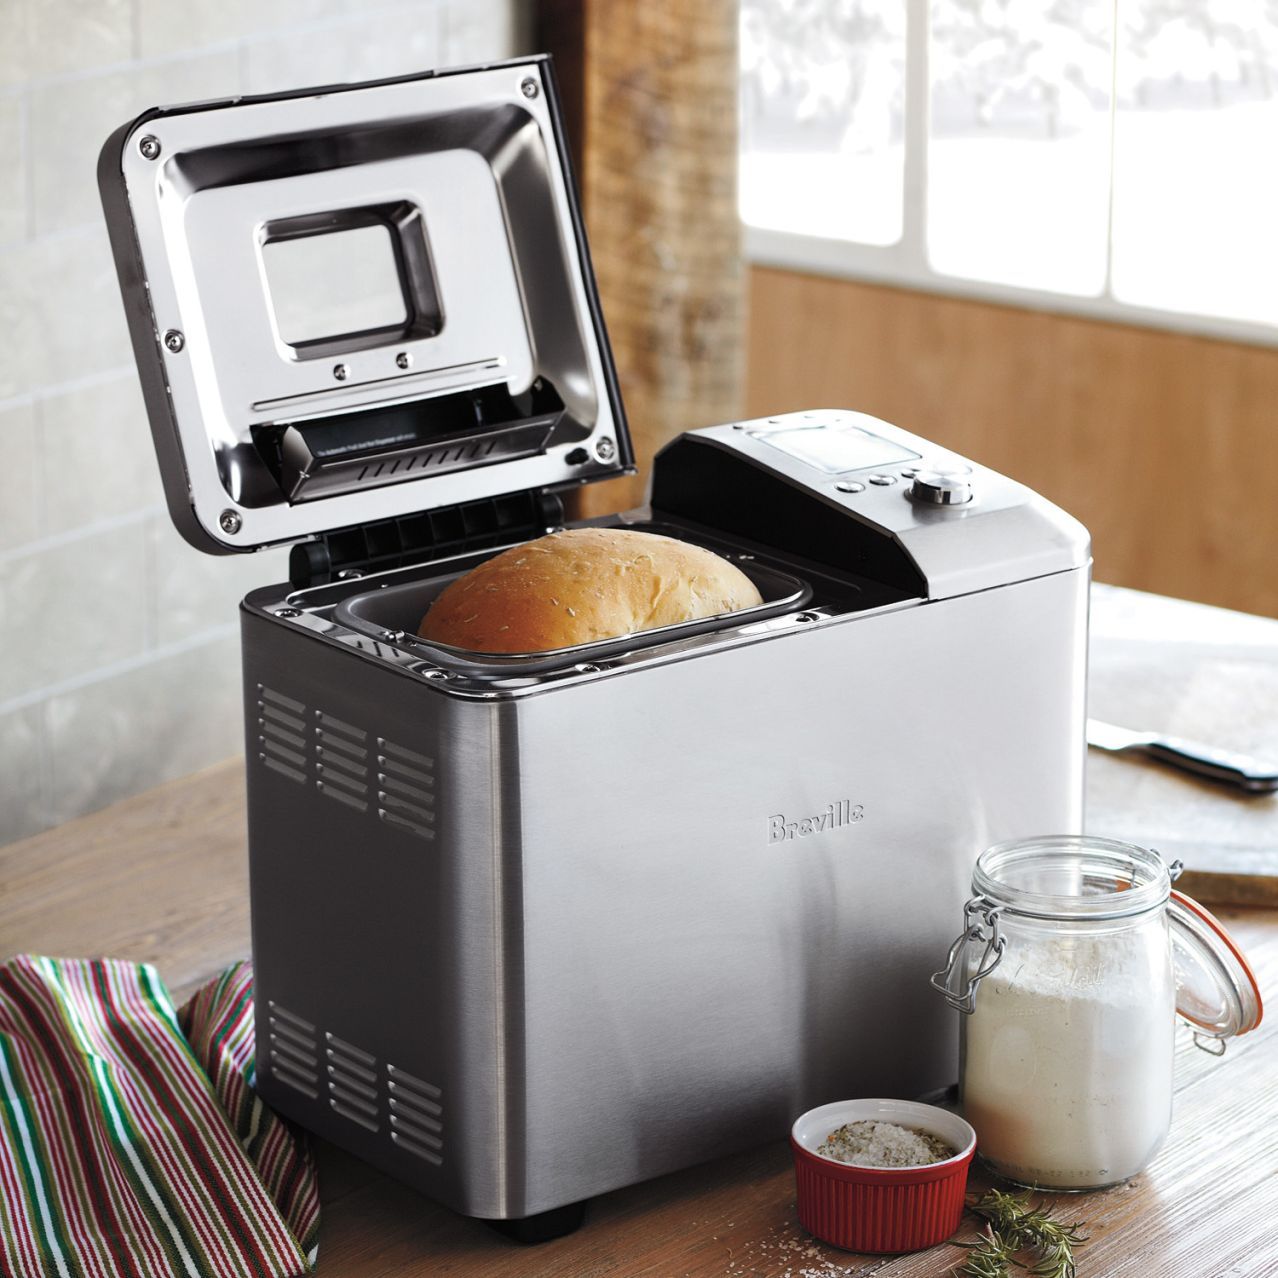
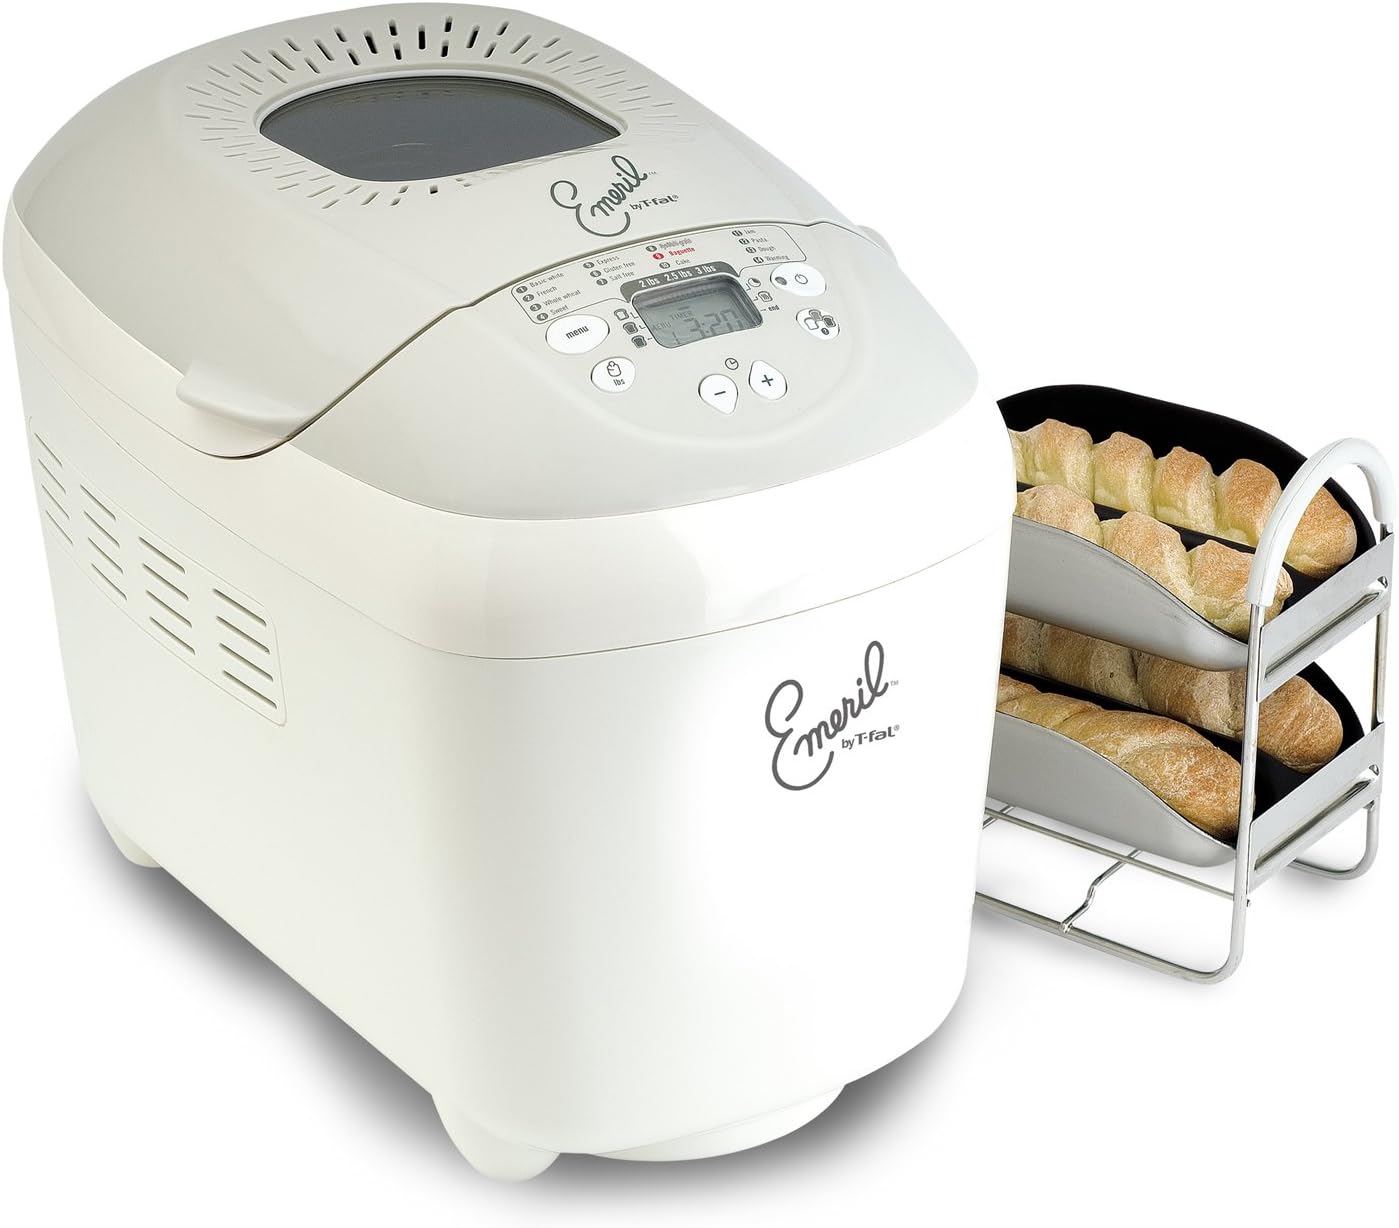
Do you love the rich, buttery taste and fluffy texture of brioche bread? Are you craving a warm, homemade loaf but don’t have the time or the skills to make it from scratch? Fear not – with a bread machine, you can easily make brioche bread in the comfort of your own kitchen.
Brioche is a delectable French bread that is known for its soft, tender crumb and slightly sweet flavor. Traditionally, making brioche involves a lengthy and labor-intensive process of kneading and proofing the dough by hand. However, with a bread machine, the process becomes much simpler and more convenient.
Using a bread machine to make brioche offers several benefits. Firstly, it saves you time and effort. The machine takes care of the mixing, kneading, and proofing, allowing you to focus on other tasks while your brioche dough is being prepared. Secondly, it ensures consistent and reliable results. The bread machine’s precise temperature control and mixing action help achieve a perfectly risen and evenly baked loaf every time. Lastly, it eliminates the need for specialized baking skills. Even if you’re a beginner in the world of bread making, you can successfully create a delicious loaf of brioche with a bread machine.
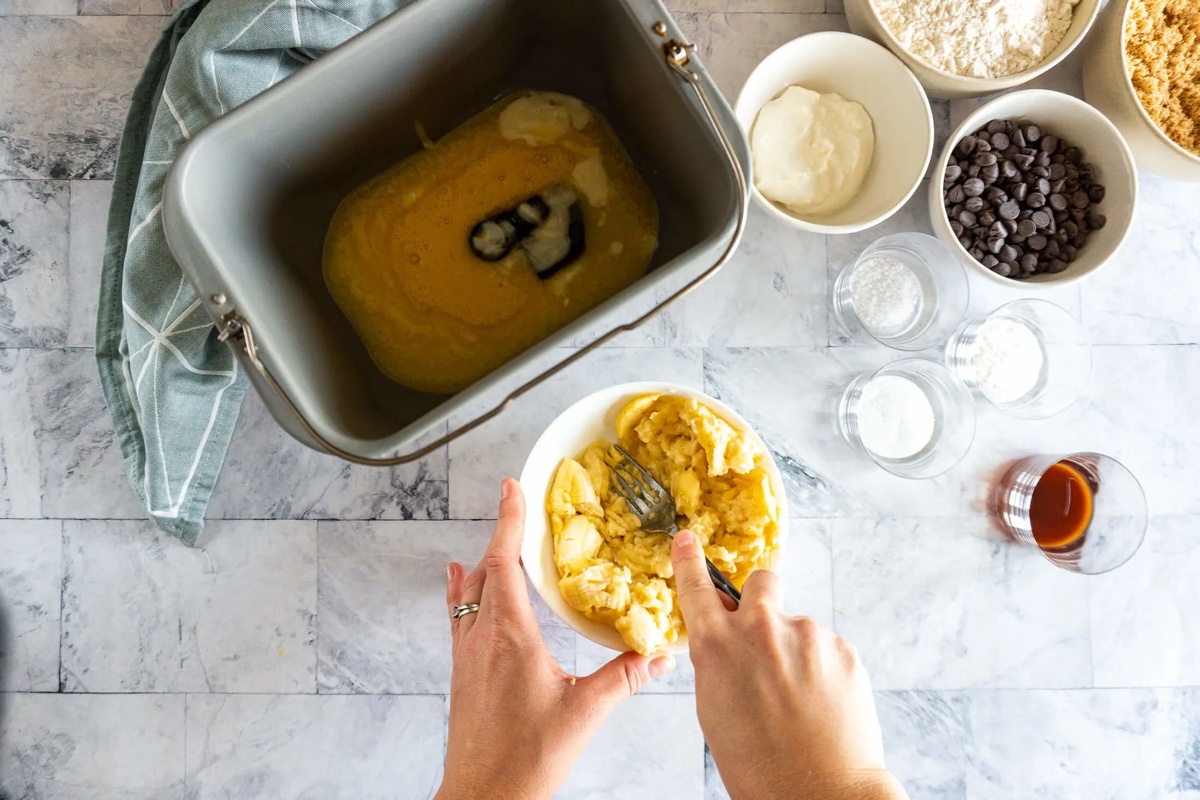
Before you start making brioche in your bread machine, there are a few key ingredients you’ll need. These include flour, sugar, eggs, butter, yeast, salt, and optionally, milk or water. It’s important to use good quality ingredients for the best results.
In the next section, we’ll walk you through the step-by-step process of making brioche in a bread machine. By following these instructions, you’ll be able to impress your family and friends with your homemade brioche bread.
Key Takeaways:
- Making brioche in a bread machine offers convenience, consistent results, and a user-friendly experience. With precise ingredient measurements and proper dough preparation, you can enjoy the rich, buttery flavor of homemade brioche without the labor-intensive process.
- By following the step-by-step process, utilizing high-quality ingredients, and adhering to bread machine instructions, you can achieve perfect brioche. Experiment with flavors, shapes, and enjoy the delightful rewards of your homemade brioche.
Read more: How To Store Brioche Bread
Understanding Brioche Bread
Brioche is a type of enriched bread that originated in France. It is characterized by its rich, buttery flavor, tender crumb, and golden crust. What sets brioche apart from other types of bread is its high amount of butter and eggs, which give it a luxurious and indulgent taste.
There are two main types of brioche: the classic brioche and the brioche à tête. The classic brioche is shaped into a round loaf, while the brioche à tête is shaped like a small bun with a distinctive ball on top, which is created by placing a small piece of dough on top of the larger one.
One of the reasons why brioche is so delicious is the amount of butter it contains. The high butter content gives the bread its soft, tender texture and rich flavor. The eggs in the dough contribute to its golden color and add moisture and richness to the bread.
Brioche can be enjoyed in various ways. It is often served as a breakfast bread, either plain or toasted with some butter and jam. It can also be used to make sandwiches, French toast, bread pudding, or even transformed into decadent desserts like bread and butter pudding.
When making brioche, it’s important to use the right technique. The dough needs to be mixed and kneaded until it becomes smooth, elastic, and slightly sticky. After that, it is left to rise until it doubles in size, which allows the yeast to ferment and create air pockets in the dough. The risen dough is then shaped and baked until it turns golden brown and sounds hollow when tapped on the bottom.
Now that you have a better understanding of what brioche bread is, let’s move on to the next section, where we’ll explore the benefits of using a bread machine to make brioche.
Benefits of Using a Bread Machine
Using a bread machine to make brioche has several advantages that make the process easier, more convenient, and more reliable. Here are some of the key benefits:
- Saves time and effort: Making brioche by hand can be a time-consuming and labor-intensive process. However, using a bread machine eliminates the need for manual kneading and mixing. The machine takes care of these steps, allowing you to save time and effort.
- Consistent results: One of the challenges in making brioche is achieving consistent results every time. The precise temperature control and mixing action of a bread machine help ensure that the dough is properly mixed and kneaded. This leads to a consistent rise and even baking of the bread, resulting in a beautifully golden and tender loaf.
- Convenience: The convenience of a bread machine cannot be overstated. Simply add the ingredients, select the appropriate setting, and let the machine do the work. You can set the timer to have your brioche ready at a specific time, allowing you to wake up or come home to the delightful aroma of freshly baked bread.
- User-friendly: Bread machines are designed to be user-friendly, even for beginners. Most machines come with easy-to-follow instructions and pre-programmed settings for different types of bread, including brioche. This takes the guesswork out of the process and makes it accessible to anyone, regardless of their baking experience.
- Versatility: While we’re focusing on brioche in this article, it’s worth mentioning that bread machines have the versatility to make a wide variety of bread and dough recipes. From classic white bread to whole wheat, gluten-free, or even specialty breads like cinnamon raisin or olive bread, a bread machine can handle it all.
By utilizing a bread machine to make brioche, you can enjoy all the benefits mentioned above and more. Whether you’re a busy individual looking for a convenient way to make homemade bread or a baking enthusiast seeking consistent results, a bread machine is an invaluable tool to have in your kitchen.
Now that we’ve covered the benefits of using a bread machine, let’s move on to the next section, where we’ll delve into the ingredients you’ll need to make brioche in your bread machine.
Ingredients Needed
To make brioche in a bread machine, you’ll need the following ingredients:
- Flour: Use all-purpose flour or bread flour for best results. These types of flour have a higher protein content, which helps create a more structured and tender crumb.
- Sugar: Granulated sugar is typically used in brioche to add a touch of sweetness. It also helps feed the yeast and promote fermentation.
- Eggs: Brioche is an egg-rich bread, so you’ll need several eggs for this recipe. The eggs contribute to the richness and golden color of the bread.
- Butter: Unsalted butter is the key ingredient that gives brioche its luscious and buttery flavor. It should be softened or cubed at room temperature for ease of incorporation into the dough.
- Yeast: Active dry yeast or instant yeast can be used. Make sure the yeast is fresh and active to ensure proper rising of the dough.
- Salt: Salt enhances the flavor of the brioche and helps regulate fermentation. Use fine sea salt or table salt.
- Milk or Water (optional): Some brioche recipes call for the addition of milk or water to adjust the dough consistency. This can help make the dough more manageable and produce a softer texture. If your machine’s recipe suggests it, you can add a small amount of milk or water.
It’s important to use high-quality ingredients for the best results in your brioche bread. Fresh eggs, good-quality butter, and fresh yeast will contribute to the flavor and texture of the final product.
Now that you know the key ingredients needed to make brioche in a bread machine, let’s move on to the step-by-step process of preparing the dough.
Step 1: Preparing the Dough
The first step in making brioche in a bread machine is to prepare the dough. Follow these steps to ensure a well-prepared dough:
- Read the instructions: Familiarize yourself with the instruction manual of your bread machine. Different machines may have slightly different settings and processes, so it’s essential to understand how to operate yours.
- Measure the ingredients: Accurate measurement of ingredients is crucial in baking. Use a kitchen scale to weigh the flour, sugar, and butter for precise amounts. It’s also important to measure the liquids, such as milk or water, if your recipe calls for it.
- Prepare the bread pan: Grease the bread pan with a little butter or cooking spray to prevent the dough from sticking. This will make it easier to remove the baked brioche later on.
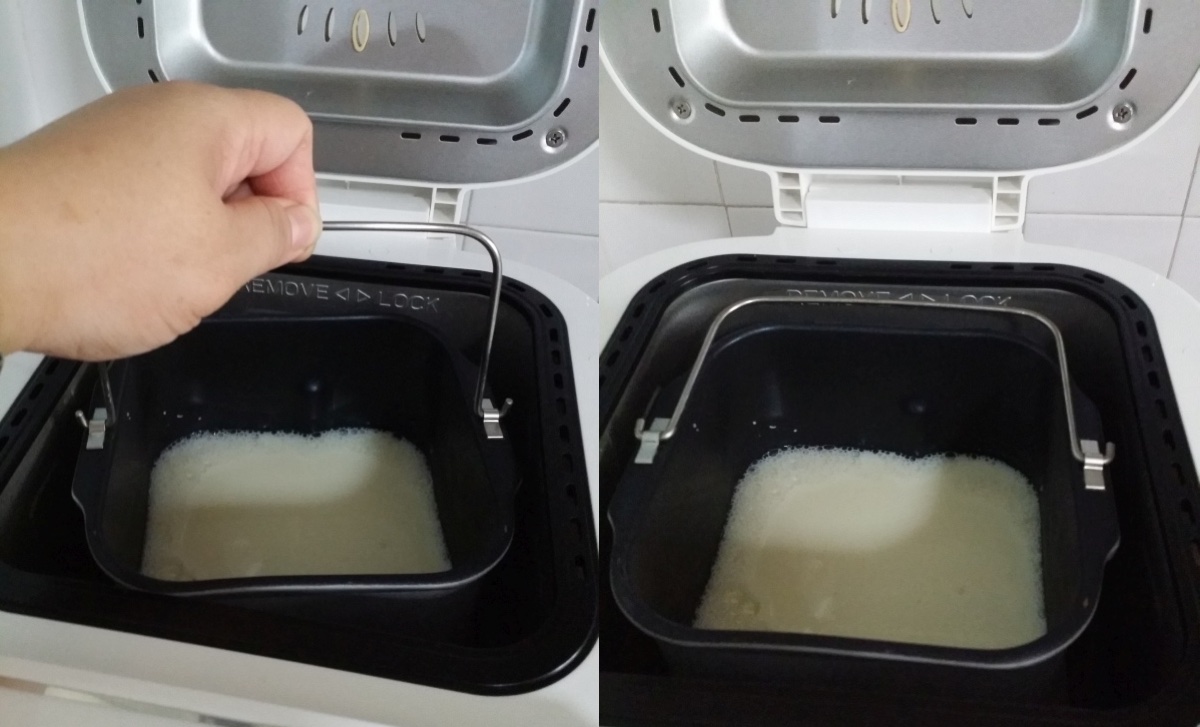
- Add the ingredients: Follow the order specified in your bread machine’s instruction manual for adding the ingredients. Typically, you’ll start with the liquids, then add the dry ingredients, and finally the yeast. This helps ensure proper mixing and rising of the dough.
- Select the appropriate setting: Choose the setting on your bread machine that is suitable for making brioche. Some machines may have a specific setting for sweet bread or enriched dough, which will work well for brioche. If your machine allows you to customize the program, adjust the settings accordingly.
- Start the machine: Close the lid of the bread machine and press the start button. The machine will take care of the mixing, kneading, and initial rising of the dough. This process typically takes about 1-2 hours, depending on the machine.
Once the dough is prepared and has undergone the initial rising, you’re ready to move on to the next step – mixing the ingredients. This step ensures that all the components of the dough are well combined for a uniform texture and flavor in the final brioche bread.
Continue to the next section for a detailed guide on mixing the ingredients for your brioche in a bread machine.
Read more: How To Make Dough In Bread Machine
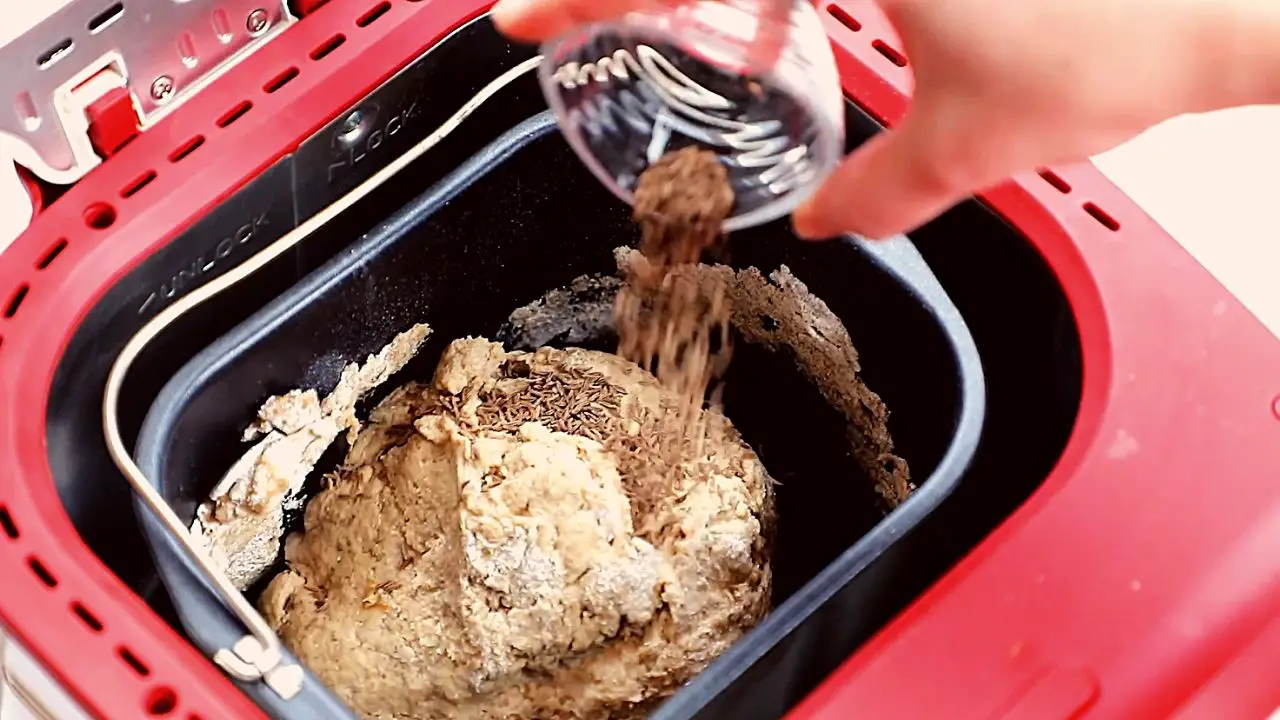
Step 2: Mixing the Ingredients
After the initial rising of the dough in the bread machine, it’s time to mix the ingredients for your brioche. Follow these steps to ensure a well-mixed dough:
- Open the lid: Carefully open the lid of the bread machine to access the risen dough. Be cautious, as the dough might be sticky and soft.
- Scrape down the sides: Use a silicone spatula or a dough scraper to gently scrape down the sides of the bread pan. This helps incorporate any flour or dough that may have stuck to the sides during the rising process.
- Mix the dough: With the dough still in the bread pan, start the mixing cycle on your bread machine. This involves a gentle mixing action that helps blend the dough ingredients together. The machine will usually run for a few minutes to ensure thorough mixing.
- Observe the texture: Pay attention to the texture of the dough as it mixes. It should be smooth, slightly sticky, and elastic. If the dough appears too dry or too wet, you can make adjustments by adding small amounts of water or flour at a time, as needed.
- Stop the mixing: Once the dough has been mixed to the desired consistency, stop the machine. Avoid overmixing the dough, as this can lead to a tougher texture in the final brioche.
By following these steps, you’ll ensure that all the ingredients in your brioche dough are well combined, resulting in a uniform texture and flavor throughout the bread.
Once you’ve completed the mixing process, you’re ready to move on to the next step – kneading the dough. This step helps develop the gluten in the dough, giving it structure and elasticity.
Continue to the next section for a detailed guide on kneading the dough for your brioche in a bread machine.
Step 3: Kneading the Dough
After the ingredients have been mixed together, the next step in making brioche in a bread machine is to knead the dough. Kneading develops the gluten in the dough, giving it structure and elasticity. Follow these steps to ensure a well-kneaded dough:
- Close the lid: Make sure the lid of your bread machine is securely closed before proceeding with the kneading process.
- Select the knead setting: Look for the knead setting on your bread machine. This setting is slightly more intense than the mixing setting and will knead the dough for a longer period of time. If your machine does not have a specific knead setting, use the bread setting instead.
- Start the kneading process: Press the start button on your bread machine to begin the kneading process. The machine will set off the kneading cycle, which usually lasts for about 15-20 minutes, but this can vary depending on the machine.
- Observe the dough: As the machine kneads, observe the dough’s texture and consistency. It should become more elastic and smooth as the gluten develops. The dough may stick to the sides initially, but as the kneading progresses, it should start to come away from the sides and form a ball in the bread pan.
- Adjust the dough if needed: If the dough is too sticky and not forming a ball, add a small amount of flour, one tablespoon at a time, until the dough comes together. On the other hand, if the dough is too dry and crumbly, add a little water, one tablespoon at a time, until the dough reaches the desired consistency.
- Monitor the kneading process: Keep an eye on the kneading process to ensure that the dough is properly kneaded but not overworked. Overkneading can lead to a dense and tough brioche. It’s best to rely on the timing provided by your bread machine, as it is specifically designed for optimal kneading.
Once the dough has been properly kneaded, it’s time to move on to the next step – proofing the dough. This step allows the dough to rise further and develop flavor before shaping and baking.
Continue to the next section for a detailed guide on proofing the dough for your brioche in a bread machine.
For a richer flavor, try adding a tablespoon of honey or a teaspoon of vanilla extract to your brioche dough before starting the bread machine.
Step 4: Proofing the Dough
After the dough has been kneaded, the next step in making brioche in a bread machine is to allow the dough to go through the proofing process. Proofing, also known as the fermentation process, is essential for the dough to rise and develop its flavor. Follow these steps for proper proofing of your brioche dough:
- Leave the dough in the bread machine: Once the kneading process is complete, there’s no need to remove the dough from the bread machine. Leave it in the machine’s bread pan as it goes through the proofing stage.
- Cover the dough: If your bread machine has a transparent window, it’s helpful to cover the dough with a clean kitchen towel or plastic wrap to protect it from drafts and to retain moisture. This creates an ideal environment for the yeast to ferment and for the dough to rise.
- Select the proofing setting: Look for the proofing setting on your bread machine. This setting provides a warm and consistent temperature to facilitate the dough’s rise. If your machine doesn’t have a specific proofing setting, select the lowest heat setting to create a gentle warming environment.
- Start the proofing process: Press the start button on your bread machine to begin the proofing process. The machine will maintain the set temperature, usually around 80°F to 90°F (26°C to 32°C), for the dough to rise. The proofing time can vary depending on the recipe and machine, but it typically takes around 1 to 2 hours.
- Check for proper rising: Check the dough periodically to monitor its rise. A well-proofed dough should roughly double in size and have a more airy and expanded appearance. However, be careful not to disturb the dough too much while checking, as this can hinder its rise.
- Wait for the specified proofing time: Follow the recommended proofing time provided in your specific bread machine recipe. Going beyond the recommended time can lead to overproofing, which may result in a collapsed or dense brioche bread.
Once the dough has proofed to its desired size, it’s time to move on to the next step – shaping the brioche. This step involves preparing the dough for its final baking form.
Continue to the next section for a detailed guide on shaping the brioche dough for your bread machine.
Step 5: Shaping the Brioche
After the brioche dough has proofed, it’s time to shape it into the desired form before baking. Shaping the dough properly will not only enhance its appearance but also affect the texture and overall presentation of the final brioche. Follow these steps to shape the brioche dough:
- Prepare your work surface: Lightly flour your work surface to prevent the dough from sticking while shaping.
- Gently deflate the dough: Using your hands or a silicone spatula, gently press down the dough to release any excess air that has built up during the proofing process.
- Determine your desired shape: Brioche can be shaped in various ways, such as into loaves, individual rolls, or the classic brioche à tête shape. Choose the shape that best suits your preference or recipe. For individual rolls, divide the dough into smaller portions of equal size.
- Shape the dough: To shape the dough into a loaf, start by rolling it up tightly, pinching the seams to seal. Place the shaped dough into a greased or parchment-lined loaf pan. For brioche à tête or rolls, divide the dough into portions and shape each portion into a ball by rolling it between your hands. Place the shaped dough on a greased or parchment-lined baking sheet.
- Consider an egg wash: For a shiny and golden crust, you can brush the surface of the shaped brioche with an egg wash. Beat an egg with a splash of water or milk and lightly brush it over the dough. This step is optional but can enhance the visual appeal of the final brioche.
- Cover and allow for a final rise: Once the dough has been shaped, cover it loosely with a clean kitchen towel or plastic wrap. This final rise, also known as the proofing or second rise, allows the dough to relax and further increase in size for enhanced flavor and texture. The time needed for the final rise can vary; typically, it takes around 30 minutes to 1 hour.
After the final rise, the brioche dough is ready to be baked. In the next step, we’ll discuss the baking process to ensure a perfectly baked and delicious brioche.
Continue to the next section for a detailed guide on baking the brioche in your bread machine.
Read more: How To Make Sourdough In Bread Machine
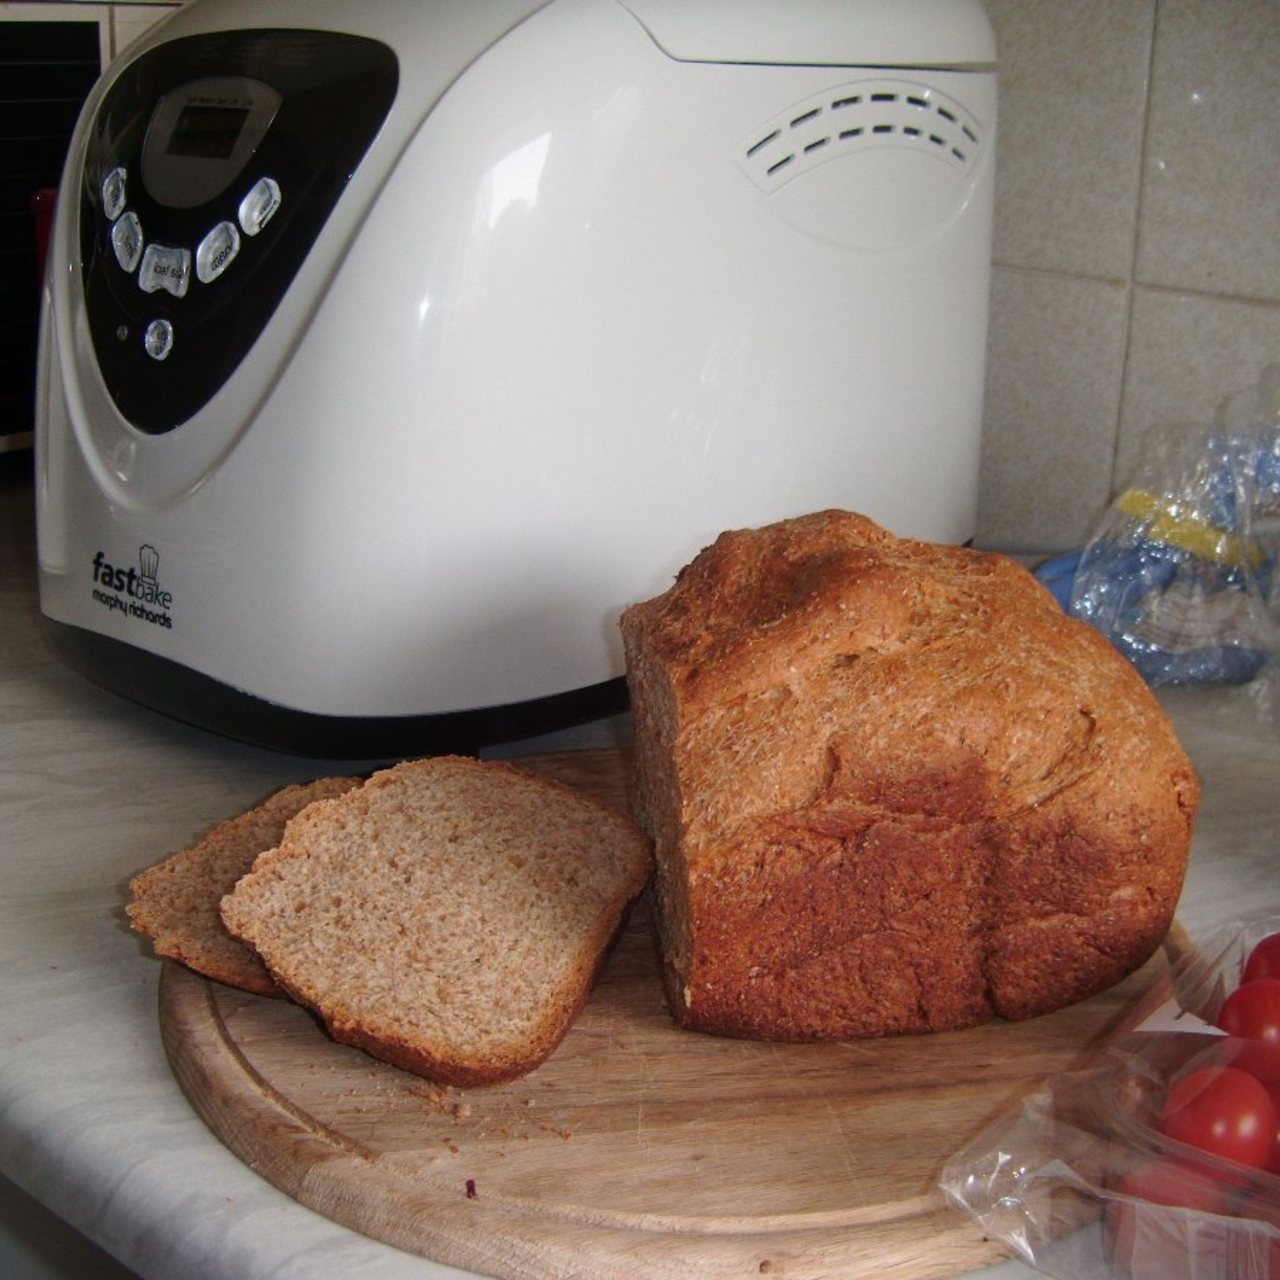
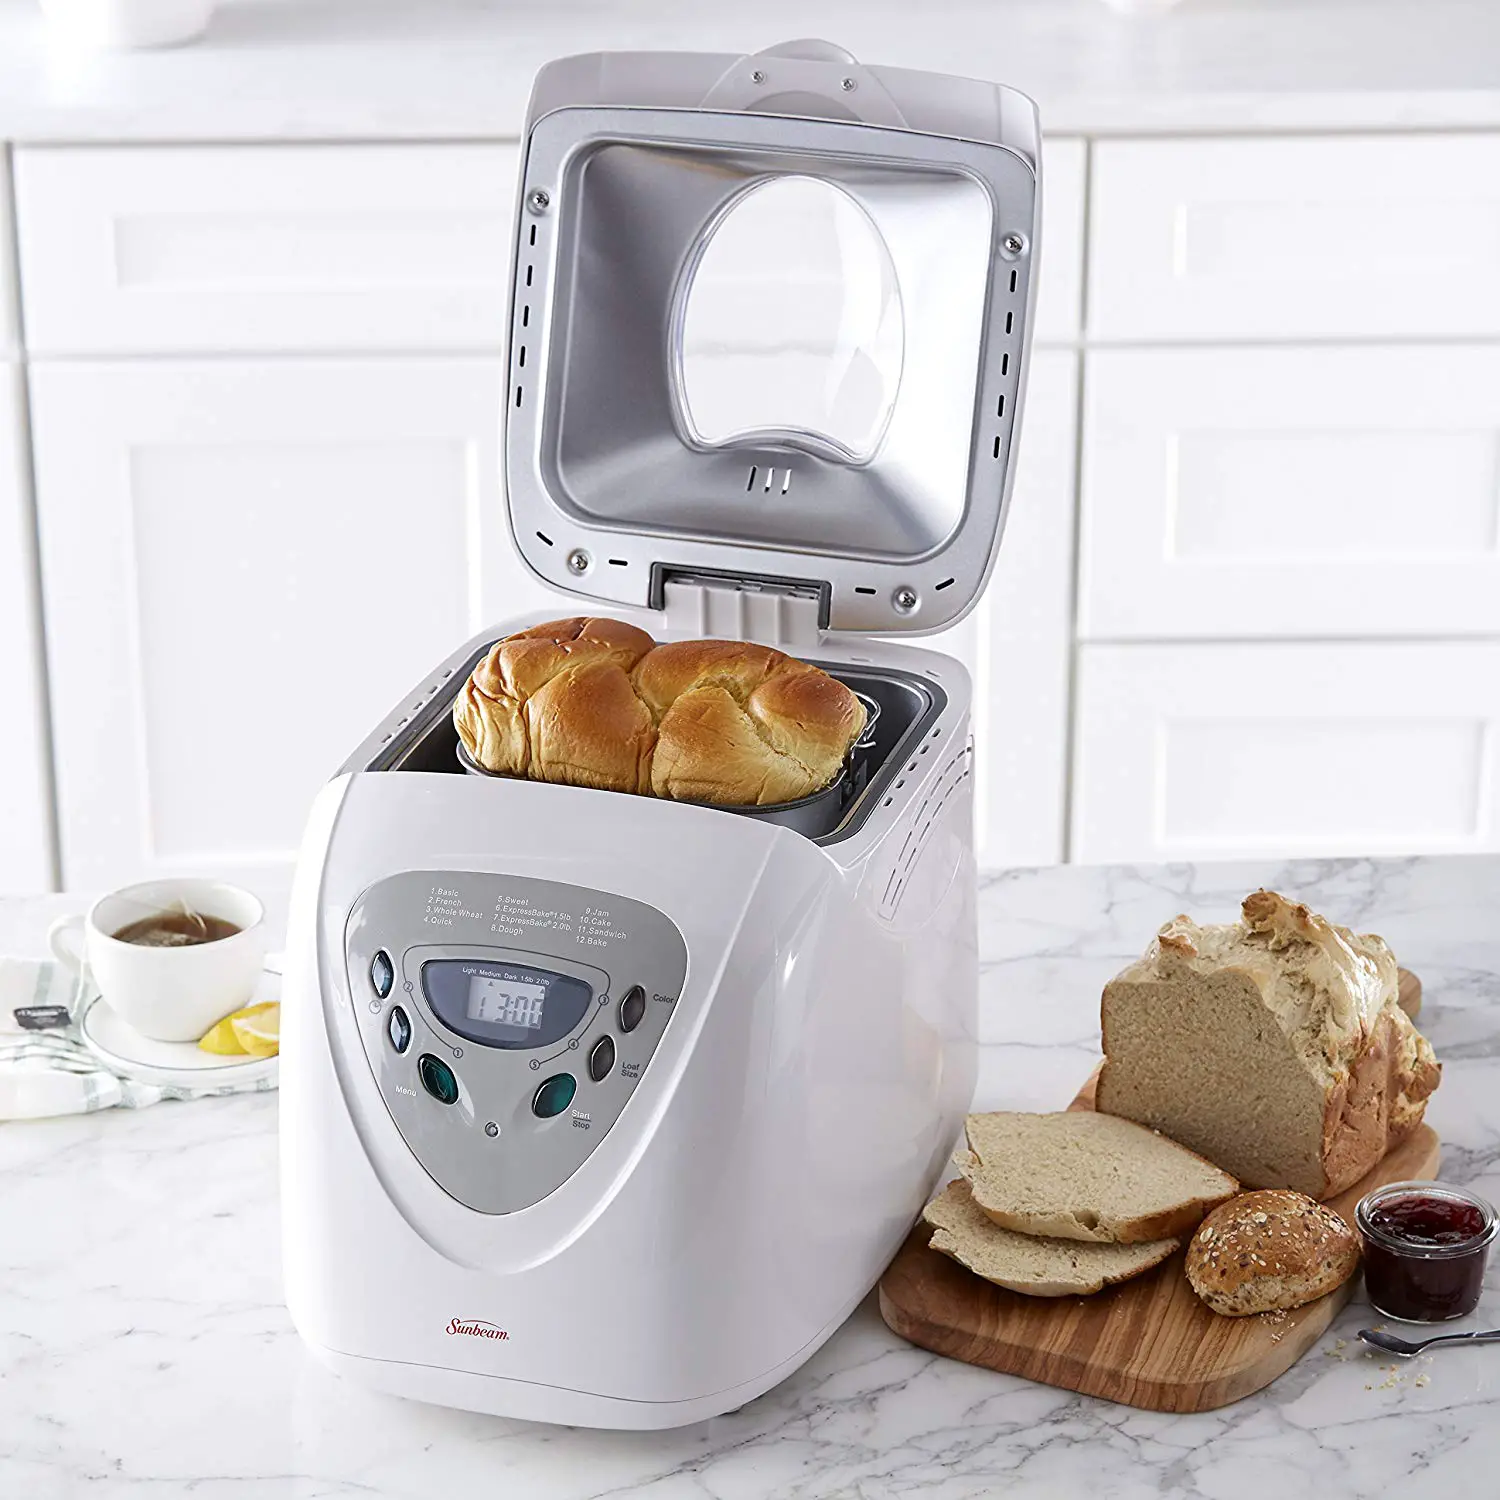
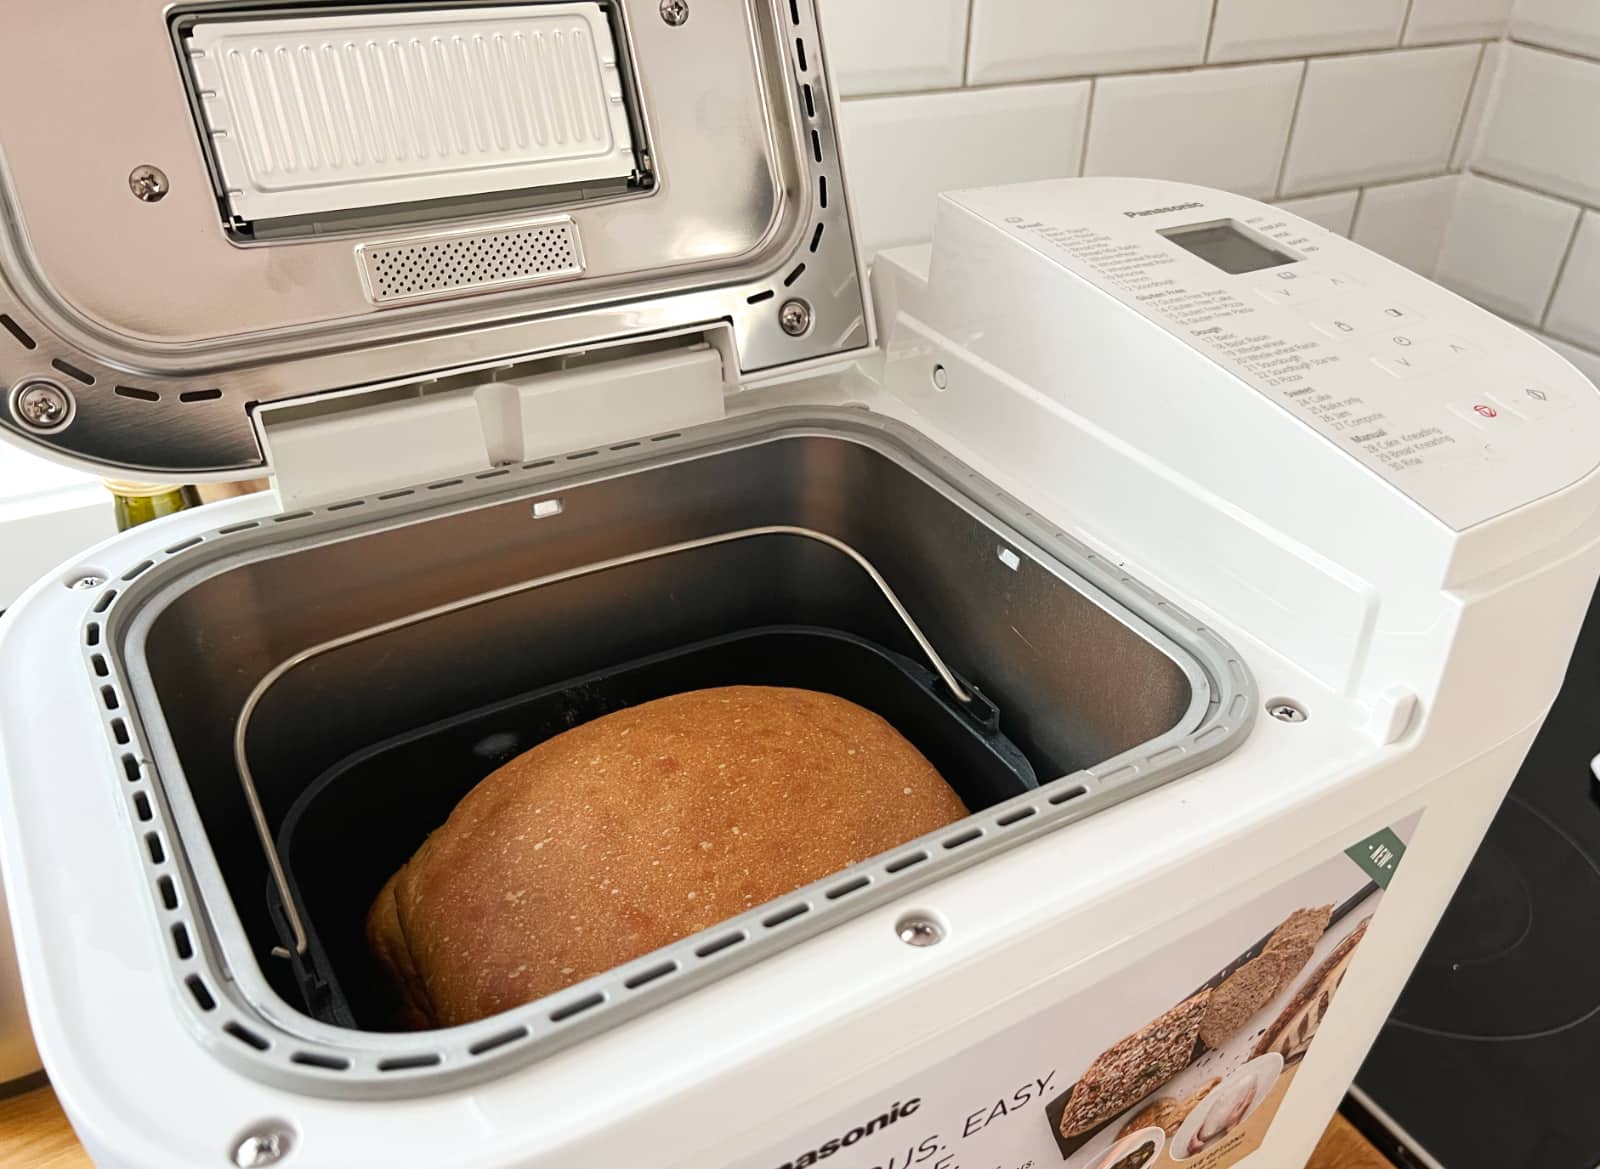
Step 6: Baking the Brioche
After the brioche dough has undergone its final rise and is shaped, it’s time to bake it to perfection. Baking the brioche will transform it into a golden, delicious loaf with a delightful aroma. Follow these steps to ensure a successful baking process:
- Preheat your oven: Preheat your oven to the temperature specified in your brioche recipe. Typically, brioche is baked at around 375°F to 400°F (190°C to 200°C), but this may vary depending on your specific recipe.
- Place the dough in the oven: Carefully transfer the shaped brioche dough into the preheated oven. If you’re using a loaf pan, place it on the middle rack of the oven. If you’re baking individual rolls, leave some space between them on a baking sheet.
- Bake for the recommended time: Bake the brioche dough for the time indicated in your recipe. The baking time can range from 20 minutes for individual rolls to 30-40 minutes for a larger loaf. Keep an eye on the brioche as it bakes, and adjust the time accordingly if needed.
- Check for doneness: To ensure the brioche is fully baked, insert a toothpick or skewer into the center. If it comes out clean or with only a few crumbs clinging to it, the brioche is ready. It should also have a golden brown color and a hollow sound when tapped gently on the bottom.
- Remove from the oven: Once the brioche is fully baked, carefully remove it from the oven using oven mitts or a heatproof glove. Transfer the baked brioche to a wire rack to cool completely before slicing.
Allowing the brioche to cool completely before slicing helps retain its shape and prevents it from becoming too crumbly. Once cooled, you can slice the brioche and enjoy it as is, or serve it toasted with butter and jam for a delightful treat.
Now that your brioche is baked to perfection, it’s time to move on to the final step – cooling and enjoying your homemade brioche.
Continue to the next section for guidance on cooling and savoring the brioche.
Step 7: Cooling and Enjoying the Brioche
After the brioche has been baked to a golden perfection, proper cooling is essential to preserve its texture and flavor. Follow these steps to ensure your brioche cools properly and is ready to be enjoyed:
- Cool on a wire rack: Transfer the baked brioche from the baking pan or sheet onto a wire rack. This allows air to circulate around the bread, preventing the bottom from becoming soggy.
- Allow to cool completely: It’s tempting to enjoy the warm, freshly baked brioche immediately, but it’s crucial to let it cool completely before slicing. This can take anywhere from 1 to 2 hours, depending on the size of the brioche.
- Store properly: Once completely cooled, store the brioche in an airtight container or a ziplock bag to maintain its freshness. If the brioche is sliced, place a piece of parchment paper between each slice to prevent them from sticking together.
- Serve and savor: When you’re ready to enjoy your homemade brioche, simply slice a piece and savor its buttery, delightful flavors. Brioche can be enjoyed as is, or you can toast it lightly for an added crispness and serve it with your favorite spreads or toppings.
- Experiment with variations: Brioche is a versatile bread that can be customized to suit different preferences. You can add fillings such as chocolate chips, raisins, or nuts to the dough before shaping it. Additionally, you can top the unbaked brioche with a sprinkle of sugar or a glaze for added sweetness.
Whether enjoyed as a breakfast treat, a snack, or as part of a delicious meal, homemade brioche is a delightful and rewarding creation. Share your delectable brioche with family and friends, or savor it on your own with a cup of tea or coffee.
By following these steps, you can successfully make brioche in a bread machine and experience the joy of baking a classic and delicious bread right in your own kitchen.
Now that you have the knowledge and steps to make perfect brioche, it’s time to start creating your own homemade masterpiece. Happy baking and enjoy your delicious brioche!
Note: Remember to always refer to the instruction manual of your specific bread machine for any additional guidance or settings specific to your machine.
Tips for Making Perfect Brioche in a Bread Machine
While making brioche in a bread machine is a convenient and straightforward process, there are a few tips to keep in mind to ensure you achieve the best results. Follow these tips to make perfect brioche in your bread machine:
- Use fresh, high-quality ingredients: To achieve the best flavor and texture, use fresh eggs, good-quality butter, and fresh yeast. The quality of your ingredients will directly impact the taste of the final brioche.
- Measure the ingredients accurately: Use a kitchen scale to measure the ingredients precisely. Baking is a science, and accurate measurements are crucial for consistent results.
- Follow the instructions of your bread machine: Each bread machine may have specific settings and instructions. Read the manual thoroughly and follow the recommended steps for making brioche in your specific machine.
- Monitor the dough consistency: Pay attention to the texture of the dough during mixing and kneading. Ideally, it should be smooth, slightly sticky, and elastic. Adjust the dough if it’s too dry or too wet by adding small amounts of flour or water.
- Do not overmix or overknead: Overmixing or overkneading the dough can result in a dense and tough brioche. Follow the recommended timings on your bread machine and avoid prolonged mixing or kneading.
- Properly proof the dough: Allow the dough to go through the proofing process until it doubles in size. This ensures proper fermentation, development of flavors, and a lighter texture in the final brioche.
- Avoid opening the bread machine during baking: It’s tempting to check on the progress of your brioche during baking, but avoid opening the machine while it’s in operation. Opening the lid can disturb the baking process and affect the final outcome.
- Cool the brioche completely before slicing: It’s important to let the brioche cool completely on a wire rack before slicing. This allows the bread to set and retain its structure, resulting in cleaner slices and better overall texture.
- Experiment with flavors and shapes: Brioche is a versatile bread, so don’t be afraid to get creative. Add chocolate chips, dried fruits, or other flavorings to the dough. You can also try shaping the brioche into different forms, such as rolls or small individual buns.
- Enjoy the brioche fresh: Brioche is best enjoyed fresh on the day it’s made. If you have leftovers, store them properly in an airtight container to maintain their freshness. You can also freeze the brioche for longer storage.
By following these tips, you’ll be well-equipped to make perfect brioche in your bread machine. Enjoy the process of making this classic French bread and delight in the irresistible taste and aroma of your homemade brioche.
Now that you have these tips at your disposal, it’s time to put them to use and create your own delicious brioche right in the comfort of your home.
Happy baking and enjoy your scrumptious brioche!
Note: The tips provided in this article are general guidelines. Always refer to the specific instructions and recommendations provided by your bread machine manufacturer for optimal results.
Conclusion
Congratulations! You’ve learned how to make brioche in a bread machine, a convenient and efficient way to create this delectable French bread in your own kitchen. By following the step-by-step process, understanding the ingredients and their roles, and utilizing the tips provided, you can now confidently embark on your brioche-baking journey.
Brioche is a bread that delights the senses with its rich, buttery flavor, tender crumb, and golden crust. With a bread machine, you can effortlessly recreate this indulgent treat without the need for complicated kneading, mixing, or proofing by hand.
Throughout this article, you’ve discovered the benefits of using a bread machine, learned about the key ingredients required, and mastered each step of the process – from preparing and mixing the dough to kneading, proofing, shaping, and finally baking the brioche to perfection.
Remember, precision is key when it comes to baking. So make sure to measure your ingredients accurately, monitor the dough’s consistency, and follow the instructions provided by your specific bread machine. These details will contribute to the consistent and delicious results you desire.
Once your heavenly brioche has finished baking, be patient and let it cool completely before slicing. This will ensure that you enjoy a bread with the ideal texture and flavor. Whether you choose to enjoy your brioche as is or enhance it with your favorite spreads or fillings, the final result will be a delightful treat for any occasion.
Now, armed with your newfound knowledge of making brioche in a bread machine, it’s time to unleash your creativity. Experiment with flavors, fillings, and shapes to add your own personal touch to this classic bread.
So, roll up your sleeves, gather your ingredients, and let the aroma of freshly baked brioche fill your home. With your bread machine as your trusty companion, you’re ready to embark on a delicious brioche-baking adventure that will impress friends, family, and yourself.
Happy baking, and enjoy the mouthwatering rewards of your homemade brioche!
Frequently Asked Questions about How To Make Brioche In A Bread Machine
Was this page helpful?
At Storables.com, we guarantee accurate and reliable information. Our content, validated by Expert Board Contributors, is crafted following stringent Editorial Policies. We're committed to providing you with well-researched, expert-backed insights for all your informational needs.


0 thoughts on “How To Make Brioche In A Bread Machine”