Articles
How To Make Raisin Bread In A Bread Machine
Modified: January 7, 2024
Learn how to make delicious and fluffy raisin bread in your bread machine with this step-by-step guide. Enjoy warm, homemade bread with juicy raisins using simple ingredients.
(Many of the links in this article redirect to a specific reviewed product. Your purchase of these products through affiliate links helps to generate commission for Storables.com, at no extra cost. Learn more)
Introduction
Welcome to the world of homemade bread! There’s something incredibly satisfying about the aroma of freshly baked bread wafting through your home. And with a bread machine, it’s even easier to whip up a delicious loaf of raisin bread without all the fuss and hassle.
Raisin bread is a classic favorite, with its soft and fluffy texture, and bursts of sweet and chewy raisins in every bite. Making it in a bread machine ensures that you’ll achieve consistent, mouth-watering results every time.
In this article, I’ll guide you through the step-by-step process of making raisin bread in a bread machine. We’ll cover everything from gathering the ingredients to removing the finished loaf from the machine. So, let’s get started and create a delightful loaf of raisin bread that will impress your family and friends!
But first, let’s take a look at the ingredients you’ll need.
Key Takeaways:
- Enjoy the delightful process of making homemade raisin bread in a bread machine, from setting up to adding ingredients and monitoring the dough. The sweet aroma and mouthwatering results are worth the effort!
- With the right ingredients and proper setup, creating a delicious loaf of raisin bread in a bread machine is a breeze. Embrace the joy of homemade baking and savor every slice of warm, fragrant goodness.
Read more: How To Make Dough In Bread Machine
Ingredients
To make a flavorful and scrumptious loaf of raisin bread, you’ll need the following ingredients:
- 2 cups all-purpose flour
- 2 tablespoons granulated sugar
- 1 teaspoon salt
- 1 teaspoon active dry yeast
- 2 tablespoons unsalted butter, softened
- 1/2 cup warm water
- 1/4 cup warm milk
- 1/2 cup raisins
These common pantry staples are all you need to create this delightful treat. Make sure you have them on hand before you start.
Now that we have our ingredients ready, let’s move on to setting up the bread machine.
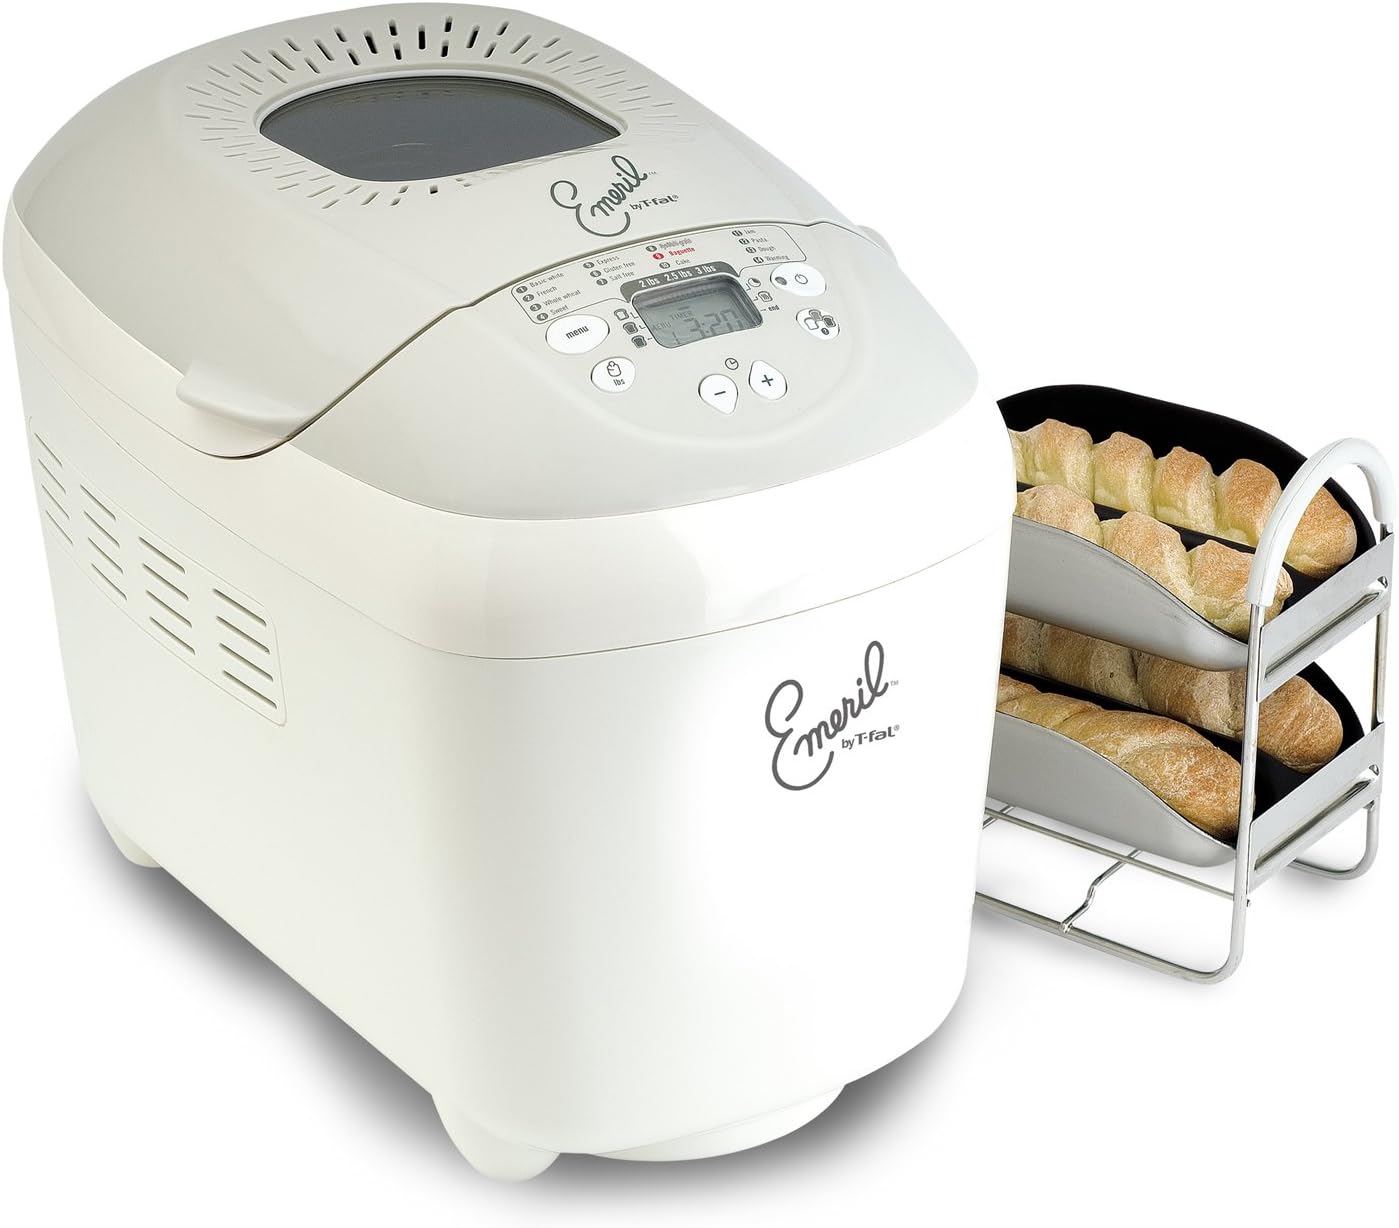
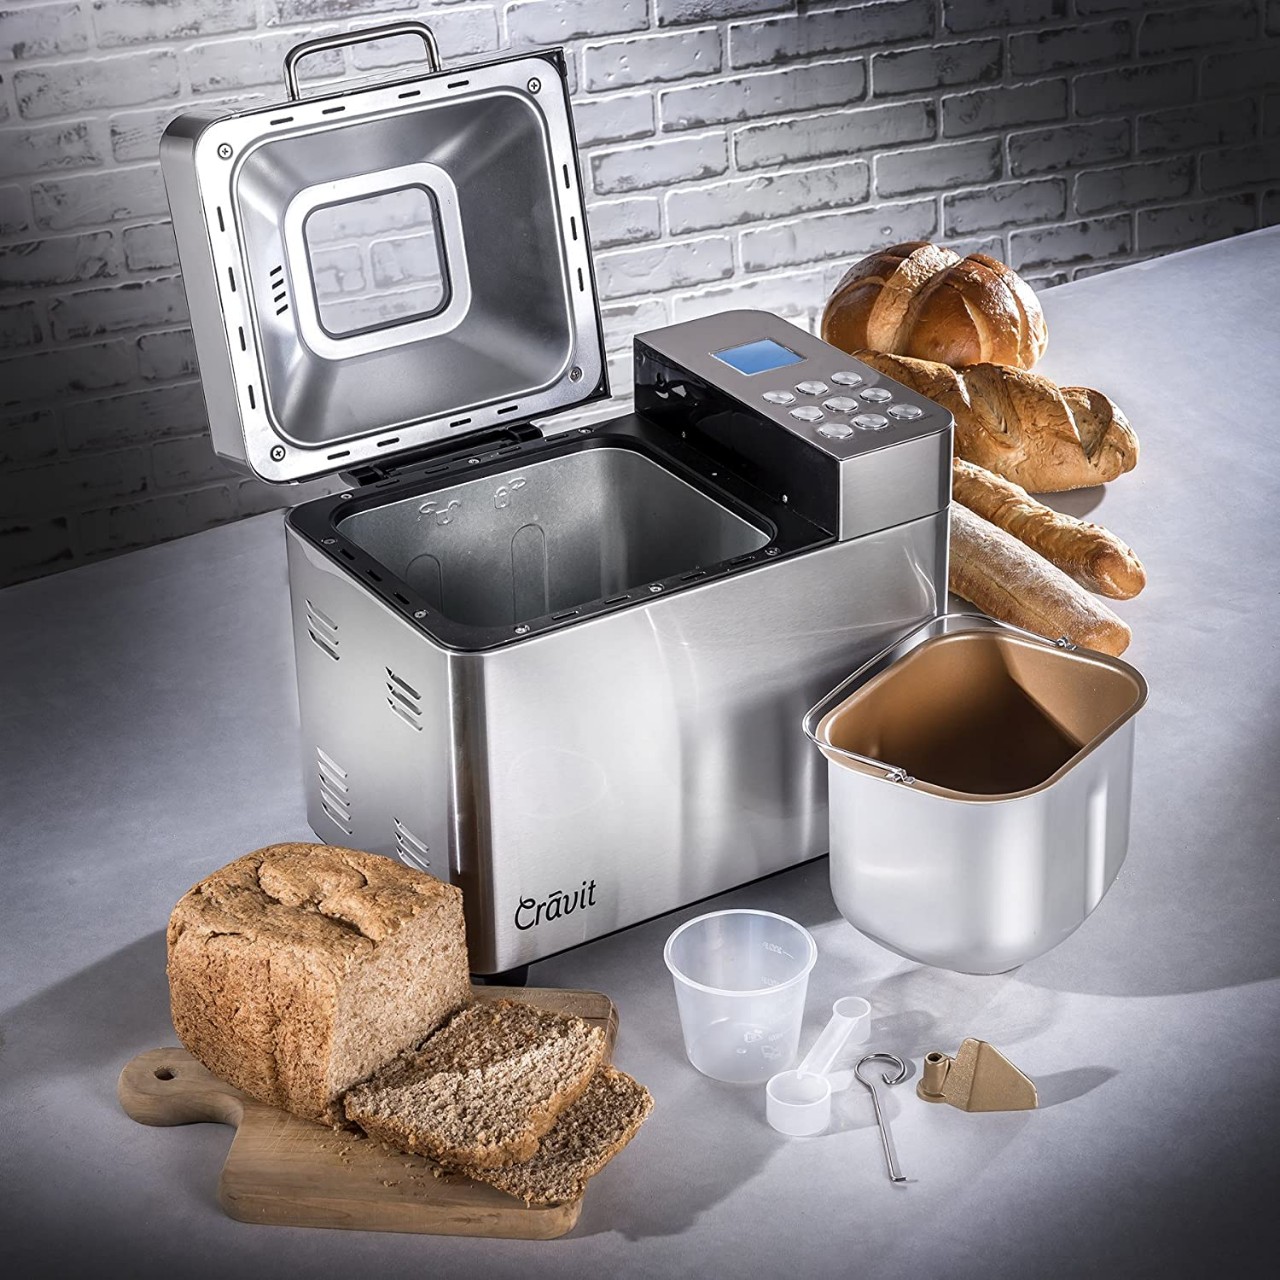
Setting up the bread machine
Before we start making our raisin bread, it’s important to properly set up the bread machine. Here are the steps:
- Read the instruction manual: Familiarize yourself with the specific functions and settings of your bread machine. Each model may have different options and requirements.
- Clean the bread pan: Ensure that the bread pan is clean and free from any residue or crumbs. This will ensure optimal baking results.
- Attach the kneading paddle: Place the kneading paddle securely into the bread pan. It will be responsible for kneading the dough as it mixes.
- Close the lid: Ensure that the lid of the bread machine is securely closed. This will keep the ingredients and dough contained during the baking process.
- Plug in the machine: Connect the bread machine to a power source. Double-check that it is properly plugged in.
Once you have set up your bread machine, it’s time to add the ingredients and start the bread-making process. Let’s move on to the next step.
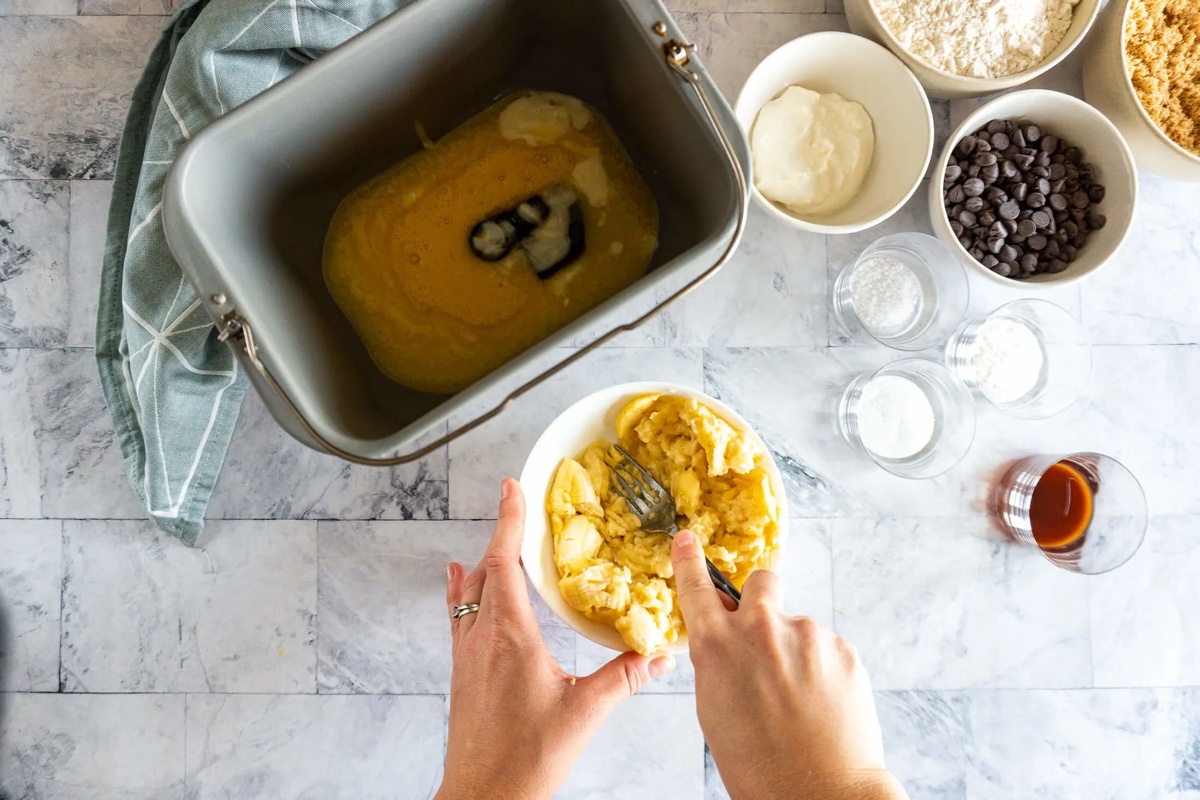
Adding the ingredients
Now that your bread machine is all set up, it’s time to add the ingredients to create your delicious raisin bread. Follow these steps:
- Combine dry ingredients: In a mixing bowl, whisk together the all-purpose flour, granulated sugar, salt, and active dry yeast. This will ensure that the dry ingredients are evenly distributed throughout the dough.
- Add wet ingredients: In a separate bowl, mix together the softened unsalted butter, warm water, and warm milk. Stir until the butter is fully incorporated.
- Combine everything: Pour the wet ingredients into the bread machine’s pan, then add the dry ingredients on top. Ensure that the dry ingredients completely cover the wet ingredients, creating a layer.
It’s important to keep the wet and dry ingredients separate until you’re ready to start the bread machine. This will prevent the yeast from activating too soon and ensure proper rising of the dough.
Now that the ingredients are in place, let’s move on to selecting the desired settings on your bread machine.
Selecting the desired settings
Once the ingredients are added to the bread machine’s pan, it’s time to select the desired settings. Different bread machines may have slightly different options, but here are the general steps:
- Choose the bread type: Select the program that corresponds to a basic or white bread recipe. This setting typically includes a medium-sized loaf with a standard baking time.
- Select the crust color: Choose your preferred crust color. Options may include light, medium, or dark. Consider your personal taste preference when making this selection.
- Adjust the loaf size: Determine the size of the loaf you want to make. Most bread machines offer options for small, medium, or large loaves. Select the size that suits your needs.
- Optional settings: Some bread machines may have additional settings like a delay timer or a rapid bake option. Explore these features based on your preferences and time constraints.
Make sure to refer to your bread machine’s instruction manual for specific details about the available settings and recommended baking times for different bread types.
With the settings in place, it’s time to start the bread machine and allow it to work its magic. Let’s move on to the next step!
Read more: How To Make Sourdough In Bread Machine
Starting the bread machine
With the desired settings selected, it’s time to start the bread machine and let it do its job of mixing, kneading, rising, and baking the raisin bread. Here’s how to get it started:
- Double-check the settings: Before you press the start button, review the settings one last time to ensure they are accurate and aligned with your preferences.
- Close the lid: Ensure that the lid of the bread machine is securely closed to maintain the ideal baking environment for the dough.
- Press the start button: Once you’re satisfied with the settings, press the start button to initiate the bread-making cycle.
- Observe the process: As the bread machine begins to work, you will be able to observe different stages of the bread-making process, such as mixing, kneading, rising, and eventually, the baking of the bread.
It’s important to resist the temptation to open the bread machine’s lid during the cycle. Opening the lid may disrupt the baking process and affect the final outcome of the bread.
Now that the bread machine is running, let’s move on to the next step of monitoring the dough as it progresses.
Add the raisins to the bread machine during the last kneading cycle to prevent them from being crushed. This will help to ensure that the raisins are evenly distributed throughout the bread.
Monitoring the dough
While the bread machine is doing most of the work, it’s still important to monitor the dough’s progress to ensure everything is going smoothly. Here are a few key points to keep in mind:
- Check the dough consistency: As the machine kneads the dough, take a peek inside the bread pan to ensure that the dough is coming together nicely. It should form a smooth and elastic ball that’s slightly sticky to the touch. If the dough appears dry or too wet, you may need to adjust the water or flour accordingly.
- Listen for any unusual sounds: The bread machine will produce a series of sounds throughout the baking cycle, including mixing, kneading, and motor noises. While some mild noises are normal, be alert to any unusual or loud noises that could indicate a problem with the machine.
- Observe the rising process: As the dough undergoes its rising stage, keep an eye on the progress. The dough should double in size and fill the bread pan. If the dough fails to rise adequately, it may be due to issues with yeast activation or temperature, and adjustments may be needed for future batches.
Remember, each bread machine may have slightly different timings depending on the selected program and settings. Refer to your machine’s manual for approximate times for each stage of the bread-making process.
With the dough progressing nicely, it’s almost time to add the raisins. Let’s move on to the next step.
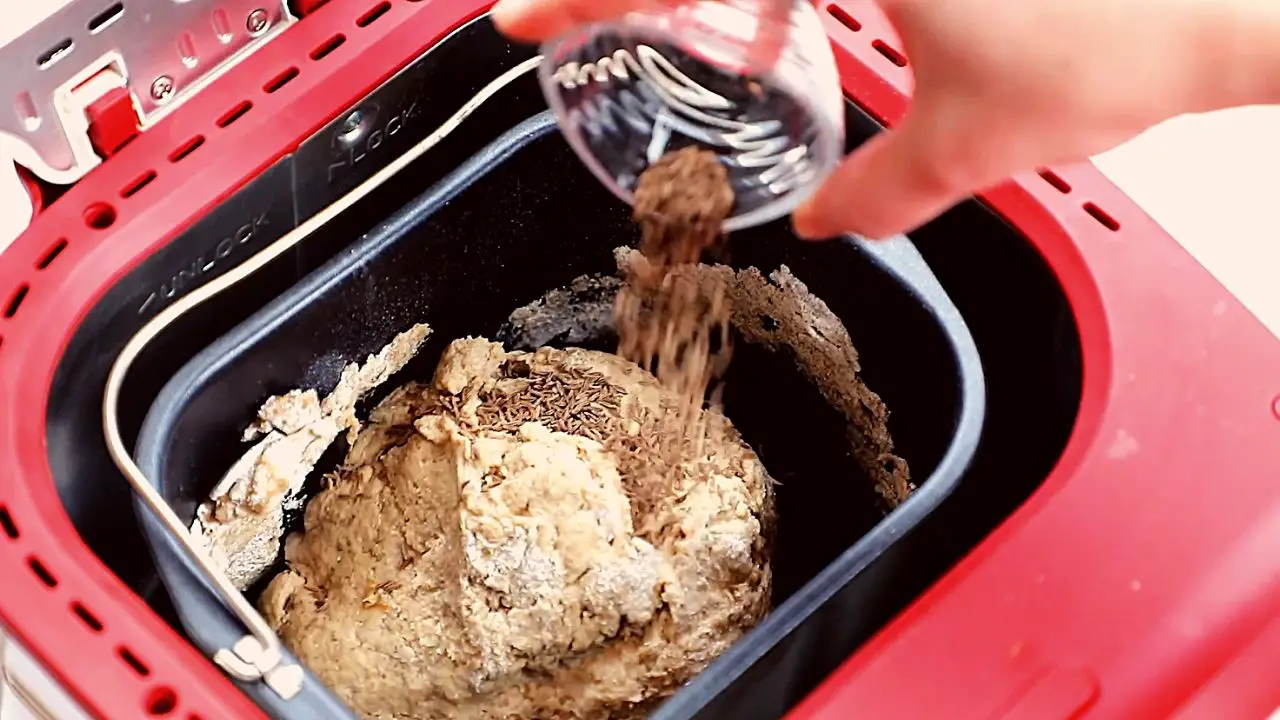
Adding the raisins
Now that the dough is well on its way to becoming a delicious loaf of raisin bread, it’s time to add the star ingredient – the raisins! Here’s how to incorporate them into the dough:
- Timing is key: Most bread machines have a designated time to add mix-ins like raisins. Refer to your bread machine’s manual to know the optimal time for adding the raisins.
- Pause the machine: When the time comes to add the raisins, pause the bread machine. This will allow you to open the lid and add the raisins without interrupting the entire bread-making cycle.
- Add the raisins: Sprinkle the desired amount of raisins evenly over the dough. It’s best to gently press them into the dough to ensure they are well-distributed.
- Resume the cycle: Close the lid and resume the bread machine cycle. The machine will continue with the remaining stages, including further kneading, rising, and baking.
Adding raisins to the dough takes this bread to a new level of deliciousness. Their sweet and chewy texture complements the softness of the loaf, making each bite a delightful experience.
Now that the raisins are incorporated, it’s time to let the bread machine work its magic and bake the bread to perfection. Let’s move on to the next step – the baking process.
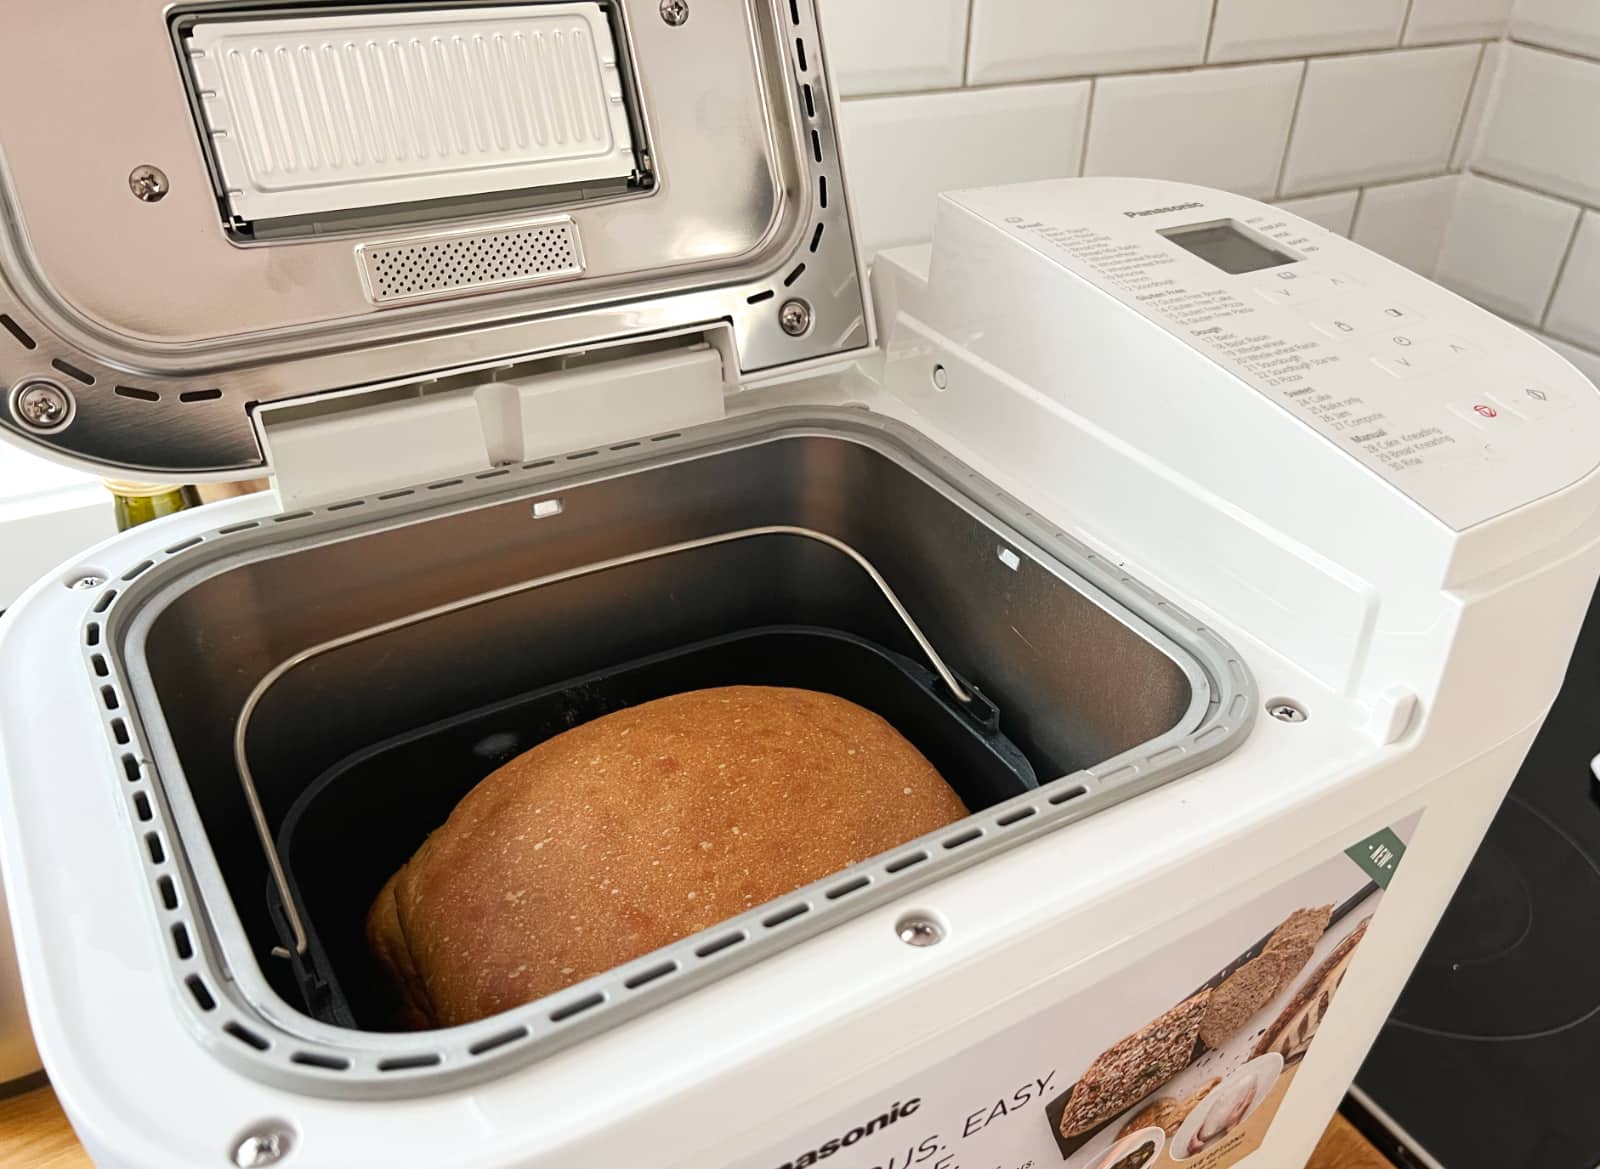
Baking the bread
After patiently waiting through the mixing, kneading, rising, and adding the raisins, it’s time for the bread machine to move into the final stage of the baking process. Here’s what you need to know:
- Baking cycle begins: Once the dough has completed its rising phase, the bread machine will automatically transition into the baking cycle. This is where the magic happens and your raisin bread begins to transform into a golden-brown loaf.
- Maintain patience: During the baking process, it’s important to resist the urge to open the lid and check on the bread. Opening the lid can cause a significant loss of heat, which can result in uneven baking or even a collapsed loaf.
- Estimated baking time: Depending on your bread machine and the selected settings, the baking time will vary. Typically, the bread machine will take anywhere from 2 to 3 hours to fully bake the bread. Refer to your machine’s manual for a more accurate estimate.
- Delicious aroma and golden crust: As the bread bakes, your home will be filled with the irresistible aroma of freshly baked raisin bread. Keep an eye on the color of the crust – it should turn a beautiful golden-brown when it’s perfectly done.
While the bread machine takes care of the baking process, you can anticipate the mouthwatering results that await you. Just a little more patience, and soon you’ll have a warm, fragrant loaf of raisin bread ready to be enjoyed!
Now, let’s move on to the final step of removing the bread from the machine.
Read more: How To Make Yogurt In A Bread Machine
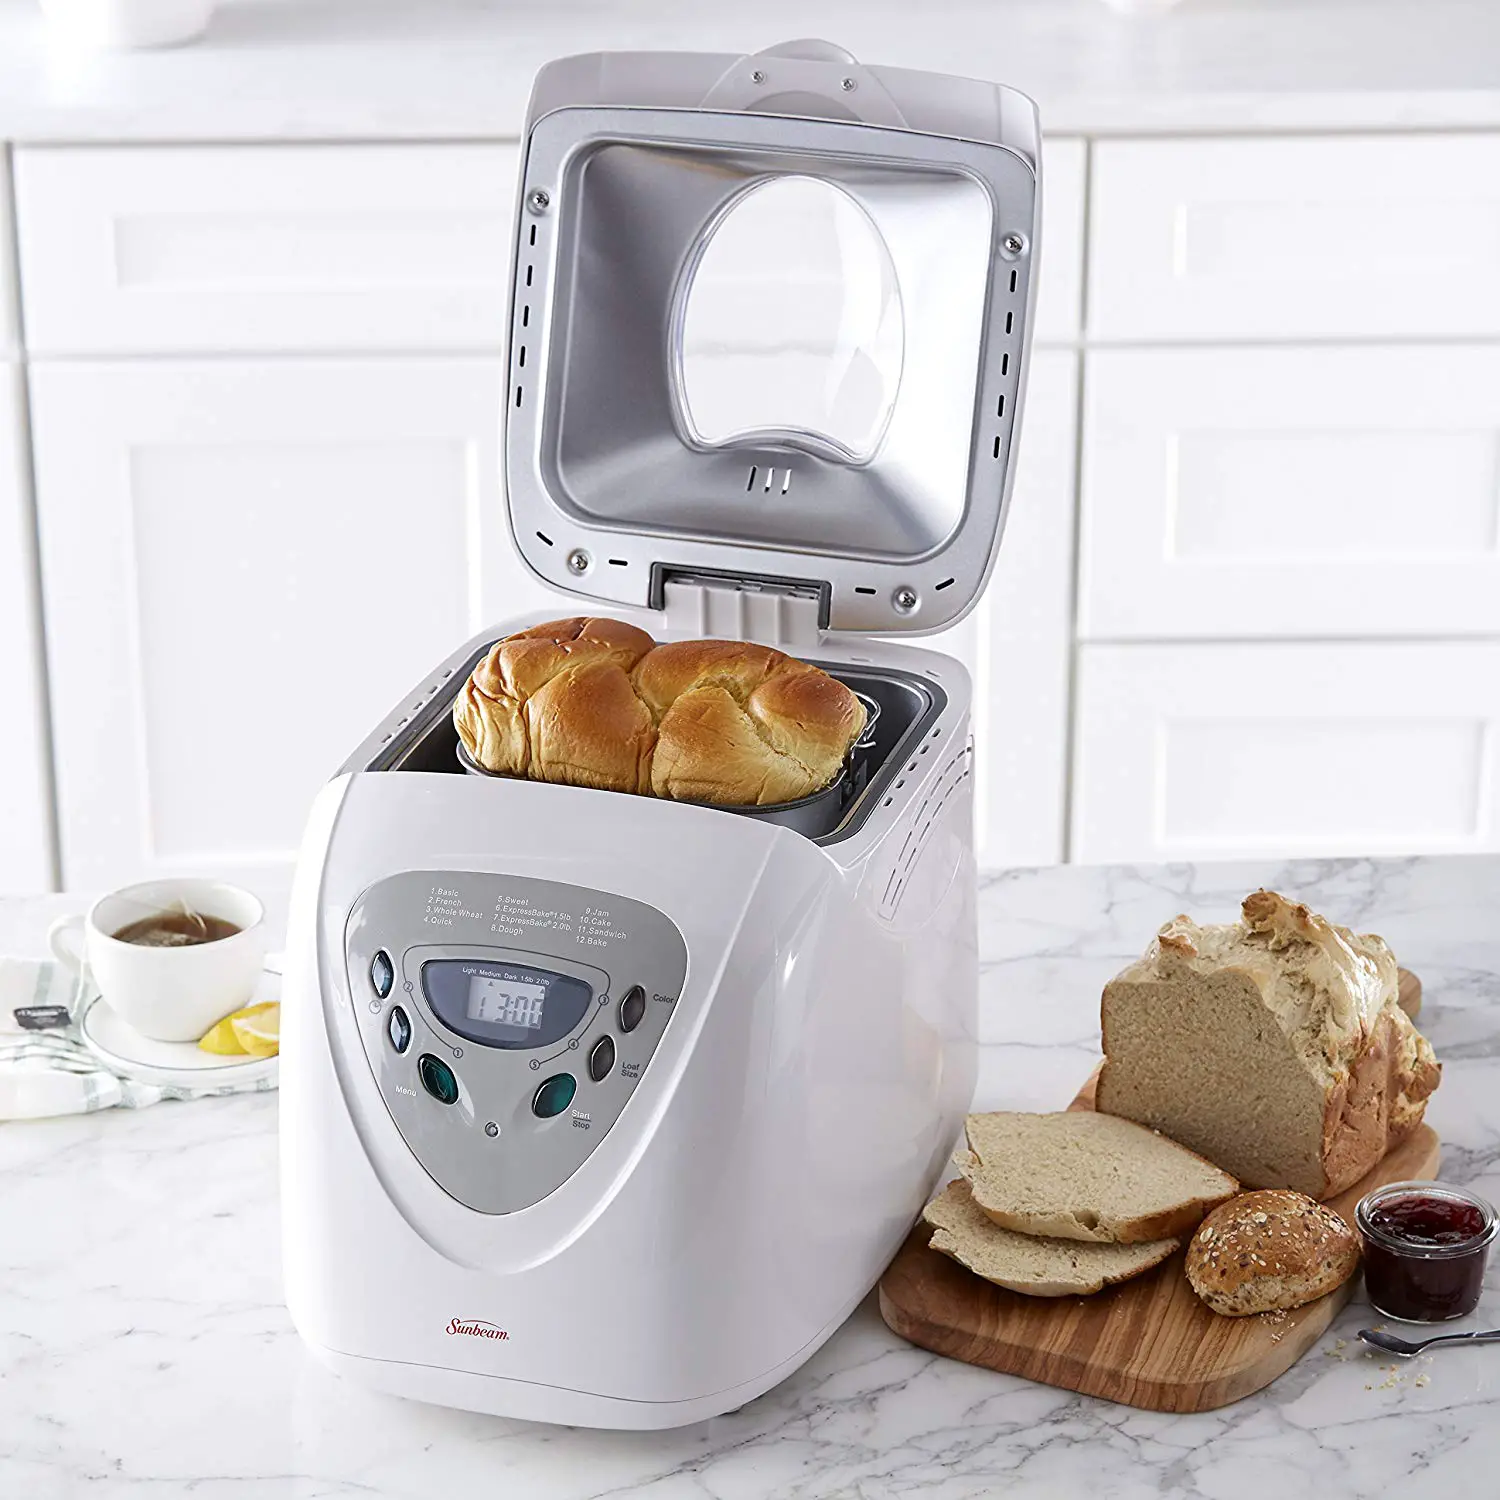
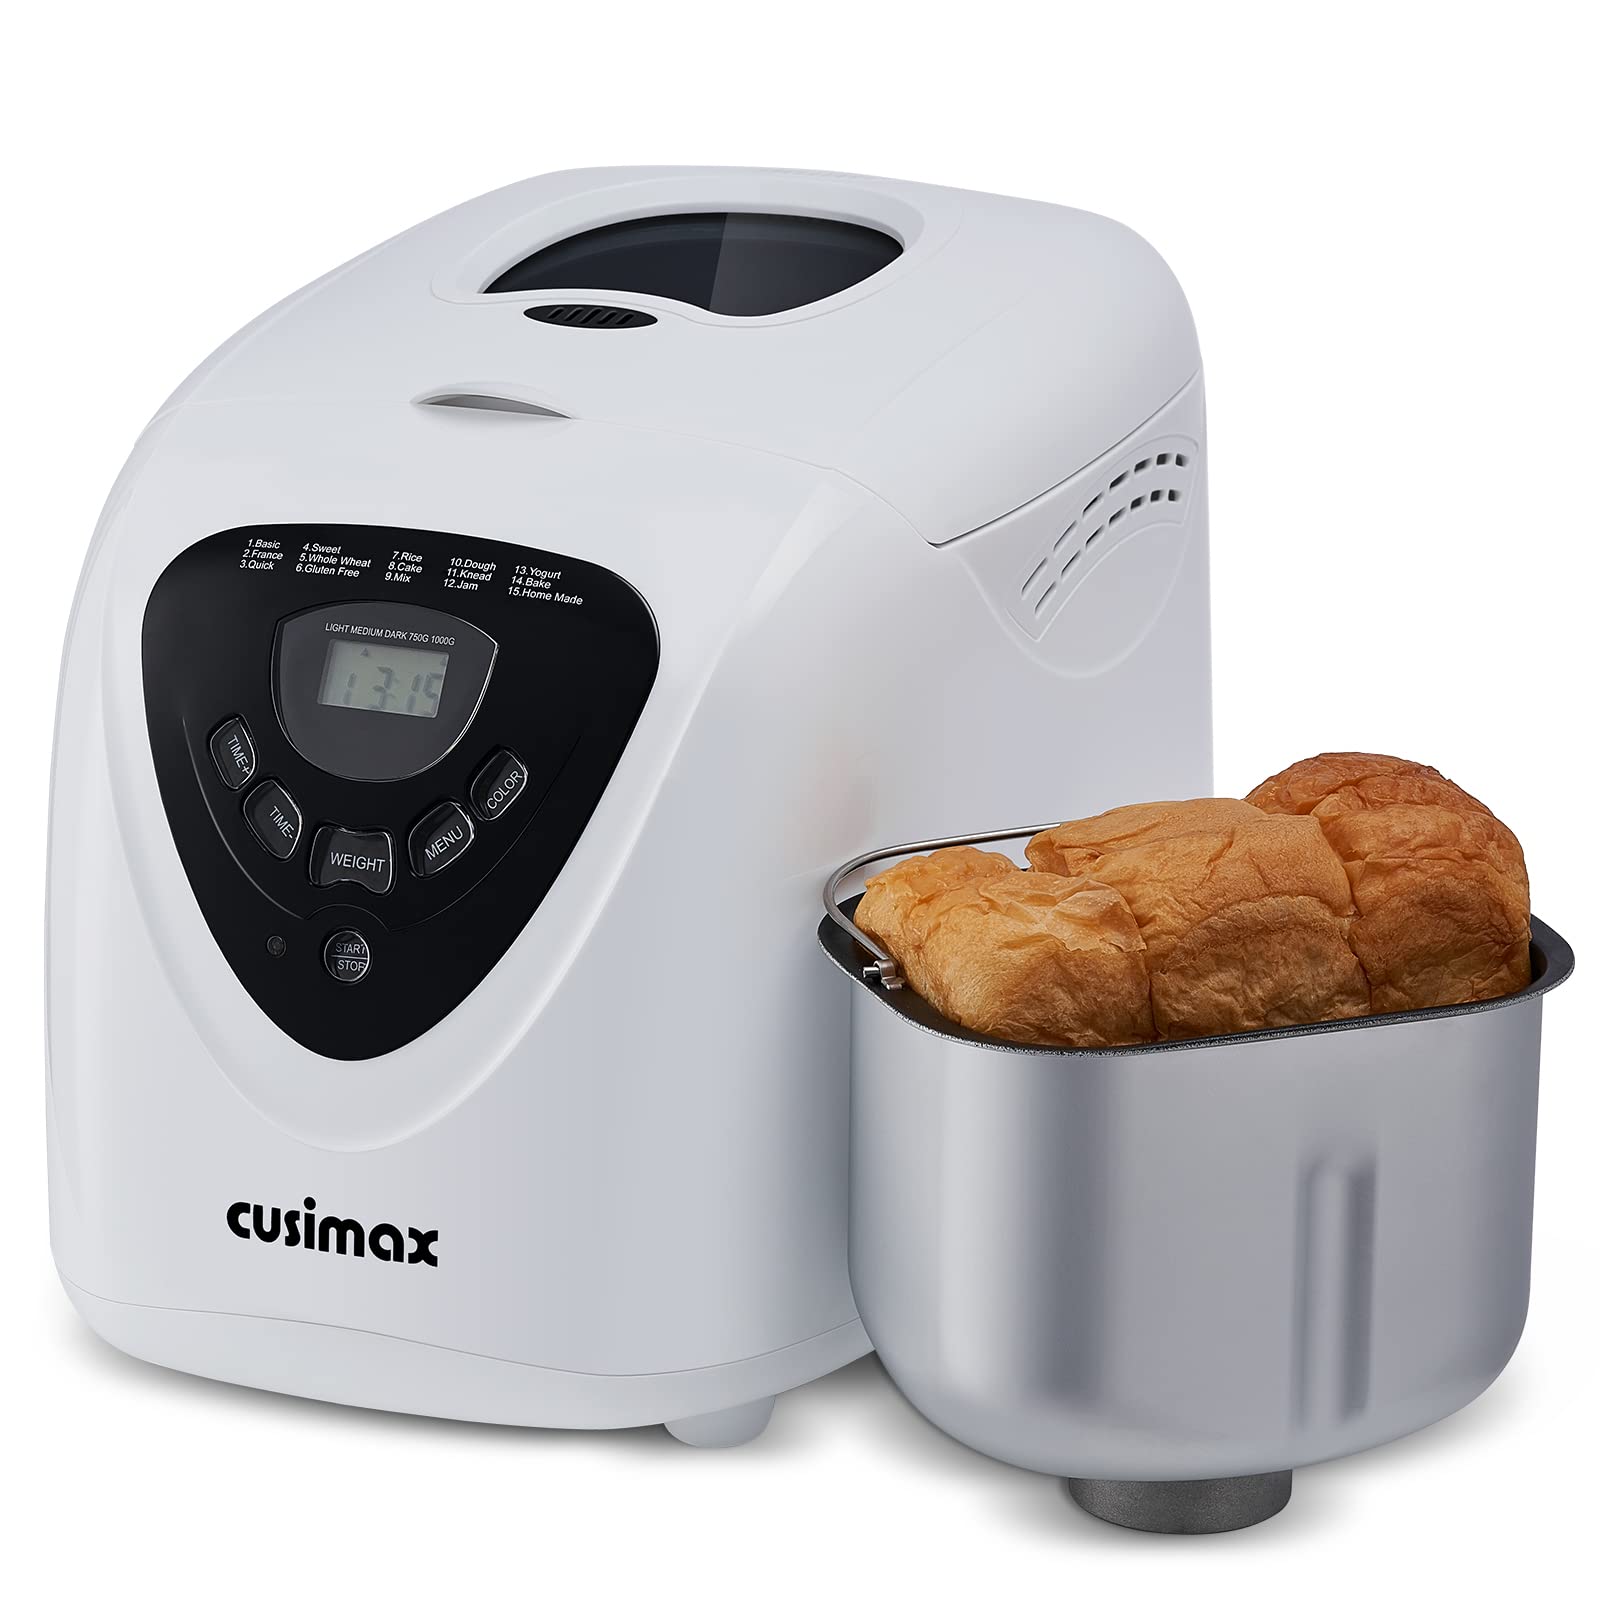
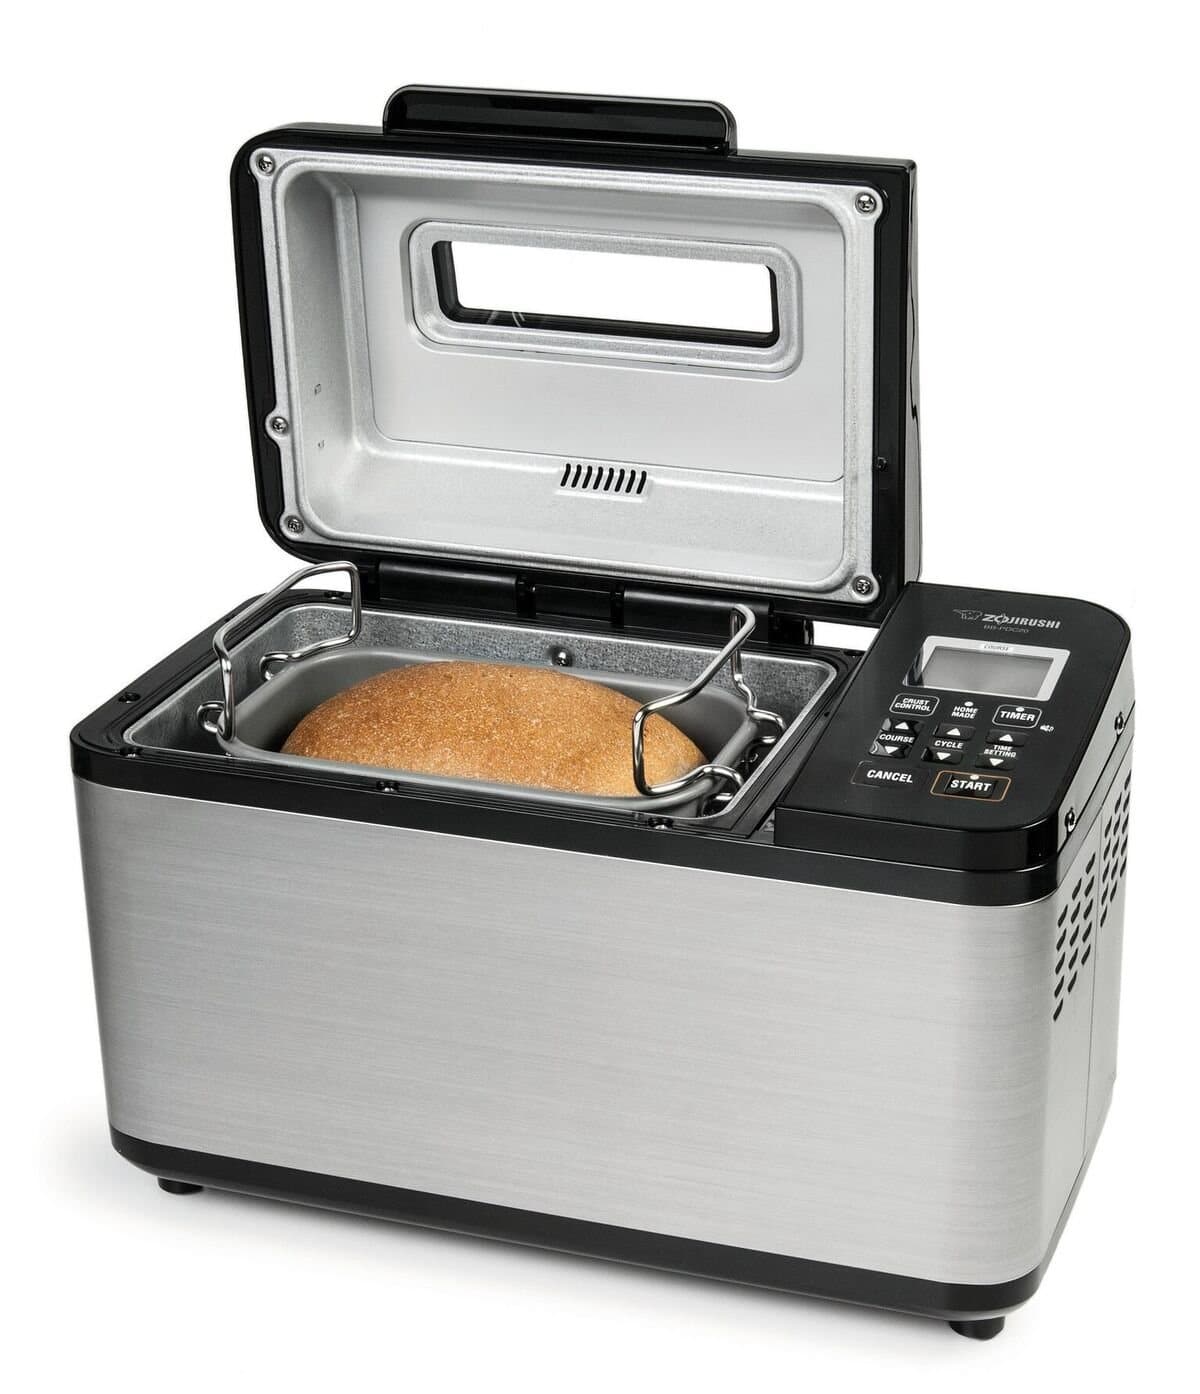
Removing the bread from the machine
Congratulations! Your bread machine has completed the baking cycle, and now it’s time to remove the finished raisin bread from the machine. Follow these steps:
- Unplug the machine: First and foremost, disconnect the bread machine from the power source to ensure safety.
- Use oven mitts: The bread pan and the bread itself will be hot, so protect your hands by using oven mitts or heat-resistant gloves.
- Open the lid: Carefully open the lid of the bread machine, taking caution as hot steam may escape from the pan.
- Remove the bread pan: Lift the bread pan from the machine using the handles provided. Place it on a heat-resistant surface or cooling rack.
- Carefully remove the bread: With oven mitts still on, gently tilt the bread pan over to release the loaf. It should come out easily, but if it seems stuck, you can use a silicone spatula to help loosen it.
- Cooling the bread: Allow the raisin bread to cool on a wire rack for at least 30 minutes before slicing. This will allow the bread to set and ensure a better texture.
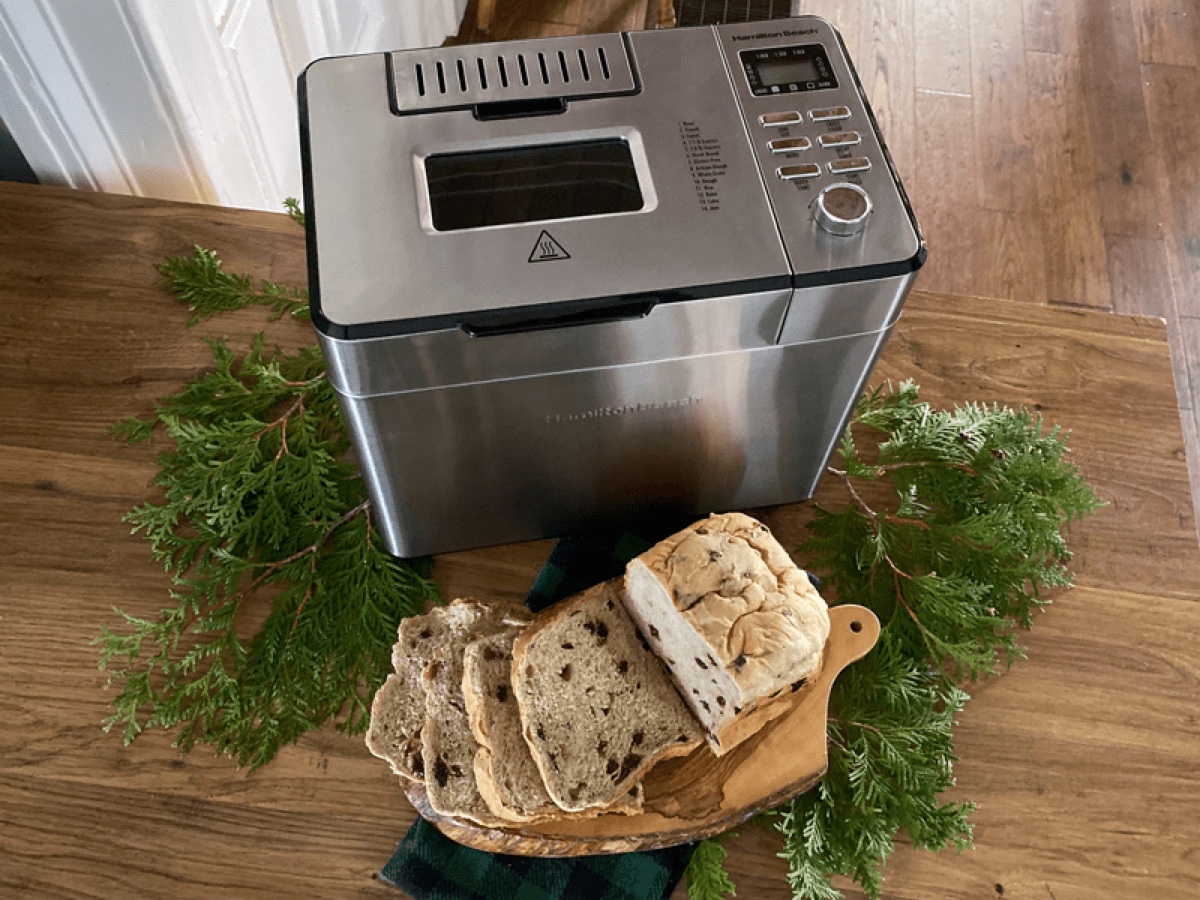
Now, take a moment to admire your beautifully baked raisin bread. The aroma, the golden crust, and the bursts of raisins will surely make your efforts worthwhile. It’s time to savor the fruits of your labor!
Congratulations on successfully making raisin bread in your bread machine. You can now enjoy a slice of warm, homemade goodness that will surely satisfy your taste buds. Remember to store any remaining bread in an airtight container or bag to maintain its freshness.
Enjoy your delicious homemade raisin bread and happy baking!
Is there anything else I can assist you with?
Conclusion
Making raisin bread in a bread machine is a wonderful way to enjoy the delicious flavors and aromas of homemade bread without the complexity and effort of traditional methods. With the right ingredients, proper setup, and following the necessary steps, you can effortlessly create a mouthwatering loaf of raisin bread that will impress your family and friends.
From setting up the bread machine to adding the ingredients, selecting the desired settings, and monitoring the dough, each step plays a crucial role in ensuring the success of your raisin bread. The addition of plump and juicy raisins takes this bread to another level, providing bursts of sweetness in every bite.
As the bread machine works its magic, the anticipation builds as your home fills with the delectable aroma of freshly baked bread. And when that final golden-brown loaf emerges from the machine, it’s a proud moment knowing that you’ve created such a delightful treat on your own.
Remember to remove the bread from the machine with care, allowing it to cool before slicing into it. This will ensure a perfect texture and prevent any mishaps or disappointment.
So, why not gather your ingredients, dust off your bread machine, and embark on the journey of making homemade raisin bread? The joy of slicing into a freshly baked loaf and savoring the softness, the natural sweetness of the raisins, and the satisfaction of creating something with your own hands is truly unparalleled.
Enjoy every slice and share the love of homemade bread with others. Happy baking!
Frequently Asked Questions about How To Make Raisin Bread In A Bread Machine
Was this page helpful?
At Storables.com, we guarantee accurate and reliable information. Our content, validated by Expert Board Contributors, is crafted following stringent Editorial Policies. We're committed to providing you with well-researched, expert-backed insights for all your informational needs.


0 thoughts on “How To Make Raisin Bread In A Bread Machine”