Articles
How To Cream Butter And Sugar Stand Mixer
Modified: January 7, 2024
Learn how to cream butter and sugar with a stand mixer in our informative article. Discover tips and tricks for achieving perfect results.
(Many of the links in this article redirect to a specific reviewed product. Your purchase of these products through affiliate links helps to generate commission for Storables.com, at no extra cost. Learn more)
Introduction
When it comes to baking, creaming butter and sugar is a fundamental step in many recipes. Whether you are making cookies, cakes, or even frostings, achieving the perfect creamed mixture is essential for a light and fluffy texture. While you can certainly cream butter and sugar by hand, using a stand mixer can make the process much easier and more efficient.
In this article, we will guide you through the steps of creaming butter and sugar using a stand mixer. We’ll provide you with valuable tips to ensure that the process goes smoothly and that you achieve the desired results in your baked goods.
So, let’s gather our ingredients and get ready to dive into the world of creamy and delicious treats!
Key Takeaways:
- Master the art of creaming butter and sugar with a stand mixer to achieve light and fluffy baked goods. Soften butter, measure sugar accurately, and use the right technique for a delightful outcome.
- Incorporate the creamy mixture into your recipes gently and enjoy the rich, tender texture it brings to your baked creations. Experiment with different flavors and let your creativity shine in the world of baking!
Read more: How To Cream Butter Without Mixer
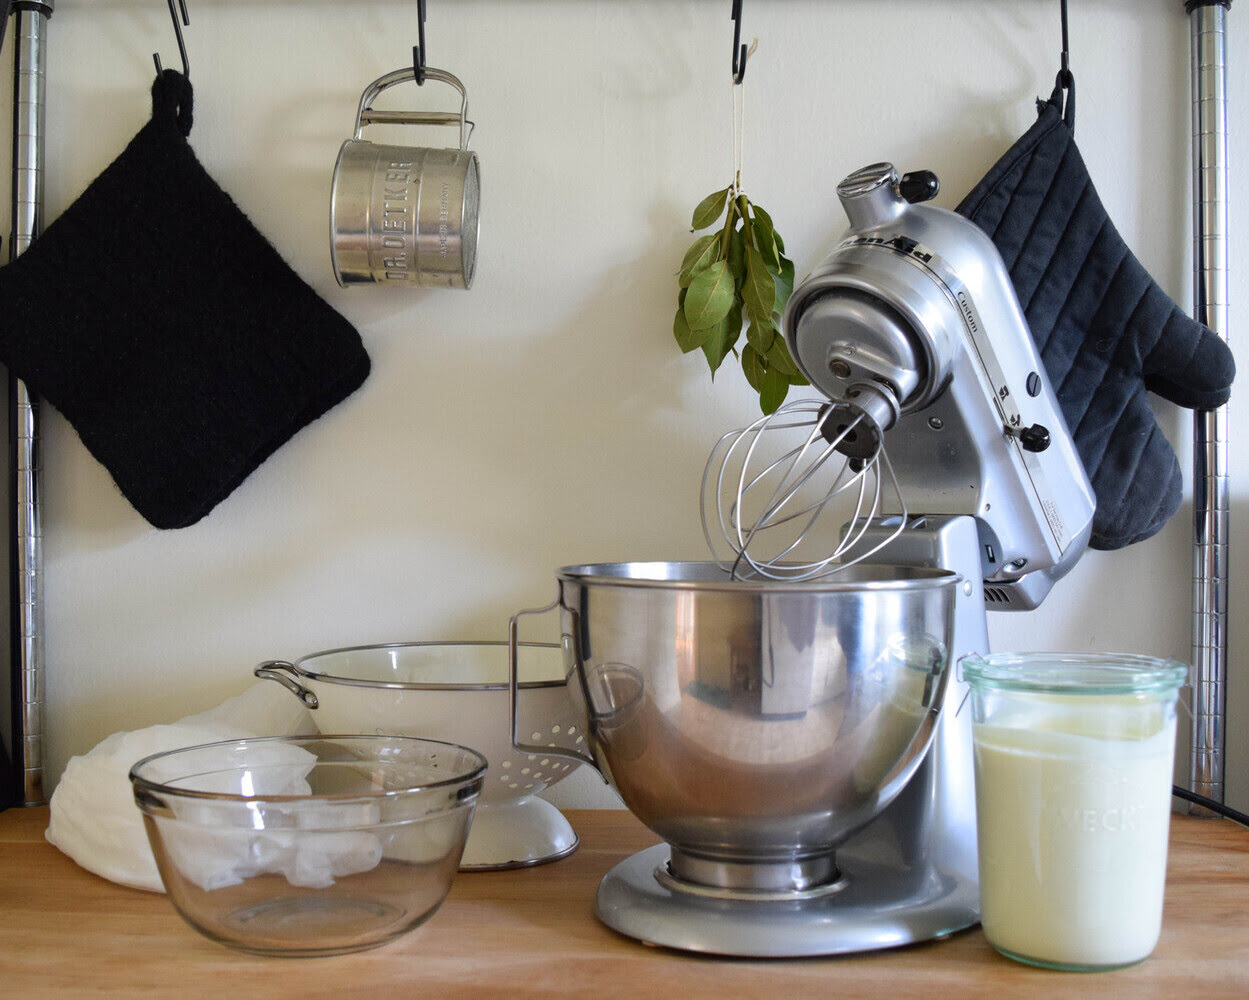
What You Will Need
Before we begin, let’s gather all the necessary tools and ingredients to cream butter and sugar using a stand mixer. Here is a list of things you’ll need:
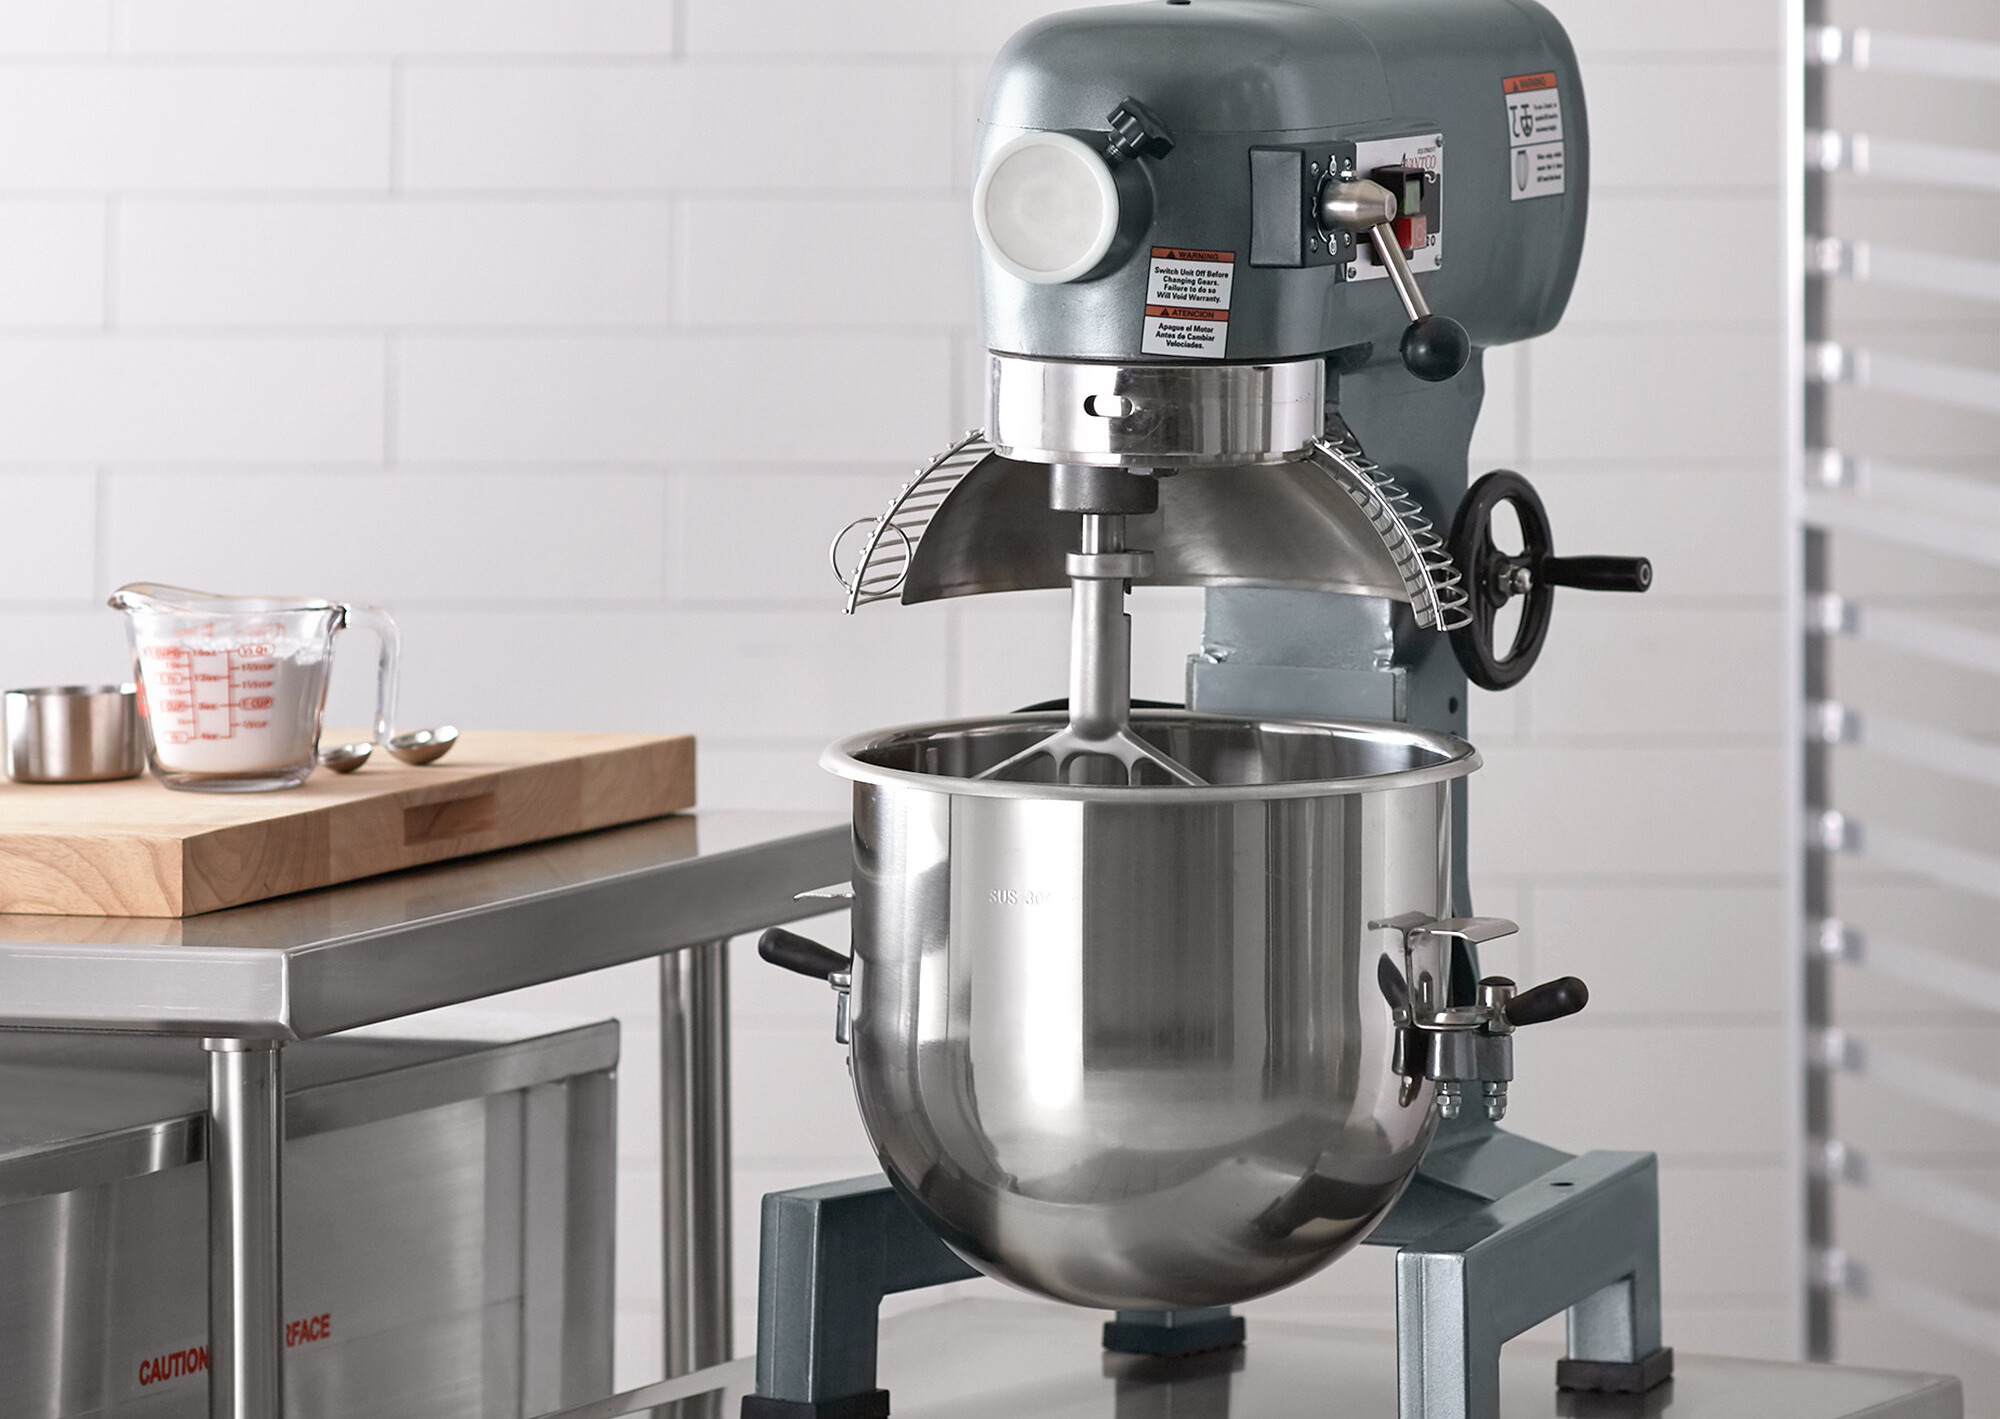
- A stand mixer: This can be a countertop mixer with a mixing bowl and a paddle attachment.
- Butter: Make sure it is unsalted and at room temperature. Using unsalted butter allows you to have better control over the salt content in your recipe.
- Sugar: You can use granulated white sugar or any other type of sugar that the recipe calls for.
- Measuring cups and spoons: Precise measurements are crucial in baking, so ensure you have accurate measuring tools.
That’s it! With these few items on hand, we are ready to begin the creaming process.
Step 1: Softening the Butter
The first step in creaming butter and sugar is to ensure that your butter is at the correct consistency – soft and easy to mix. Softening the butter allows it to incorporate air more easily, resulting in a light and fluffy texture.
To soften the butter, take it out of the refrigerator and let it sit at room temperature for about 30 minutes to 1 hour, depending on the temperature of your kitchen. The goal is to have the butter soft enough that it can be easily pressed with your finger, but not melted.
If you need to soften the butter more quickly, you can cut it into smaller pieces or use a technique called “paddling.” To paddle the butter, place it between two sheets of parchment paper and gently pound it with a rolling pin until it softens to the desired consistency.
Remember, using melted butter will not yield the same results as softened butter. The melted butter will not trap air bubbles effectively, leading to a denser and flatter final product.
Once your butter is softened, you can move on to the next step of measuring the sugar.
Step 2: Measuring the Sugar
Now that your butter is softened, it’s time to measure the sugar. The ratio of butter to sugar is usually 1:1 or sometimes 2:1, depending on the recipe. It’s important to measure the sugar accurately to achieve the right balance of sweetness and texture in your baked goods.
Using a set of measuring cups or spoons, take the required amount of sugar as mentioned in your recipe. Gently pour the sugar into a separate bowl to prevent any lumps from forming.
Some recipes might ask for sifted sugar to ensure a smooth consistency. In that case, you’ll need to sift the sugar before measuring it. Sifting helps to remove any clumps and ensure an even distribution of sugar in the recipe.
Remember, it’s always better to measure the sugar by weight if your recipe provides the option. This ensures the most accurate results and consistency in your baked goods.
Once you have measured the sugar, you are ready to move on to the next step, which is adding the butter and sugar to the stand mixer.
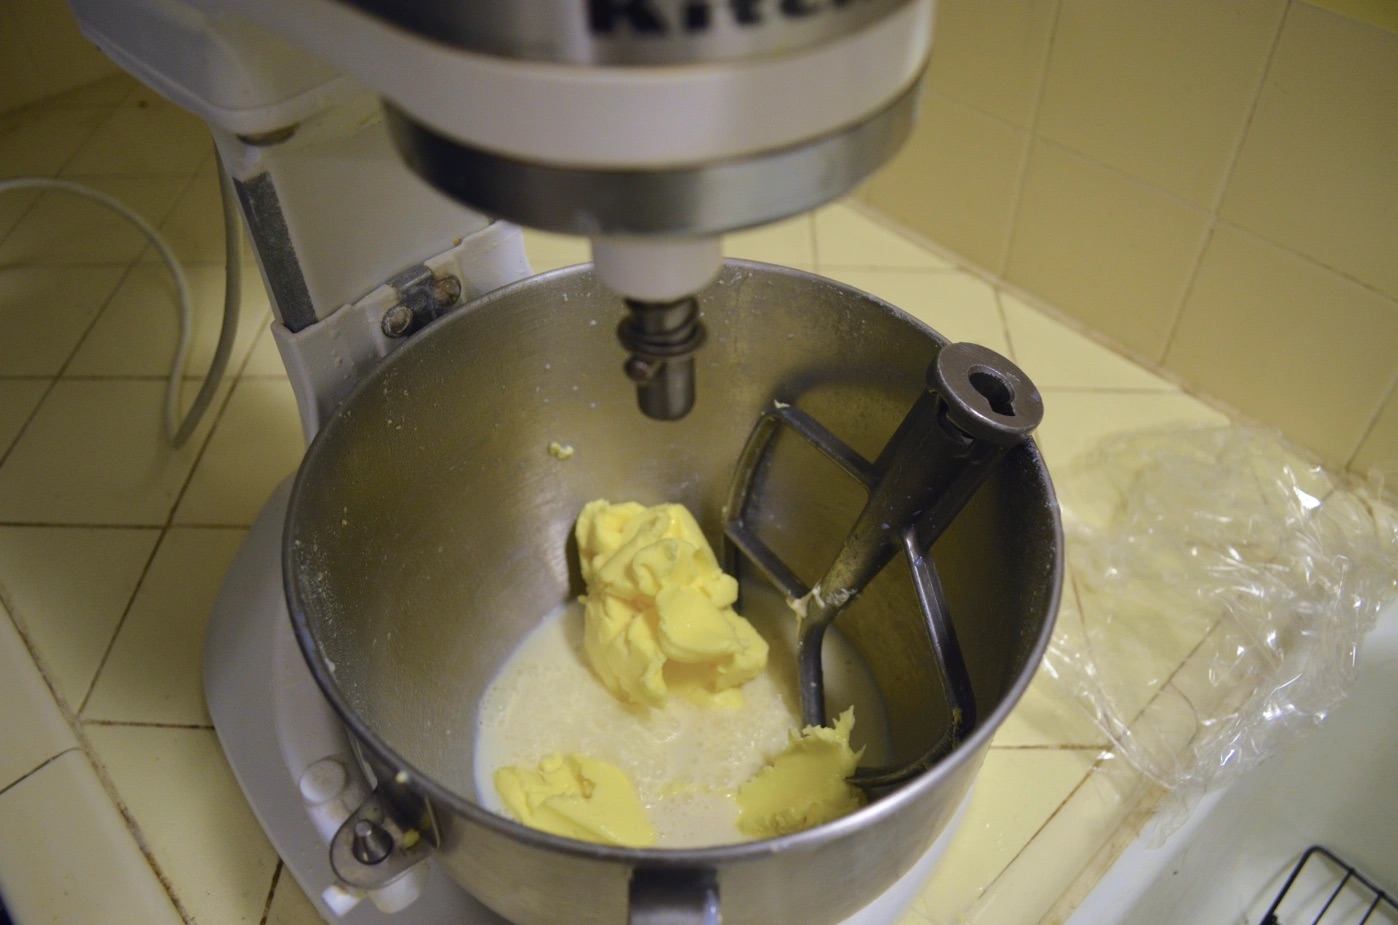
Step 3: Adding the Butter and Sugar to the Stand Mixer
With your softened butter and measured sugar in hand, it’s time to bring them together in the stand mixer. Assemble your stand mixer with the paddle attachment, ensuring it is securely in place.
Start by adding the softened butter to the mixing bowl of the stand mixer. Use a spatula or spoon to scrape all the butter from your bowl, ensuring you get every last bit.
Next, add the measured sugar to the mixing bowl with the butter. It’s best to add the sugar gradually rather than all at once to avoid overwhelming the mixer and creating a mess.
Once both the butter and sugar are in the mixing bowl, lower the paddle attachment into the bowl, making sure it is securely attached to the stand mixer.
Before turning on the stand mixer, it’s a good practice to cover the mixing bowl with a clean kitchen towel. This prevents any ingredients from flying out of the bowl during the initial mixing stage.
Now that everything is prepared, you’re ready to move on to the next step – creaming the butter and sugar.
Make sure the butter is at room temperature before creaming it with sugar in a stand mixer. This will ensure a smooth and even consistency.
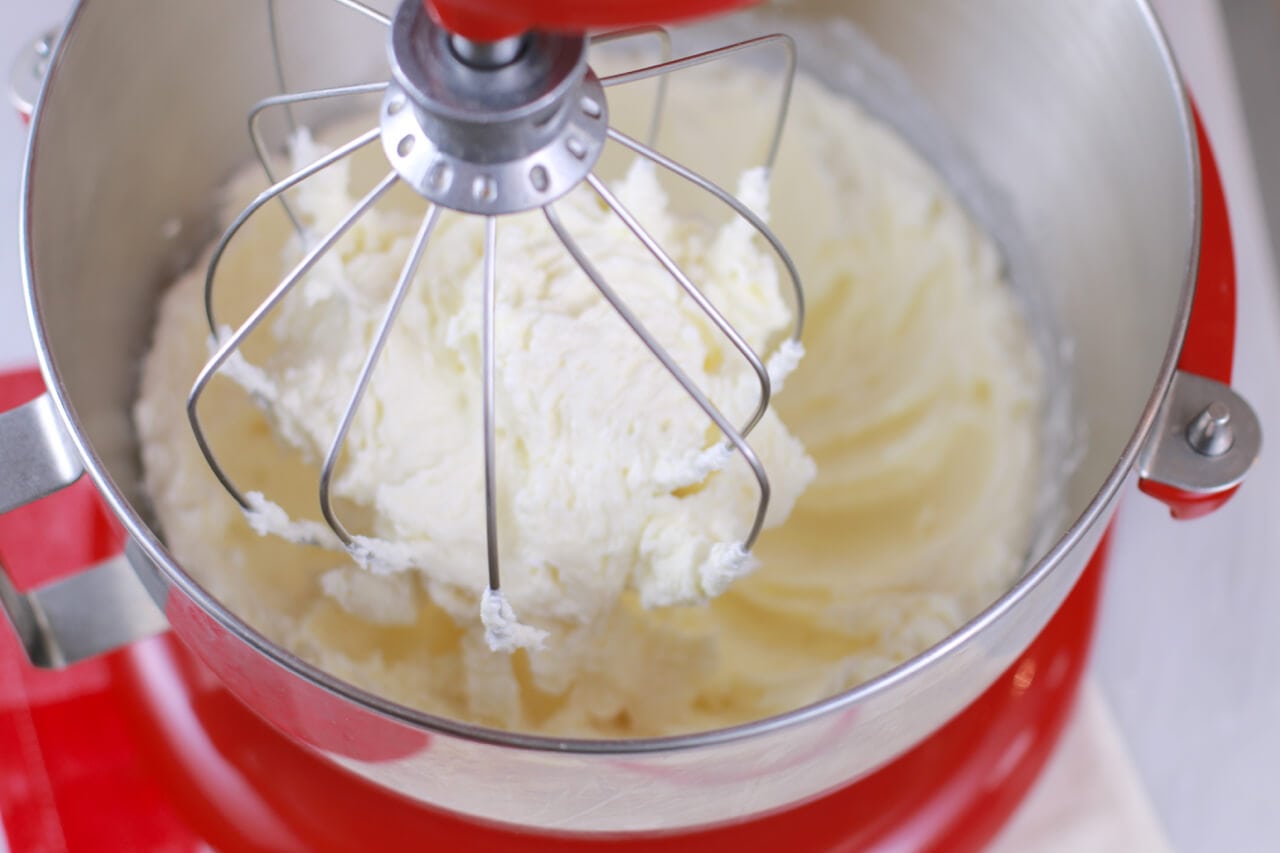
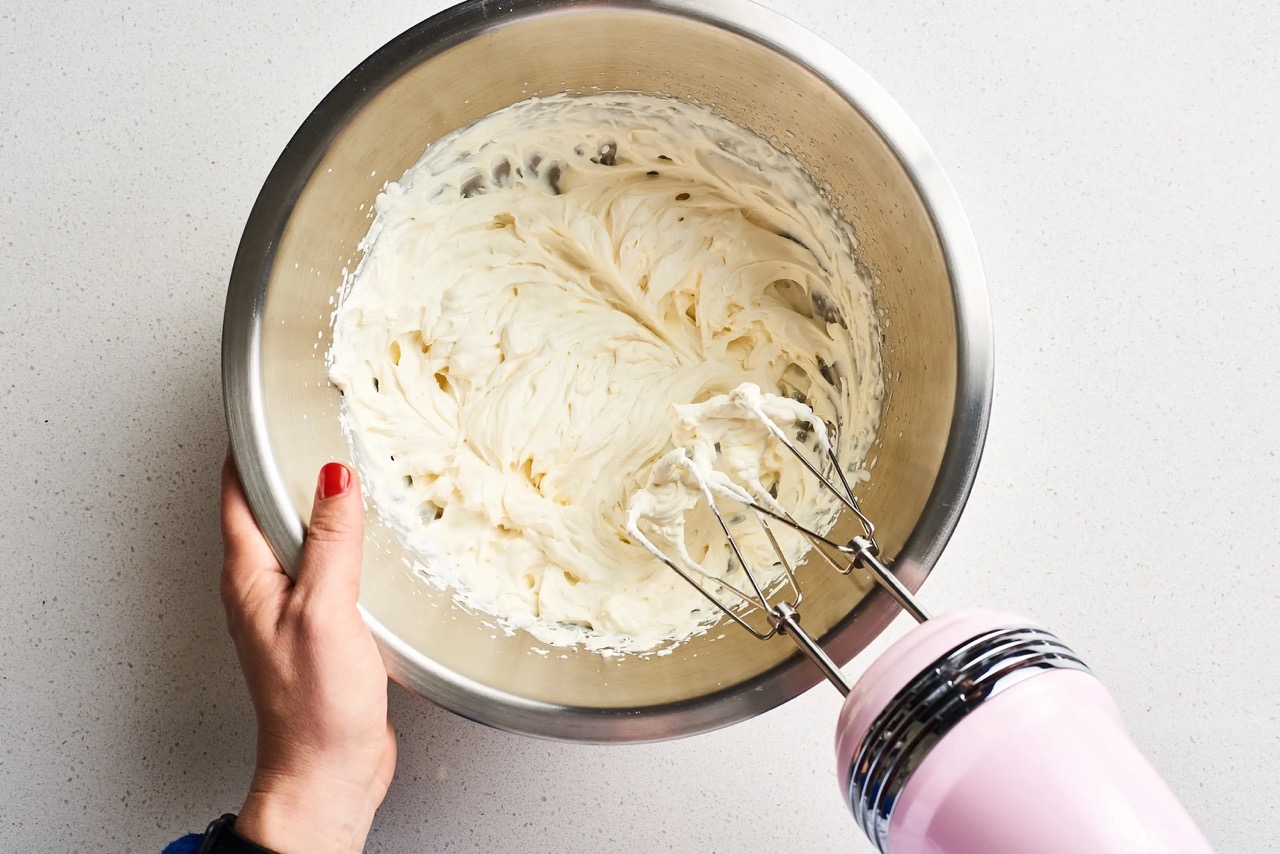
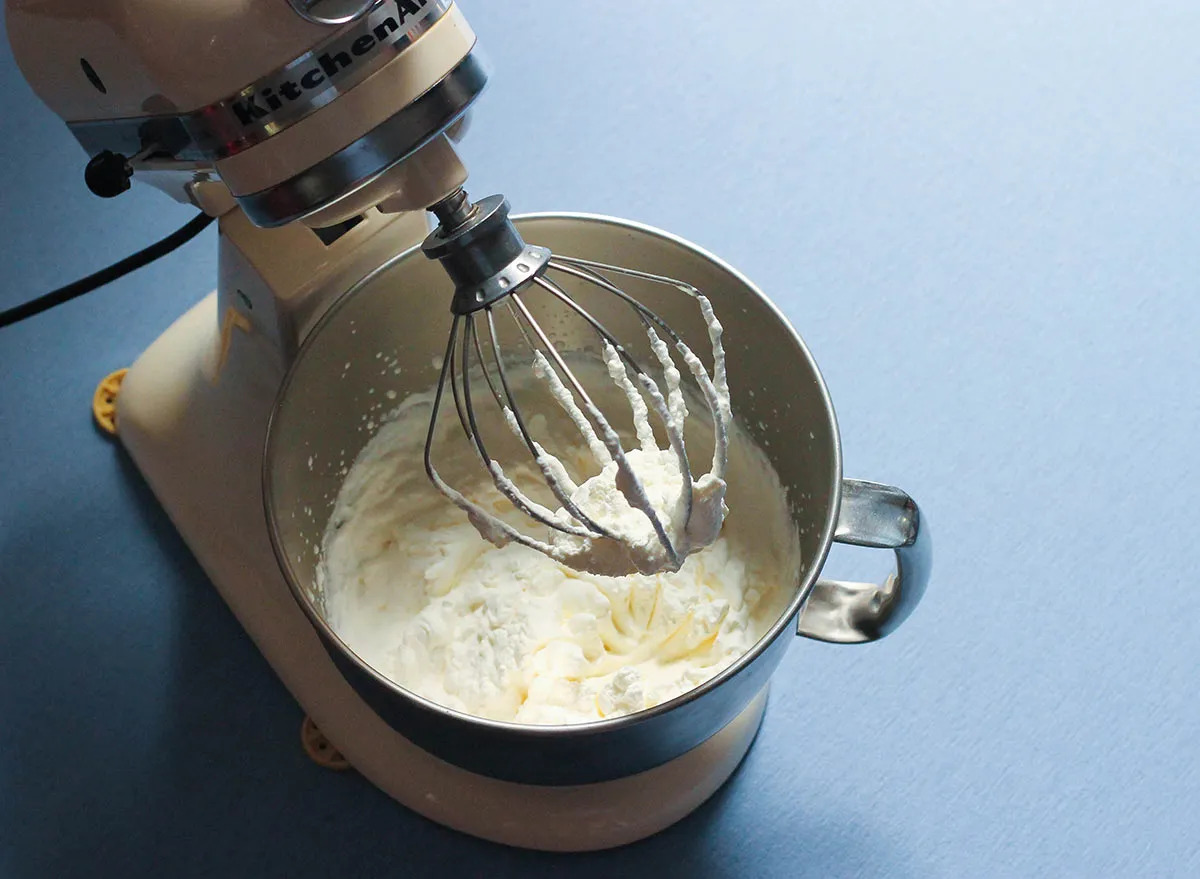
Step 4: Creaming the Butter and Sugar
Now it’s time to cream the butter and sugar together to create a light and fluffy mixture. Turn on your stand mixer to a medium speed setting, and let it work its magic.
As the paddle attachment mixes the butter and sugar, it will incorporate air, creating tiny air pockets throughout the mixture. This process is what gives your baked goods a tender and delicate texture.
Allow the stand mixer to run for about 3 to 5 minutes, or until the butter and sugar mixture becomes pale in color and has a light and fluffy consistency. Stop the mixer occasionally to scrape down the sides of the bowl with a spatula, ensuring that all ingredients are fully incorporated.
Patience is key during this step. The longer you cream the butter and sugar, the more air you will incorporate, resulting in a lighter texture in your final baked goods.
Keep a close eye on the mixture as you approach the desired consistency. Be careful not to overmix, as this can cause the butter to separate and lead to a dense and greasy finished product.
Once you have achieved a creamy and fluffy mixture, it’s time to move on to the next step – checking the consistency.
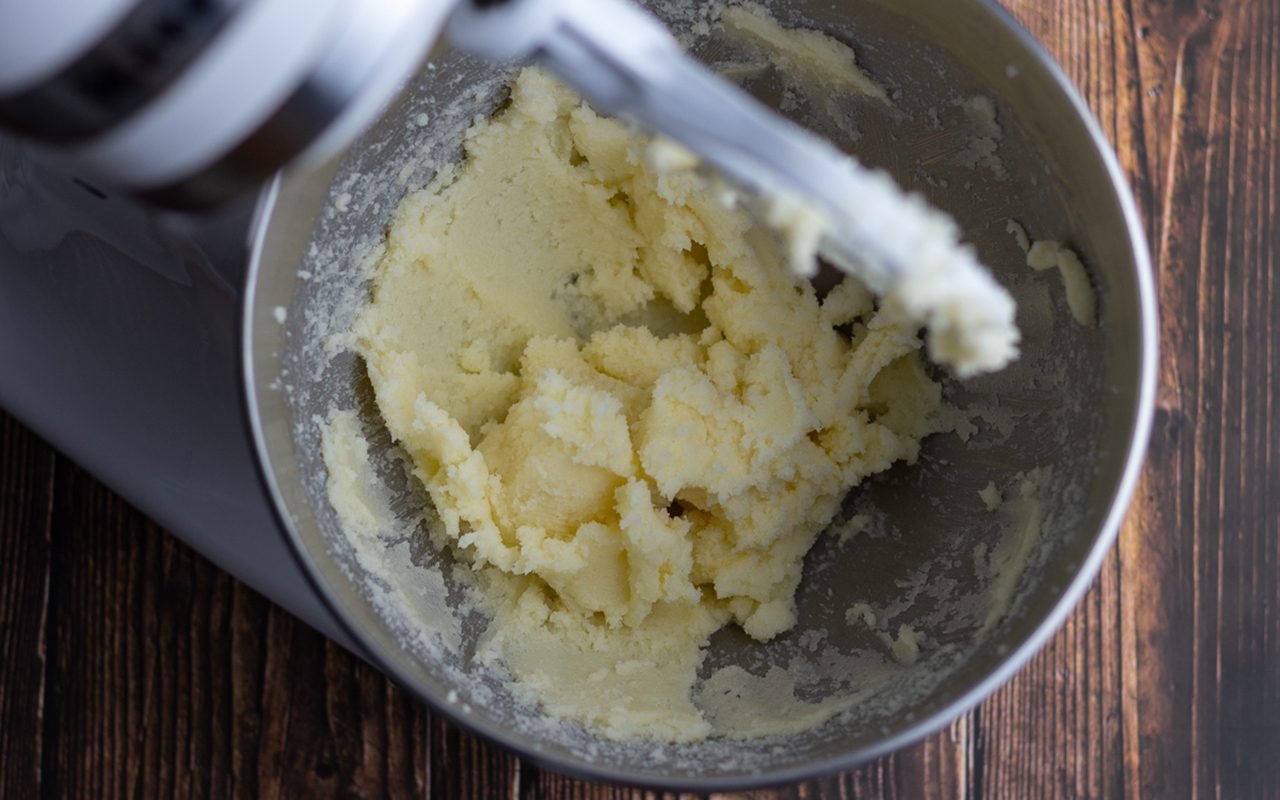
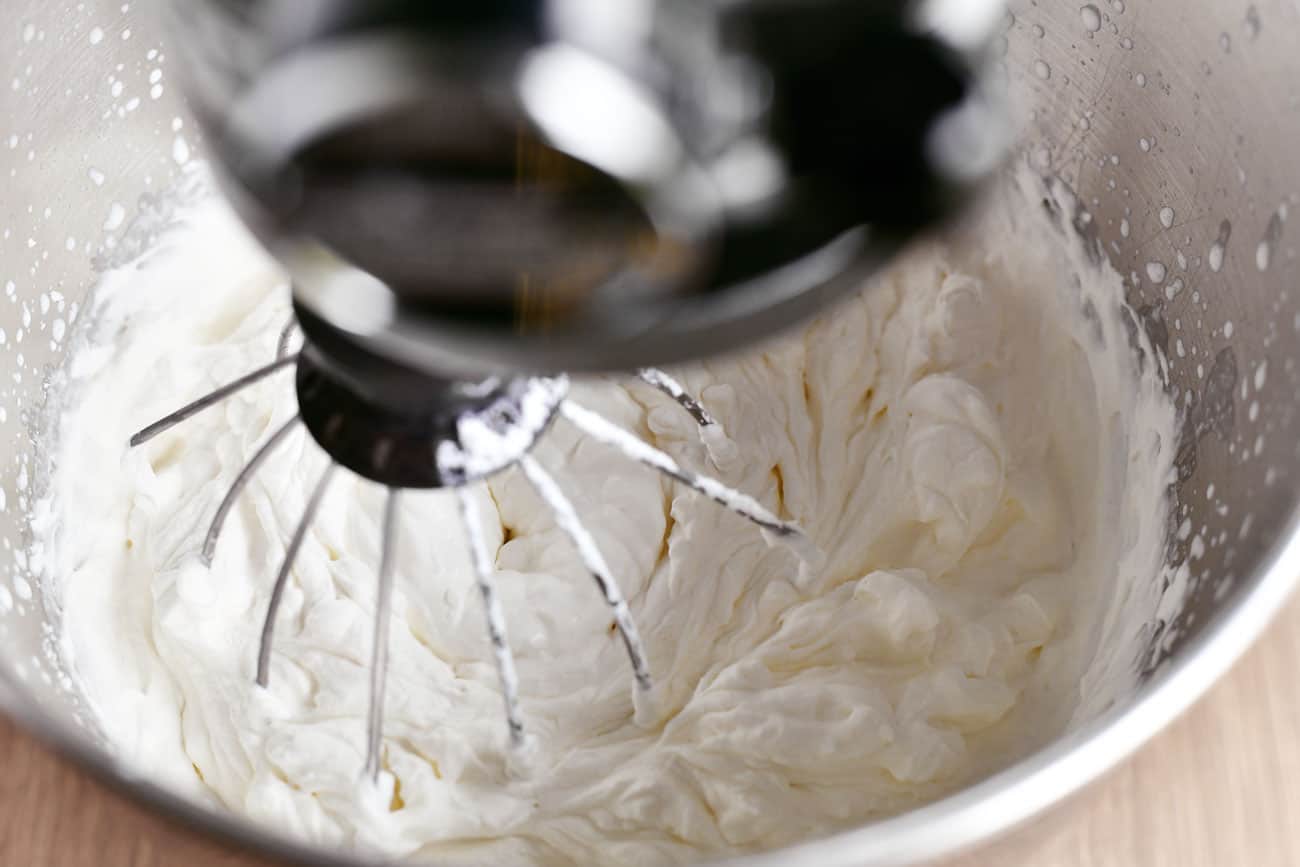
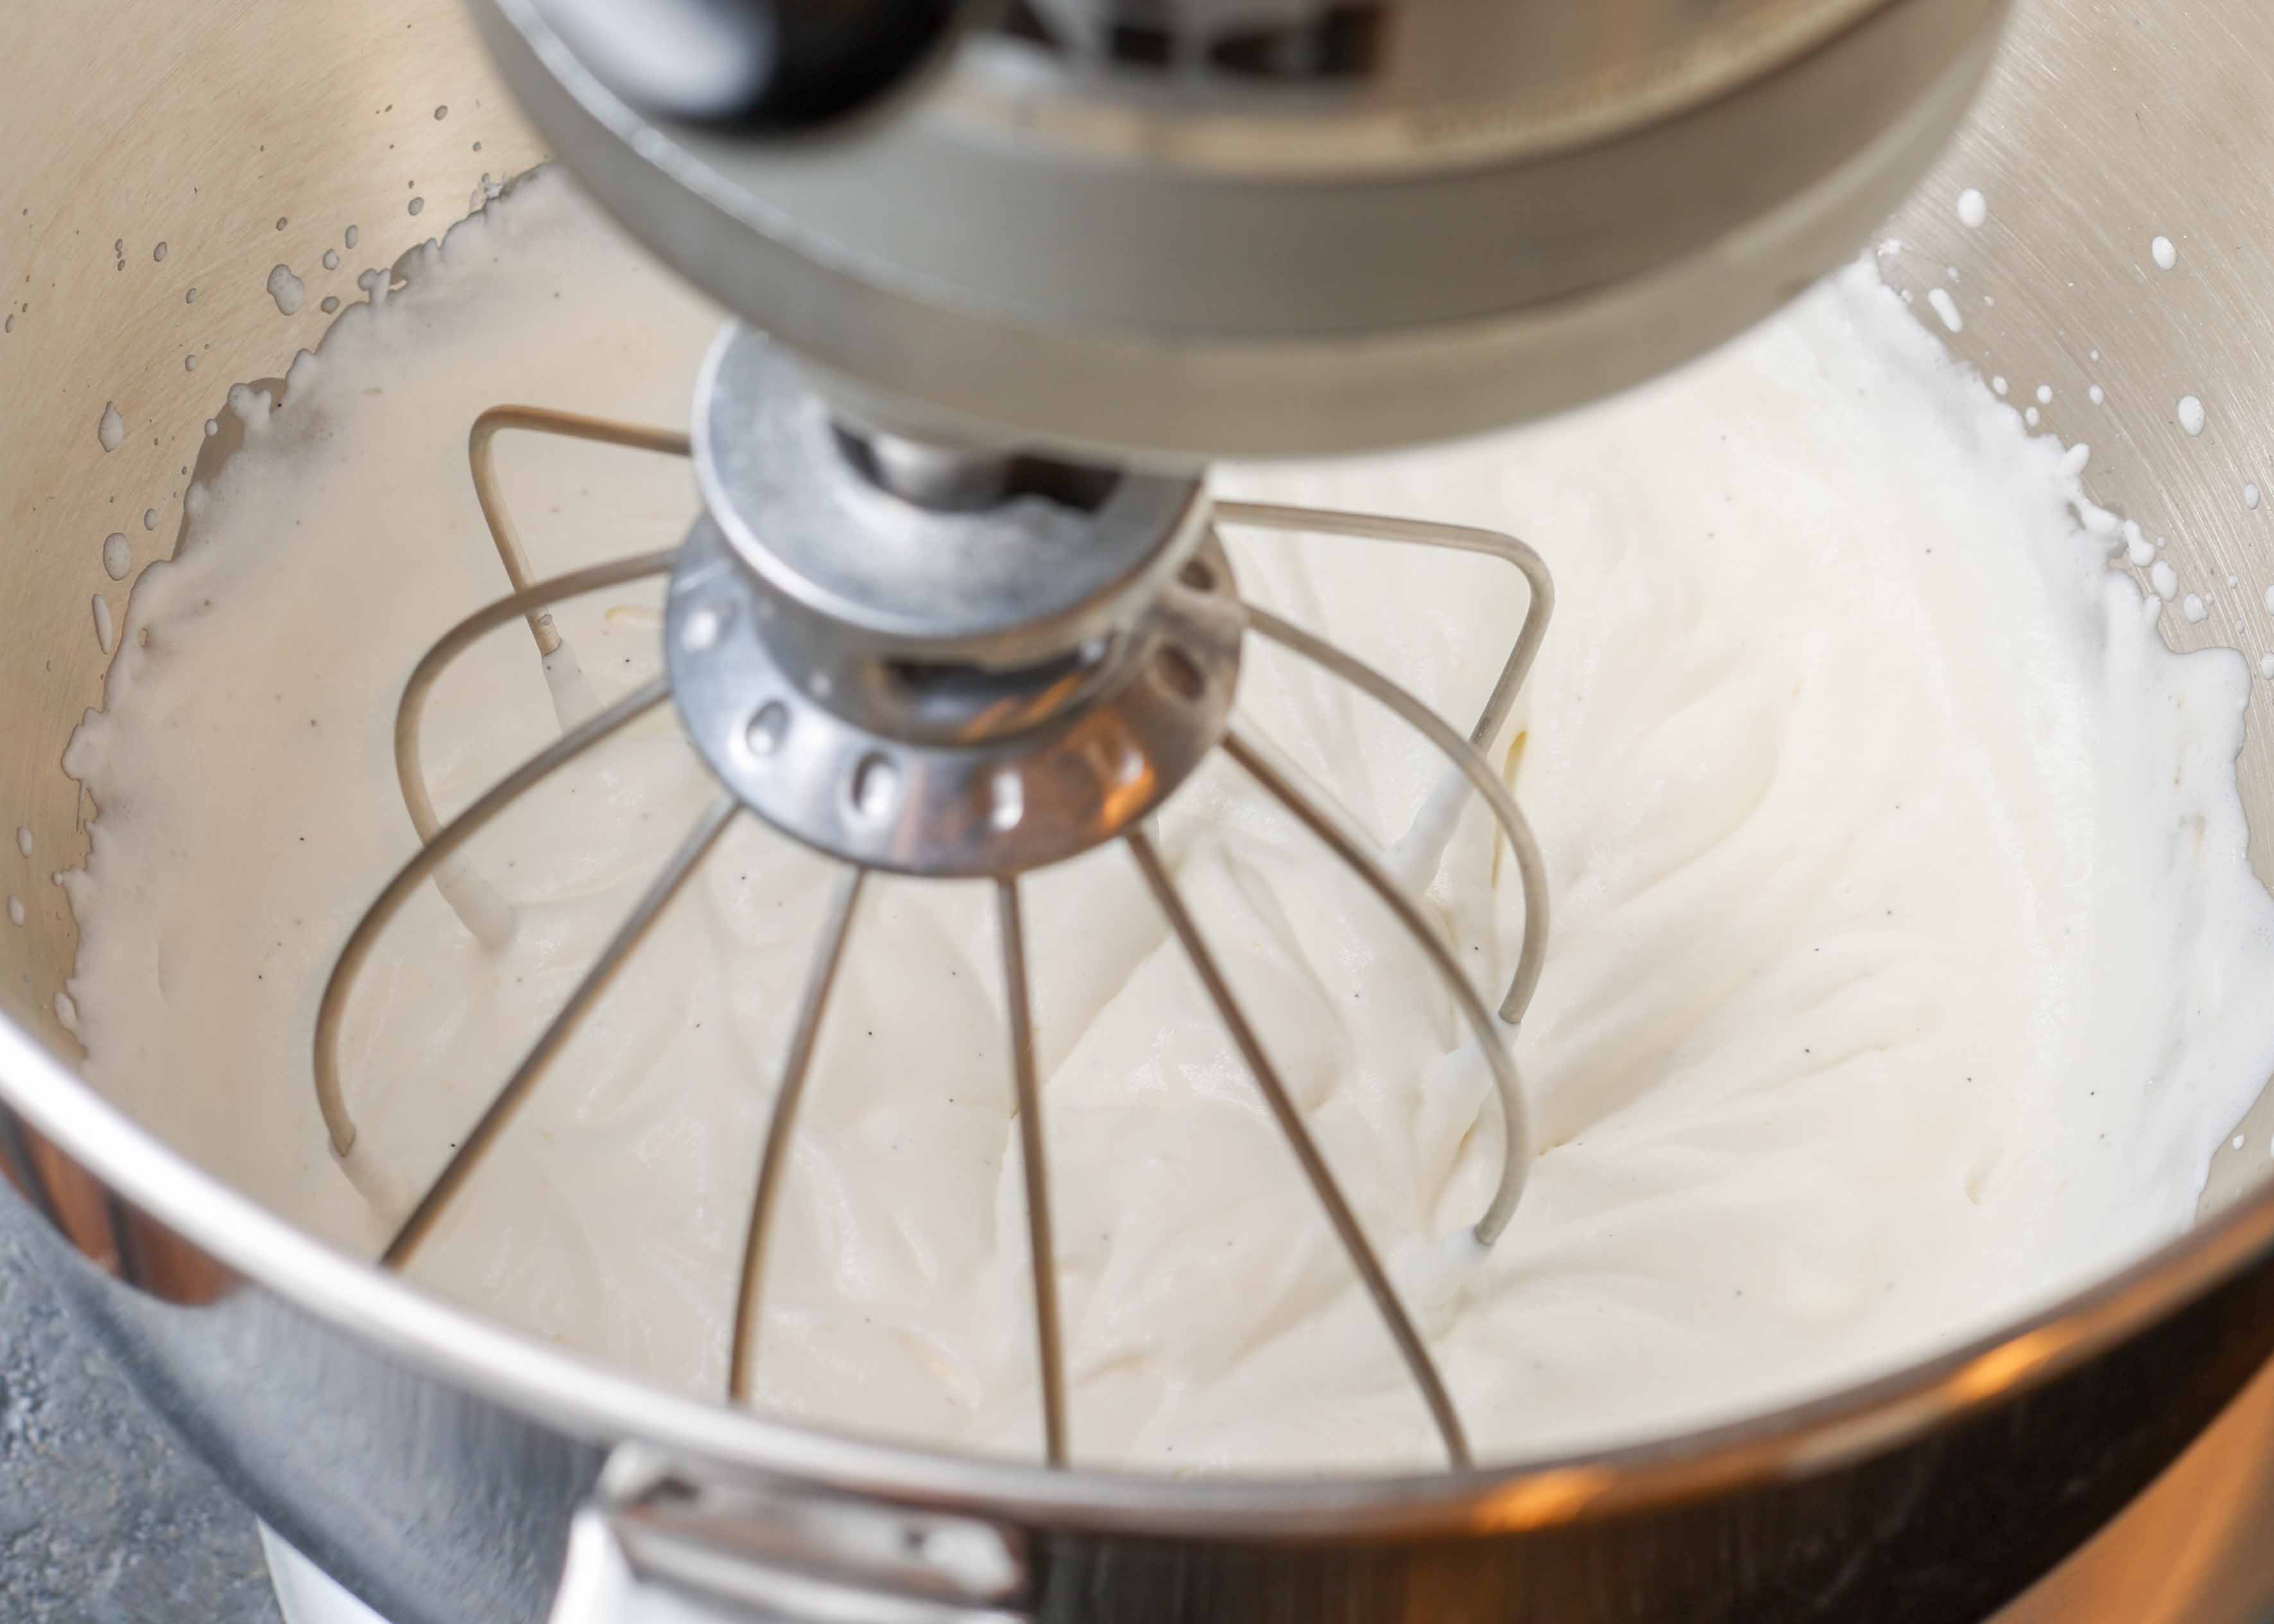
Step 5: Checking the Consistency
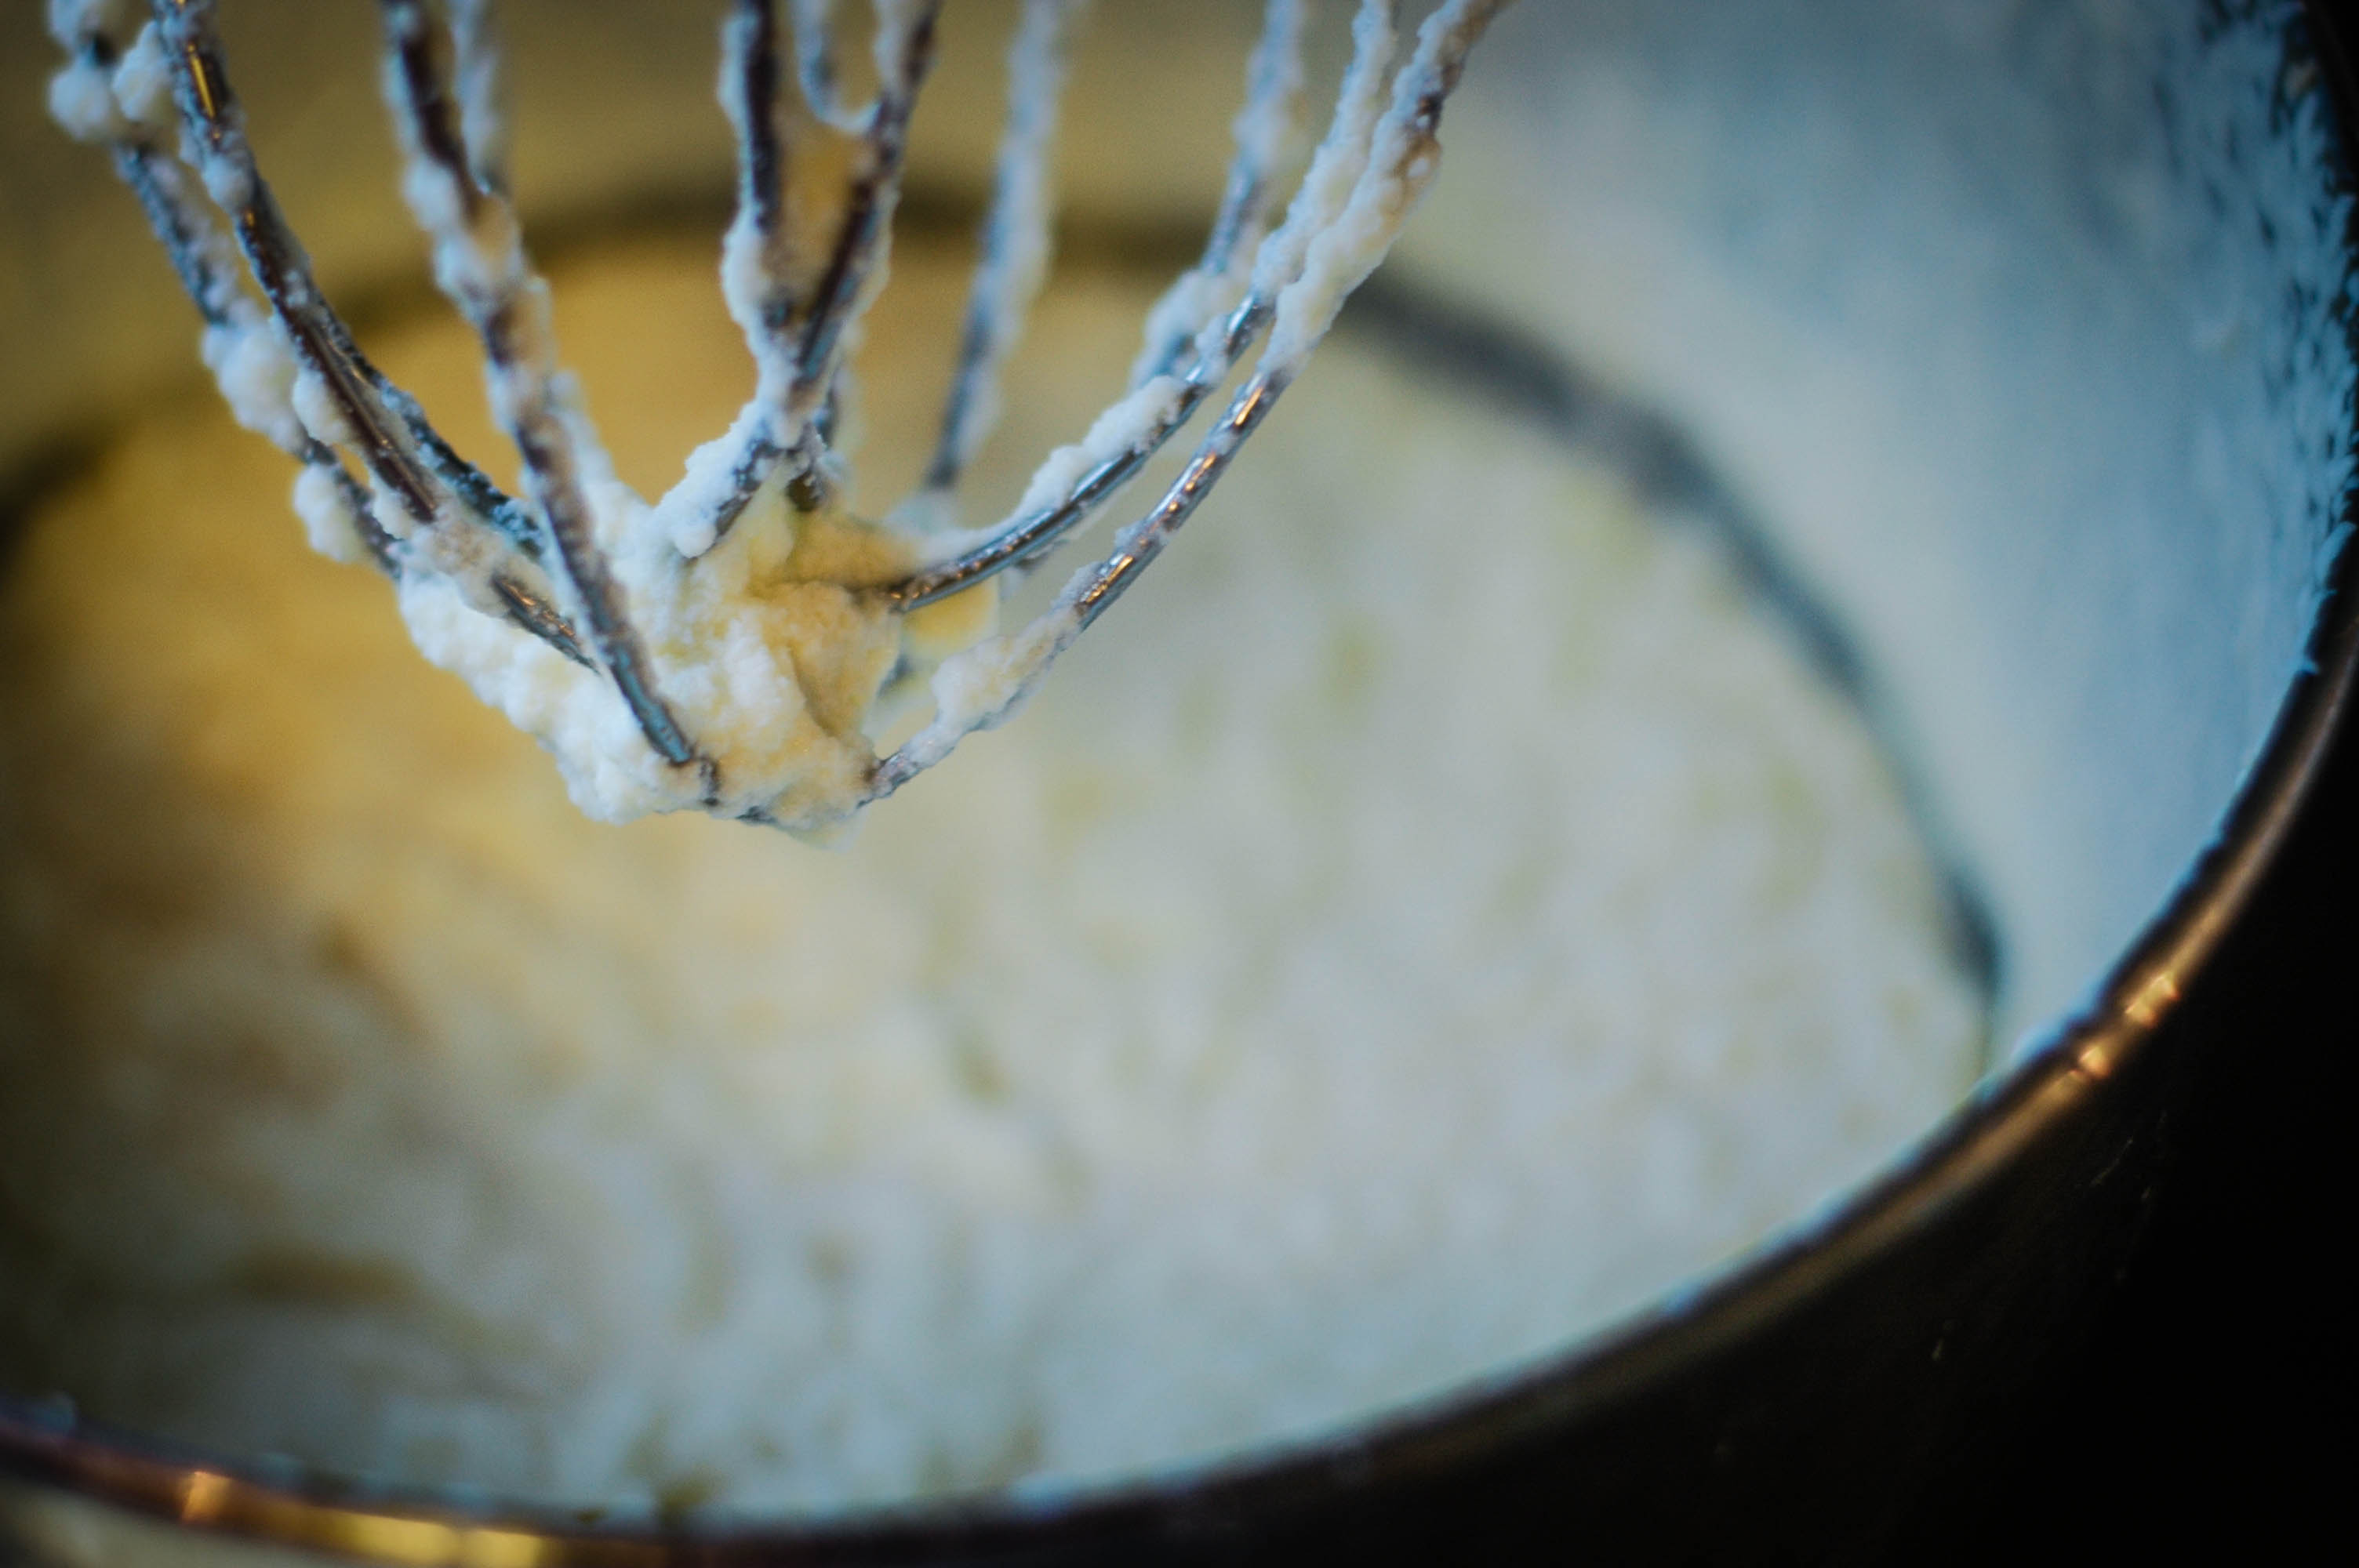
After creaming the butter and sugar, it’s important to check the consistency of the mixture to ensure that it’s ready to be used in your recipe. The ideal consistency should be smooth, creamy, and spreadable.
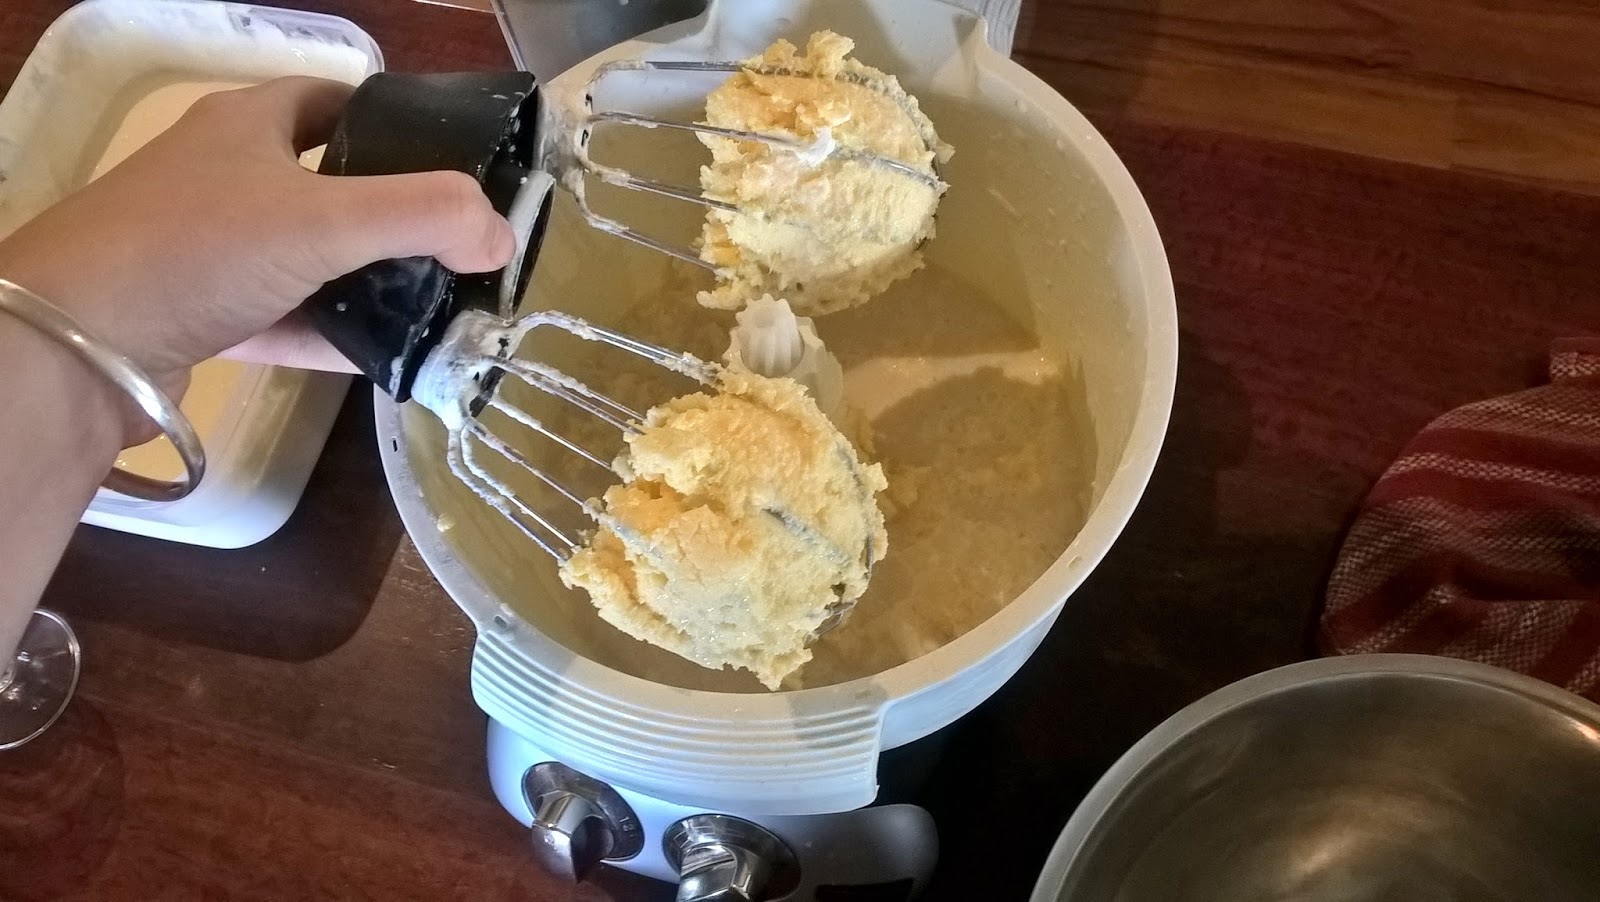
To check the consistency, stop the stand mixer and lift the paddle attachment. Take a close look at the mixture. It should have a uniform texture, with no visible lumps of butter or sugar.
If the mixture appears grainy or curdled, it might be an indication that the butter was not softened enough or that the mixing time was insufficient. In this case, continue to mix the mixture for another minute or so, making sure to scrape down the sides of the bowl to incorporate any remaining ingredients.
On the other hand, if the mixture looks too soft or oily, it could be a sign of overmixing. To correct this, stop the mixer and let the mixture rest for a few minutes. This will allow the butter to solidify slightly before continuing to mix for a short period.
Remember, the consistency of the creamed butter and sugar is vital for the success of your baked goods. If the mixture is too stiff or too liquid, it can affect the texture and structure of the final product.
Once you are satisfied with the consistency, it’s time to move on to the final step – using the creamed mixture in your recipe.
Step 6: Using the Creamed Mixture in Your Recipe
Now that you have successfully creamed the butter and sugar, it’s time to incorporate this delicious mixture into your recipe. The creamed mixture will add moisture, flavor, and texture to your baked goods.
Start by carefully transferring the creamed mixture from the stand mixer bowl to a separate bowl or directly into the mixing bowl of your recipe. Use a spatula to scrape the sides of the bowl, ensuring you get every last bit of the creamy mixture.
Follow the instructions in your recipe, adding the other ingredients gradually while incorporating the creamed mixture. Depending on the recipe, you may add eggs, flour, flavorings, and any other ingredients as specified.
When adding the creamed mixture to your recipe, be sure to mix it gently and thoroughly, ensuring all ingredients are well combined. However, avoid excessive mixing, which can overwork the batter and result in a dense and tough finished product.
As you incorporate the creamed mixture, you’ll notice how it adds richness and depth to your batter or dough. The finished product will have a tender crumb and a wonderful aroma.
Once you have completed the recipe, bake or cook your creation according to the instructions provided, and enjoy the delicious results that come from properly creaming butter and sugar.
Congratulations! You have successfully learned how to cream butter and sugar using a stand mixer. With this newfound skill, you can create a wide variety of baked goods that have a light and fluffy texture.
Remember to experiment with different recipes and ingredients to discover endless possibilities in the world of baking. So go ahead, and let your creativity run wild!
Conclusion
Creaming butter and sugar is a crucial step in baking that can make a significant difference in the texture and flavor of your finished products. By using a stand mixer, you can achieve a creamy and fluffy mixture effortlessly.
Throughout this article, we have guided you through the process of creaming butter and sugar using a stand mixer. We learned the importance of softening the butter to the right consistency and measuring the sugar accurately. We explored how to add the butter and sugar to the stand mixer and the proper technique for creaming them together.
We discussed the importance of checking the consistency of the creamed mixture and troubleshooting if needed. Finally, we highlighted the significance of incorporating the creamed mixture into your recipe and the delightful results it brings to your baked goods.
With this knowledge and skill, you are now equipped to create a wide range of delicious treats, from fluffy cakes to tender cookies. Remember to explore different recipes and experiment with flavors and ingredients to unleash your culinary creativity.
So next time you’re in the kitchen, get your stand mixer ready and enjoy the process of creaming butter and sugar to produce mouthwatering baked goods that will impress your family and friends.
Now, let the aroma of freshly baked treats fill your kitchen as you embark on your next baking adventure!
Frequently Asked Questions about How To Cream Butter And Sugar Stand Mixer
Was this page helpful?
At Storables.com, we guarantee accurate and reliable information. Our content, validated by Expert Board Contributors, is crafted following stringent Editorial Policies. We're committed to providing you with well-researched, expert-backed insights for all your informational needs.


0 thoughts on “How To Cream Butter And Sugar Stand Mixer”